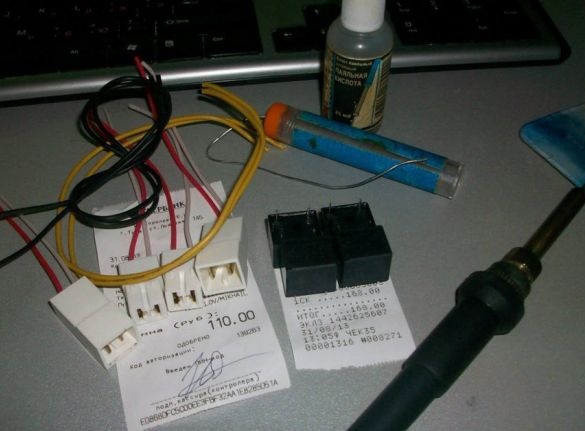
Materials and tools for manufacturing:
- capacitors with characteristics of 1000 μF X 16V (LZ);
- diodes type 1N5819;
- connecting block of pin type (KSSh 1 * 0.75);
- a connecting block with nests (KSG 1 * 0.75);
- connecting block of pin type (KSSh 2 * 0.75);
- a connecting block with nests (KSG 2 * 0.75);
- wires to the pads. All this will require two copies;
- Of course, you need a soldering iron with solder, scissors and other tools.
Manufacturing process:
Step one. Device diagram
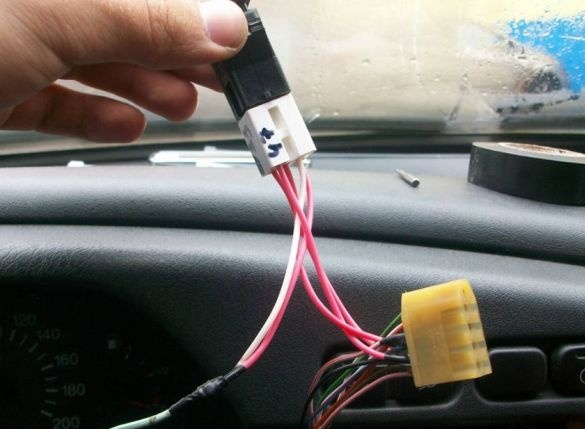
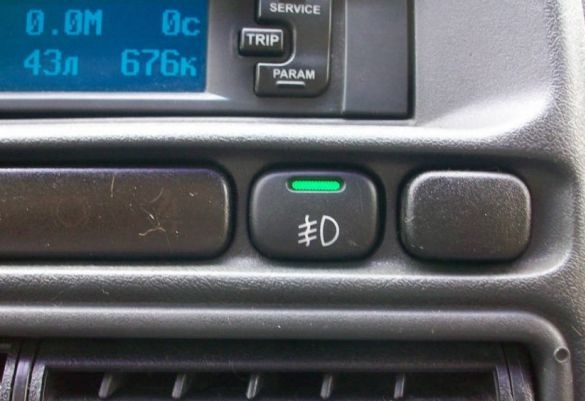
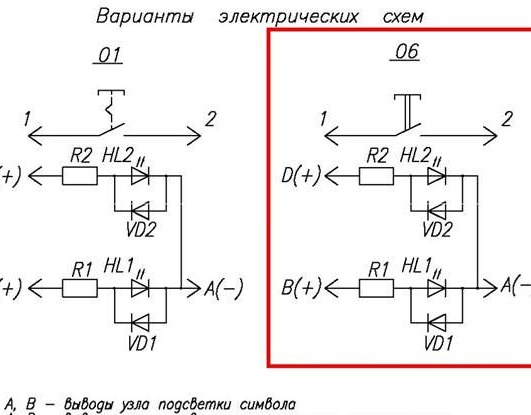
The scheme of the system is very simple, there is practically nothing to describe here. All you need to do is connect the elements in a certain order to the gap between the cornering lamps and the power. Power when working in size mode must be supplied to a single wire. The author did not begin to connect the gauges directly with turning lights, he made a separate button to turn on the "American" if necessary. For these purposes, the fog button was activated.
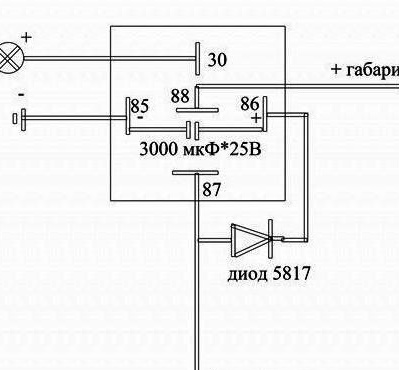
Step Two Relay Connection Process
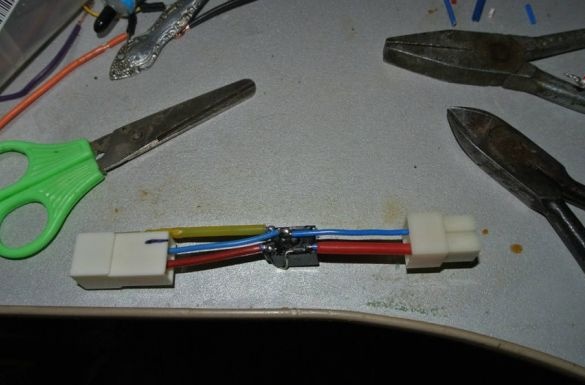
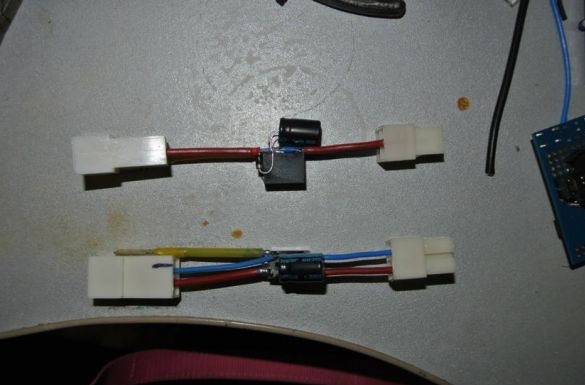
The relay is connected by soldering. How to do this can be seen in detail in the photo. The most important thing in this process is the thorough isolation of the soldering point and open conductors.
Step Three We connect the button and test the system
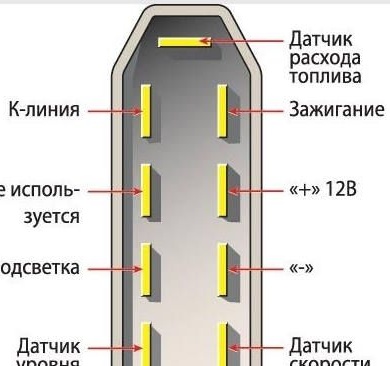
Now it remains to connect the system to the on-board computer block, connect the button, the author even connected the power indicator. Now, after pressing the button, it starts to glow, which indicates that the system is turned on. Well, how everything works, you can see in more detail on the video.

