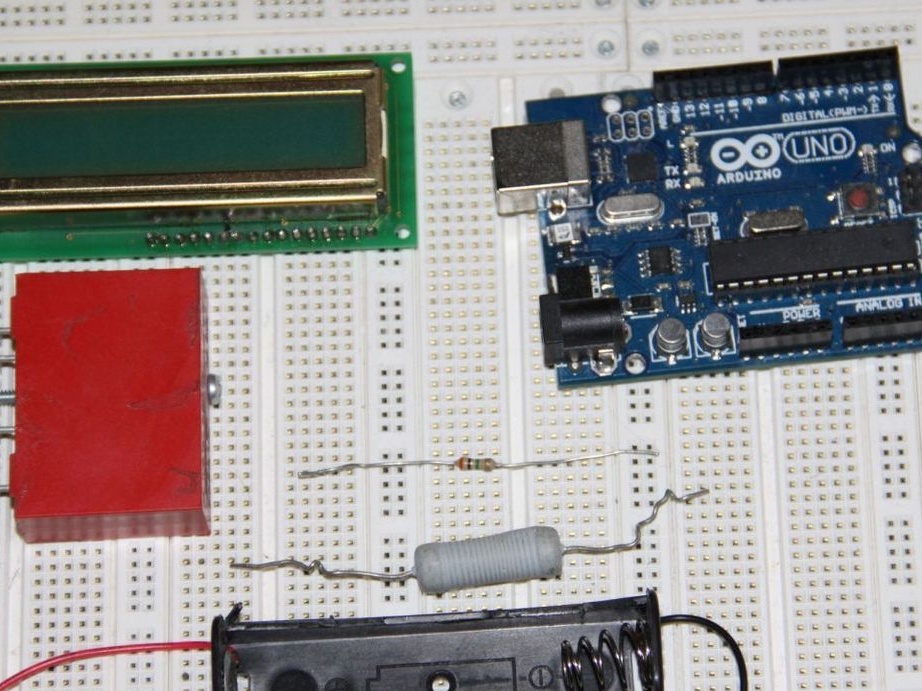
What is needed for the device:
Arduino Uno or any other compatible.
16X2 LCD display that uses the Hitachi HD44780 driver
Solid State Relays OPTO 22
10 MΩ resistor at 0.25 W
Holder for 18650 batteries
4 ohm 6W resistor
One button and power supply from 6 to 10V at 600 mA
Theory and Exploitation
The voltage on a fully charged Li-Ion battery with no load is 4.2V. When the load is connected, the voltage quickly drops to 3.9V, and then slowly decreases as the battery runs. The cell is considered discharged when the voltage drops below 3V.
In this device, the battery is connected to one of the Arduino analog pins. The voltage on the battery is measured without load and the controller is waiting for the “Start” button to be pressed. If the battery voltage is above 3V. , when you press the button, the test starts. To do this, through a solid-state relay to the battery, a 4Ohm resistor is connected, which will play the role of a load. The voltage is read by the controller every half second. Using Ohm's law, you can find out the current delivered to the load. I = U / R, U-read by the analog input of the controller, R = 4 Ohms. Since measurements are taken every half second, 7200 measurements are obtained in each hour. The author simply multiplies 1/7200 hours by the current value, and adds up the resulting numbers until the battery is discharged below 3V. At this moment, the relay switches and the measurement result is displayed in mA \ h
LCD pinout
PIN Purpose
1 GND
2 + 5V
3 GND
4 Digital PIN 2
5 Digital PIN 3
6,7,8,9,10 No connected
11 Digital PIN 5
12 Digital PIN 6
13 Digital PIN 7
14 Digital PIN 8
15 + 5V
16 GND

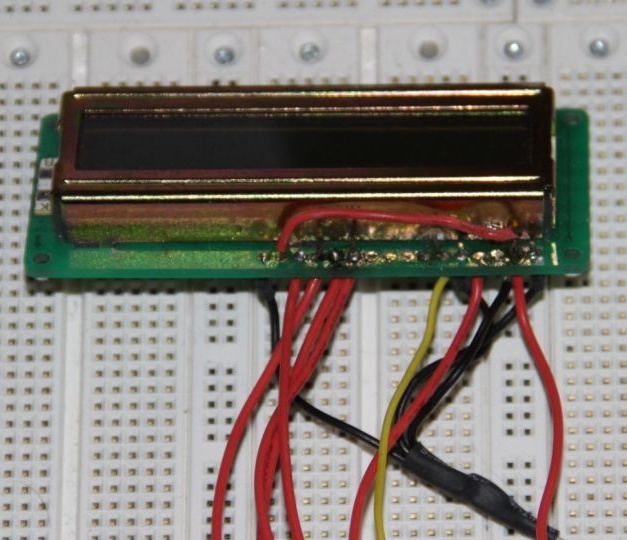
The author did not use a potentiometer to adjust the brightness of the display; instead, he connected pin 3 to ground. The battery holder is connected by a minus to the ground, and a plus to the analog input 0. Between the plus of the holder and the analog input, a 10 MΩ resistor is included, which performs the function of a pull-up. The solid state relay is turned on by minus to ground, and plus to digital output 1.One of the relay terminals is connected to the plus of the holder, a 4 ohm resistor is placed between the second terminal and ground, which acts as a load when the battery is discharged. Keep in mind that it will bask quite strongly. The button and switch are connected according to the diagram in the photo.
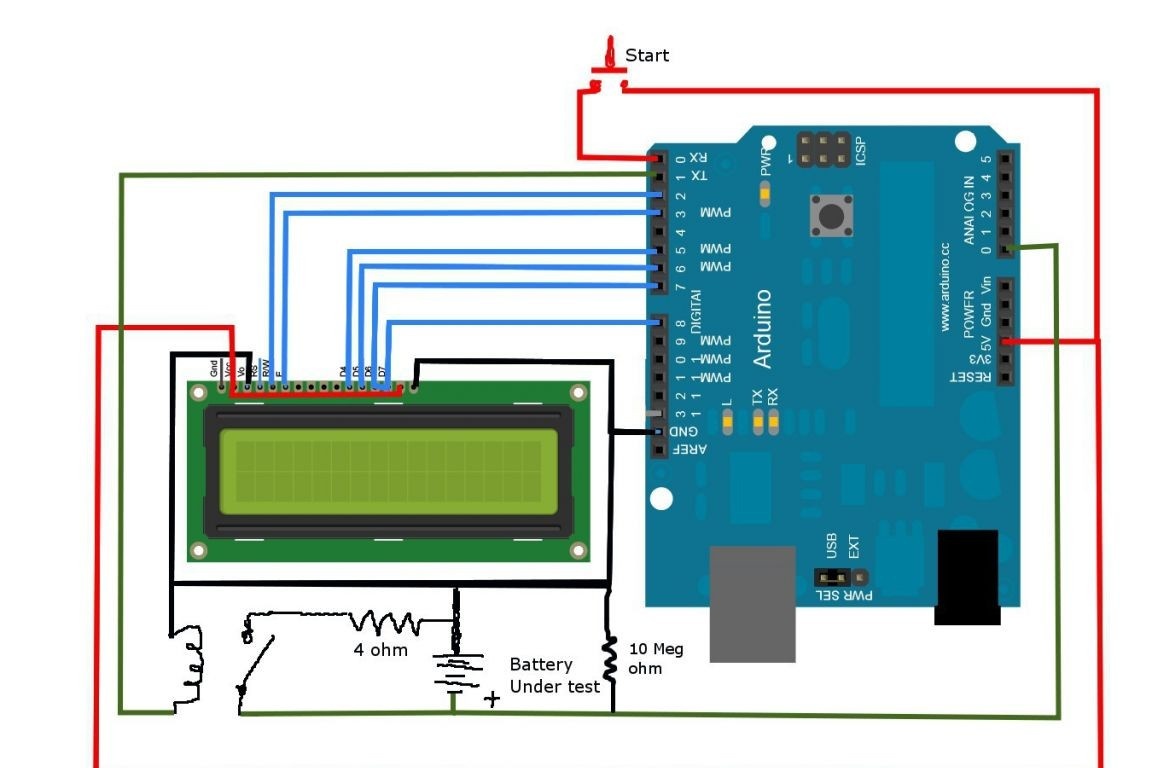
Since PIN 0 and PIN 1 are used in the circuit, you must disable them before downloading the program to the controller.
After you connect everything, fill in the firmware attached below, you can try to test the battery.
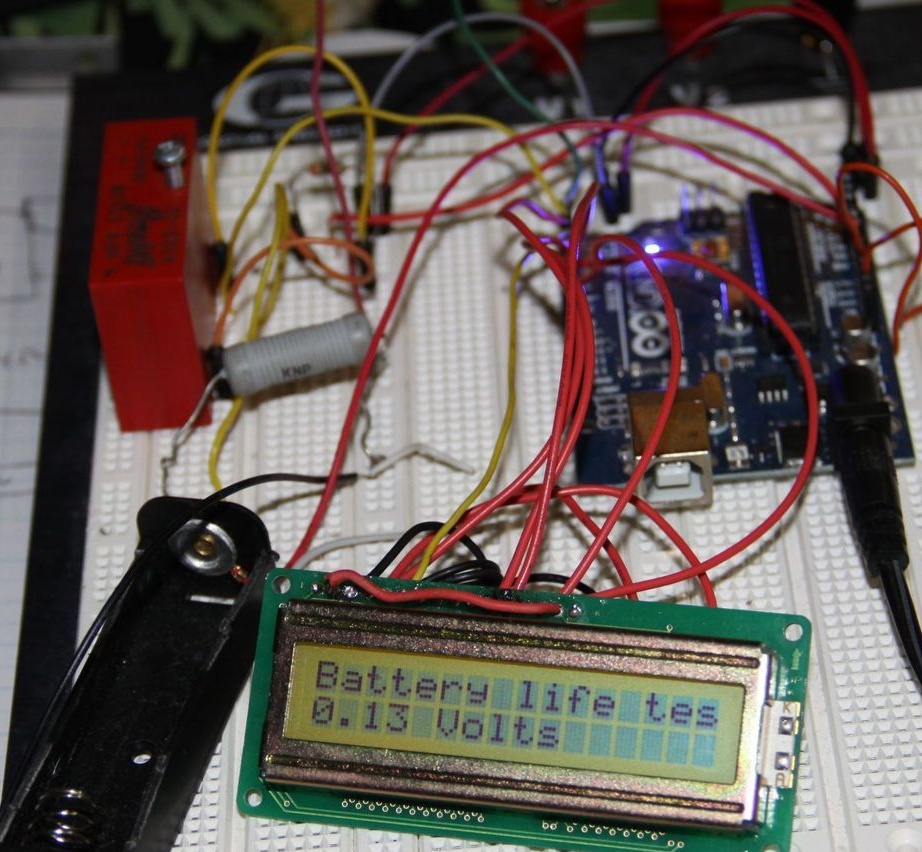
The photo shows the voltage value that the controller read.
The voltage on it must be higher than 3V
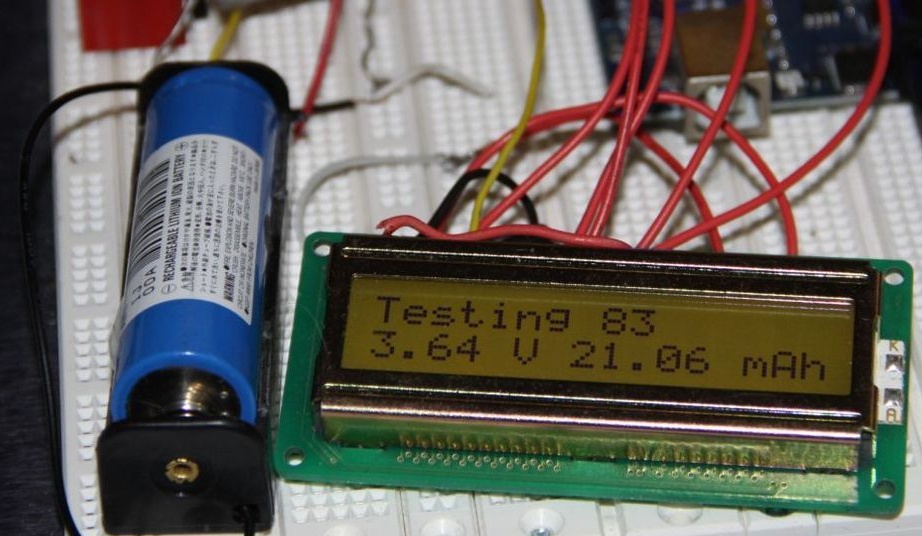
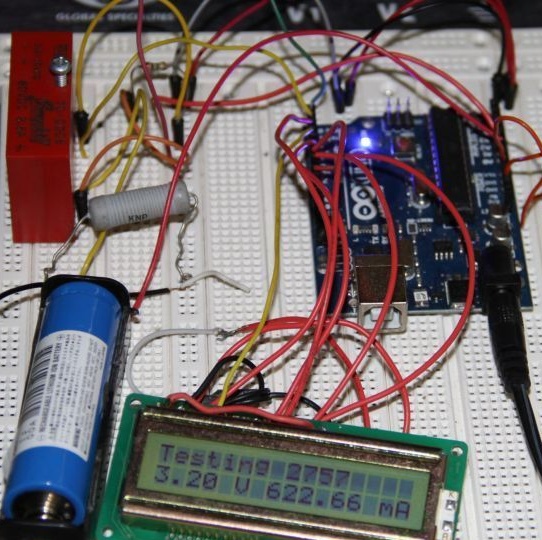
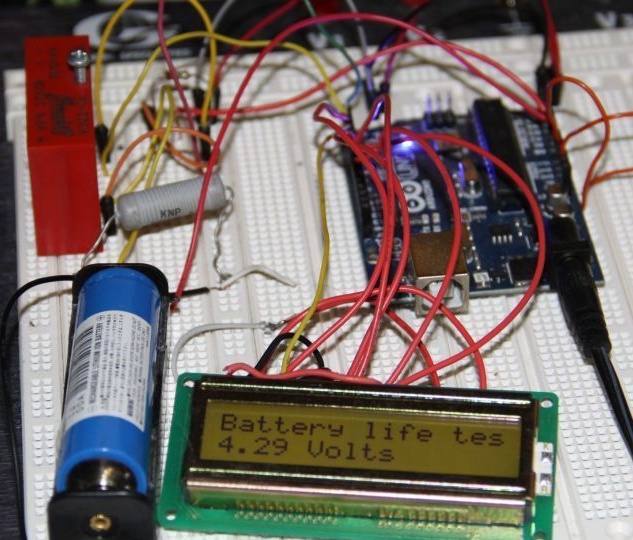
The next photo is the result of the measurement during the test. Above, the test time in seconds (83), the voltage on the battery during the test (3.64V) and how much current was given to the load during this time in milliamp hours (21.06 Mah).
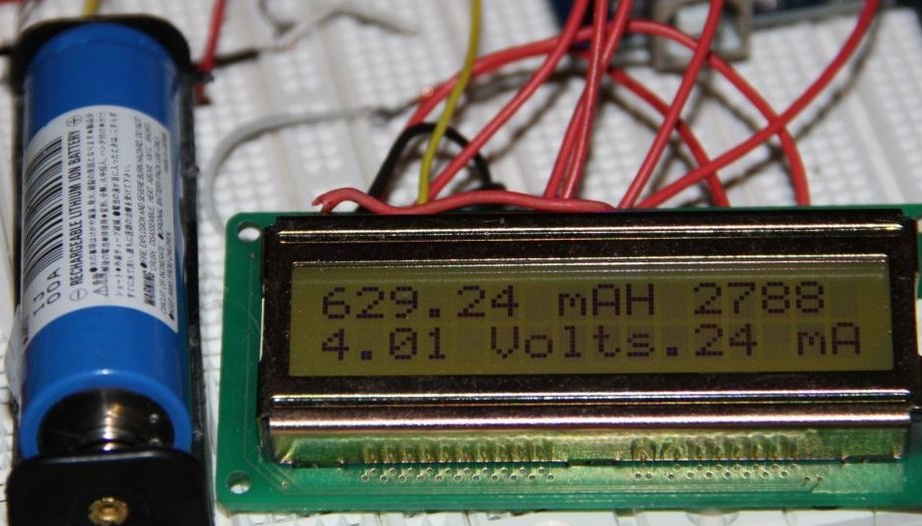
The photo below shows the readings after the test is completed. It is immediately clear that this battery, judging by the testimony, can be sent to junk.