This article will talk about how do it yourself You can install parking sensors on the VAZ 2114.
Materials and tools for manufacturing:
- A set of parking sensors;
- bumper;
- wires;
- soldering iron with solder;
- self-tapping screws;
- roulette;
- a drill with a mill on 22 mm;
- a screwdriver and other tools.
The process of installing parking sensors:
Step one. Bumper preparation
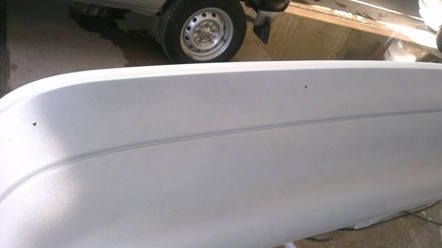
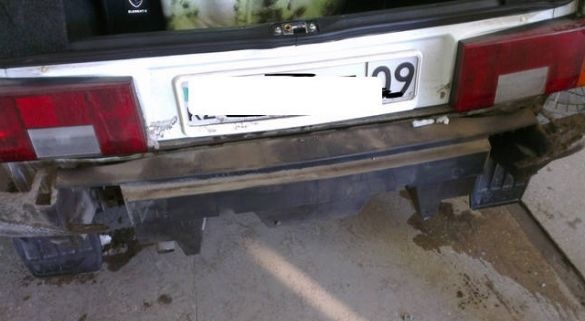
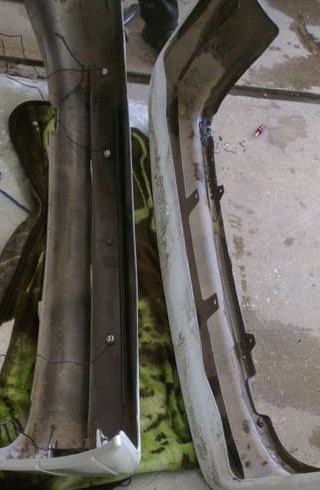
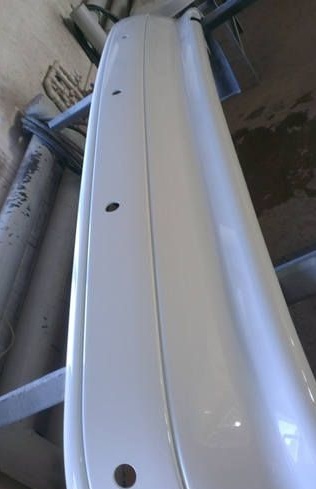
First of all, the author removes the bumper and gives it for painting. After the bumper has been sanded, primed and painted, the necessary sensors are installed in it.
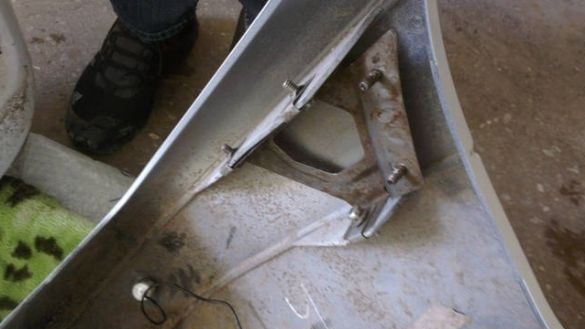
In addition to everything else, you must not forget to install all the fasteners on the painted bumper if they were removed before painting. To do this, tighten four screws and four bolts 10.
Step Two Bumper markings
At the second stage, the bumper must be marked. It is necessary to determine in advance exactly where the parking sensors will be installed. Two sensors are installed at the edges, and two more closer to the center. If the sensors are located just in the center, the system simply will not see the obstacle if it is on the edge of the bumper.
Now you can start drilling the bumper and installing sensors. In total, four holes are needed, the fifth was drilled for other purposes, the author plans to install a camera there.
After installing the sensors, the bumper can be installed on the car.
Step Three We conduct wiring
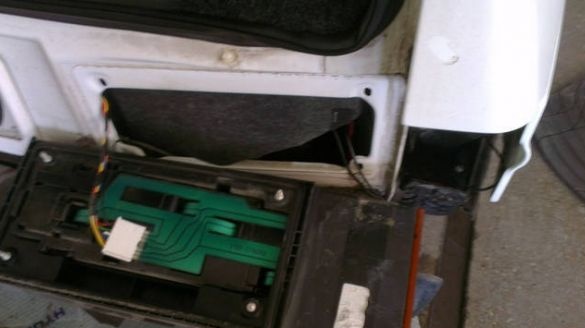
To conduct wiring into the cabin, you will need to unscrew the taillights. In this case, two wires will pass on the right side and two on the left. As you can see in the photo, the lights are attached with four bolts.
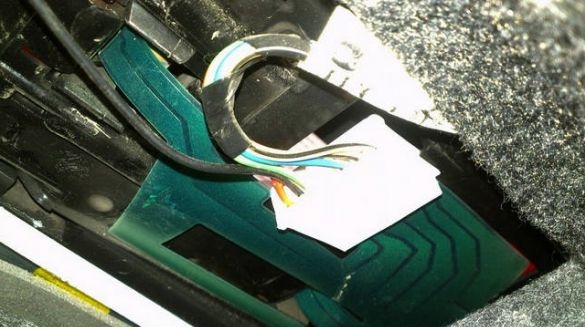
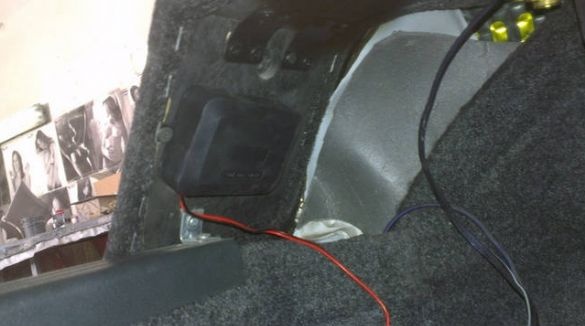
In order to fix the parking sensors, small self-tapping screws were used. The unit is attached to the speaker shelf. At the final stage, all wiring is hidden under the upholstery.
In order for the parking sensors to turn on only after turning on the reverse speed, plus you need to apply from the rear light. To do this, you need to ring the lantern block and find there a plus, which turns on exclusively when the reverse speed is turned on. The wire on the VAZ 2114 has a green color. As for the minus, it is taken from the mass, for this the wire can be fixed with a nut securing the flashlight.
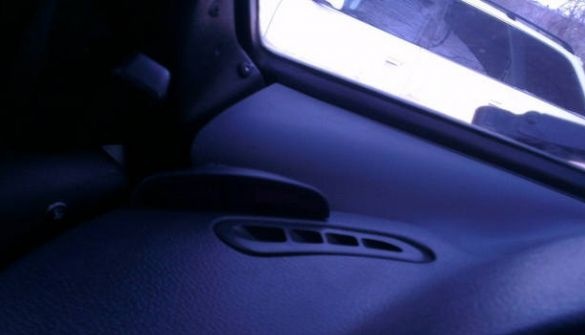
Next, the wires need to be pulled from the parking sensors to the monitor, which is located in the cabin. The author extended the wires under the carpet, while the thresholds were unscrewed. Where to fix the monitor can be seen in the photo.
That's all, after the system is assembled, you can start testing. According to the author, the system lacks a little reaction, so for those who like to drive fast backwards, the system will not allow you to determine the distance to the obstacle in time. If you park slowly, then everything works without any problems. When the target remains about 20-30 cm, the system begins to "squeak and blush". However, you can navigate both by the display and by sound signals. If necessary, the same sensors can be installed in front of the car.


