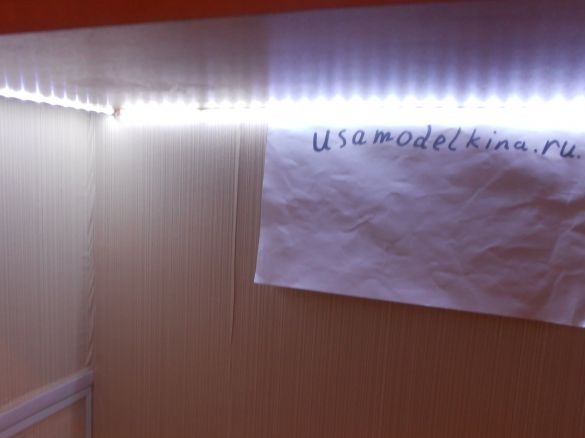
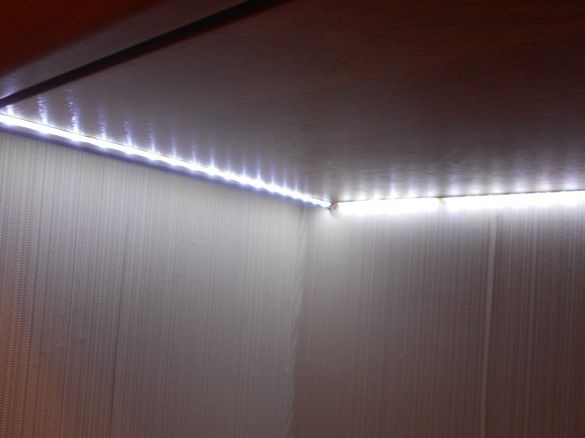
Today I will tell you how to make a very convenient backlight for the desktop. It is convenient in that it is convenient to turn it on and off in the dark.
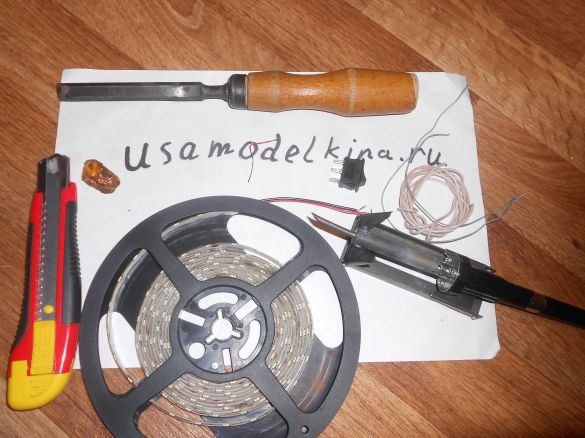
Instruments:
Knife
drill with a drill (depending on the wire)
soldering iron
chisel (depending on the switch)
Materials:
wires
switch
12 volt power supply
LED Strip Light
1. We need to take about 1.5 m of LED strip (dimensions depend on the size of your "shelf"). We cut it so that 2 parts are equal, and 3 is 2 times larger than one of the parts (I took 2 parts of 30 cm, and 3 of 70 cm).
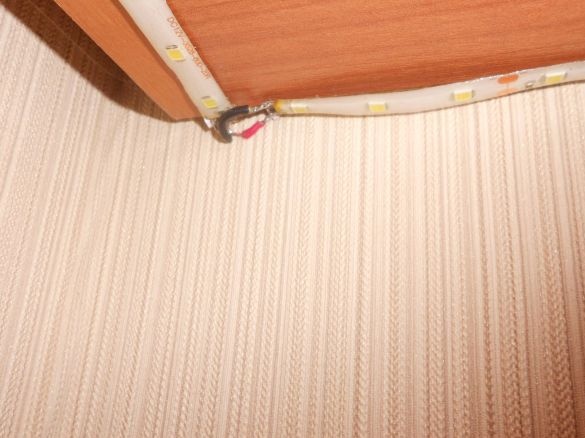
2. Take the wires (1 cm each) and solder with a soldering iron all the pieces that we have (3 pieces). Next, bend the pieces so that the inner corners form right angles.
3. Then we take the wires and solder them to one end of the "rectangle" (without one long "piece", as shown in the figure:
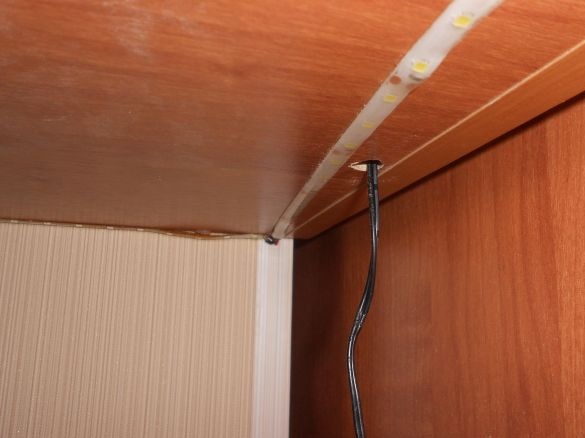
4. Next, we check the operability of the LED strip and glue it (if it works, well, if not, re-solder the LED strip (the main thing is that the contacts do not touch)), drill a hole in the "shelf" perpendicular to the bottom surface from the bottom (for conducting power wires).
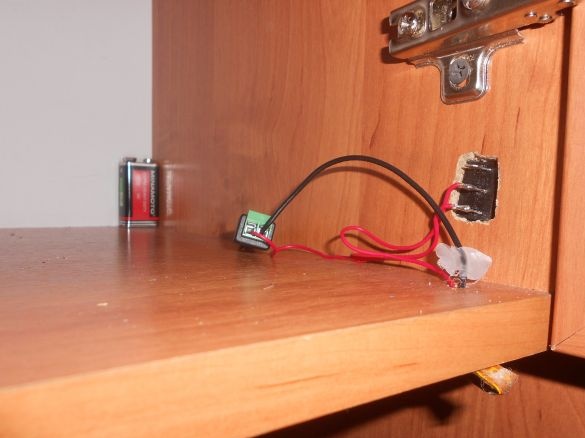
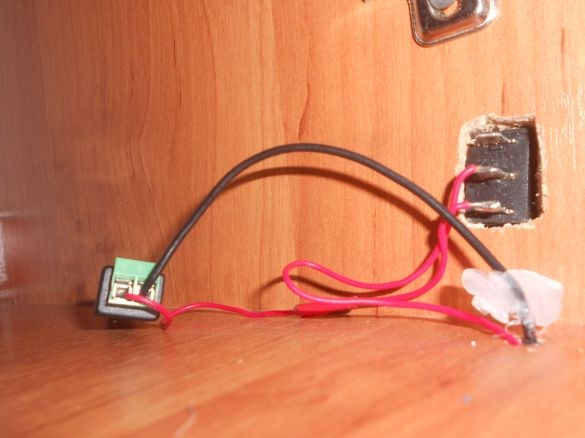
5. Then, on the side, mark the switch (then drill) and hollow out the hole along the contour of the chisel. After we have hollowed out a hole, we insert the switch and solder wires to the switch.
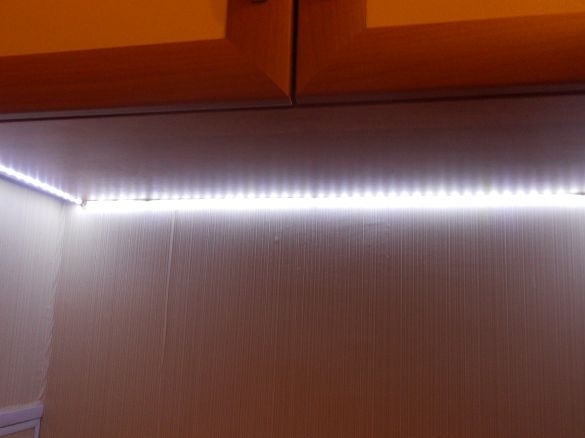
6. Next, we test. If the connections are correct, the LED strip will light up (but if it does not light, then check that the wires are connected correctly or try to redo everything according to the instructions above.) It works from 220 volts, but you can connect the crown to 9 volts (the illumination will dim, but the backlight will be independent from electricity).

