
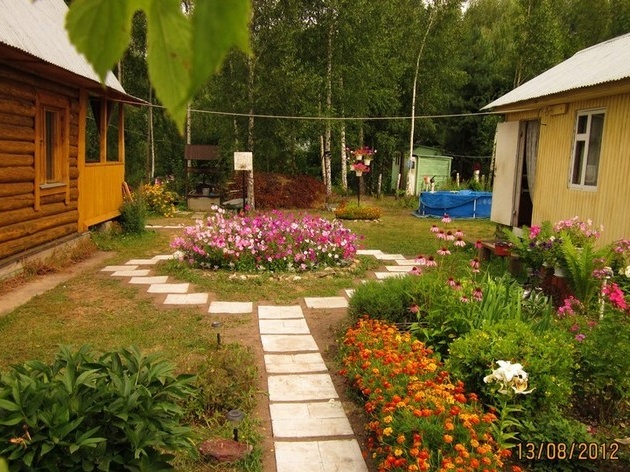
Each summer resident and amateur gardener, trying to ennoble his plot and make it more comfortable. One of the main factors of successful gardening is garden paths, because they have the function of preserving a clean and tidy appearance on the site, it’s ten times more pleasant to work in such a country house, and hence increased productivity.
Many of the summer residents fulfill these roads; they are made of various materials, mainly brick tiles that have become obsolete. They can also be made of wood or stone, in short, who is much more likely to do it, the most important thing is that it is free and performs its main function.
Nowadays, also in stores there is a huge variety of paving slabs and other similar material for arranging paths, but such beauty is not always affordable for a simple summer resident.
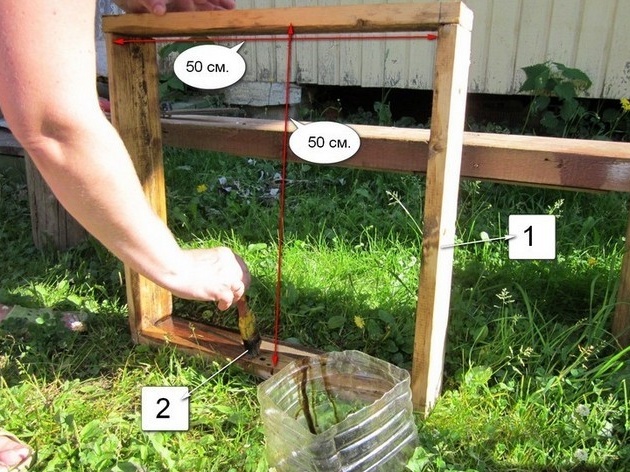
The author decided to save on the purchase of paving slabs and come up with his own way of paving the tracks without any special costs and with the maximum saving of the family budget. The author used the simplest principle. He made a square shape from the planks and greased it with waste oil so that later the solution would not stick to the matrix. He prepared the site where the track will be located in the future, laid the mold on the ground, laid the mortar and leveled it and raised the mold in a few minutes, and the tile remained in place, that’s the whole principle of making the tile do it yourself. And so now we will examine in detail how the author does it and what he needed for this.
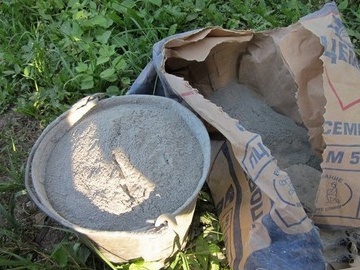
Materials: boards, cement mortar, waste oil.
Instruments: hacksaw, shovel, trowel, brush, hammer.
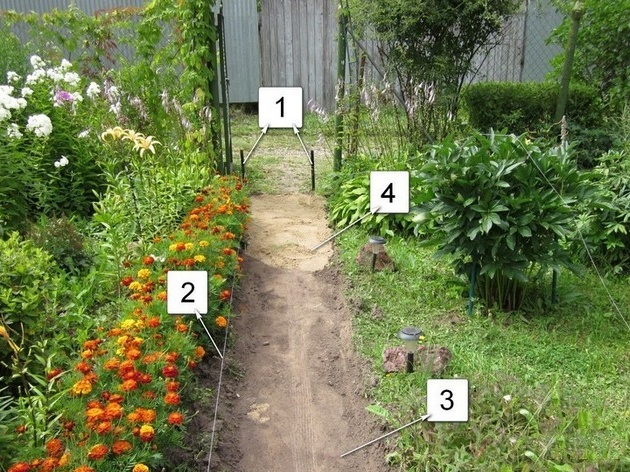
And so the first thing he did was prepare a place for the future path, removing the sod and leveling the surface.
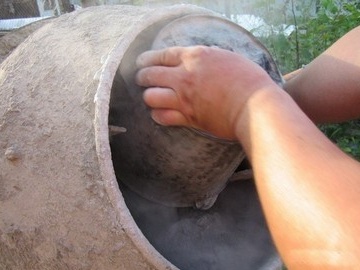
Then he prepared the mold, lubricating the inner edges with waste oil.
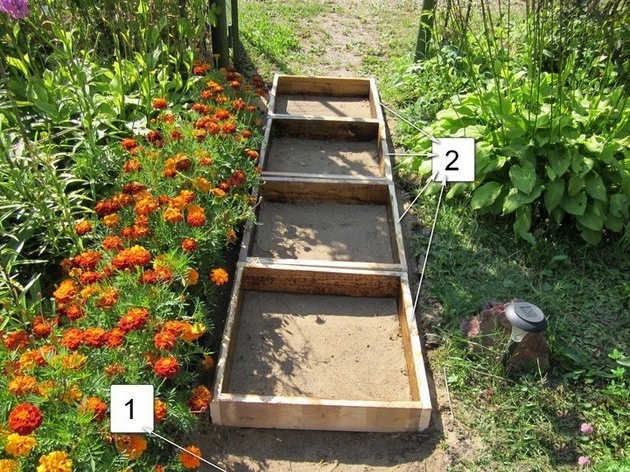
Next, I arranged the forms in order.
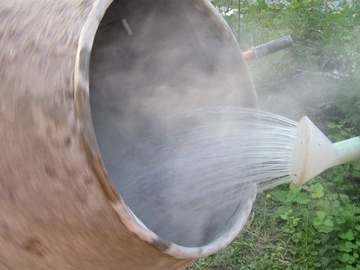
Prepared cement mortar in the calculation of one to three, that is, 1 part of cement and 3 parts of sand.
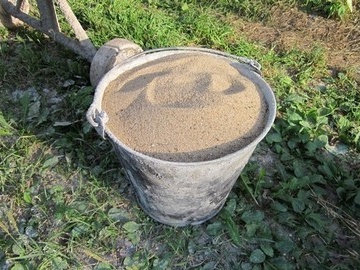
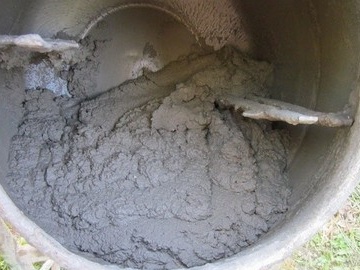
Then laid in shape. It took him a bucket of solution for one section.
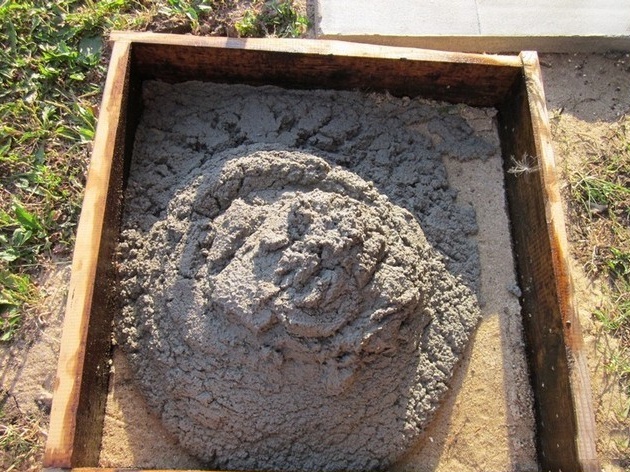
After pouring all the forms, I evened them with a trowel.
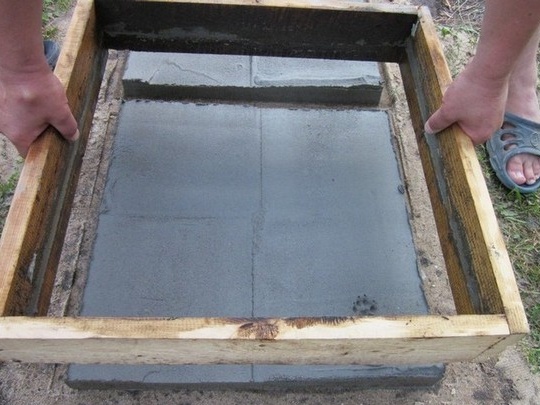
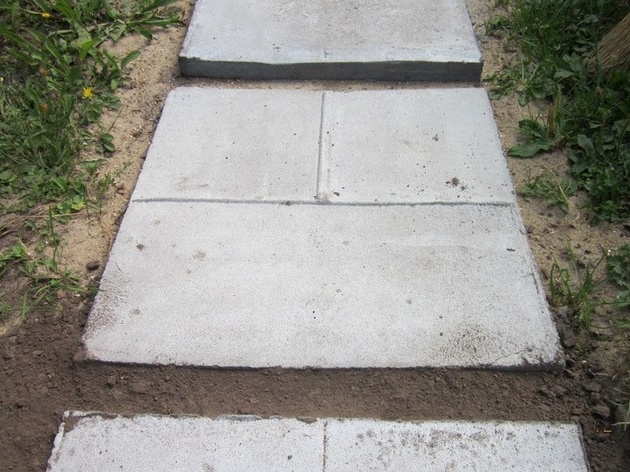
And then he lifts the mold, and the tile remains in place.
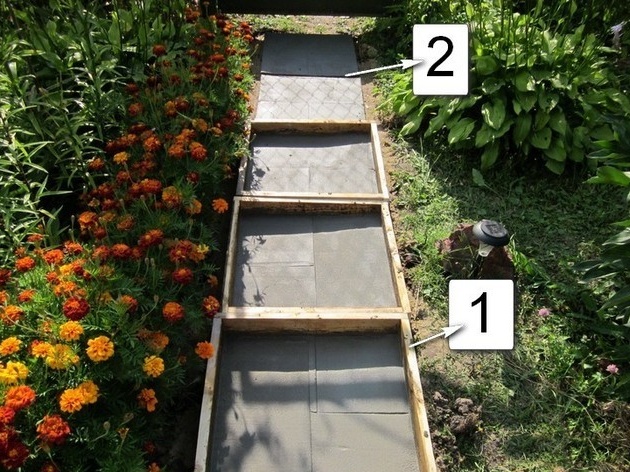
That's all, made his garden path at no particular cost and with maximum savings on the family budget.
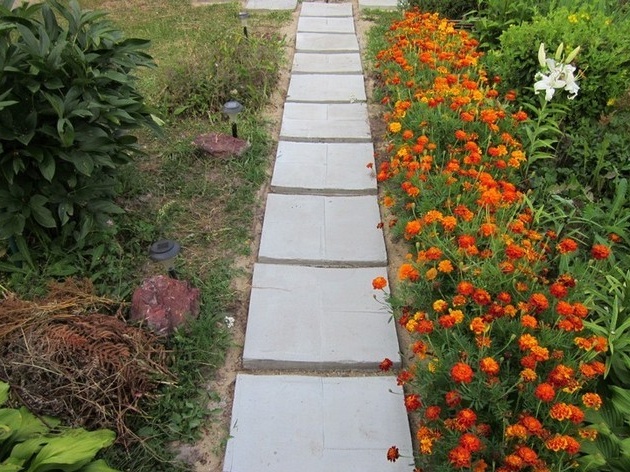
Now, at the summer cottage, the author will always be clean and tidy thanks to his simple idea.