The food for the composter is mowed grass, food debris, fallen leaves, in general, everything that can be decomposed and decayed, everything can be put in a compost pile. And you get a great fertilizer for the soil, without any chemicals and pesticides.
The structure of the composter in its essence does not conceal any difficulties in its construction, and subsequent operation.
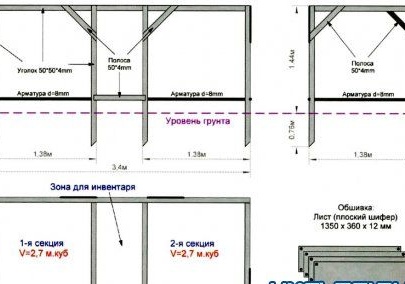
The basis of this structure is boxes, which are bunkers for loading working organic material. Basically, summer residents make the composter three sections, fresh material is loaded into the first section, then the finished material is thrown into the second, and the third box is already used to store the resulting vegetable fertilizer for the soil.
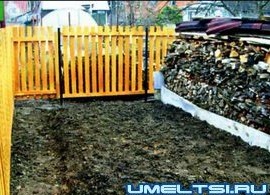
Each summer resident tries to build a composter on his site, but mostly these are structures made of wood and brick.
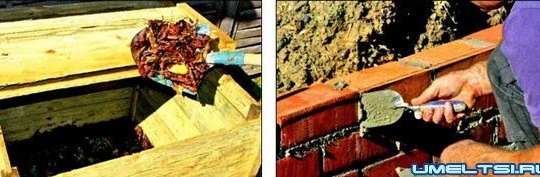
It will naturally last from a tree for a couple of years and rot with compost to the ground, or brick, also expensive construction, and the brick will damp and eventually become unusable. But of course, the summer resident wants this design to last as long as possible.
And so our author decided to make his composter not the same as he had built earlier from the boards that had served him for a couple of years, but a completely new modification, for dozens of years of operation, without repair or any inspection.
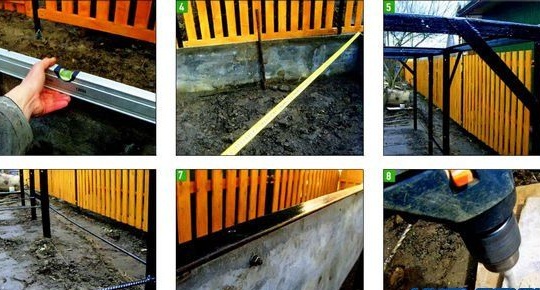
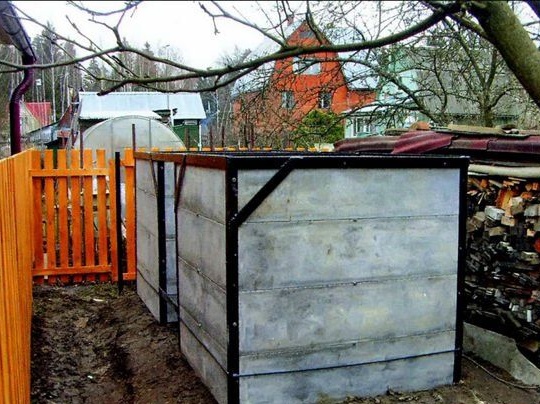
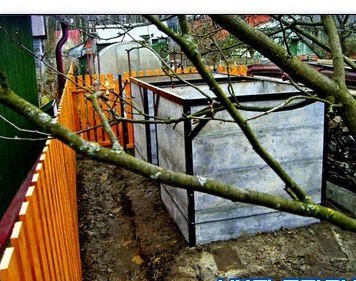
The author took the metal frame as the basis of his design, and sheathed it observing the compost heap construction technology, a very resistant material that is not afraid of water and dampness - this is flat slate. This design turned out to be solid reliable and durable, once built, and then provided with compost for his whole life for his garden.
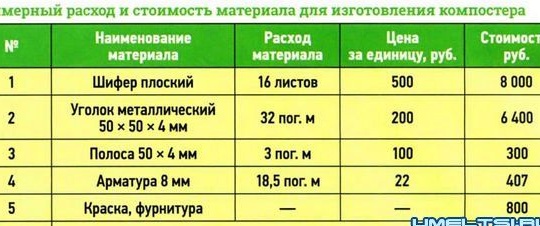
And so now we will analyze what the author needed to build his composter, and how he did it. The author here gives us a table with a list of the necessary materials that should be purchased at the store, and how much this event cost him.
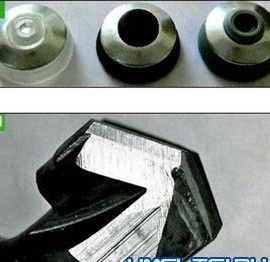
Tools: welding machine, grinder, drill, screwdriver, hammer shovel.
In the beginning, the author made a drawing of the future composter.