
Hello, dear visitors of the site. I present to your attention another country idea is a polycarbonate shower.
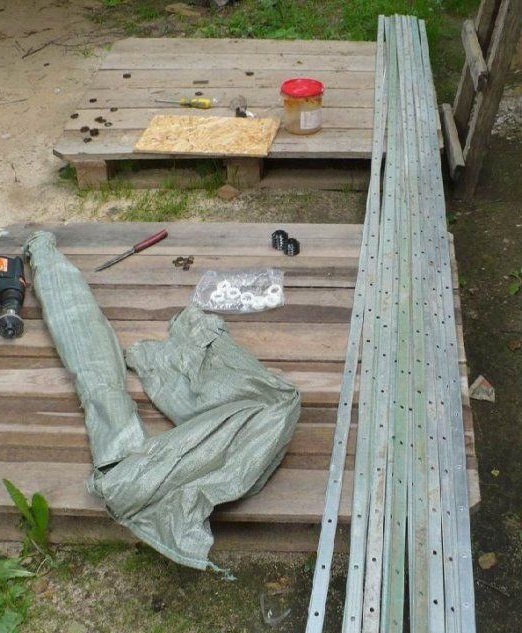
Instruments:
hammer, screwdriver, drill, level, screws, shovel, saw.
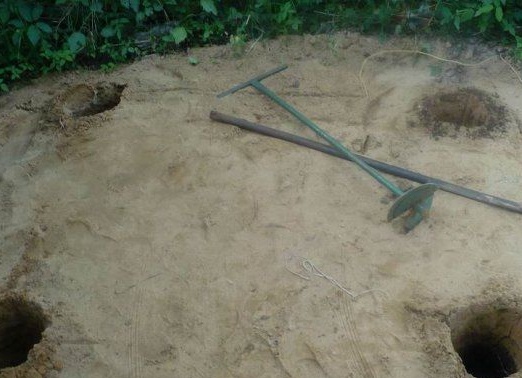
Stage 1.
As shown by the author of this article, for starters, he prepared a site for construction. Then he drilled 4 holes under the formwork with a drill. a pillow of sand and fine gravel is poured at the bottom of each hole.
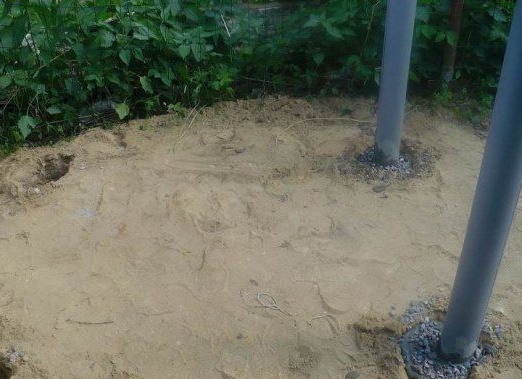
Stage 2.
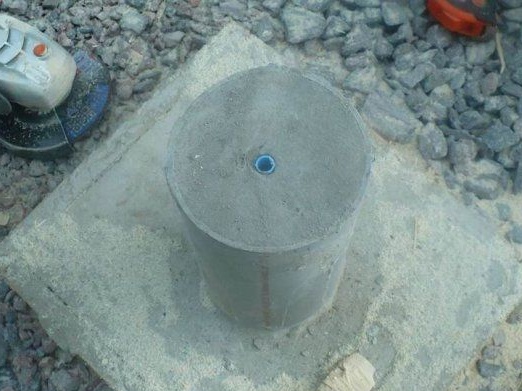
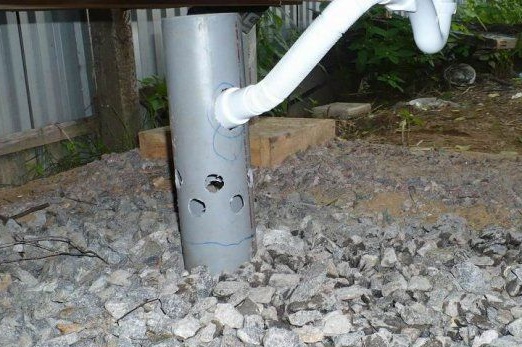
Pipes are inserted into these pits, which are filled with a mixture of concrete and gravel for strength.
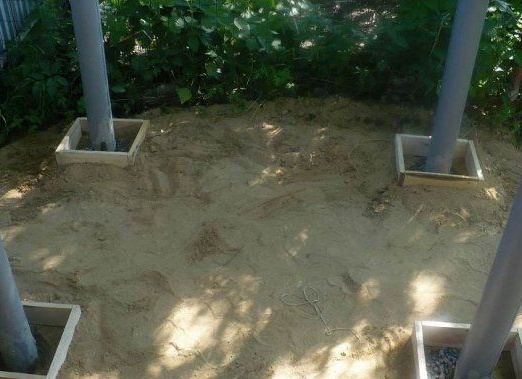
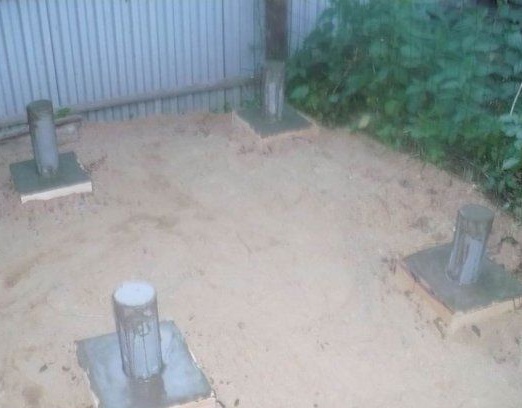
Around the pipes we install a wooden formwork and cut it to the height you need.
Stage 3.
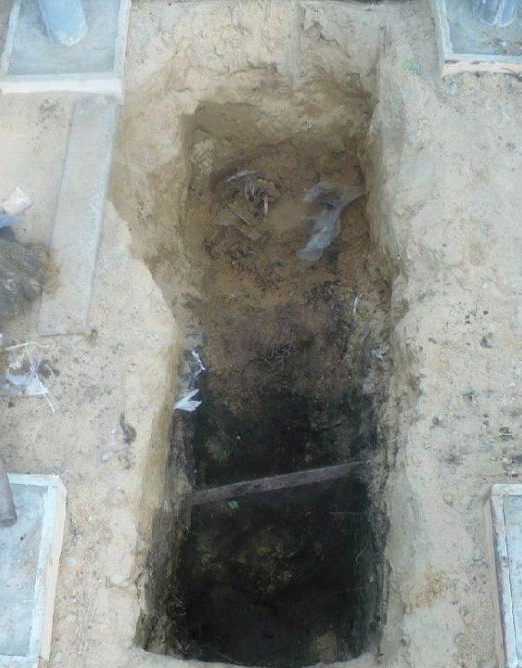
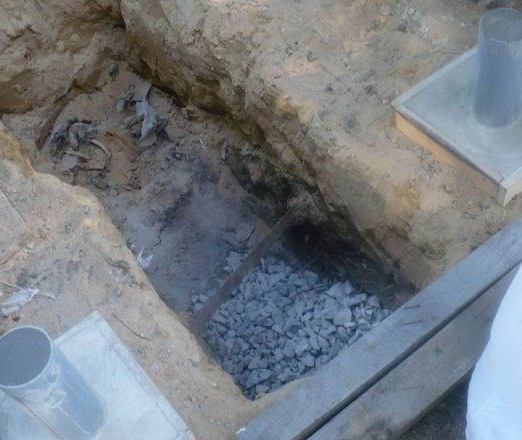
Now, the author digs a drainage pit under the drain and covers it with gravel so that the edges do not crumble and the water quickly goes into the ground.
Stage 4.
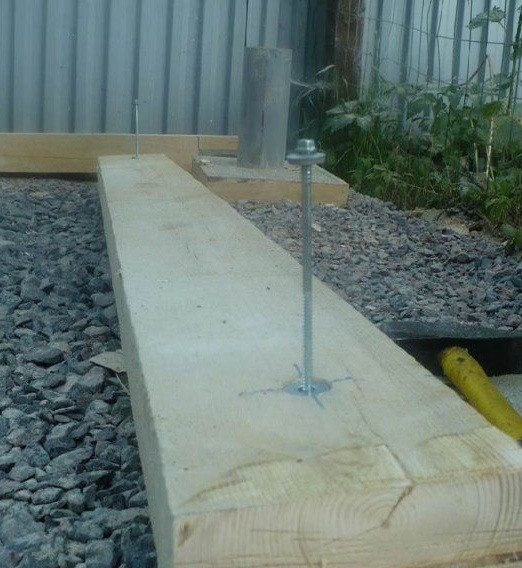
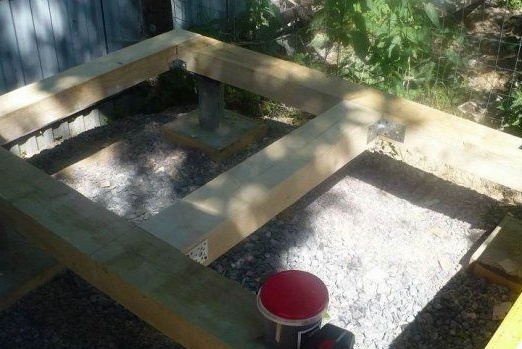
Now the frame is made for the shower. The author used bars with a section of 100x150 mm. The first tier is the floor frame. A piece of rubber or other material for waterproofing is placed under each beam.

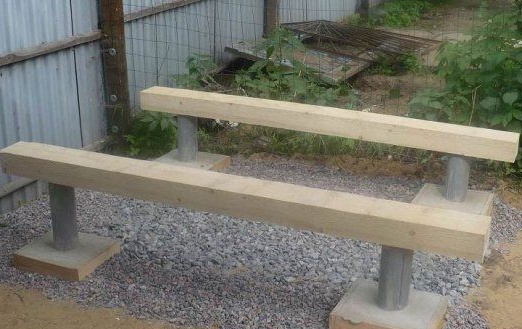
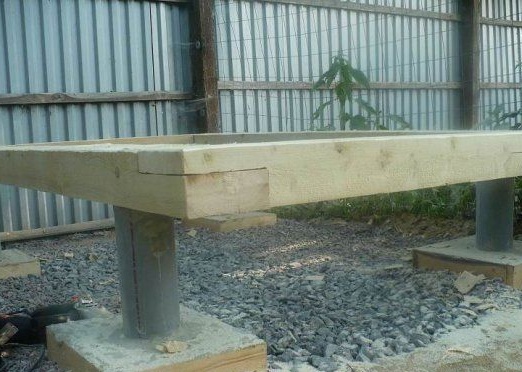
The frame itself to the racks is attached using long screws with washers and dowels.
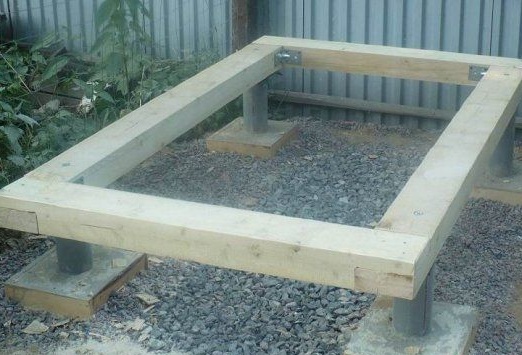
For greater strength, the corners of the frame are fastened with corners and are mounted on self-tapping screws.
Stage 5.
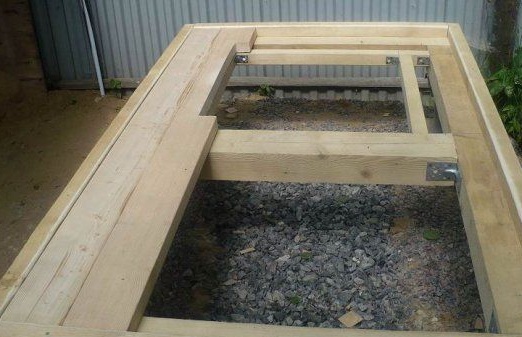
Now you need to assemble the frame for the pallet. To do this, install the transverse crossbar and also fastens them with corners.
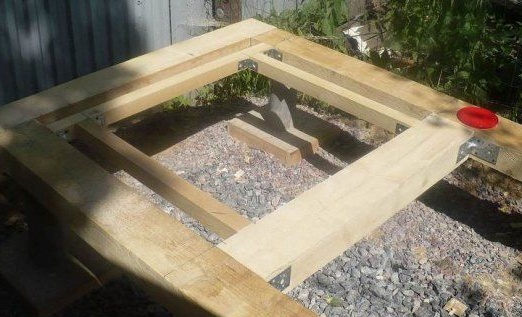
A beam measuring 50x50 mm is laid along the edge of the frame.
Stage 6.
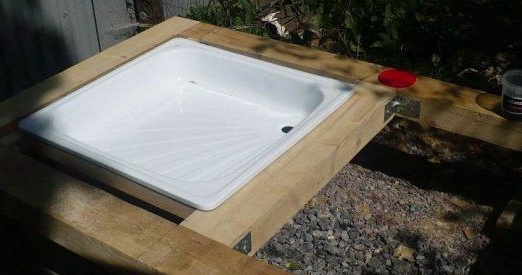
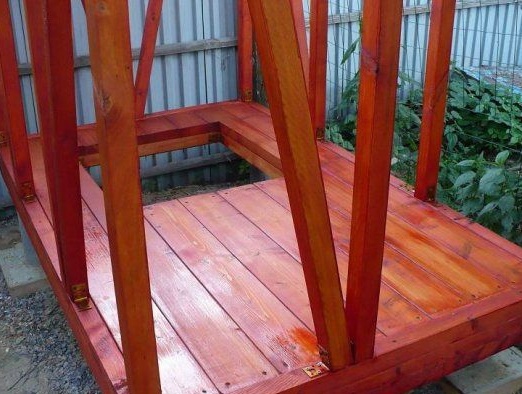
We cover the whole frame with boards, this is the floor, leaving a slot for the pallet.
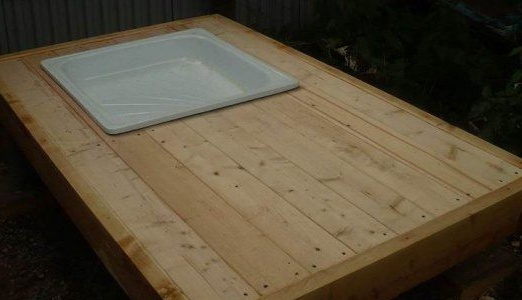
Stage 6.
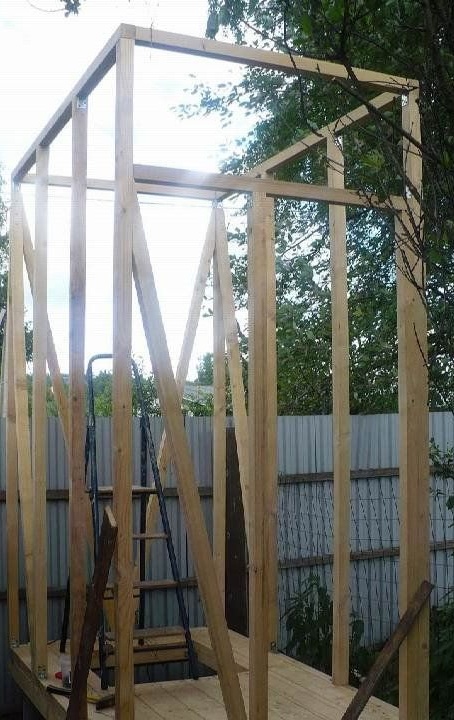
We assemble the frame of the walls. Frame height = 2.5 m. You do as you wish.
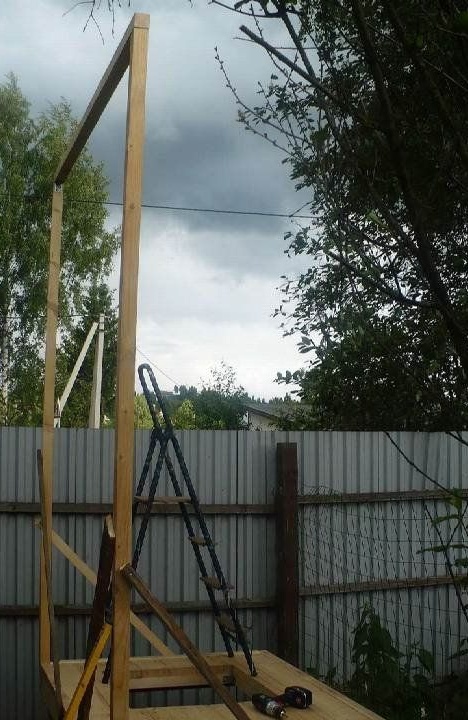
For structural strength, cross bars are installed. A bar is also installed under the door.
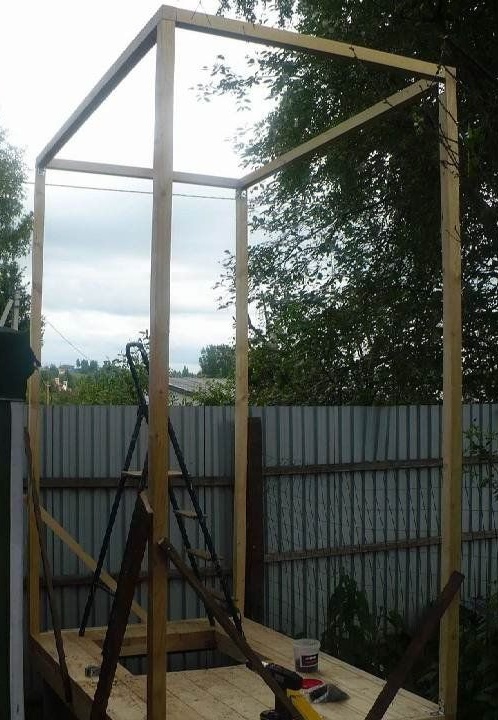
Stage 7.
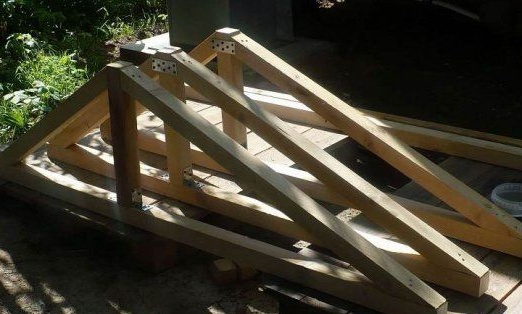
Now we make blanks for a gable roof. Mounts are also made with corners and metal strips.

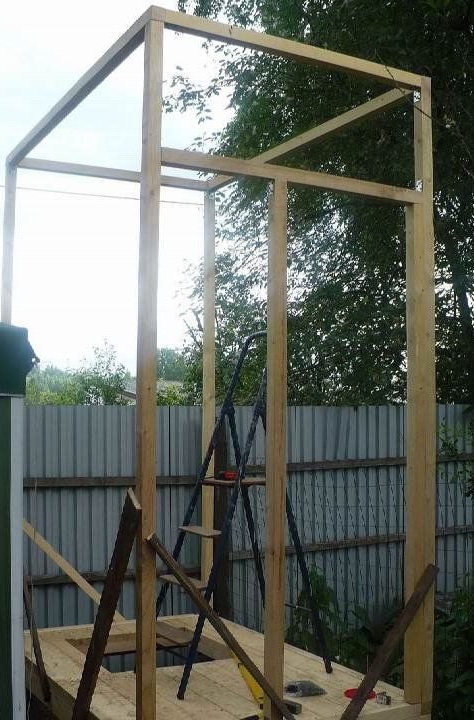
Stage 8.
We install them on the roof of the future soul.
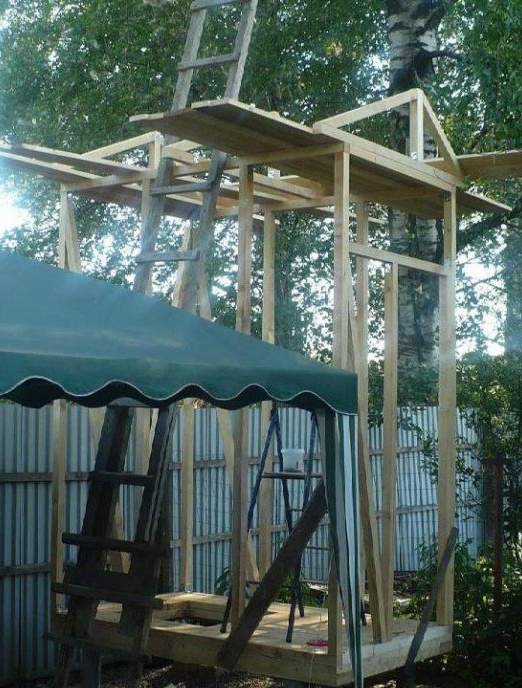
Transverse battens are made under the roof deck.
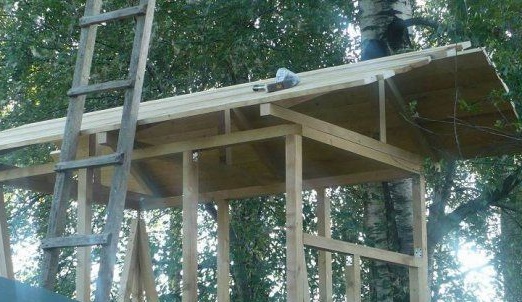
The roof is covered with anything - slate, tile, etc.
Step 9. Paint over the entire frame with varnish or stain.
Stage 10.
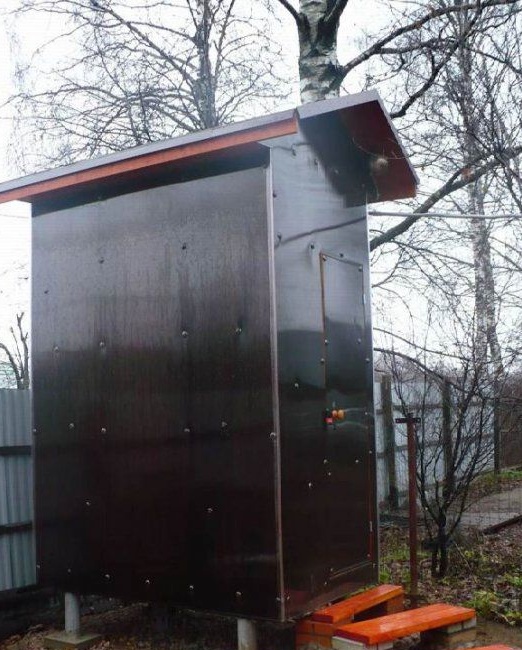
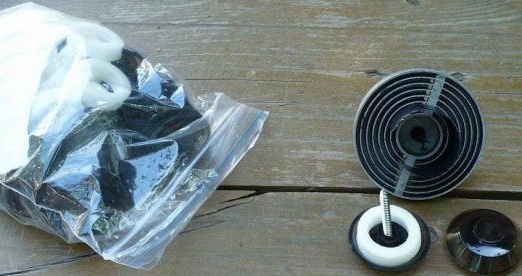
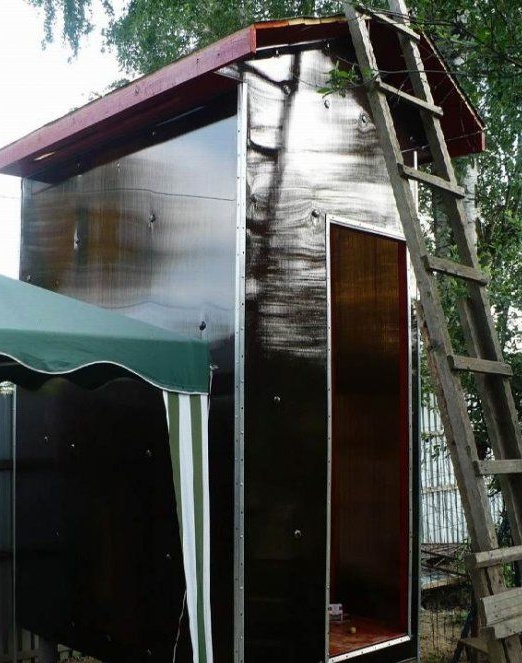
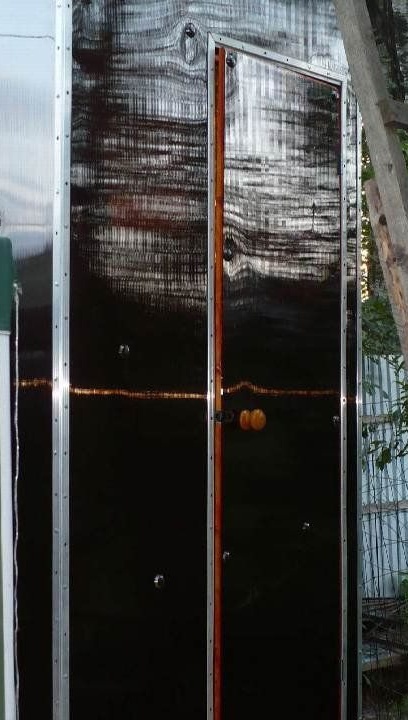
His next action was the fastening of polycarbonate to the shower frame with special thermowells for polycarbonate. Here's what comes of it:
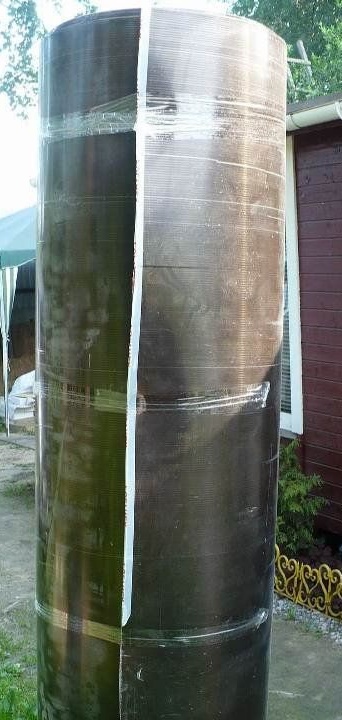
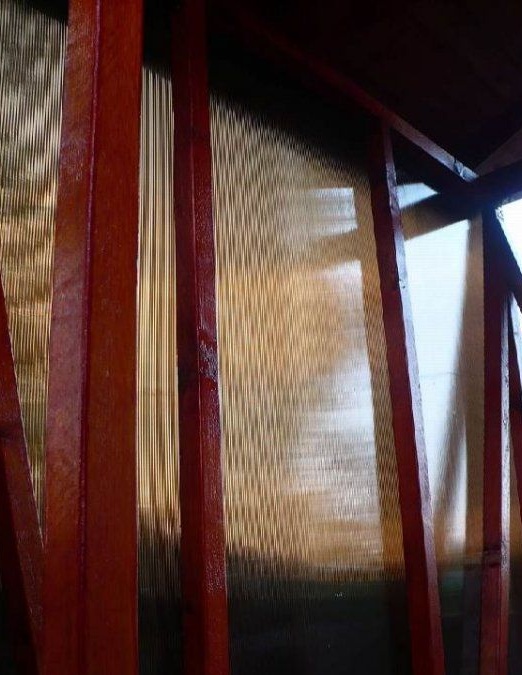
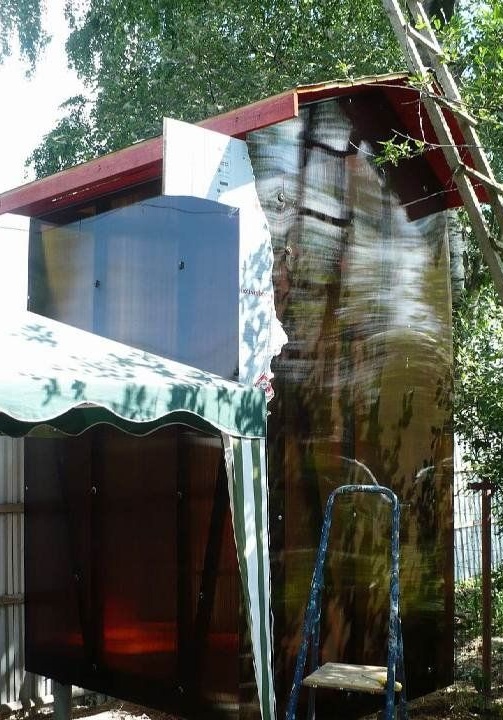
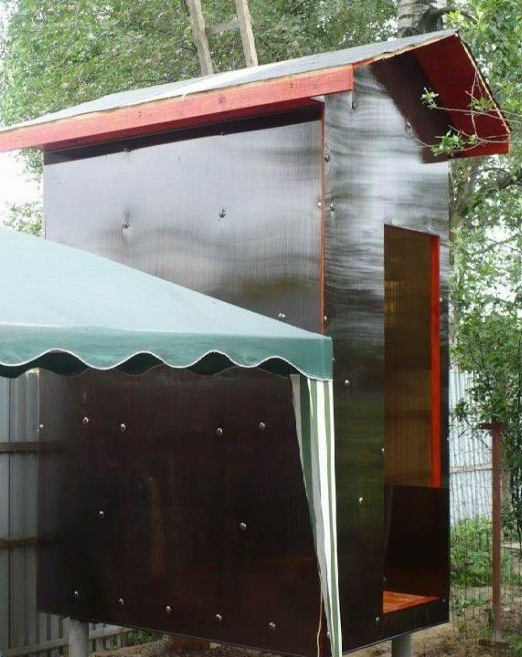
As you can see in the photo, the corners of the shower, covered with polycarbonate look rather untidy.Therefore, he decided to fix all the corners with the help of clamping bars.
Stage 11.
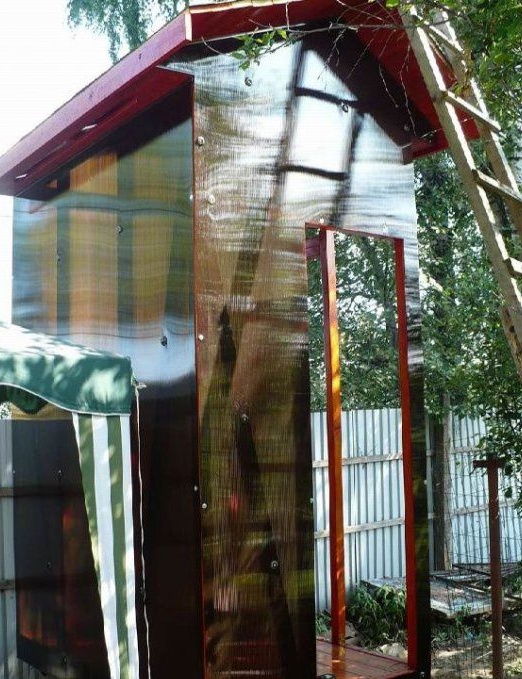
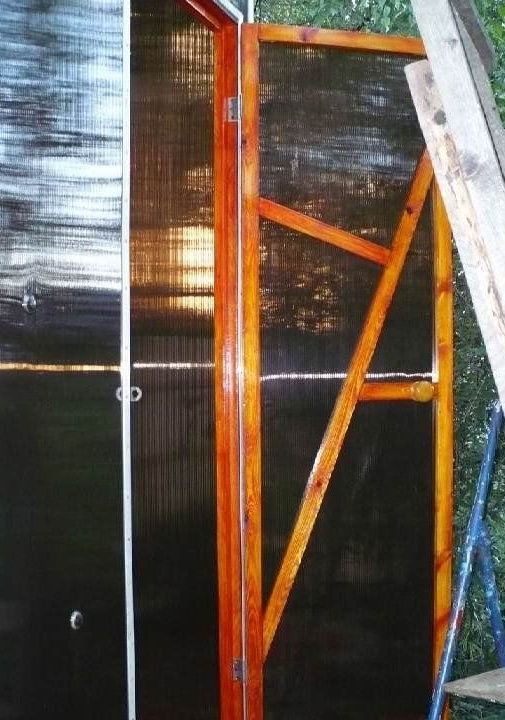
Now collect the door. We make the frame and strengthen it with cross bars for strength. The entire structure is also varnished or stained.
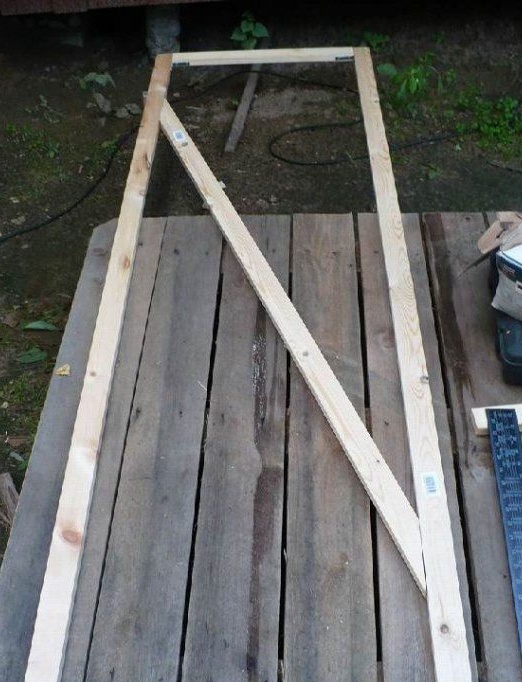
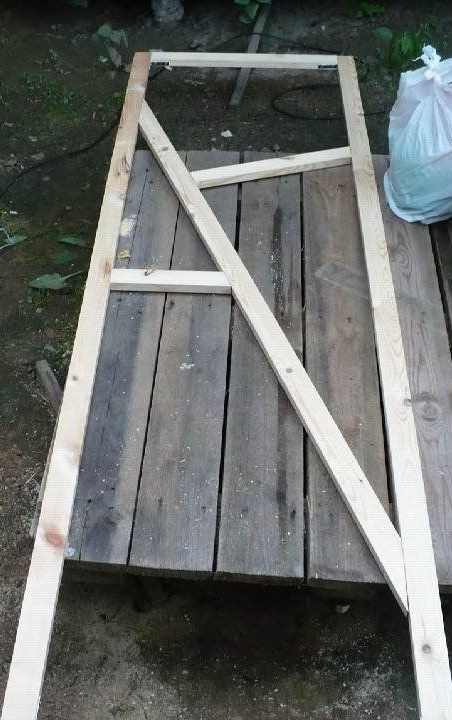
Sheathed with polycarbonate and hung on loops.
Stage 12.
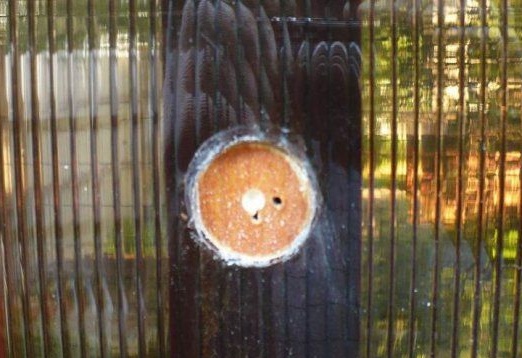
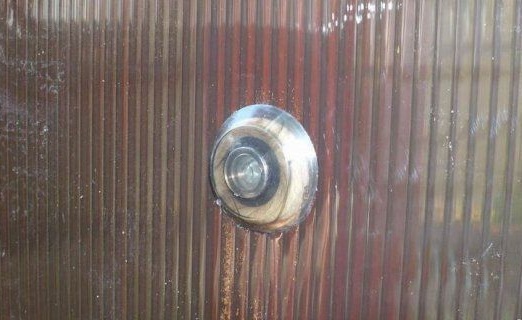
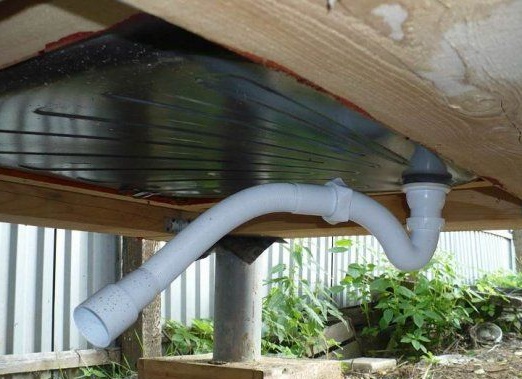
Now a device for draining water. The author attaches pipes to the bottom of the pallet. The second pipe is recessed into the drain hole. Both pipes are interconnected. The drain is ready!
Stage 13. The last action was the manufacture of steps to the soul. And all-great country shower is ready! Fairly easy to manufacture design that will serve you more than one summer season.