With the onset of spring, everyone is preparing for the beginning of the summer season. Planting of seedlings begins, then digging up the garden and more, but of course the most important thing in the opening of the season is the preparation of barbecue and barbecue. As you start the year, you will spend it. Everything among us people dances from the stove, and in the summer cottage, the main thing is to have a hearth, comfort, so to speak. And it’s doubly pleasant to work when you know that by the end of a hard day you will have food cooked in an open fire, in the fresh air, with smoke .
Many summer residents make barbecues, and barbecue stoves are mostly on their own, from improvised materials, there is no limit to the imagination of summer residents. Someone makes of iron, others of brick. So our author decided to make a grill do it yourself, at its summer cottage. Of course, I was charged with ideas from the Internet, from the forum of masters, where I saw one very simple, and not expensive grill design, which can also be assembled in a short time, from the material that every summer resident has on the farm.
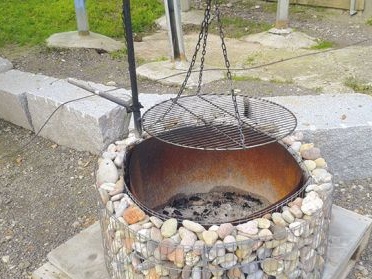
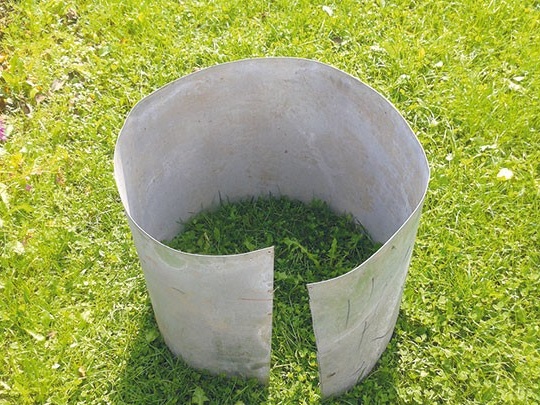
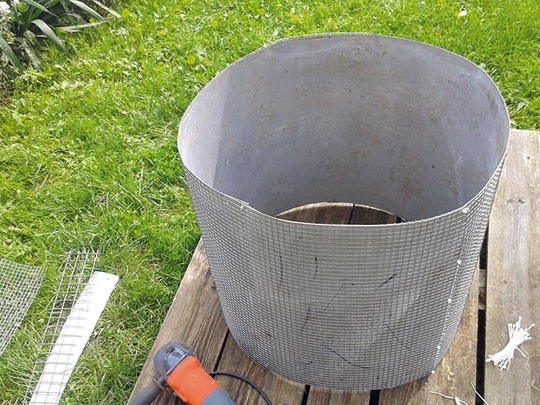
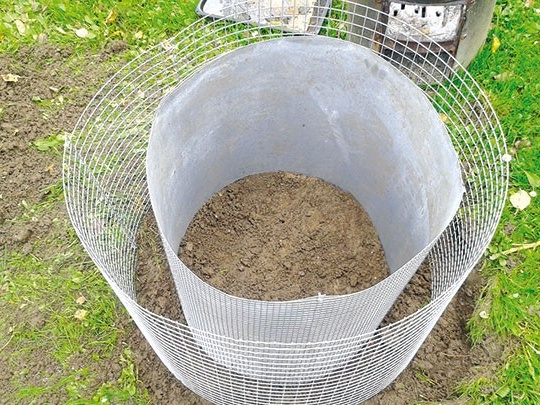
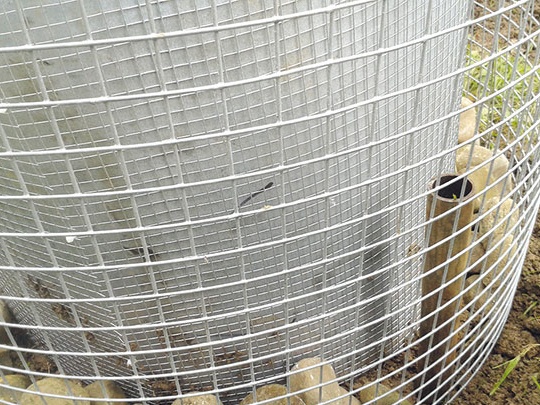
And so what is this grill, and what is its essence. There is nothing complicated, here the author takes a sheet of roofing iron, cuts it to a given size, bends it into a cylinder, tightens the screws in place of the metal overlap. Then it sets in the place where they took the area under it, laid out the battle of red brick at the bottom of the cylinder. Then he made another cylinder from a metal mesh, but of a larger diameter, and installed it, putting it on top of the first metal circle. The distance between the cylinders was filled with pebbles, he also recommends that if there are no such pebbles, you can fill it up, for example, with a fight of red brick or ceramic tile.
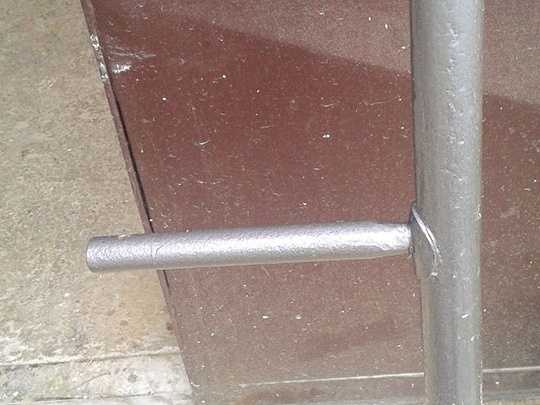
He made a round lattice of wire the working surface of the grill itself. But not simple, but suspended from a metal pole in the shape of the letter G, which has a rotary mechanism. The principle of the rotary mechanism is simple, a tube of a larger diameter is driven into the ground near the grill, and the pole itself is simply inserted from above into it and a limiter is welded so that the pole does not gradually go into the ground from the turns. For the convenience of turns, I welded the lever to the pole.
That's essentially the whole design, now let's take a closer look at what the author needed and how he made the grill on his site.
Materials: a sheet of roofing iron (not galvanized), a sheet of metal mesh, a fight of red brick, pebbles, a metal pipe with a diameter of 16 mm, a piece of pipe 20 mm, fittings, wire.
Instruments: metal scissors, welding machine, grinder, hammer, pliers.
And so the first author cuts out and bends the cylinders in size and inserts so that the gap remains.
Then he hammered in a pipe and prepared a pole.
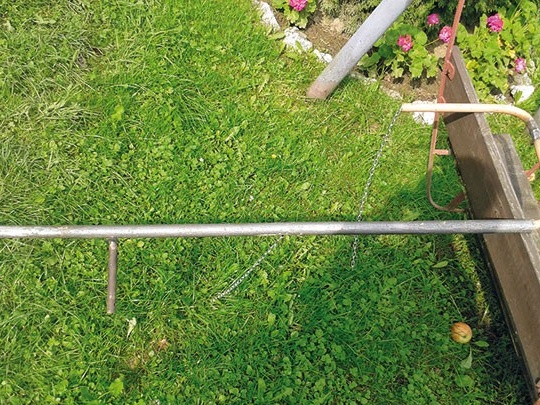
Pre-drilled a hole for the chain, and welded the swing arm.
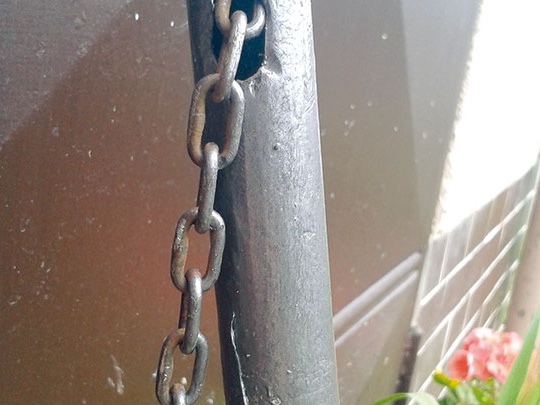
Then he covered the gap between the cylinders with pebbles and hung a grid on the chain to prepare all sorts of goodies on it.
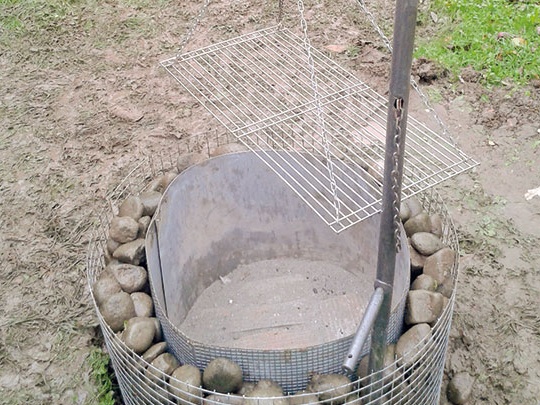
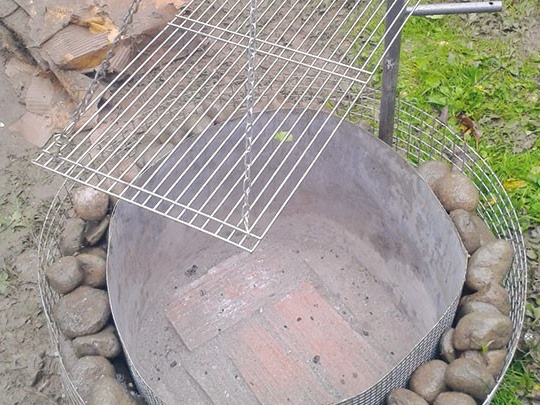
So the grill is ready, and the author is very pleased, now on his site you can always cook a lot of goodies, in the fresh air with smoke.
