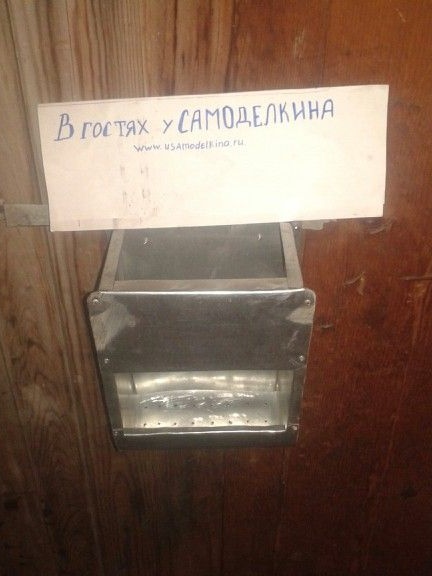
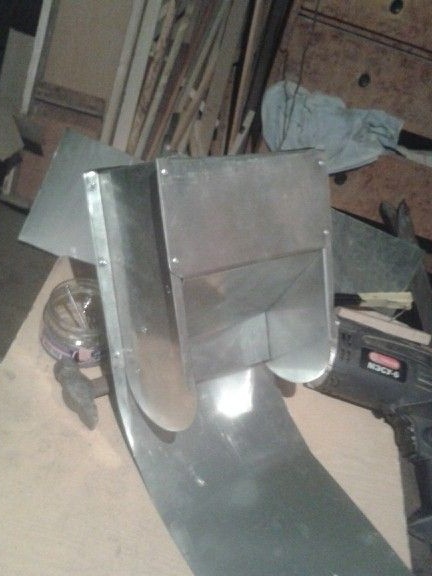
Hello, dear guests of the site and registered users! In this workshop I want to bring to your attention the third version of the bunker feeder for rabbits, with the so-called grooved tray. The advantage of this feeder is that with a sufficiently lowered dispenser, crops, a variety of granules will not nevertheless fall into the feed compartment in sufficient quantities. This is due to the fact that with a rounded bottom (aft compartment), the feed will still roll down without encountering corners on its way.
Unlike a conventional feeder, also a bunker, but square or rectangular, the feed dispenser needs to be raised just below the anti-rake bar so that the grain mixture, meeting a ninety degrees angle in its path, could still freely fill the eating compartment. This is not very good, since the grain or other food in the feeder is already raised high enough and there is a possibility that when eaten, animals will still throw it out of the feeder. All these disadvantages are eliminated by a feeder with a grooved structure of the aft compartment.
The only minus is that it is difficult enough to cut a circular part on the metal. Although, this may be the case with scissors.
So, we proceed to the preparation of the details of the feeder.
For work, we need:
A hammer, a piece of a corner (this is to bend the edges as evenly as possible), a screwdriver, metal scissors, a riveter and of course a sheet of galvanized steel.
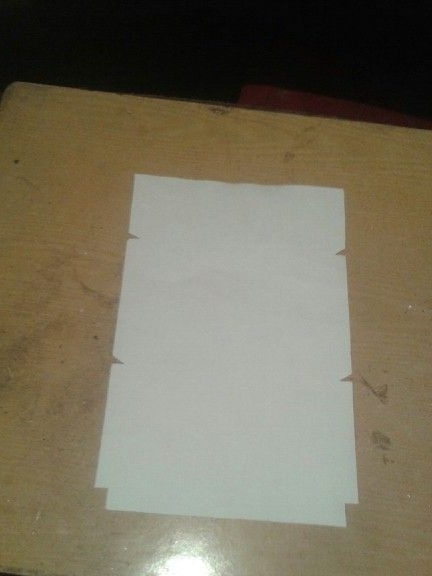
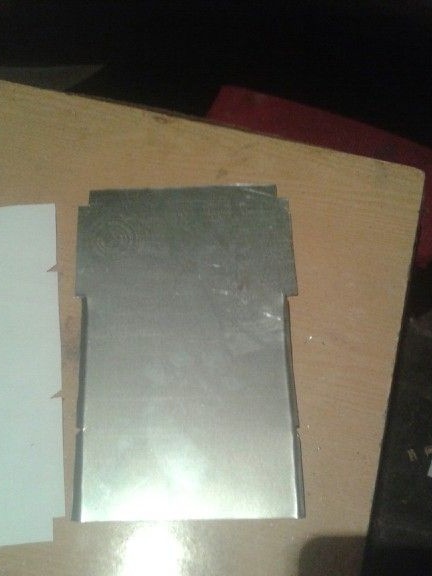
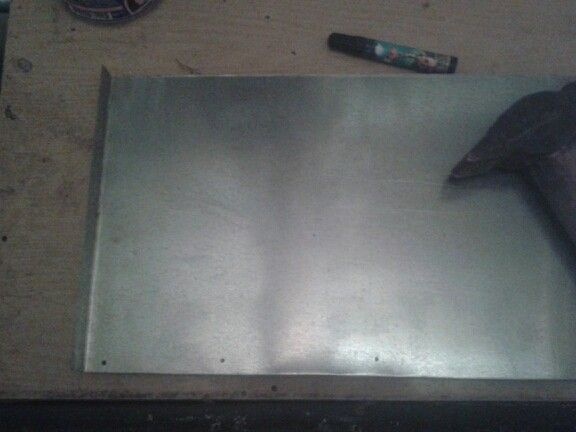
I cut out the walls according to the pattern:

I slightly changed the upper part, made angles for cutting at 90 degrees. Used just like that-printed and cut out. This image is suitable for a 1.5 liter feeder. Therefore, just download and the pattern is.

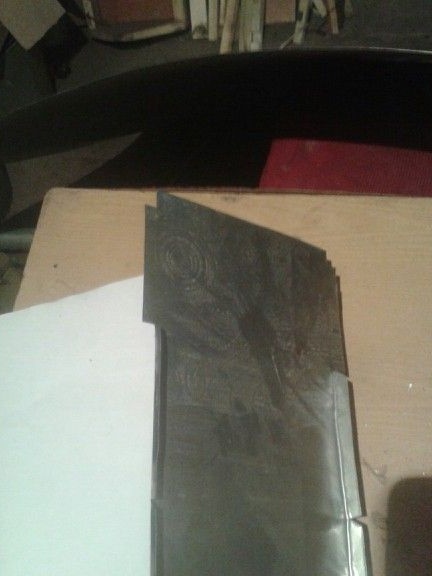
There are two such details. After being cut out, we begin to bend the edges.
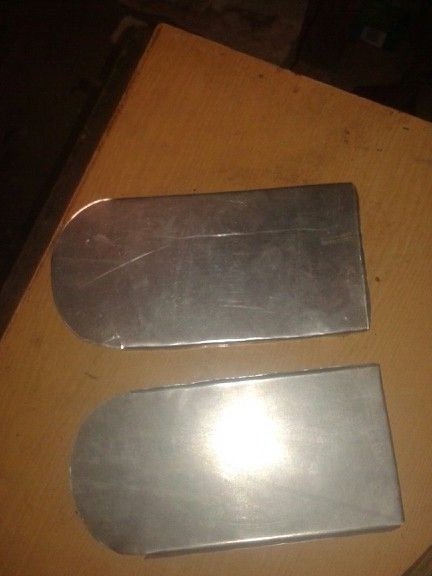
Side bend in one direction, they will be outside the feeder, and the upper part in the other direction. This part will be inside.
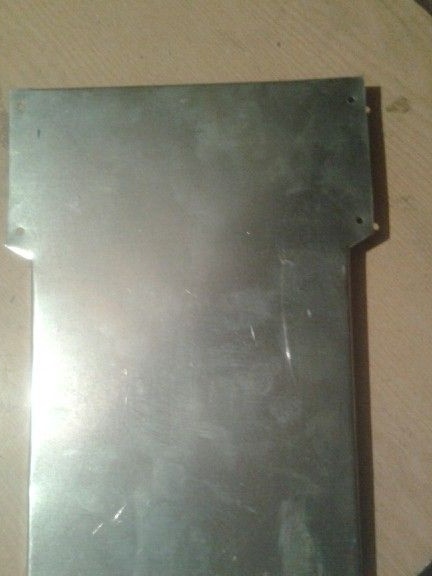
The next step is cutting the front wall.
This is a pattern. On it we cut a metal part
Pay attention to how the bends of the mounting angles are made.
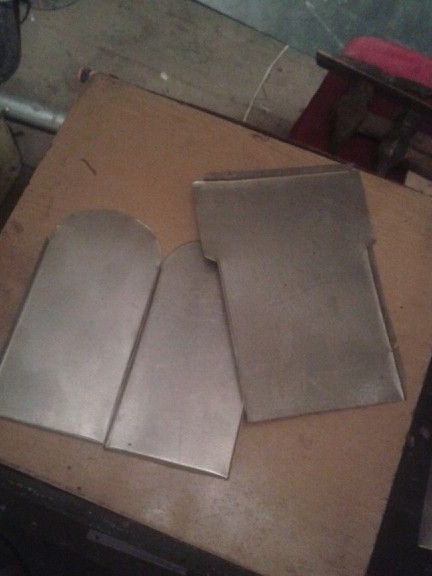
Details are ready. For convenient fastening, I immediately drilled holes for fastening in the parts of the front wall at the edges.
Now bend the front wall, as shown in the photo.
Now we take the sidewall and apply it to the front wall. Mark and drill holes for rivets.
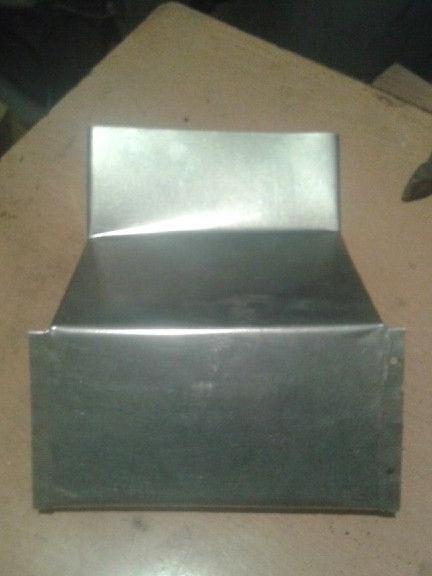
Rivet. We get such a part of the trough.
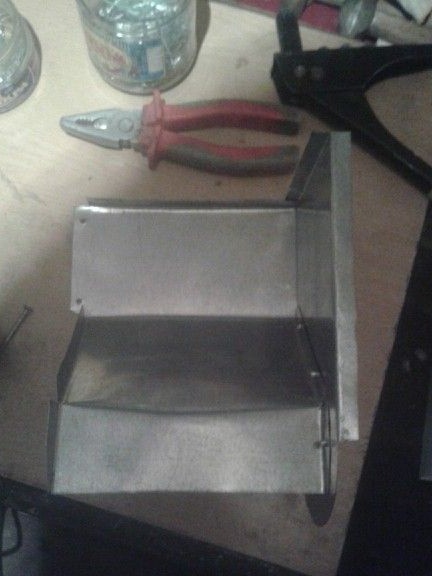
We perform similar actions with the second sidewall.
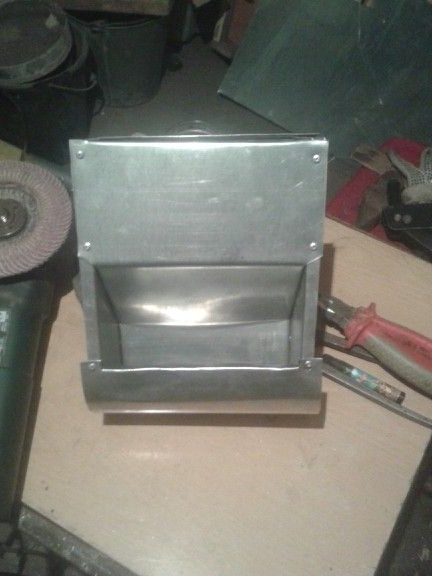
Already quite clearly visible what should turn out in the end.
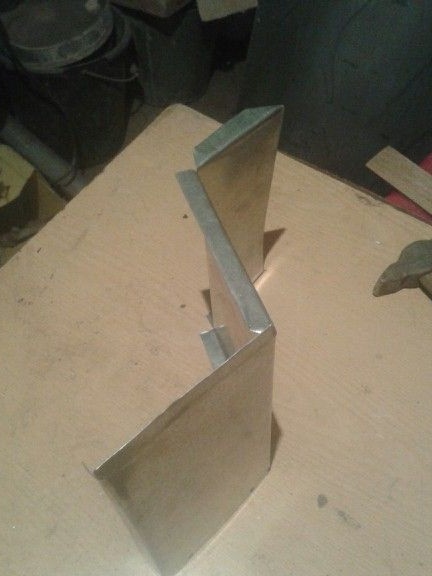
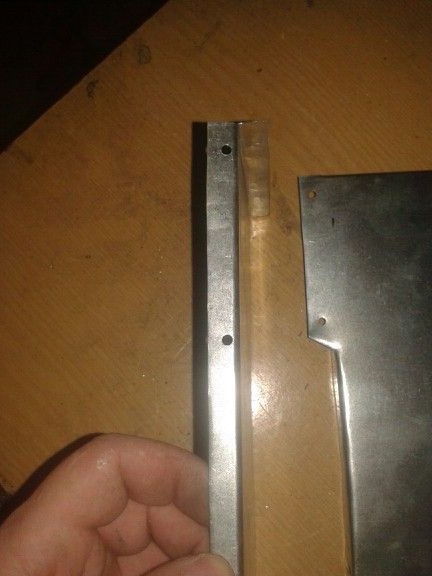
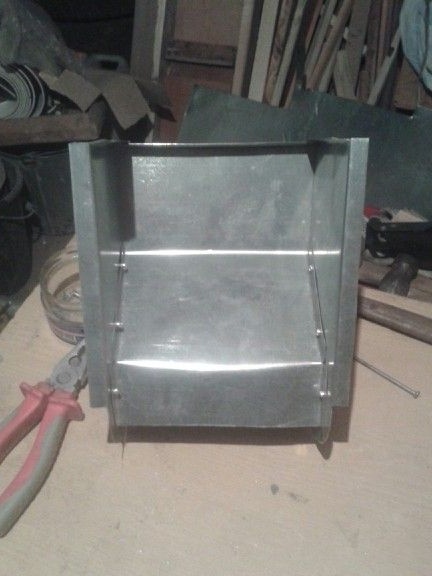
Further. Now you need to install the back of the feeder. To do this, I immediately cut off a long strip of metal. He bent at the upper edge to an angle of 90 degrees, noted and drilled the attachment points.
When he reached the aft hole, he noted the place of attachment on one side. Then he cut the metal a little on both sides and bent it inside the feeder so that the animal could not throw out the feed.
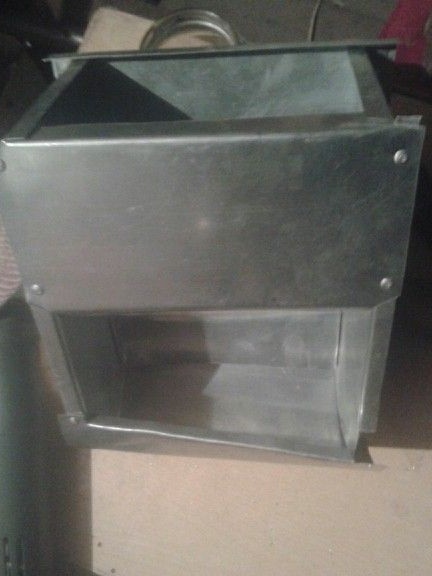
Riveted the rest.
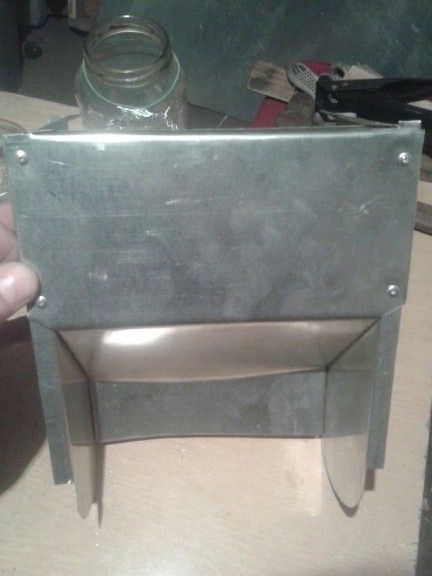
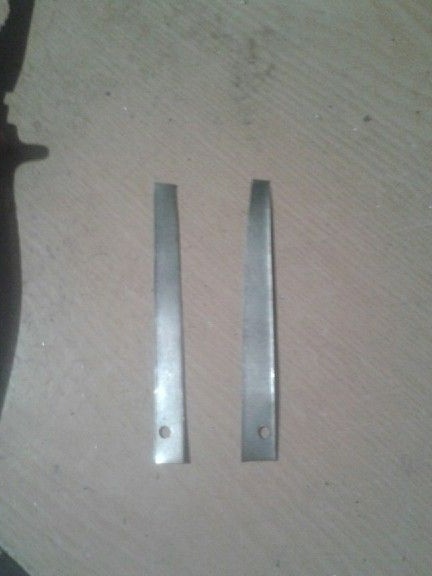
My next step was attaching loops to attach the feeder to the cage. It took a couple of metal strips of the same material. Drilled holes and attached to the feeder
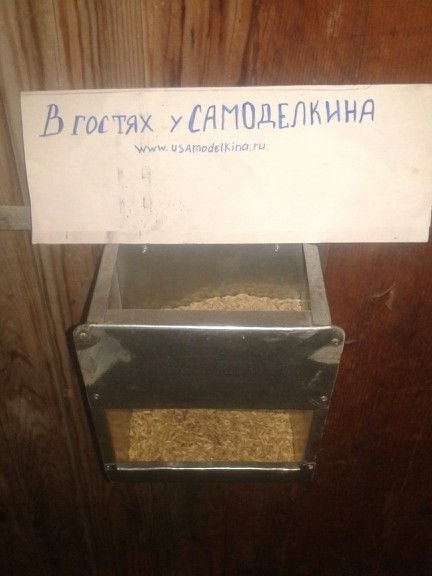
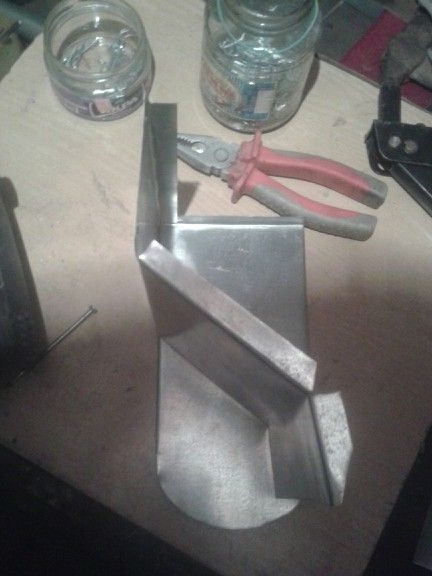
I drilled holes in the bottom of the aft compartment so that the trokhi would pour out from there.
And now - a convenient feeding trough is ready!