

But over time, this building begins to become cluttered, with anything, even sometimes there is not enough space for inventory. Along the way, old buckets, watering cans, a plastic film from a greenhouse, and much more are placed with a tool.
Which exacerbates the life and work of a country worker.
For fruitful work, it is necessary that harmony and order reign in everything, both in the garden among the beds with vegetables and greens, and among garden tools, because order is the key to success and an excellent harvest in the summer cottage.
Since childhood, the author, accustomed to order, and cleanliness in everything, and in all his affairs, decided to streamline the storage of garden equipment, by arranging shelves on the wall of the country shed where both the equipment and the tool are stored. To do this, he consulted on the Internet at one of the forums on how best to arrange a shelf for tools, and decided to make a wall-mounted version of the location of the country tool. Since this method will prevent littering along the way, you can no longer hang the old bucket on the wall. And so what is the essence and structure of this shelf, and it's simple, the author took a couple of bars previously marked out, and sawed to size. Then he used a pen to drill holes in pairs at a certain angle, and made cuts along a predetermined path. It turned out bars with cuts at an angle, and the last stage, painting the product.
Further, the author screwed these bars parallel to each other and together they will make up the shelf for garden tools.
And so now we will examine in detail what the author needed and how he did it.
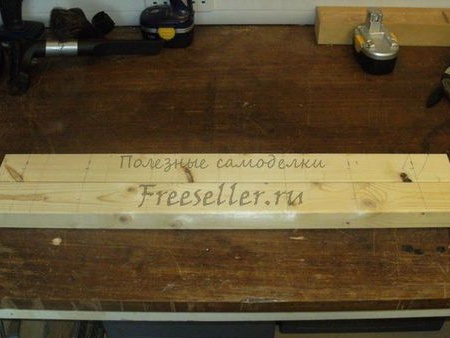
Materials: Bars 40 to 60, screws.
Instruments: drill, screwdriver, hacksaw, ruler, pencil.
First of all, the author picked up the bars suitable for him, and sawed them to the given sizes.
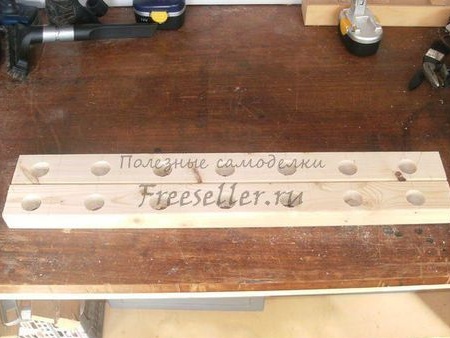
Then he made markings for drilling and future cuts.

Then he drilled holes in pairs, at a certain angle.
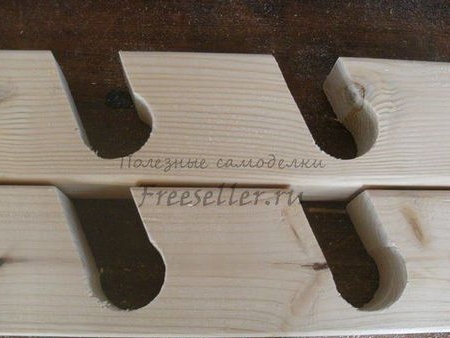
I made cuts between the holes.
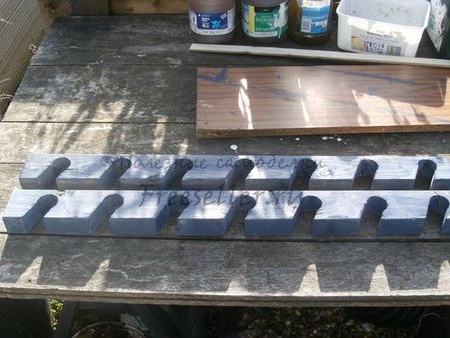
Then he dyed these products.
And screwed it to the wall of the country shed with screws as shown in the photo parallel to each other.
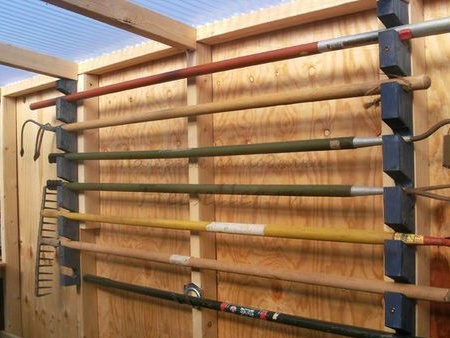
So the shelf for garden tools is ready do it yourself. The author is very pleased with the work done, now the inventory will always be in sight, in a clean and tidy form, and no more trash))).