Hello, dear users and guests of this site. I want to bring to your attention the phased structure of the garden house do it yourself from finished parts. The process itself is not complicated, and if you wish, you can yourself build the exact same house from your materials, especially since everything is quite clearly visible in the photo. Anyone who decides to independently build this facility, I think, problems should not arise.
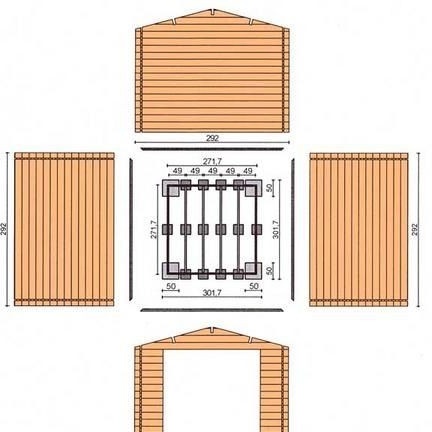
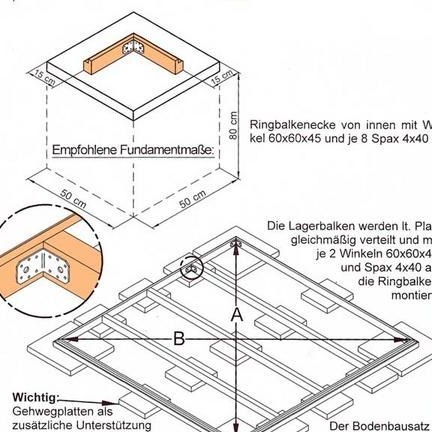
The author of this workshop also provided dimensional drawings.
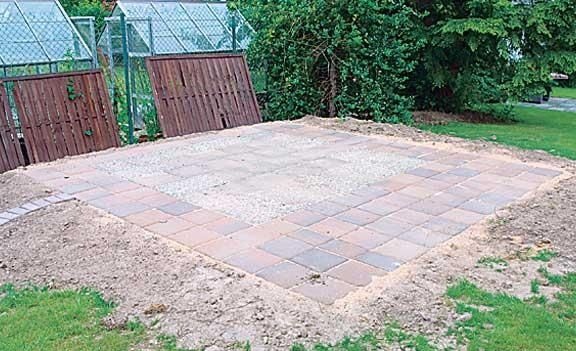
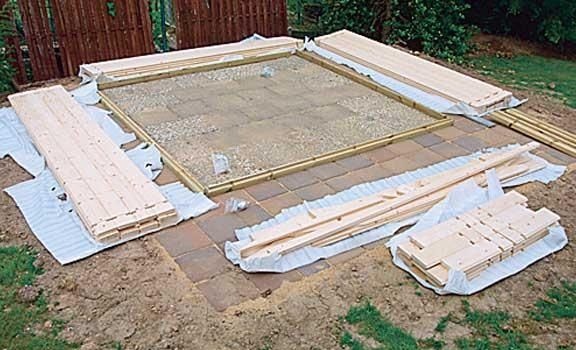
First, a site for construction is being prepared. The author prepares the basis of paving slabs.
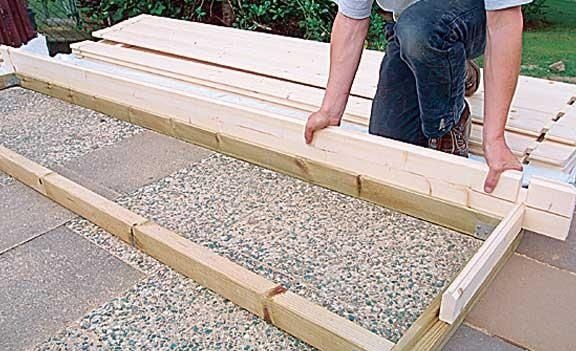
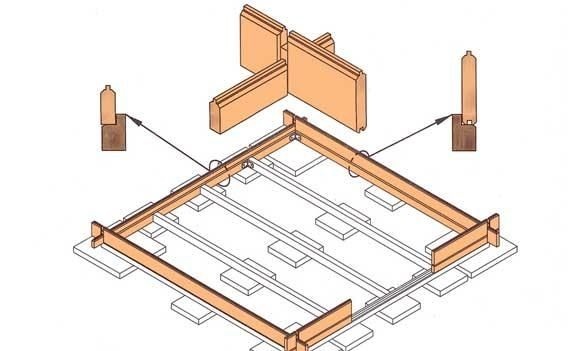
The author laid out all the prepared materials on the sides of the foundation. So it will be more convenient in the assembly process, all the necessary components at hand.
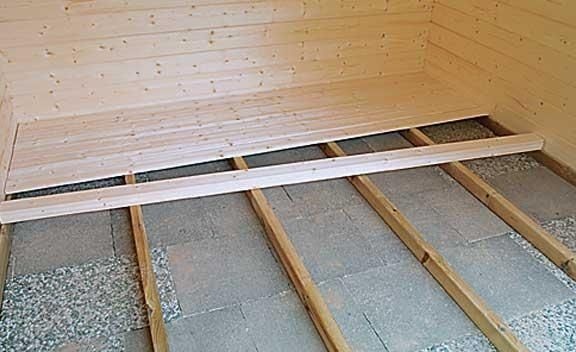
Next, the wooden elements of the base of the house are aligned.
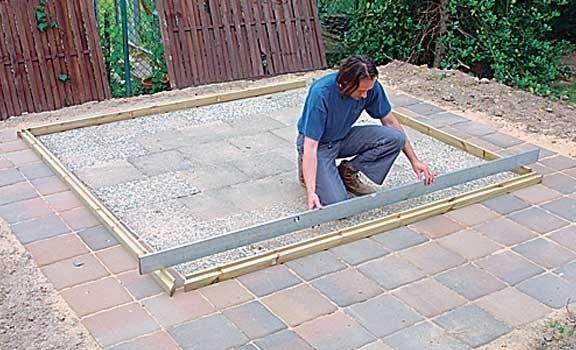
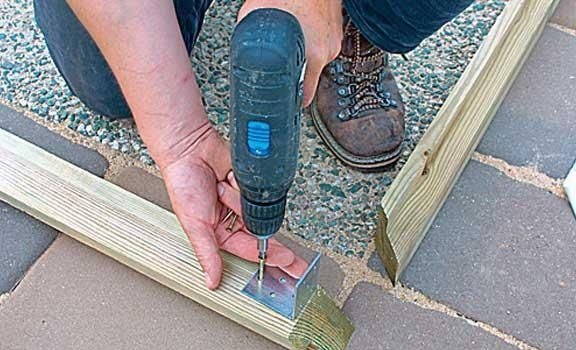
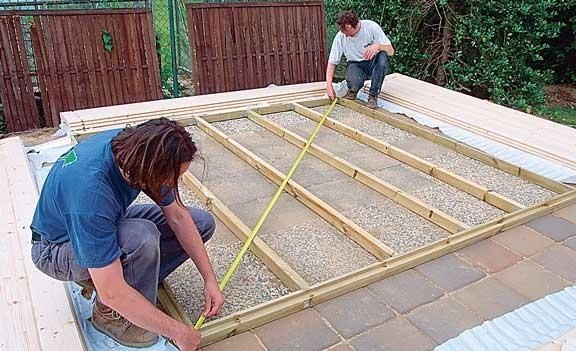
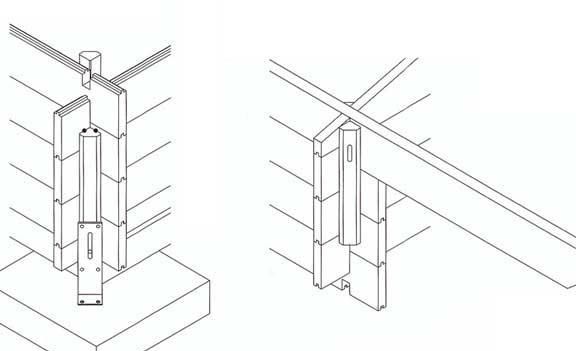
The transverse elements are mounted on which the floor will be fixed in the future and the design is checked for diagonal accuracy. With proper assembly, without distortions, the diagonals should have one length. Attached mounting scheme.
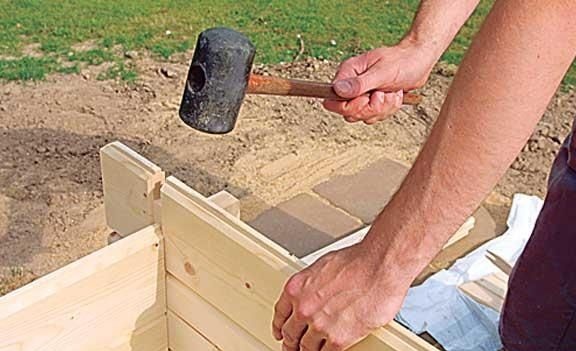
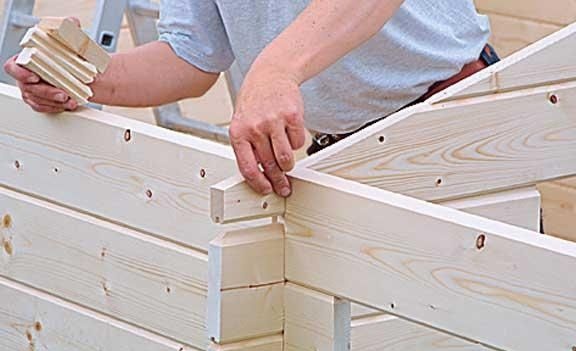
We begin to build walls. Since the material is already ready, there are all the grooves and slots, then difficulties should not arise.
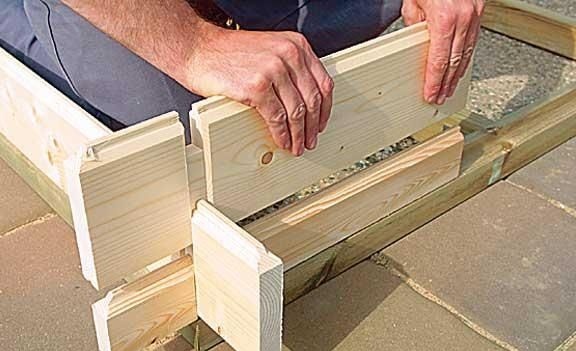
For a more tight joining of parts, the author seals the joints of wooden panels with a rubber mallet.
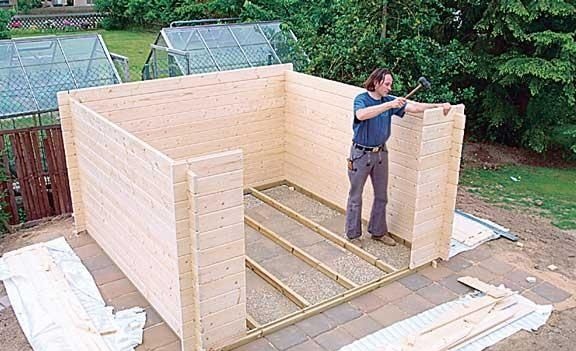
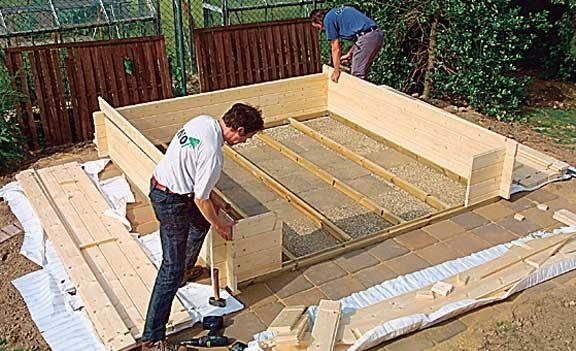
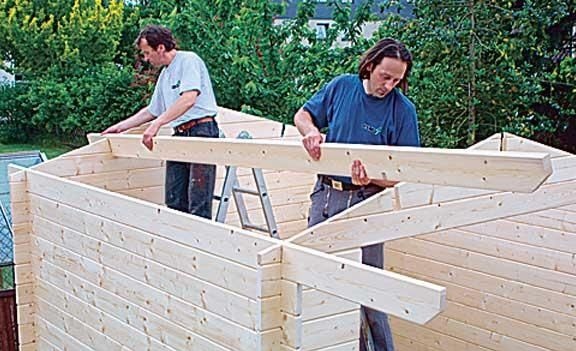
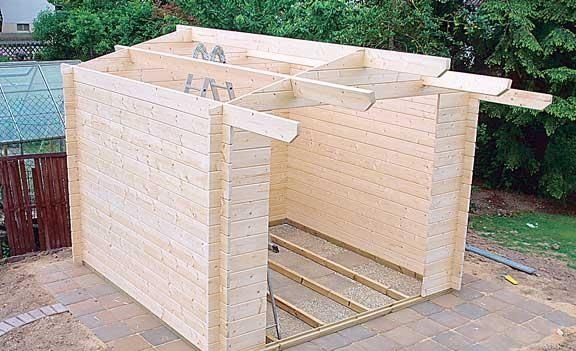
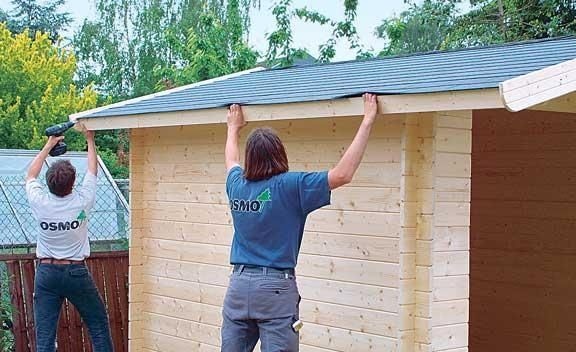
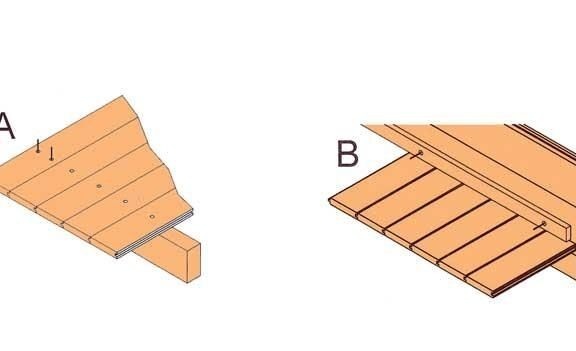
Thus, imposing one part on another, he erected all the walls and proceeds to the assembly of the roof. Here, too, there is nothing complicated, it is enough just to impose the necessary details.
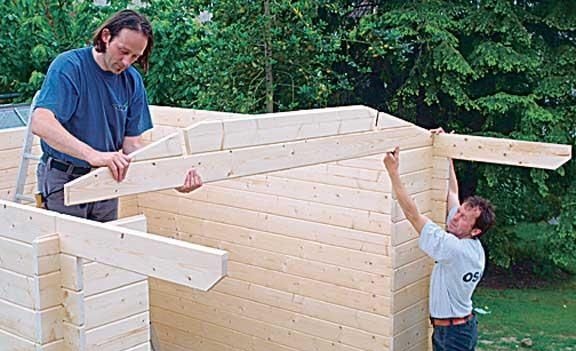

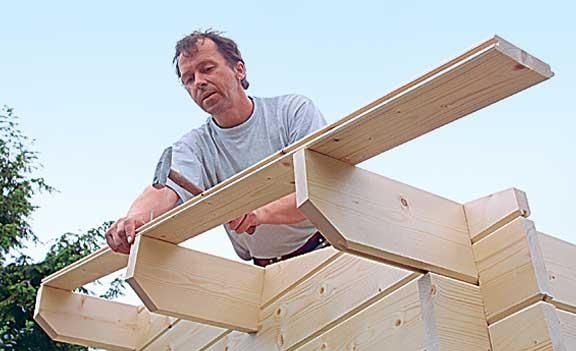
Now we begin to mount the transverse logs on the roof itself.
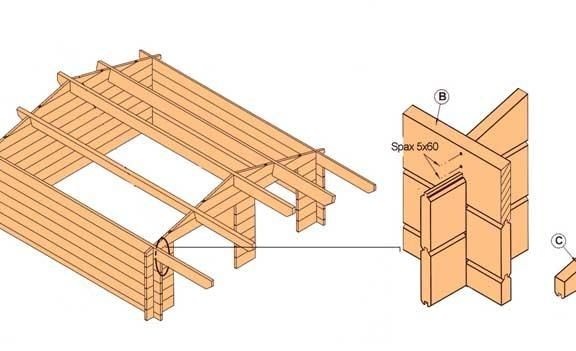
The result is just such a frame of the future garden house.
Further, the author begins to cover the roof.

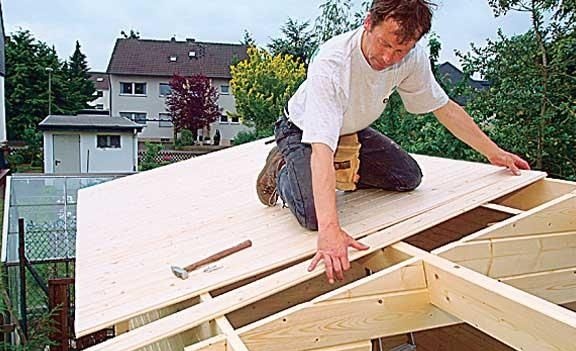
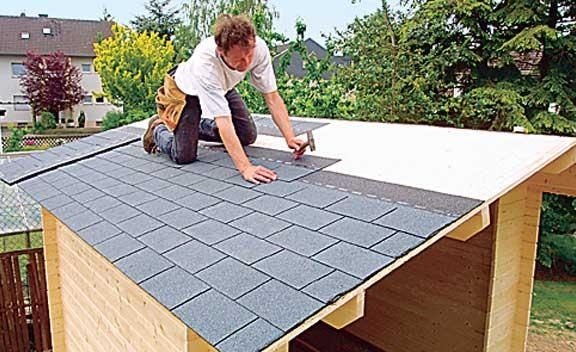
Step by step, and you end up with an assembled roof.
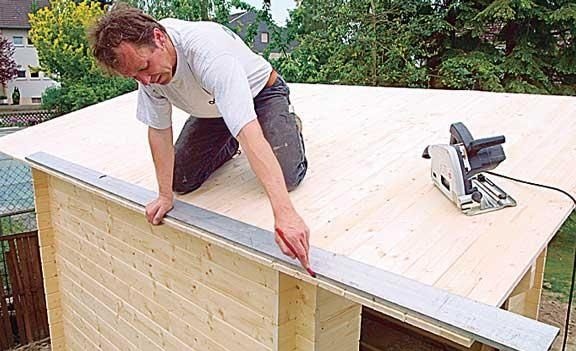
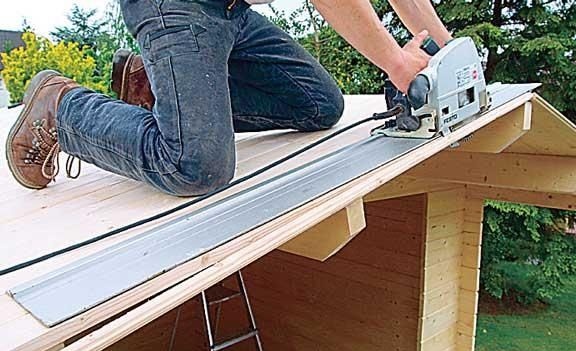
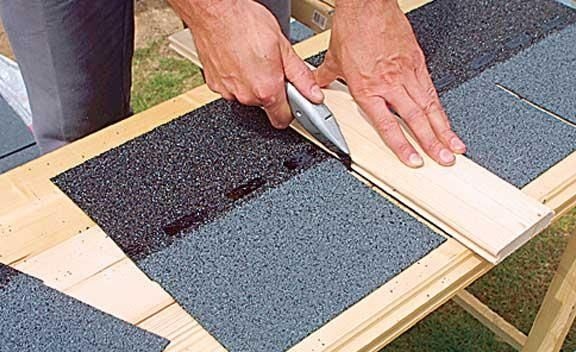
Now that which extends beyond the edges is marked and cut off with a circular saw.
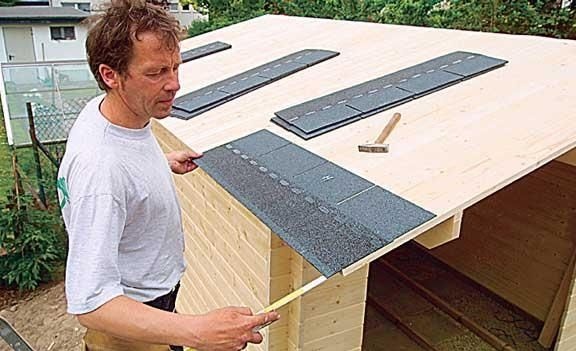
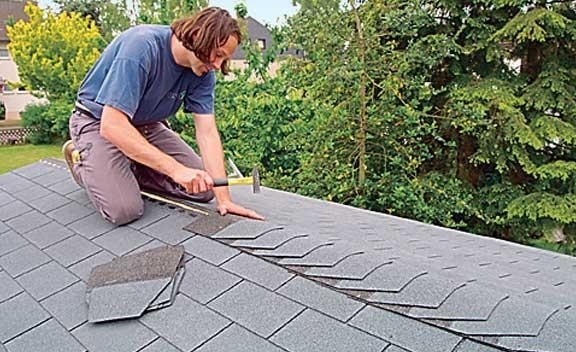
The next step begins to nail flexible roof tiles to protect the wood from weather conditions.
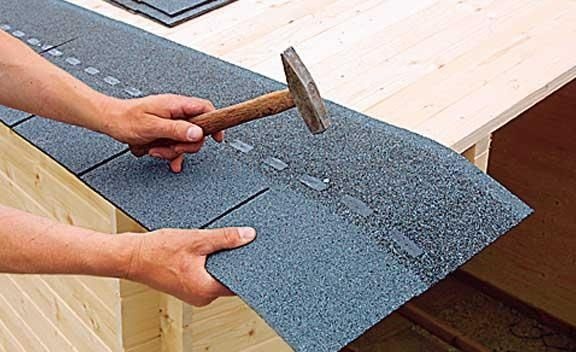
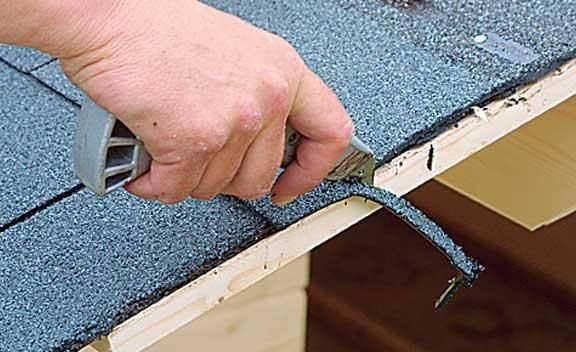
Also, what extends beyond the edges of the roof is trimmed. Flexible tiles are trimmed with a clerical knife.
The last strip is beaten when both roof slopes are already formed, on the ridge of the structure.
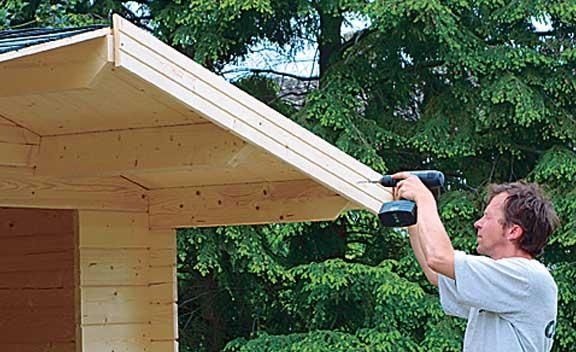
After the entire roof is covered with tiles, a decorative panel is stuffed at the ends of the house. This will give the house a more attractive look and hide all connections.
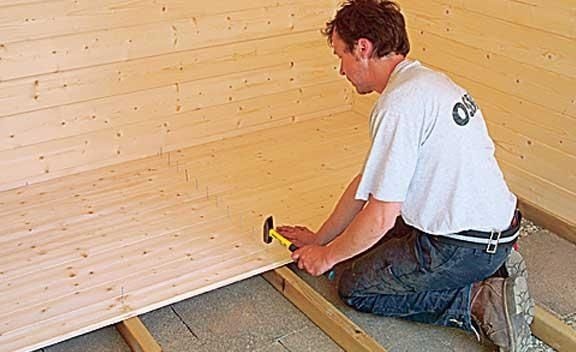
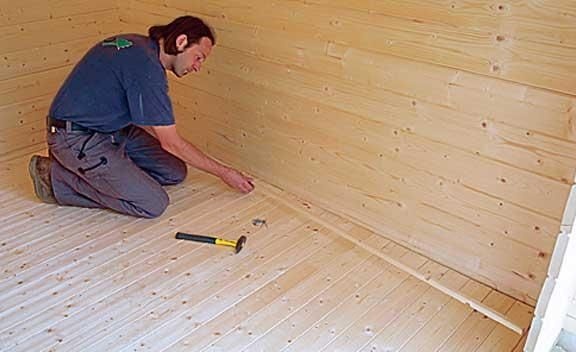
Now we begin to mount the floor. Nothing special here either. Planks are laid and fastened with nails.
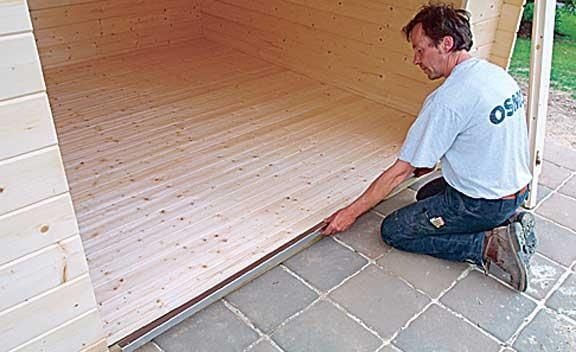
Then the baseboard is mounted around the entire perimeter of the building.
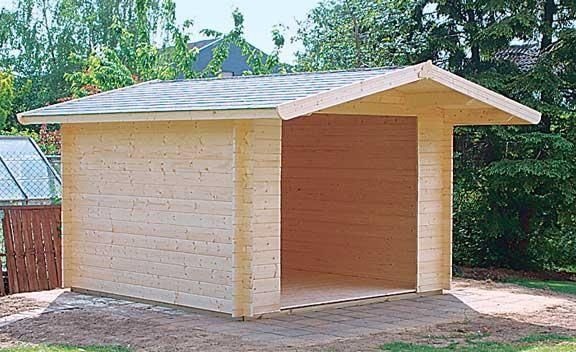
This is how the garden house looks after installing the main components.
Finally, it's time to install the door. To do this, first install the door frame.
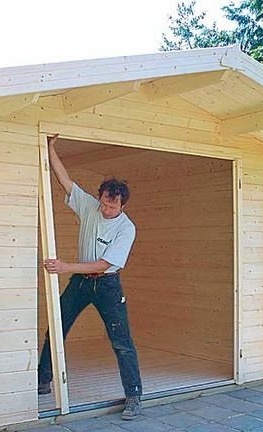
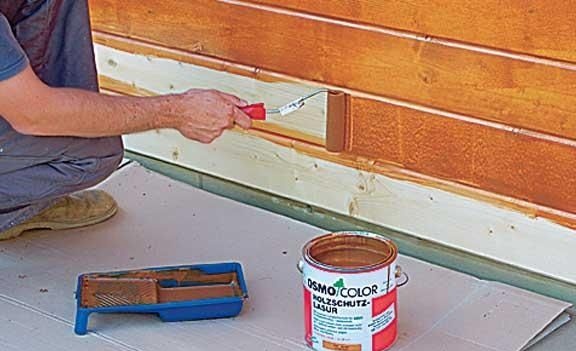
After installing the door frame, install the doors themselves. When installing and installing the box and door, do not forget to check everything for accuracy using the building level. After installing the doors, we begin to paint the walls with paint for outdoor work.
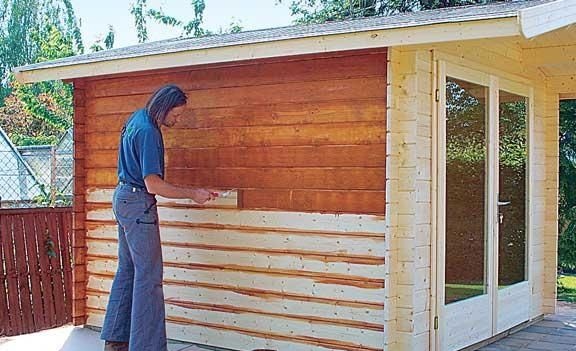
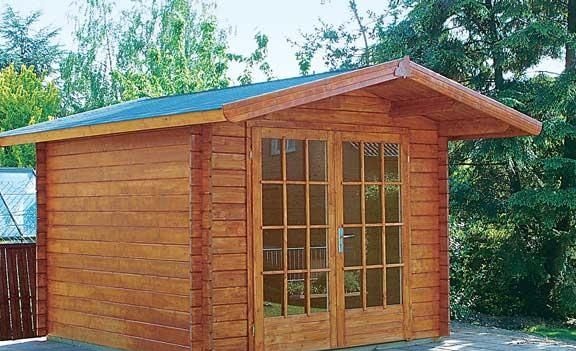
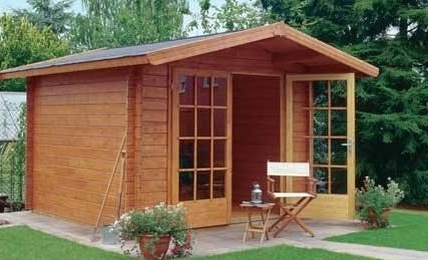
In the end, we get such a wonderful garden house.