
Hello, in this article I would like to share my little experience in the field of paving slab casting, without the use of a vibrating table.
By and large, vibration is necessary to accelerate the production process on a large scale. In production, the speed of production is required, which is set by the vibrating table. Under the influence of vibration, even the thickest solution instantly spreads in shape, that is, the molding process is almost continuous.
But all this will be left to the manufacturers by the giants, and we don’t need much, for example, at the dacha, pay for the track, or make beautiful tracks near the private house. For small volumes, I assure you, you do not need a vibration table, I can do just fine without it, because we do not have electricity in the country))).
Vibration is replaced by a mallet, I just hit the edges of the form several times, and the solvent is quickly distributed over the matrix.
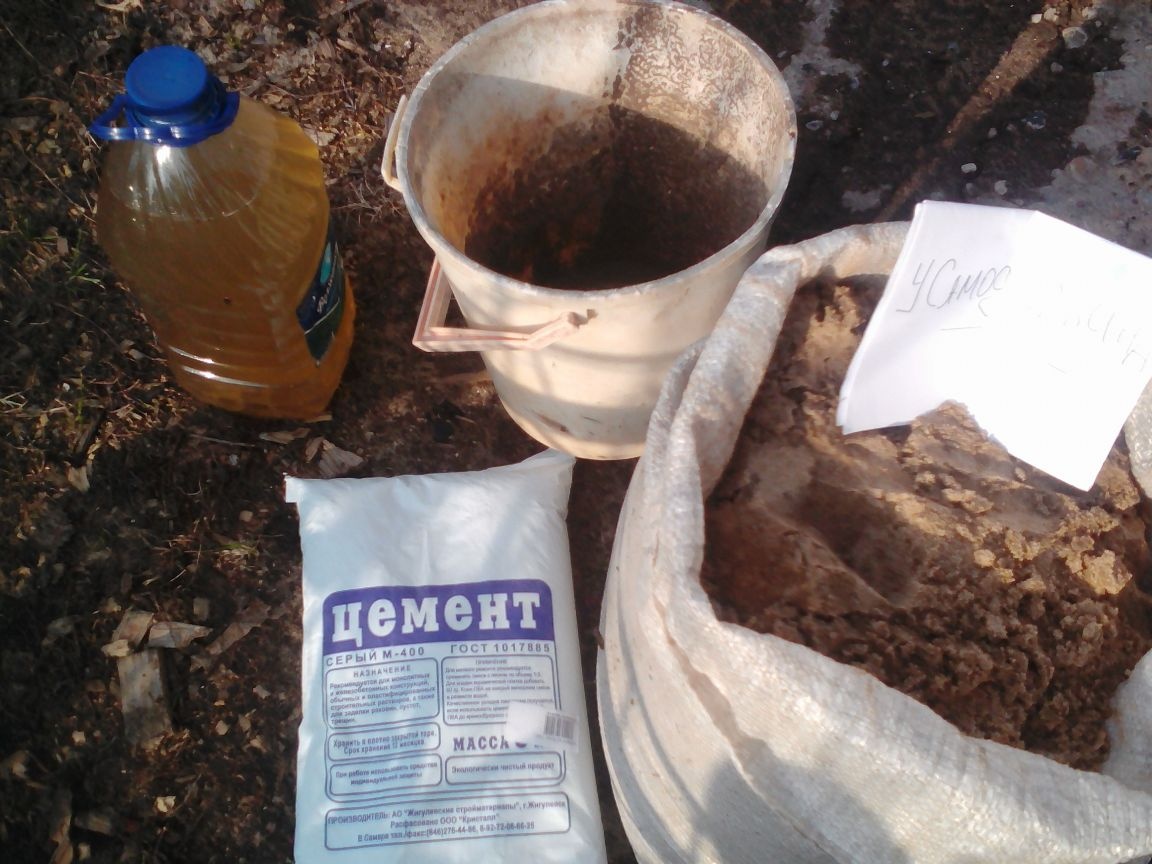
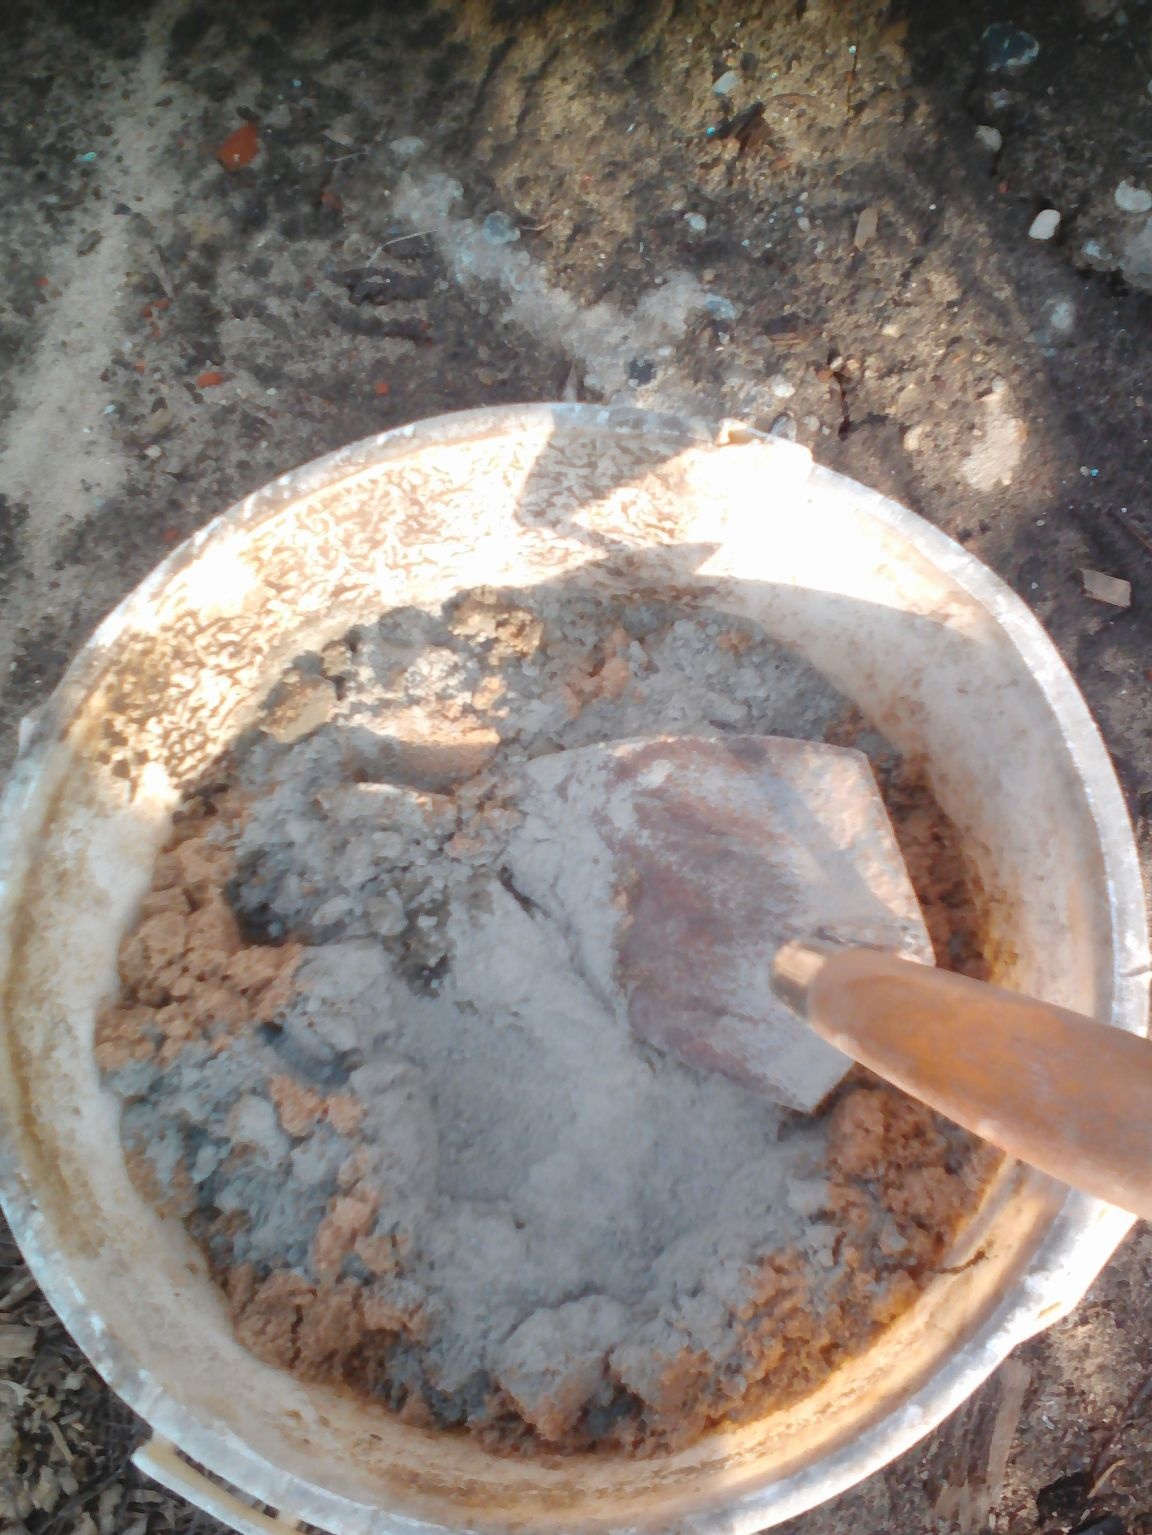
The solution is also quite simple, 1 part cement, 2 sand, water is added until a semi-liquid solution is obtained.
And so now we will consider what tools I needed and how I performed the process of filling the forms.
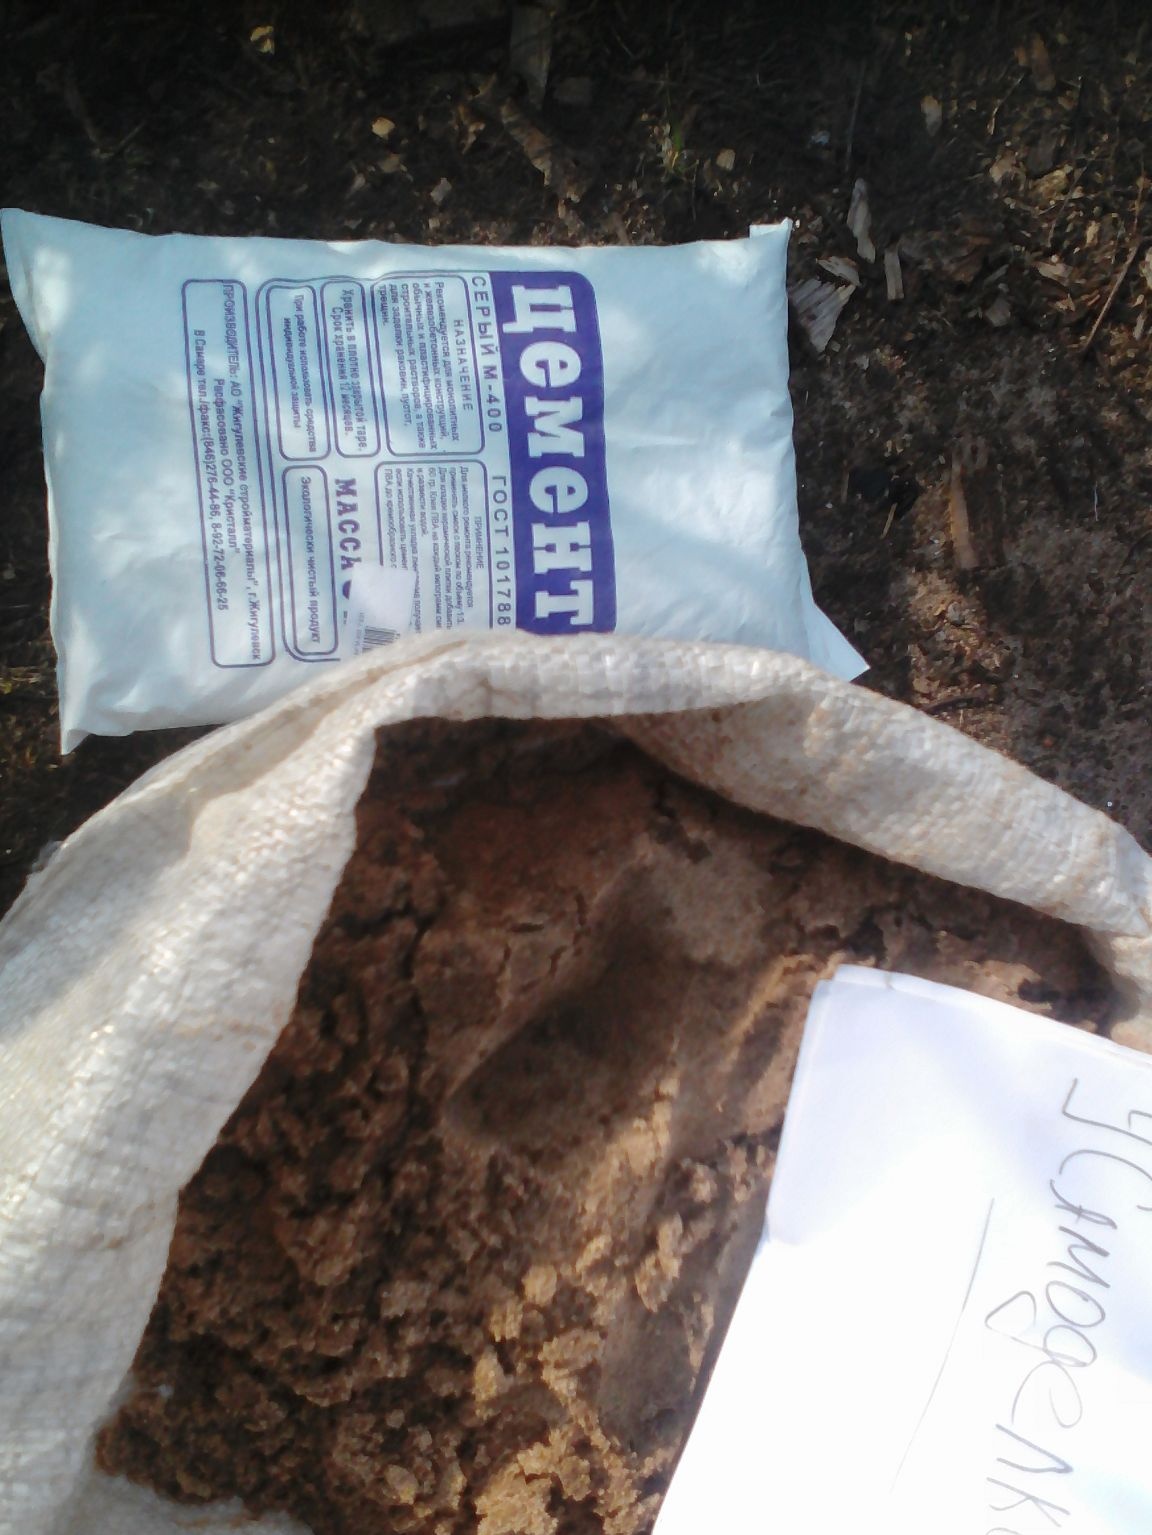
Materials: form for paving slabs, cement, sand, water, greasing.
Instruments: screwdriver, mallet, trowel, bucket for mixing mortar.
First, I prepared all the tools I needed, and the rest of the components.

And then I prepare the solution according to the above specified proportion, 1 to 2.
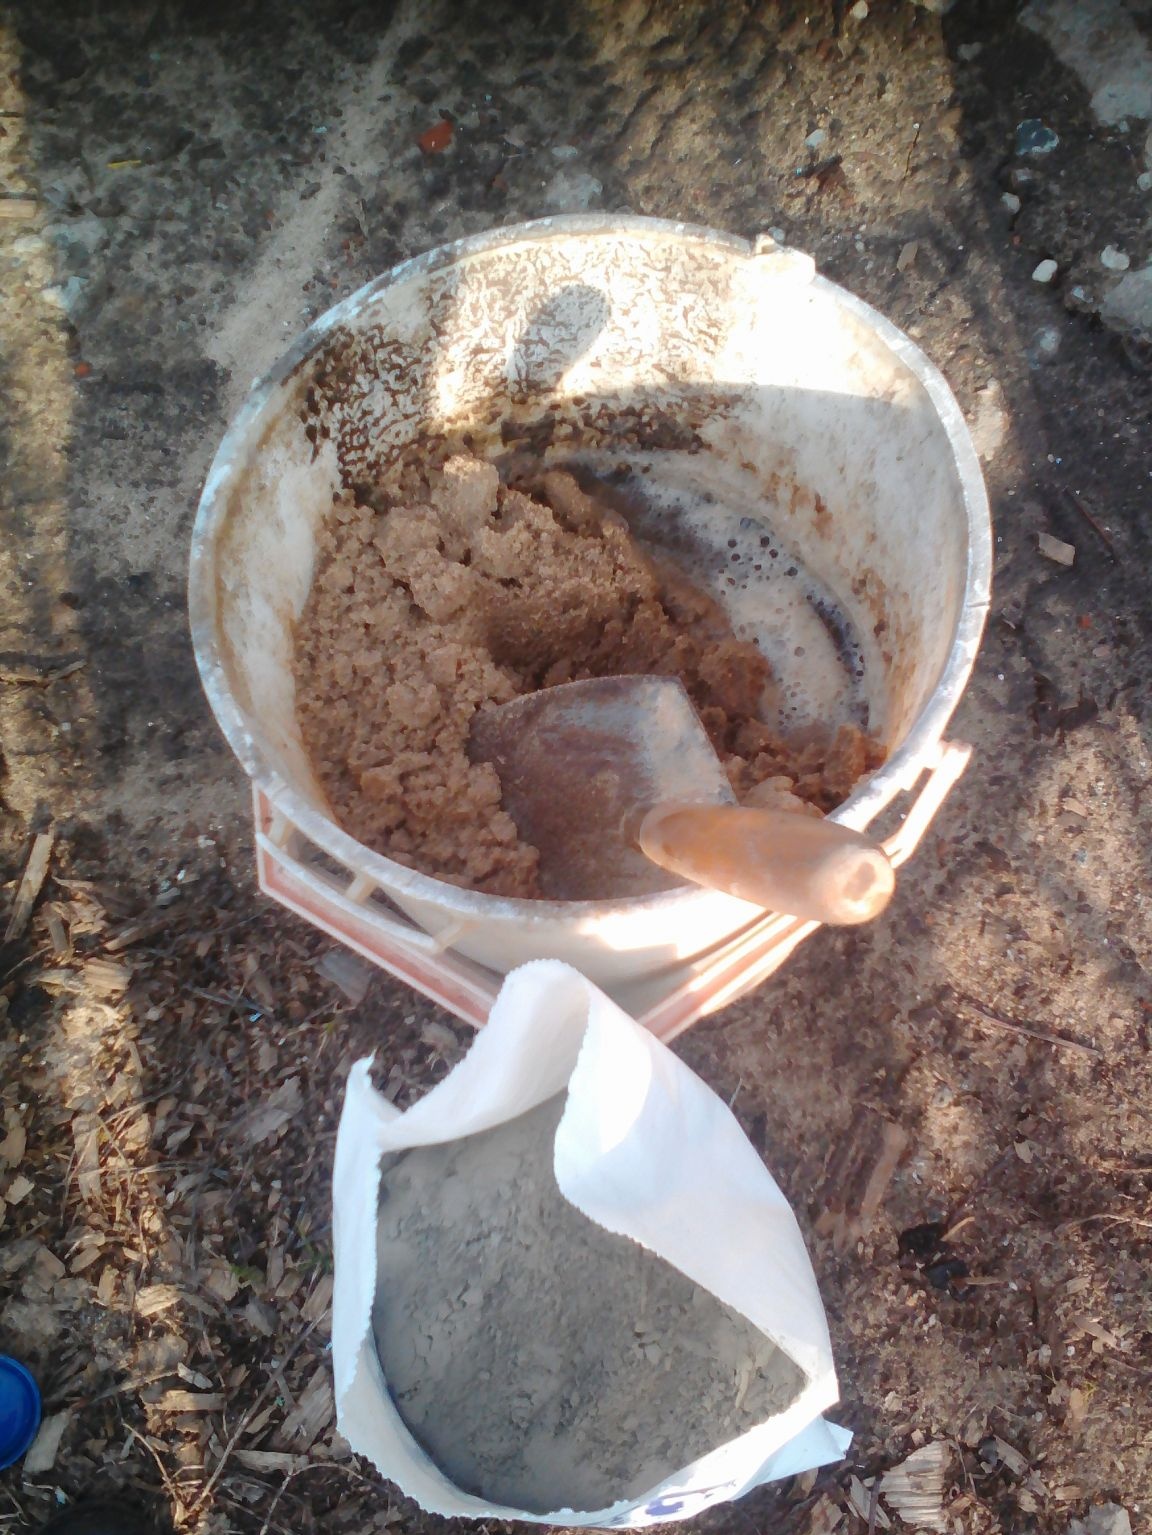
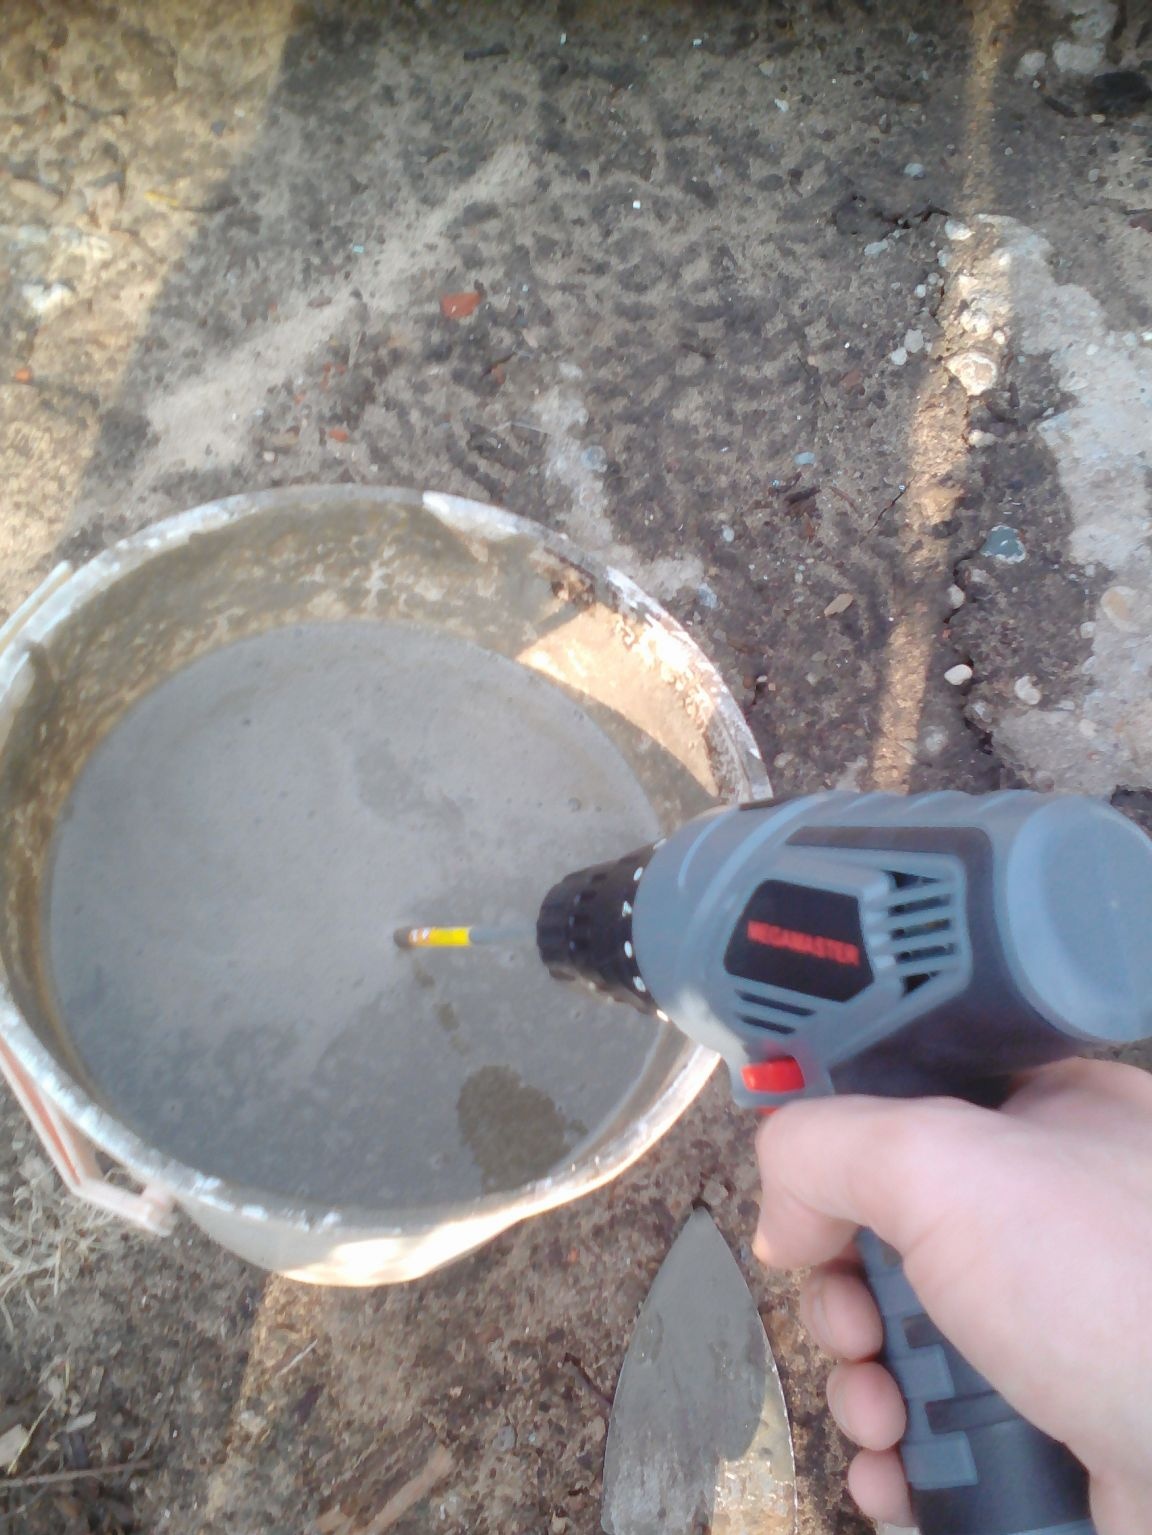
As you can see in the photo, the solution is mixed with a screwdriver with a nozzle, which is very convenient by the way.
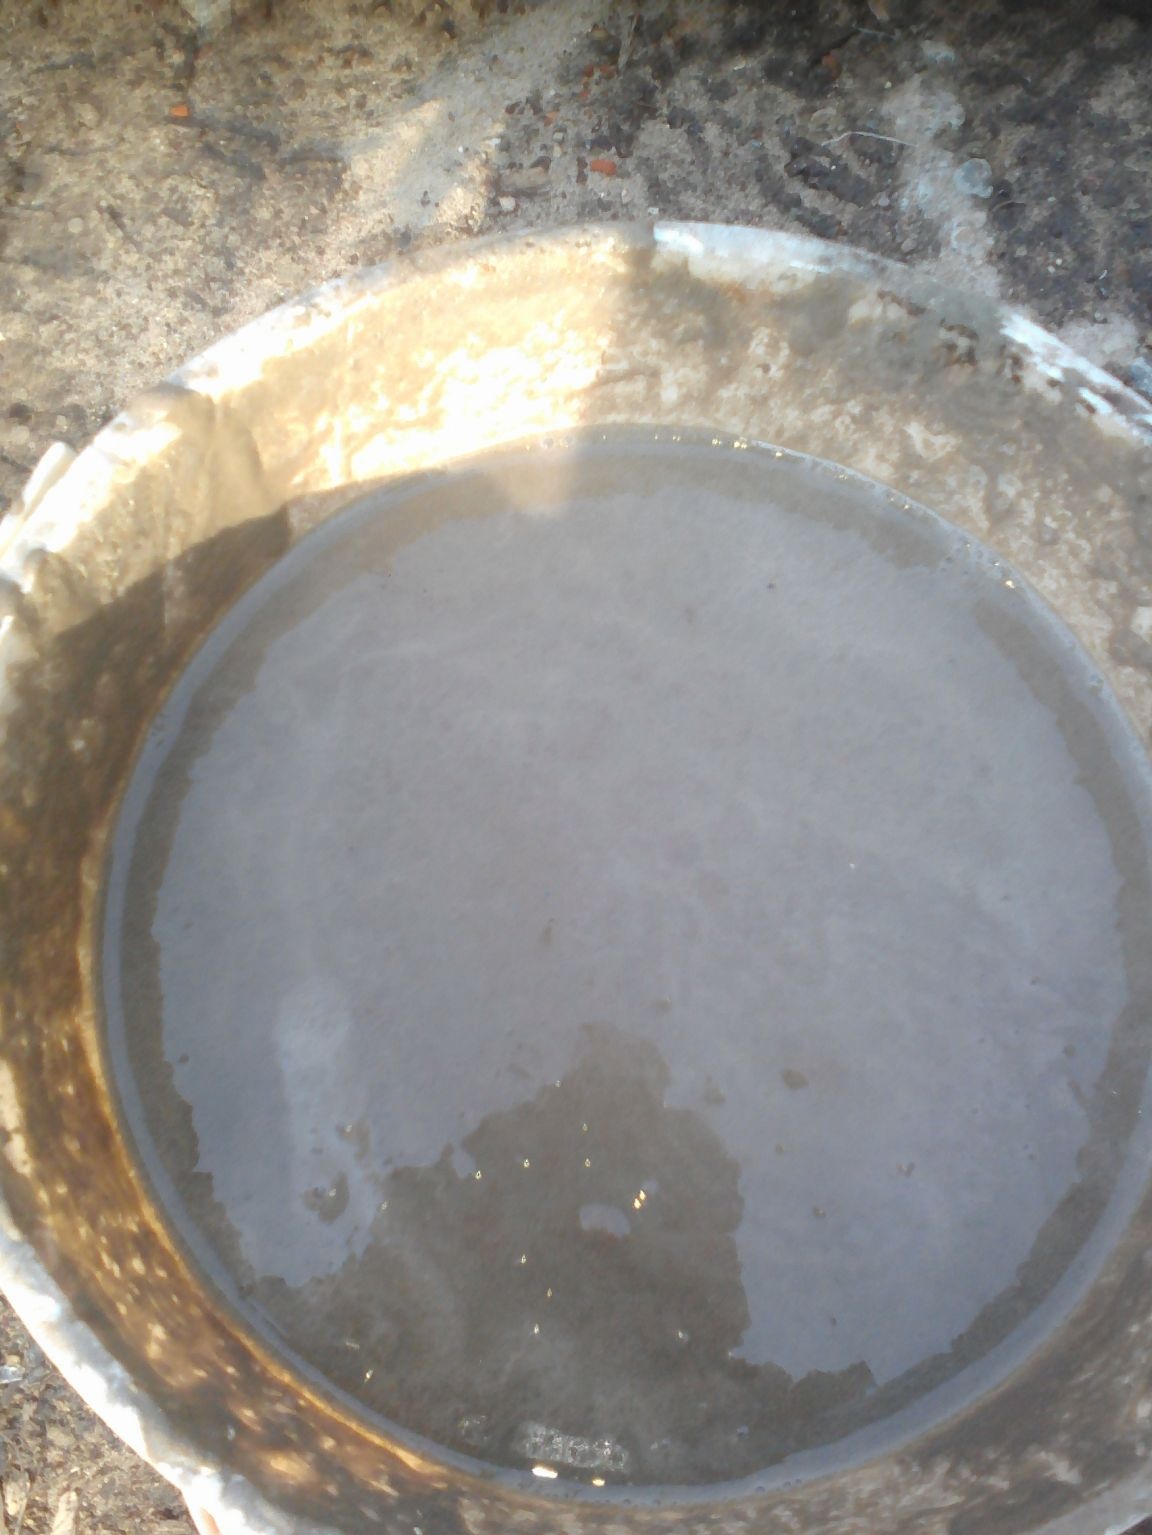
Then I prepare the mold for pouring, I spray the grease out of the fan, this is necessary so that the tiles come out well after solidification.
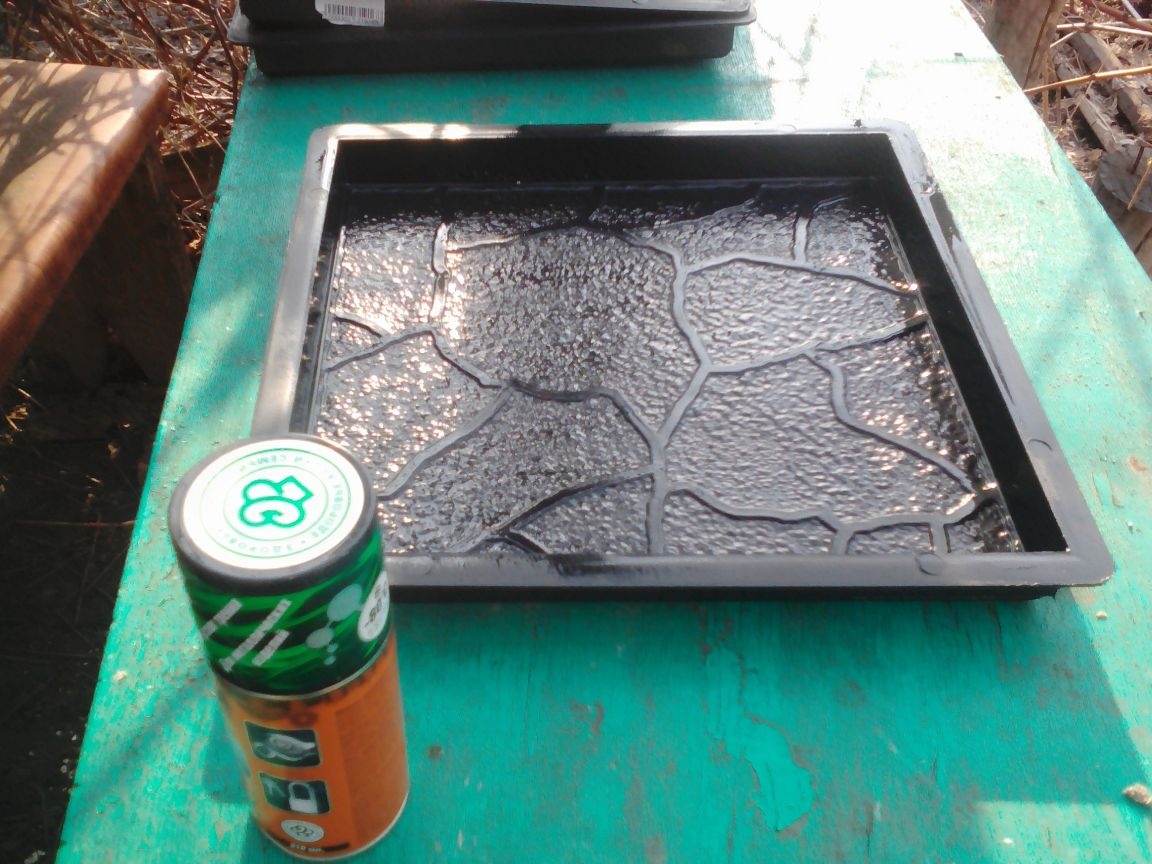

Well, I put the solution in the prepared form.
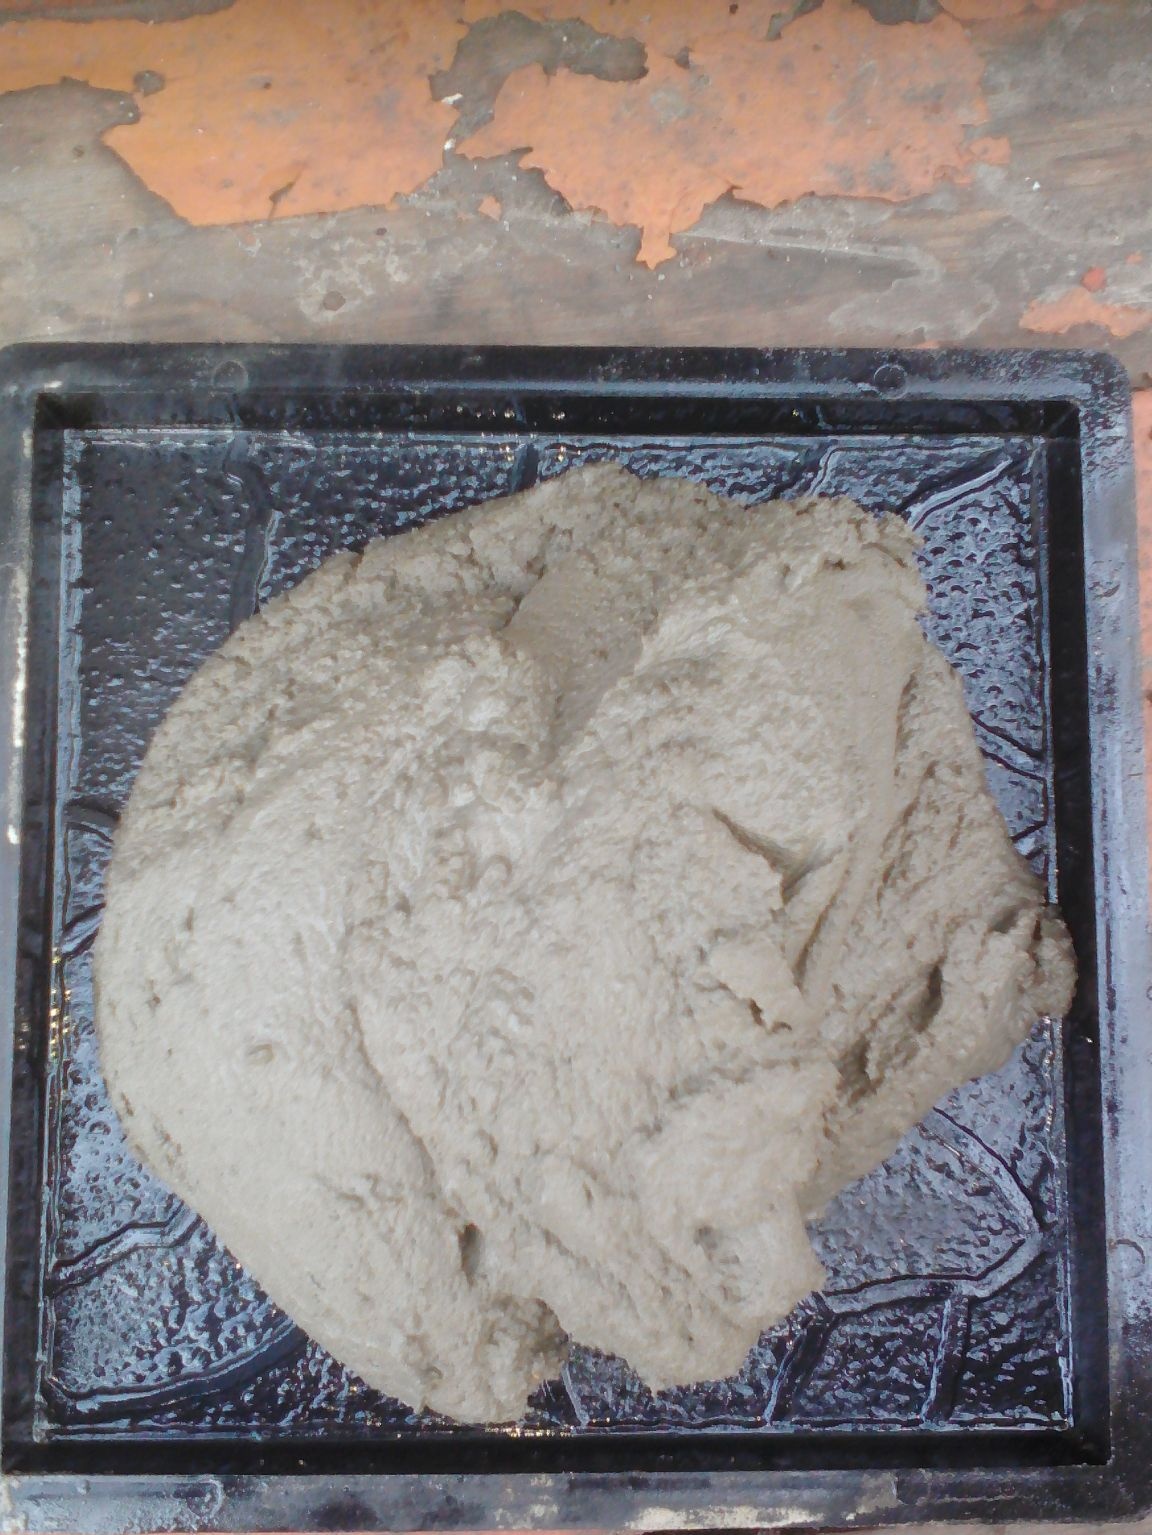
Then leveling with a trowel.
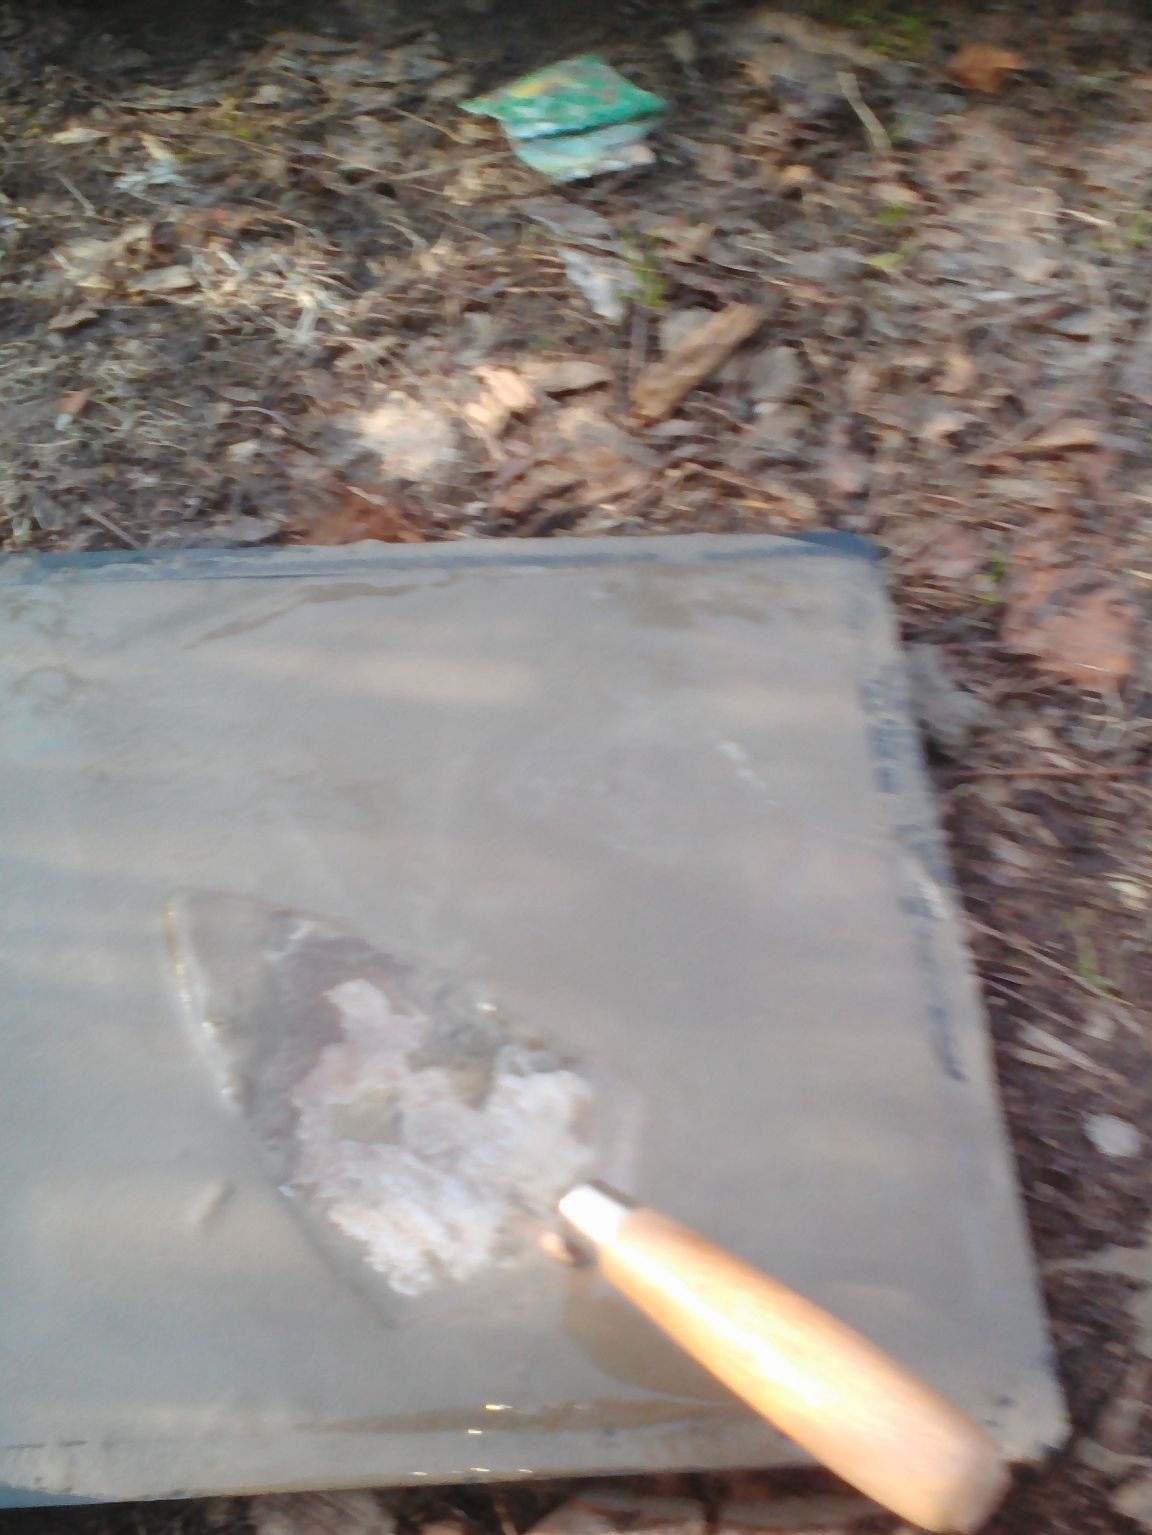
At the edges of the form, tapping with a mallet, I release air bubbles, and crack the solution.
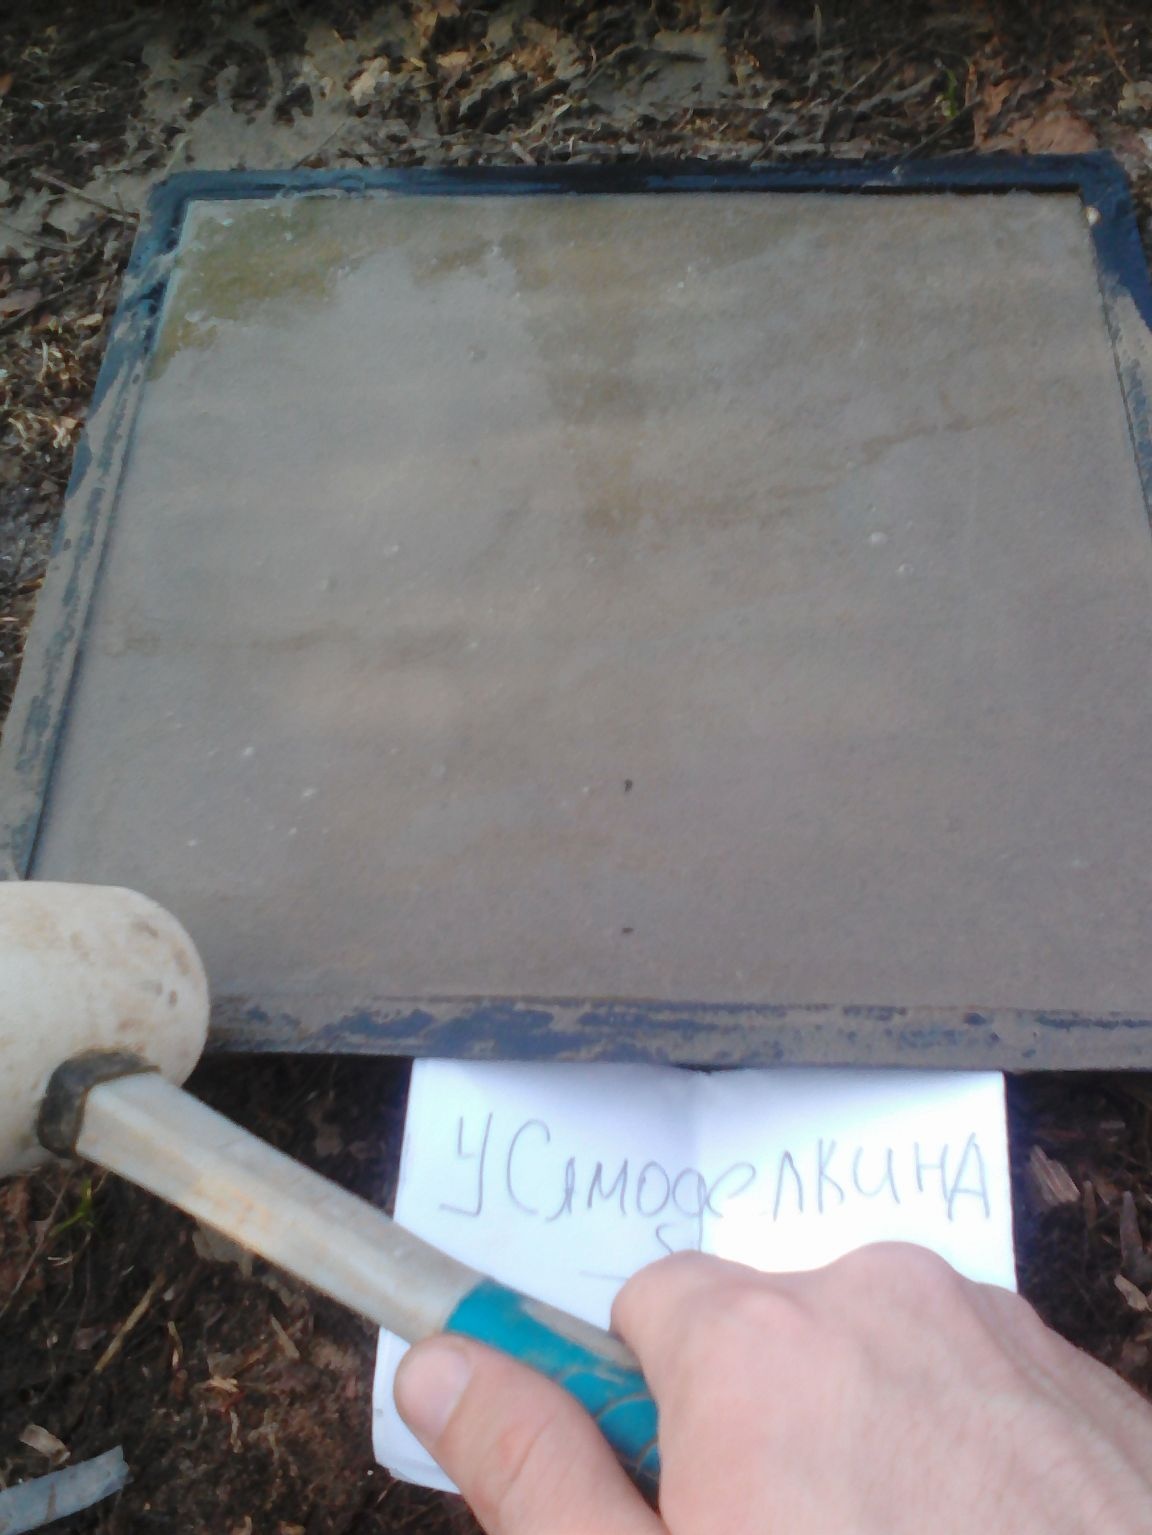
And further at a given pace))). Then I put the filled forms for drying on a flat surface, to save space, I squeeze the matrices on top of each other, shifting the planks.

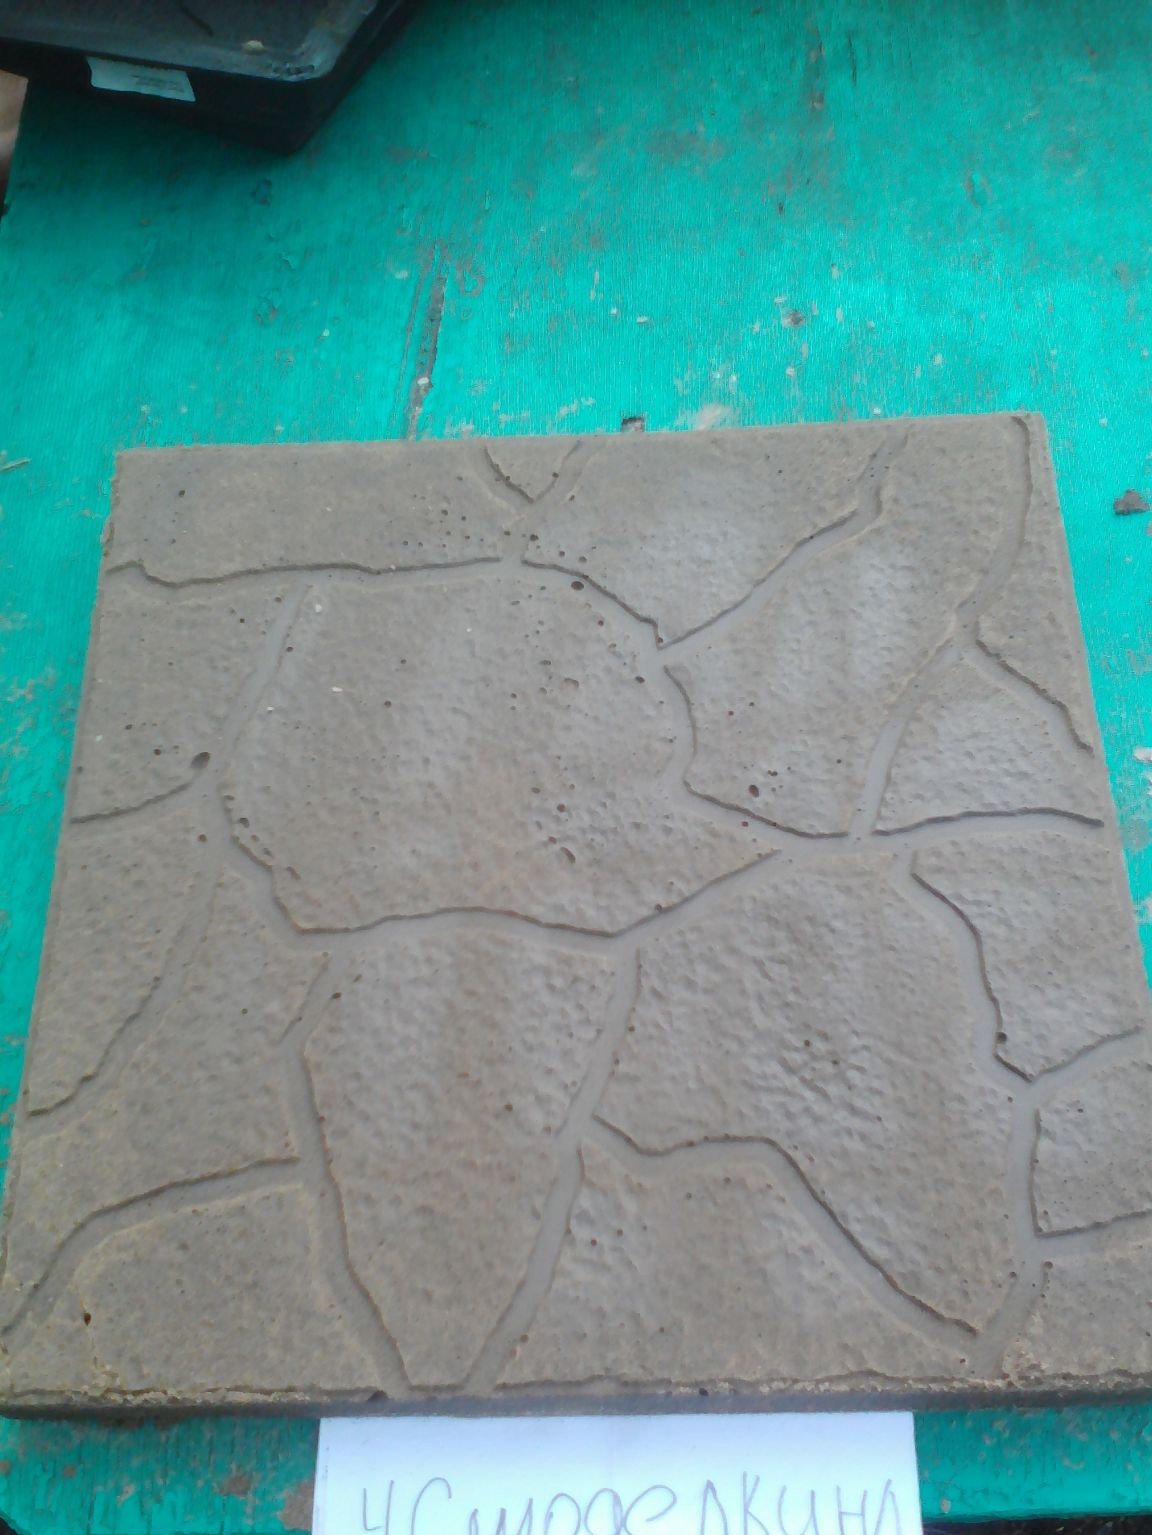
After 24 hours, I take out the finished tile from the mold.
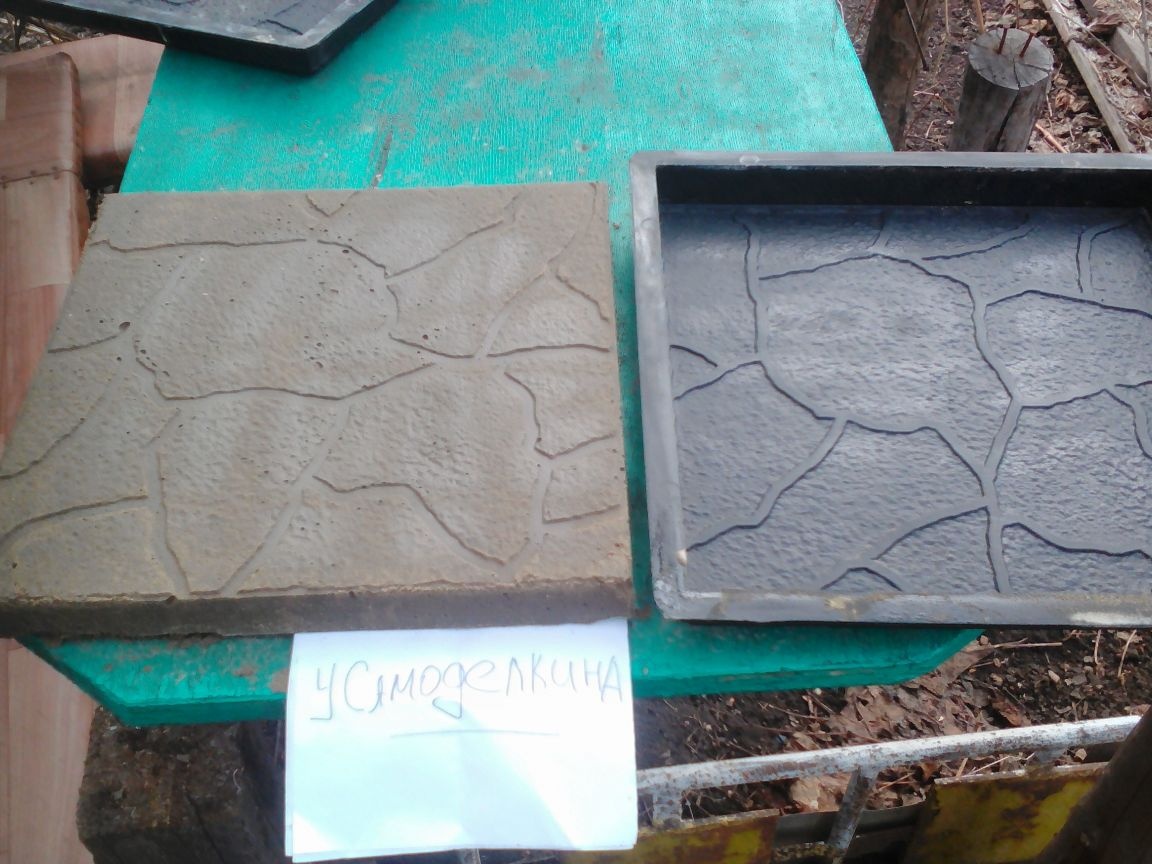
That's all the paving slabs are ready, of course she still needs to lie down a bit, and get stronger. There is nothing complicated in this, everything is extremely simple, and understandable. With this type of pouring, electricity is not consumed, which reduces the cost of the already final production process. So go for it my friends))).