
Everyone who has been involved in repairing at least once in their lives, or building knows what a laborious process it takes a lot of time, effort, and money.
If you make repairs yourself, the main thing is to save as much as possible, either on materials, or rationalize your work.
Many people, in order to save money on their family budget, make repairs on their own, without the help of hired workers.
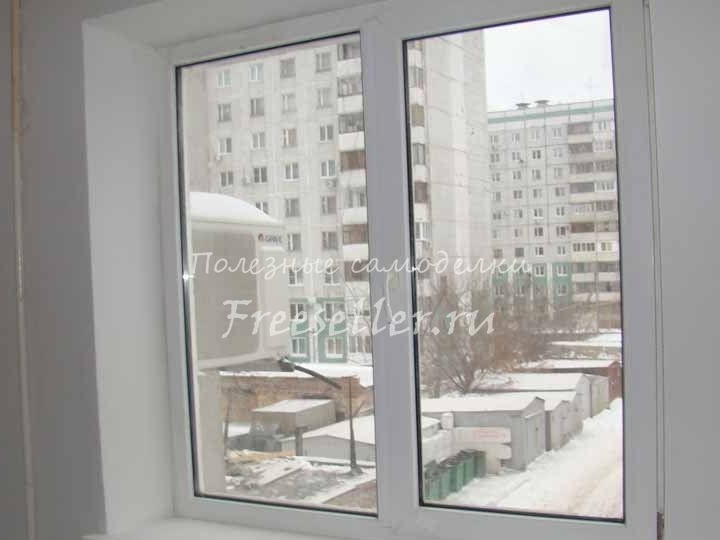
The author decided to change the window to a plastic one in the house, and in order not to hire a team of installers, installed it on his own, thereby saving some money for the family.
But having inserted a window, I encountered the following problem, I also need to do slopes.
This problem is also easy to cope with if hands grow from the right place. In fact, there is nothing complicated here, and the materials used in the decoration are not expensive, and are available in any of the construction stores.
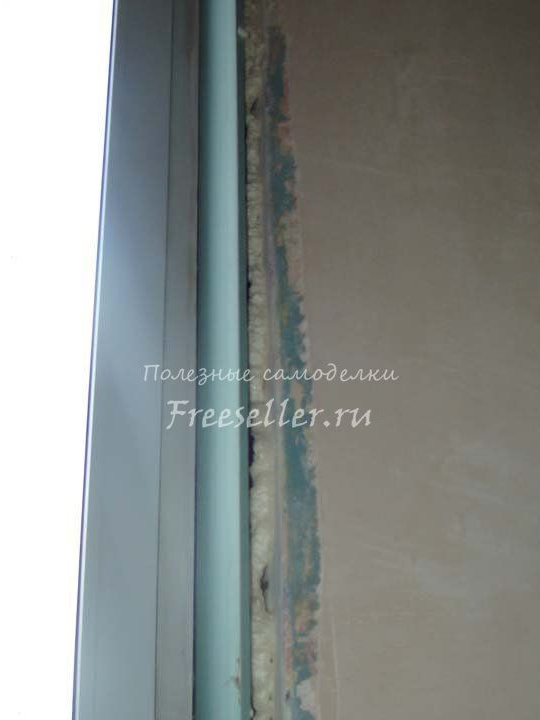
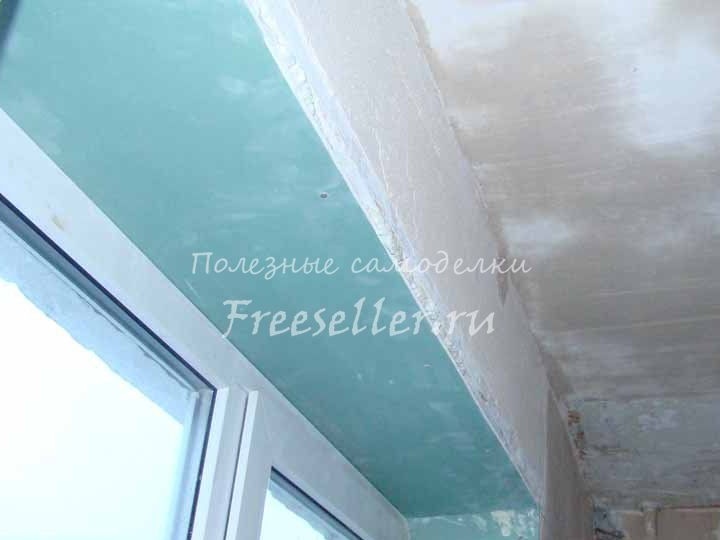
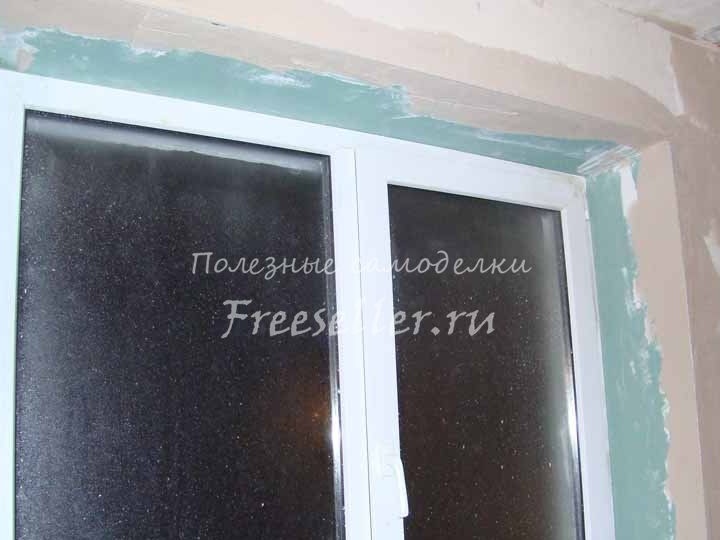
Here he takes drywall, and from it makes the side walls, and the ceiling is screwed with screws to the wall. The intermediate gap formed between the wall and drywall is covered with foam in order to prevent penetration of moisture and air into the room.
And already screws thoroughly with screws.
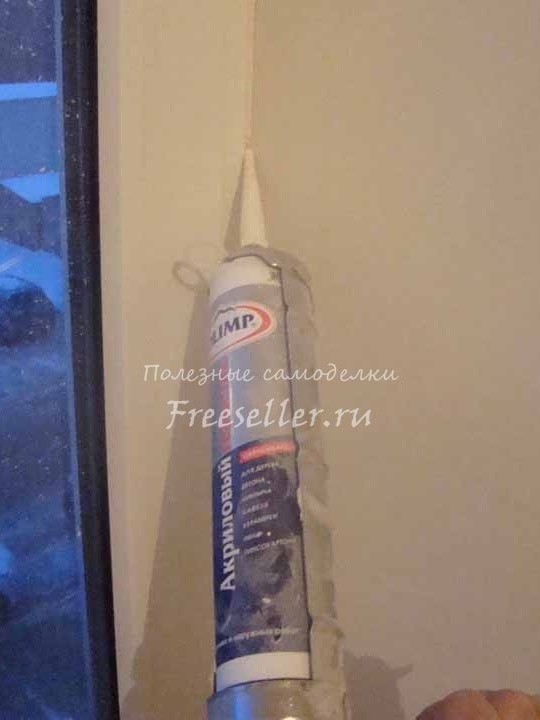
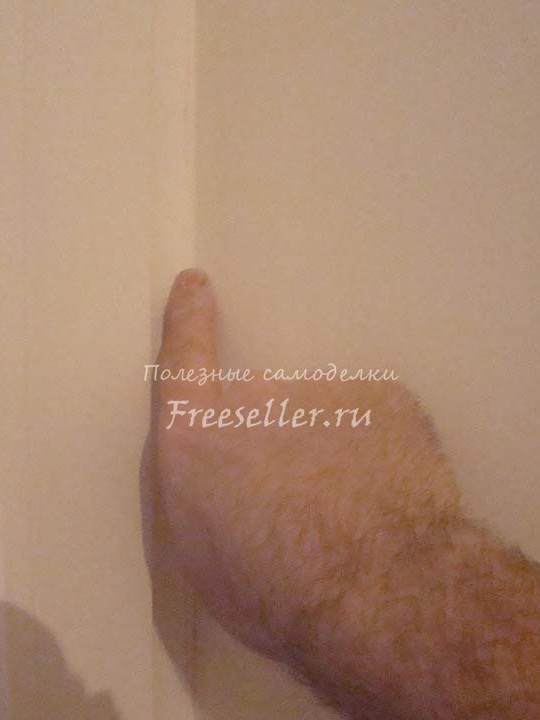
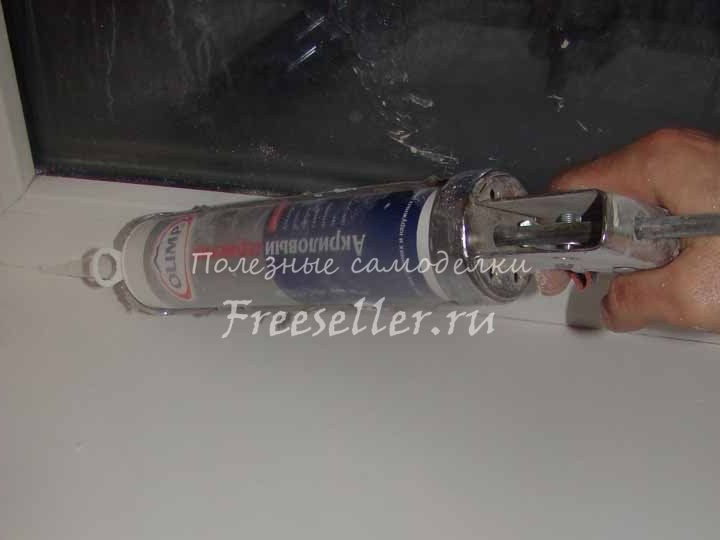
Then all the joints and corners pass with silicone sealant, this action is performed in order to seal the joints of the drywall.
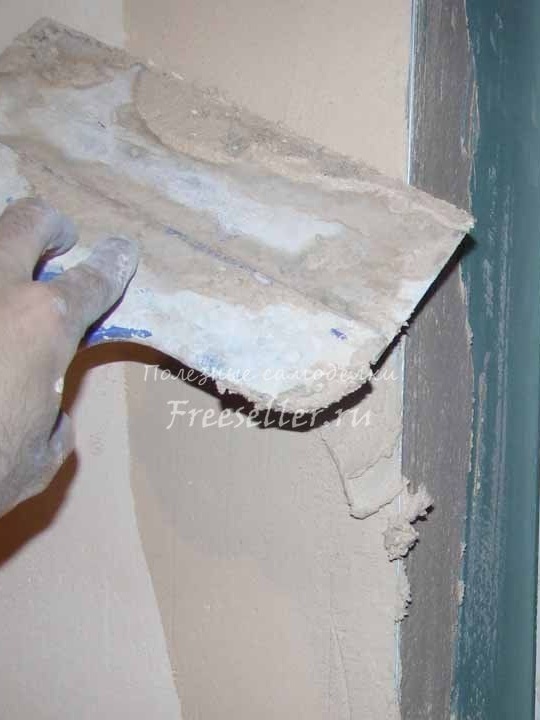
Next, proceeds to puttying surfaces and slope angles. On the recommendation of a friend, the master puttying in several layers, for better alignment of the surface of the slopes.
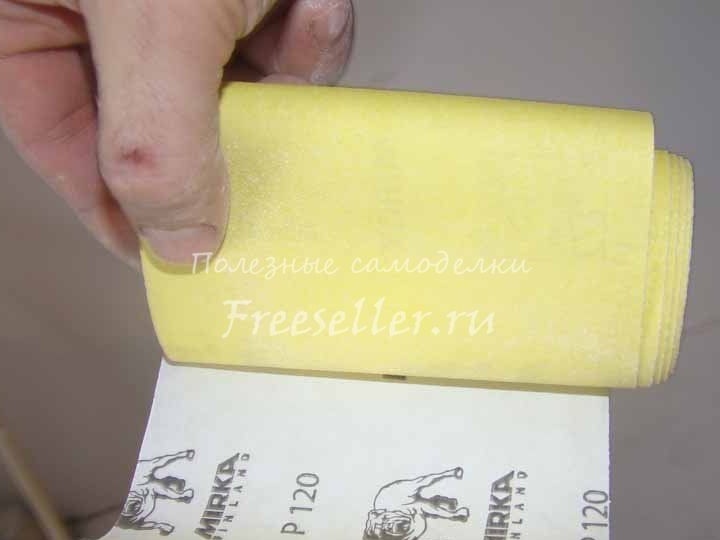
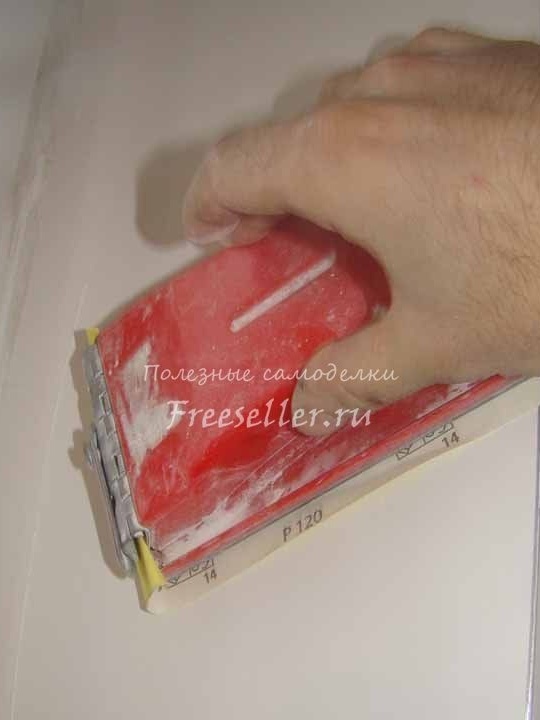
After the plastered surface dries, it aligns with a sandpaper of grade 120, or it is advisable to use grade 180.
And accordingly, the last stage is of course painting, it also applies several layers with an interval of 1-2 hours, as the painted surface dries.
And so now let's take a closer look at how he produced these works and what he needed for this.
Materials: drywall, mounting foam, screws, putty, silicone sealant, galvanized corner.
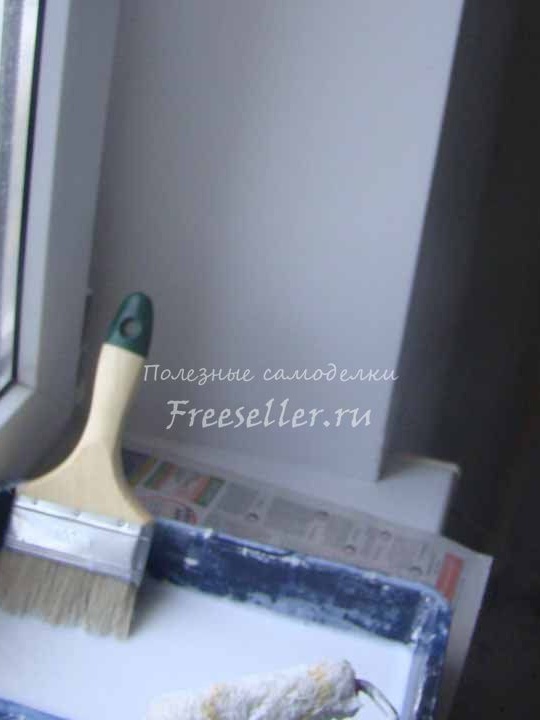
Instruments: puncher, putty knife, screwdriver, stationery knife, level, tape measure, sandpaper, kitty, roller.
And so, first of all, he takes measurements of the side wall of the window, and accordingly measures the required amount of drywall, for further actions.
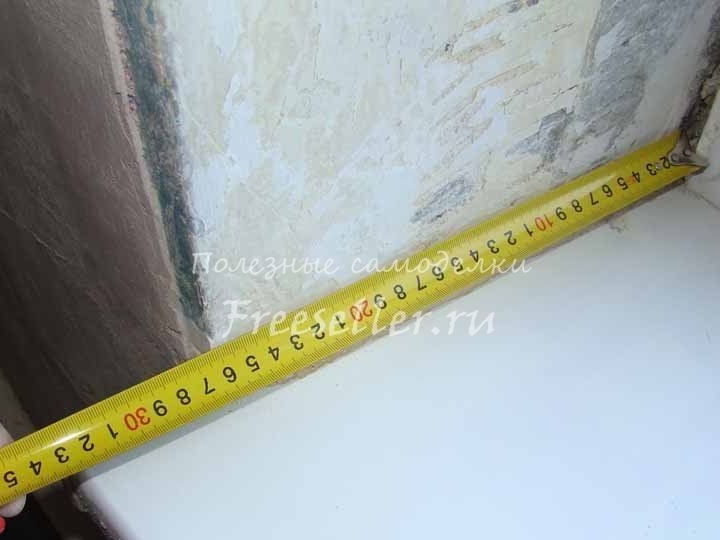
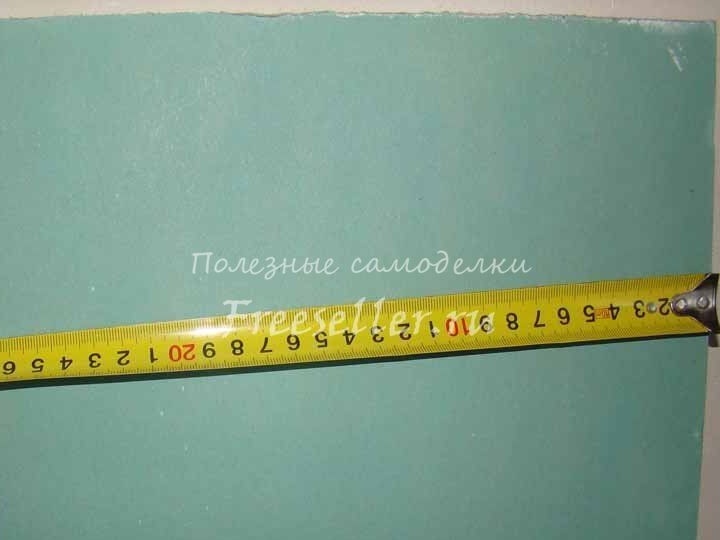
Then cuts off the size he needs.
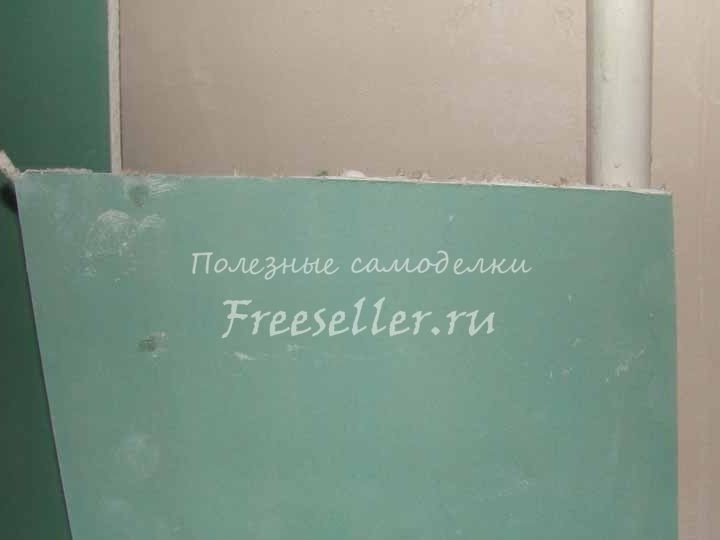
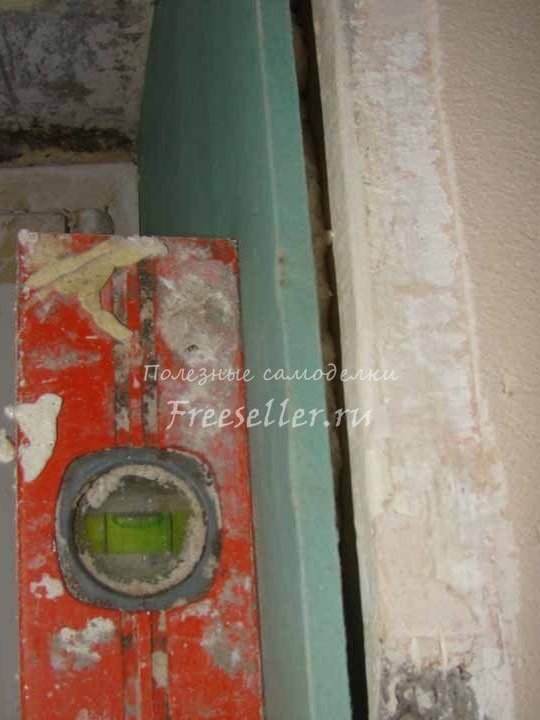
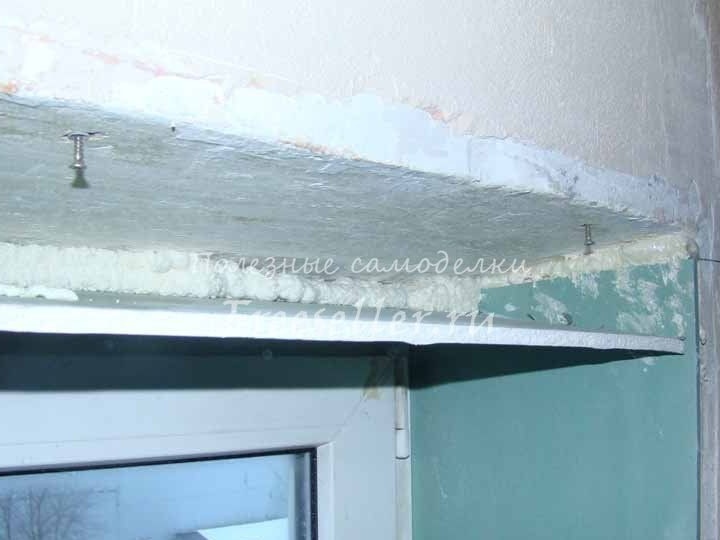
Then he proceeds with the installation of drywall, at first he runs the slope under the gap between the frame and the wall by 1-2 cm.
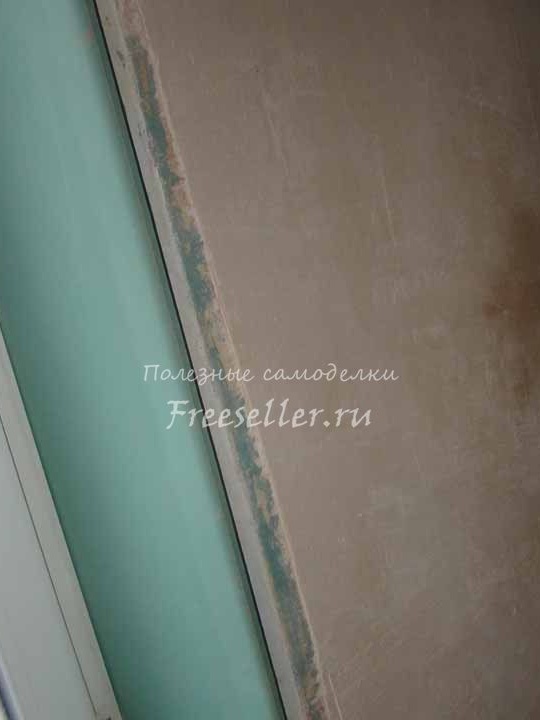
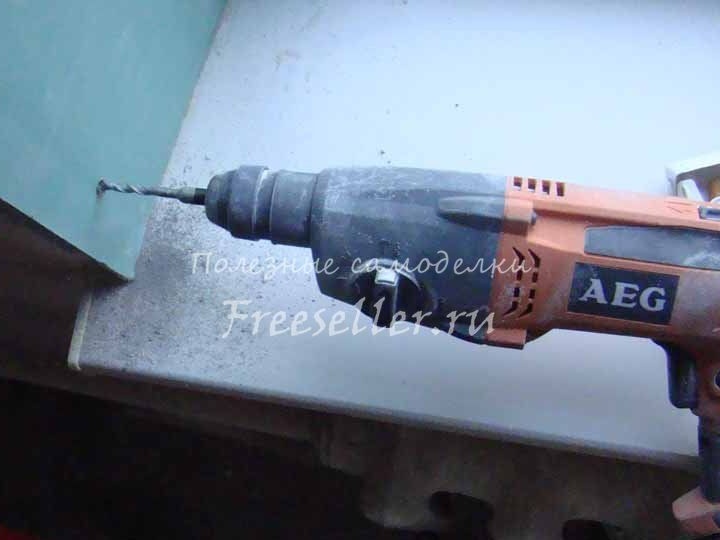
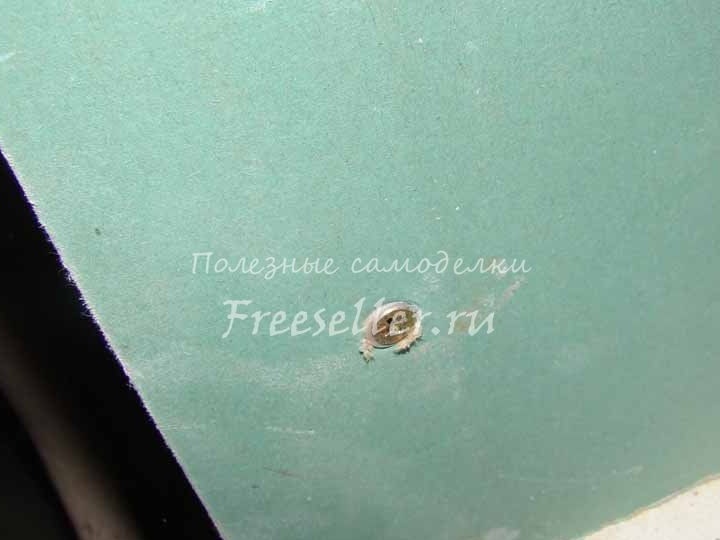
To better align the slope, he goes to such a trick - he screws the dowel in nails with a pitch of 40-50 mm, and everything works out perfectly, without a hitch.
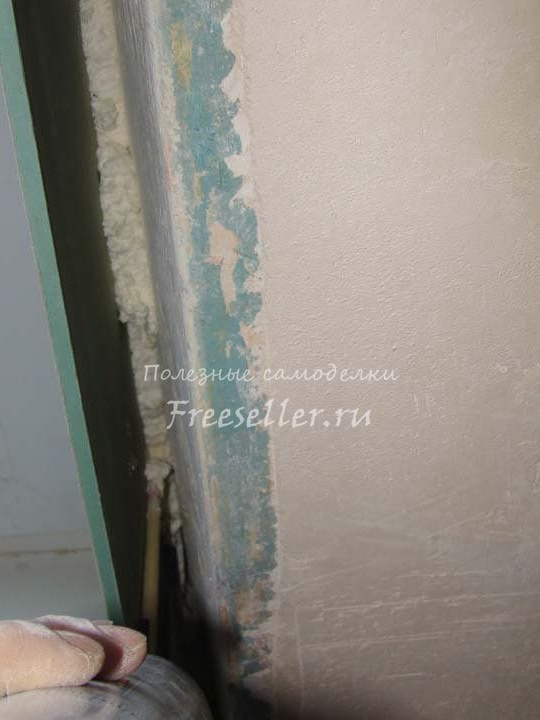
Then the gap passes between the slope and the wall with mounting foam, applies a level check, and subsequently tightens.
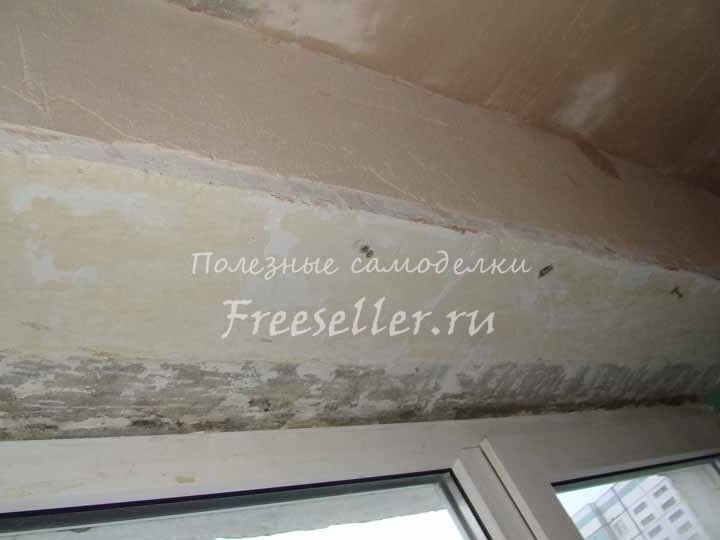
He does the same with the ceiling.
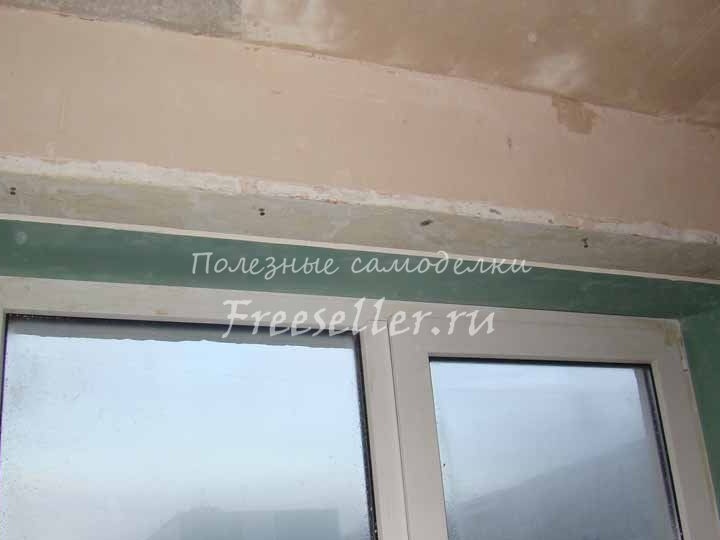
Then it aligns the corners with a galvanized corner.
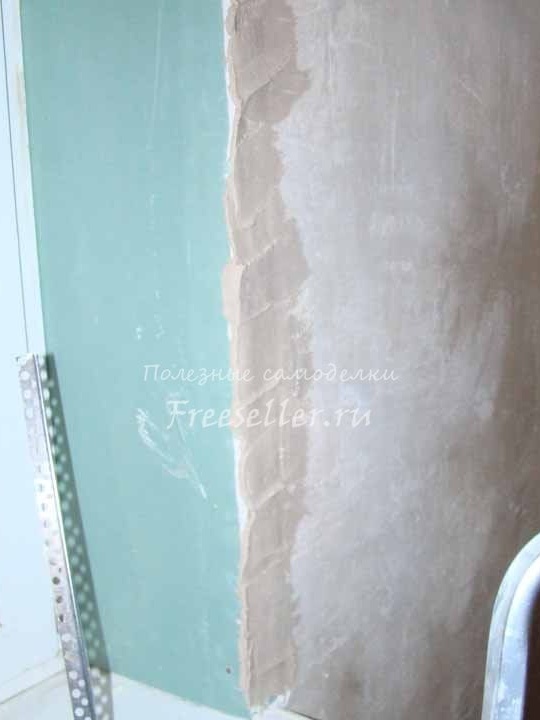
And produces subsequent putty of the entire given surface.
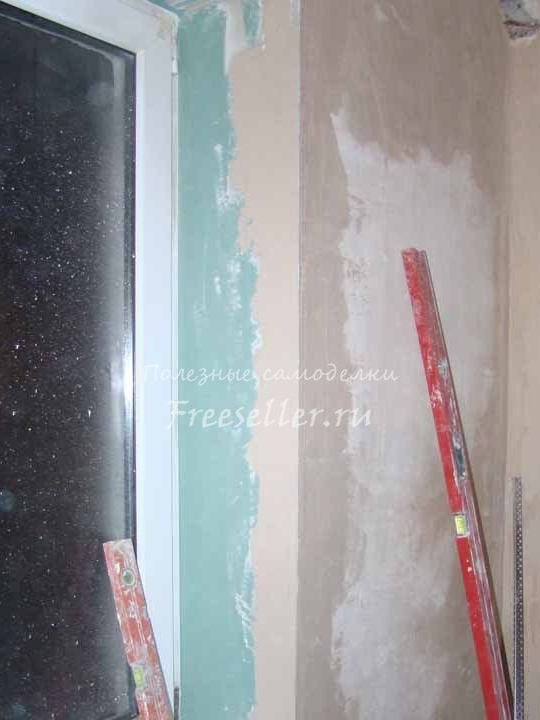
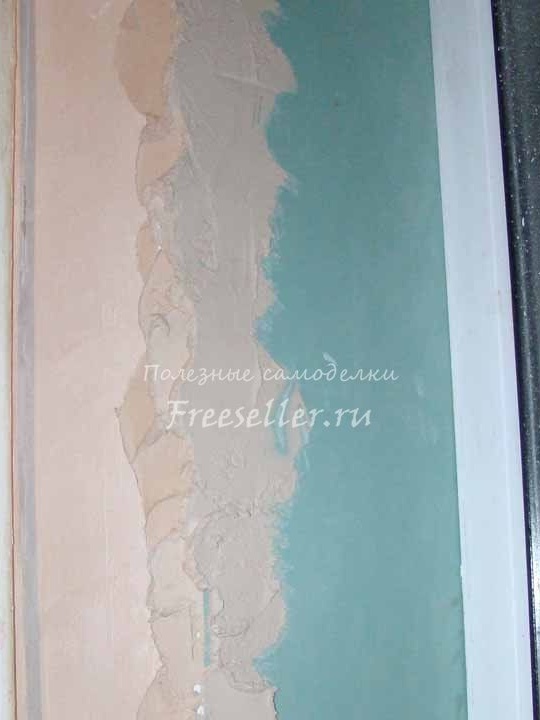

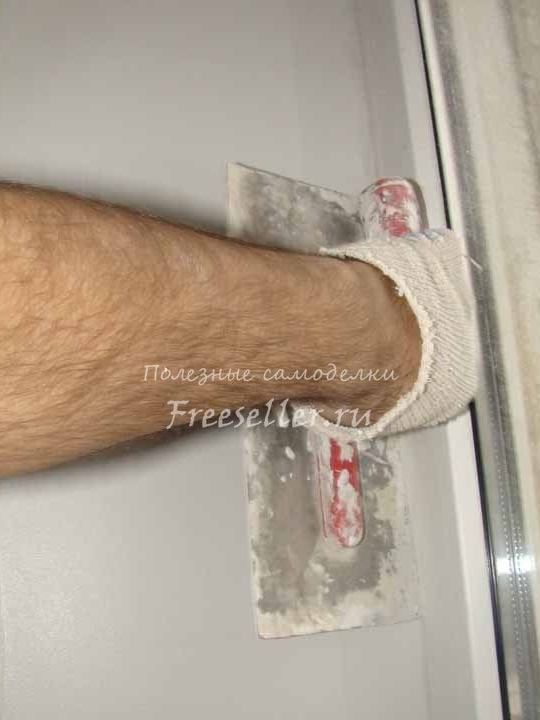

After drying the plastered surface, it proceeds to level the surface with sandpaper.
Then all the corners pass silicone sealant.

And he proceeds directly to the final stage, painting the plastered, and leveled surfaces of the slopes.
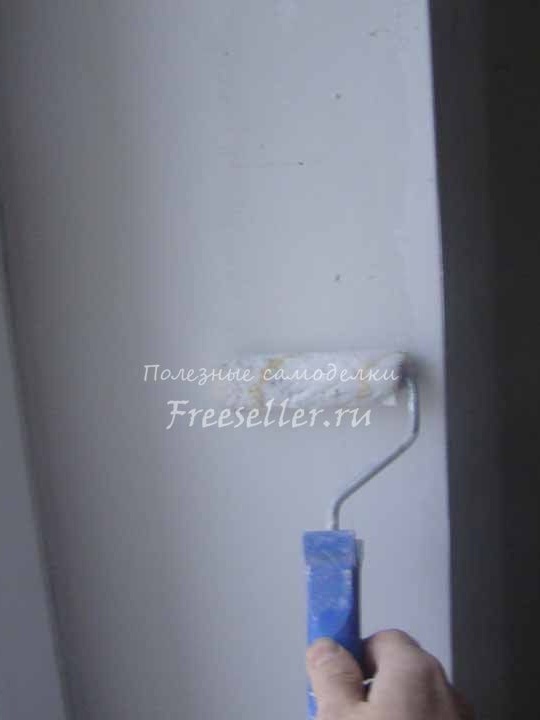
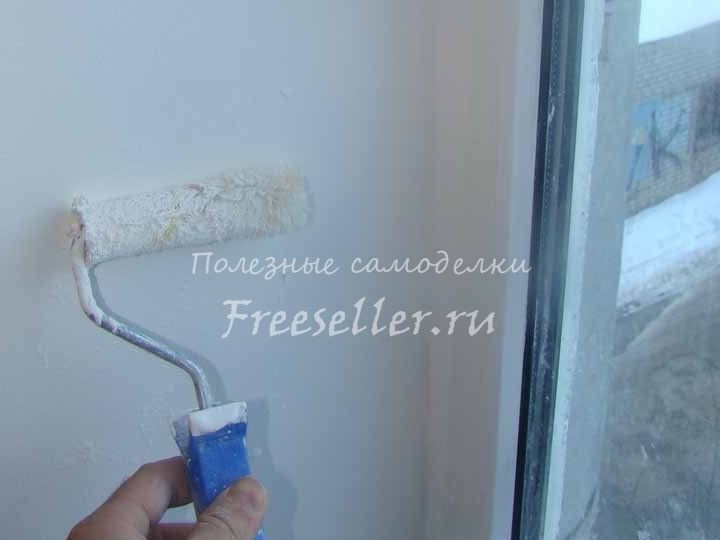
Apply several coats of paint, with a frequency of 1-2 hours, as the painted surface dries.
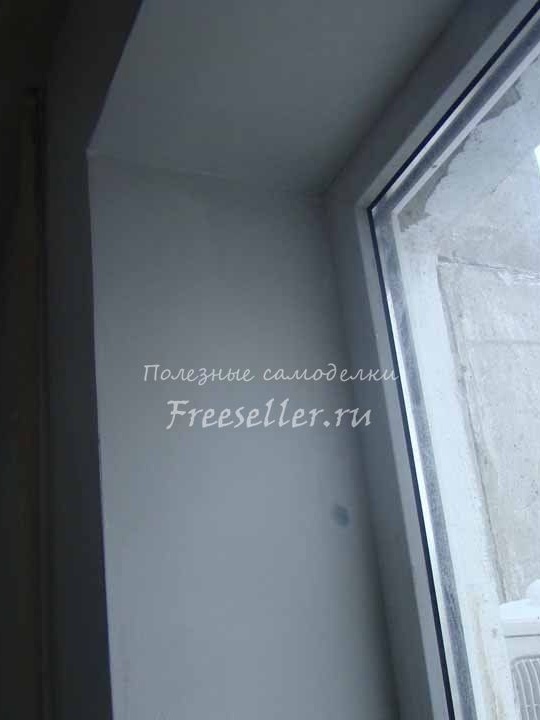
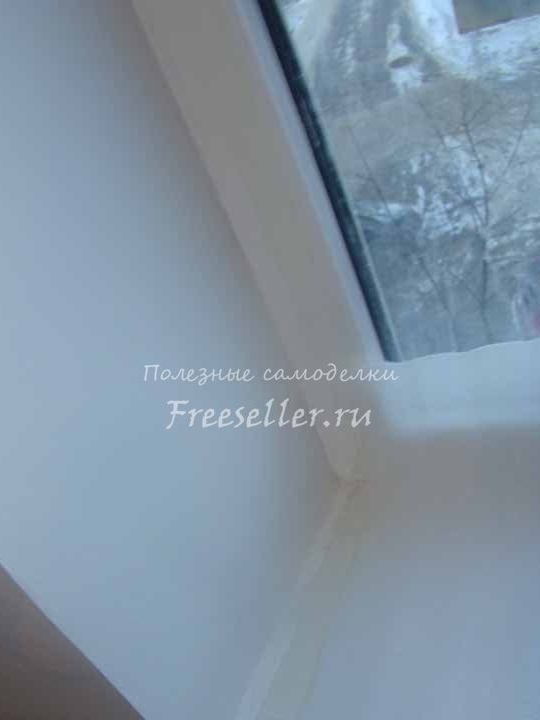
And after all the work, the slopes do it yourself ready, glow with their novelty and whiteness.
The author is very pleased with his work and the money saved in the family budget.