
Every person who has ever built something or is currently building knows perfectly well what a laborious and financially expensive process this is.
People who have a good income, of course, hire a construction team, and are not worried, they will do everything efficiently and on time.
But what about ordinary people who do not have the opportunity to hire builders, of course to build by themselves, and to learn all the delights of construction and learn from their own or other people's mistakes made during construction do it yourself. Because a person does not yet know all the intricacies of the construction business and does everything you can say blindly and makes stupid mistakes, which later I don’t want to fix.
The author, while building a country house, seeks advice from familiar builders, or goes to the world wide web for help, to one of the construction forums on which he has registered.
Because his experience has shown that before undertaking a business it is necessary to study everything in detail and very carefully, and only then to undertake a business "as they say seven times measure, cut once."
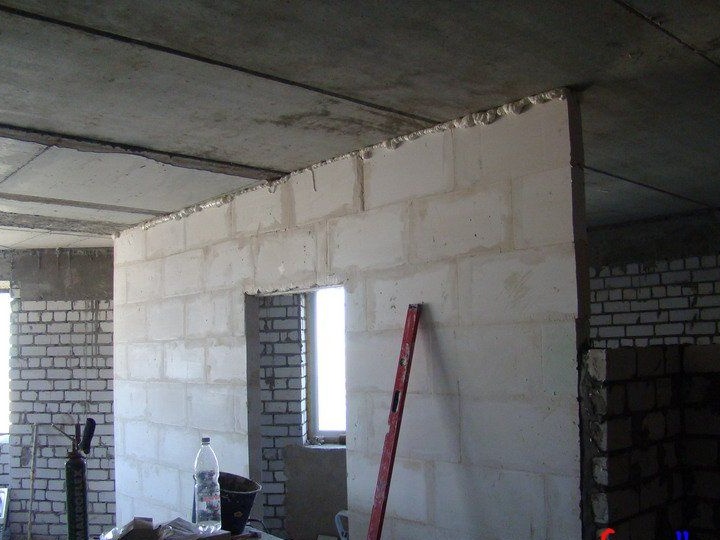
And once again he studied the stages of building a partition from gas-ridge blocks, since he wanted to make a partition and separate a small room.
This type of material is very well suited for the construction of any kind of partitions, having low weight and good sound insulation. Blocks in their structure have grooves and ridges, during masonry they enter each other, which is a strengthening of the structure.
Masonry is staggered using gypsum mortar. The bottom row of blocks is planted on cement mortar in the proportions of 1 part cement and 3 parts sand. At the end of the construction of the partition, it closes the resulting gap with mounting foam.
And so now let's take a closer look at how the partition was built from gas-ridge blocks, and what was needed for this.
Materials: gas-comb blocks, gypsum adhesive, cement mortar, mounting foam, lintels, dowel nails.
Instruments: mallet, trowel, impact drill, level, hacksaw.
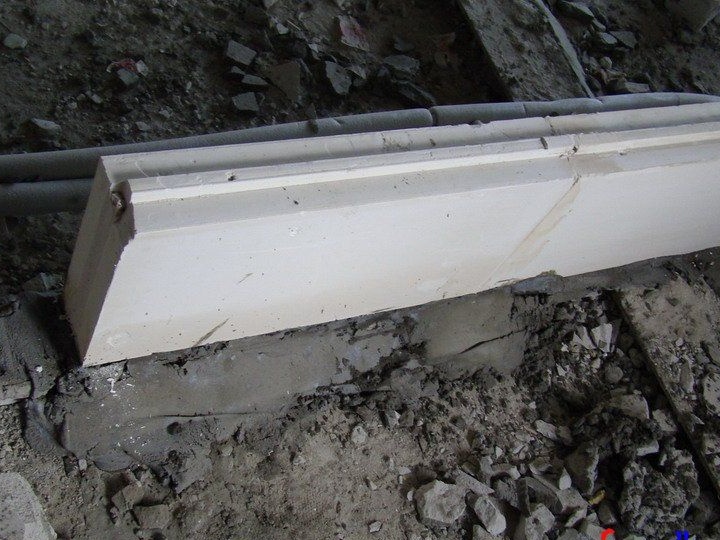
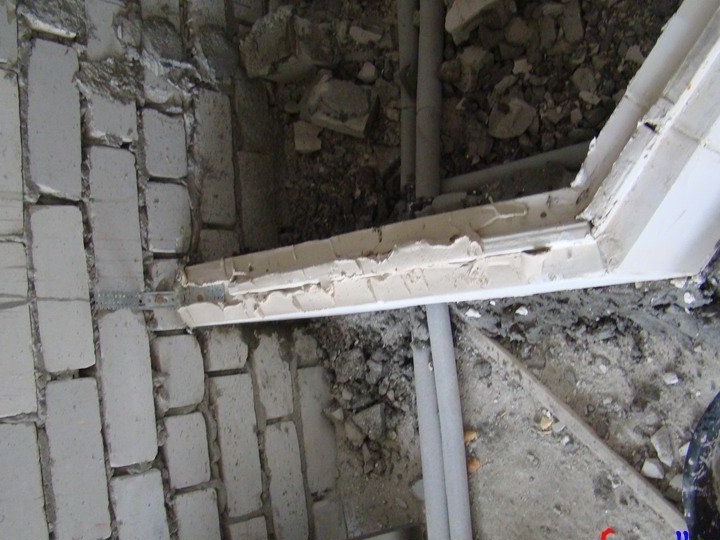
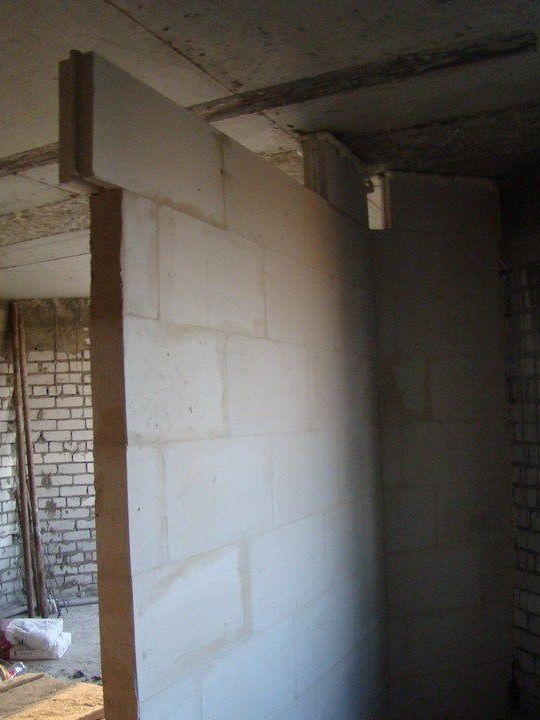
And so the first thing is laying the first row of blocks - this is the most crucial moment, because this is the foundation of the basics, and here you need to be extremely careful to avoid problems in the future. The first blocks are placed on a cement mortar, because it requires maximum strength in the lower part.
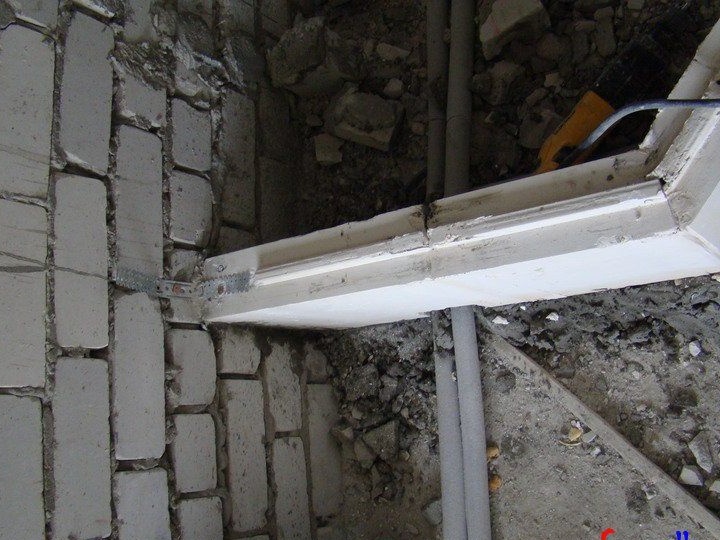
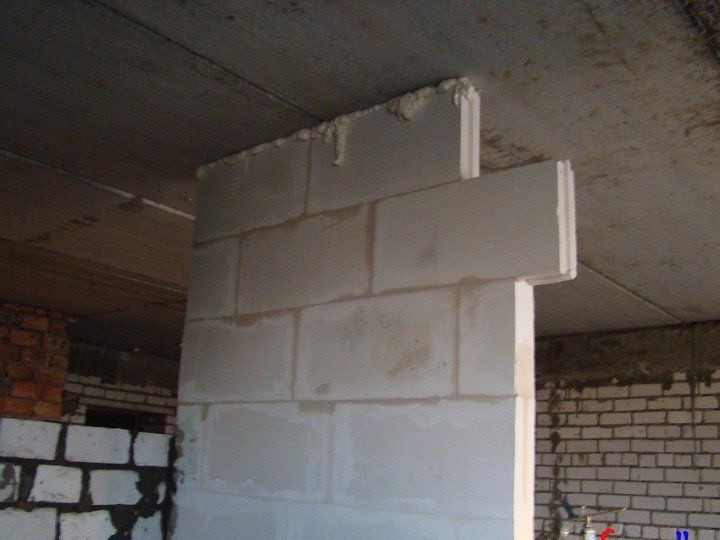
The first block is attached to the wall with a jumper, then through one block to the ceiling, it makes such a fastening in order to strengthen the partition.
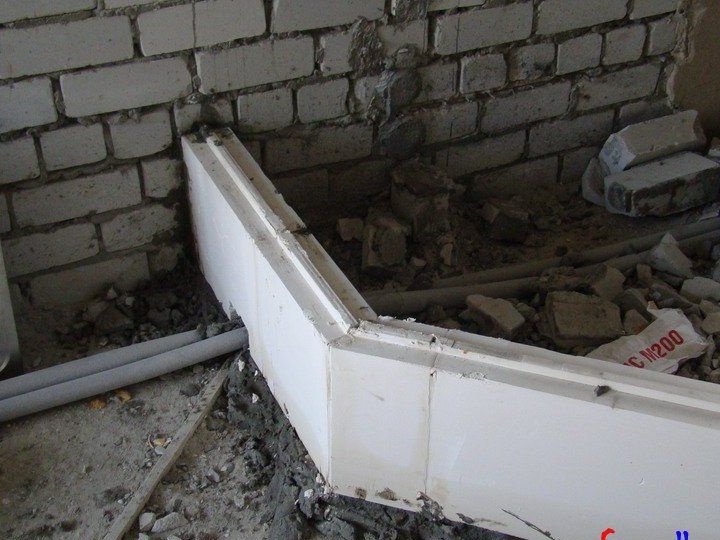
As you can see, making a partition with an angle, such an angle is not difficult to create, because this material can be easily cut with a conventional hacksaw, and at any angle.
Then he goes to the masonry on gypsum glue.
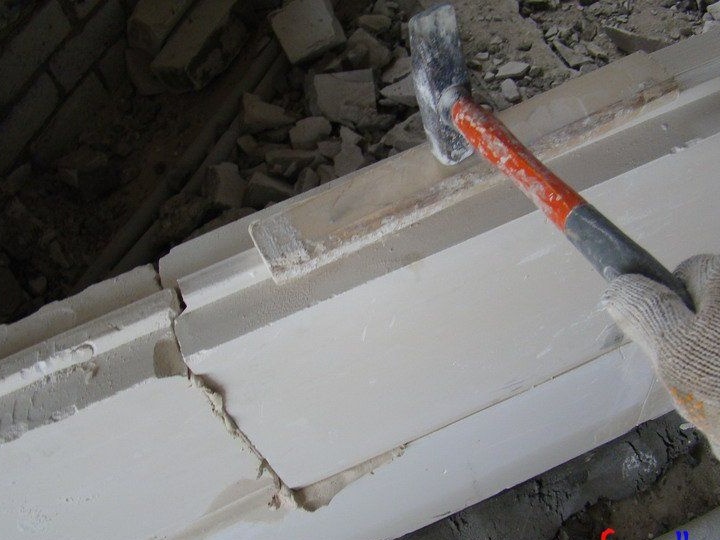
To ensure that the blocks fit snugly into the grooves, he taps the block from above with a mallet through the plank so as not to cause damage upon impact.
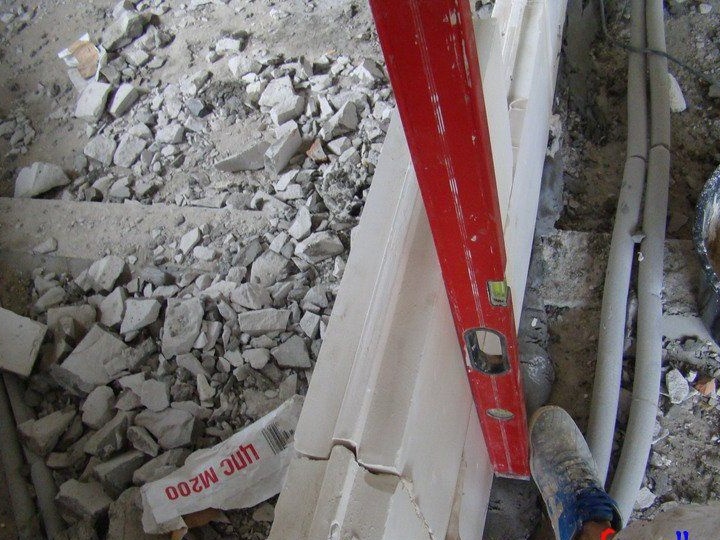
He puts each row of blocks strictly according to the level.
And further at the same pace and staggered order.
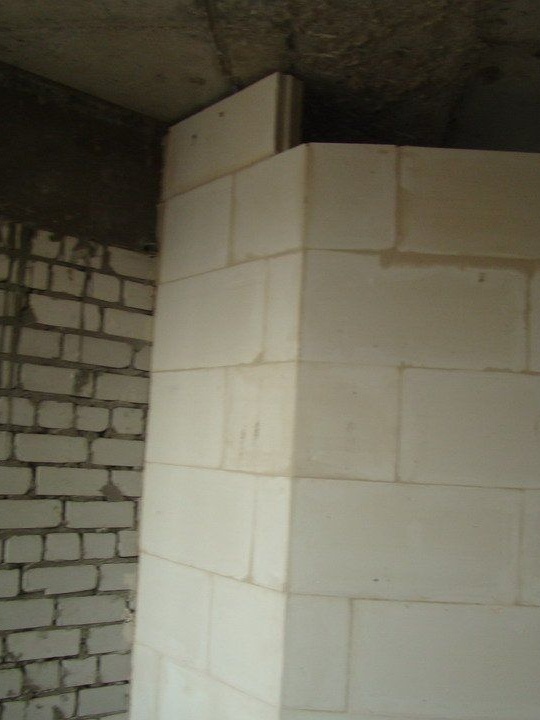

In the upper part, the resulting gap was covered with foam.
That's the whole point of laying gas-ridge blocks, if it’s not so difficult to understand, you can build such partitions with your own hands, without the help of a team of builders. Saving money from the family budget.
The author is very pleased with the work done and advises everyone to do as many things as possible with their own hands and to constantly learn and develop in all respects.