Materials and tools for work:
- bitoplast 10;
- plastic corrugation (tube);
- lattice (the author took from the old columns);
- Super glue;
- a piece of sewer pipe;
- cutting tools, screwdrivers, pliers, wrenches and more.
The process of finalizing the stove:
Step one. We solve the problem of side airflow
If the stove does not blow well on the sides, then this problem can be solved in two ways. The easiest way is to simply glue all the cracks, while the blowing efficiency will increase. It is also possible to lay a corrugation, but according to the author of the corrugation it will allow good blowing of the legs of the front and rear passengers, and it will not have any effect for blowing the sides. Therefore, the most effective in this case will be sealing.
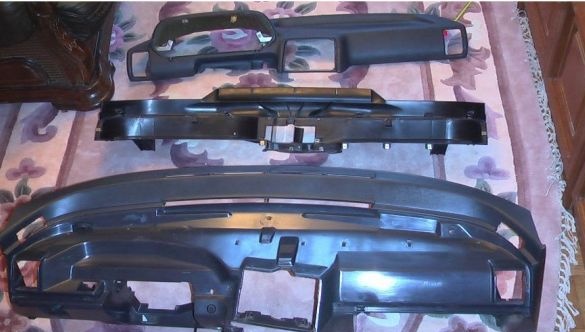
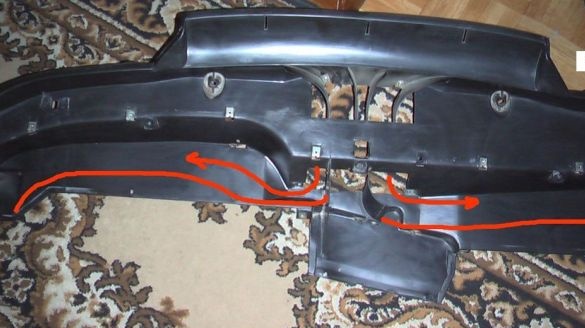
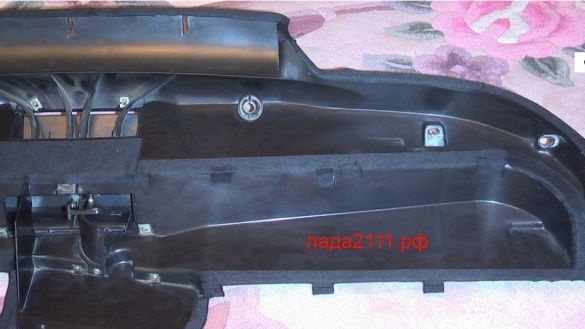
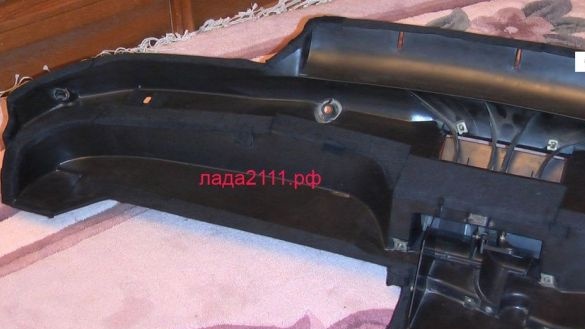
To seal the cracks in the panel, an antiskrip (modelin) is used. Using it, you also need to seal the bolt holes.
Step Two Upgrade the stove damper
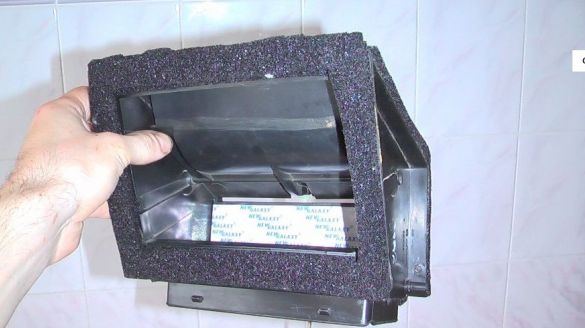
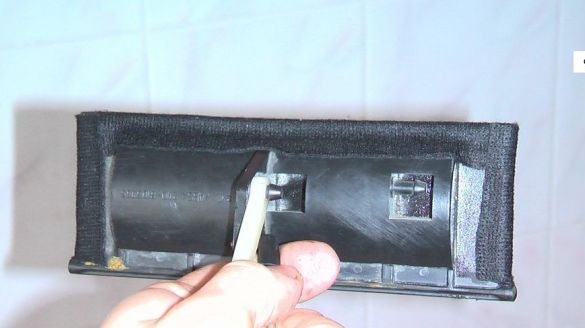
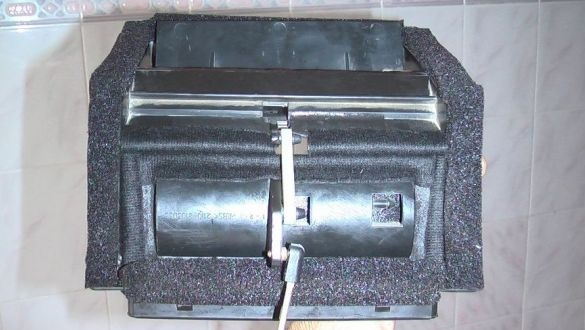
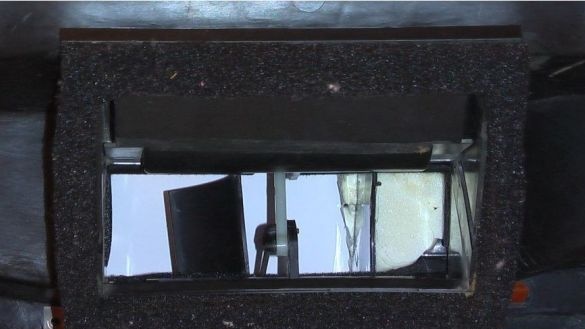
Thanks to the damper, air is directed to the windshield, to the legs and face. Initially, this damper does not fit tightly and part of the air through the slots goes where it is not needed. Using a simulator and double-sided tape, you need to seal the valve and all the cracks. The body can be glued with 10 bitoplast instead of a standard sponge. In some places, the author pasted as many as two layers.
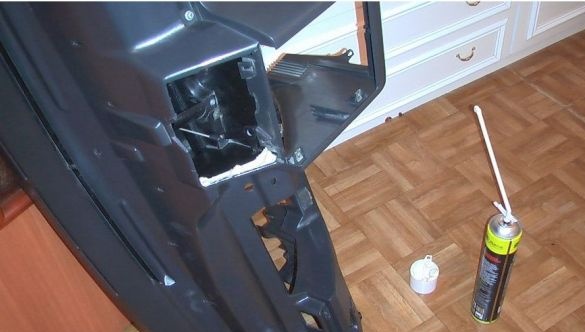
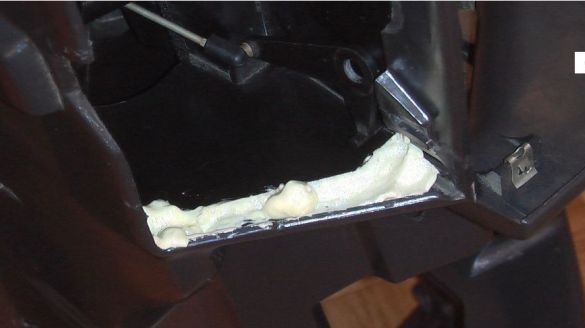
To seal a large gap through which the main air flow is lost, you can use mounting foam. According to the author, she does not cause any creaks.
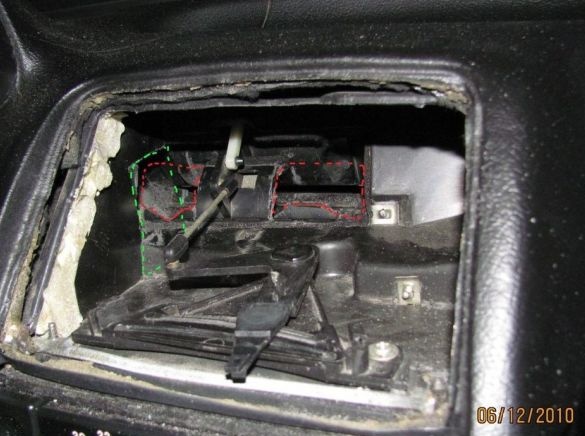
The edges at the damper need to be cut out, what specifically to cut, can be seen in the photo, indicated in red. To increase the air intake on the side window of the driver, you need to cut out the part marked in green.
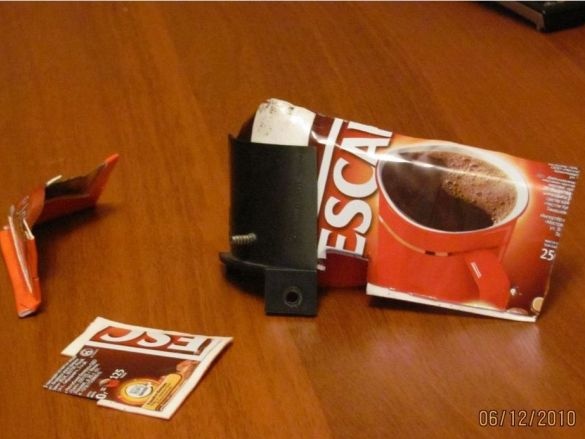
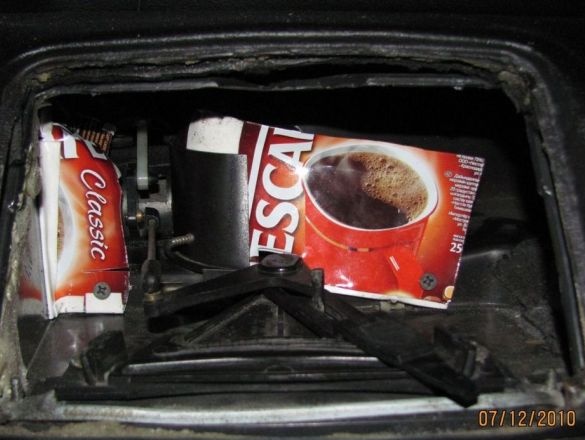
After that, you will need a can of coffee, the plates are made from it and screwed on as indicated in the photo. The plates will need to be painted black, so they will not be visible through the grill.
As a result, when you turn on the blowing in the face, the air goes to the side windows and only to the face. When you turn on the flow to the windshield, the air goes only to the windshield and nowhere else. When the damper is turned on in the legs, the air will go 50% to the side windows, 25% to the legs and 25% to the windshield.
Step Three Refinement of leg blowing
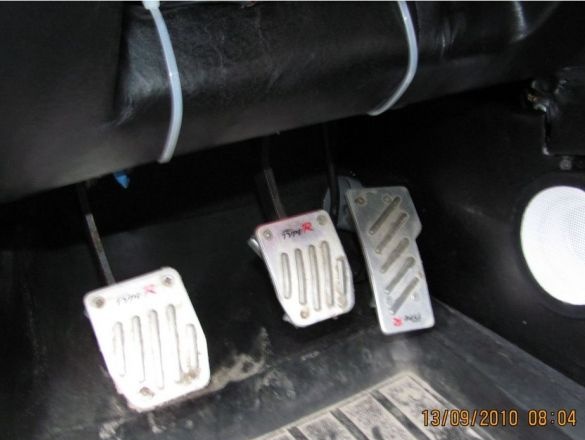
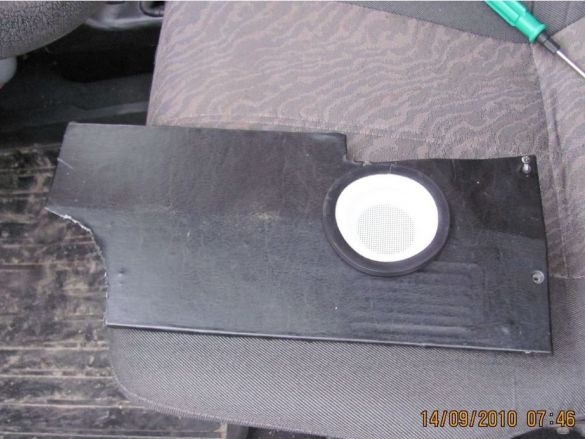
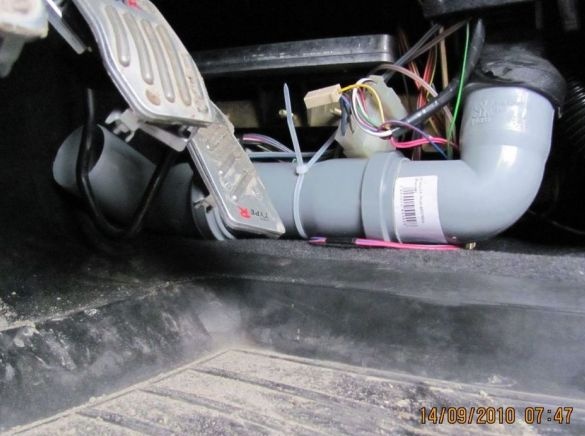
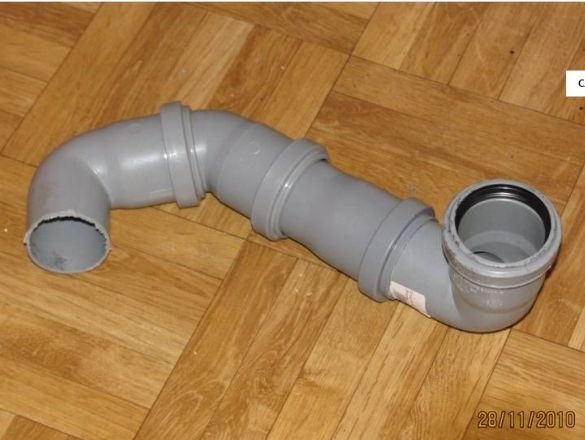
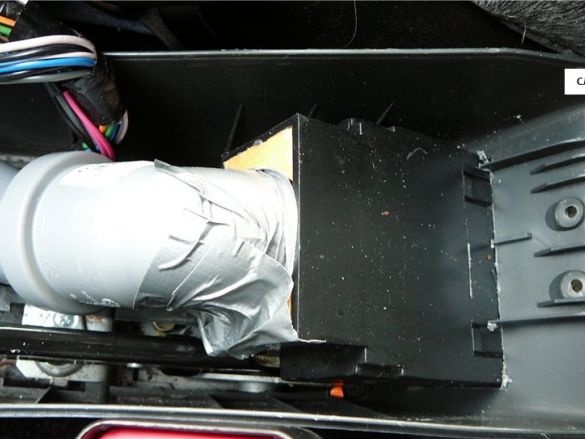
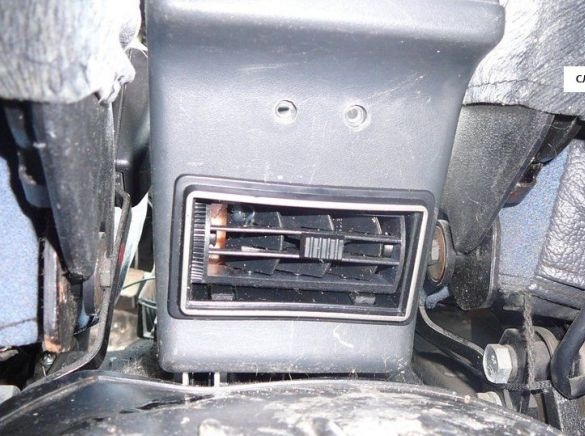
To finalize the blowing of the legs, it will be necessary to find a piece of the plumbing pipe, with the help of it you can supply air from the stove to the legs. To install the pipe in a plastic wall, you need to cut a hole. To close a pipe, it is possible to use a lattice from old columns.
To warm the legs of the rear passengers, a corrugation was removed from the ashtray.
Step Four Refinement of the thermostat
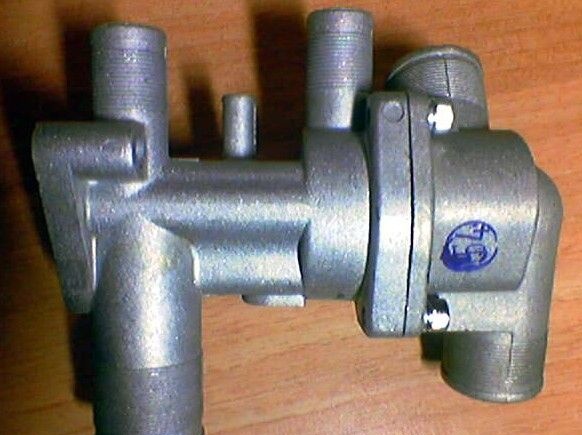
In order for the stove to work more efficiently, the standard 5-hole thermostat must be replaced with a 6-hole one. When installing such a thermostat in winter, the temperature of the coolant does not drop below 90 degrees with the engine running.
Step Five Refinement of the steam outlet pipe
From the stove to the expansion tank there is a steam exhaust pipe. Through it, part of the heat is lost. To solve this problem, the tube must be transferred, but of course not completely, there must be a clearance in it. If you approach the process more professionally, then you can use the nozzle. As a result, the stove warms more evenly at idle while parking at traffic lights or in traffic jams.
Such an upgrade will be relevant for old-style heaters, in them the coolant immediately exits the radiator, without heating it. On the new radiator, a steam outlet pipe is located at the end of the radiator, which allows you to give more heat to the radiator.
Step Six Installation of an additional pump
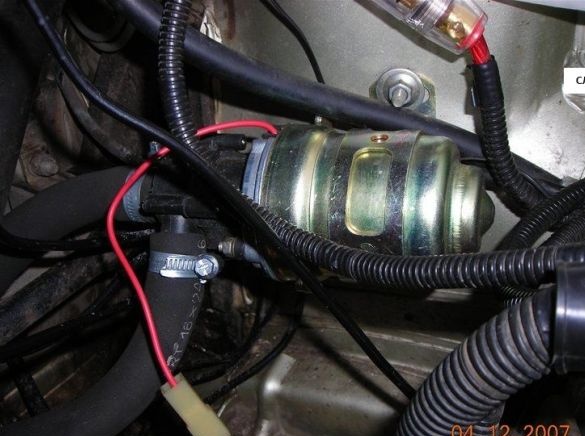
If, even with the modifications described above, the stove warms slightly, an additional pump from the Gazelle can be installed on the car. Then it will be very hot in cold weather even at engine idle speed. The fact is that in this case the antifreeze will circulate in the oven faster and it will give off as much heat at idle as when riding.
Finally, you need to conduct a good thermal insulation of the car. It is important to check all the rubber bands that provide tightness for doors, windows, pedals, gear knobs and so on. When driving, the car is blown by a stream of air and if there are gaps in the cabin, this leads to a strong loss of heat.
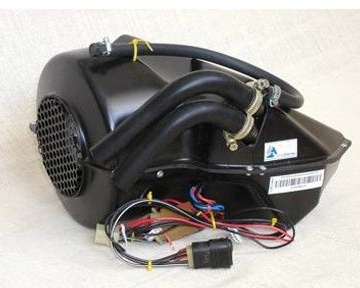
There are still a lot of options on how to modify the stove; only the main ways to solve this problem have been described above. If the problem still cannot be solved and the car is still cold, you can always install an additional stove or an electric heater.

