
The bathhouse is the heritage of our ancestors. It contains the essence and history of our people, much of our great history has not been preserved, and the bathhouse lives because the people love and appreciate it very much. It’s like we live in the 21st century, we have come up with thousands of body care products, all kinds of souls, baths and more, but when you hear the word “bath” gene memory wakes up and a happy, kind smile spreads across your face.
Today, there is a construction boom in the construction of baths in household plots. It is good, and the abundance of building material from which people build baths, use almost everything on the market and brick, blocks, timber.
The use of these materials greatly simplifies the process of building this structure, due to its price relative to the log house and ease of assembly.
For example, one person can build a bathhouse from blocks, spending only about 2 weeks on the construction of the box, and the rest, if he works productively in 3 summer months, you can build a bathhouse and take a steam bath with all your heart.
The author decided to build a bathhouse on his personal plot, and he chose the material that is popular in the construction market - these are foam blocks, this type of material has a fairly light specific gravity, which affects the physical capabilities of the builder during construction. The light weight of the blocks naturally affects the speed of erection of the box, almost twice. By other characteristics, it is not inferior to its classmates, such as arbolit, silicate block and other blocks.
Before proceeding with the masonry, you need to mark the site and prepare, fill the foundation and then proceed to the laying of blocks. The masonry of the blocks is simple with respect to the brickwork and it is quite possible for a person without special building skills, only his hands would be inserted at that end))). And the rest is easier roof and roof are not so complicated in their design.
And so now let's take a closer look at how the author carried out construction work, and what he needed for this.
Materials: foam blocks 200 * 400 * 200, cement, sand, gravel, broken brick, boards, bars, roofing material, metal corner, fittings.
Instruments: shovel, trowel, mallet, level, grinder, welding machine, drill, screw-screw, trough for mixing mortar.
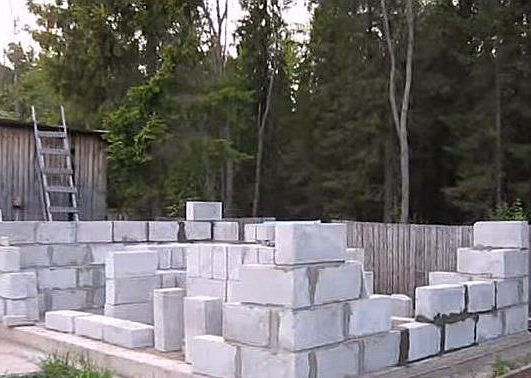
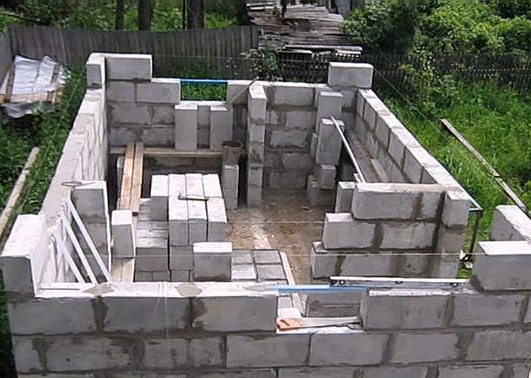
And so he first prepared the site and poured the foundation. And he began laying blocks.
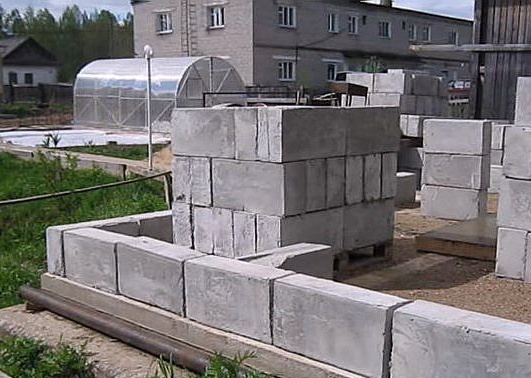
For ease of work, I dragged blocks inward.
I installed a sewer drain pipe and put a plug on it.
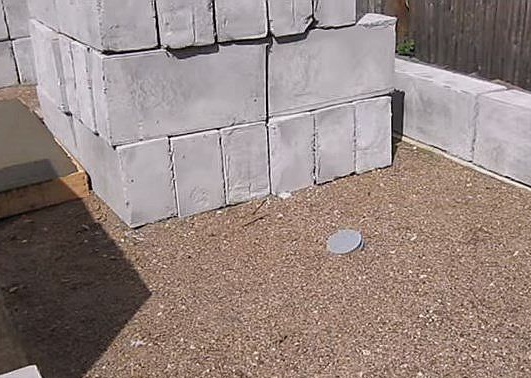
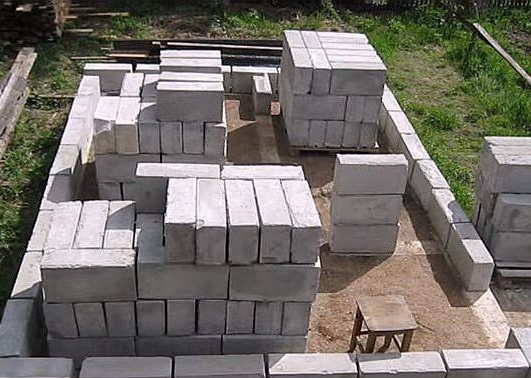
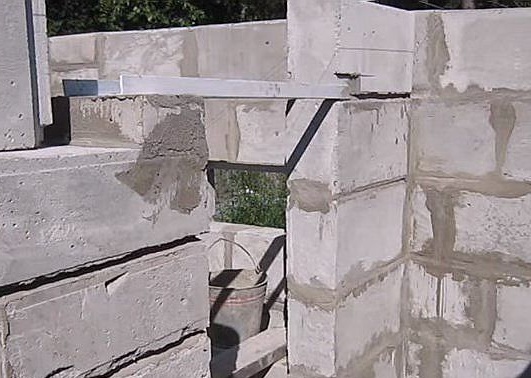
Please note that the author makes the masonry starting strictly from the corners.
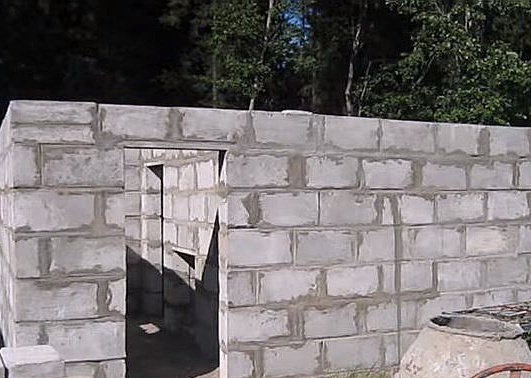
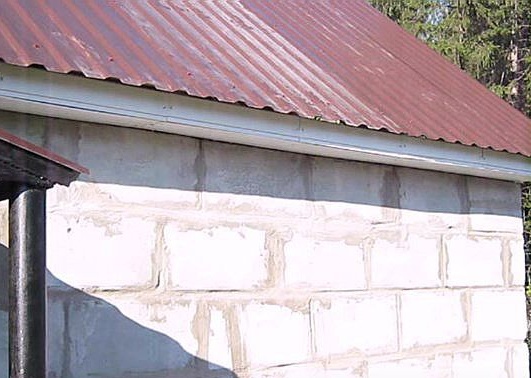
The walls are slowly growing.
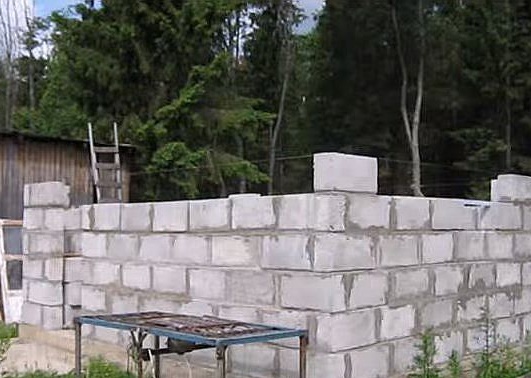
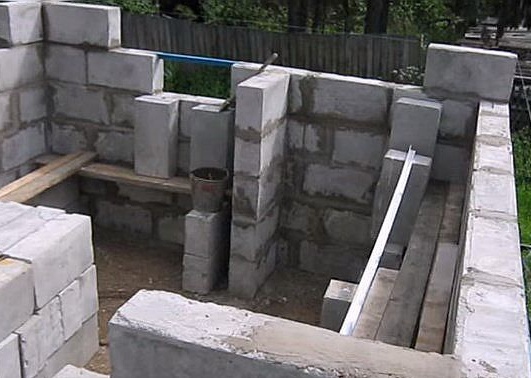

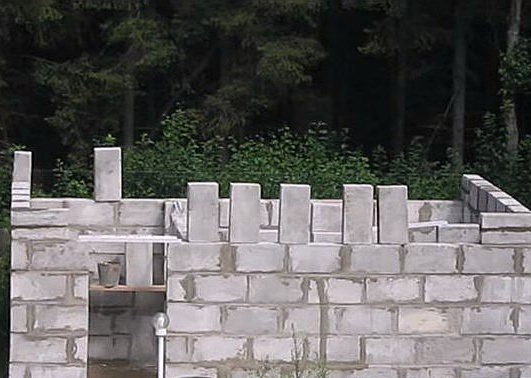
Window and doorways appear.
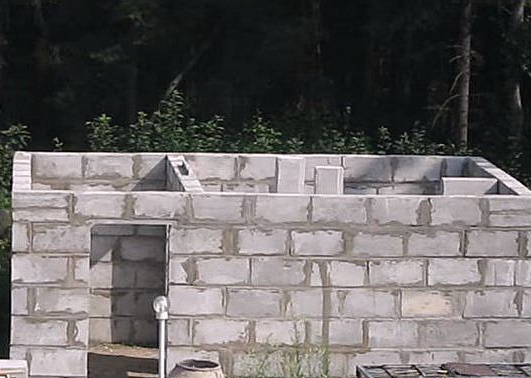
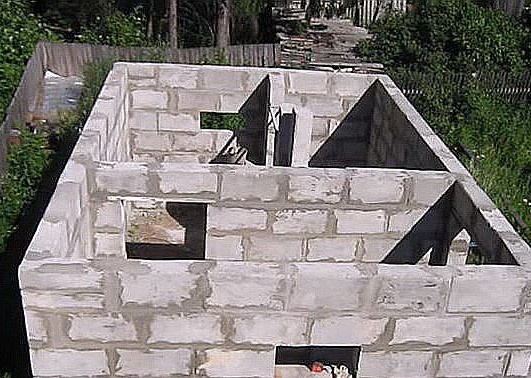
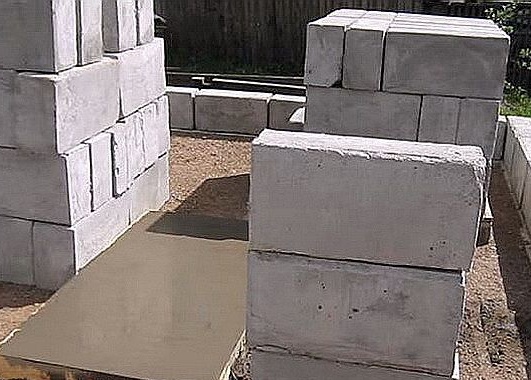
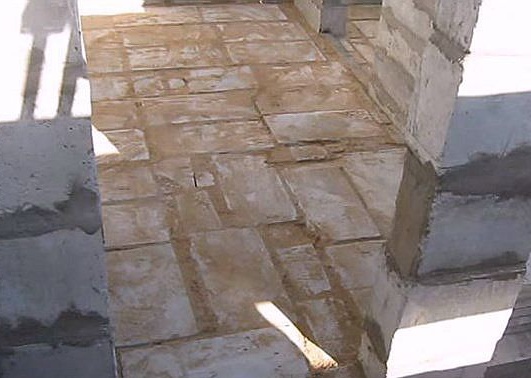
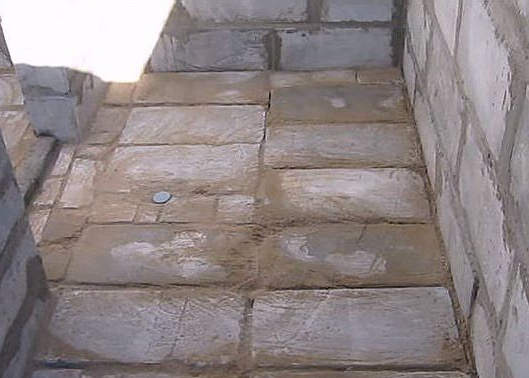
Pay attention to how economically he made the floor from blocks that are unsuitable in the masonry, he laid them out on the floor and covered them with a solution.
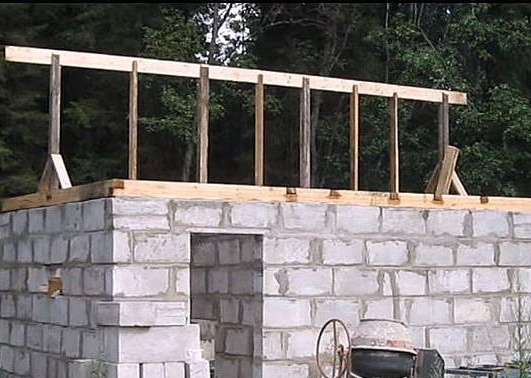
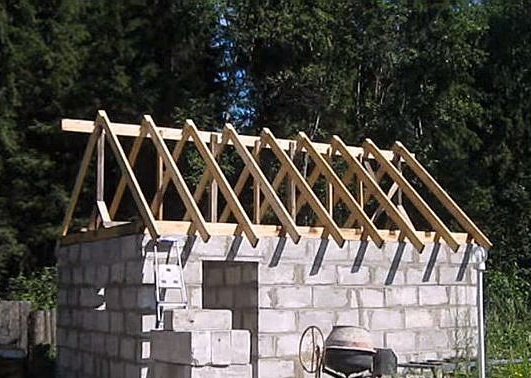
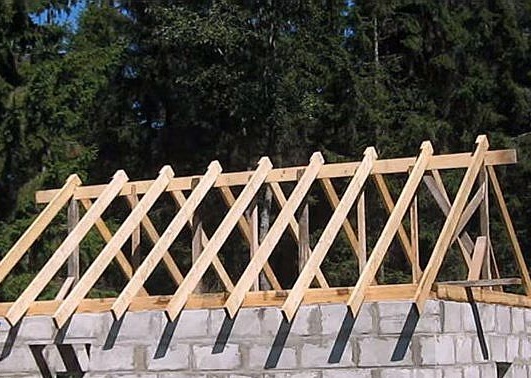
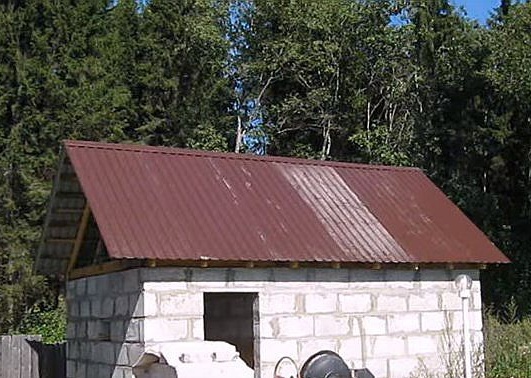
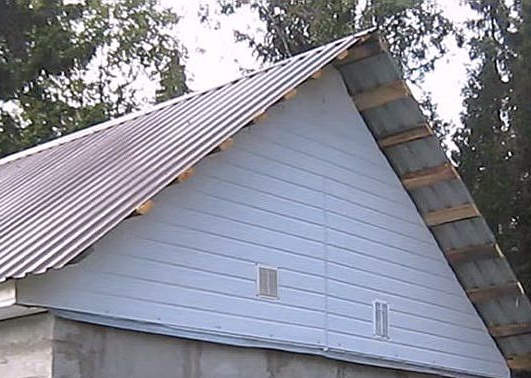
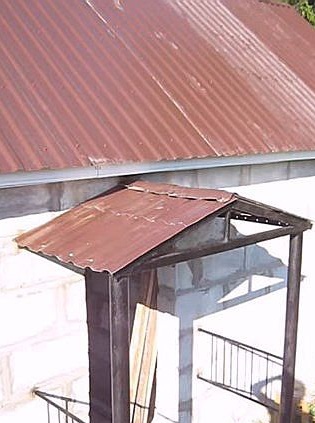
Next, proceeds to the construction of a roof, ridge and crate.

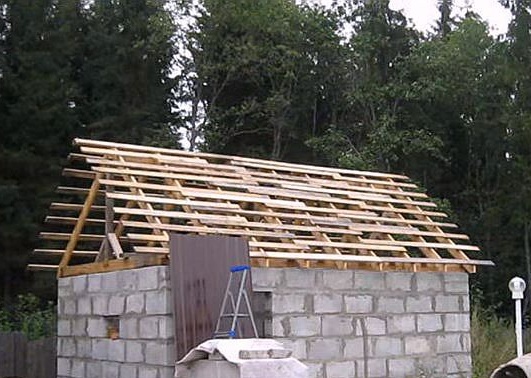
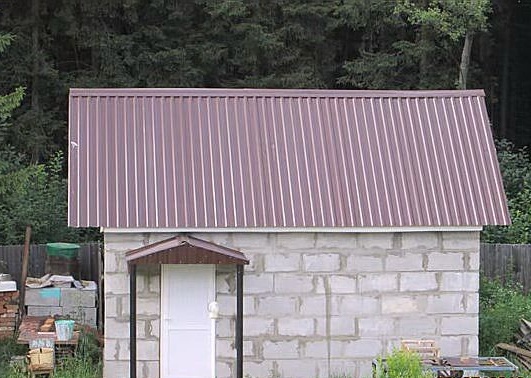
Then he proceeds to roofing and covers the roof with a metal profiled sheet.

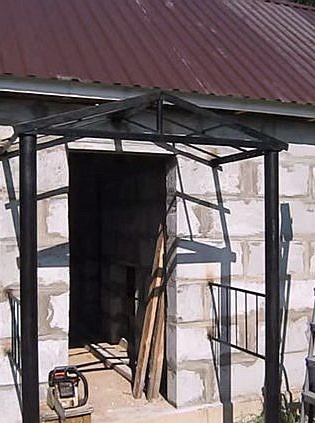
Makes a canopy of reinforcement and a metal corner in front of the entrance.
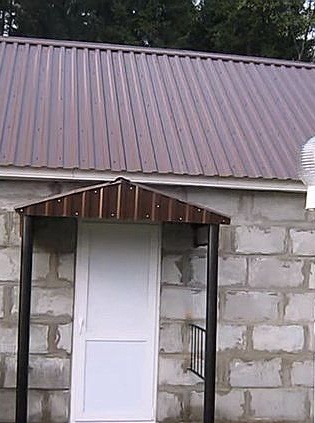
That's all, the main construction work is completed, ahead of the author is waiting for no less exciting work on the interior decoration and installation of the sauna stove.