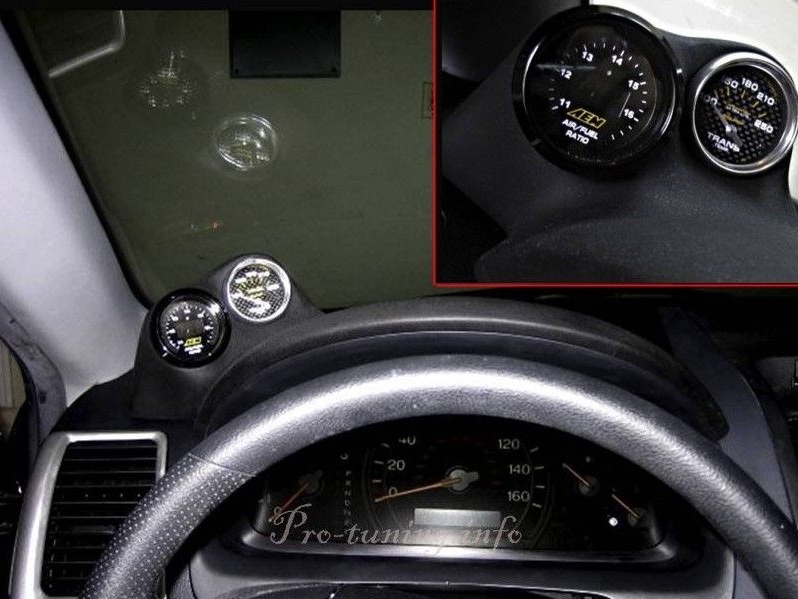
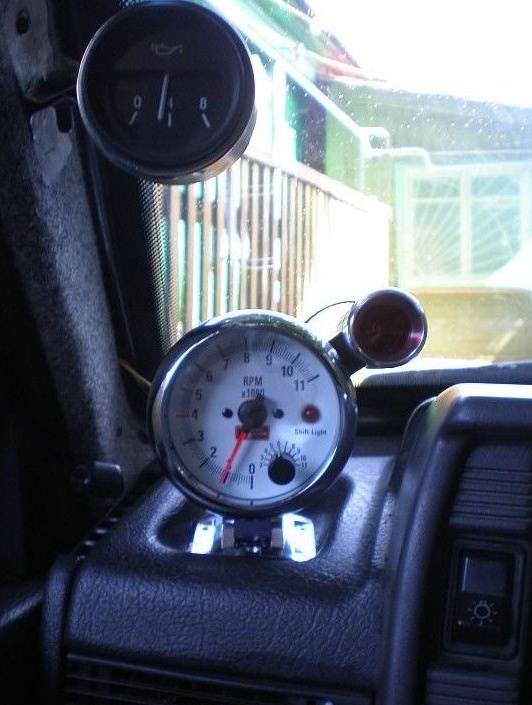
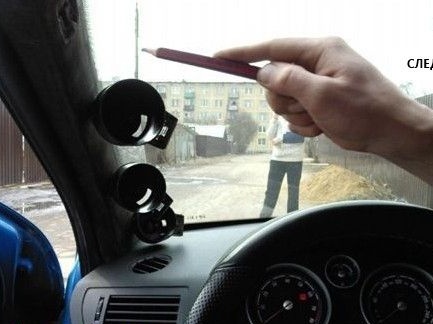
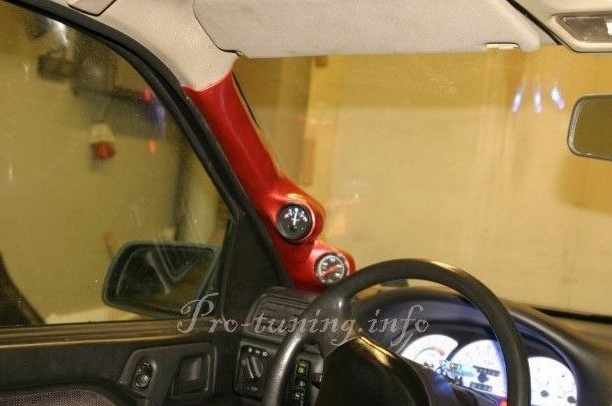
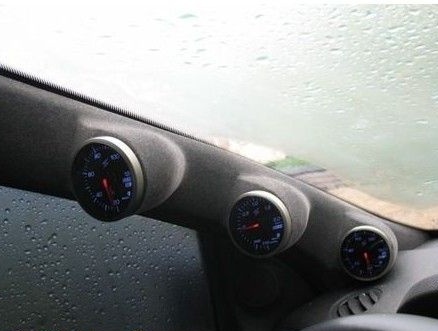
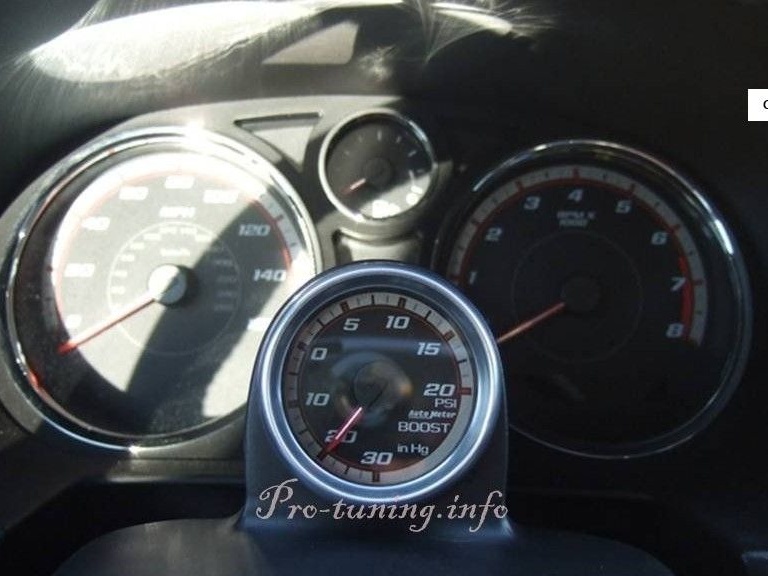
In addition to the rack, additional devices can still be installed on the dashboard and the upper part of the dashboard.
Materials and tools for manufacturing:
- putty on plastic;
- putty for fiberglass;
- fiberglass;
- epoxy.
According to the author, it all took 500 rubles.
Tools will also be needed, such as a sandpaper, a cutting tool, a measuring tool, a pencil, and more.
The process of manufacturing a rack for appliances:
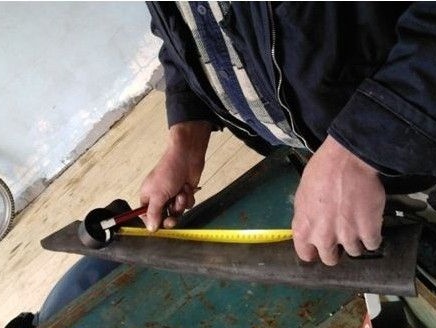
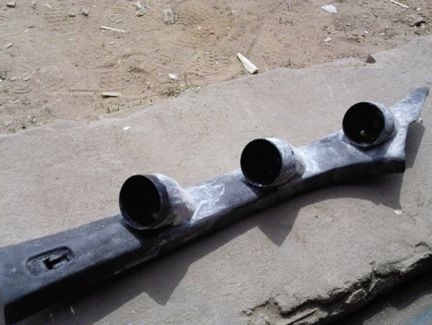
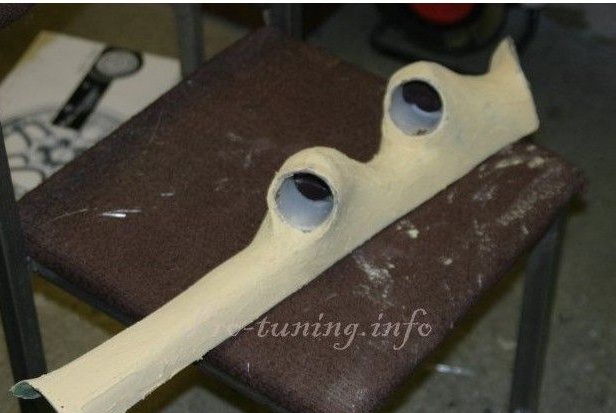
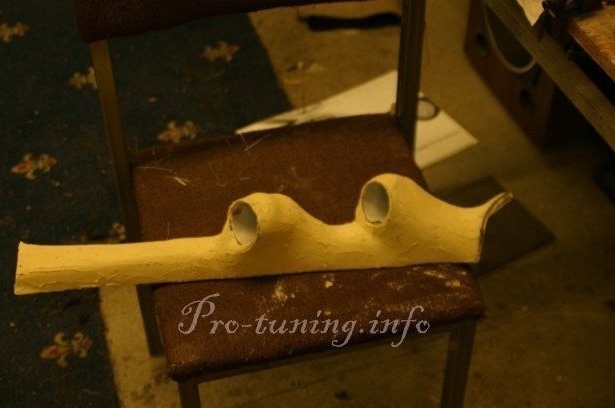
Step one. We make the necessary measurements
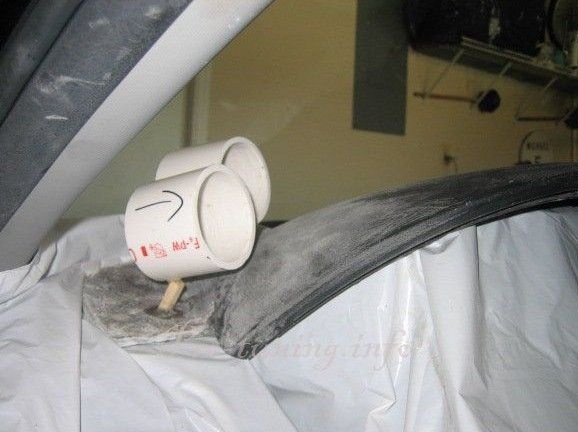
First you need to carefully measure everything in order to determine how the sensors will be located. The most important thing is to determine the distance between the sensors so that they are conveniently located on the panel. Then a standard plastic stand is removed, on a VAZ 2110 it is mounted on caps. For further work, the rack is peeled with a sandpaper, this will allow the glue to hold on better.
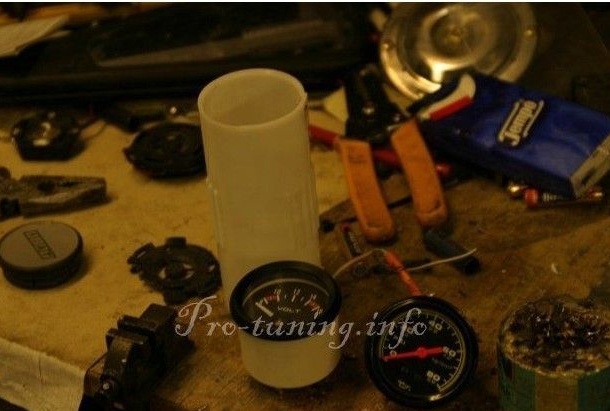
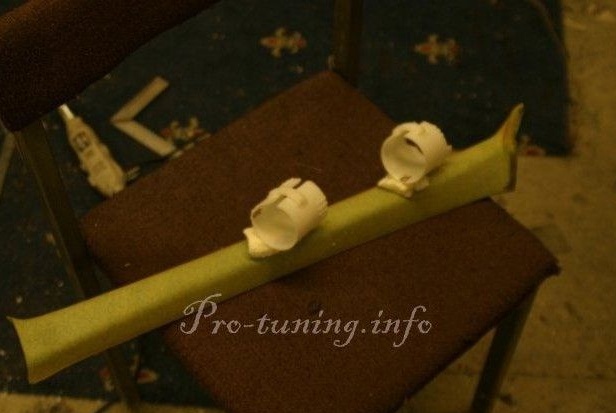
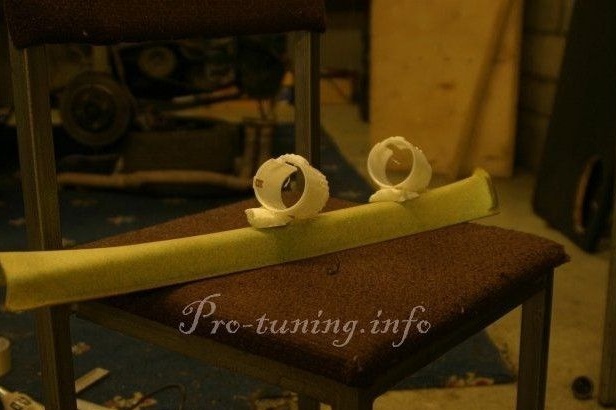
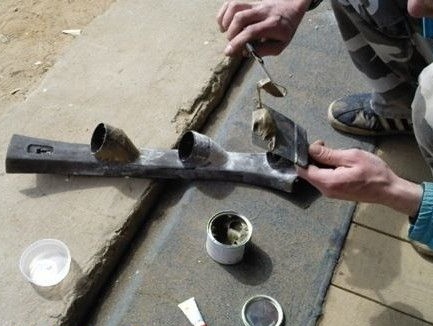
Step Two We make podiums for appliances
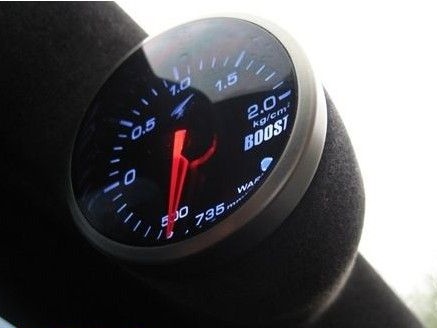
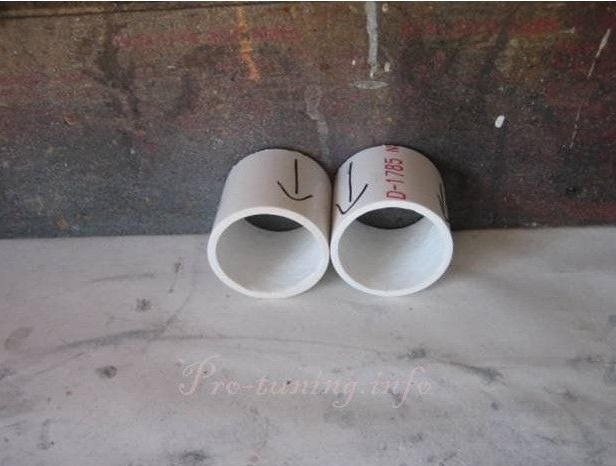
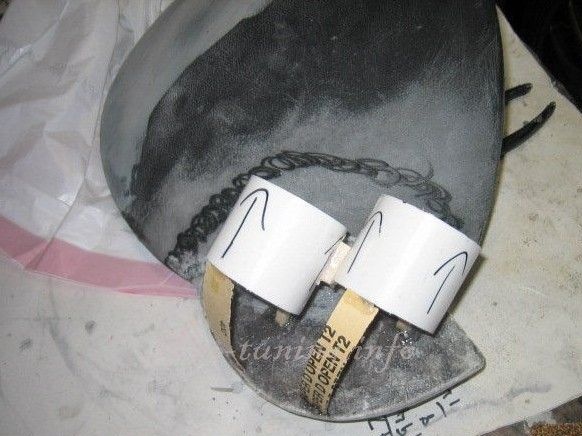
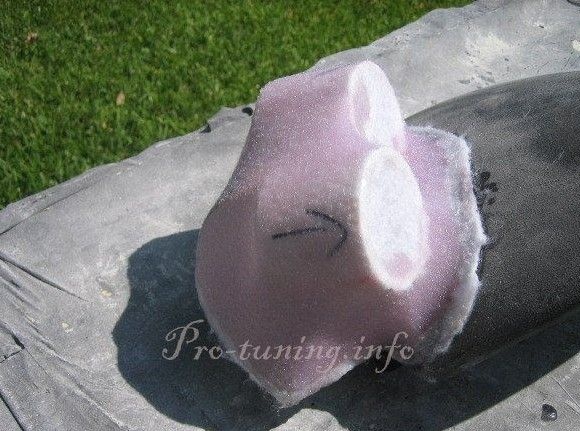
If it so happens that the cups are not attached to the devices, then they can be made independently from a pipe of a suitable diameter. After the necessary pieces of pipe are cut, they are attached to the rail on the glue to determine how they should be located. After the final fitting in the rack, holes are cut out for the devices so that they can be deepened by a sufficient distance. After trying on whether everything is correctly located, you can proceed to the next step.
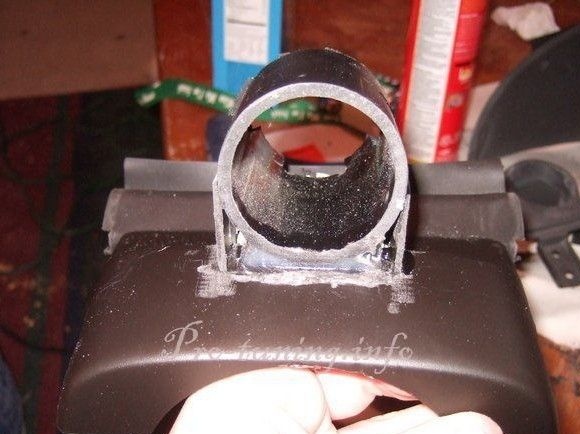
Step Three How to make a smooth transition from the podium to the rack
There are several ways you can make a smooth transition from the podium to the rack. Alternatively, you can use pieces of plastic or cardboard. From them you can cut the molds of the desired size and then stick to the podiums to ensure a smooth transition.

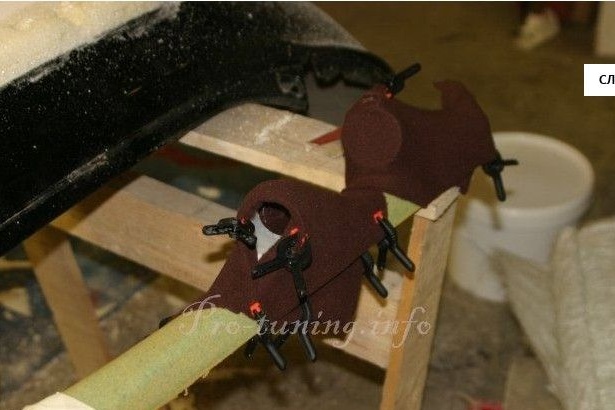
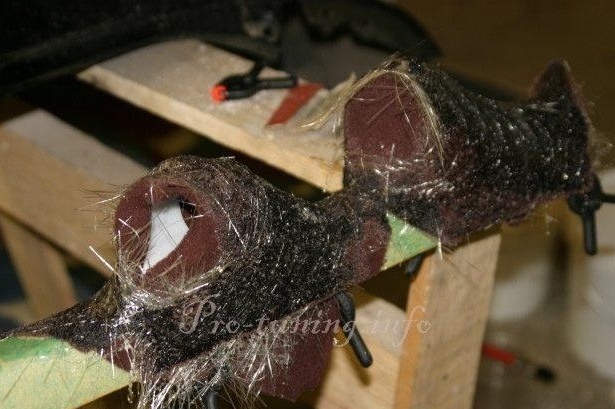

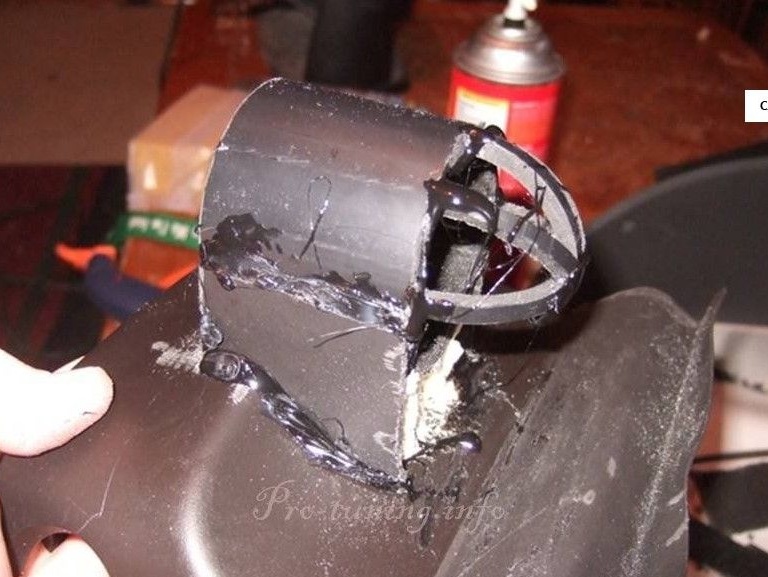
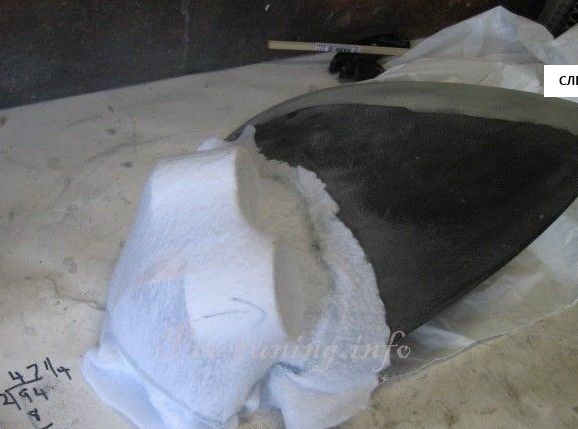
In the second case, the author uses a fabric, any one will do, she wraps around the blanks. To prevent the fabric from slipping, it can be fixed with clips. Next, fiberglass is applied on top of the fabricated base, and the whole thing is impregnated with epoxy.In order for the device to be securely fixed, fiberglass must go into the rack.
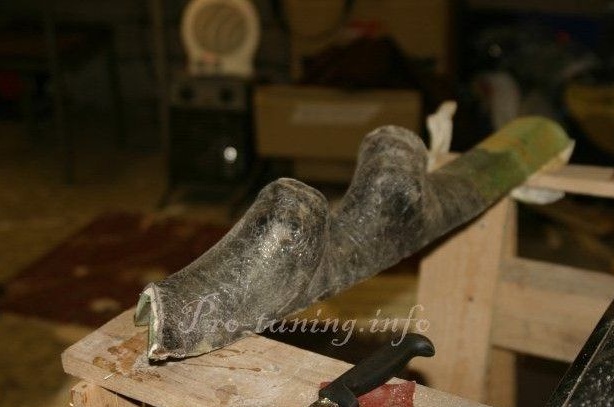
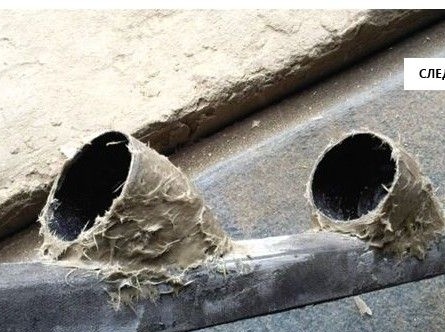
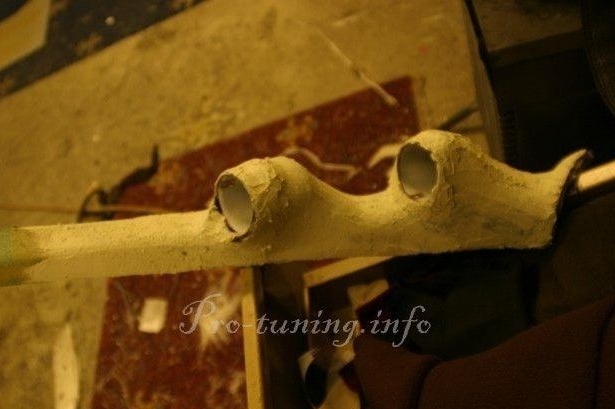
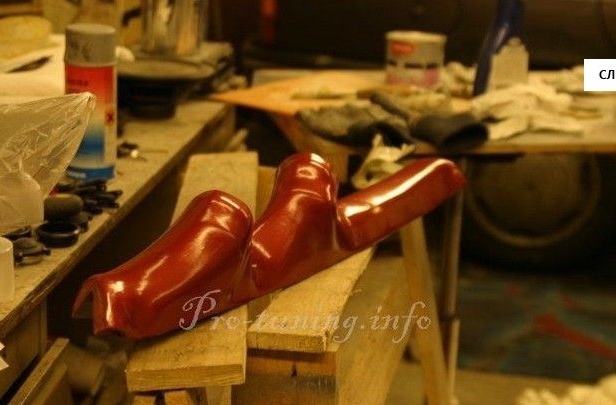
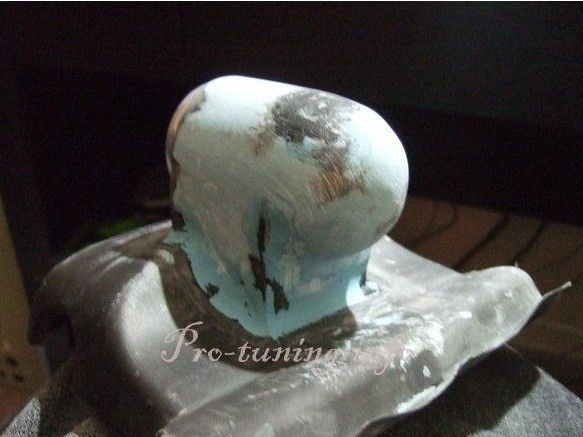
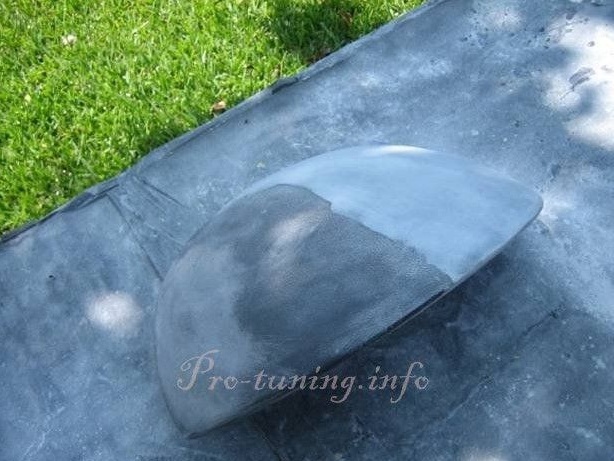
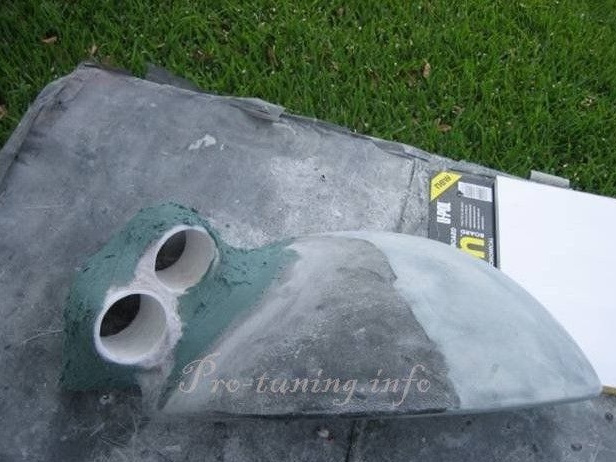
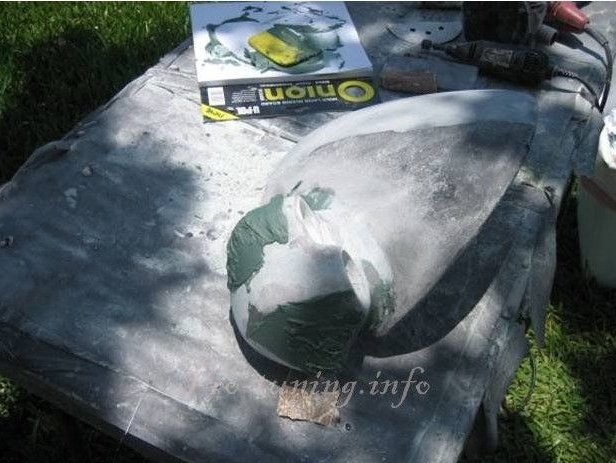
After the epoxy adhesive has dried, the structure can be sanded to a smooth state. To make smoother shapes, you need to use fiberglass putty. The putty dries quickly, as a result, everything needs to be properly sanded to smooth forms and a smooth surface.
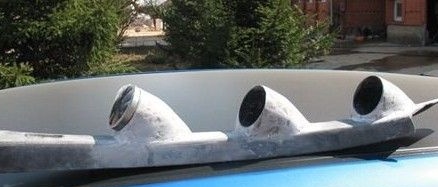
The next layer will be putty for plastic. After application, you need to wait until it dries, and then sanded to a perfectly smooth surface.
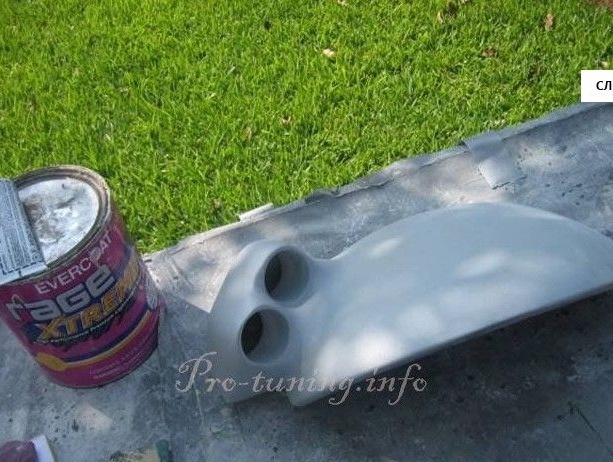
Step Four We give the rack a beautiful look
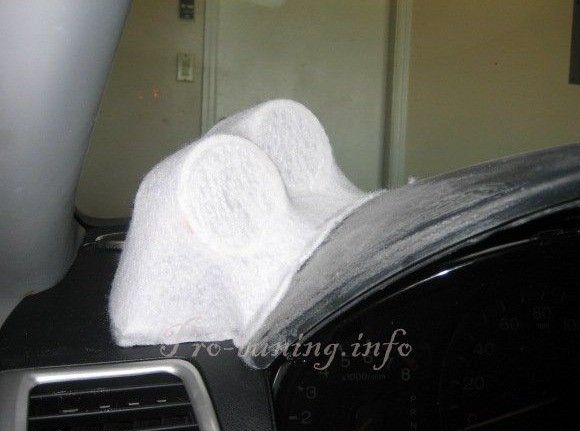
At the final stage homemade can be primed and then painted. Alternatively, the rail can be covered with some kind of fabric. After that, you can install additional devices and connect.
How to put additional devices in the dashboard
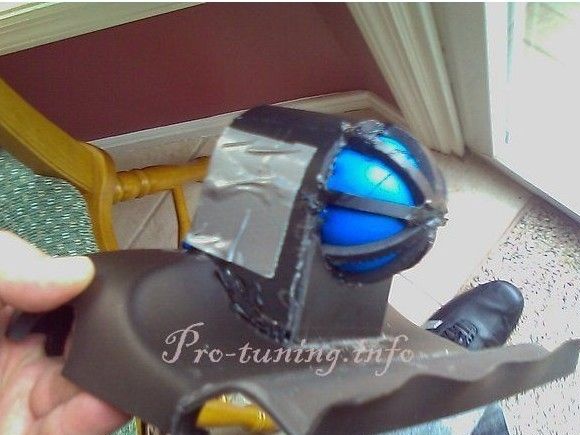
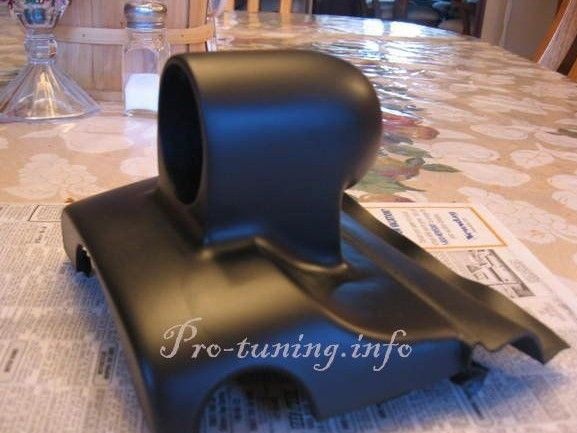
Even additional devices can easily be put on the dashboard of the car itself. As a basis, the steering column cover will be used here. The process is very similar to the one described above. That is, a piece of pipe under the device is cut out and fixed on the casing. Before gluing the surface, thoroughly clean with a sandpaper.
A distinctive feature of such a podium will be its wall, it is round in shape. To make a rounded skeleton, pieces of pipe are used that are mounted on an epoxy resin. To perfectly close all openings, you will need a balloon, it is inflated and placed inside the podium. So that the ball does not creep out, it is fixed with adhesive tape.
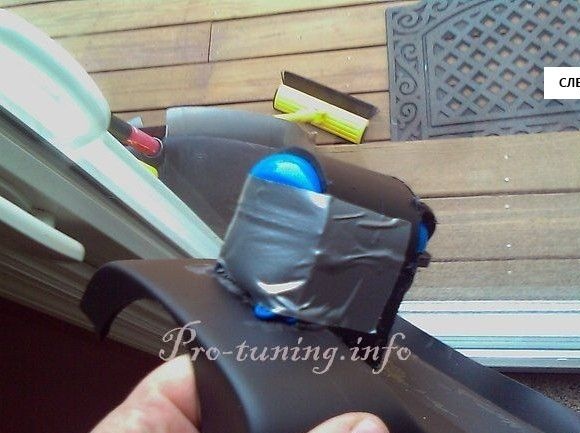
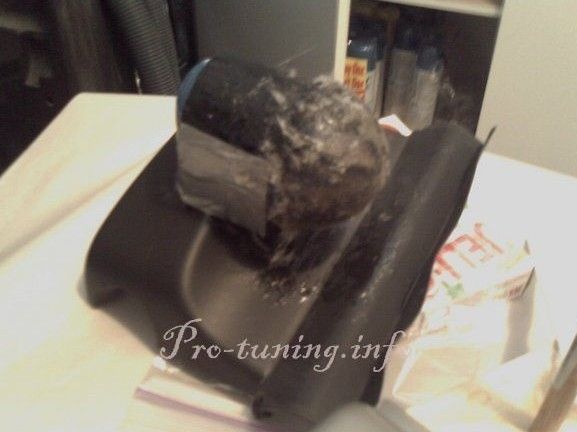
The building material used is epoxy mixed with sawdust pipes, which can be obtained with a file. With this solution, you need to thoroughly cover the entire back, giving it a rounded shape in the process. After the solution dries, the part can be tried on whether it is installed correctly and does not interfere with the review of other devices. Well, then, as in the previous case, the whole thing is putty and painted.
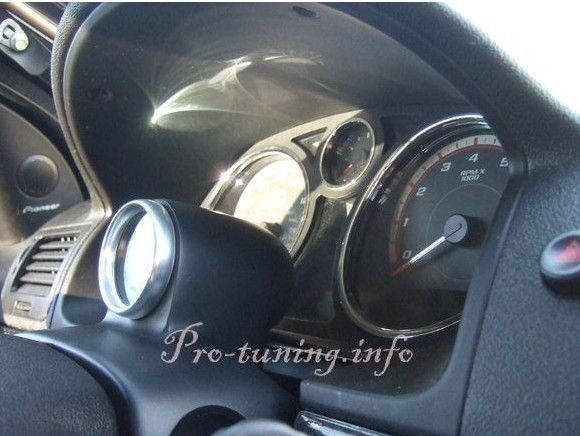
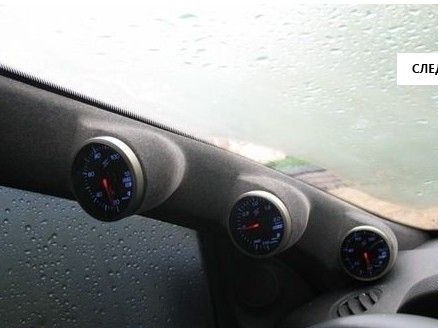
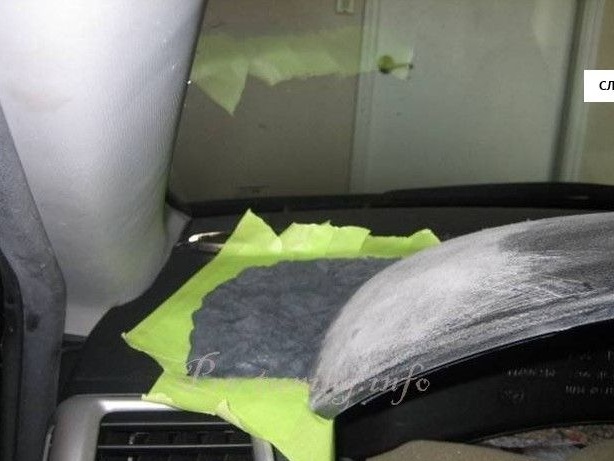
You can install additional devices on the visor of the instrument panel
The work process is similar to the previous ones, only here to install the podium from putty you need to make a platform and let it grasp. To carry out the work after fitting, the visor will need to be removed.
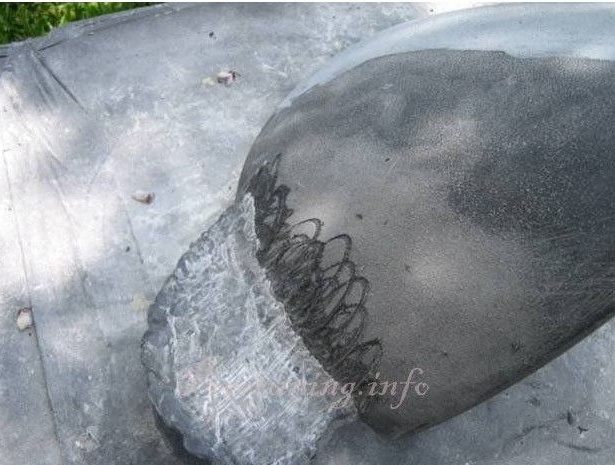

For the final fastening of the pipe and giving smooth forms to the homemade product, it is glued with fiberglass, epoxy is used as glue. Then the excess fiber is cut off, and the surface is plastered and sanded to a perfectly flat surface.

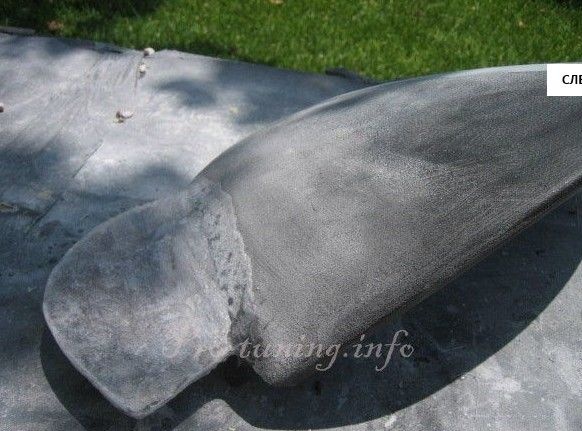
Subsequently, the design is painted. In principle, the process is not complicated and here you can experiment with other materials and forms.

As a result, the design turns out to be very stylish and not even everyone can distinguish whether this is a homemade product or a thing bought in a store.