
The construction boom is further spurred by the fact that at the moment in the construction market there is a huge amount of all kinds of building material, for every taste, and a wallet.
Also in our time, the owner of the site has the creative freedom to build any building on his site, compared with the times of the Soviet era, when it was forbidden to erect capital structures on a site of 6 acres, only light constructions for storing equipment, and a small rest room measured to a centimeter, it was certainly not bad the law, and the order compared to our time. Today's freedoms spur people to action, namely the construction of, for example, baths on their site. How wonderful it is to have your own bathhouse, coming to melt for the weekend, and then take a steam bath and swim, this is beauty.
Compared to the recent past, our people have learned to build baths from a variety of building materials such as brick, block, timber, and more. All these materials greatly simplify the process of building a bath, because as a rule they do not require professional skills in construction, for example, a bathhouse can be assembled from blocks if one wishes and only a couple of weeks without the help of professional builders, which significantly reduces the cost of the entire process of building construction .
The same with the rest of the materials, only here it’s a little more complicated, and the construction time is increasing.
A bathhouse built of brick, or blocks will serve much longer than a wooden log house.
The author decided to build a red brick capital bath that would be enough for his master's age, and then served his descendants, children, and grandchildren for a long time.
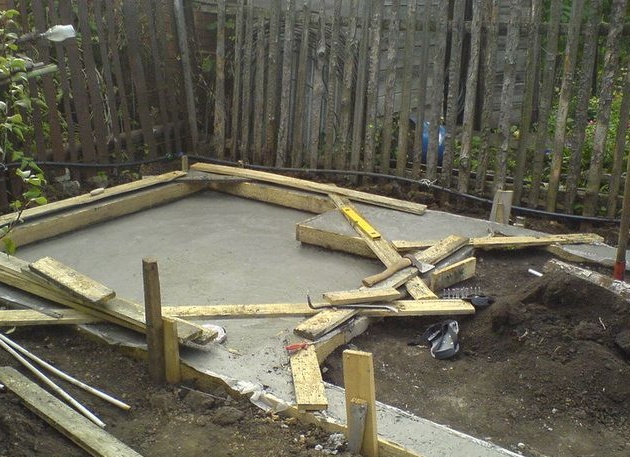
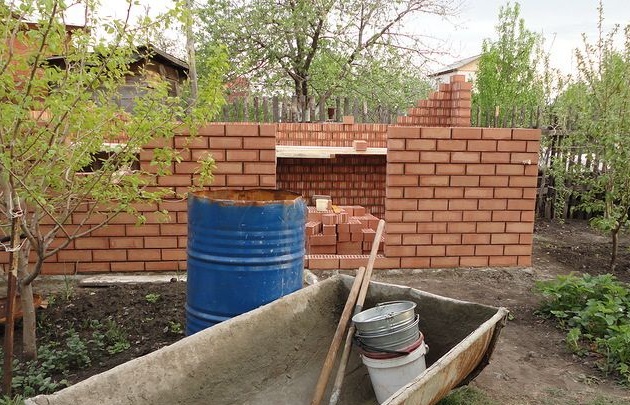
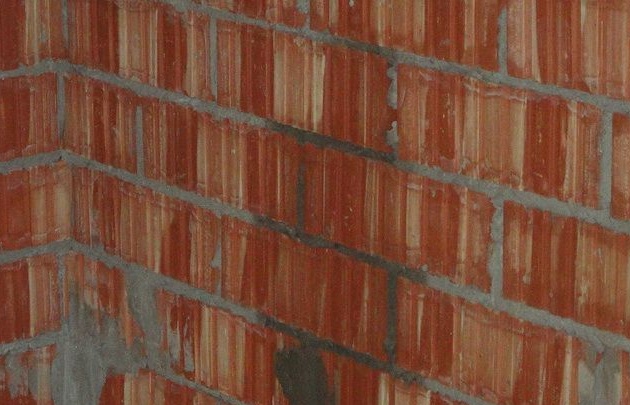
Like any brick construction, it all starts with pouring the foundation.A prerequisite is the installation of waterproofing, in order to protect the penetration of moisture in the brickwork, rising from the ground on the foundation. Next is the complex, and time-consuming process of walling. If you carefully understand the brickwork is not so complicated, especially for a small structure. When laying, you need to be guided by some rules, the first is, of course, that you should start laying from the corners, follow the correct sequence of laying bricks, and use the level.
Then, laying the floor, ceiling, and installation of the roof. The last stage is the interior decoration, and the installation of a sauna stove-heater.
And so now let us consider in detail how the bath was built, and what he needed for this.
Materials: brick, timber, board, lining, cement, sand, roofing material, waterproofing, floor tiles, sauna stove-heater.
Instruments: shovel, trowel, mallet, hammer, hacksaw, screwdriver, drill.
And so the first thing of course floods the foundation.
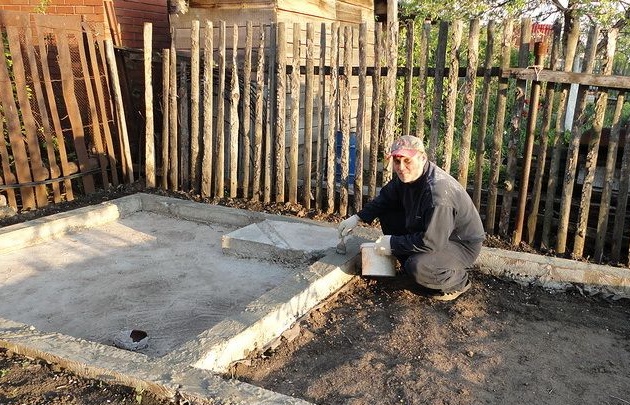
Then produces antibacterial treatment before installing waterproofing.
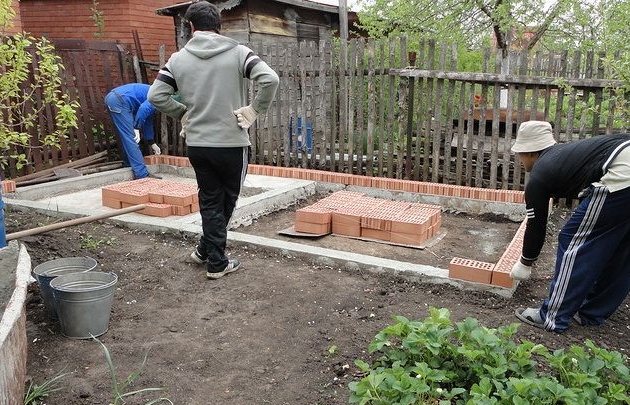
And then came the solemn and exciting moment of laying the first bricks of the future bath.
And slowly the walls begin to grow.
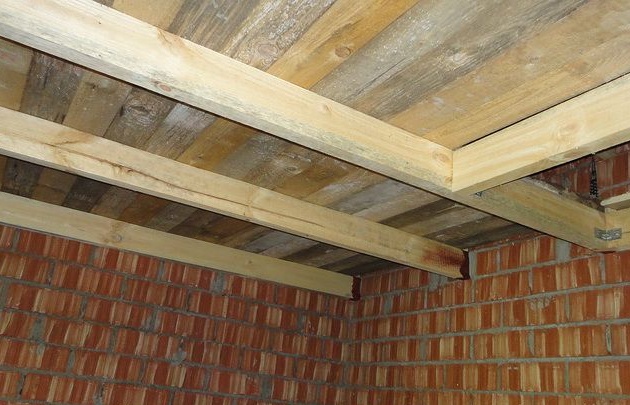
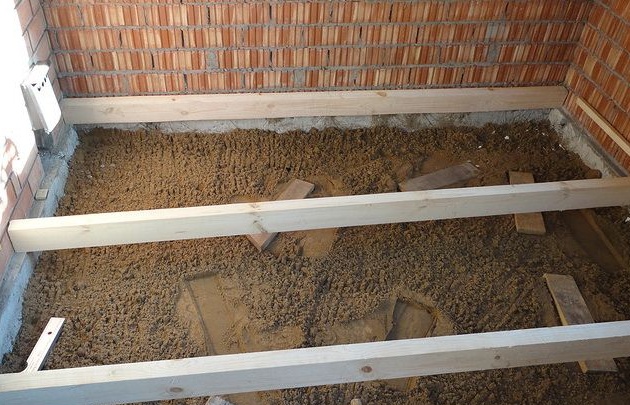
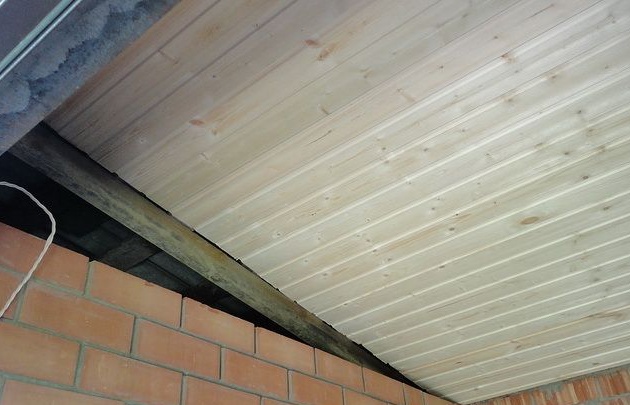
After the erection of the walls, the author proceeds to laying the logs and installing the ceiling.

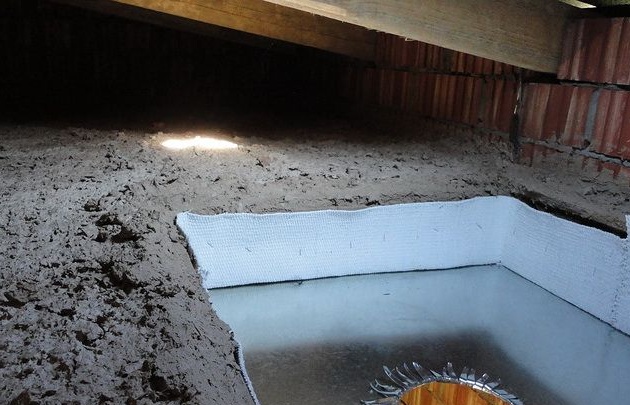
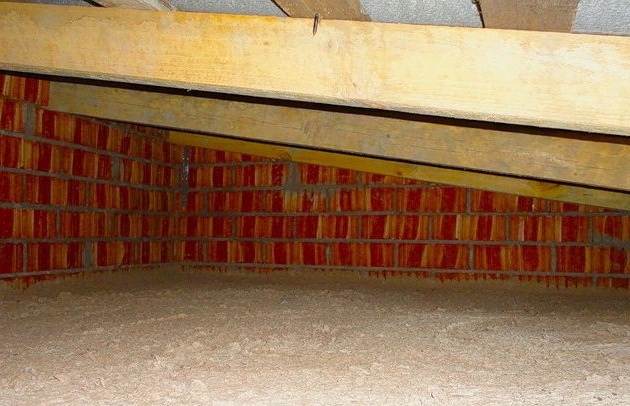
Instead, the attic backfill uses a solution based on sawdust, sand and cement.
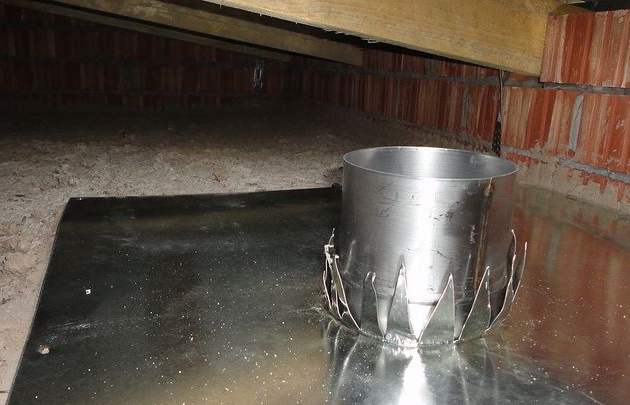
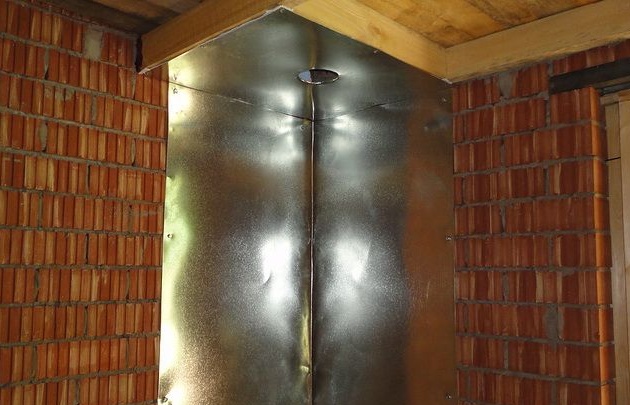
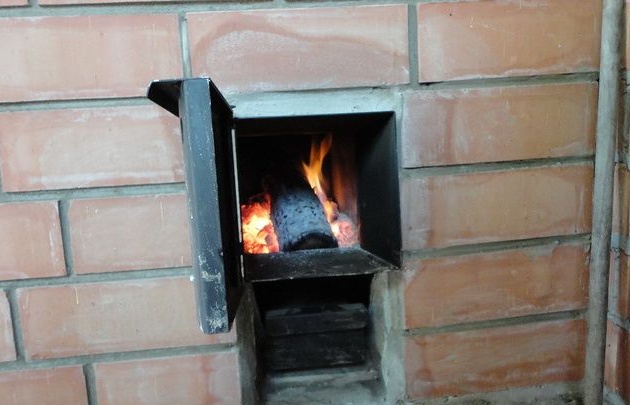
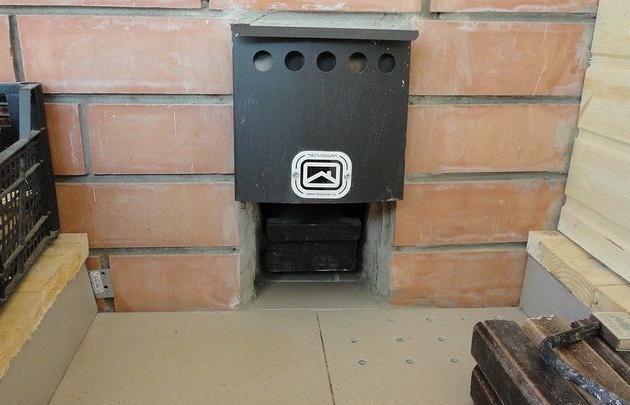
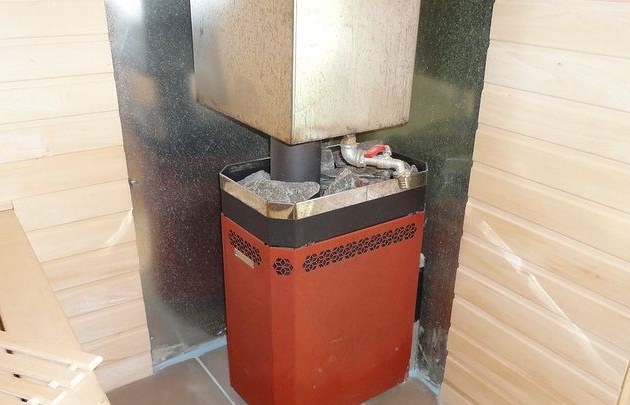
Next, a chimney is installed.

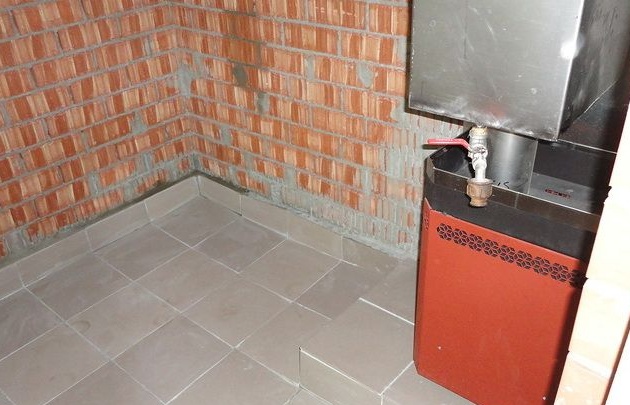
A sauna stove is placed.

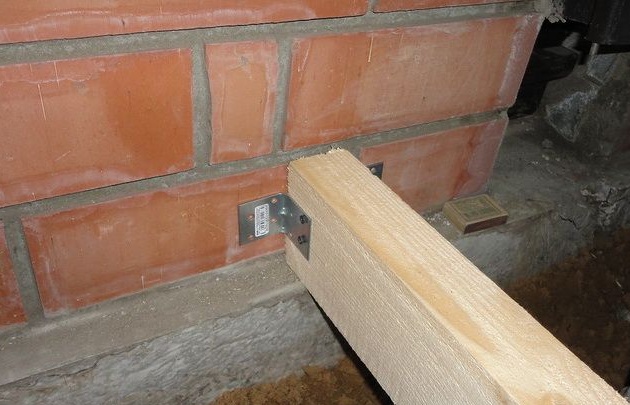
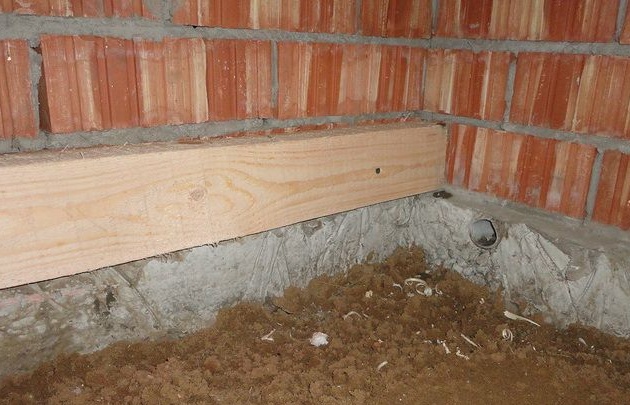
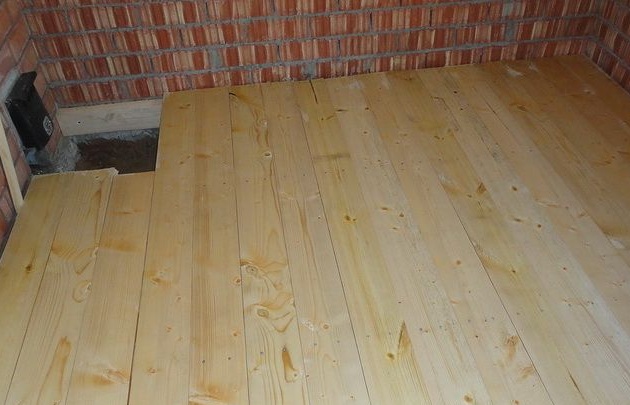
The logs and floors are laid directly.
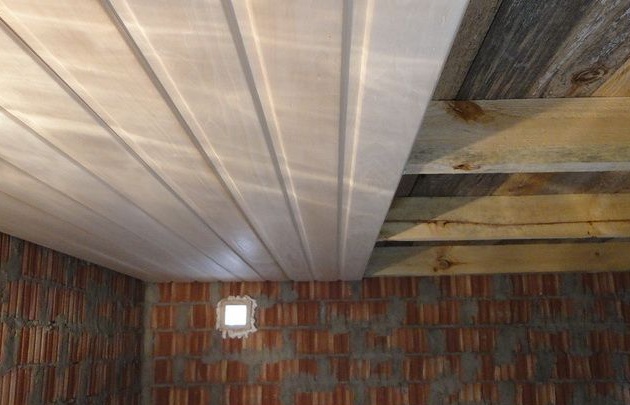
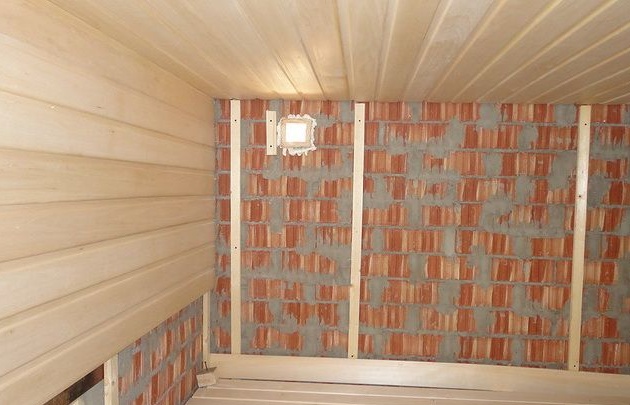
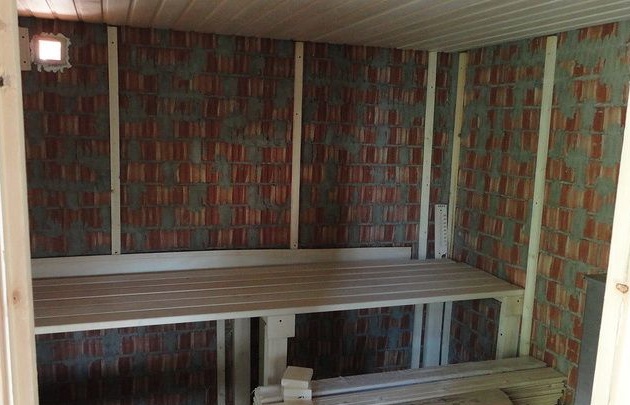
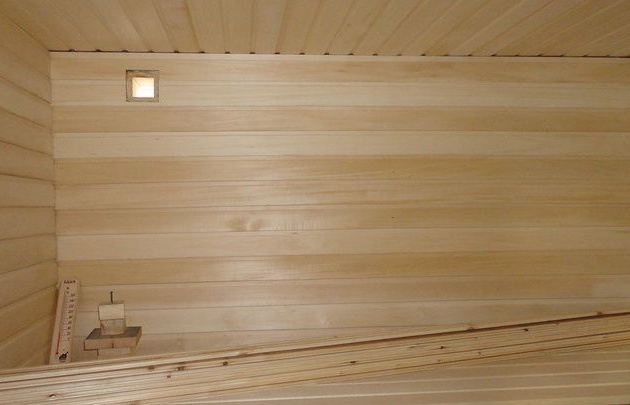
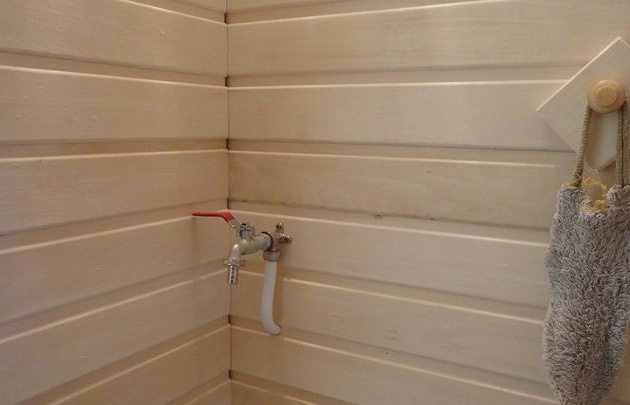
Produces wall and ceiling lining.
Makes shelves in the steam room.
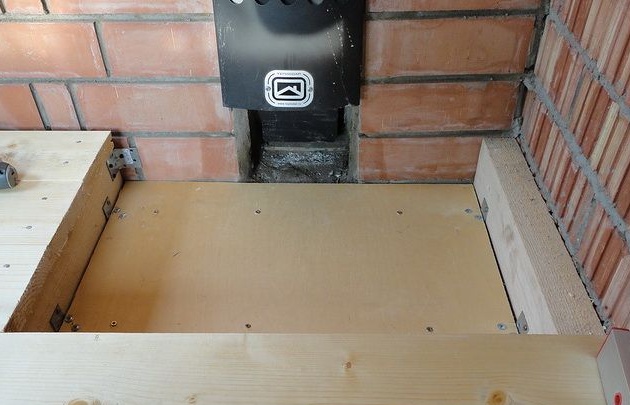
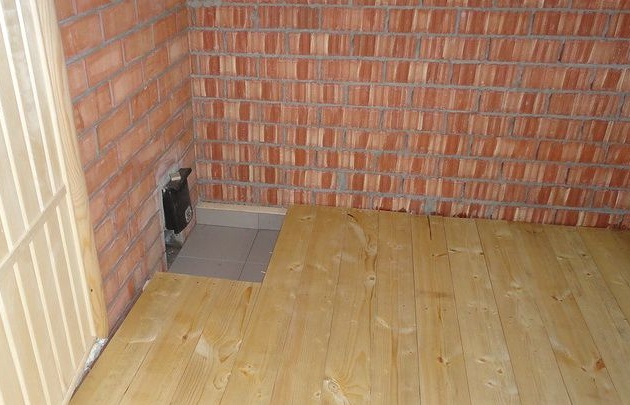
When laying floors, I made just such a niche in front of the furnace and trimmed it with tiles.
Withdrew hot water from the tank.
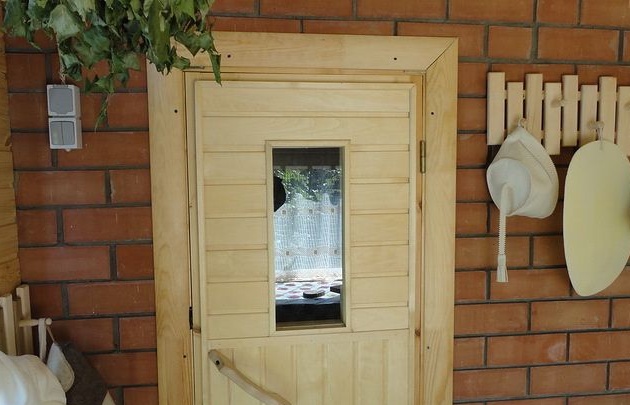
I inserted the front door and the steam room.
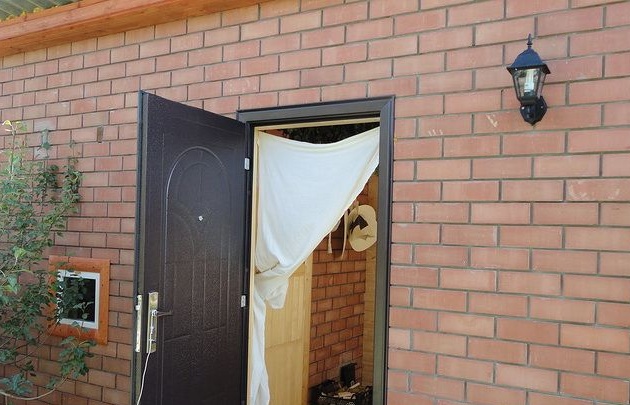
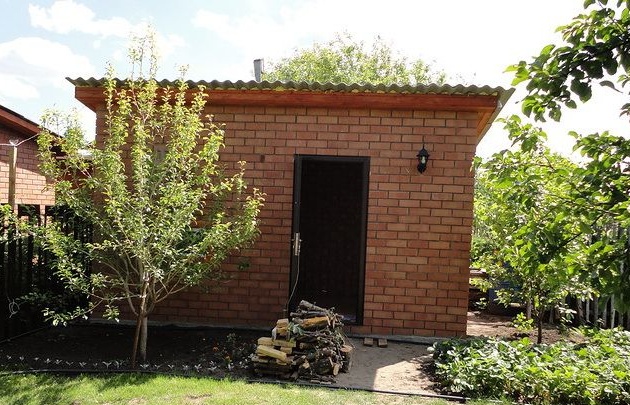
So the bathhouse was built. It remains to flood and heat the stove to test your creation. Now on the site of our hero there is a private bathhouse, which will delight guests who have arrived for the weekend with their raspberry glow and beautiful aesthetic appearance. The author is very pleased with his construction and of course the money saved for the family budget.