

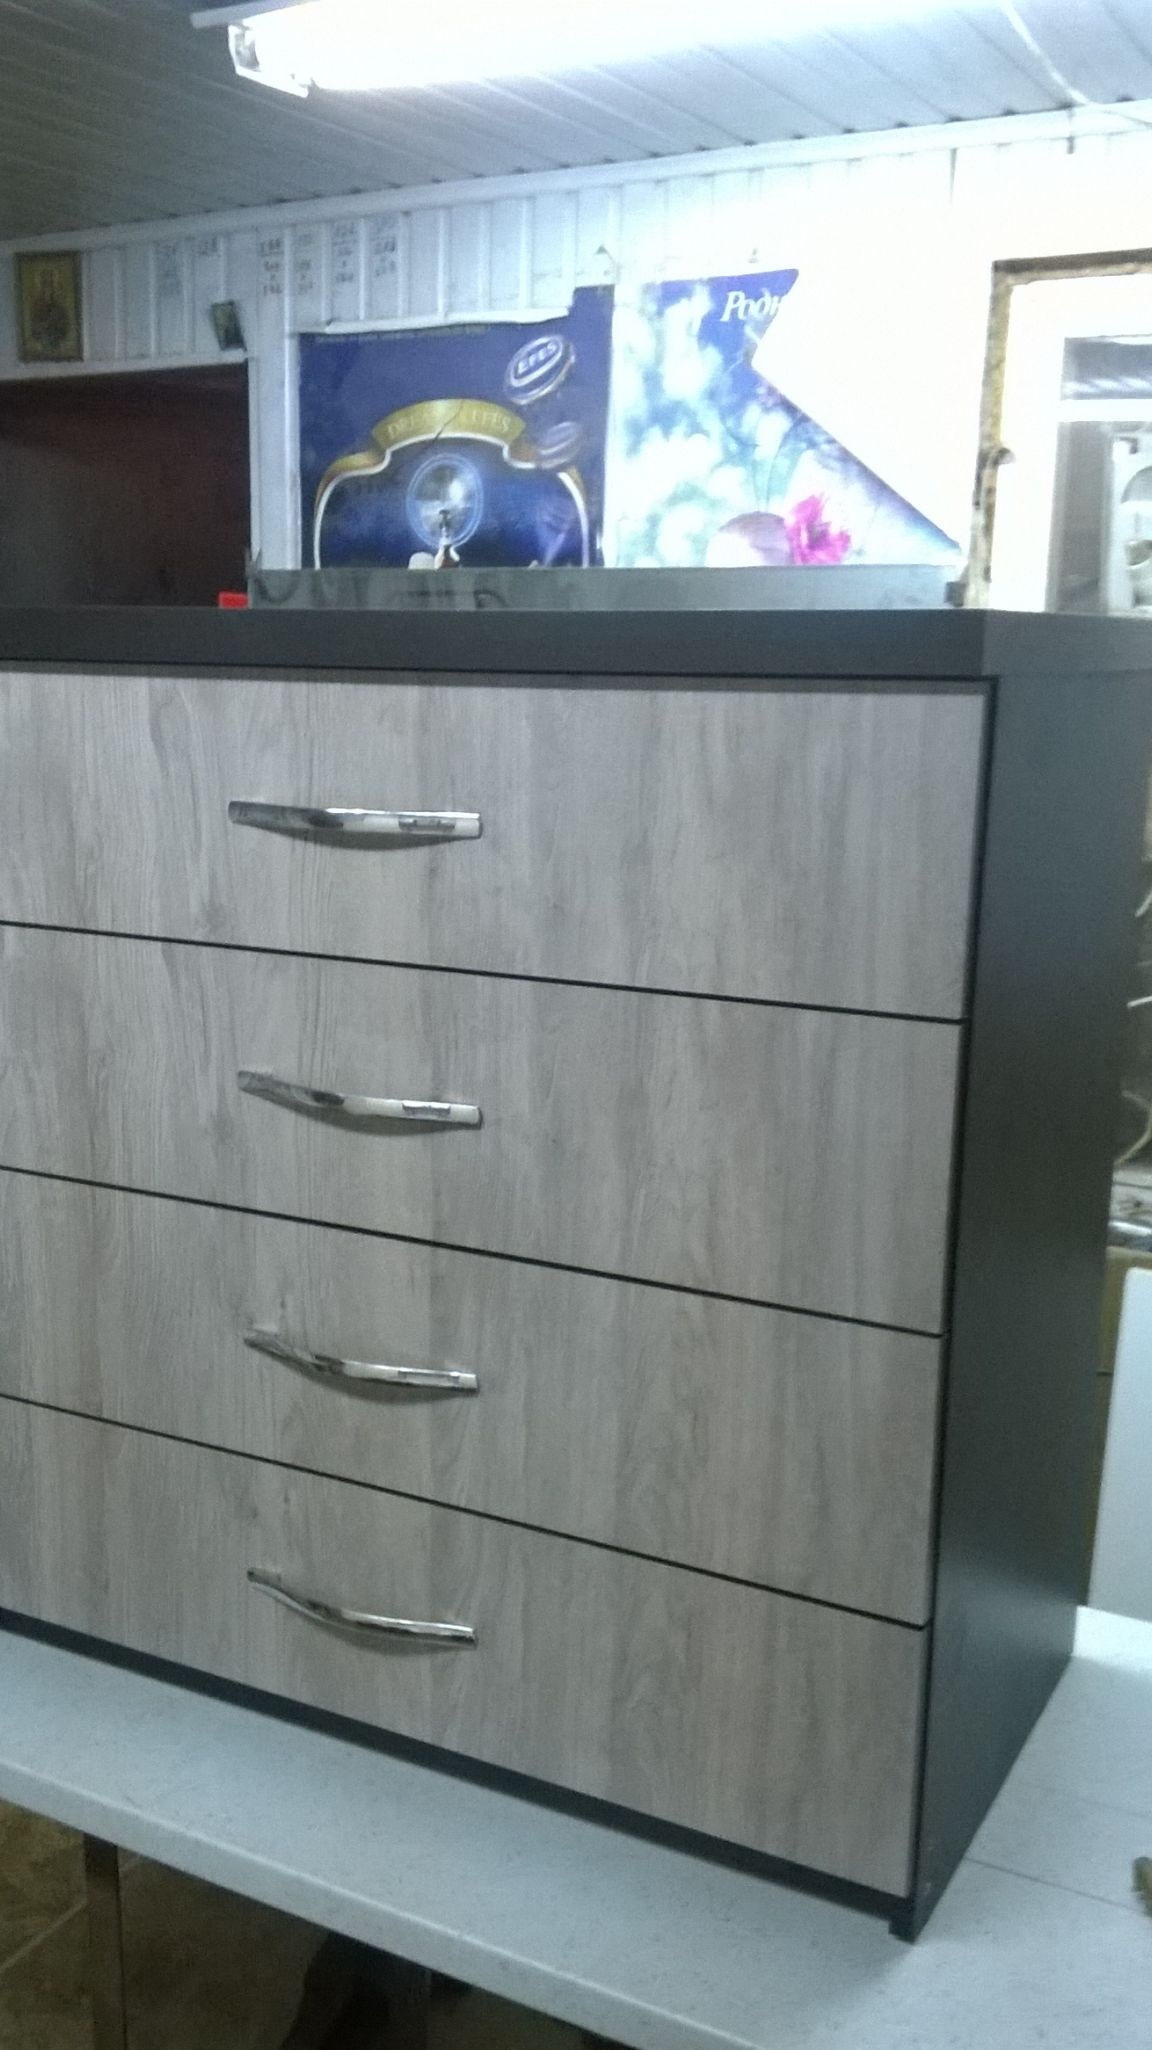

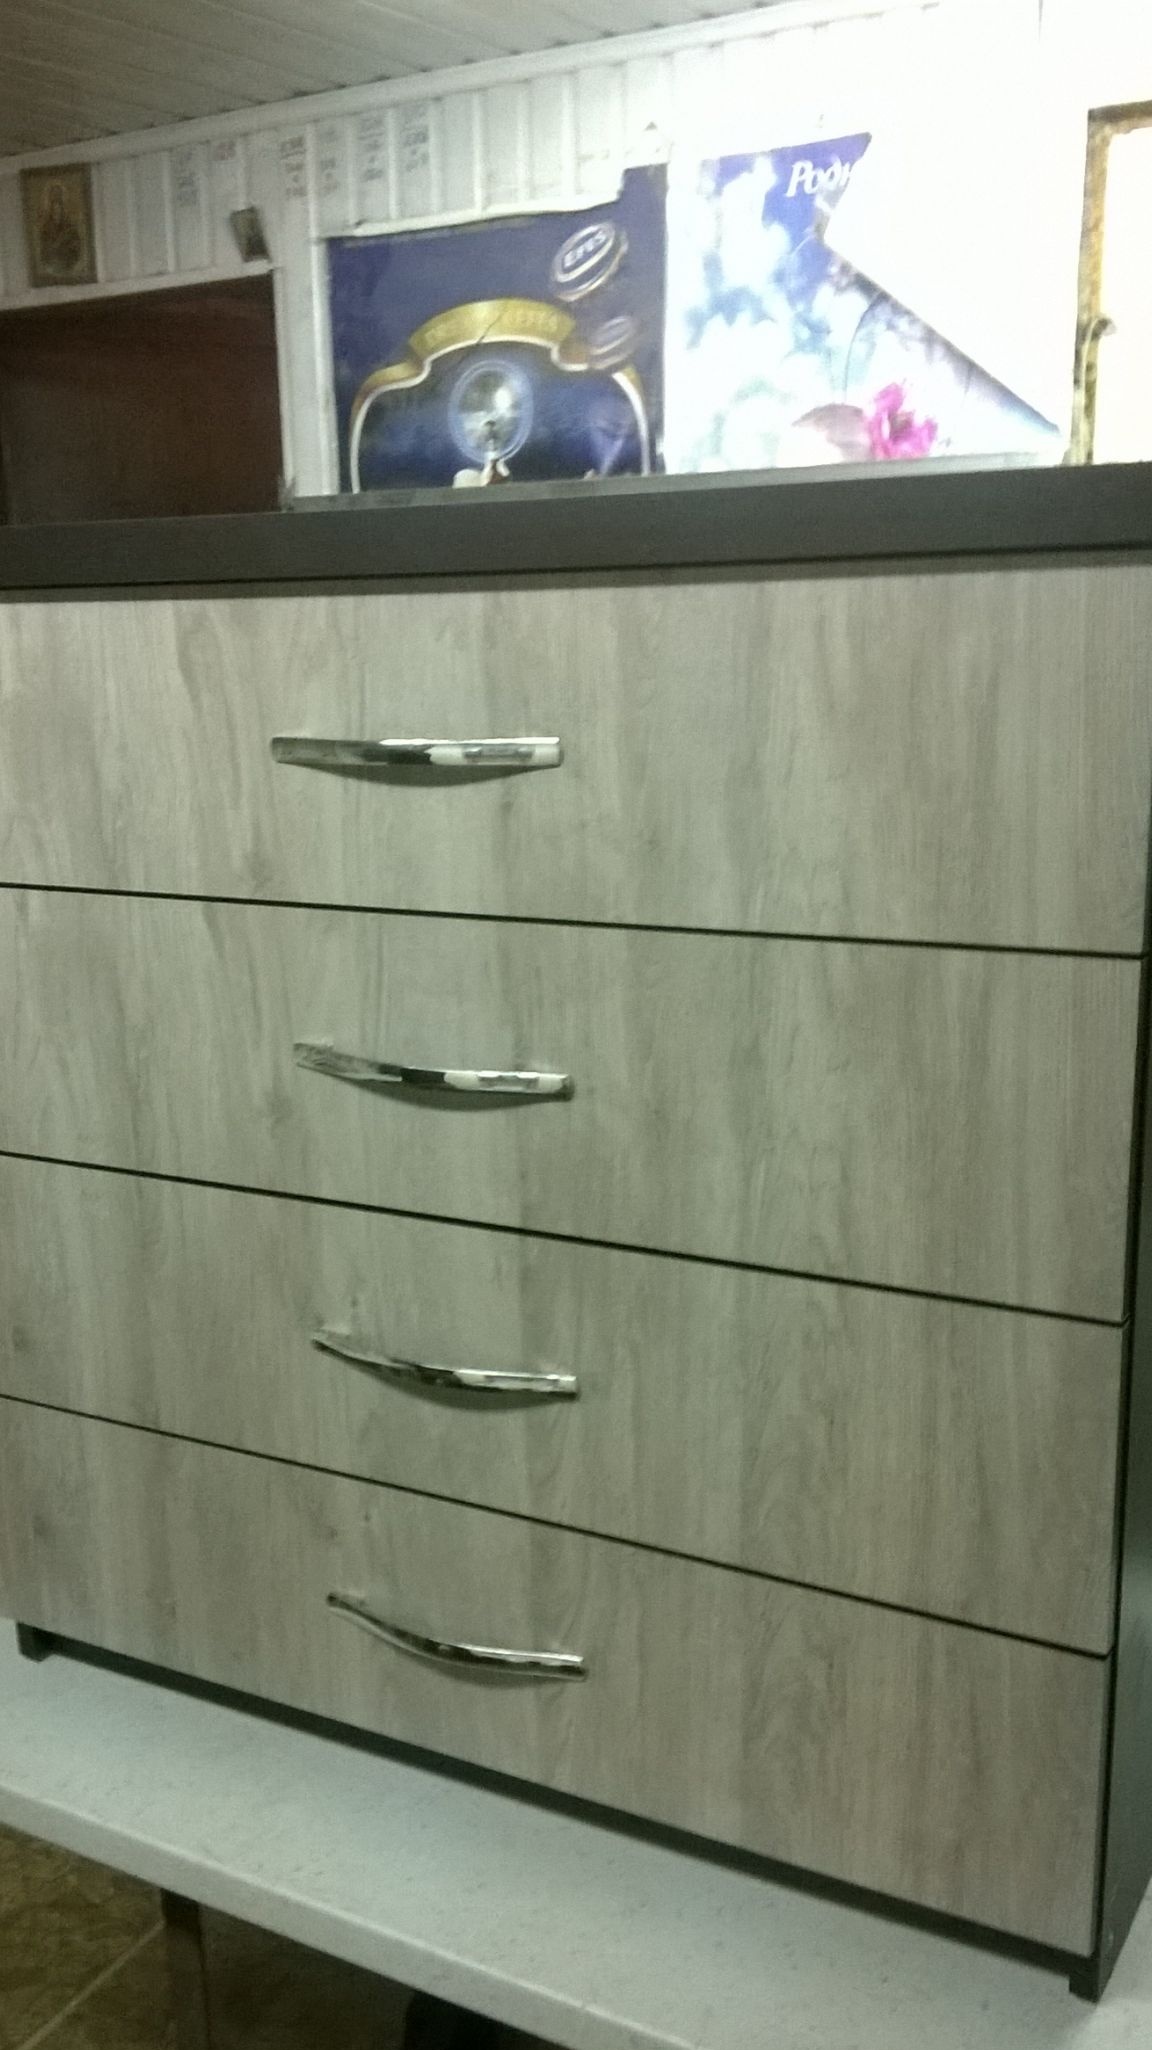
You will assemble your chest of drawers three times cheaper than in the market and four times cheaper than in the store. I’ll explain everything step by step. The main thing is not to be afraid, everything is simple. Material is ordered at any furniture factory.
Here are the sizes for cutting chipboard. Thickness is 18 mm.
White
804 * 130 8 pcs.
450 * 130 8 pcs.
Textural (which you choose)
864 * 460 2 pcs. -sides
864 * 90 2 pcs. - jumpers
864 * 50 1 pc - base
904 * 500 1 pc -cap
904 * 100 1 pc. - double cover
400 * 100 2pcs - double cover
896 * 196 4 pcs. -facade
Dimensions for fiberboard
835 * 445 4 pcs. - bottom of the box (white)
895 * 845 1 pc. - back wall (does not matter)
Of the tools we need
Electric drill
Screwdriver (or Phillips screwdriver)
Drills at 4.5 mm, 2.5-3 mm
Furniture hexagon 6 mm
Awl
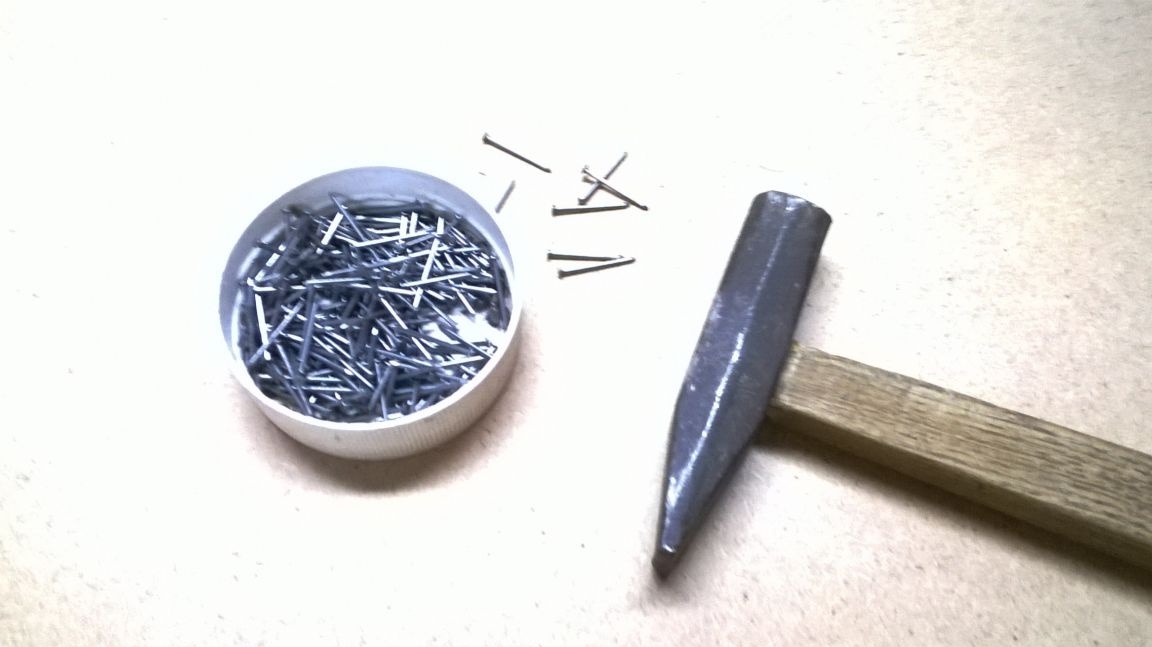
Hammer
Square construction
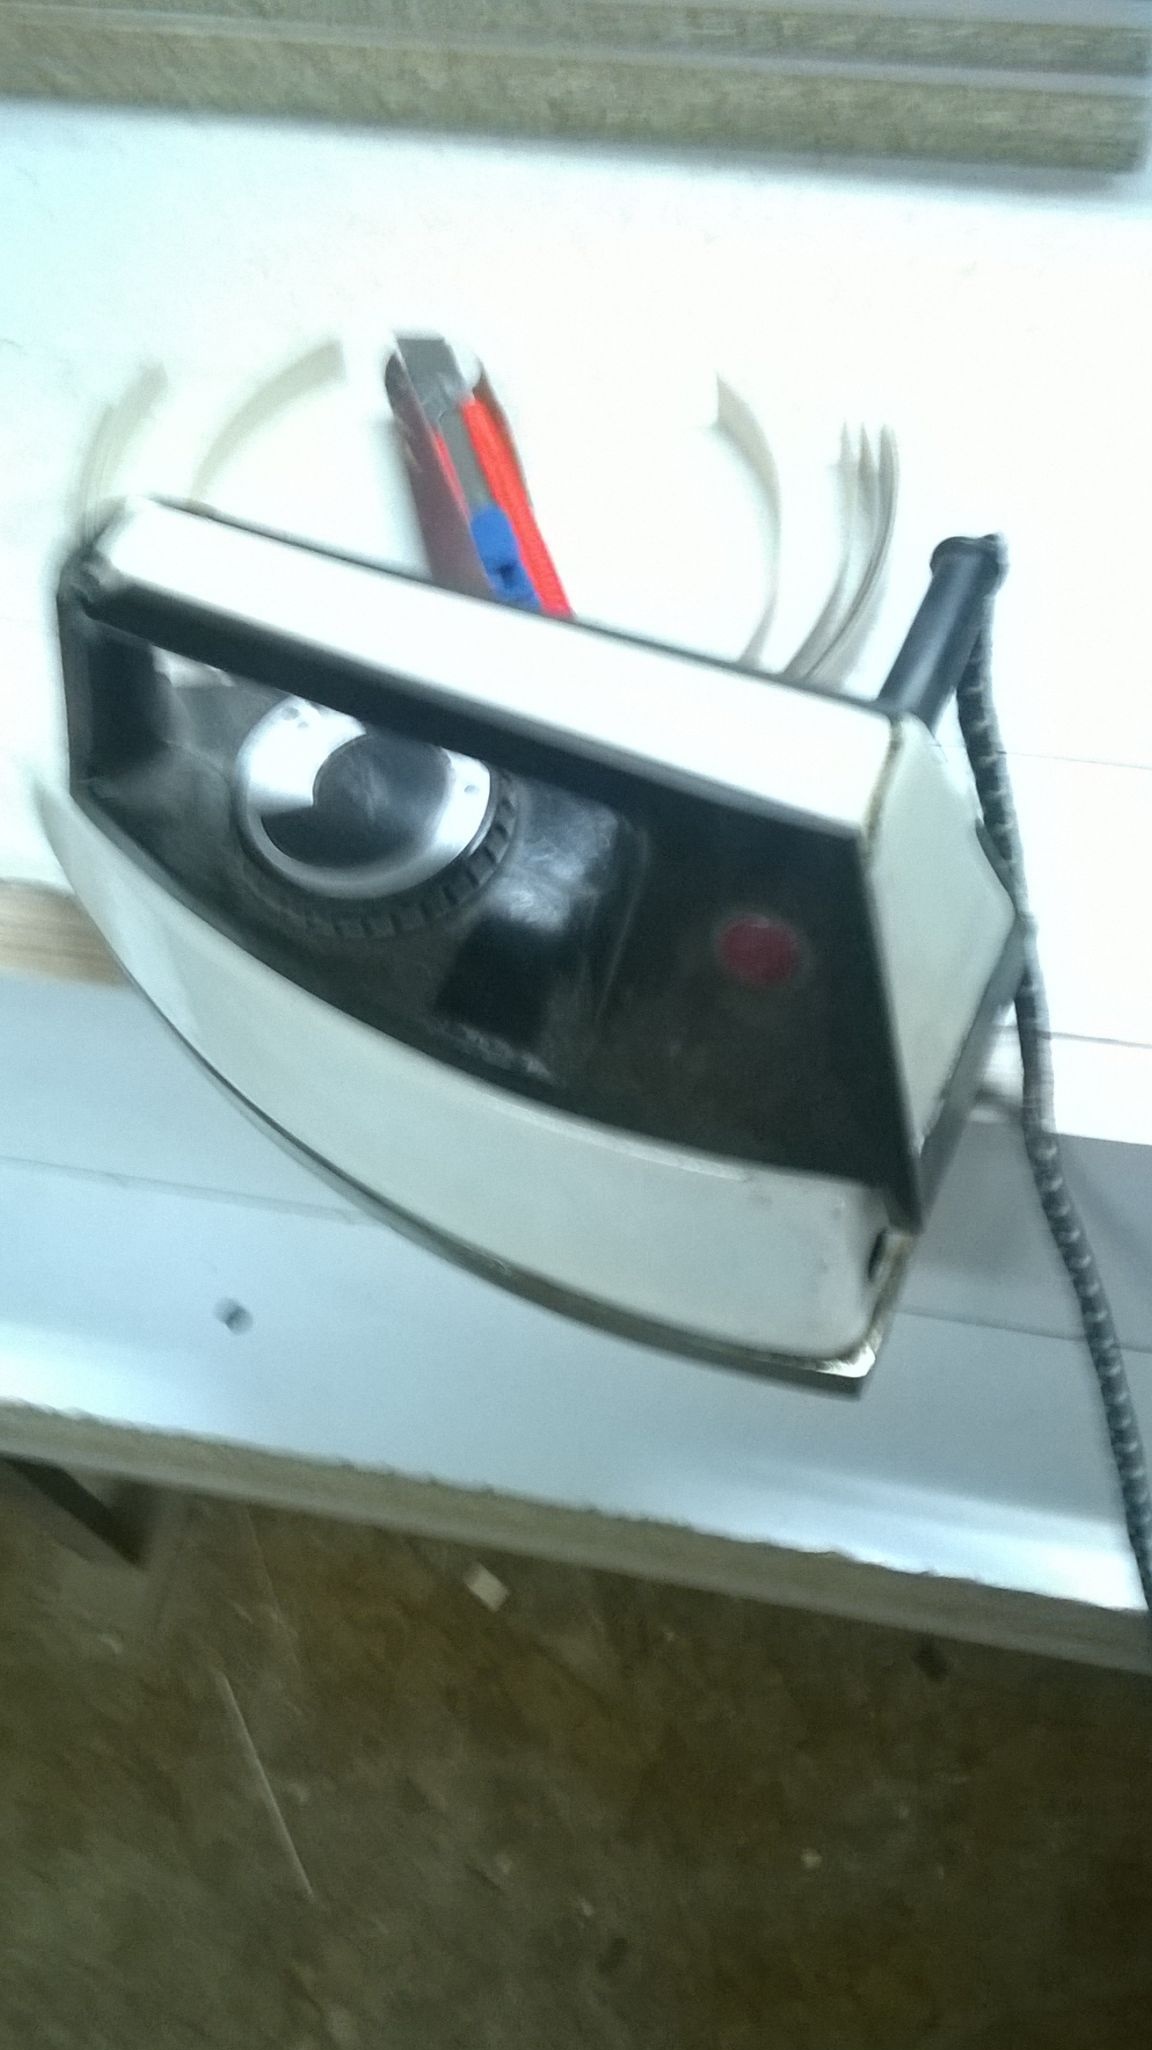
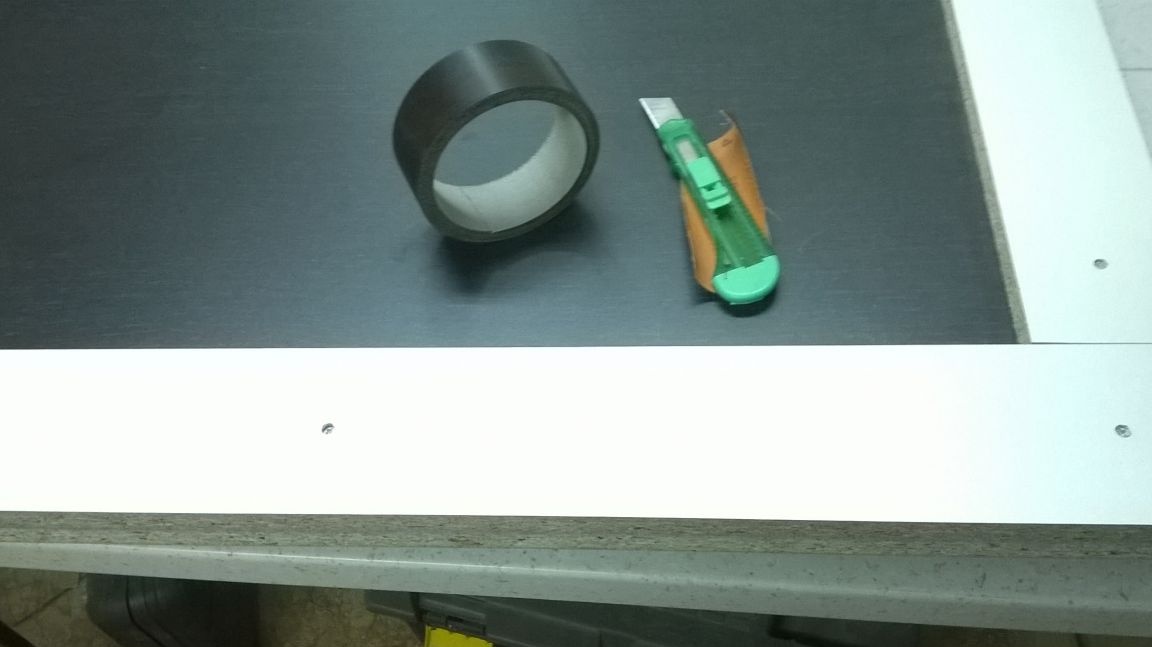
Iron (for edge sizing)
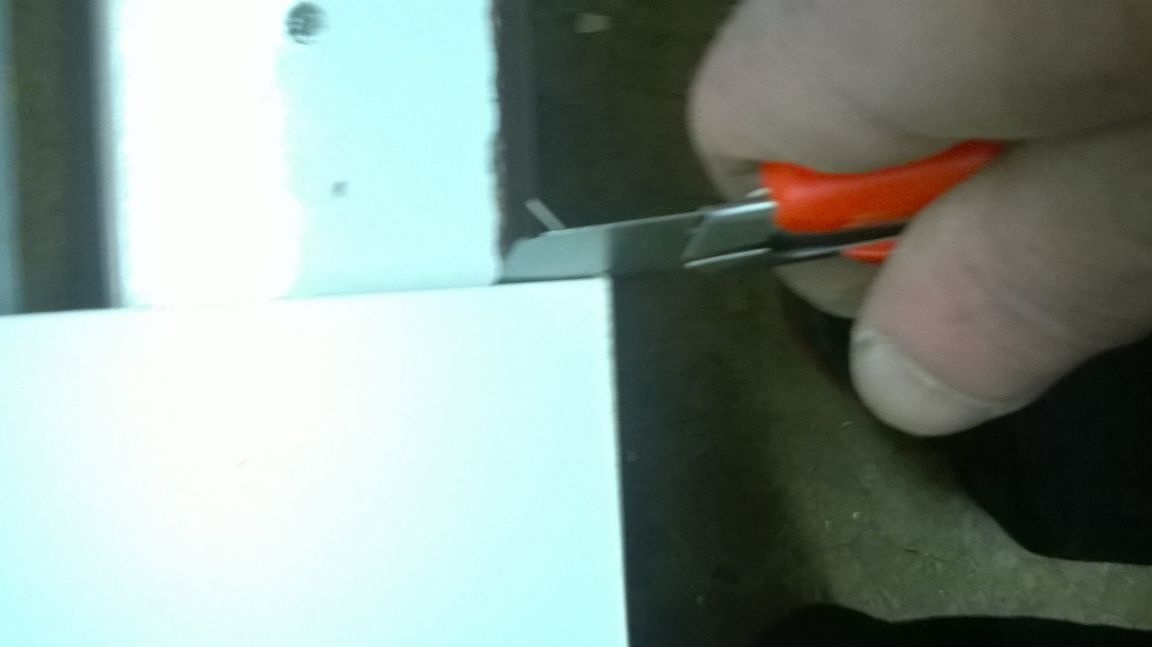
And a clerical knife
Hardware
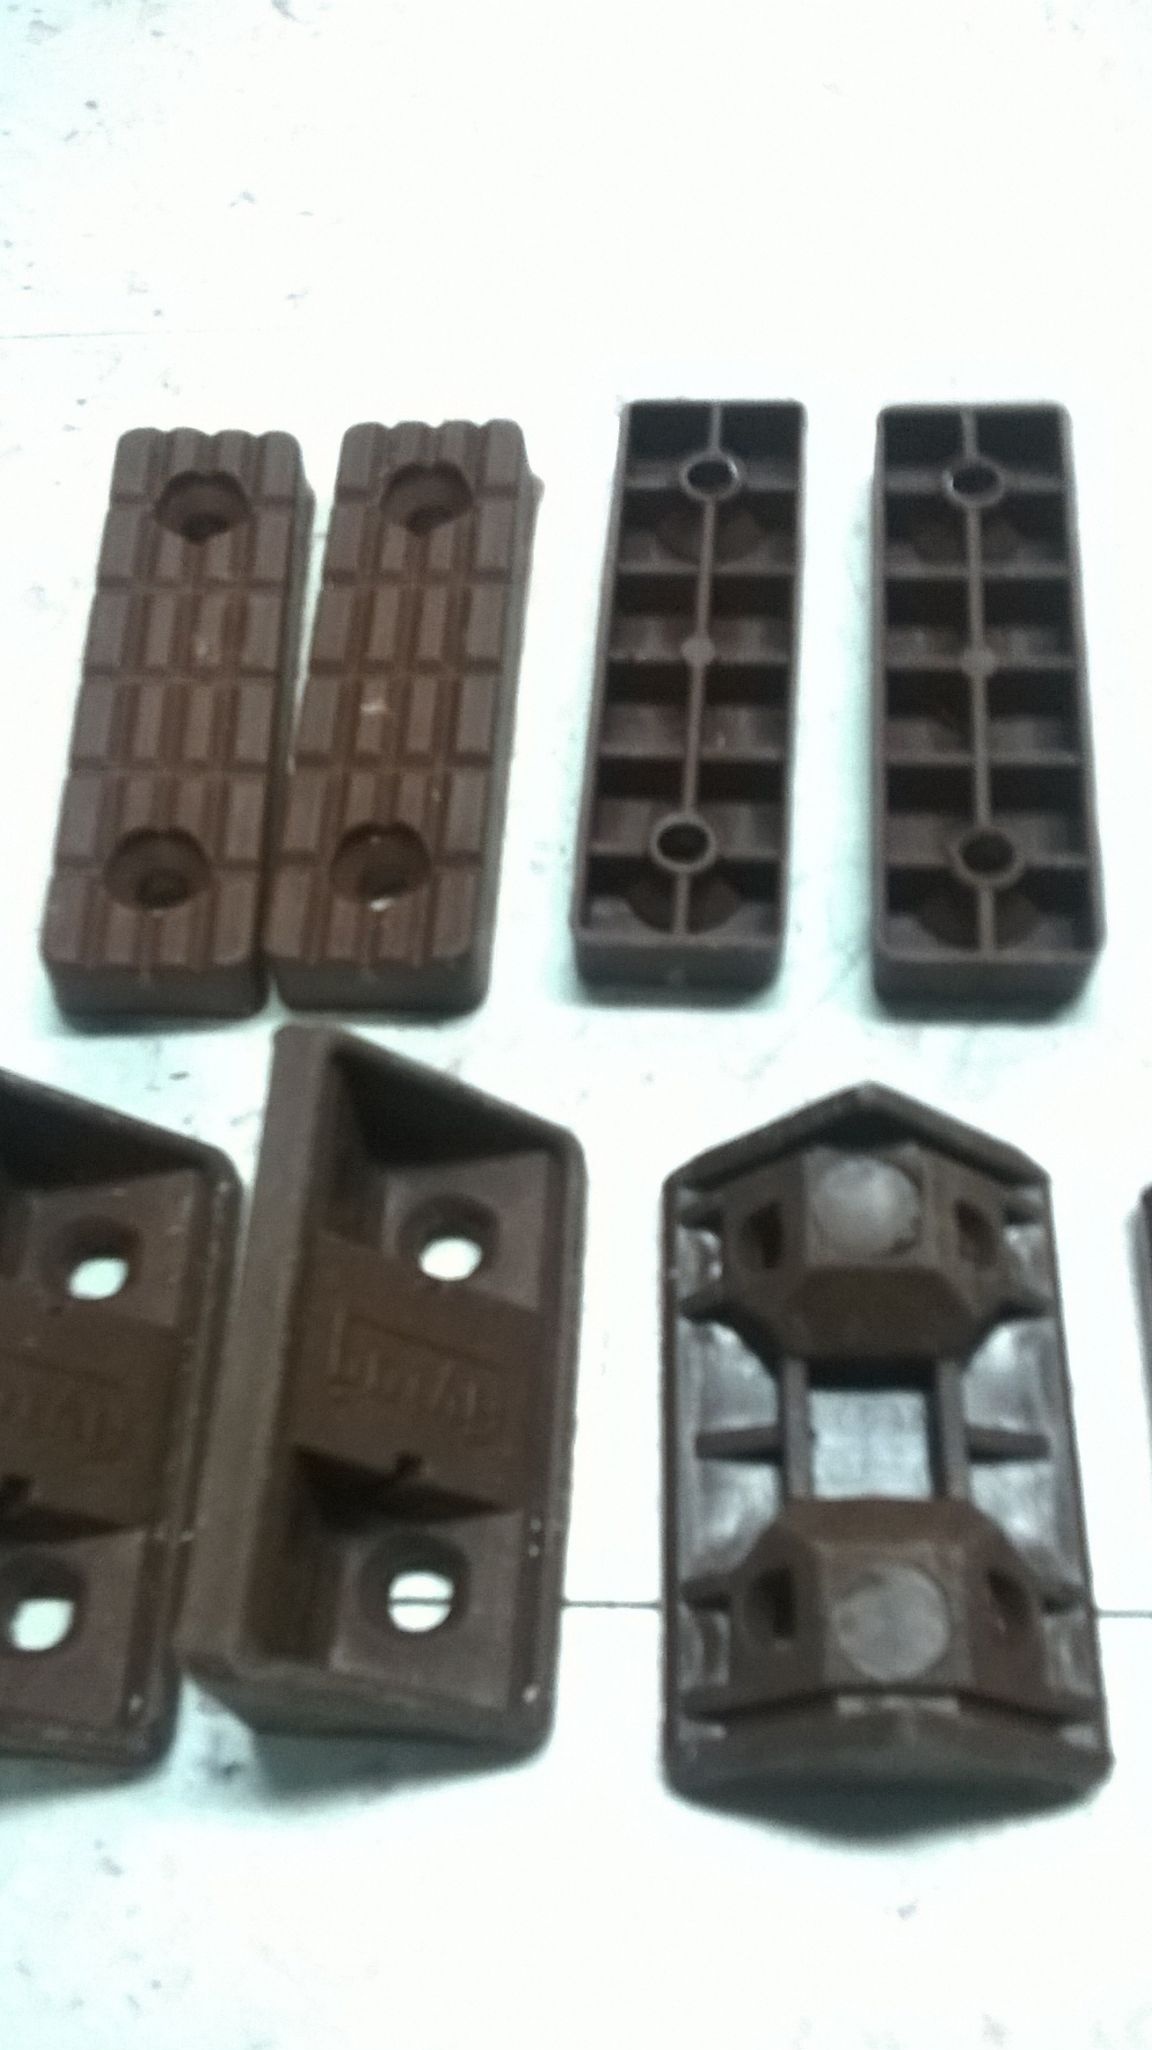
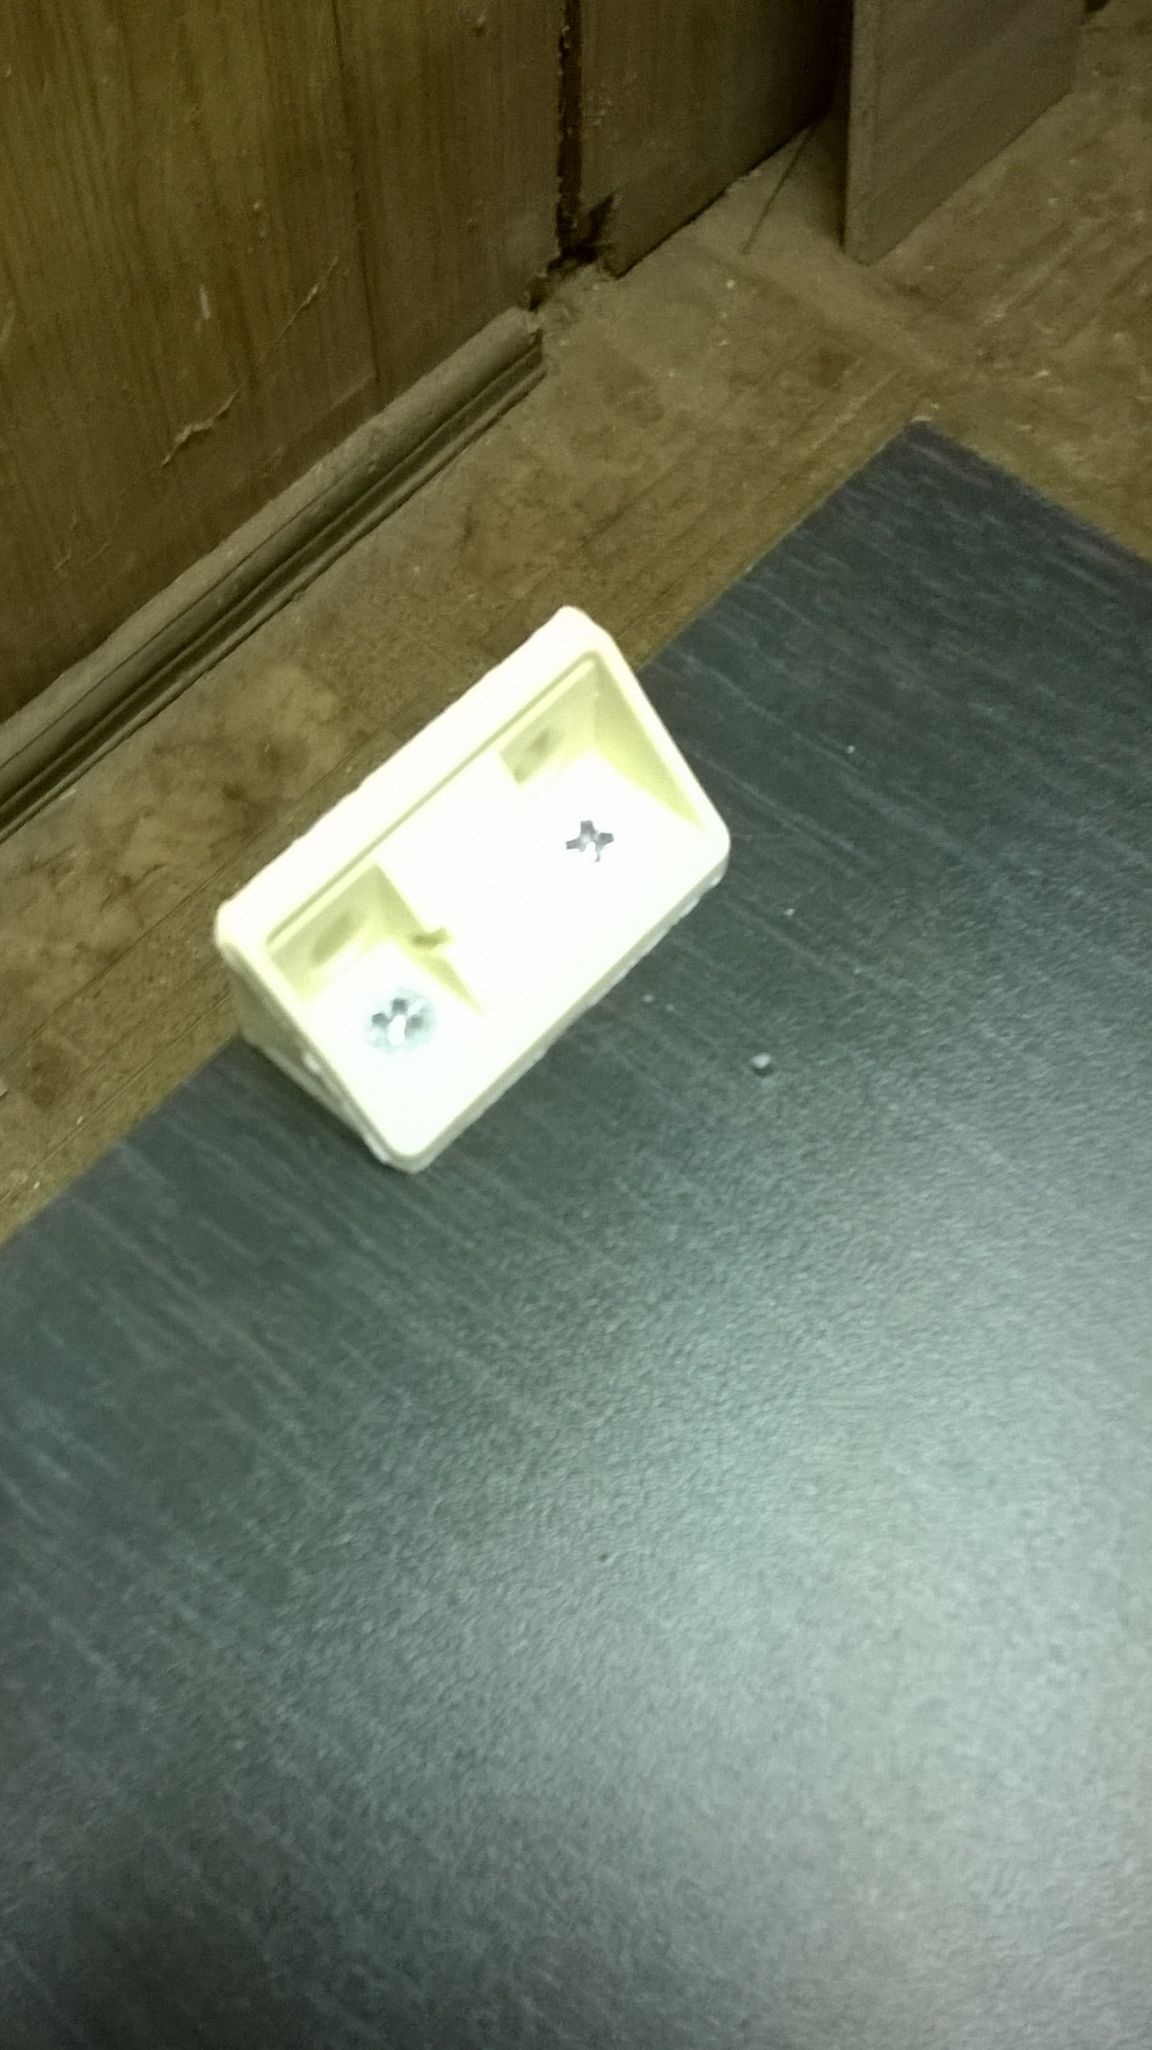
Plastic corner 4 pcs.
Thrust bearing 4 pcs.
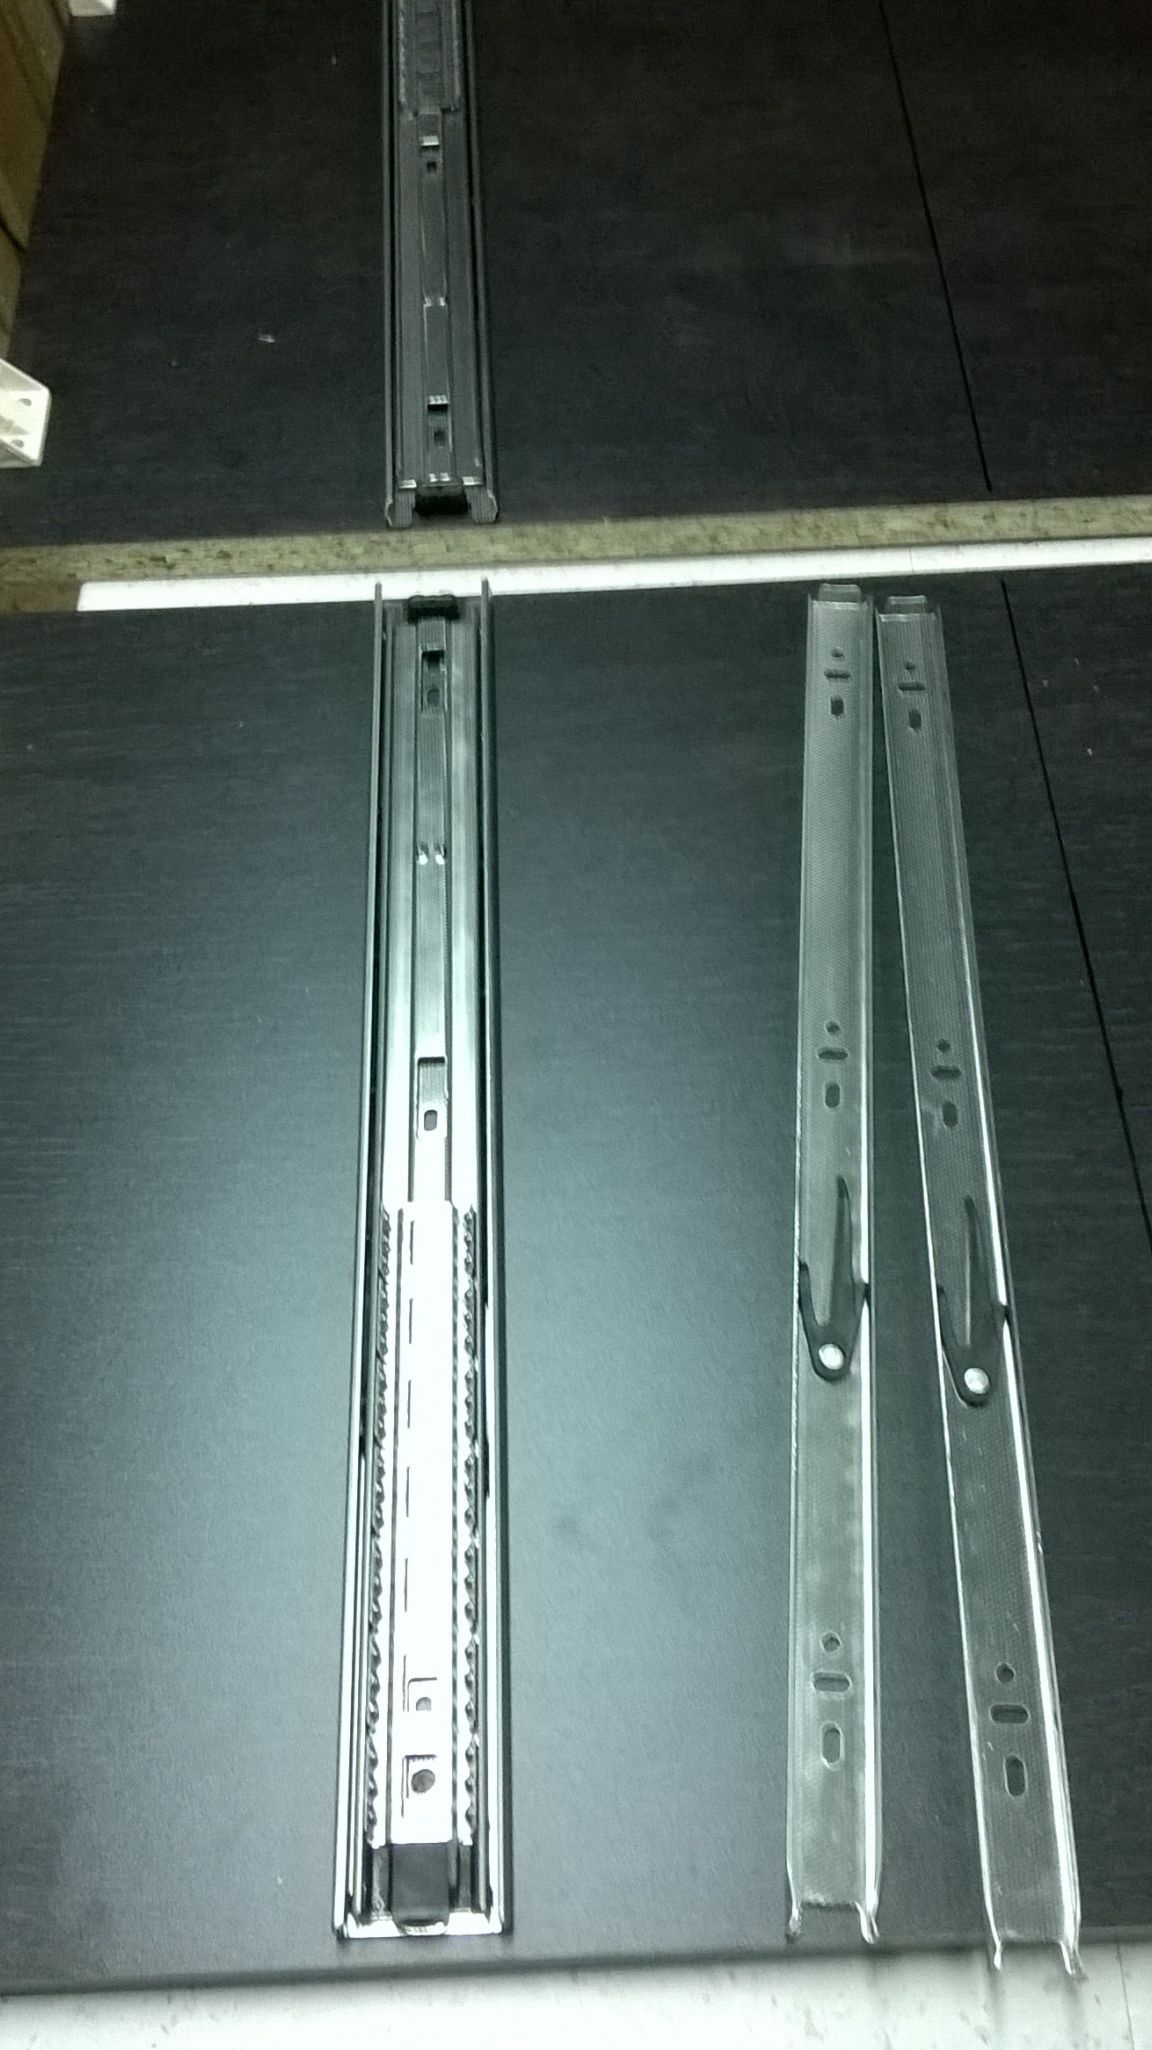
450 mm ball guides, 4 sets

Edge for gluing chipboard (narrow - 25 meters, wide for the cover - 2 meters)
We select the edge color for the color of the chipboard, from which the chest of drawers will be
Four handles, screws for 40 mm handles 8 pieces
Furniture screws 16 mm 32 pcs., 30 mm 19 pcs.
Furniture coupler (confirmant) 22 pcs.
Carnations for 20 mm (for clogging the back wall and bottoms)
Materials
For boxes (white laminate, it is the cheapest)
Dimensions 804 * 130 mm 8 pcs. , 450 * 130 mm 8 pcs
Fiberboard (bottom of the drawer) 835 * 445 mm 4 pcs.
Cover (we choose the color ourselves)
Dimensions 904 * 500 mm 1 pc., And fillers for doubling, dimensions 904 * 100 mm 1 pc., And 400 * 100 mm 2 pcs.
Sidewalls (under the color of the cover). Dimensions 864 * 460 mm 2 pcs.
Base 864 * 50 mm 1 pc.
Jumpers 864 * 90 mm 2 pcs.
Fiberboard (back wall) 895 * 845 mm 1 pc.
Door facades (matching the color of the cover) dimensions 896 * 196 mm 4 pcs.
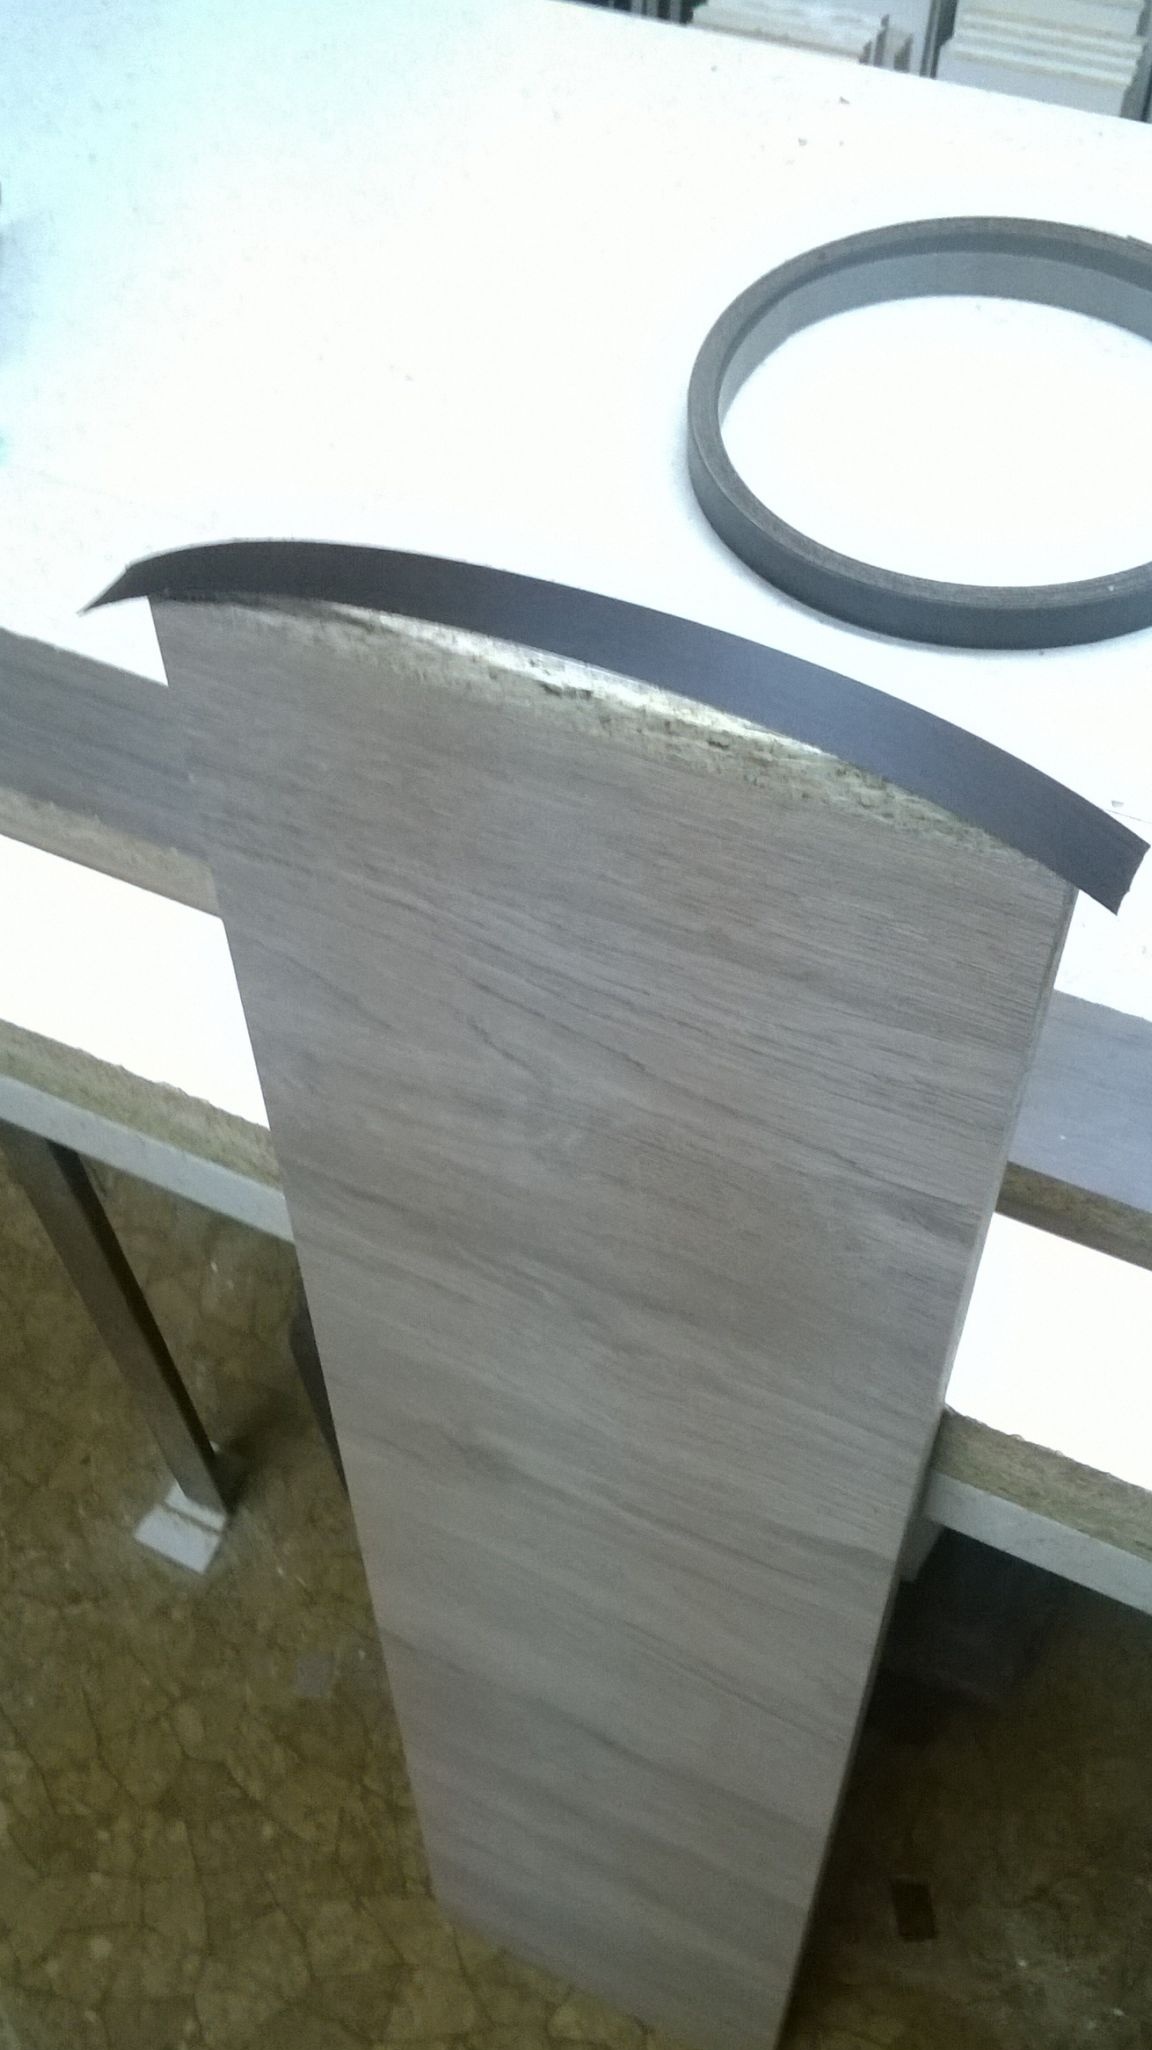
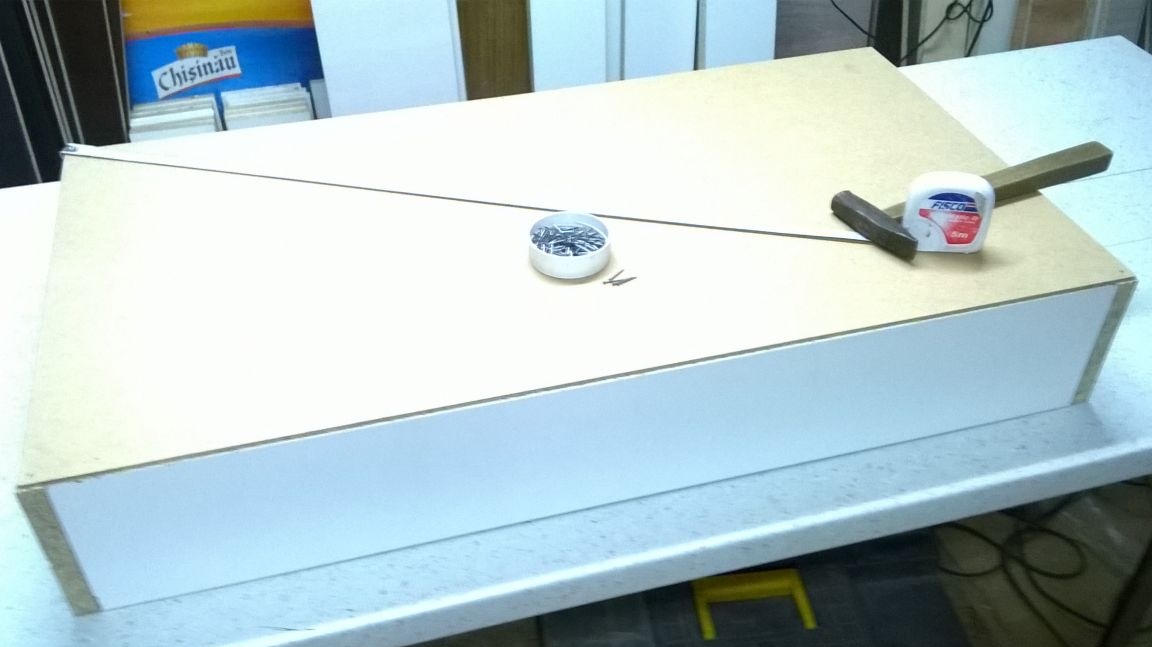
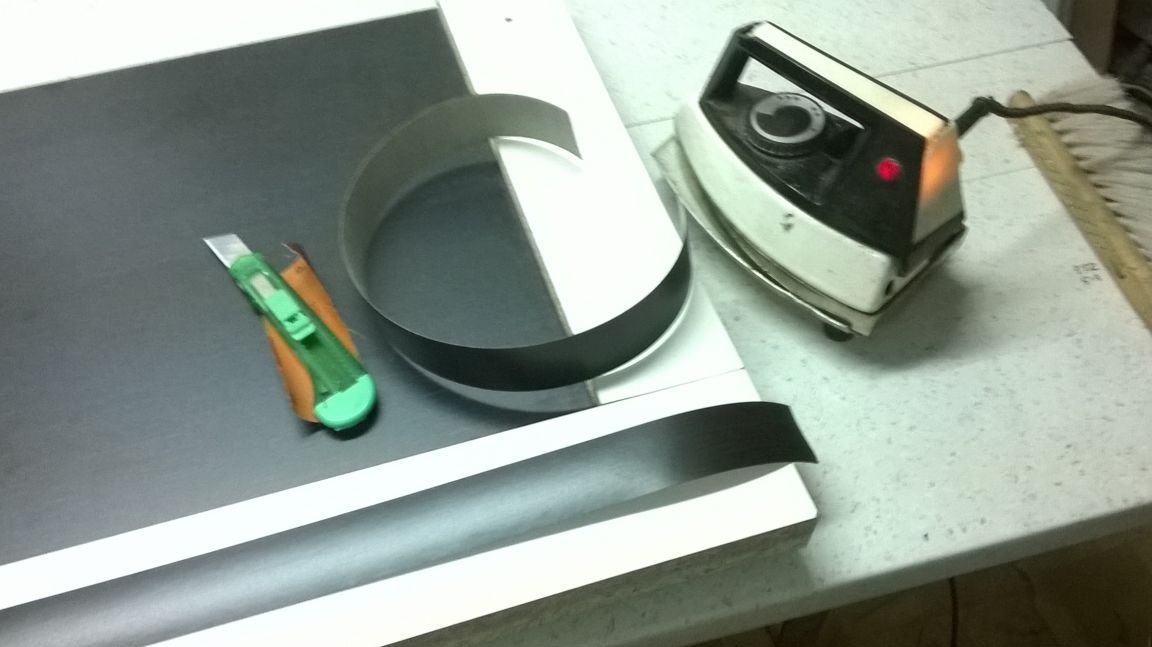
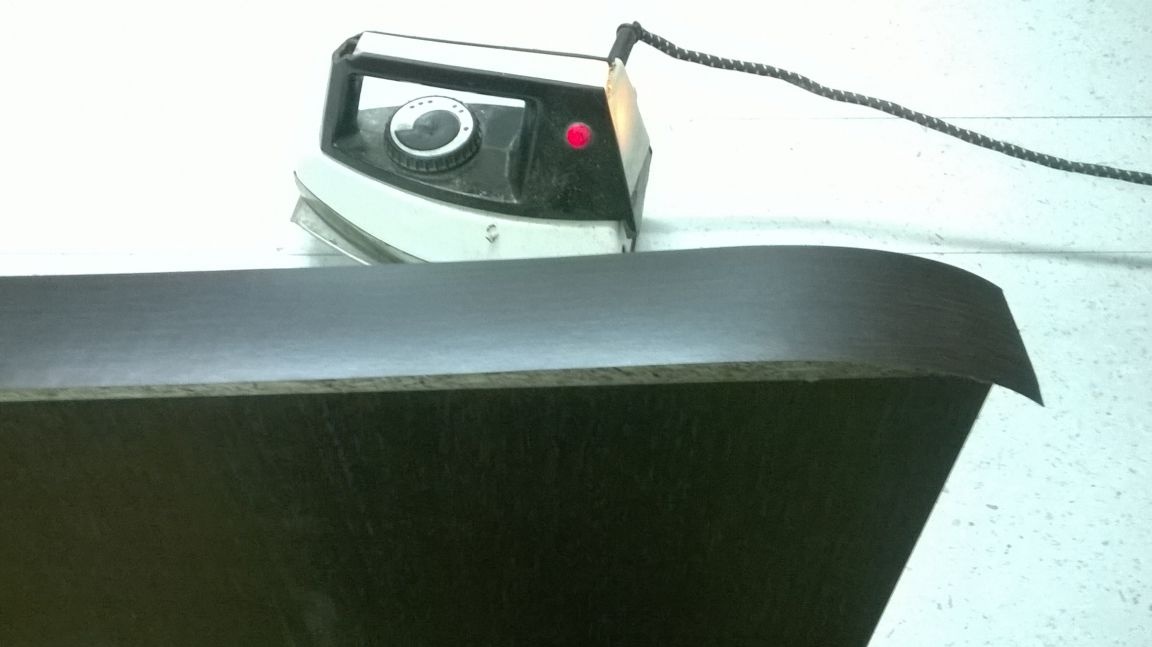
So, let's begin. To begin with, use an iron to glue the edge, the edge is glued to all parts on one side longitudinally. Passing the iron behind slightly overwrite with a cloth for better adhesion of glue. Then gently cut off the excess edges with a clerical knife. We paste the facades from four sides, in a circle.
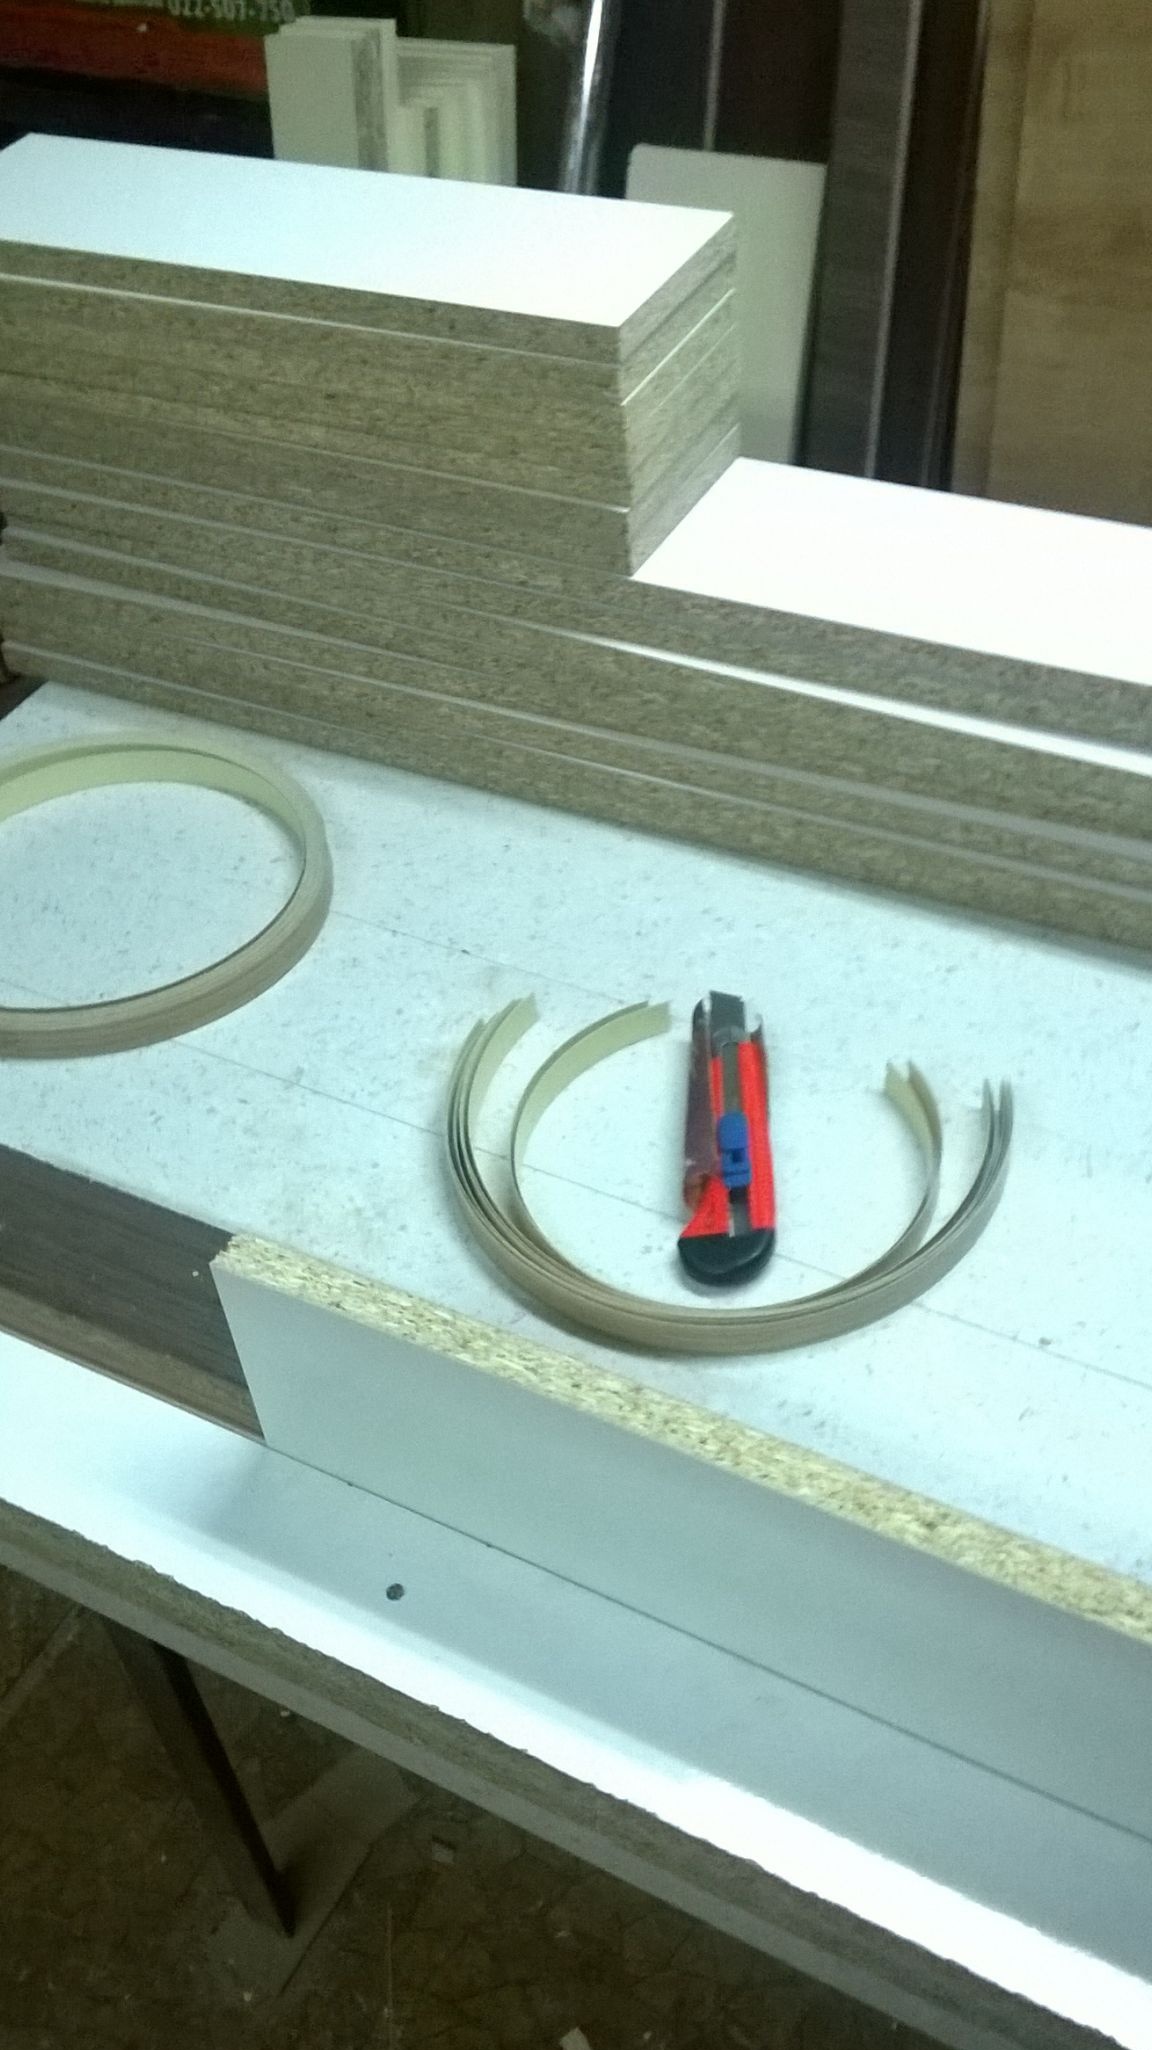
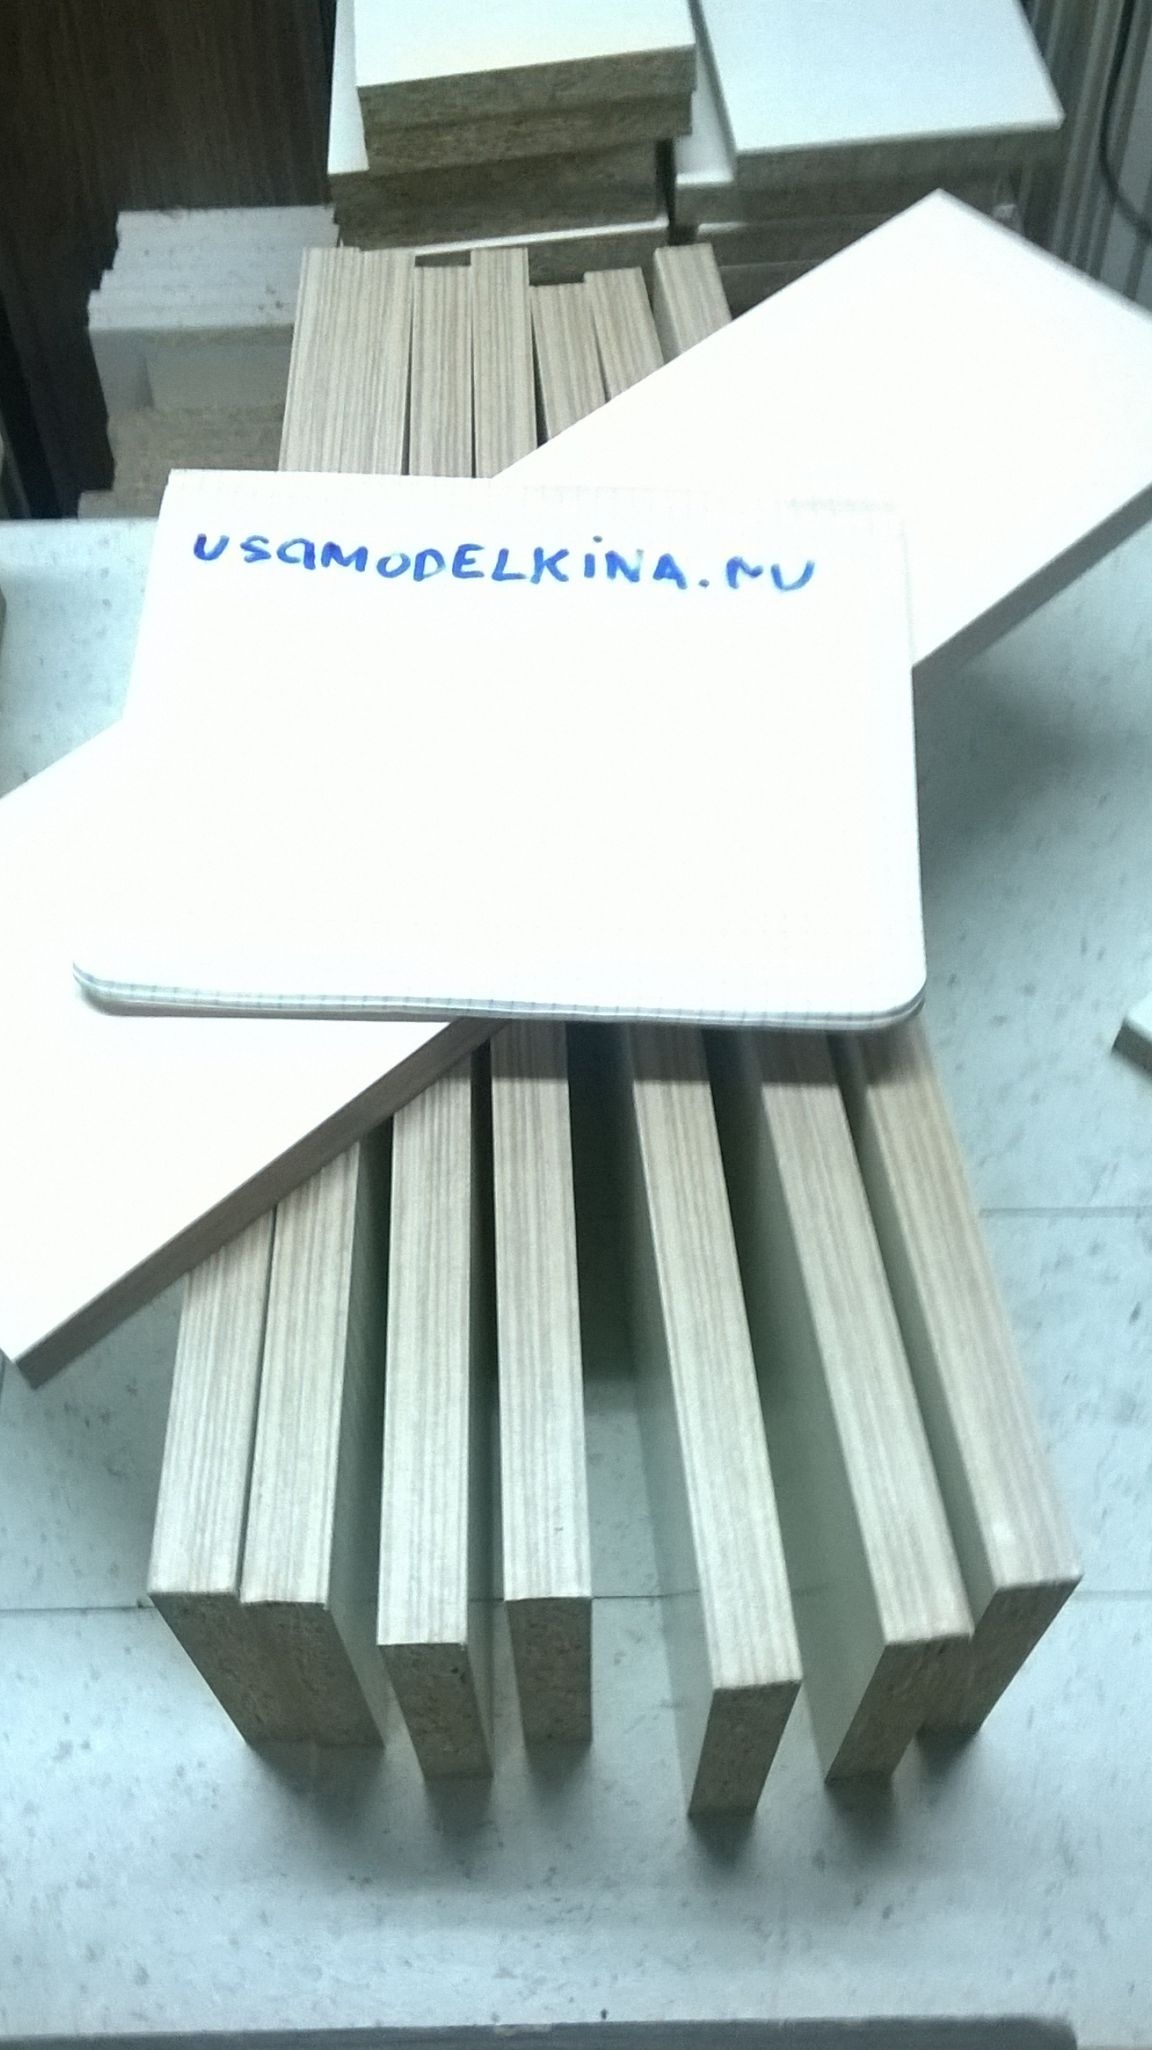
We paste the facades from four sides, in a circle.
After gluing all the parts, we will begin to collect the boxes themselves.
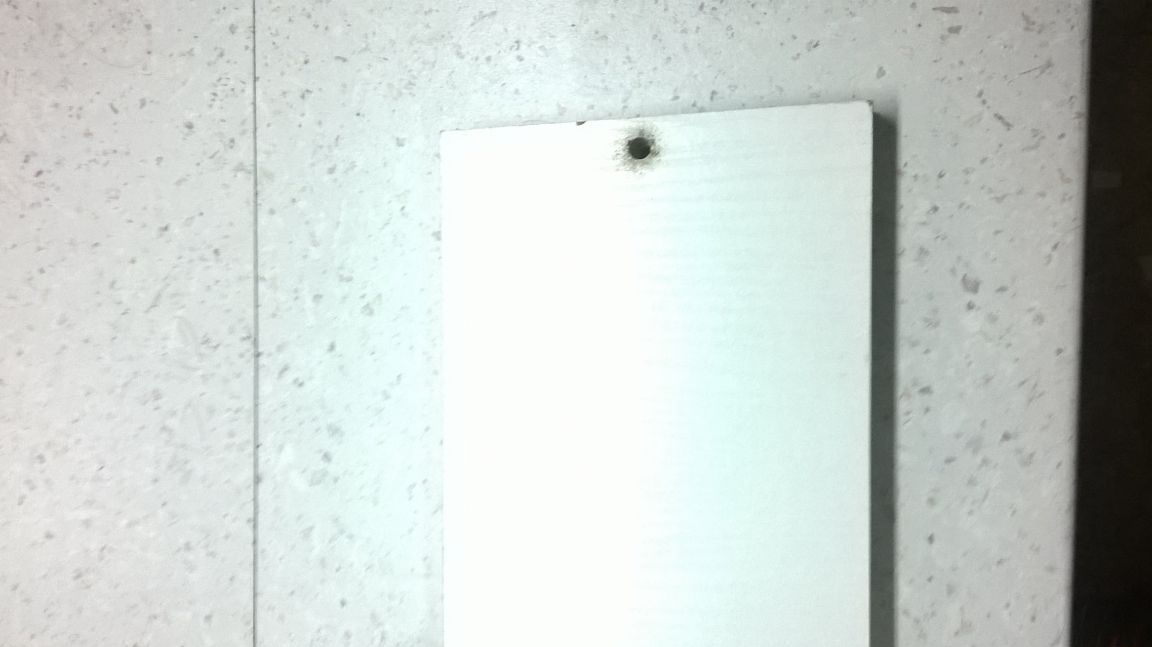
We take eight-piece parts 450 * 130 in size, and markup on both sides.
We drill holes with a diameter of 4.5 mm.
We begin the assembly.We attach another 802 * 130 mm in size to our drilled part and drill them together.
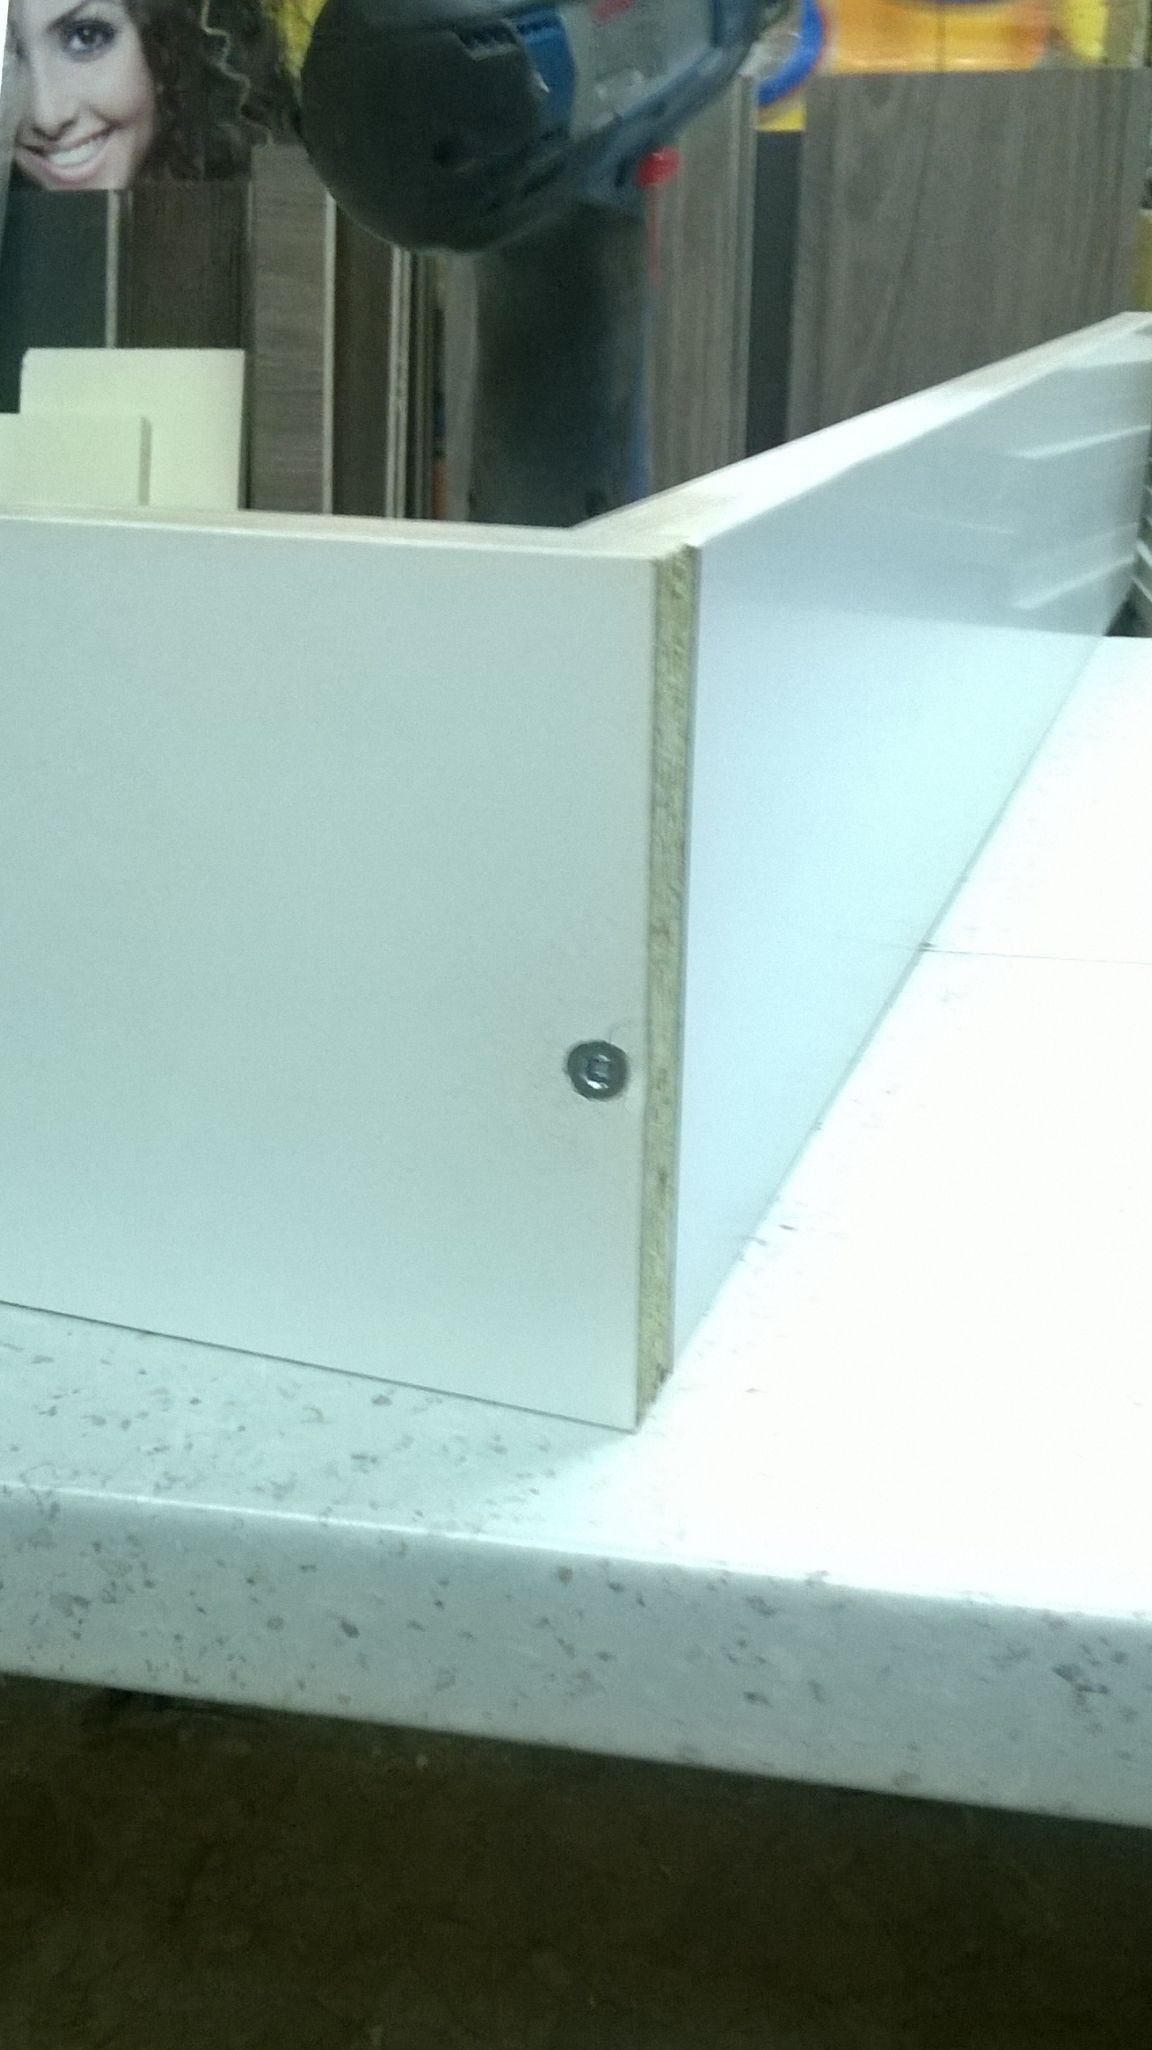
And pull them together with a furniture screed.
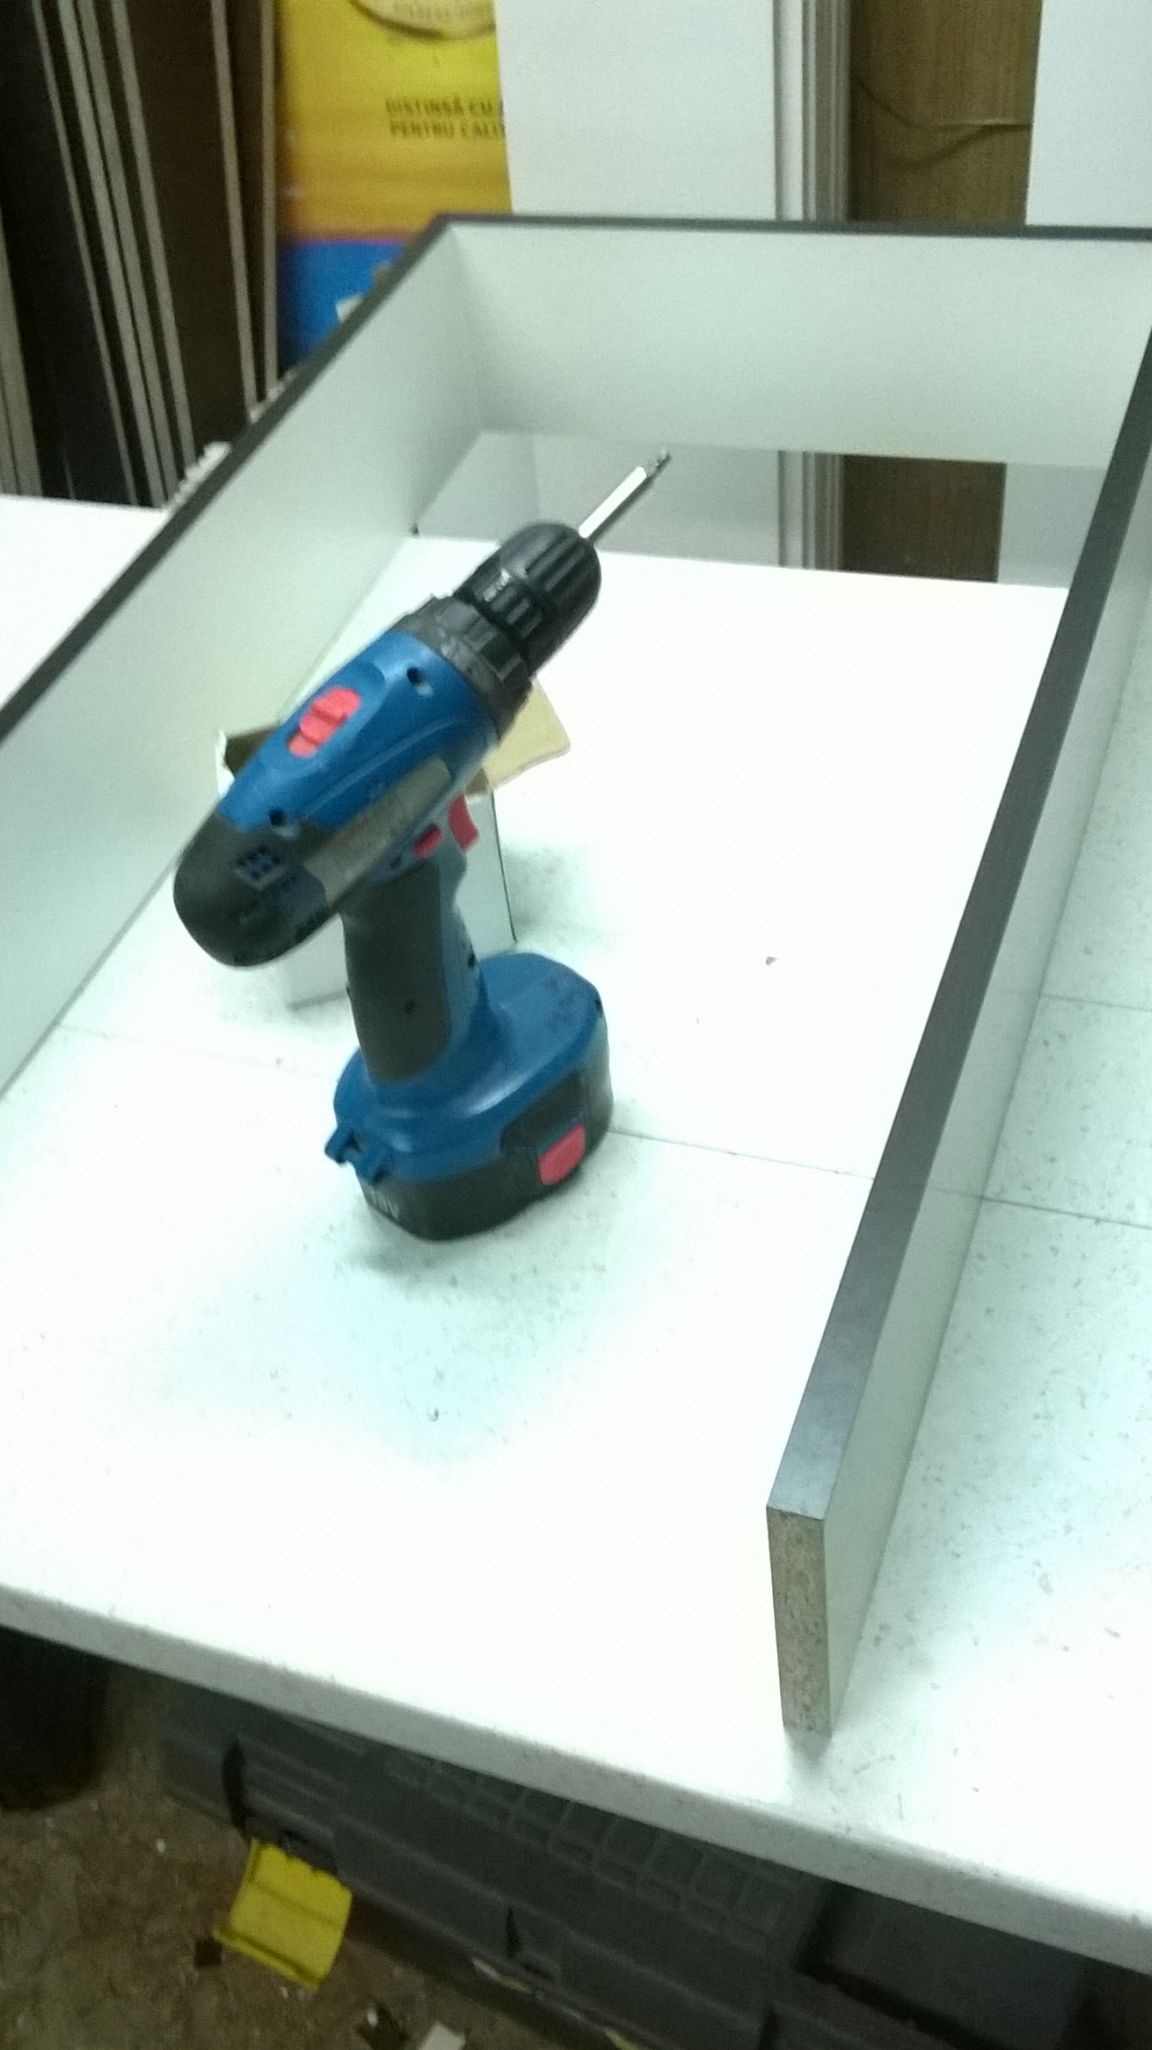
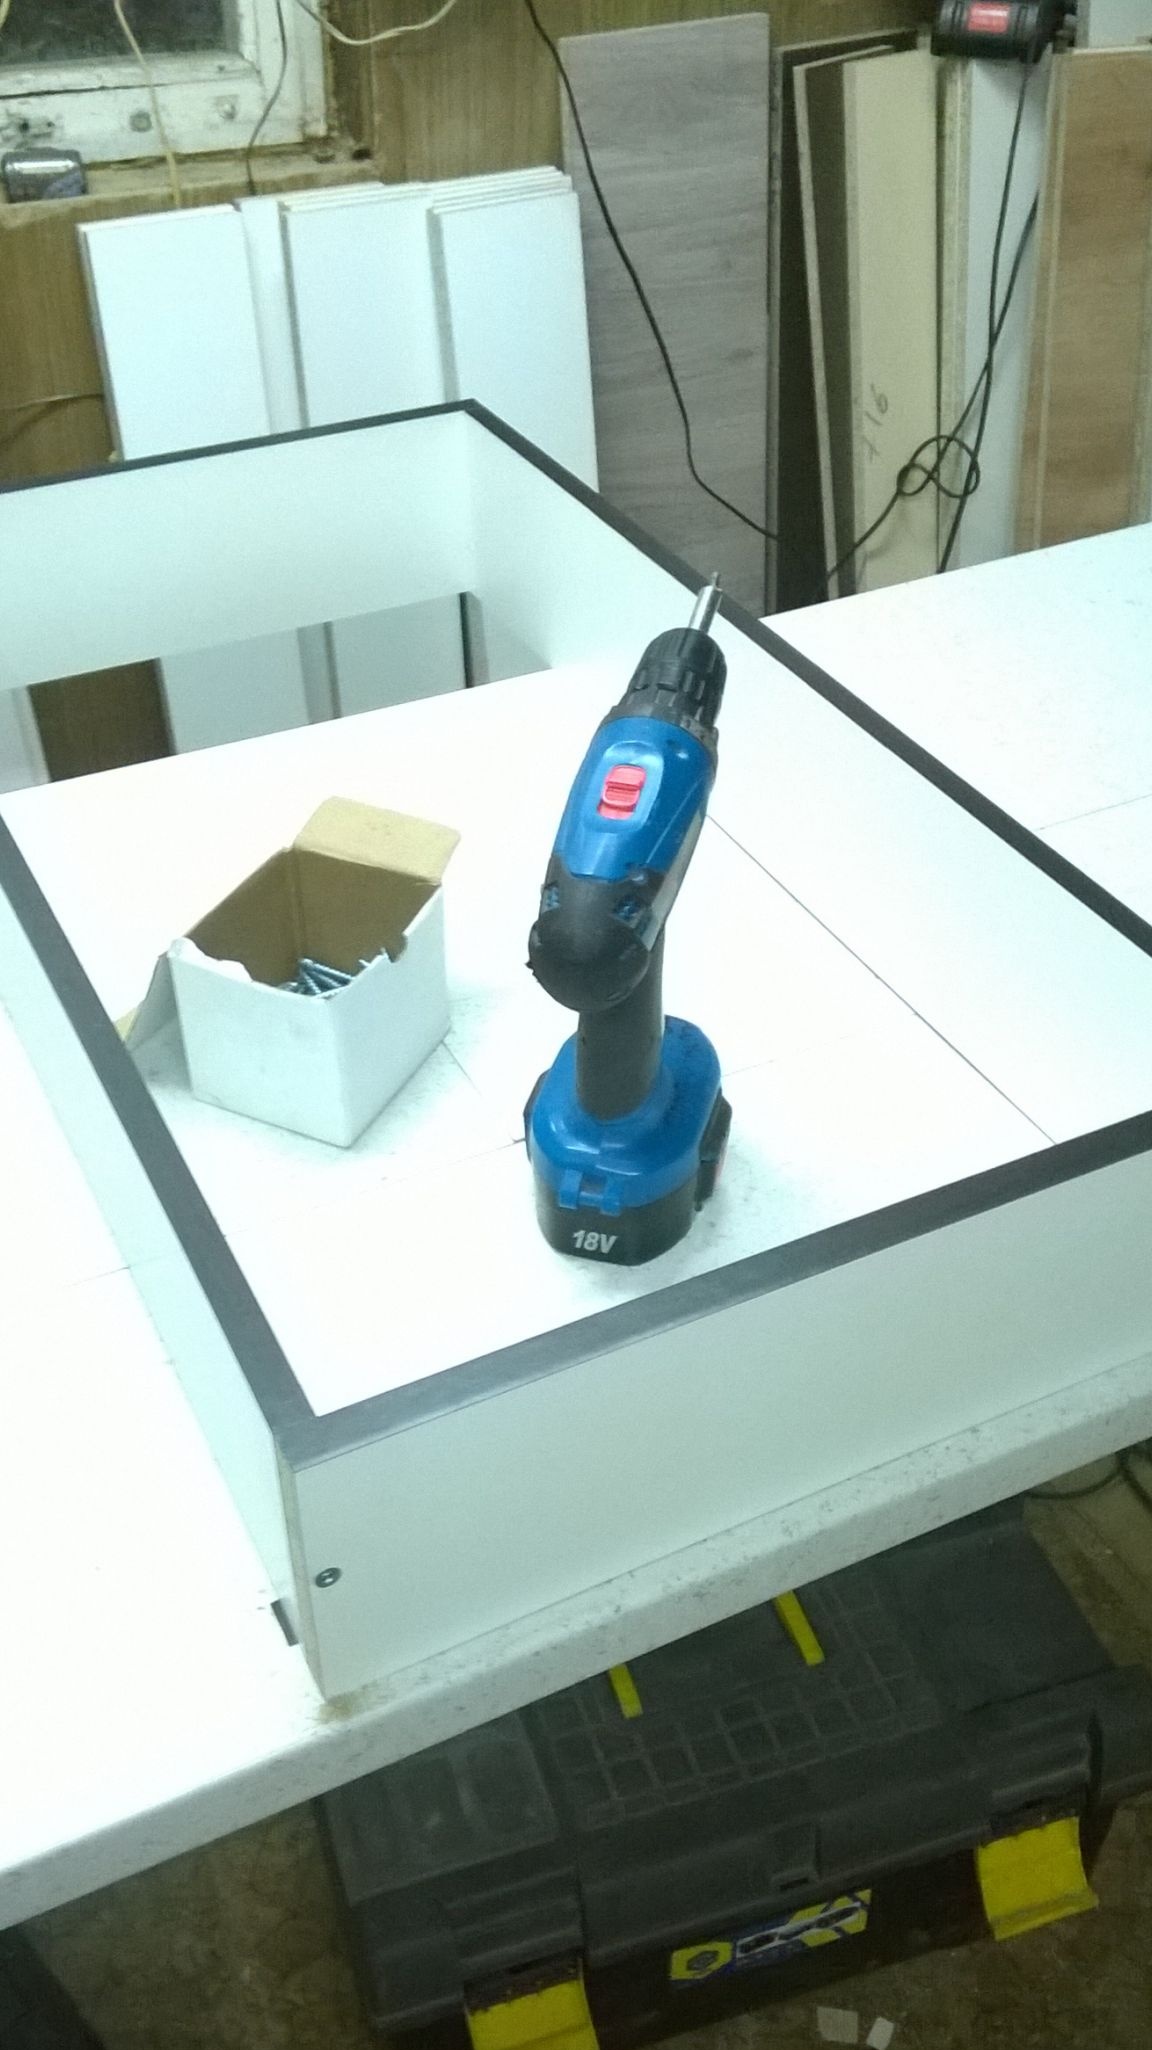

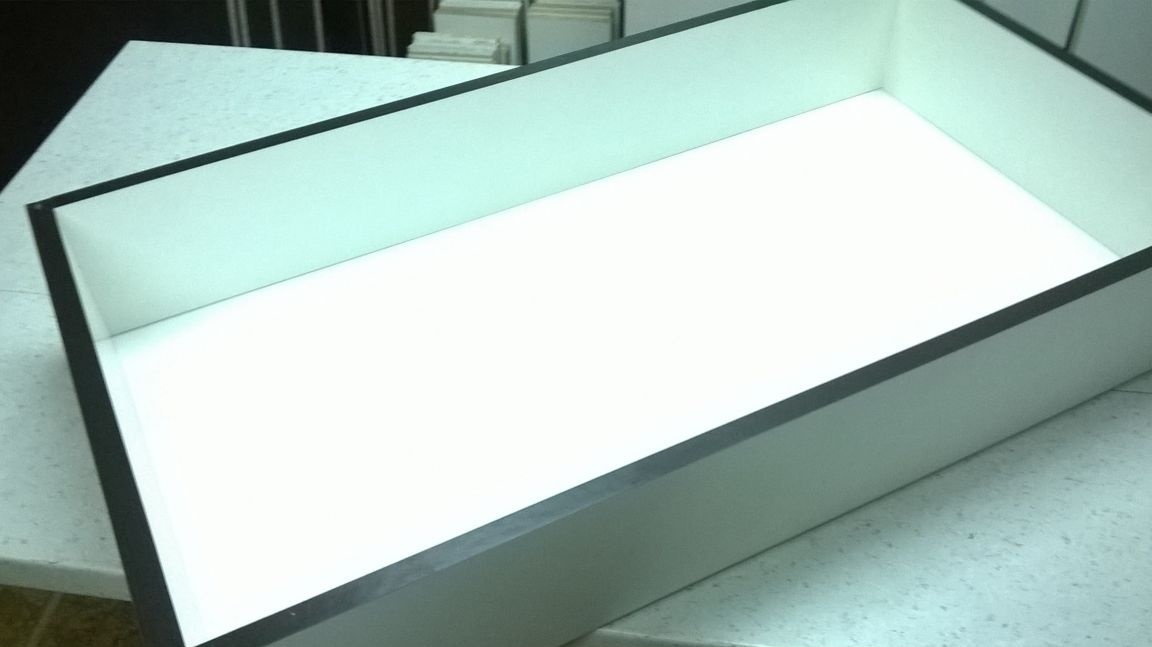
It turns out here is such a box.
Now it’s stuffing the bottom, while unforgettable to check the diagonal.
 [/ center]
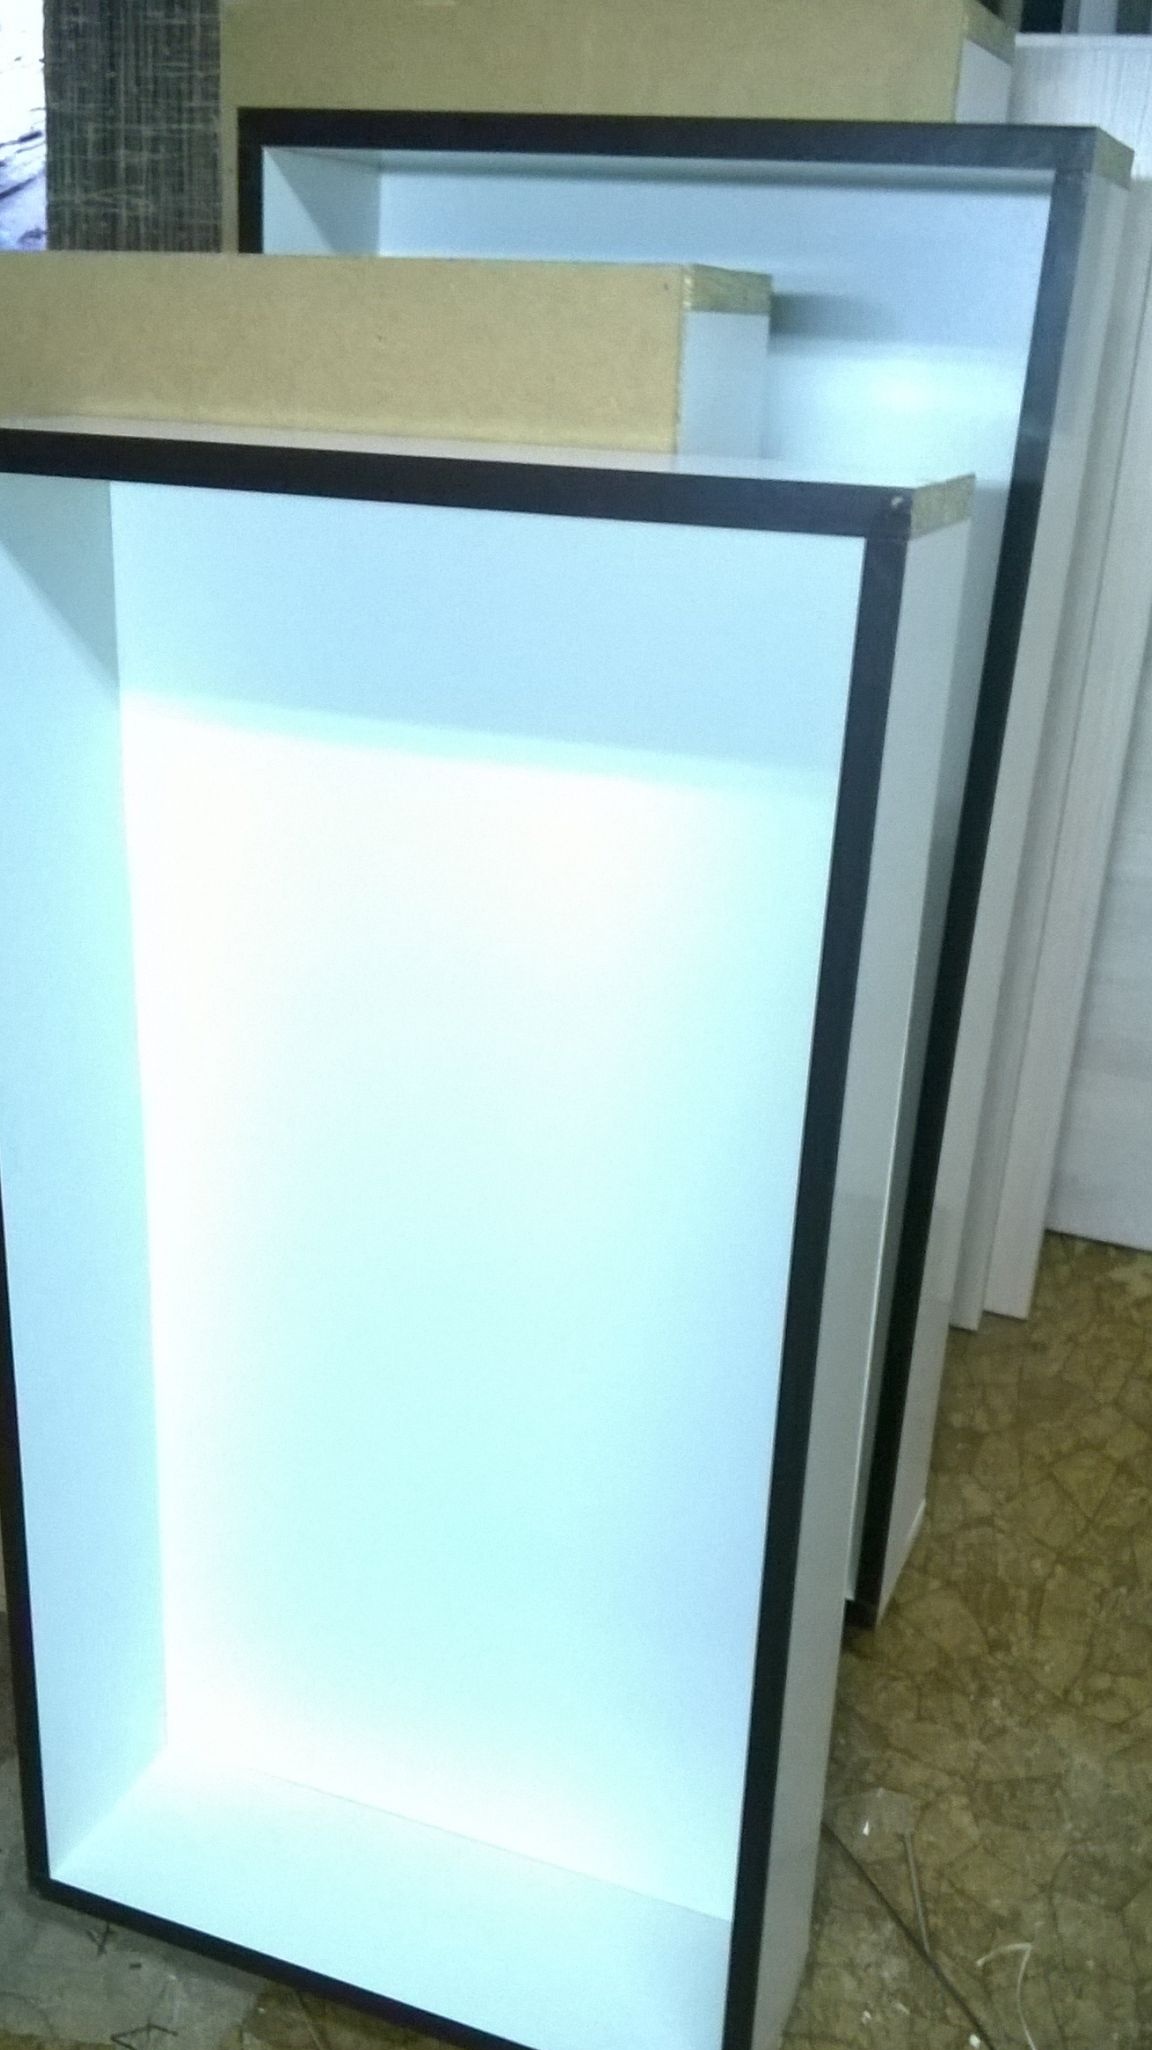
Thus we collect all four boxes.
The boxes are almost ready.
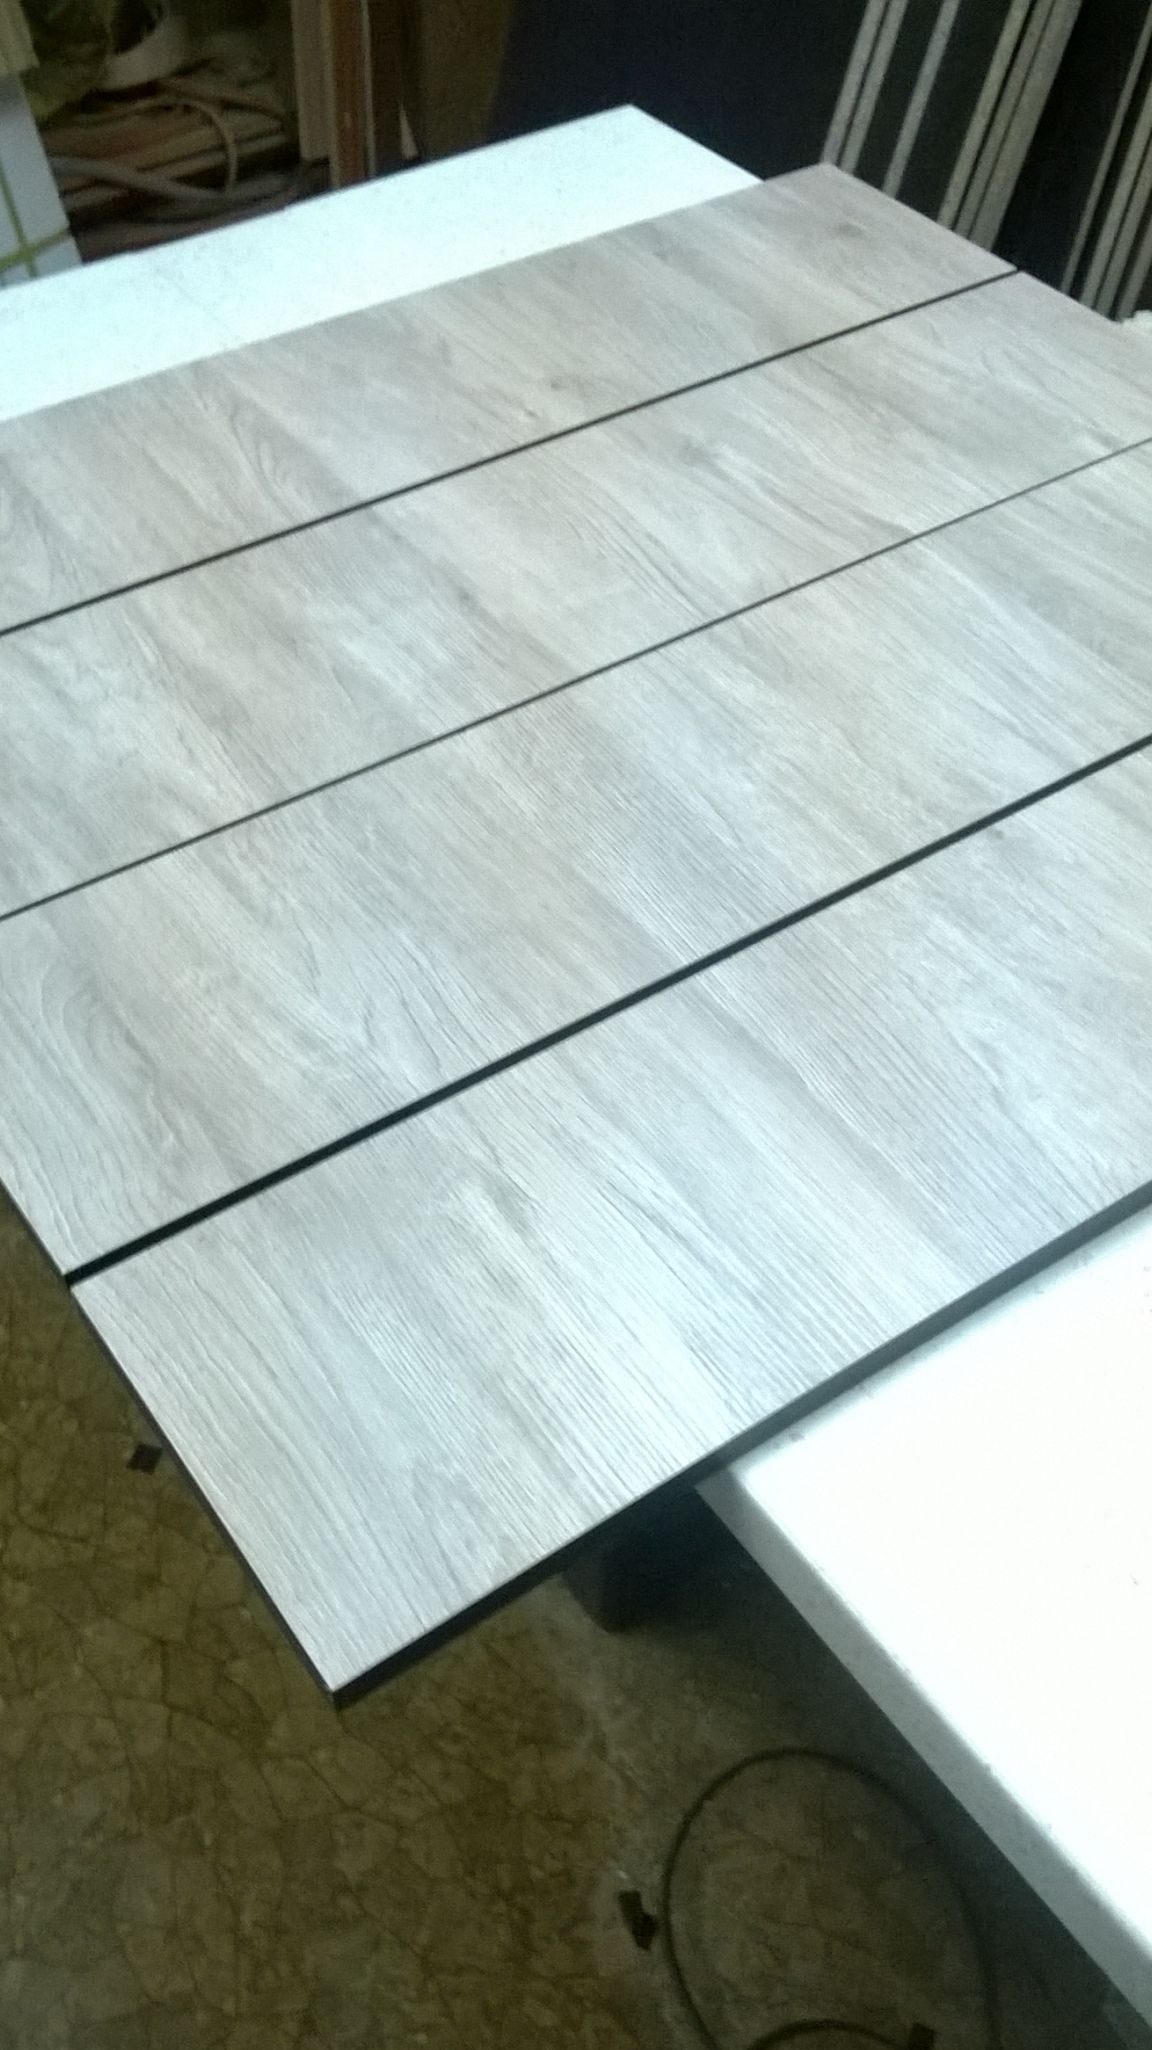
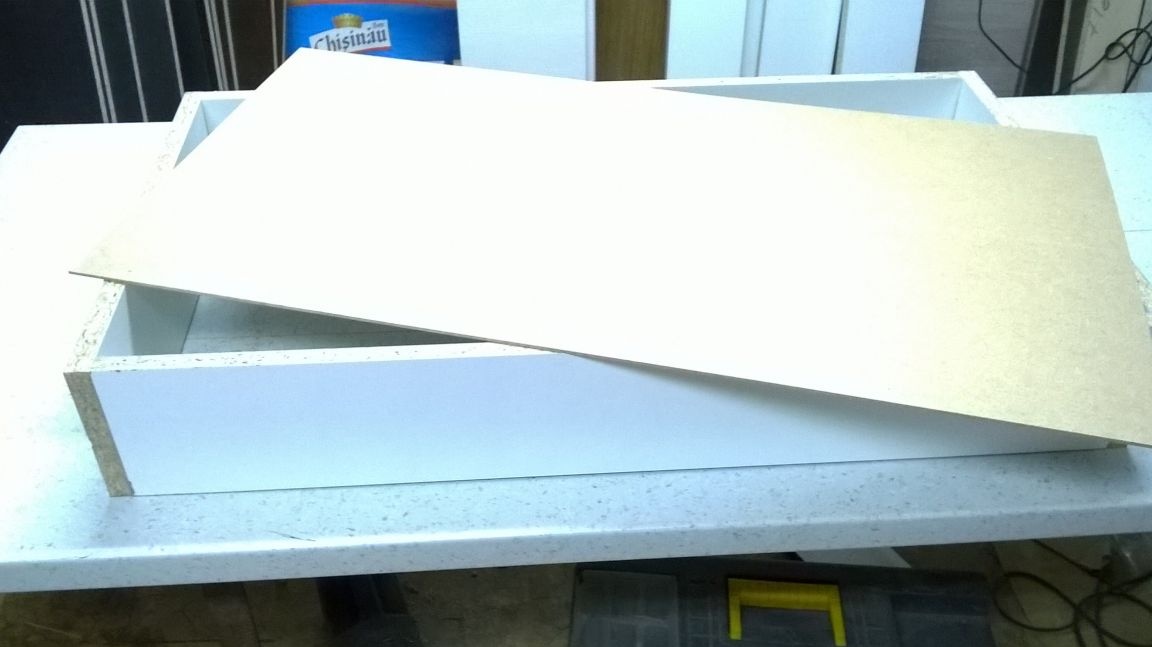
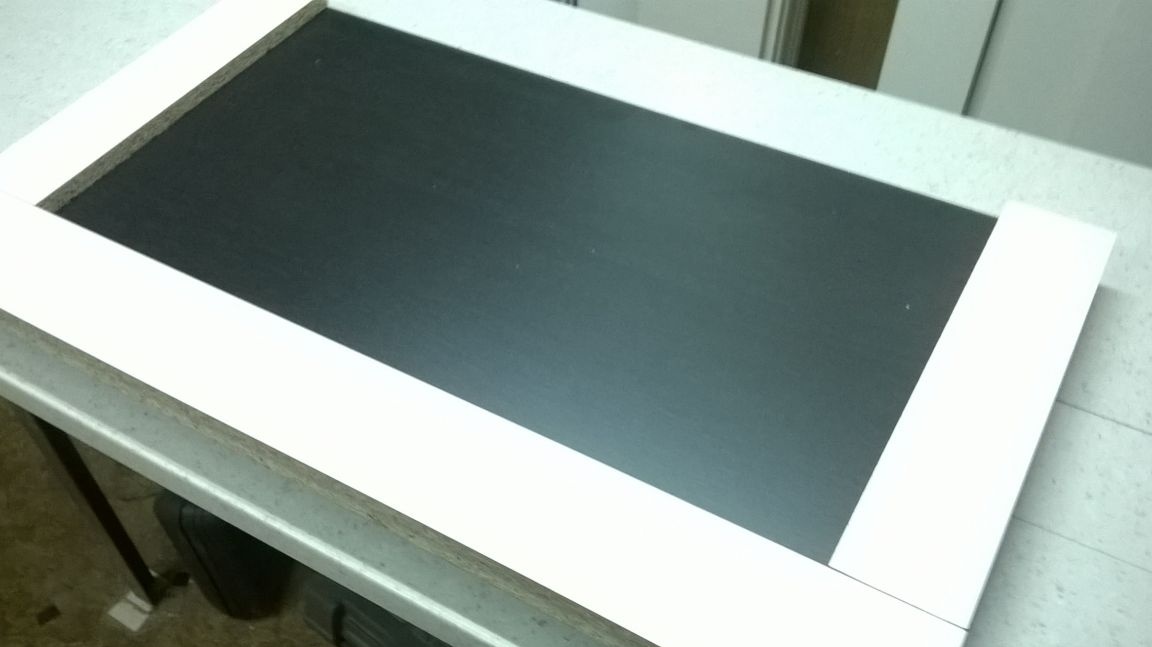
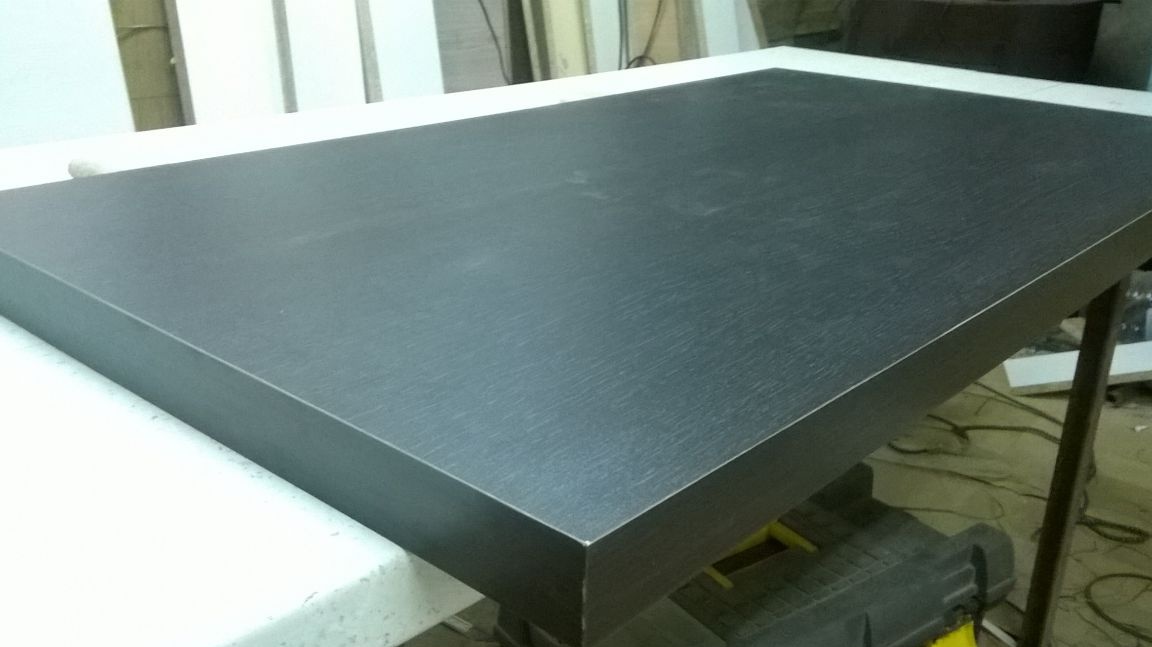
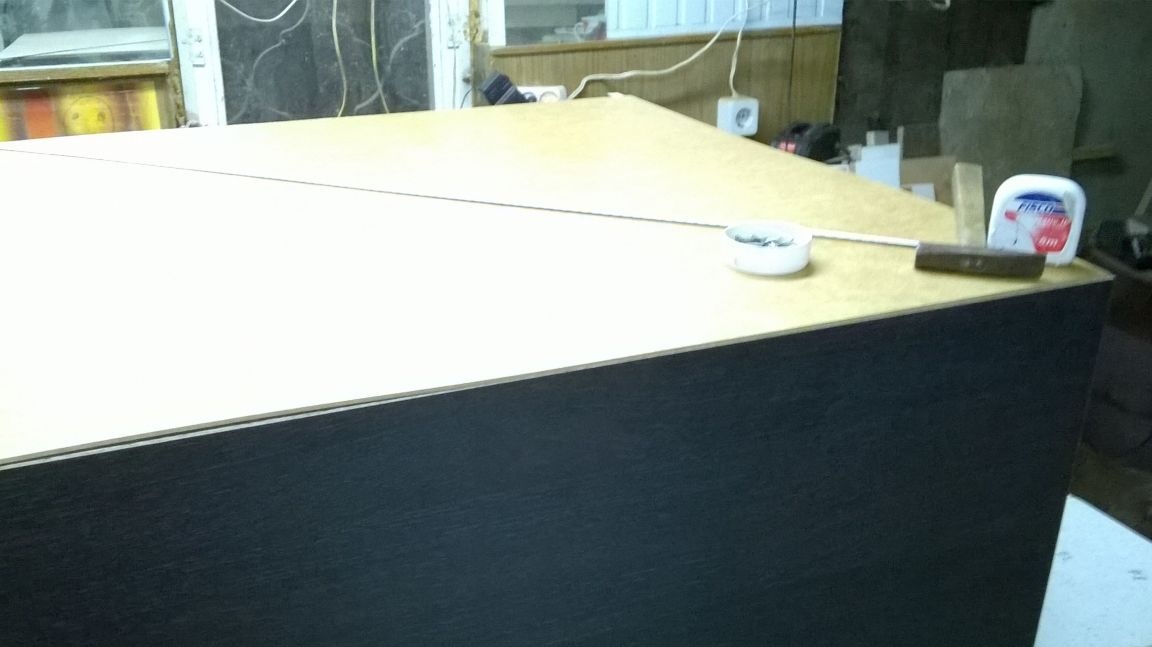
Let’s deal with the lid. We lay the lid face down and start splicing.
We cover the lid with our thickeners 904 * 100 and 400 * 100 on the sides.
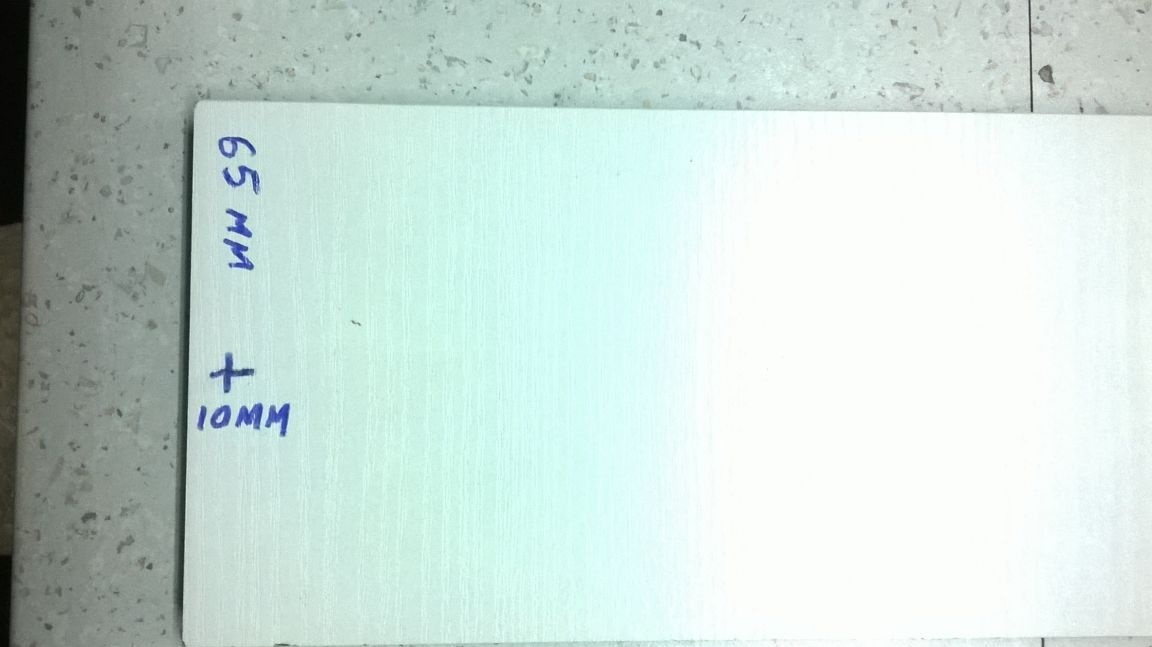
We drill holes at 4.5 mm, but not completely until about 10 -15 mm deep, so that the self-tapping screw holds well. Self-tapping screws should be 30 mm.
Twist.
We also glue an edge (only already wide) on three sides.
Here is what should happen.
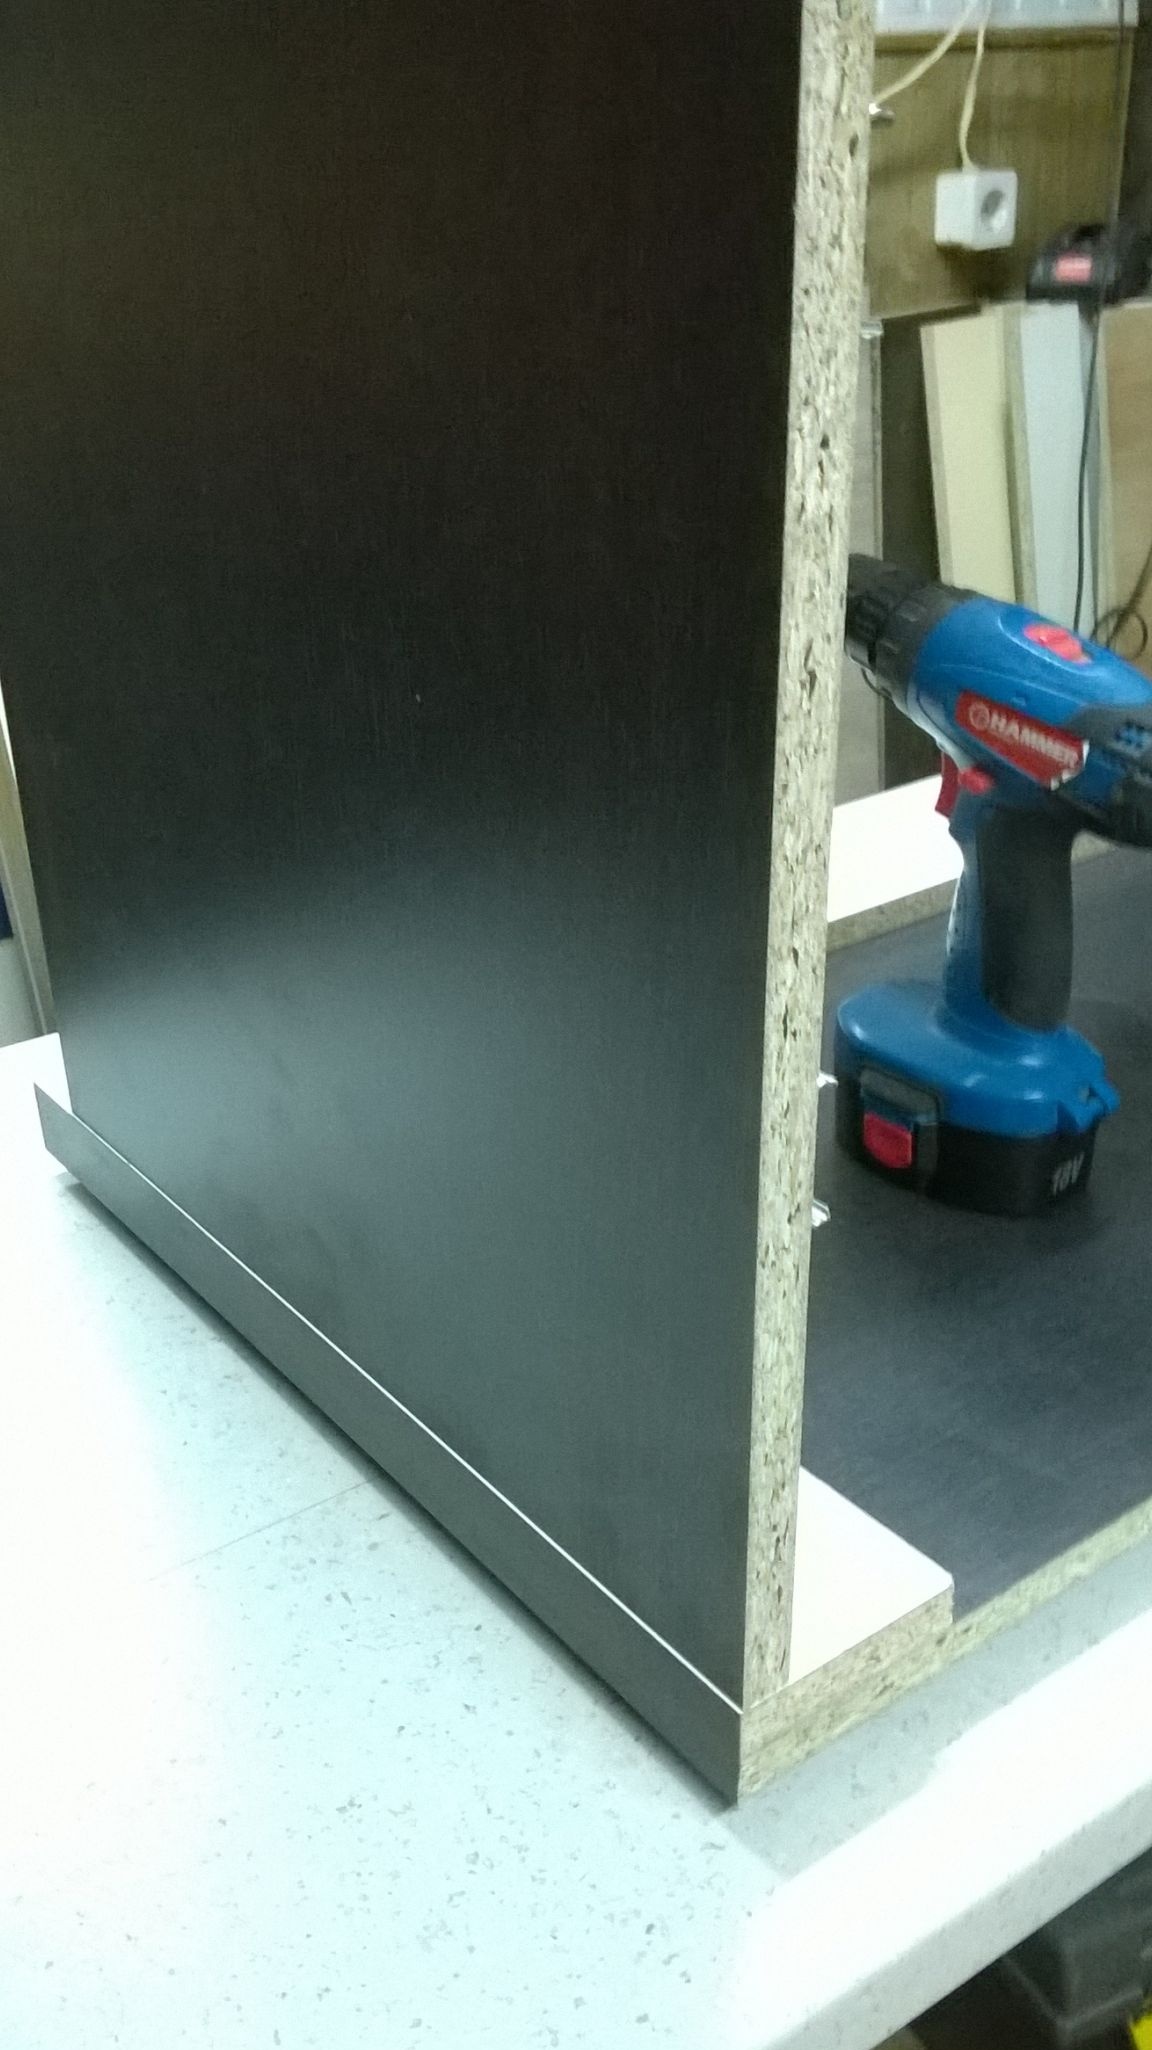
Let's deal with the sides of the chest of drawers. First, we decompose them mirrored, face down, and the edge out.
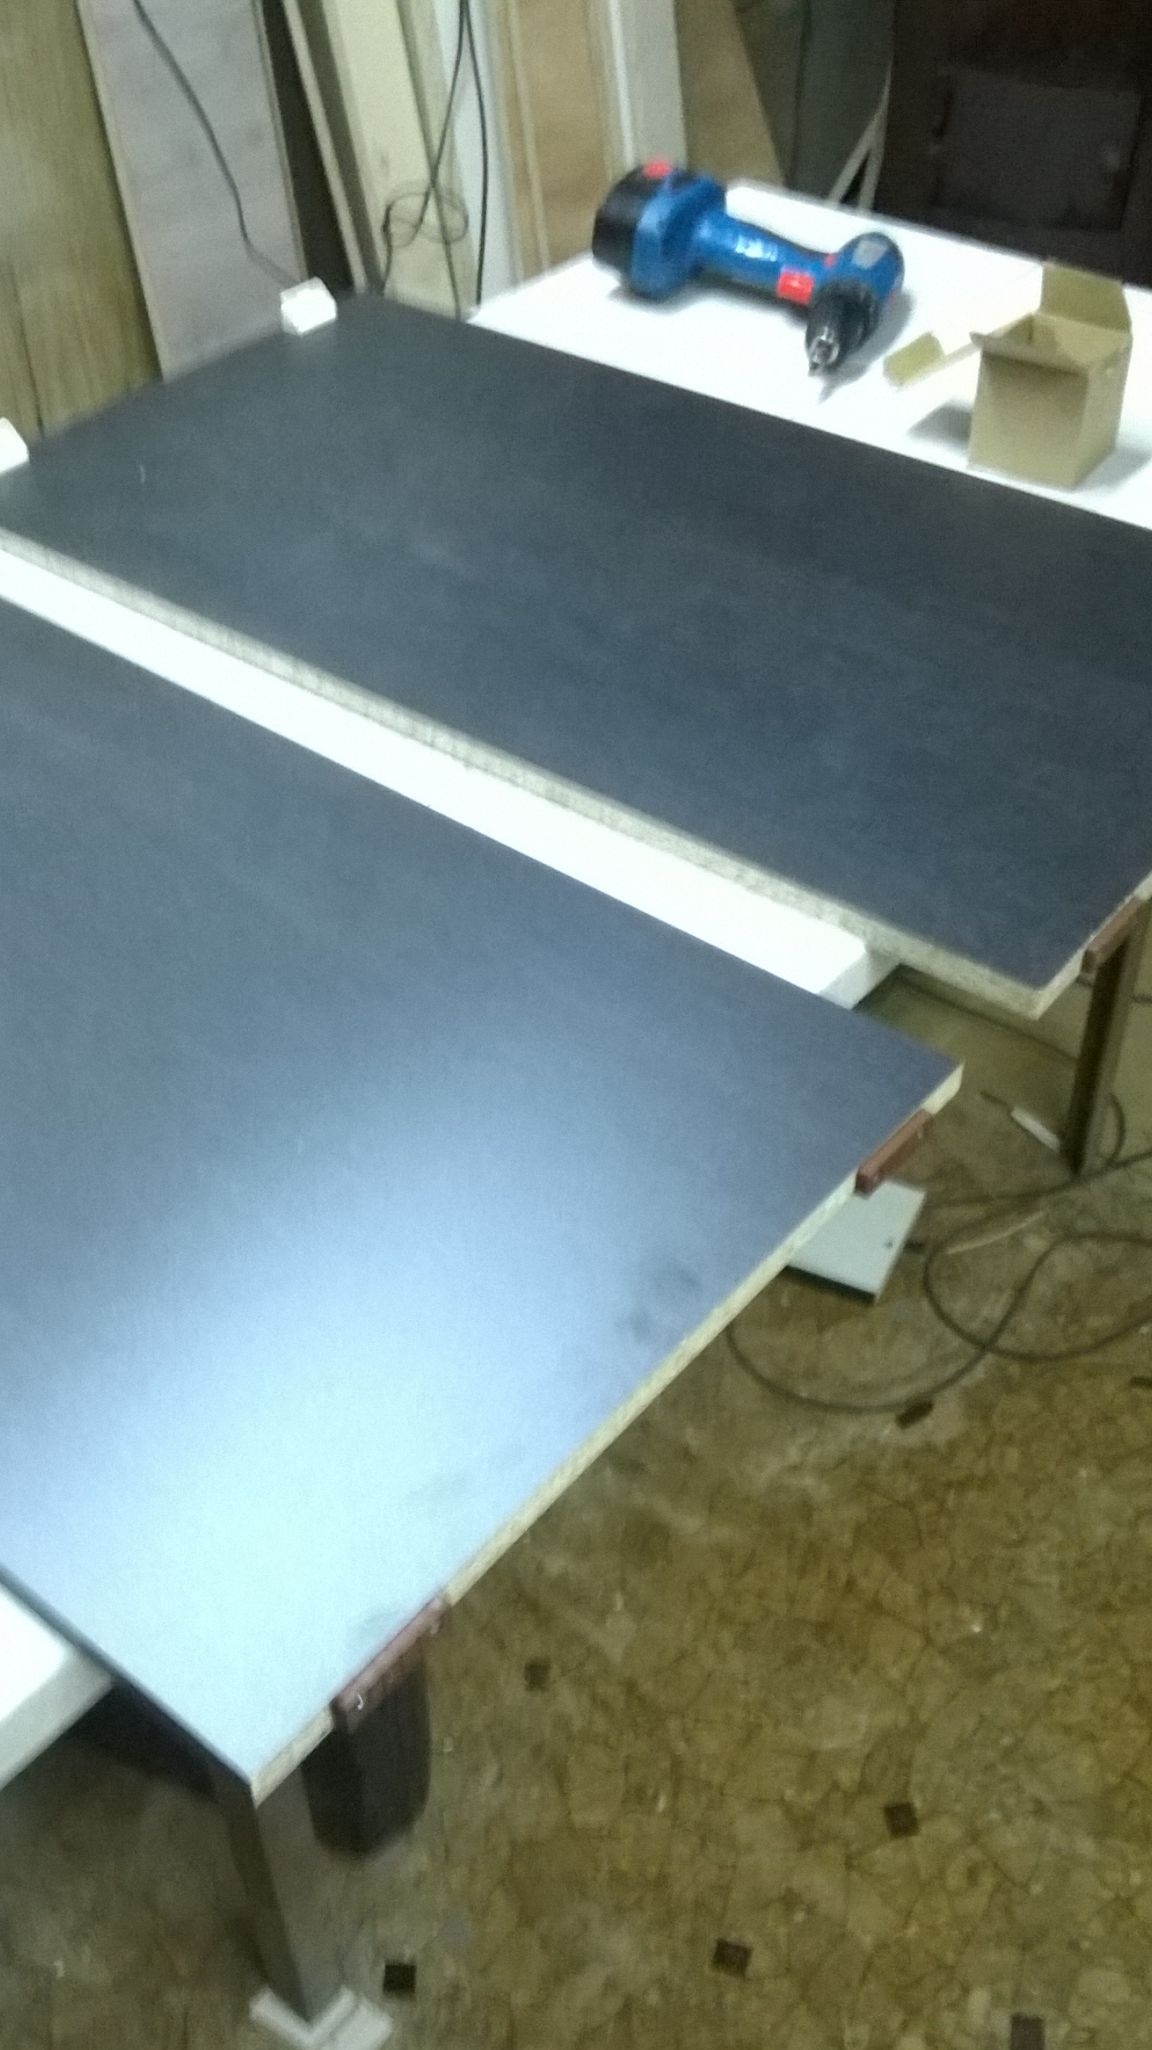
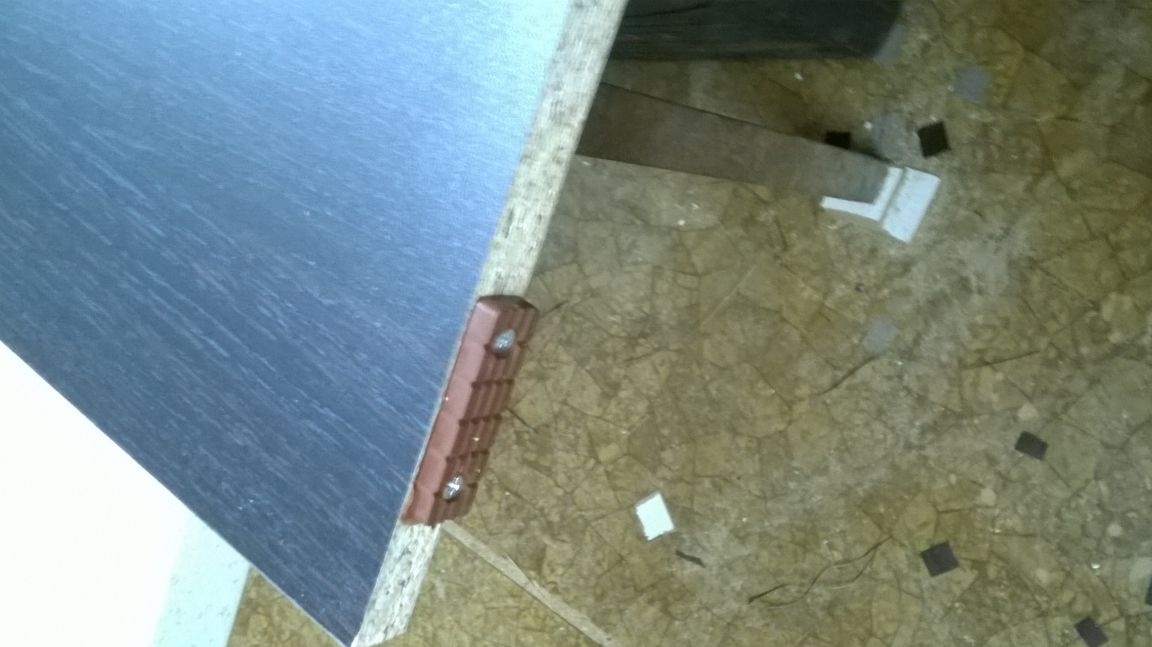
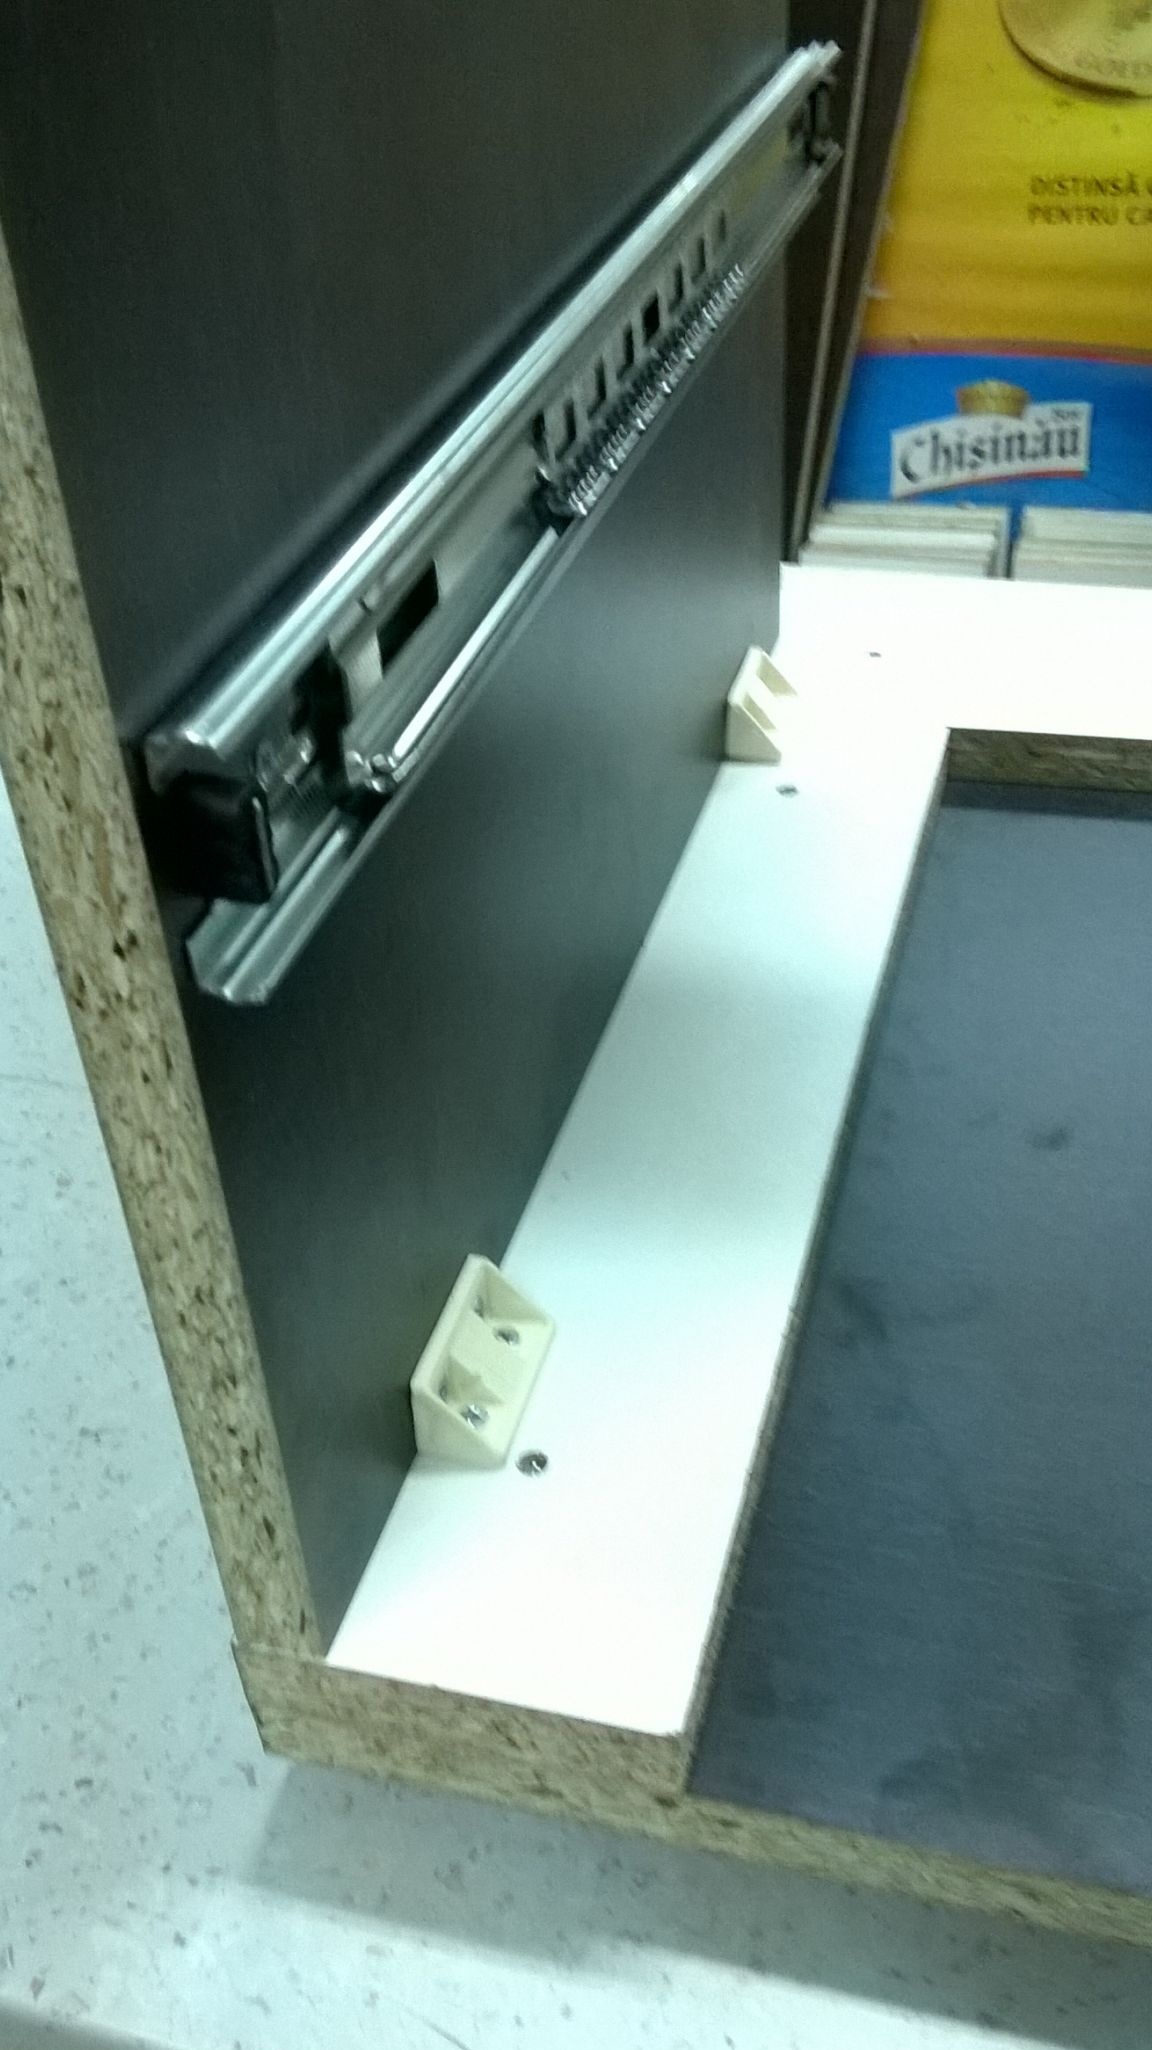
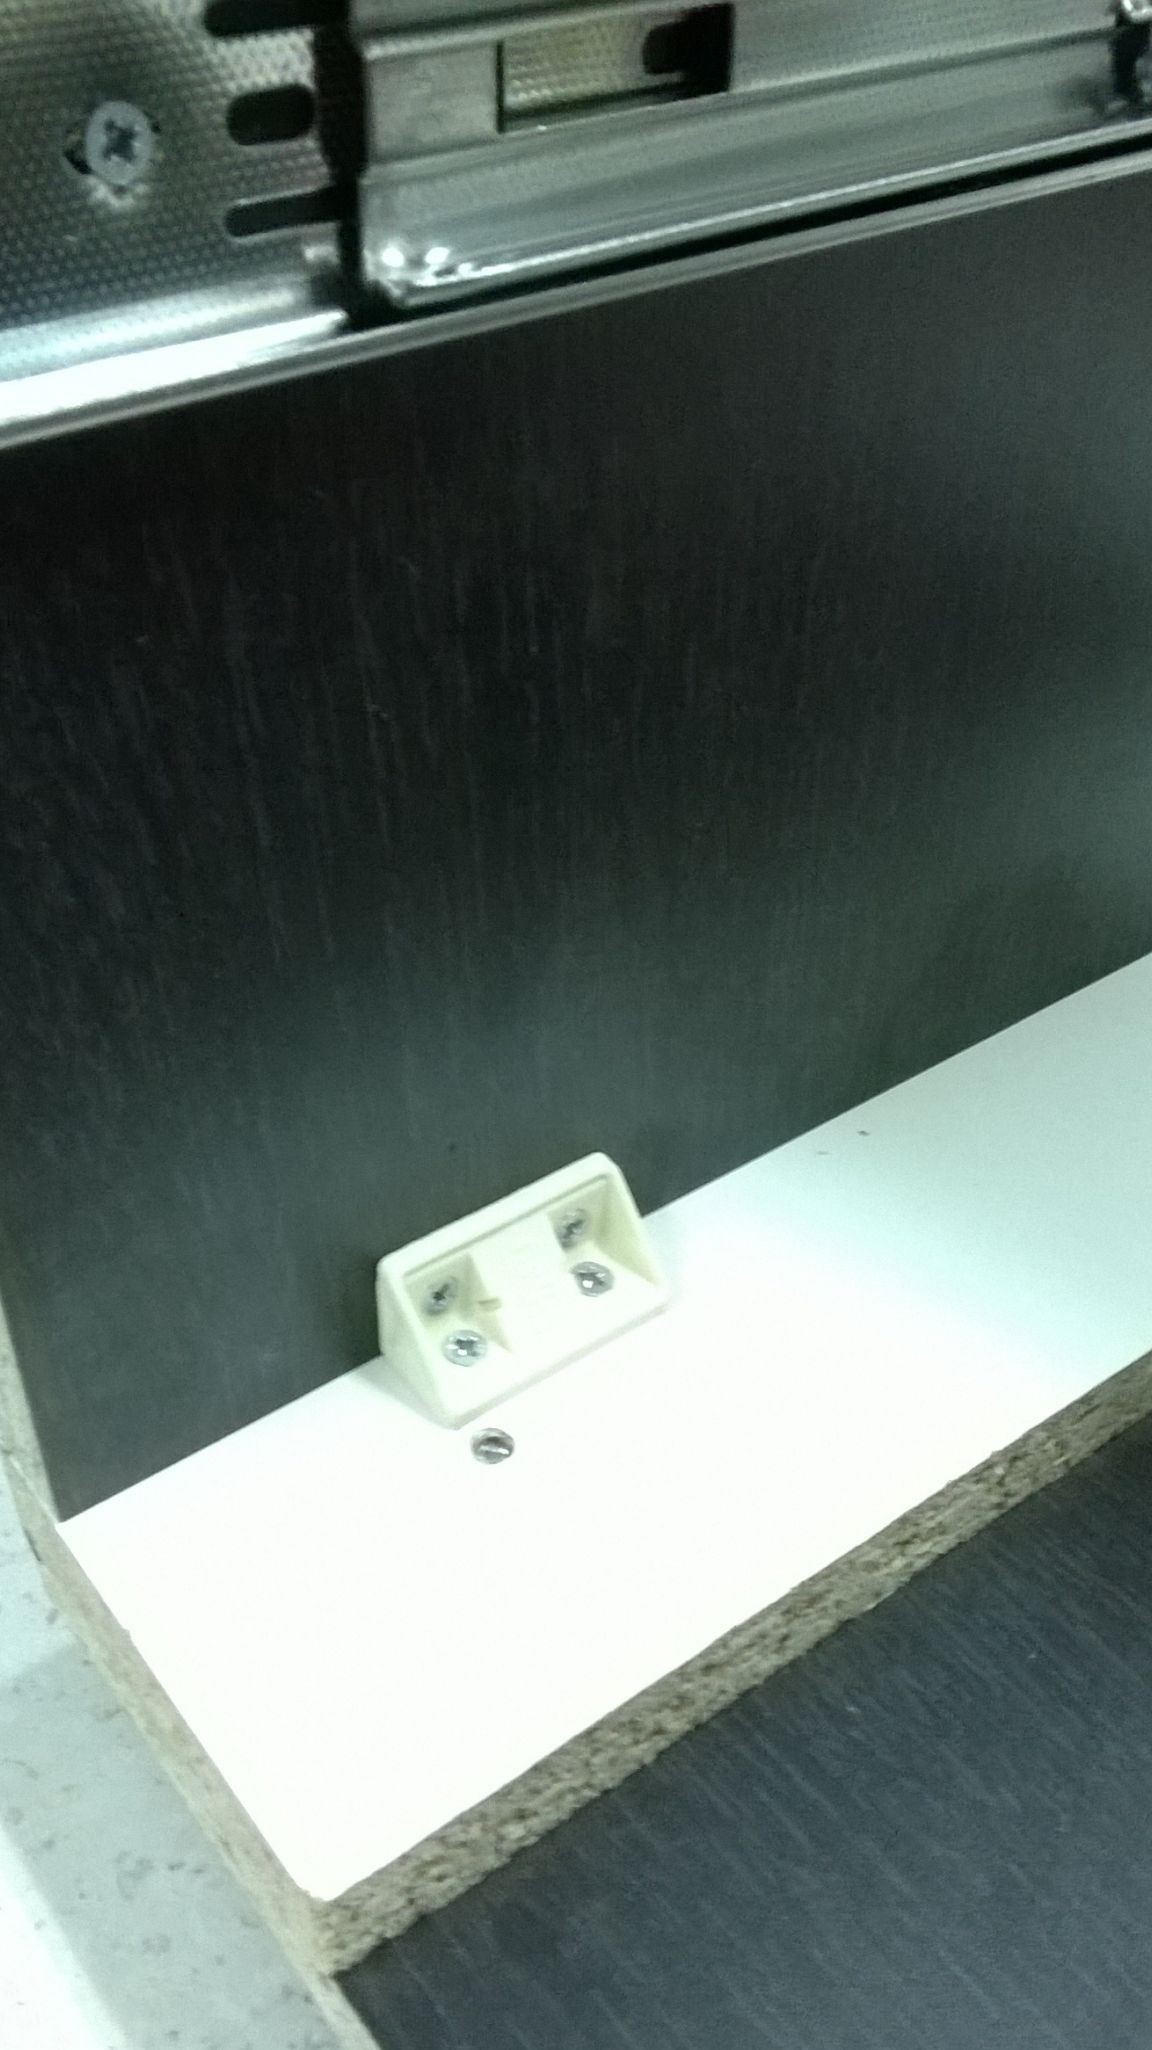
From the bottom we attach two thrusts, and from above two corners.

Mark the position of the lower jumpers with a marker, for this we take our base and apply it along the plane from the bottom of the sidewall and draw it.
Turn the base over to the rib and substitute it from the edge side, draw it.
On the other hand as well.
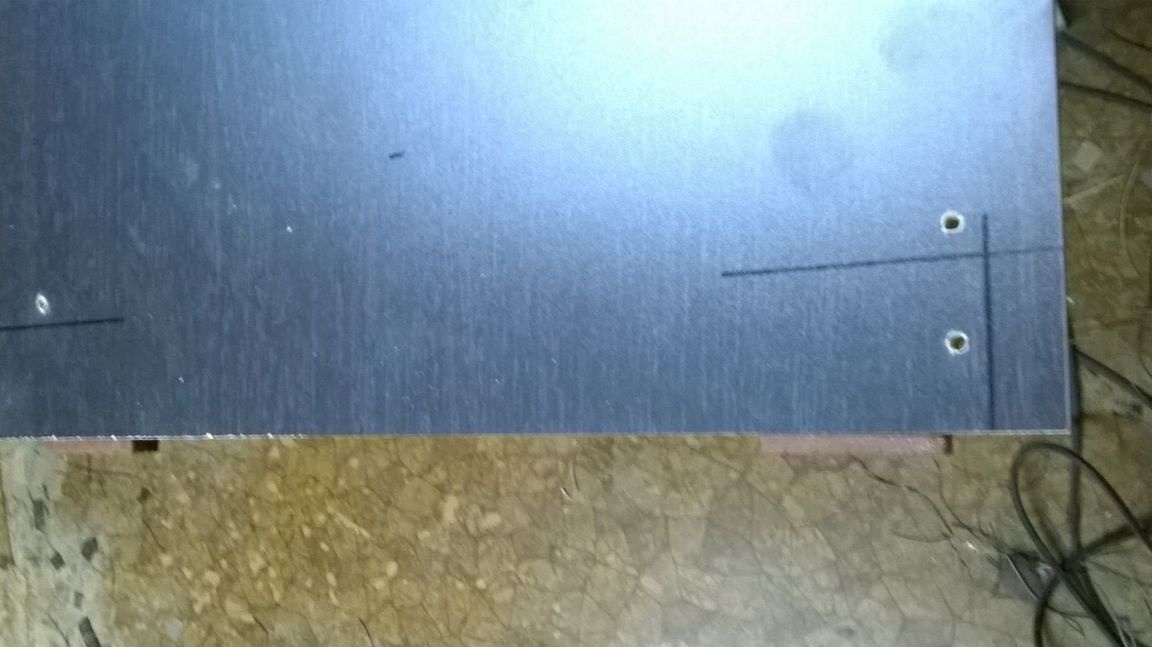
Then we drill a hole through 4.5 mm with a drill through, departing from lines of about 10 mm.
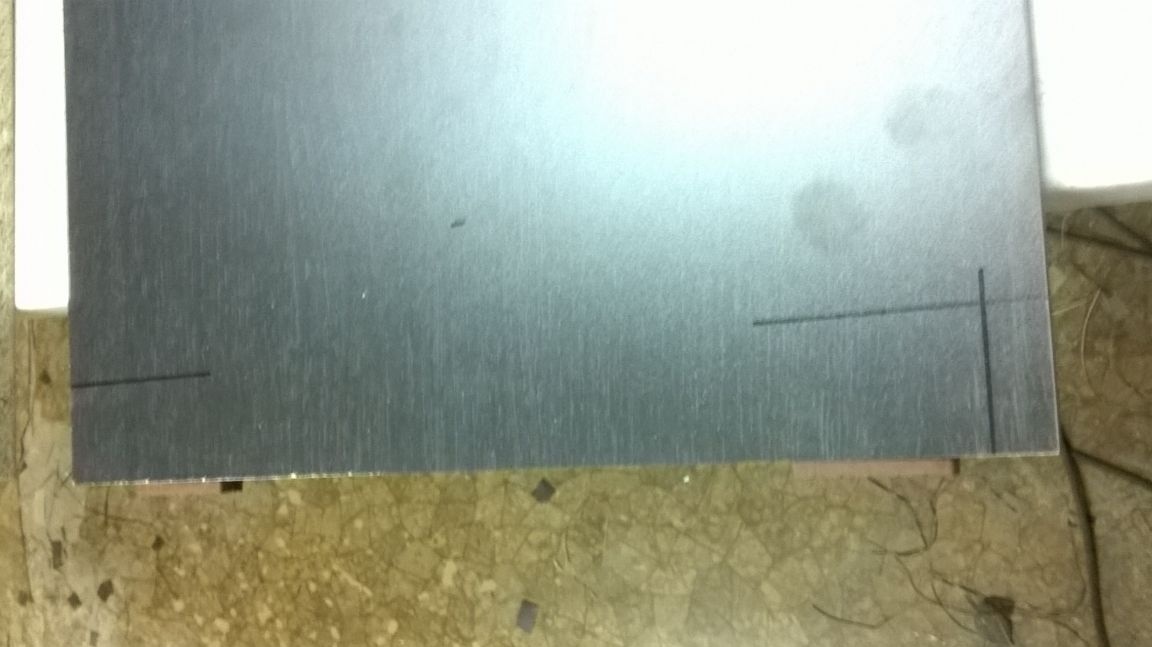
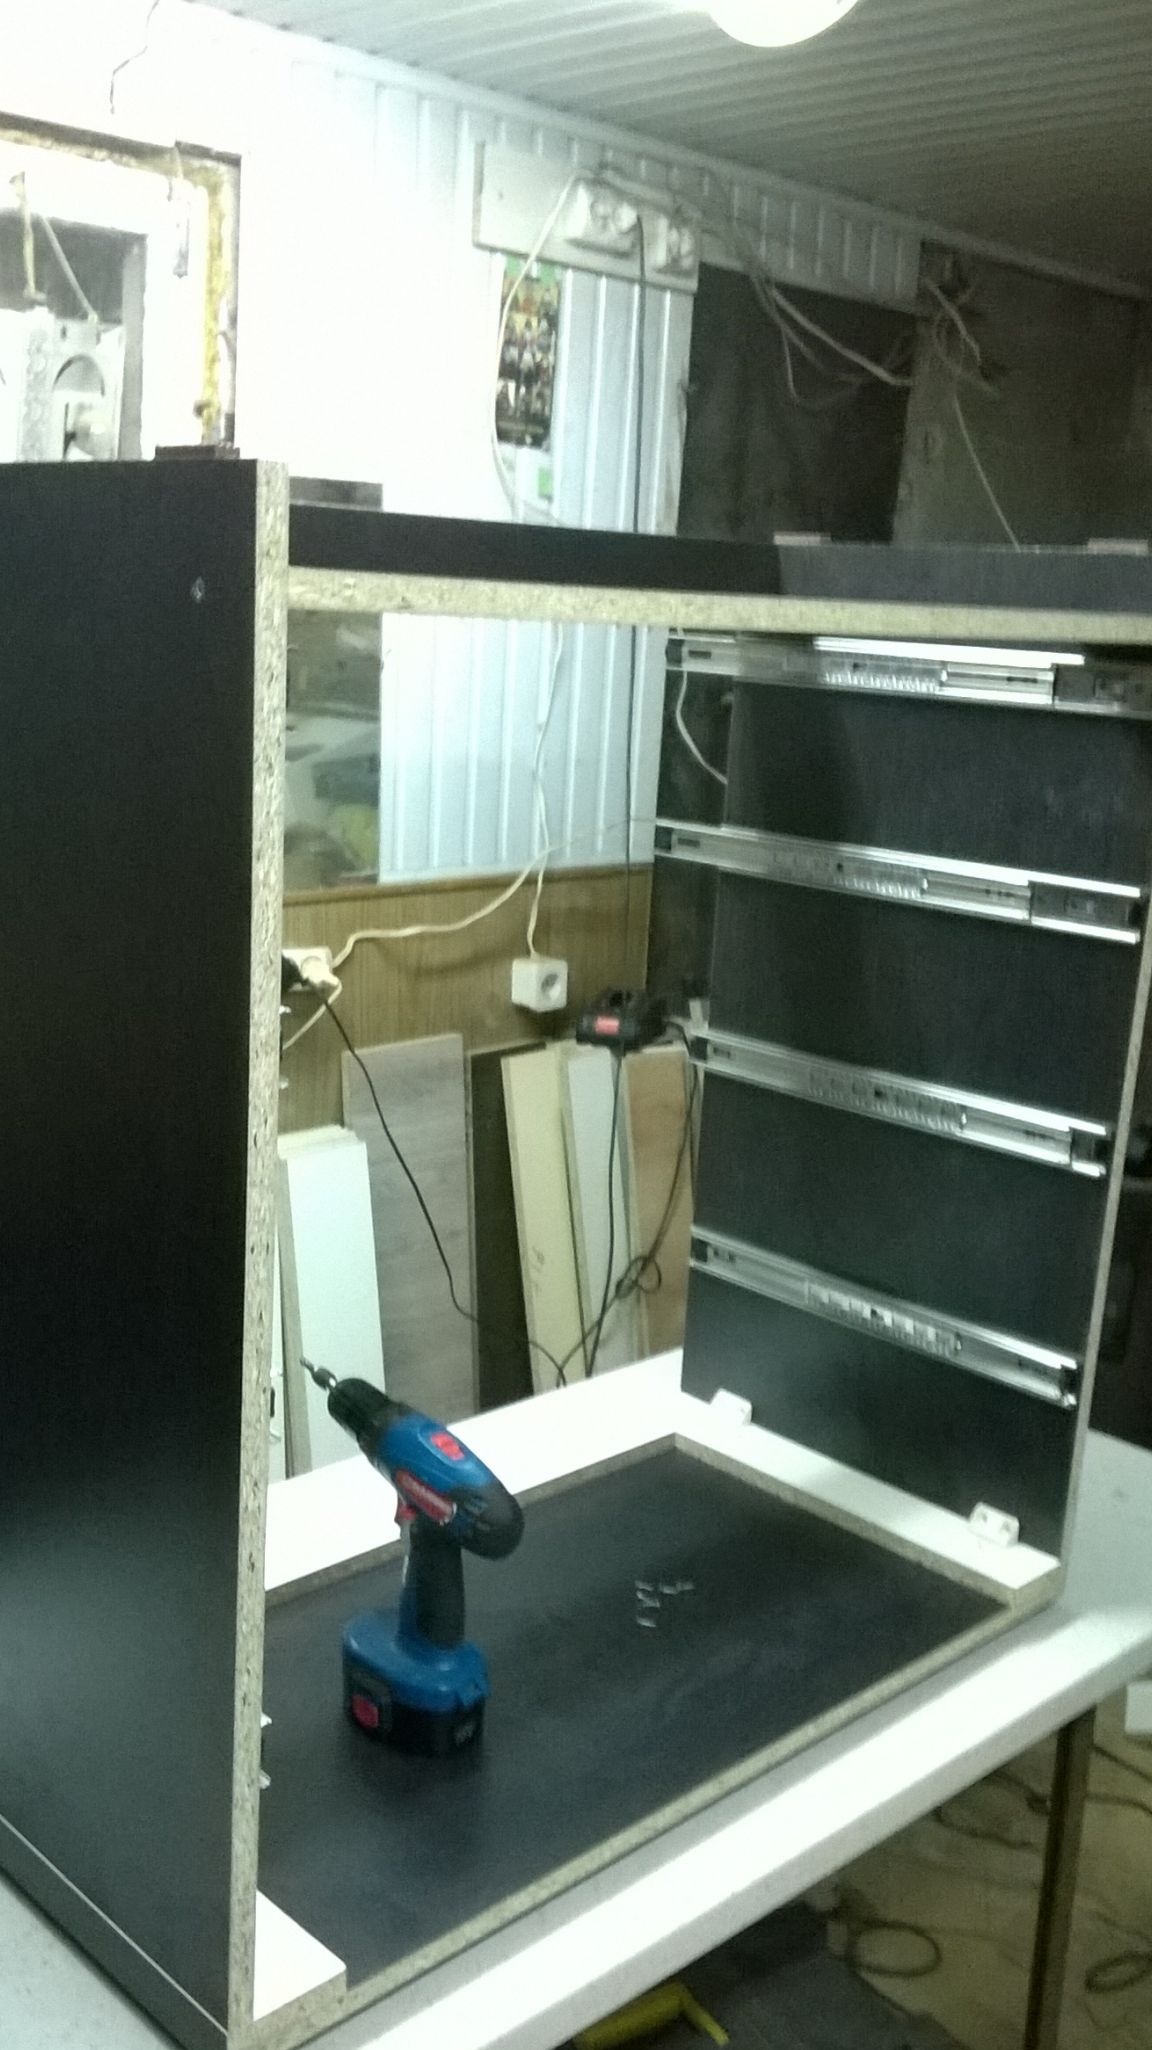
Mark the lines for the guides.
From the top we take:
170 mm
380 mm.
580 mm.
760 mm.
We draw four lines on the square with a marker. On both sides.

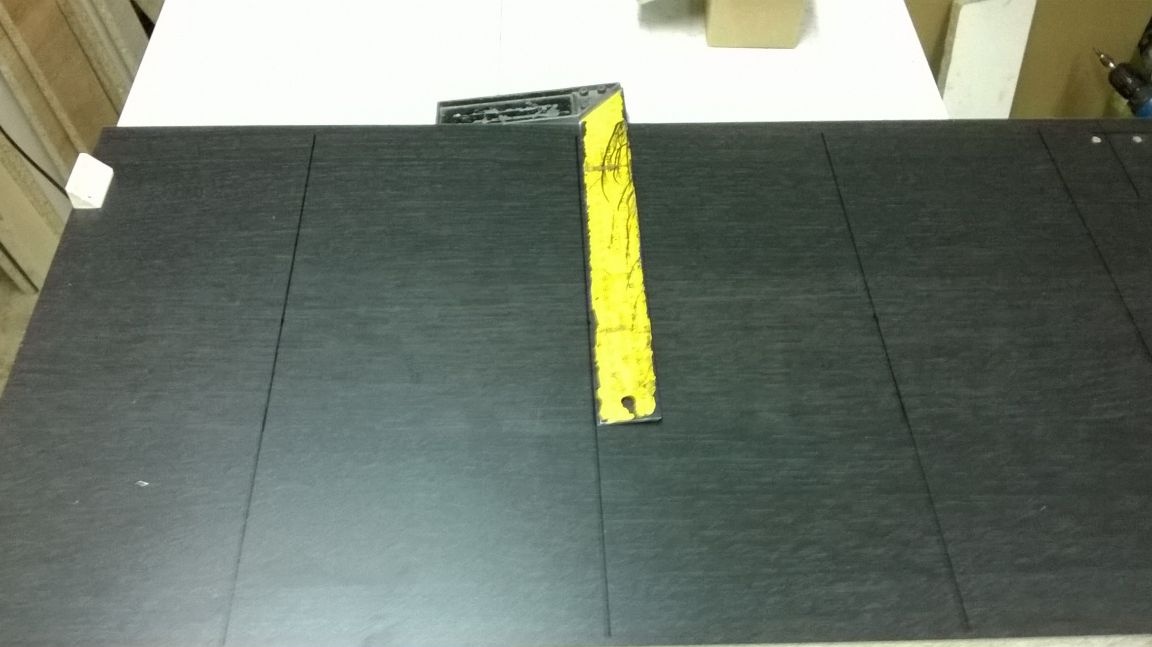
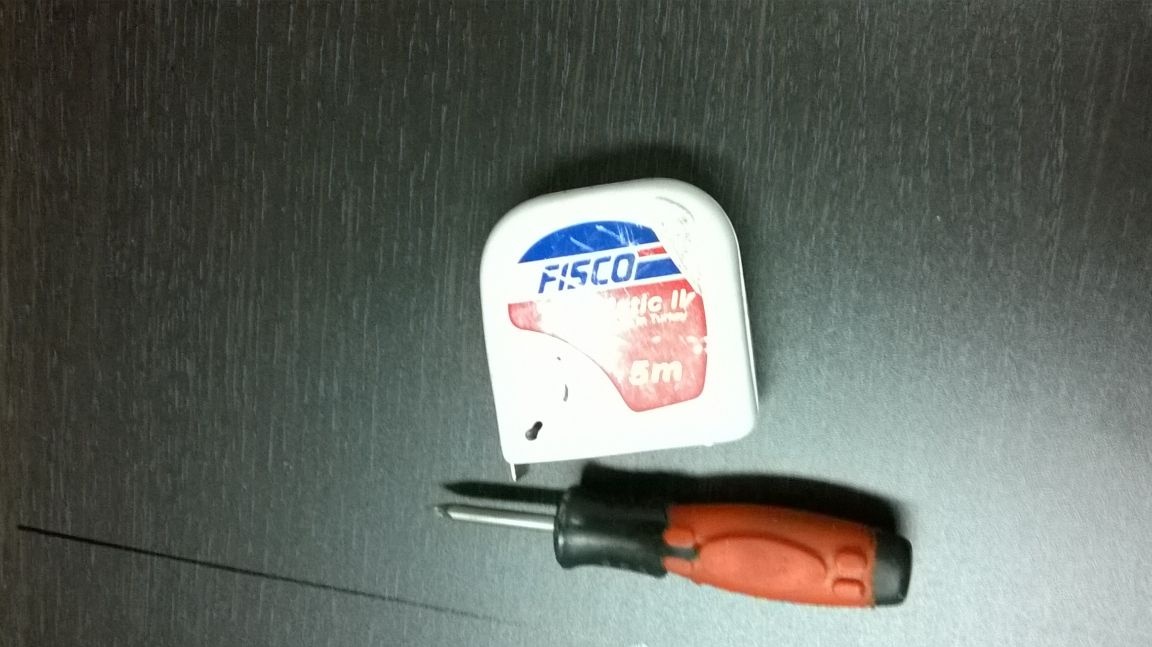
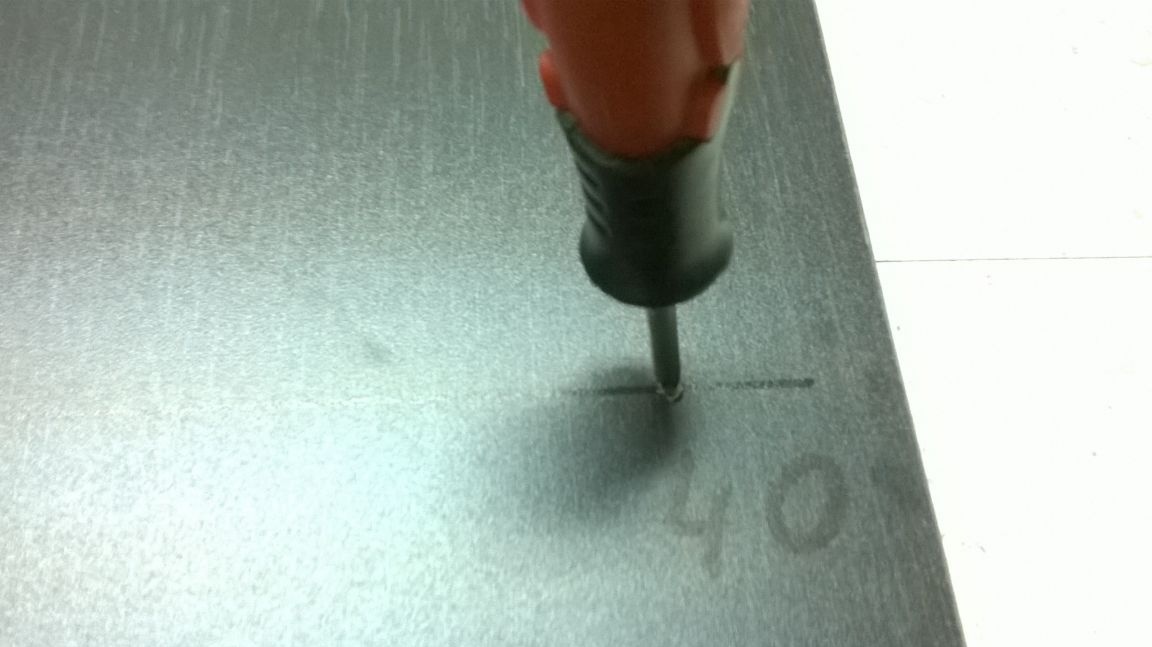
Now with the help of an awl and tape measure, we mark our marks. From the edge (from the edge side) we measure 40 mm and with an awl we make a puncture, a mark for attaching the guide.

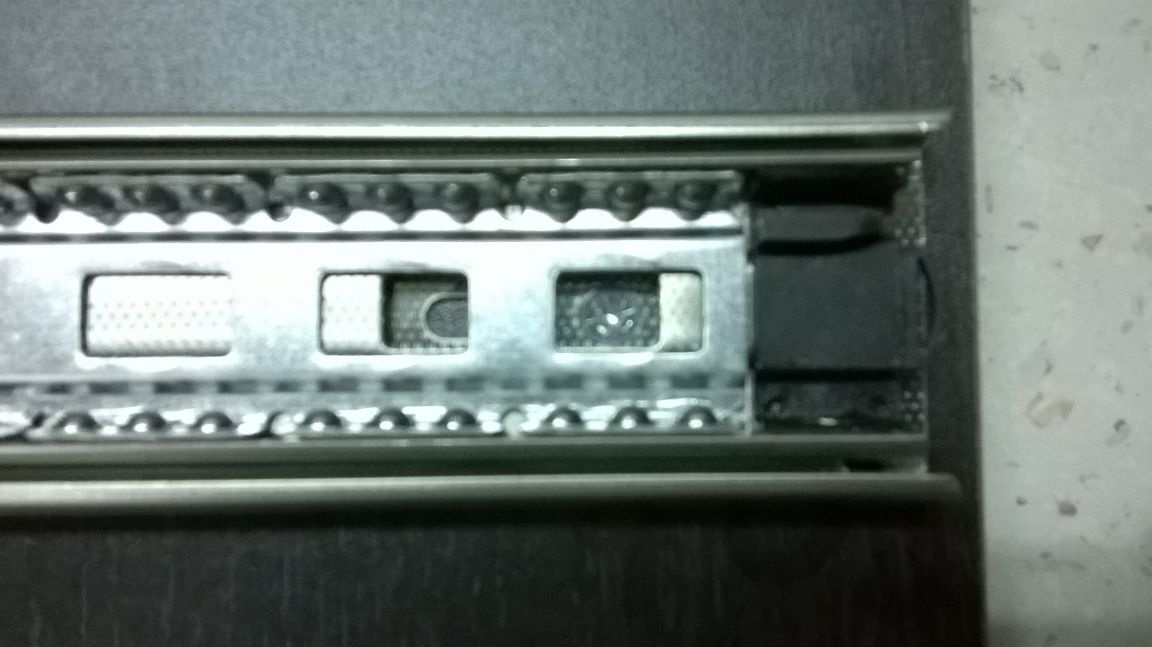
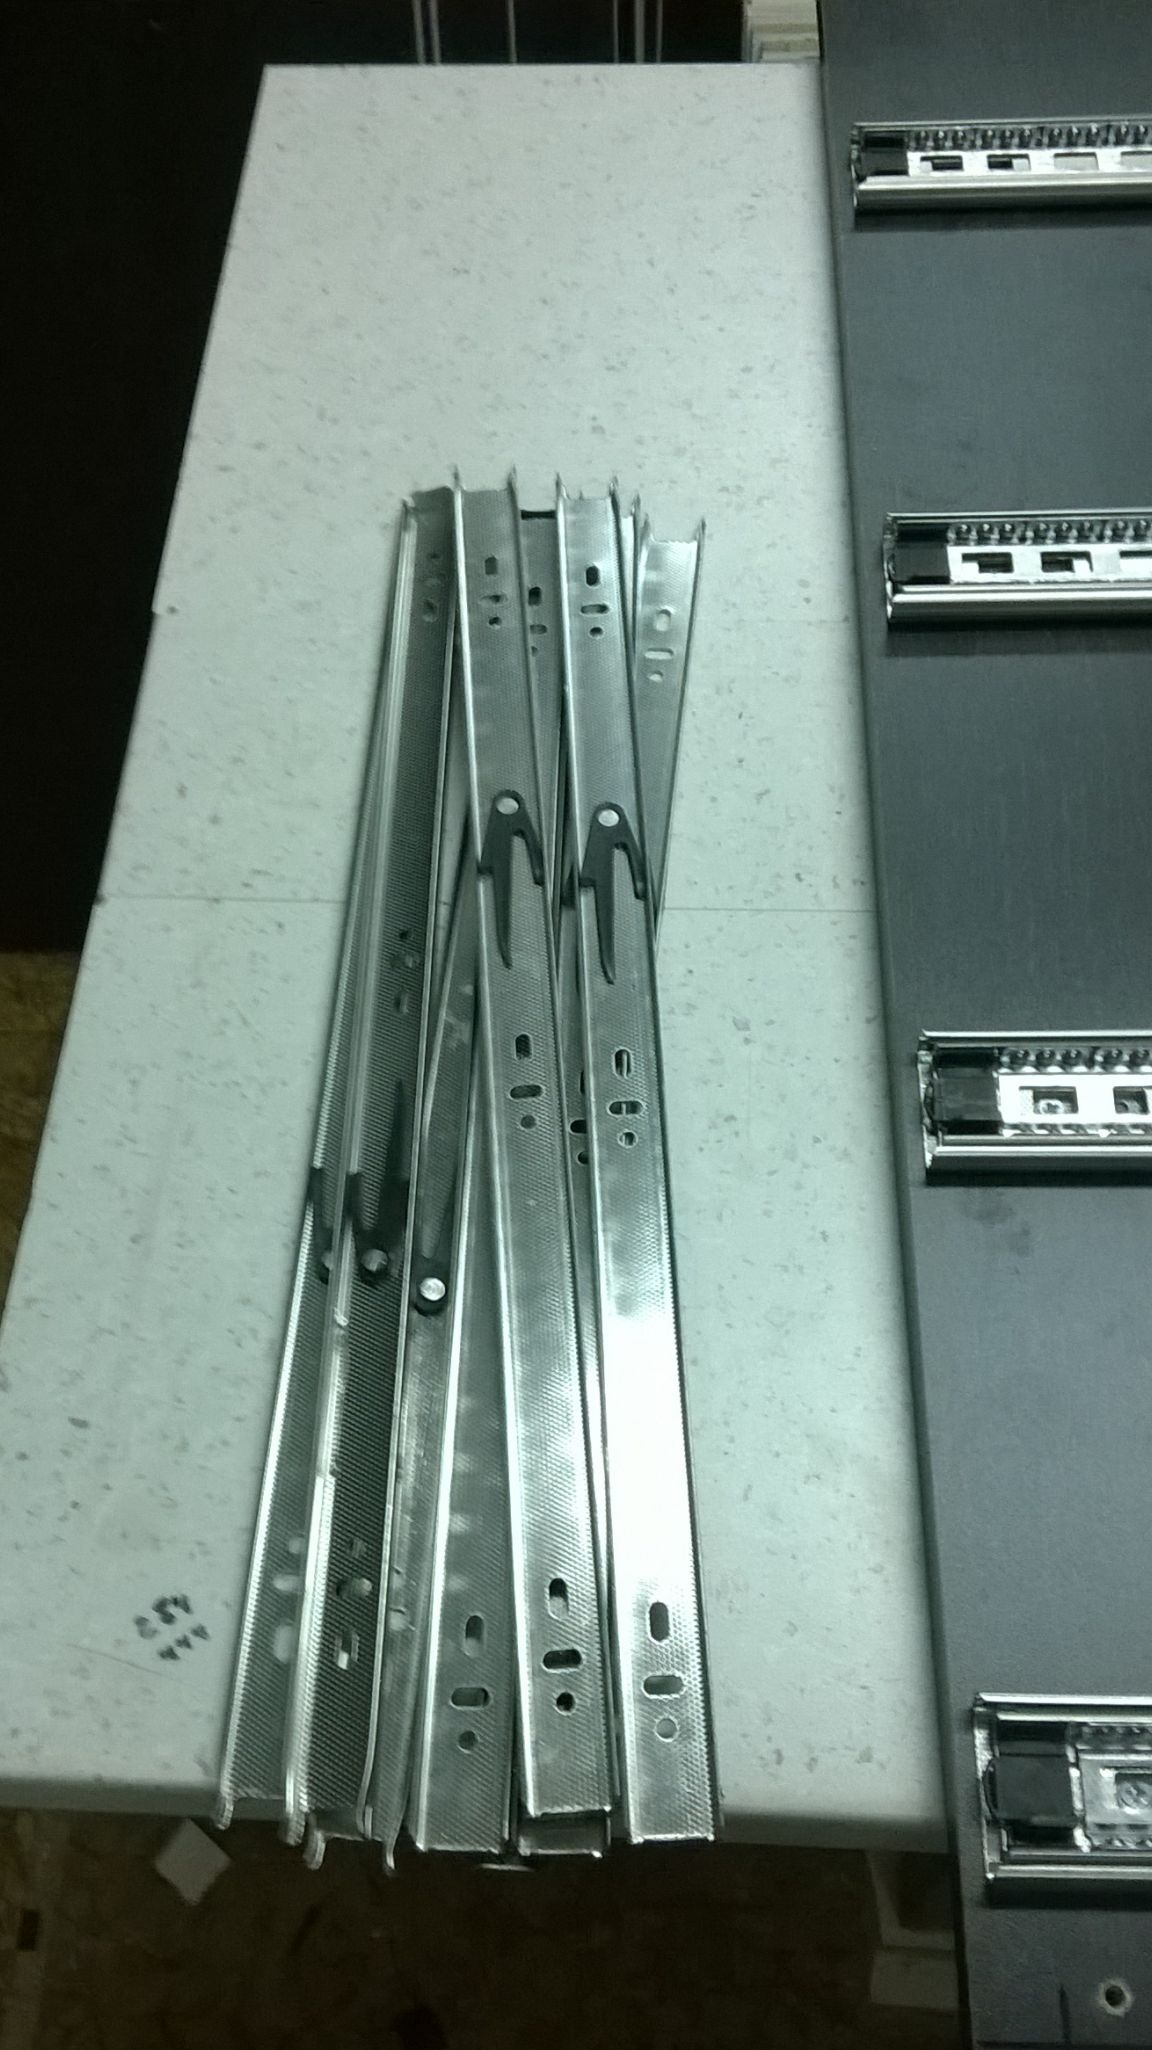
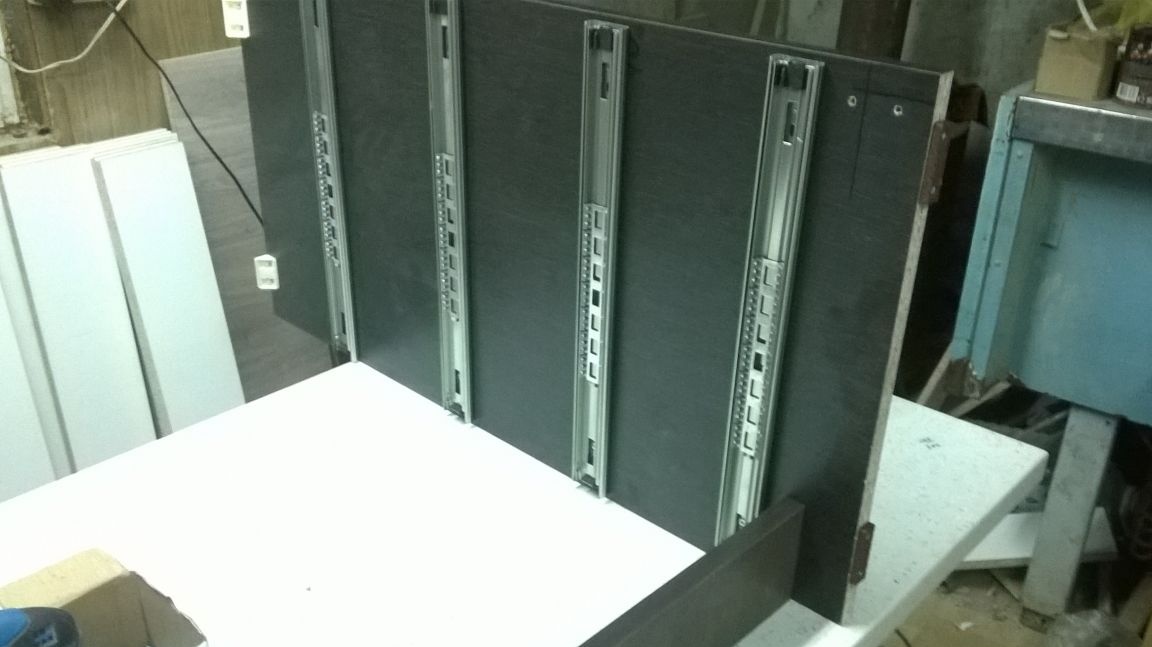
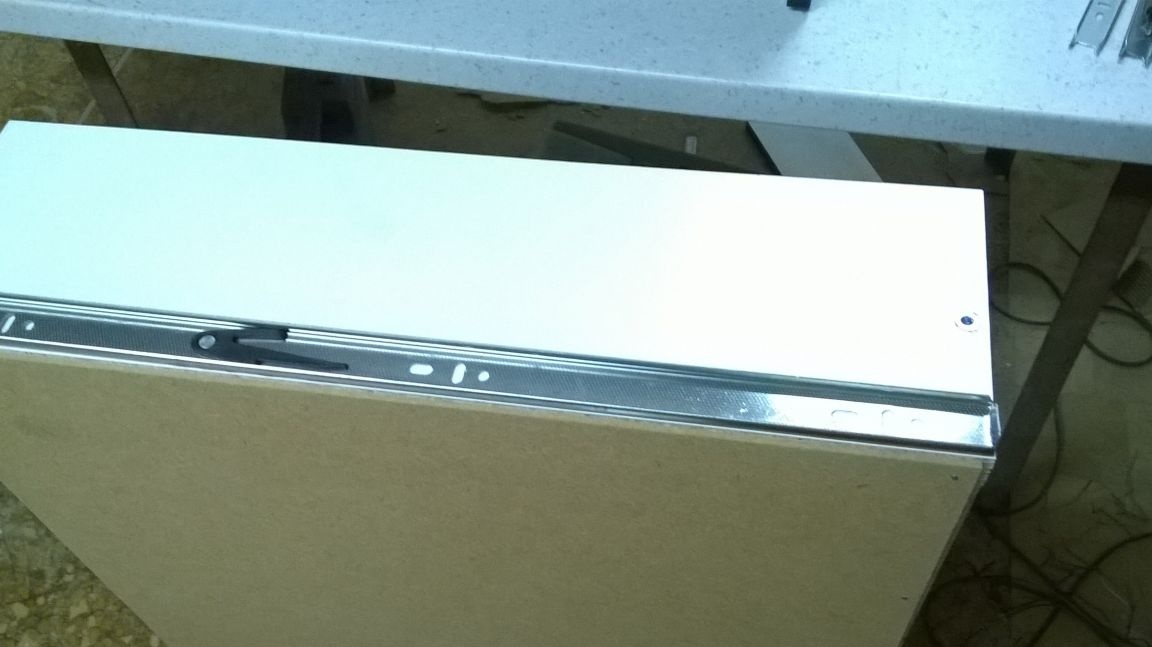
Now half the guides

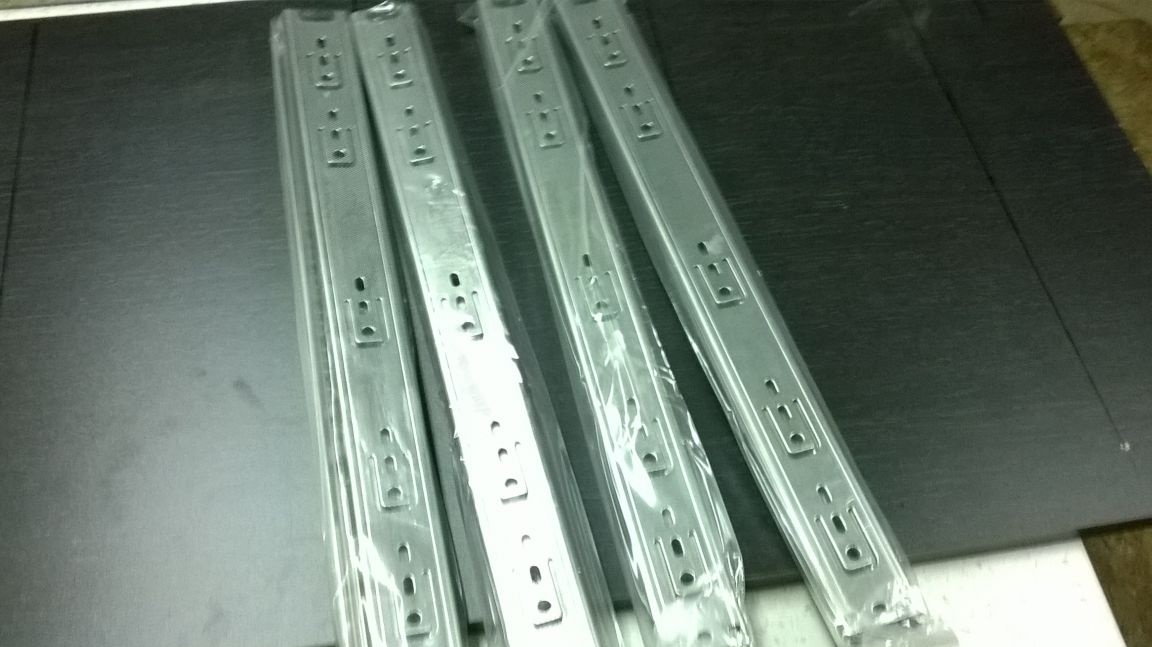

Raise the plastic lever and pull out the half.
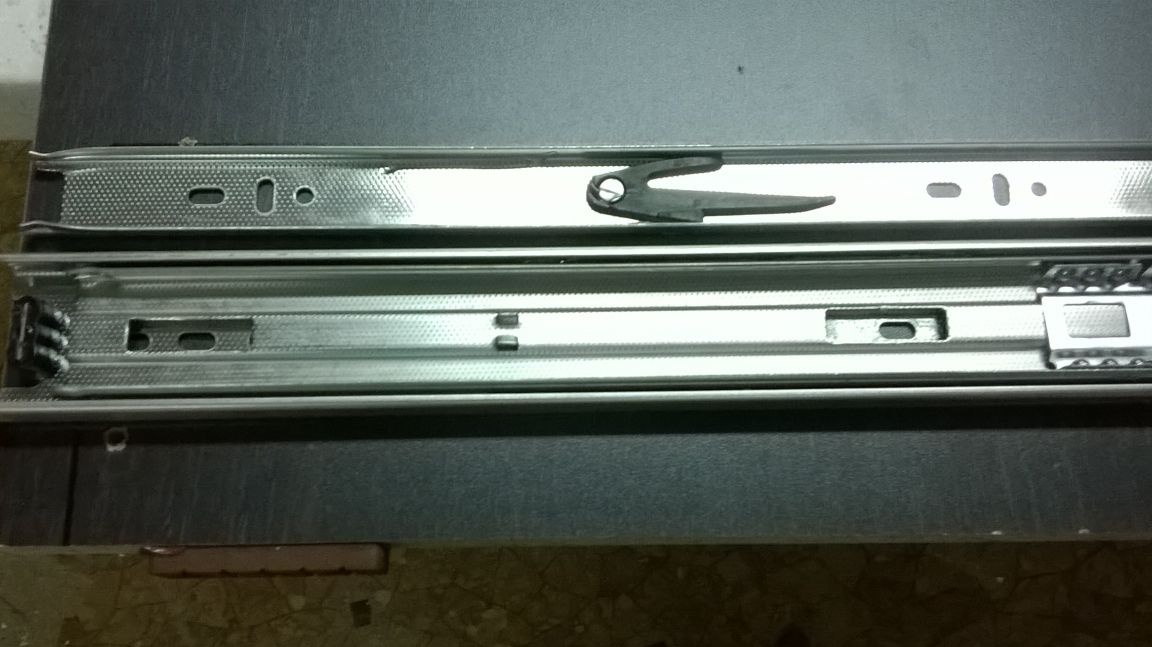
Be sure to lay out the guides in sets, otherwise they may not fit together.
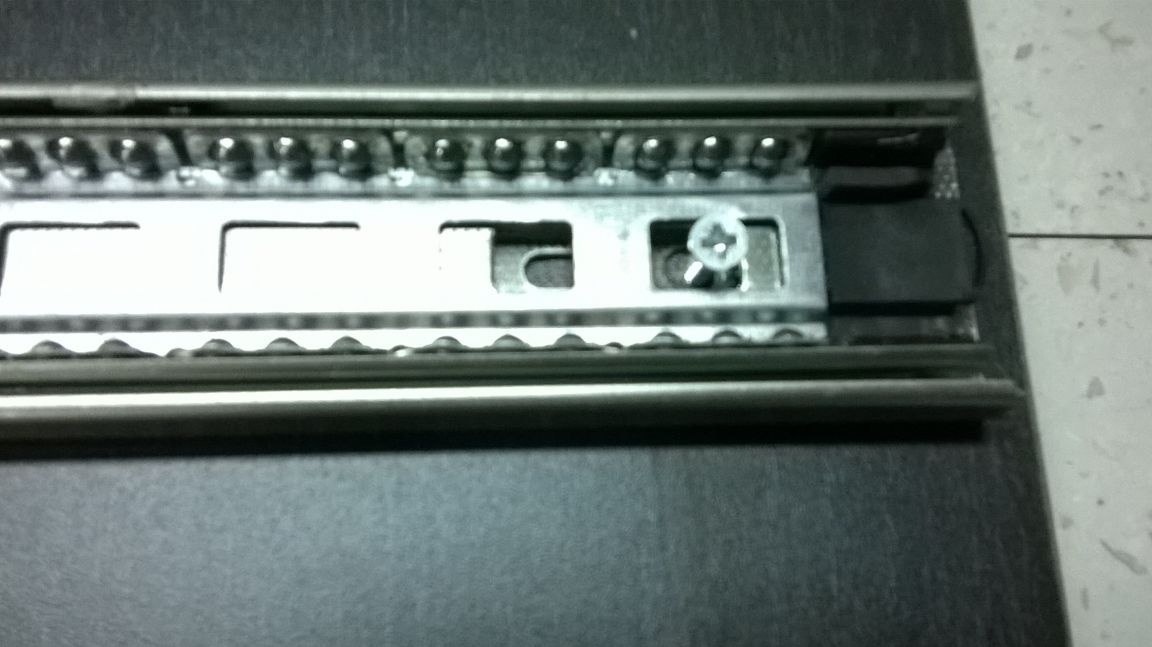
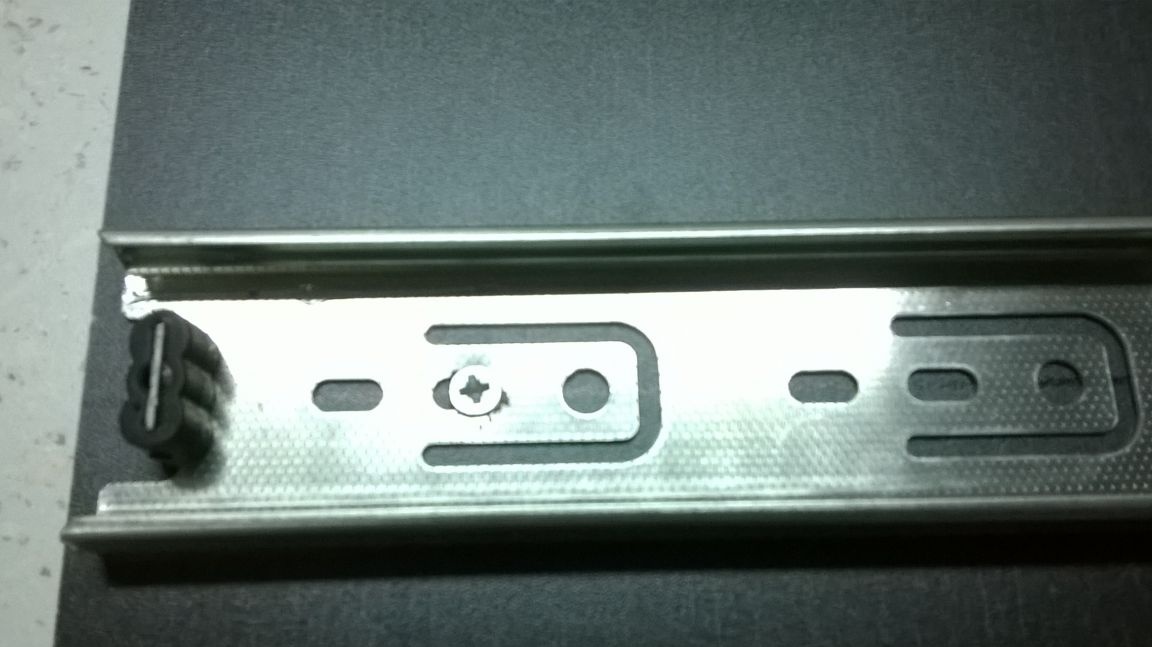
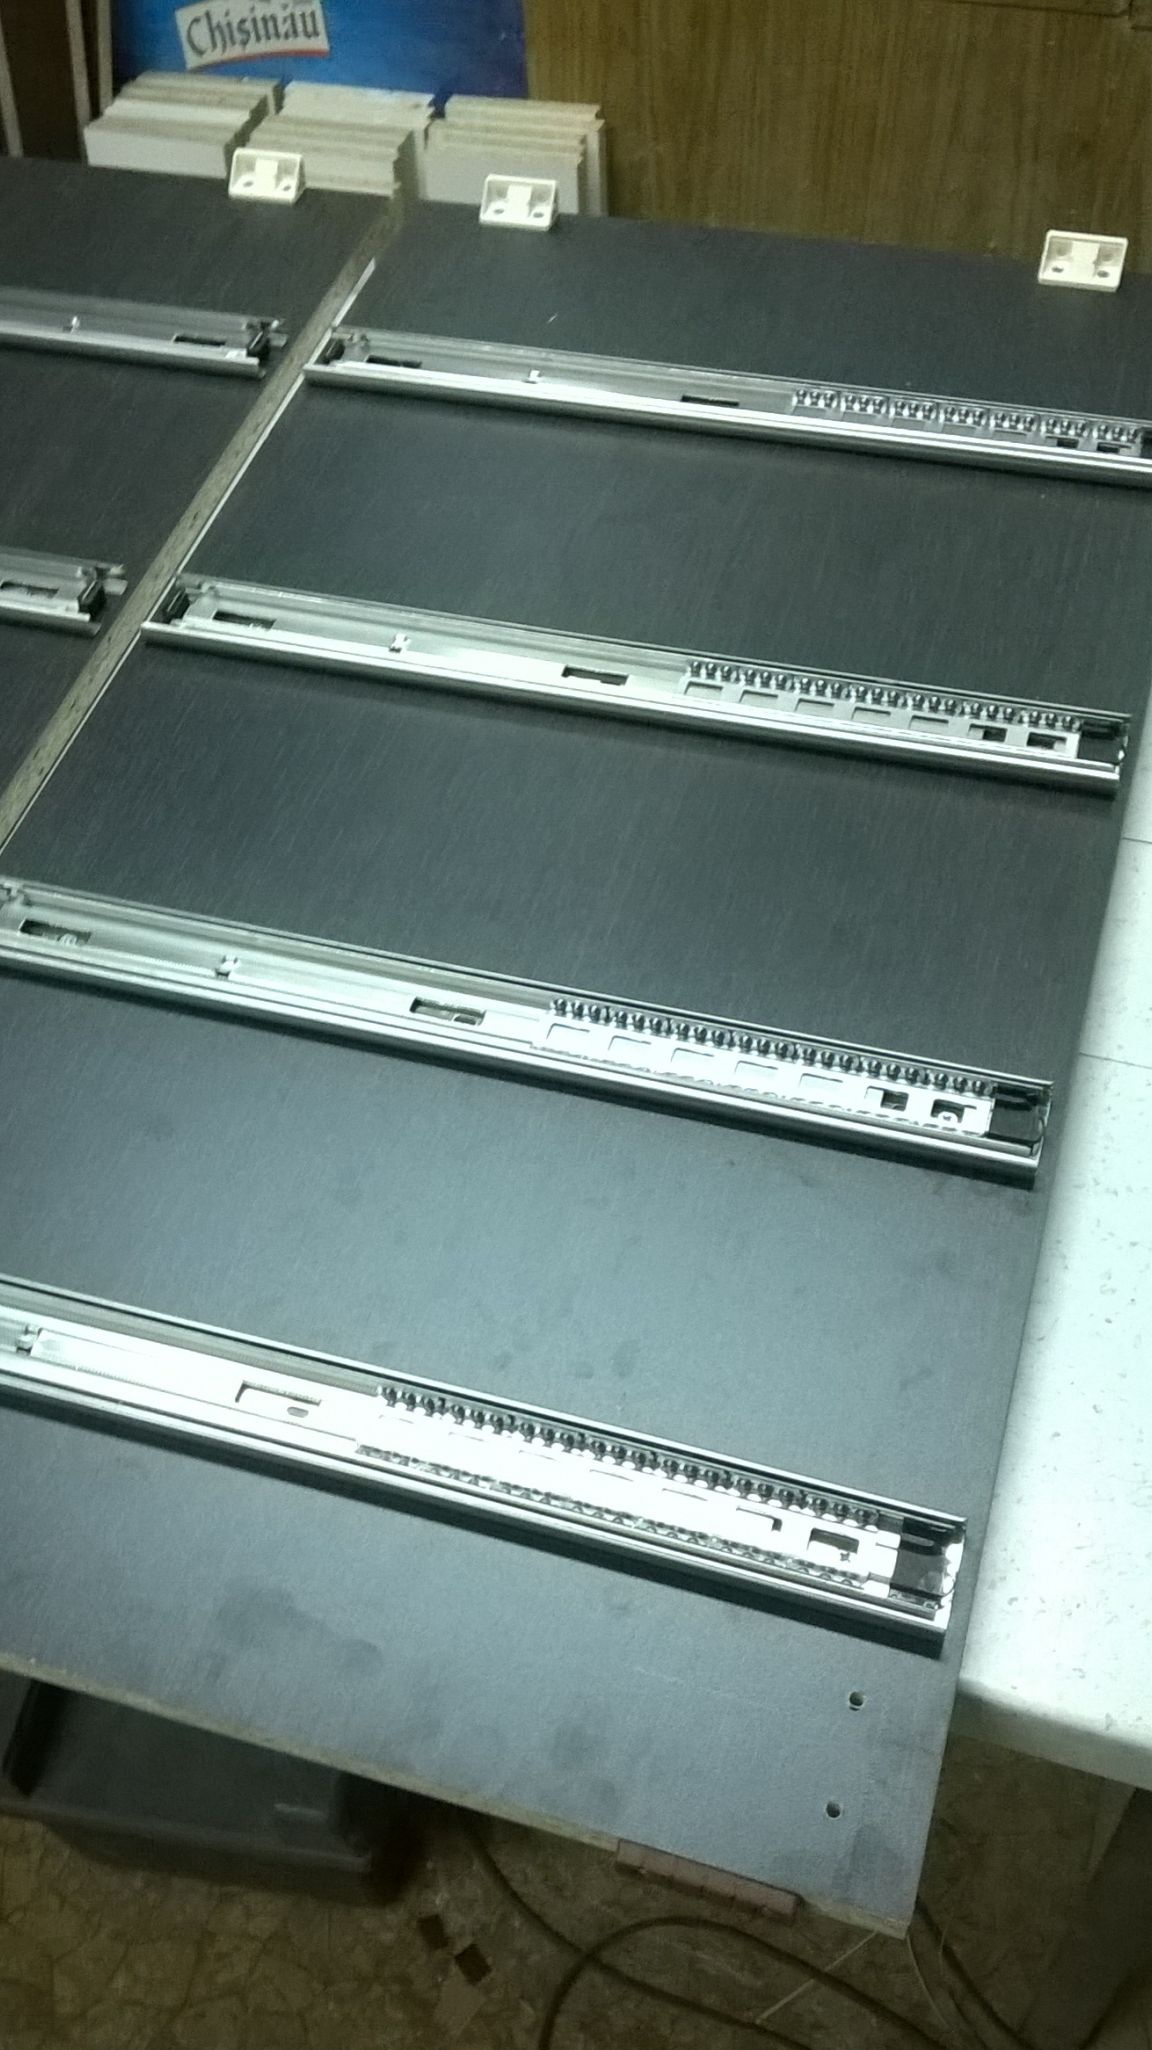
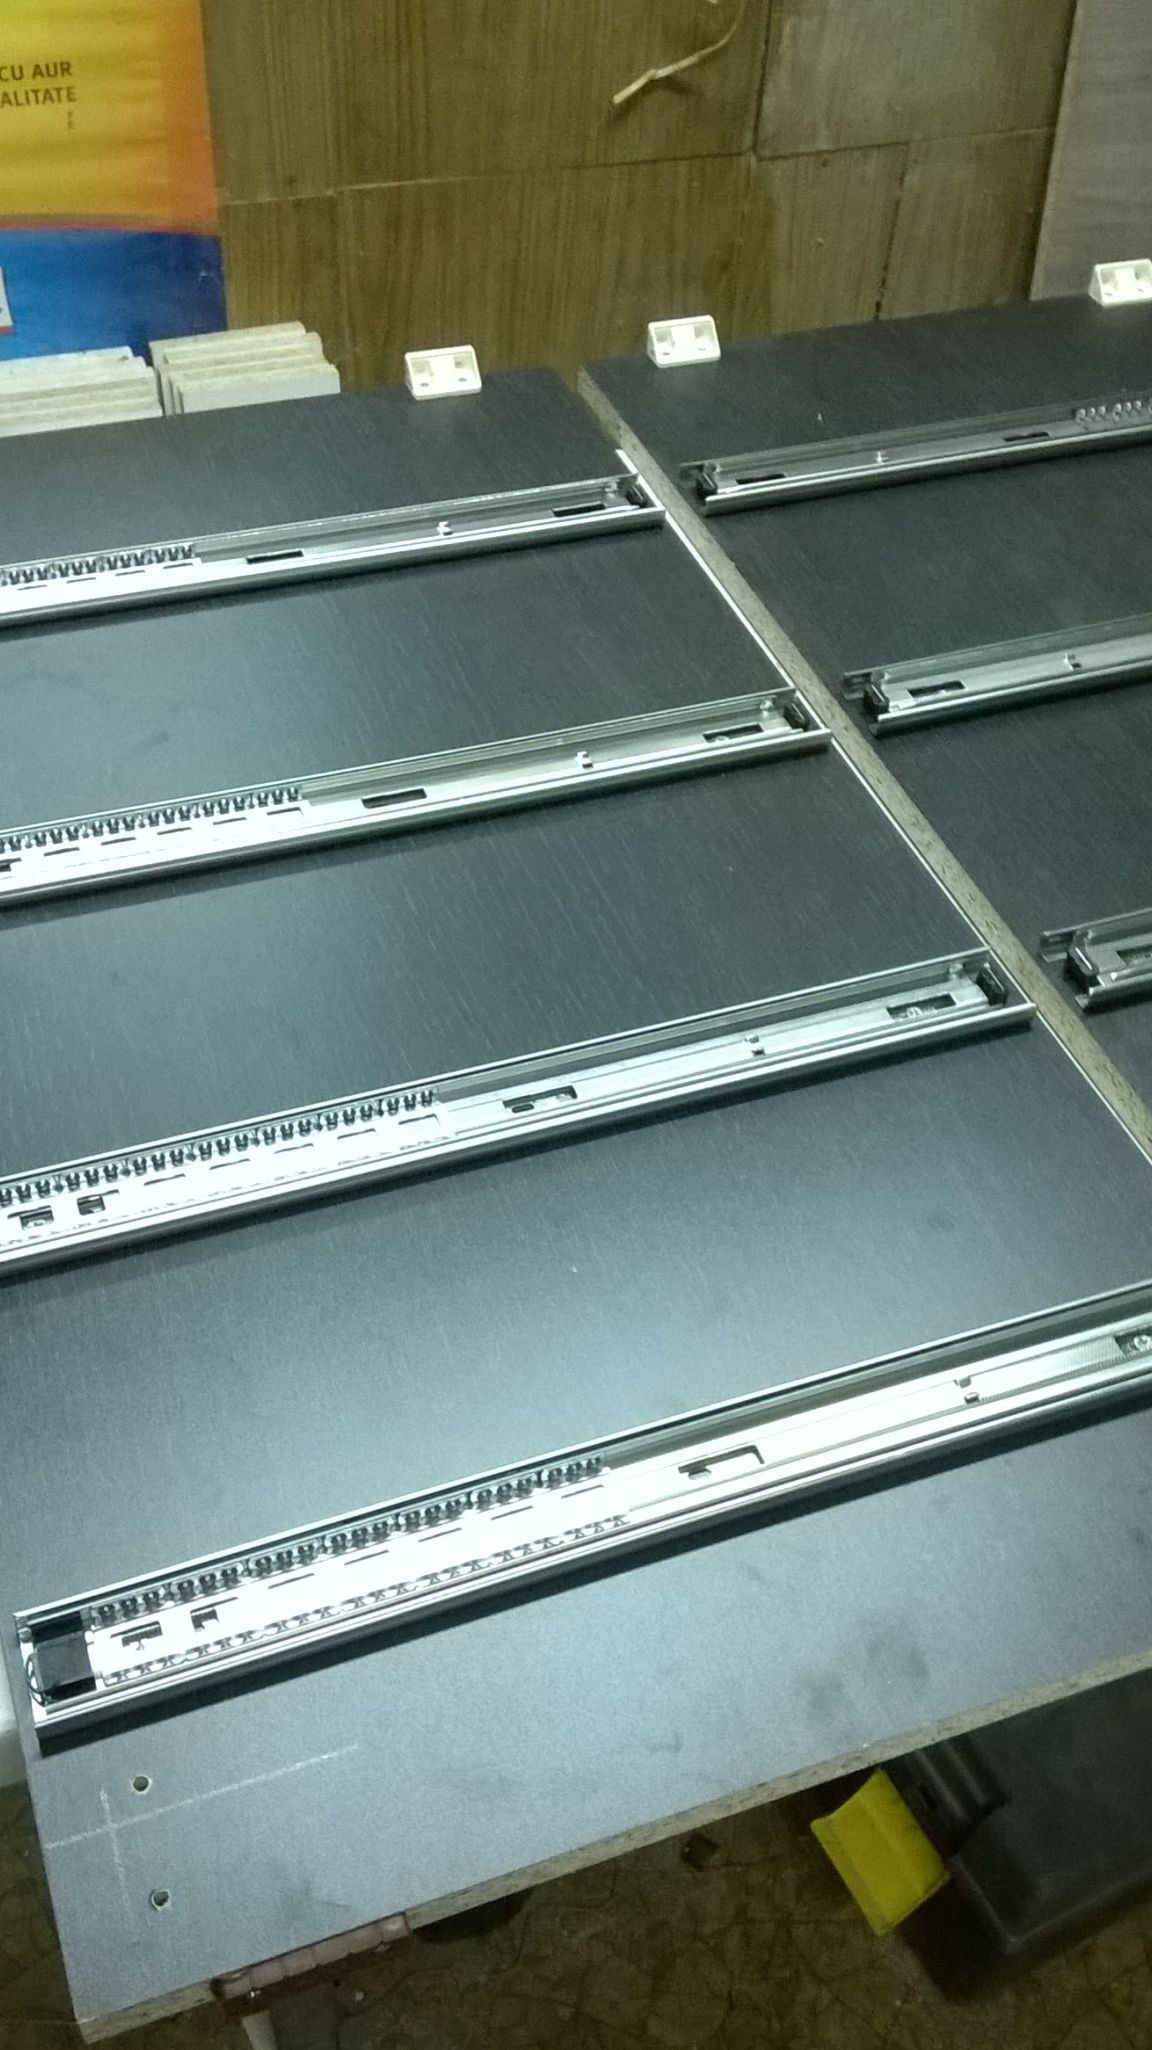
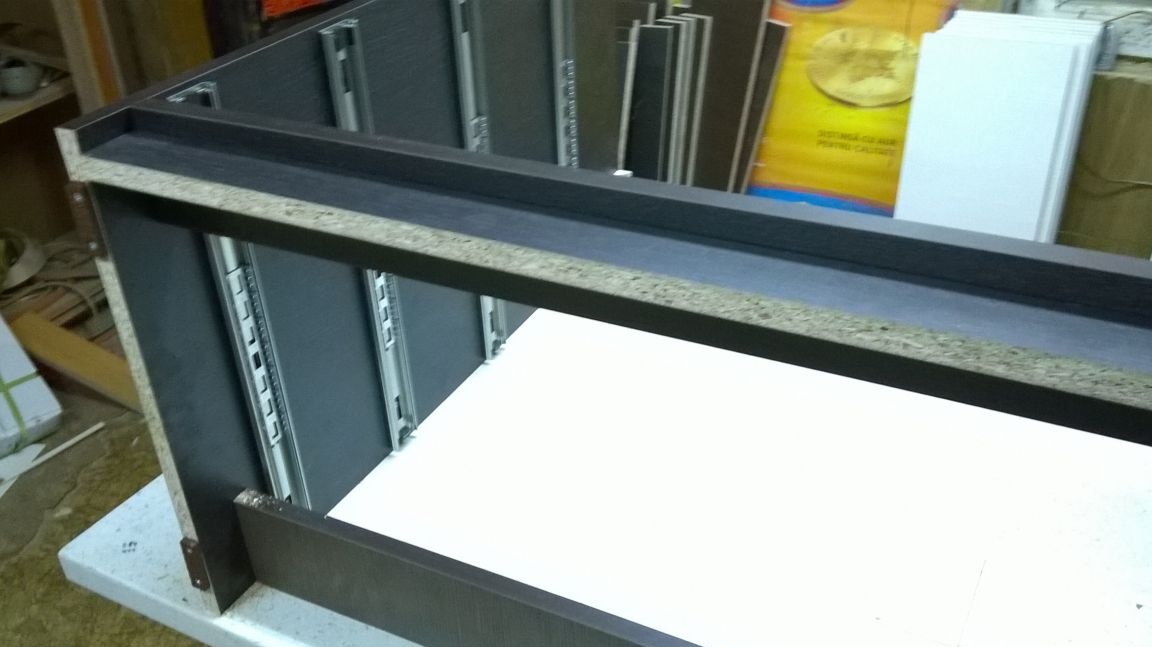
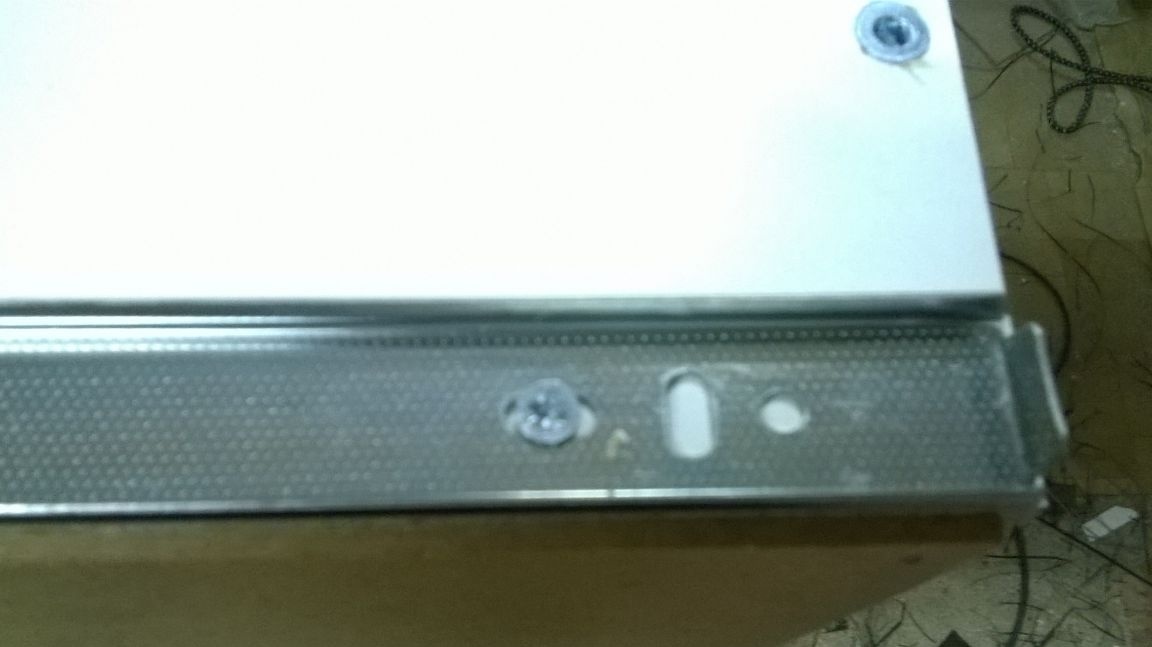
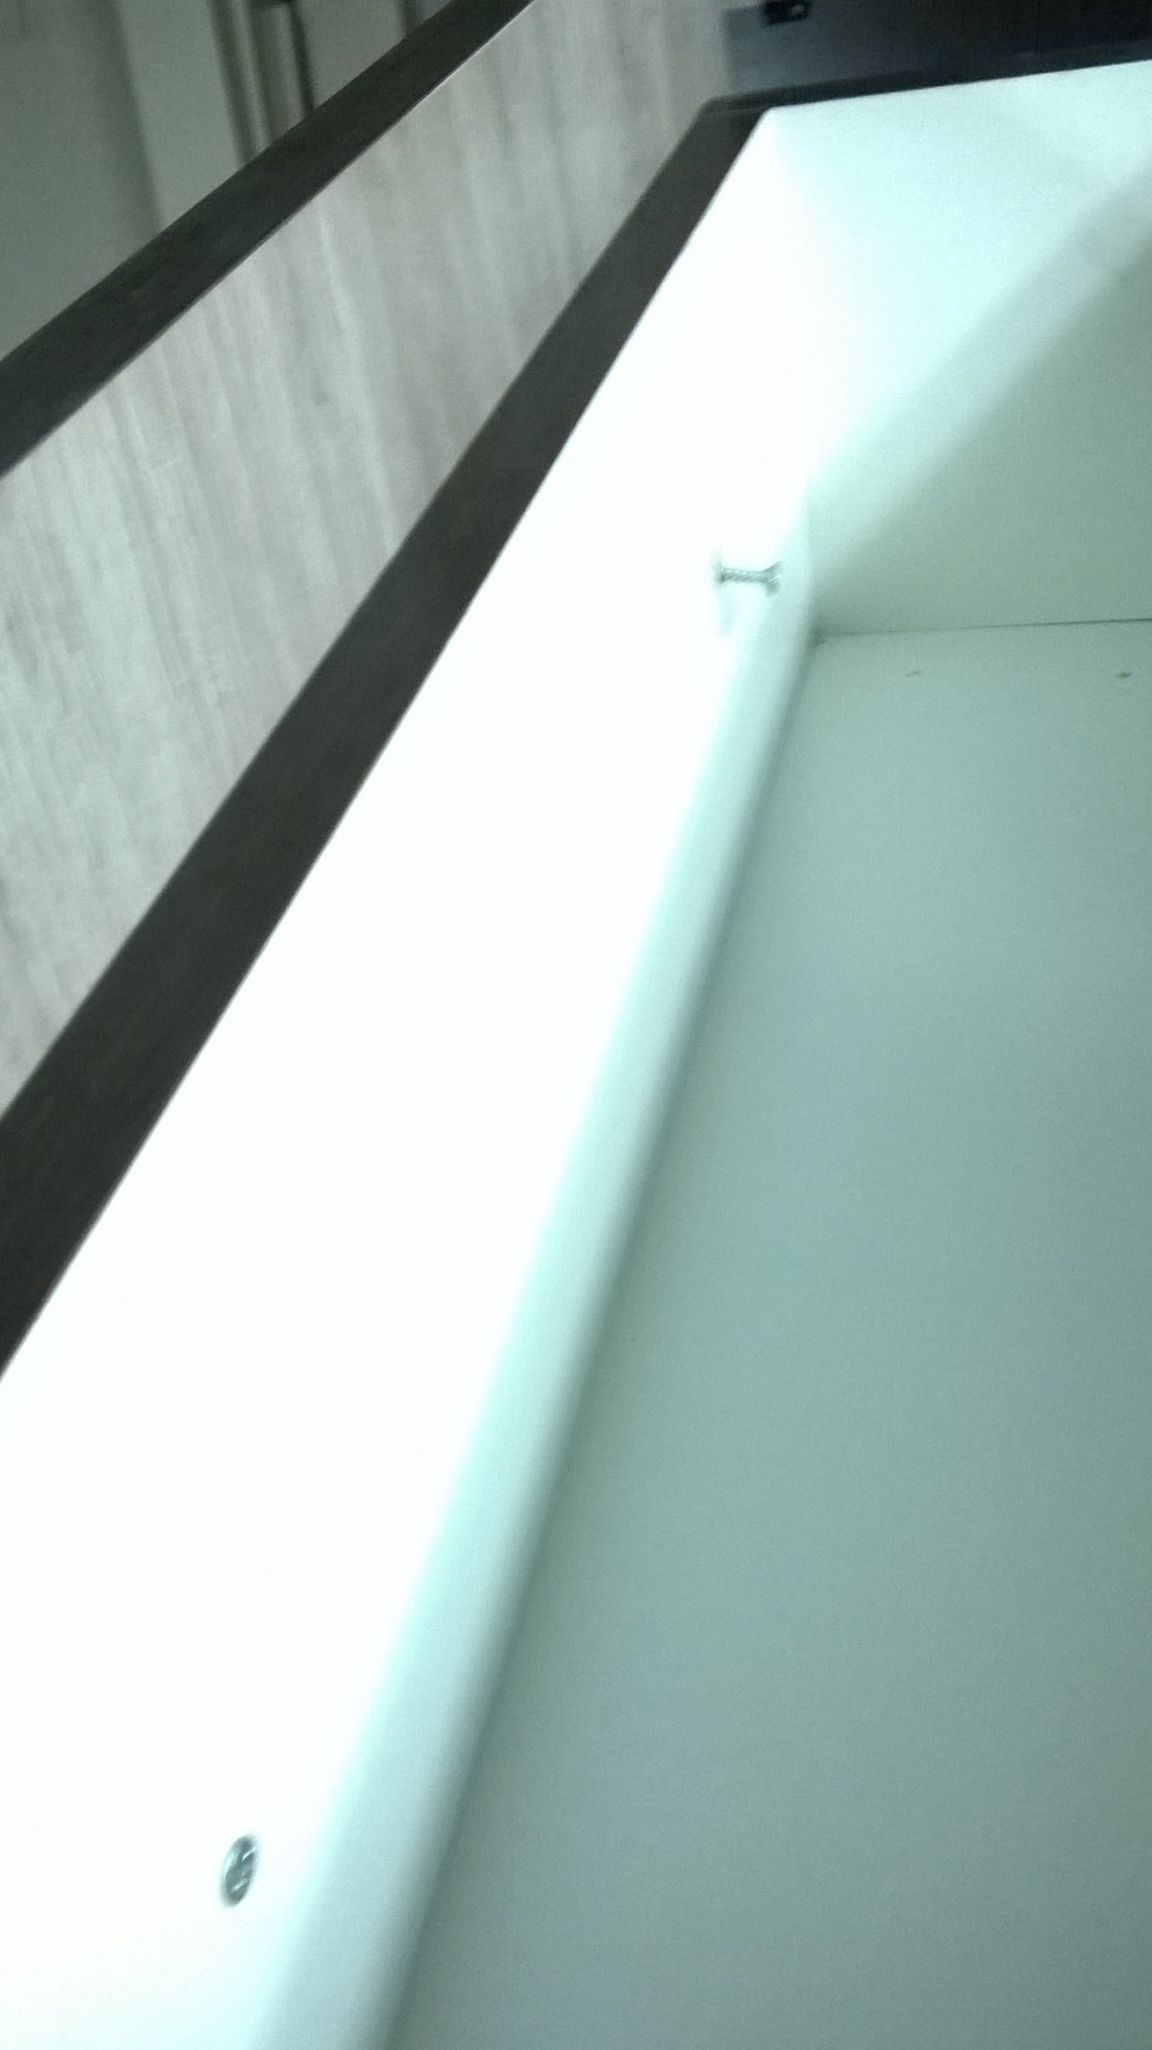
Having placed the guides, we fix them with 16 mm screws.
And along the line we expose the back and also fasten.
And so all four sets.
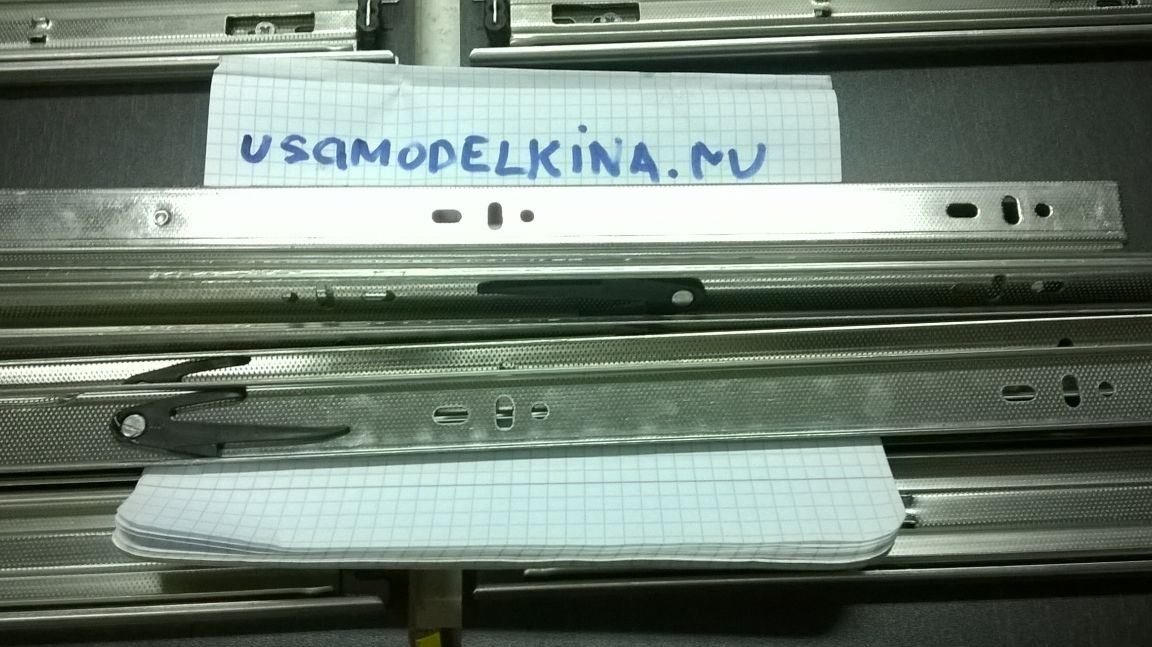
The remaining trims are removed so far to the side, we will return to them later.
Here it is not scary to mix up the trims, they are the same.
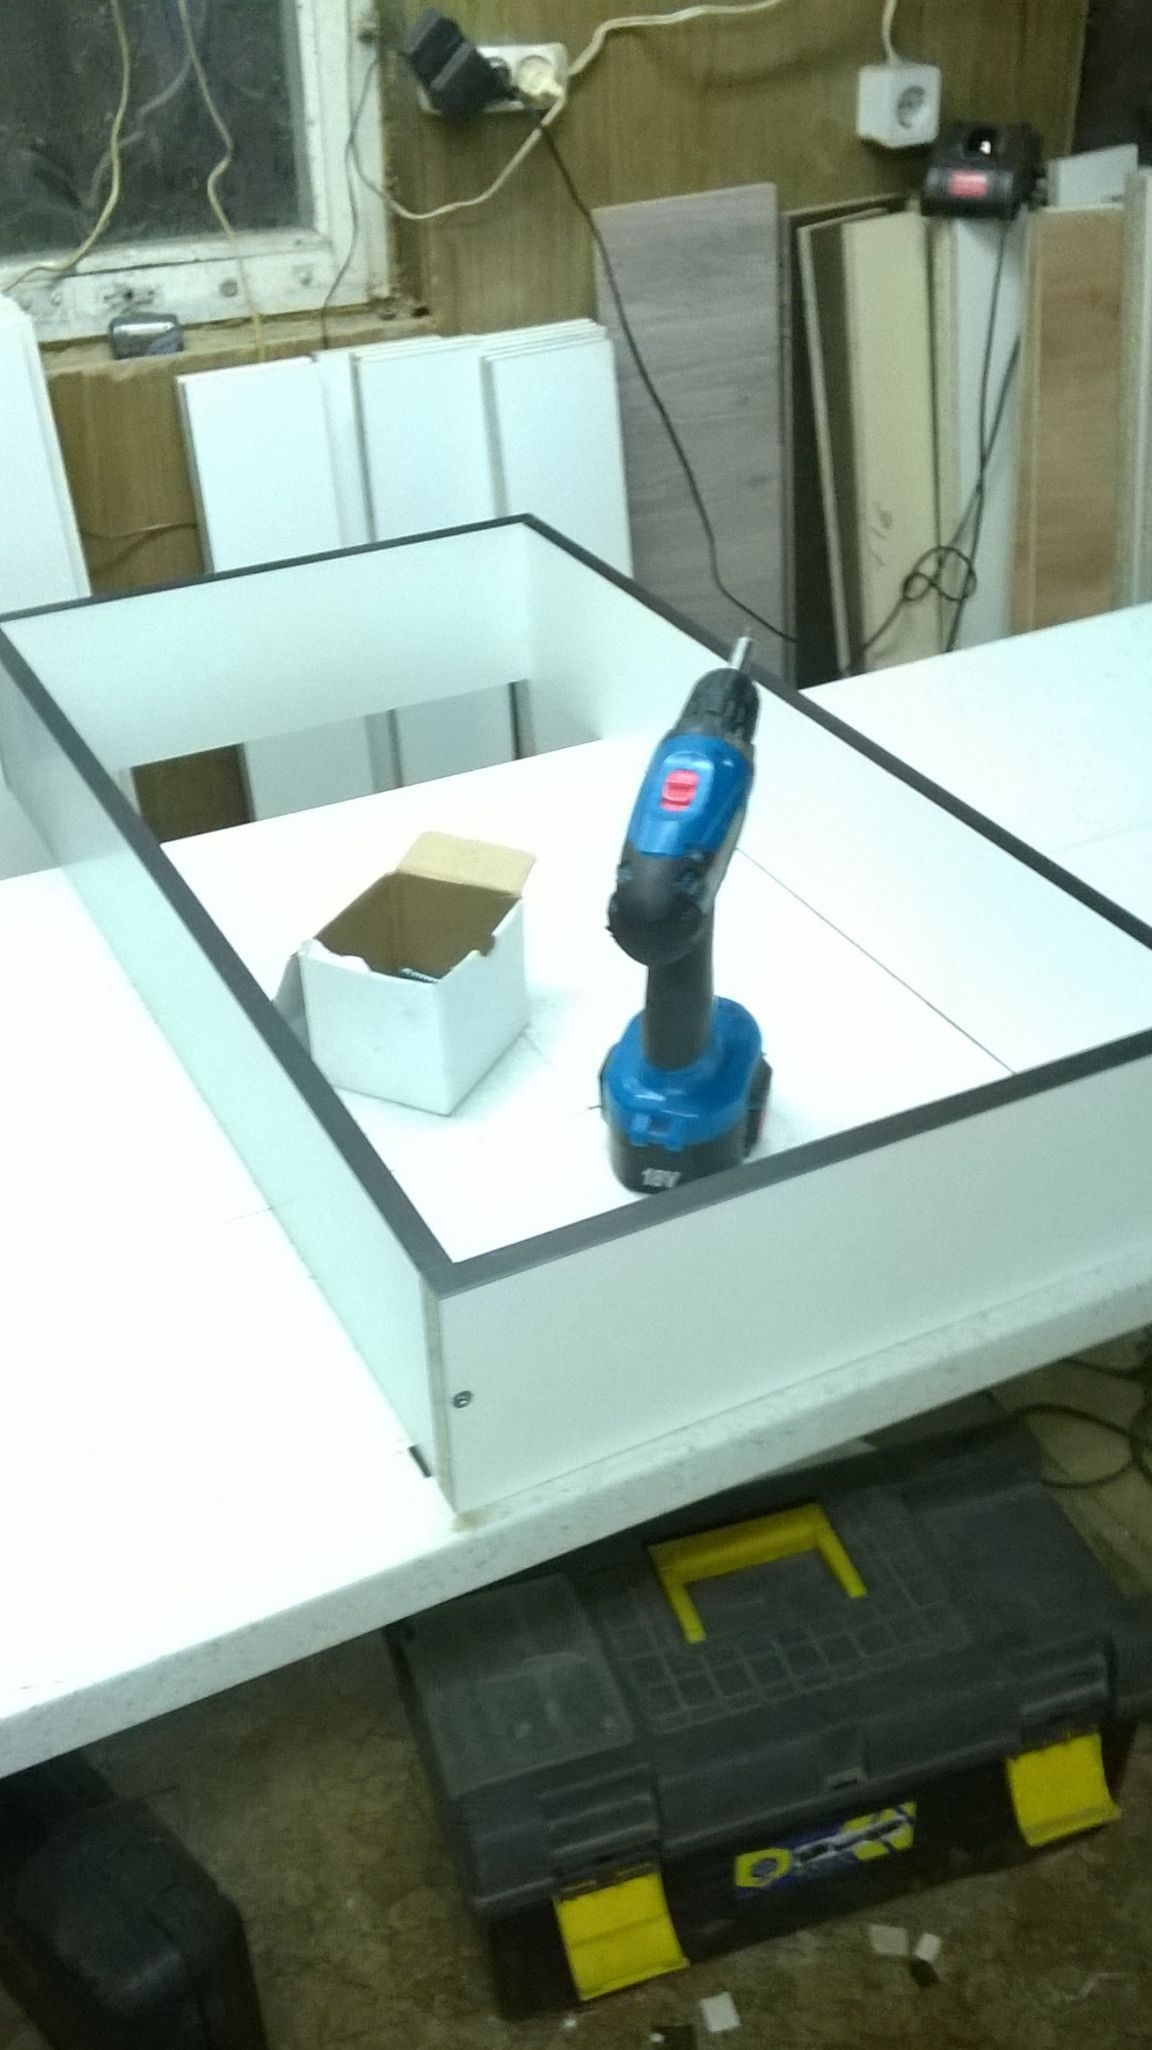
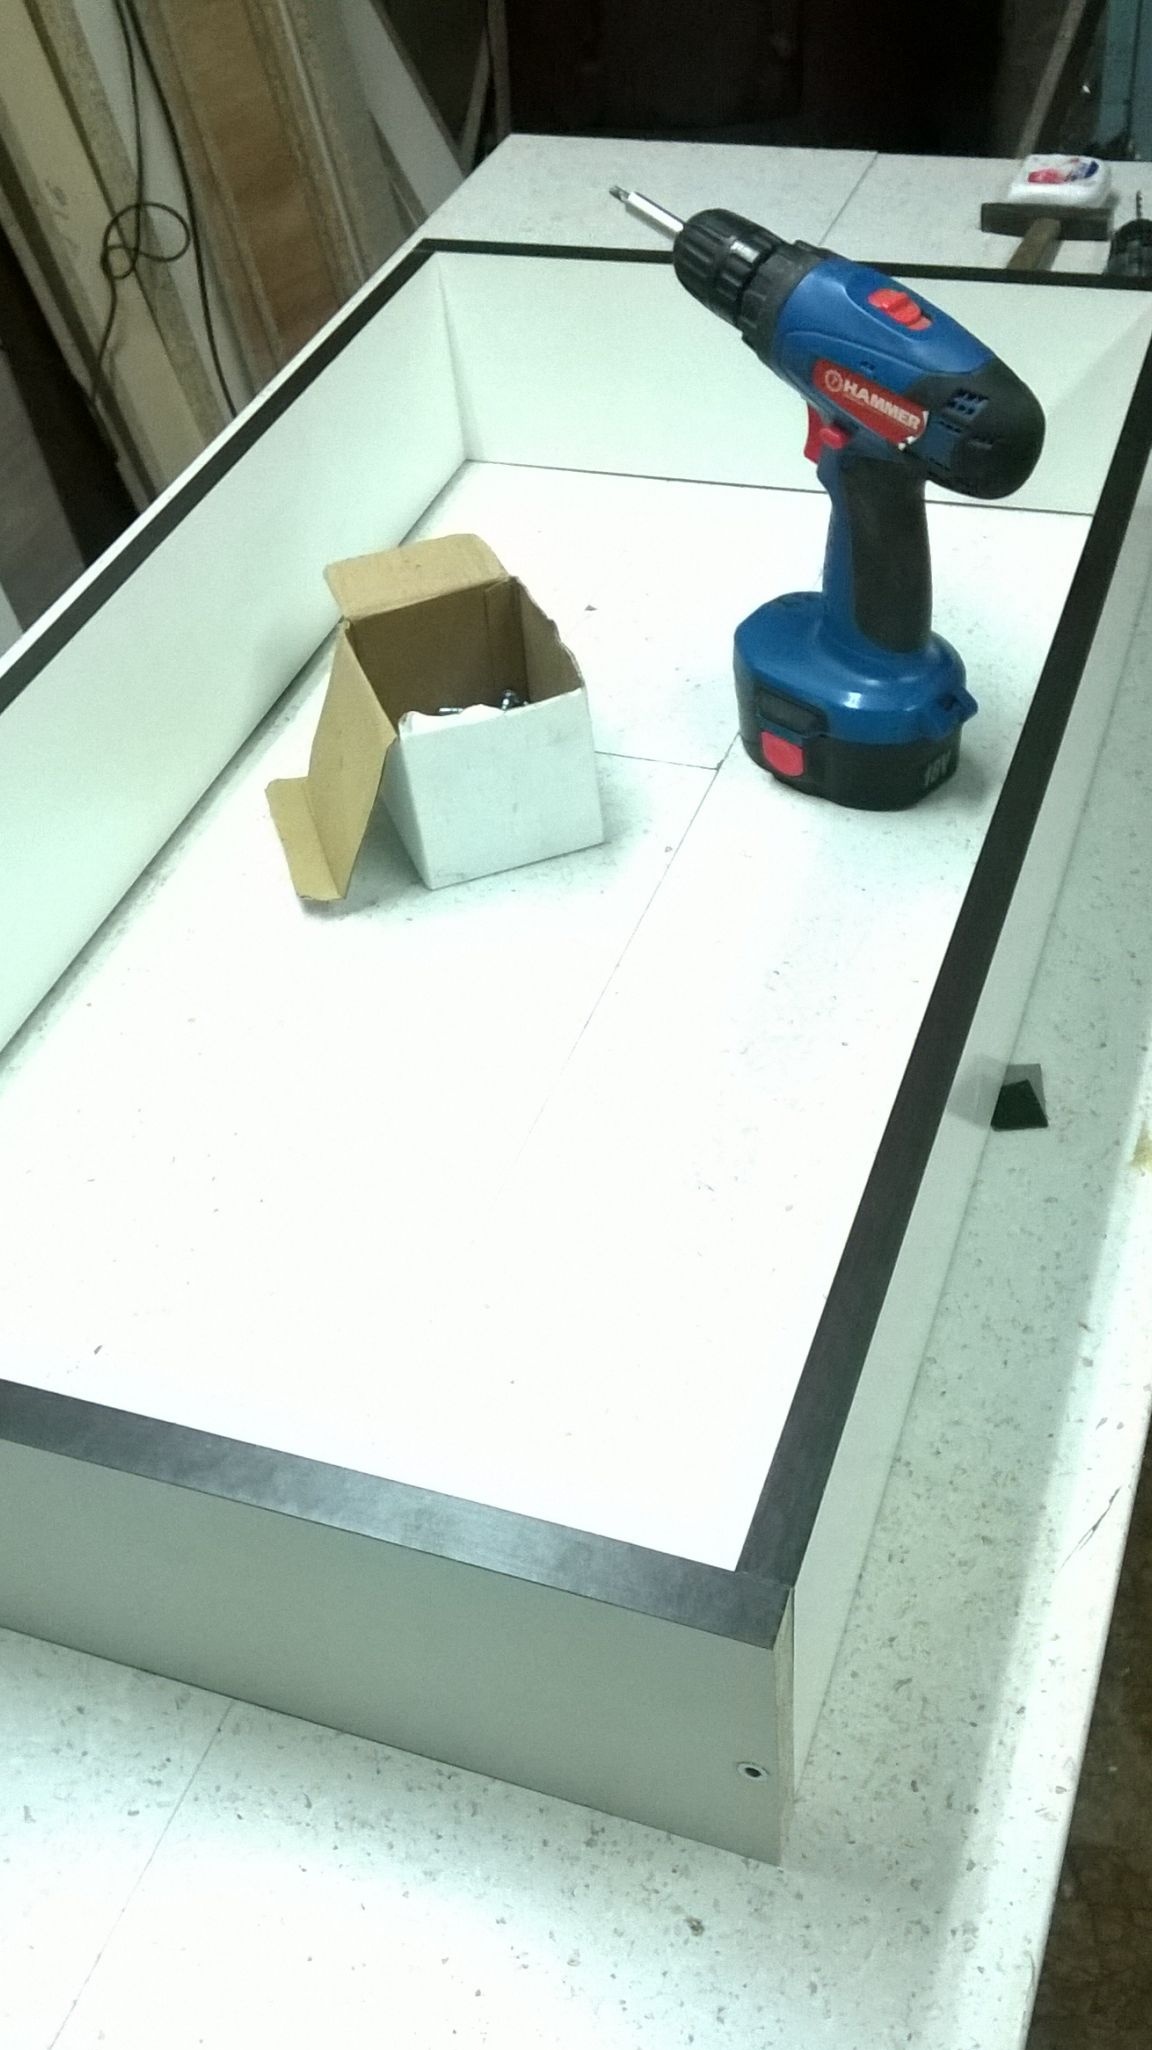
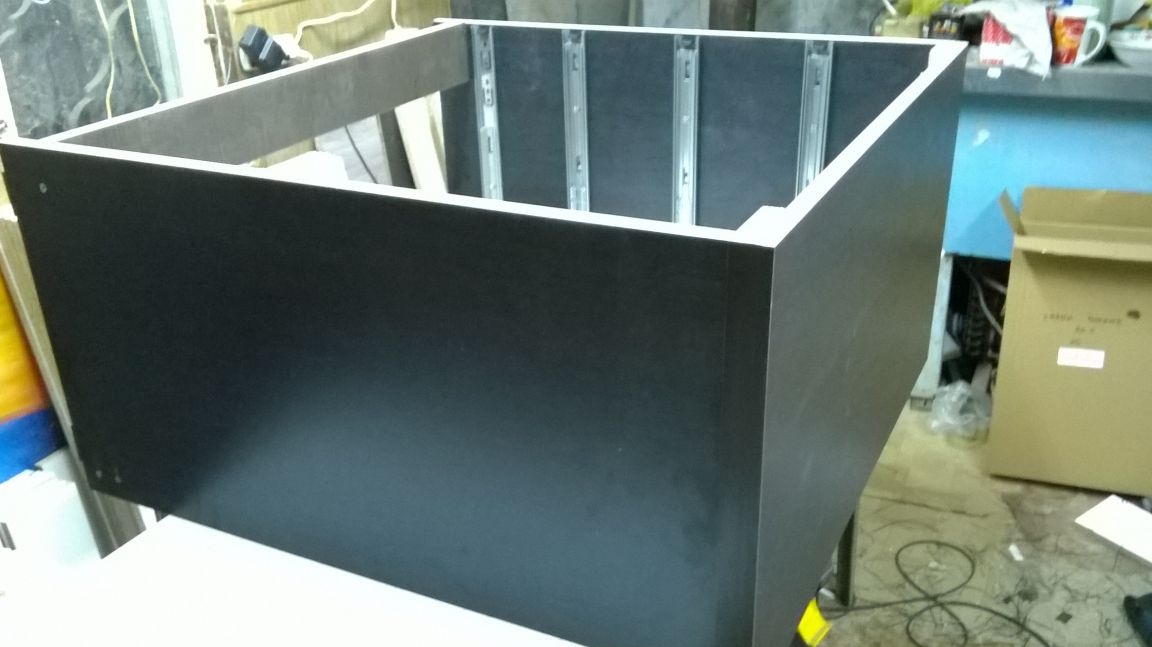
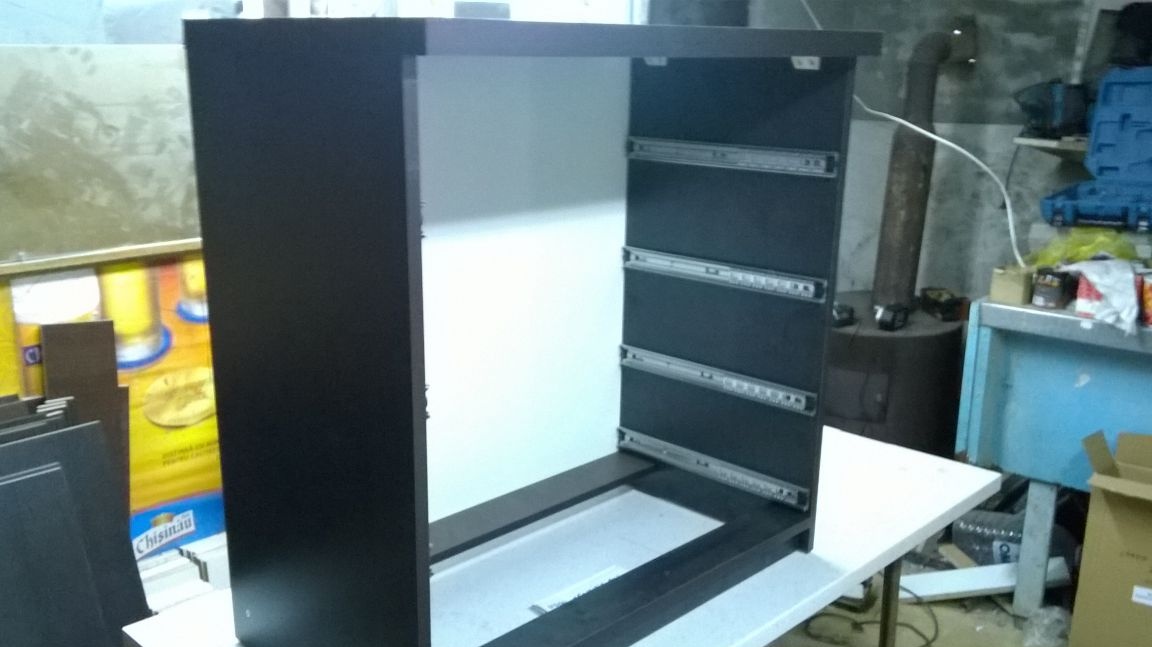
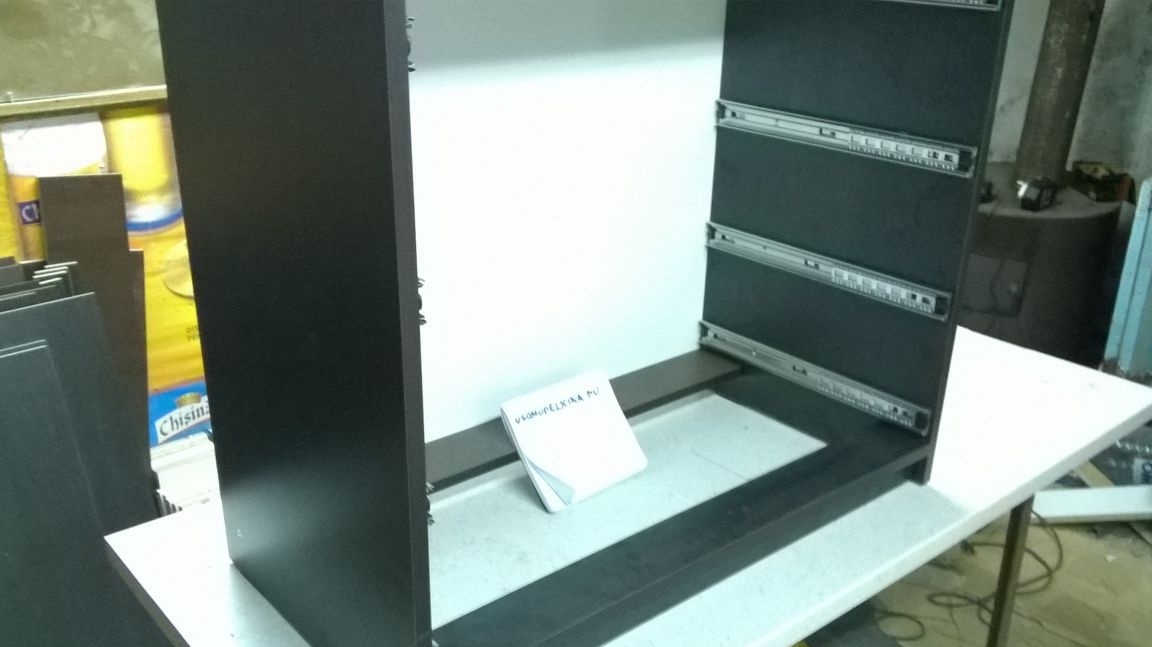
We begin to assemble the frame.
Take the bar 864 * 90 mm. we drill and fasten to the sidewall.
Then we fix the base 864 * 50 mm.
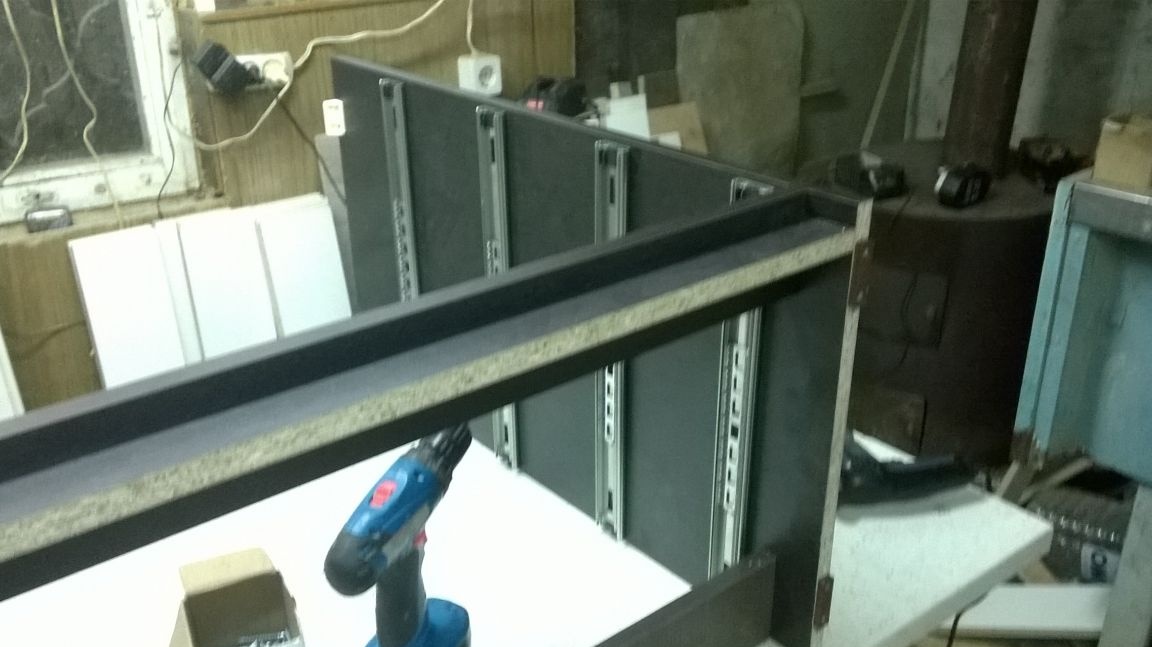
And the front jumper.
Also on the other hand
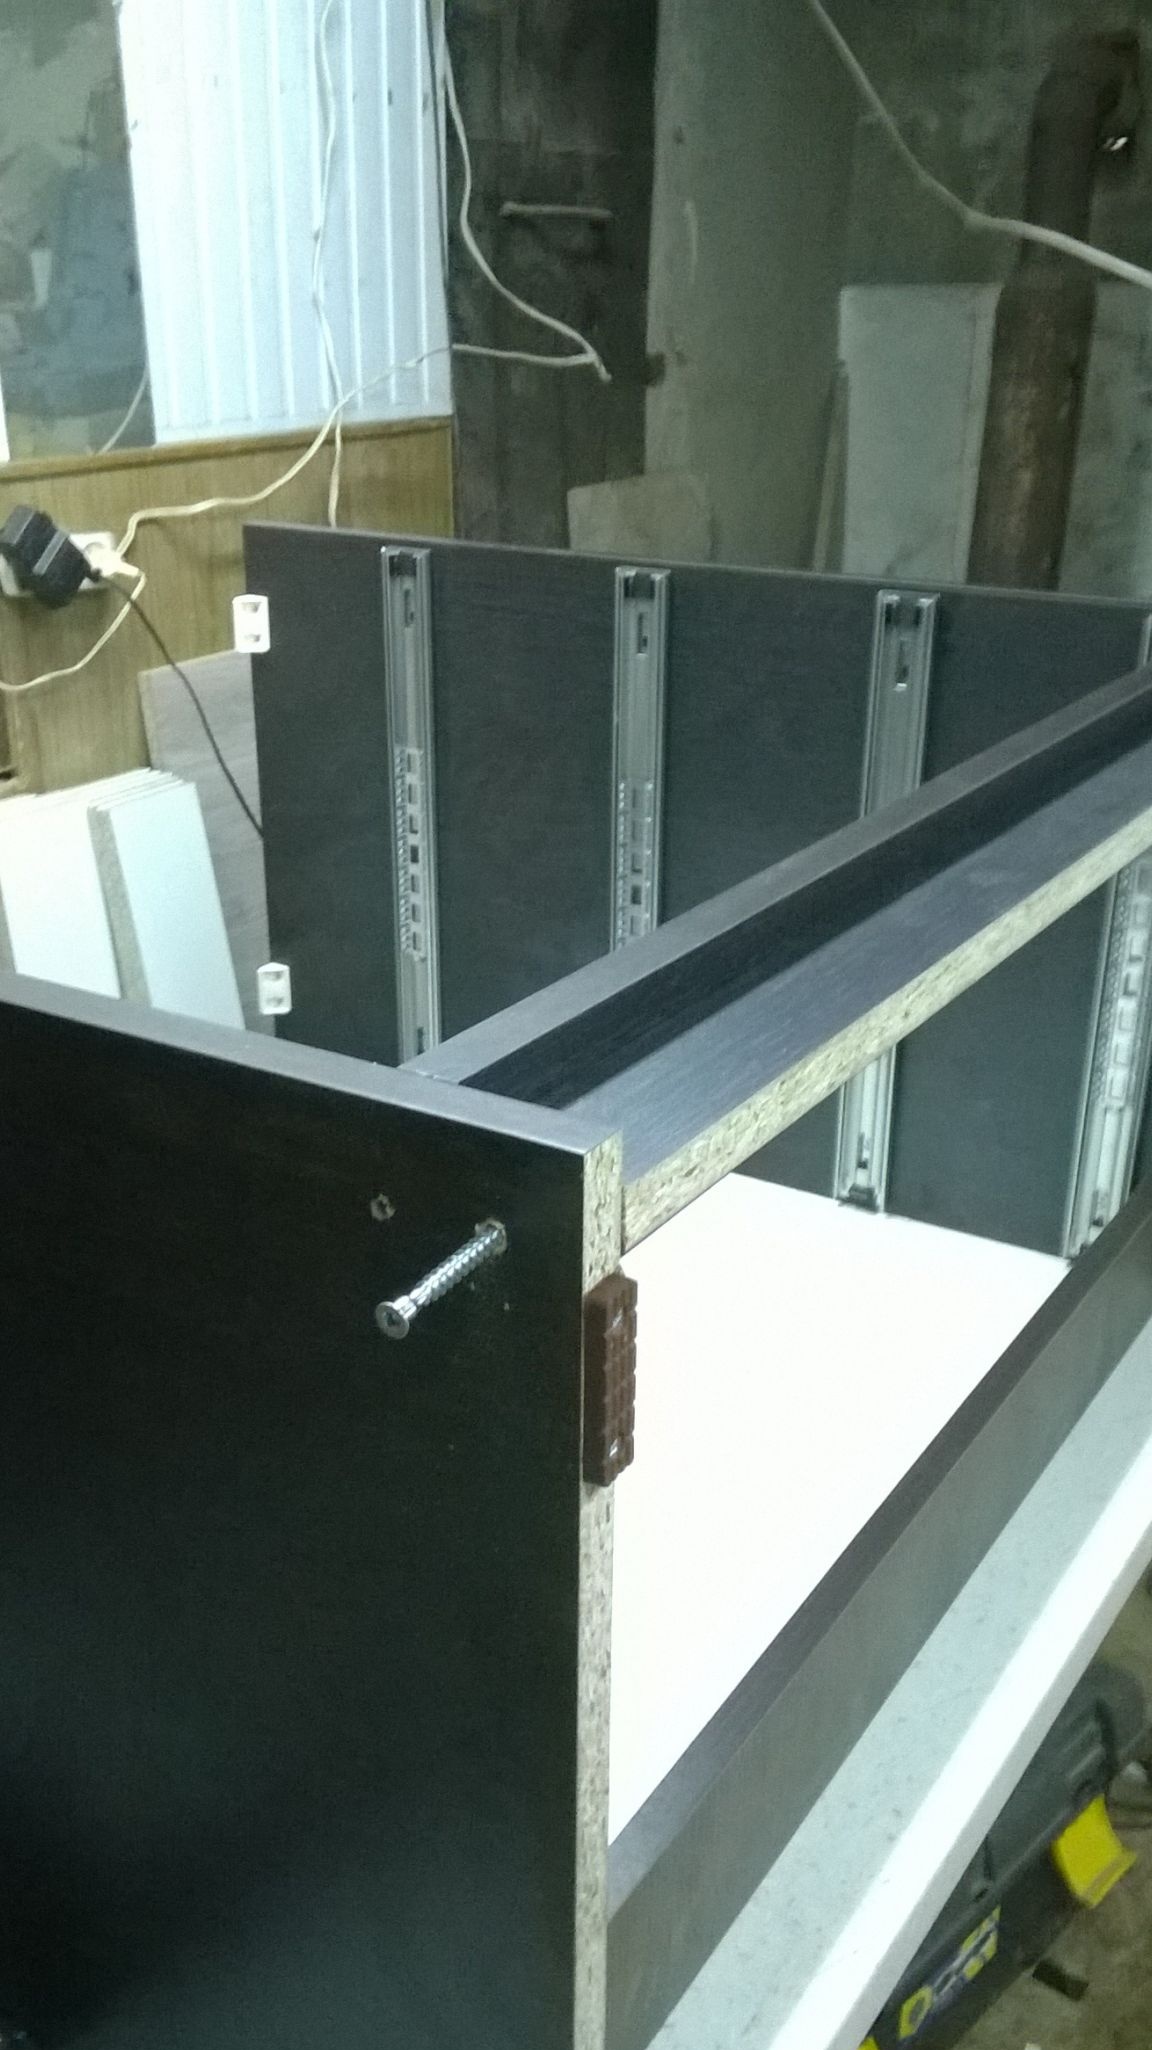
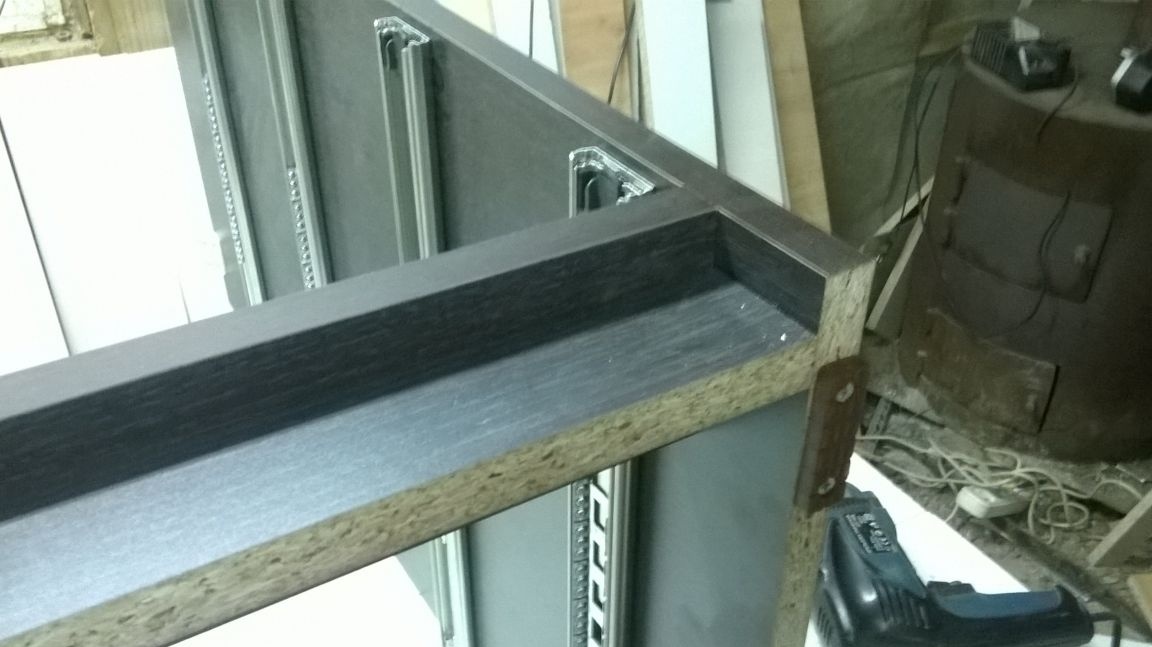
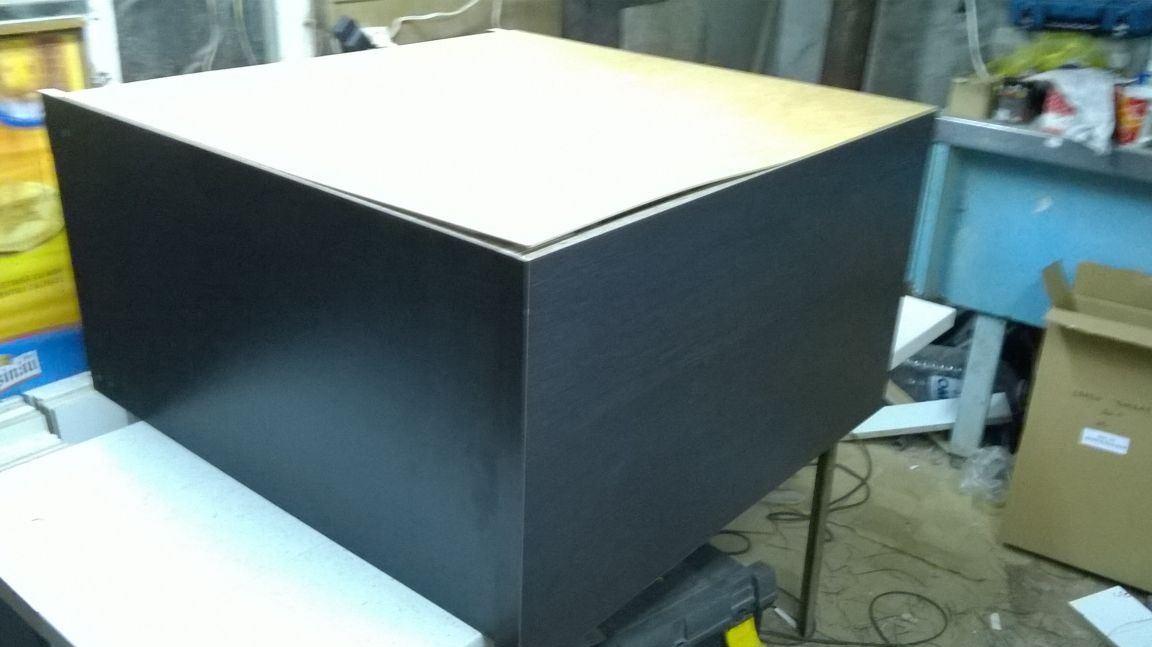
We lay the lid and put our frame on top. Fasten to the screws through the corners.
On the sides we leave two mm from the edge.
We turn the dresser face down and break through the back wall. Unforgettable about the diagonal.
The box is ready.

The time has come for the boxes. Take the strips from the guides and fix them on the boxes.
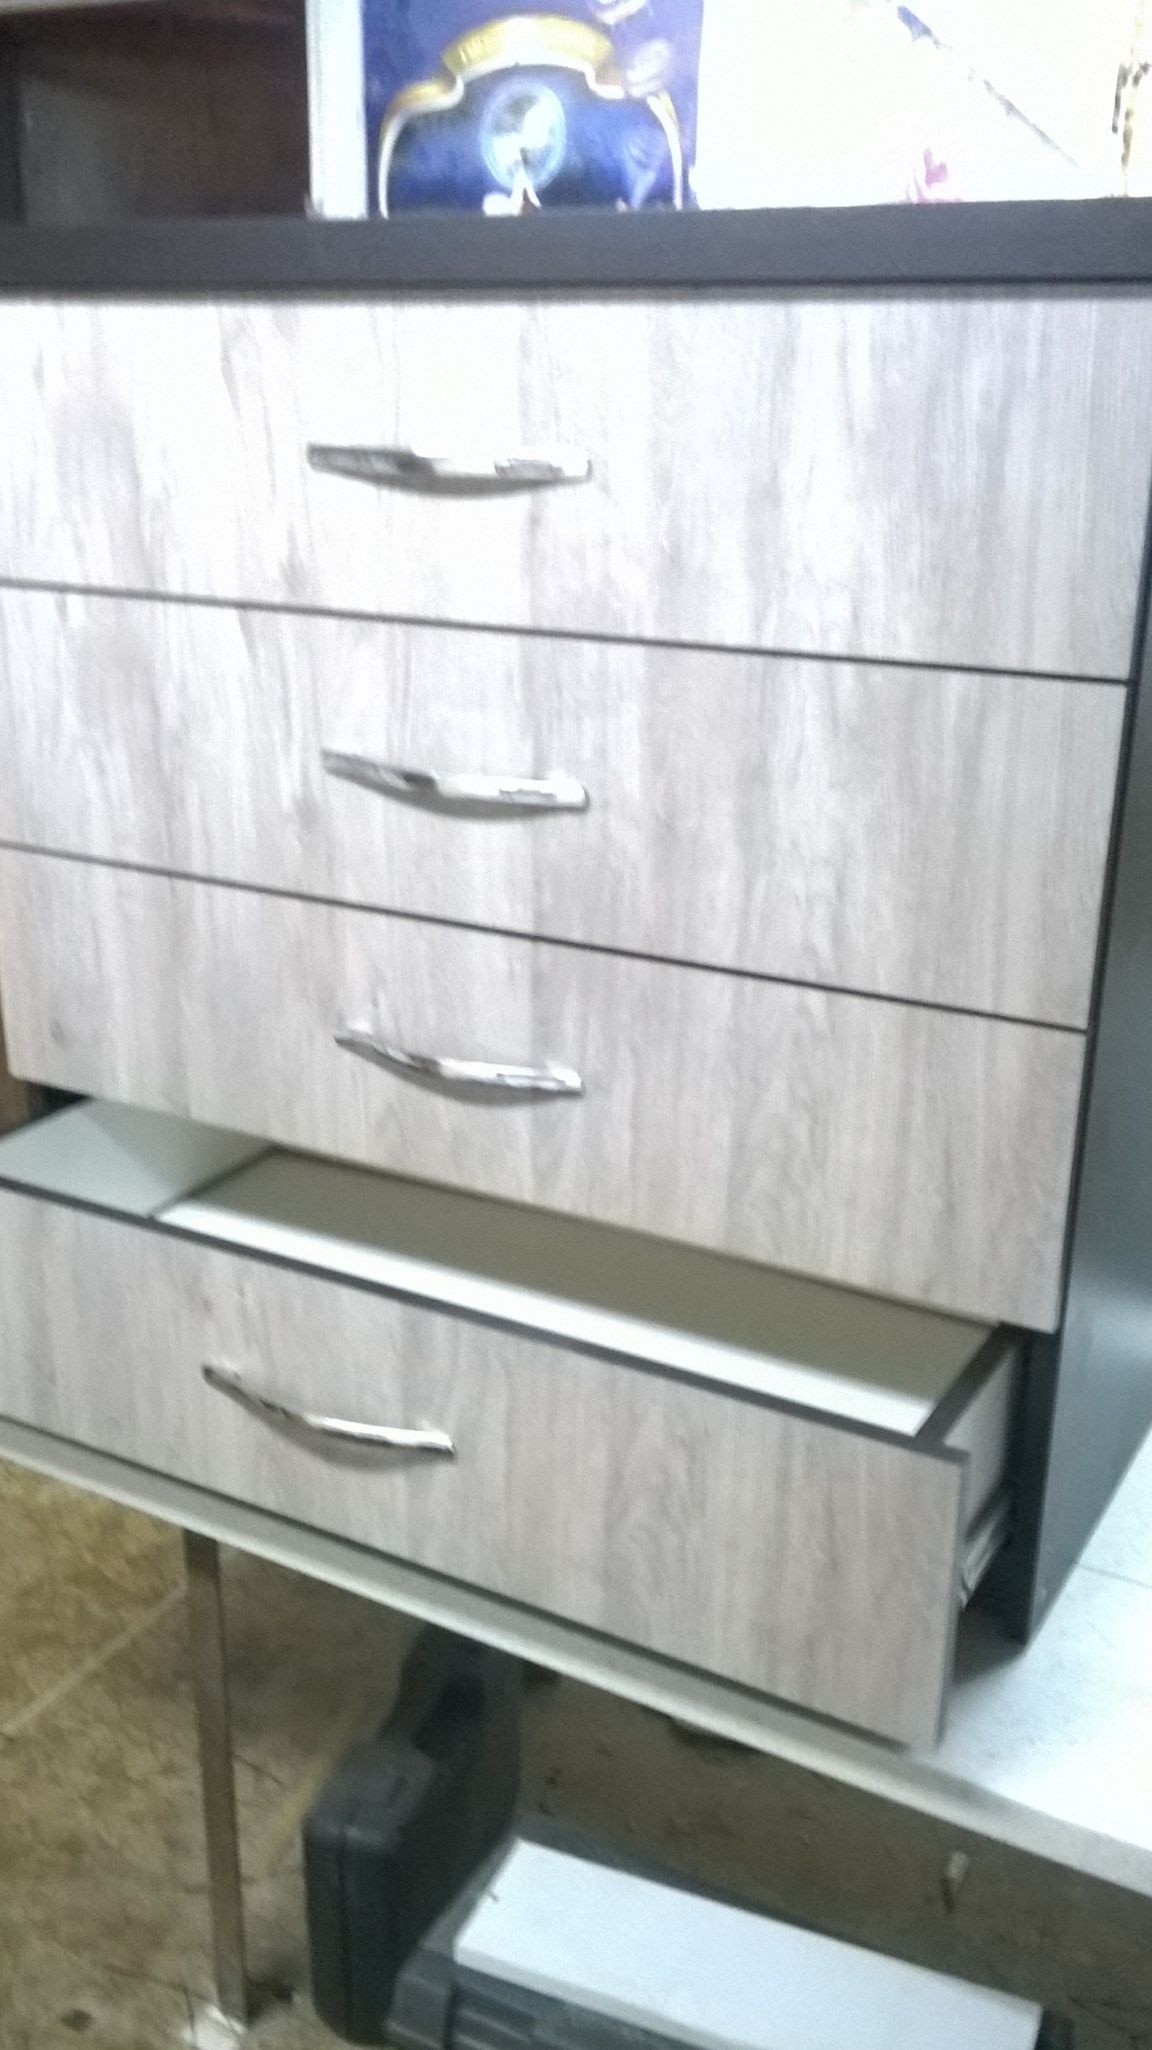
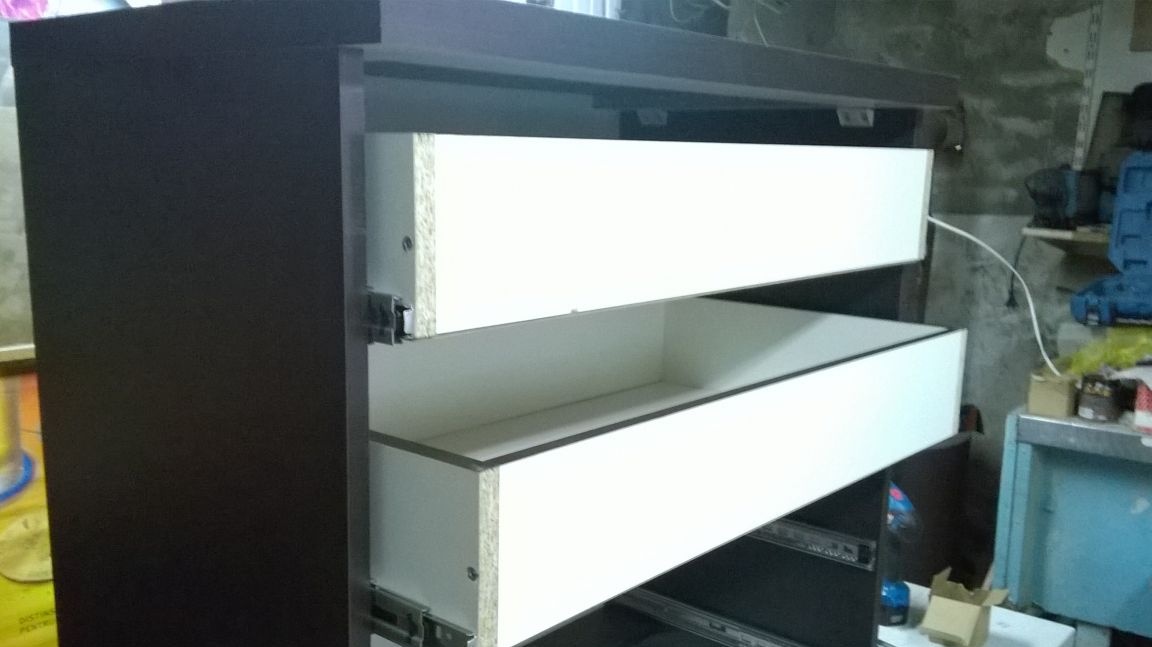
The first box is ready, insert it into the chest of drawers.
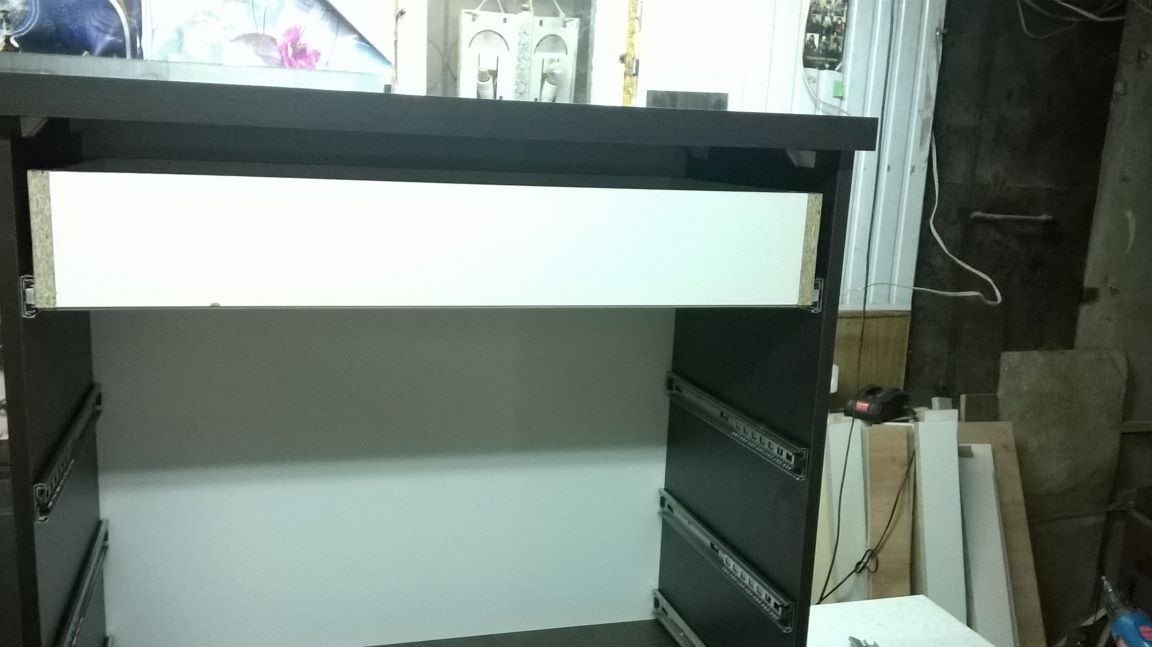
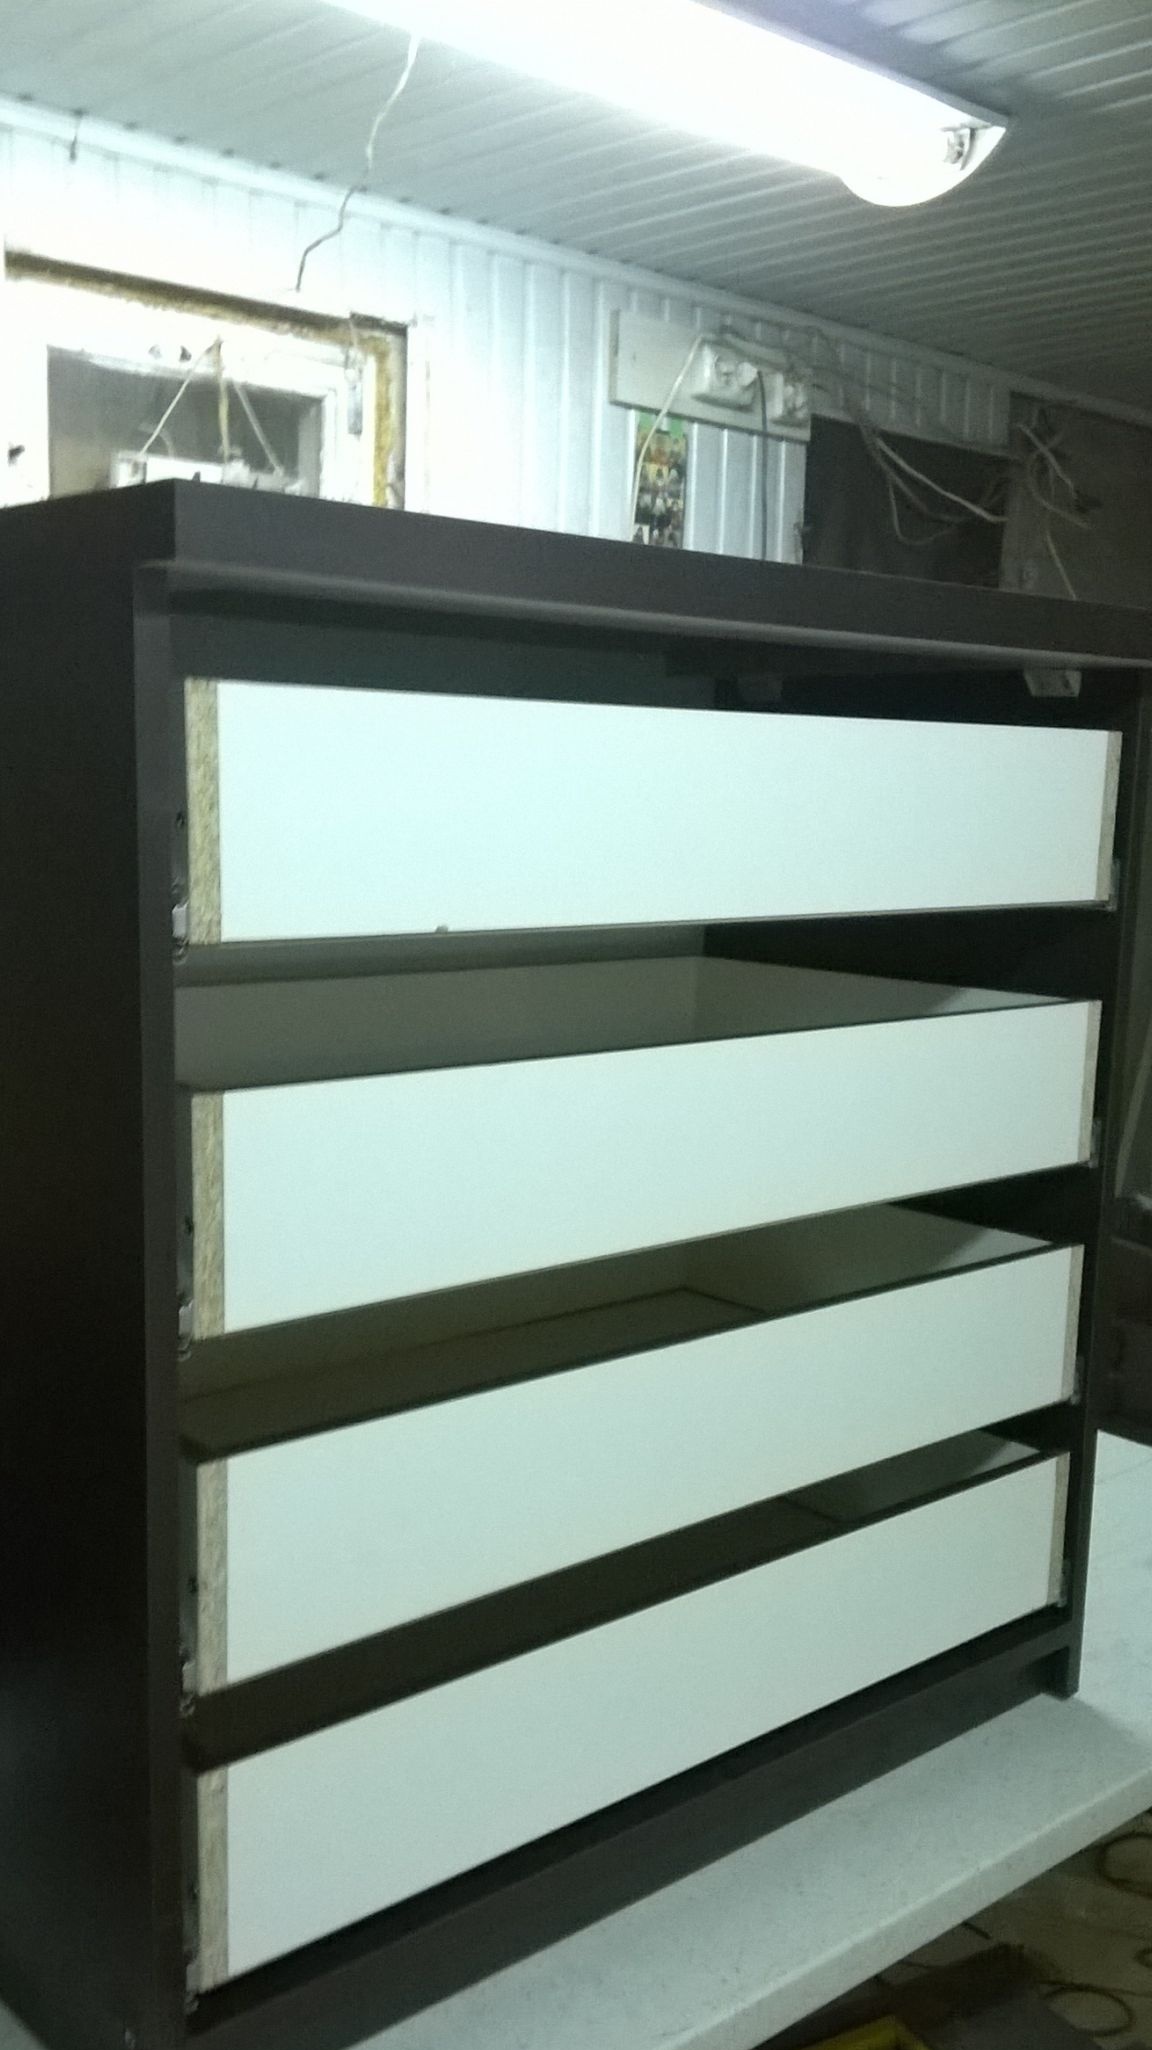
And so all the boxes.
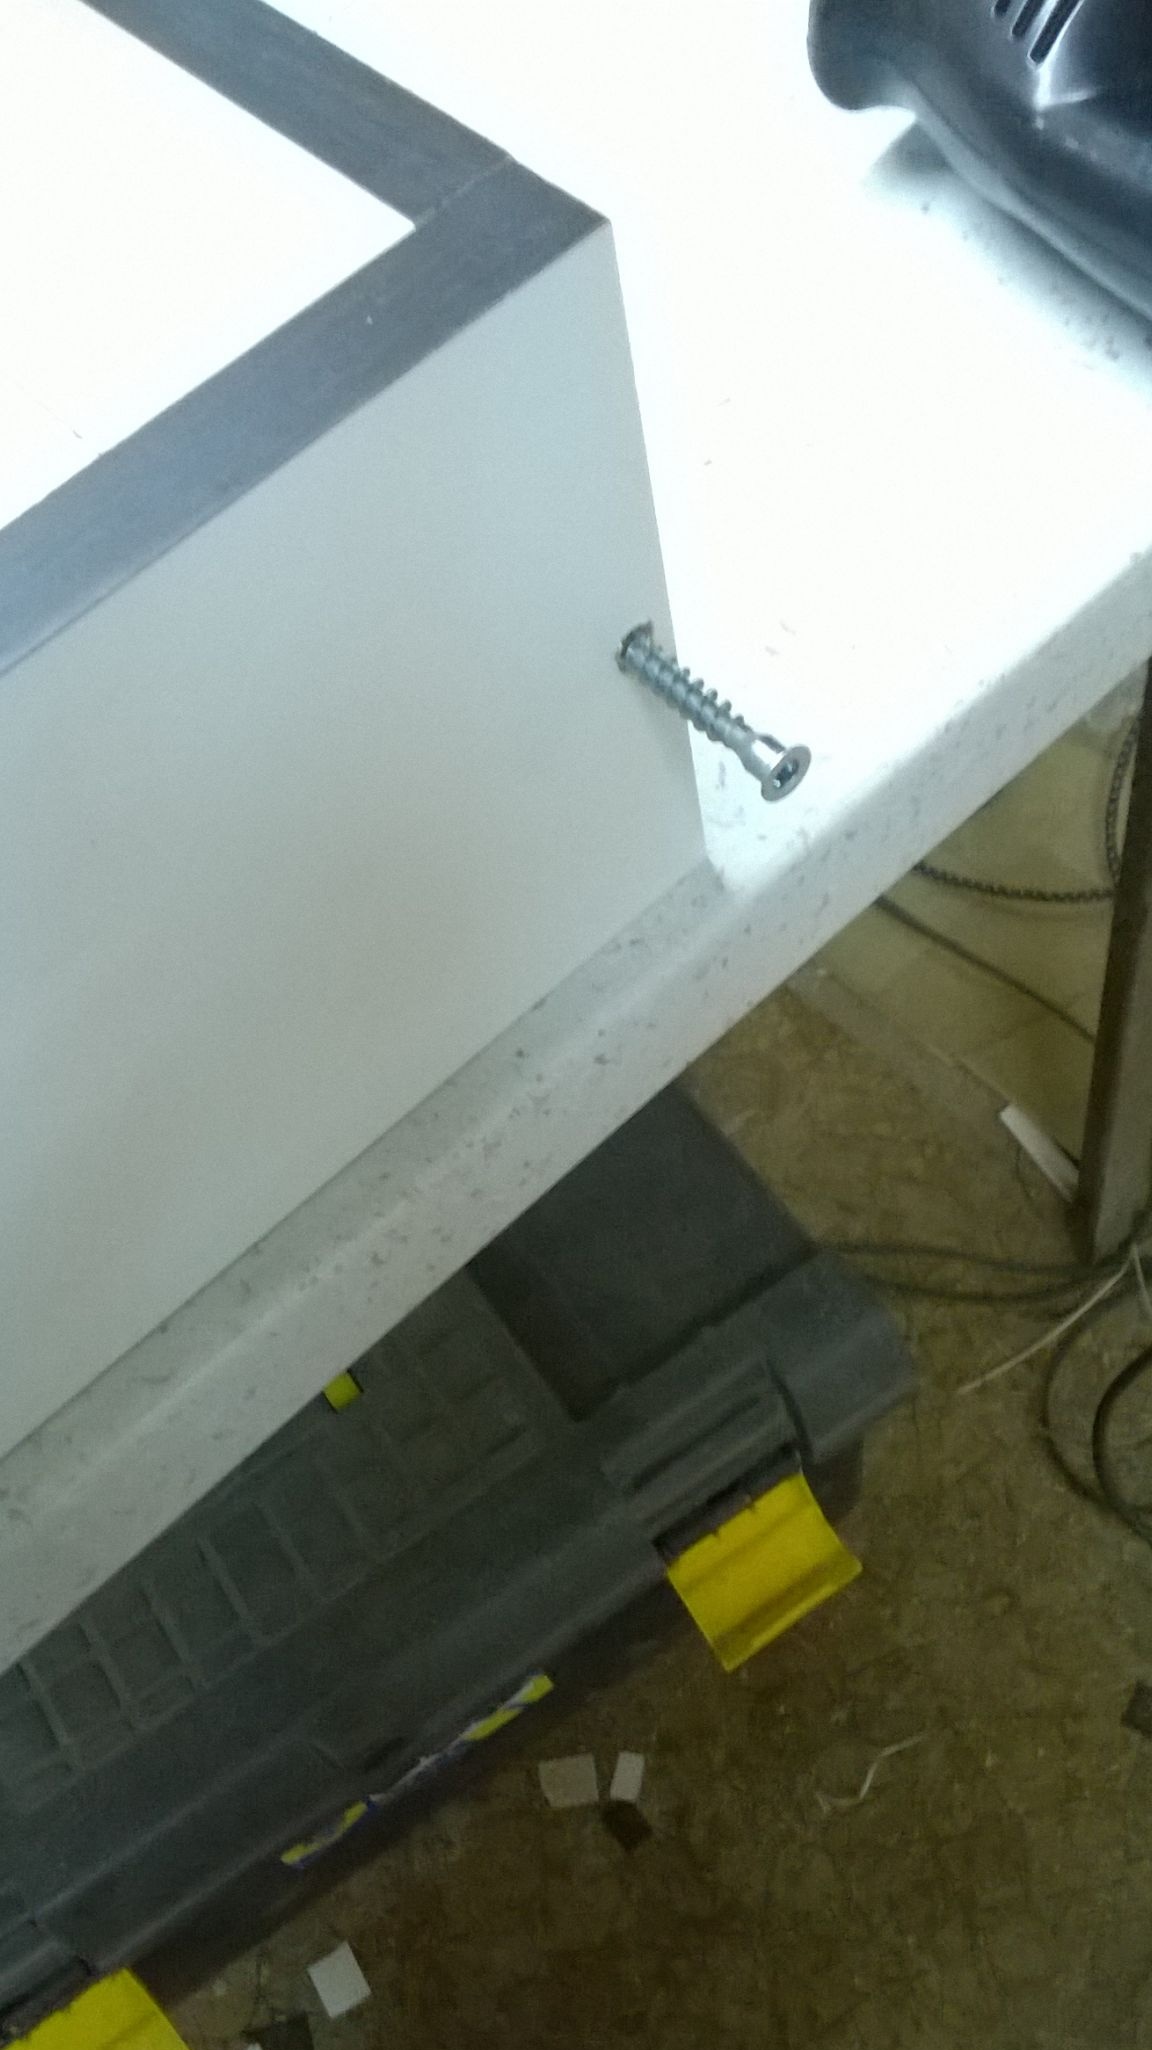
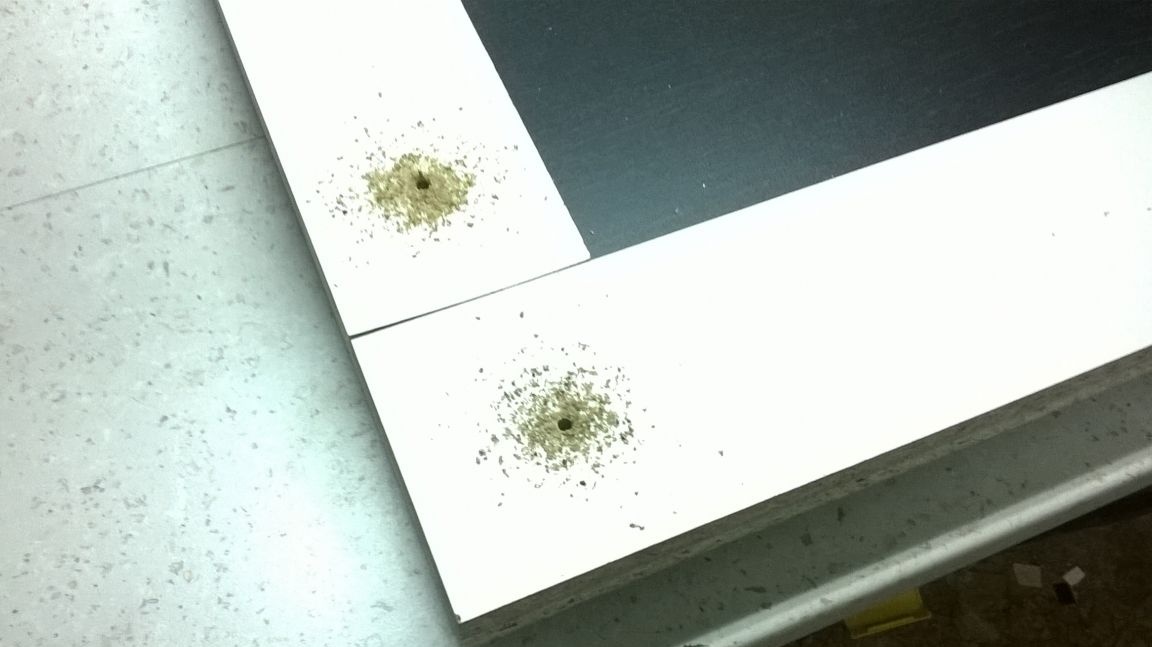
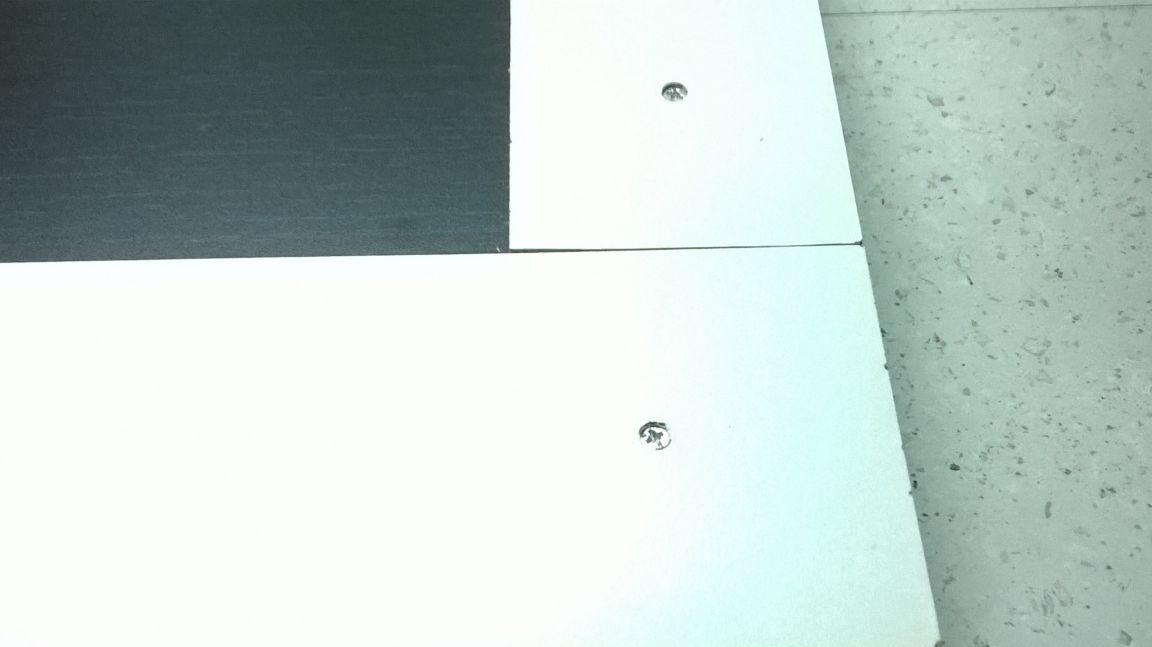
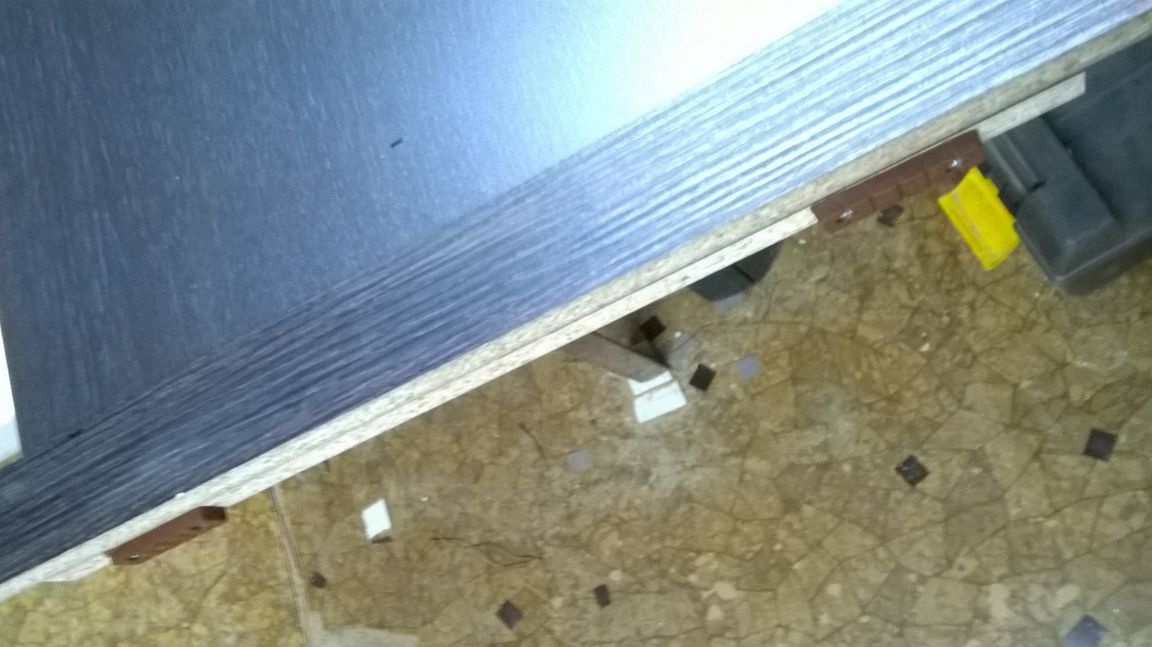
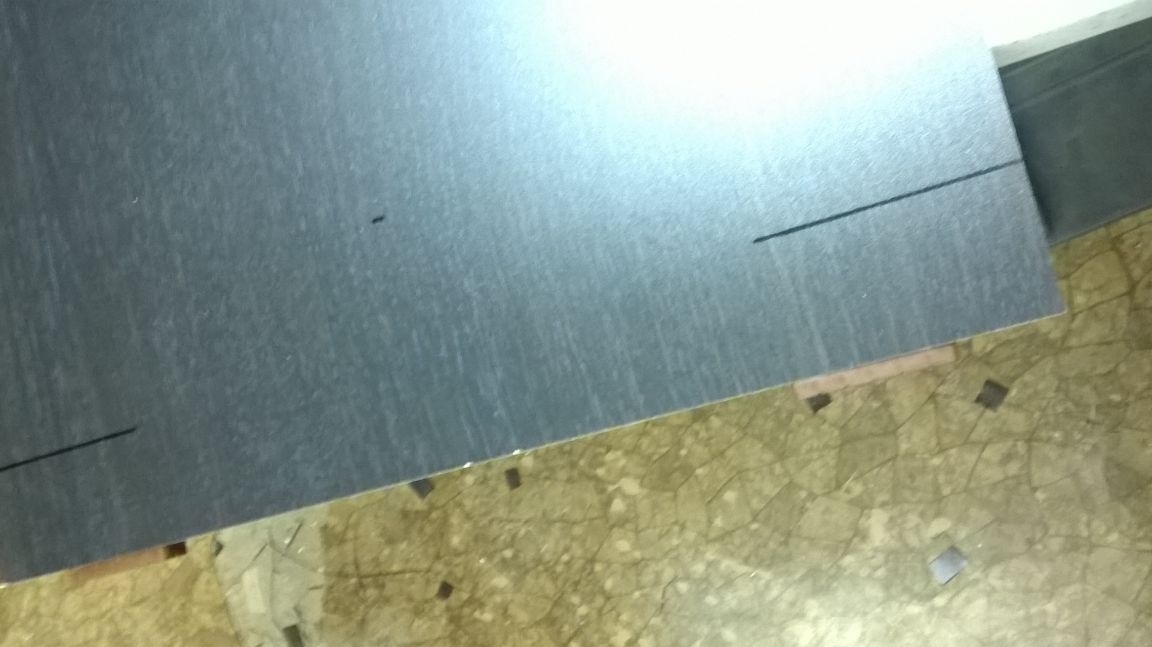
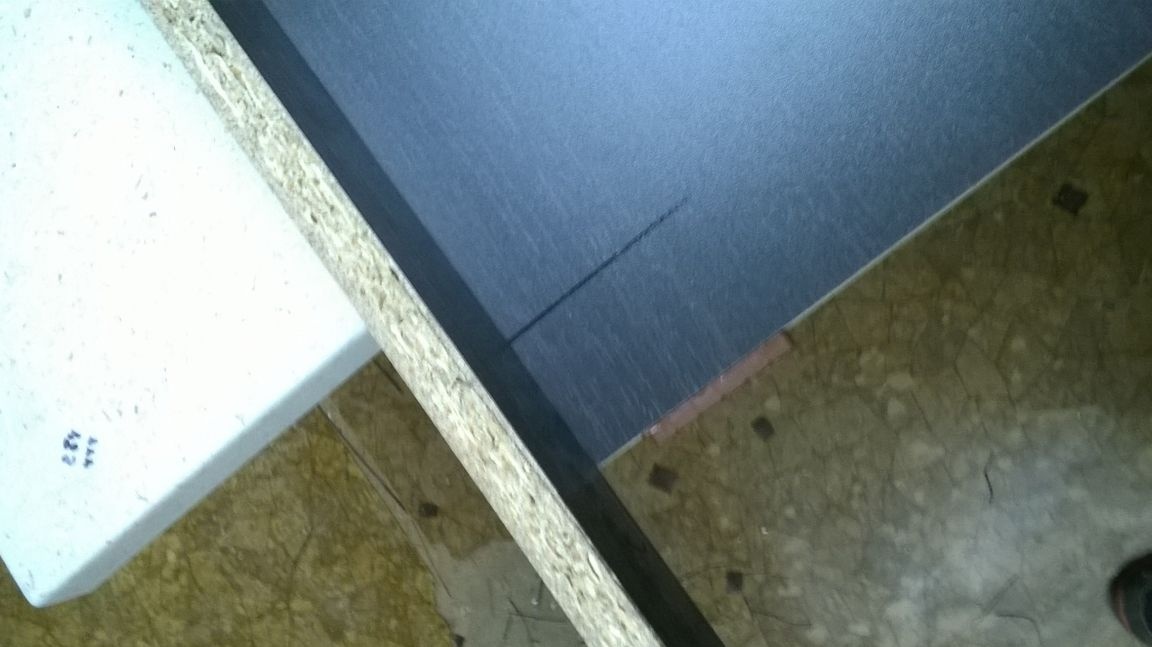
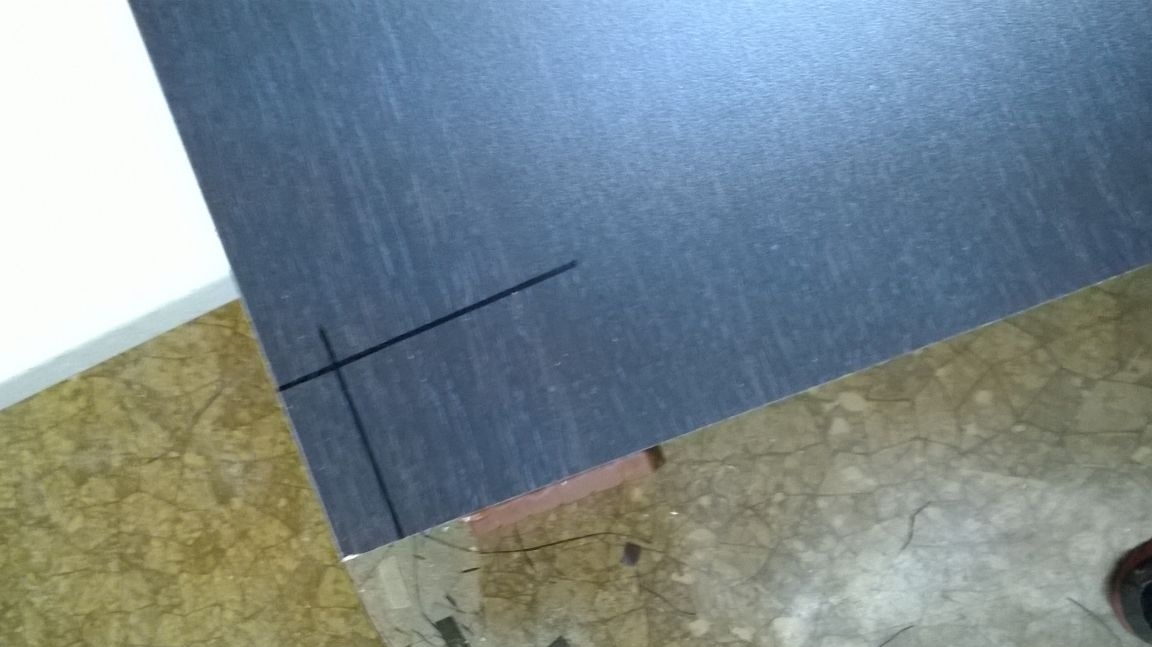
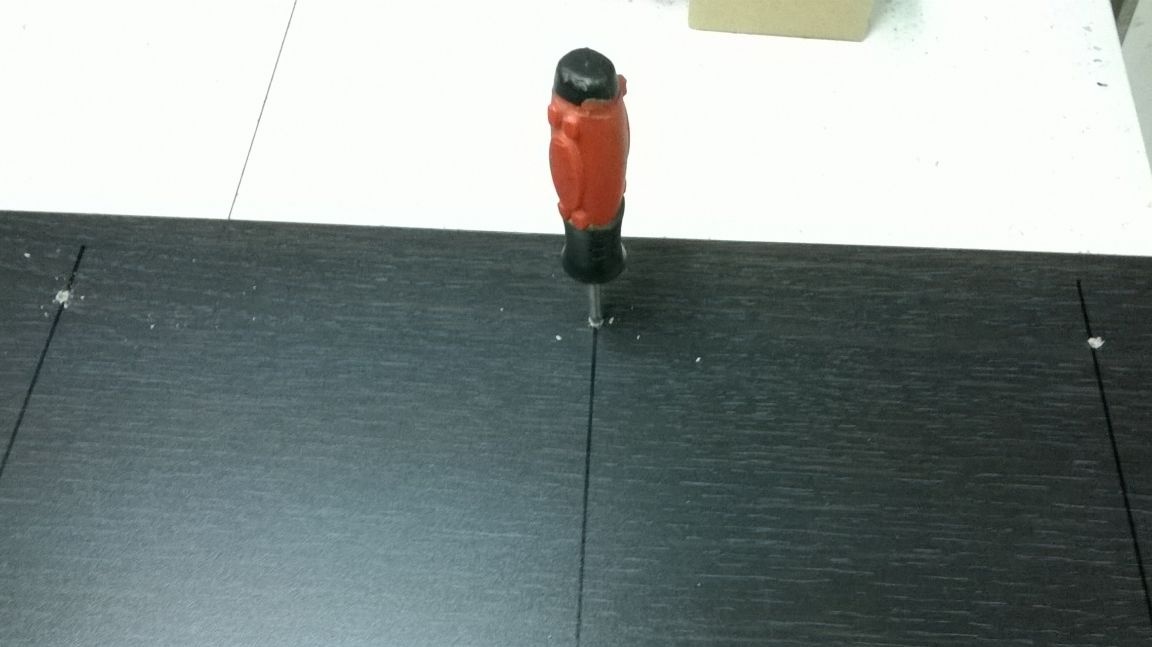
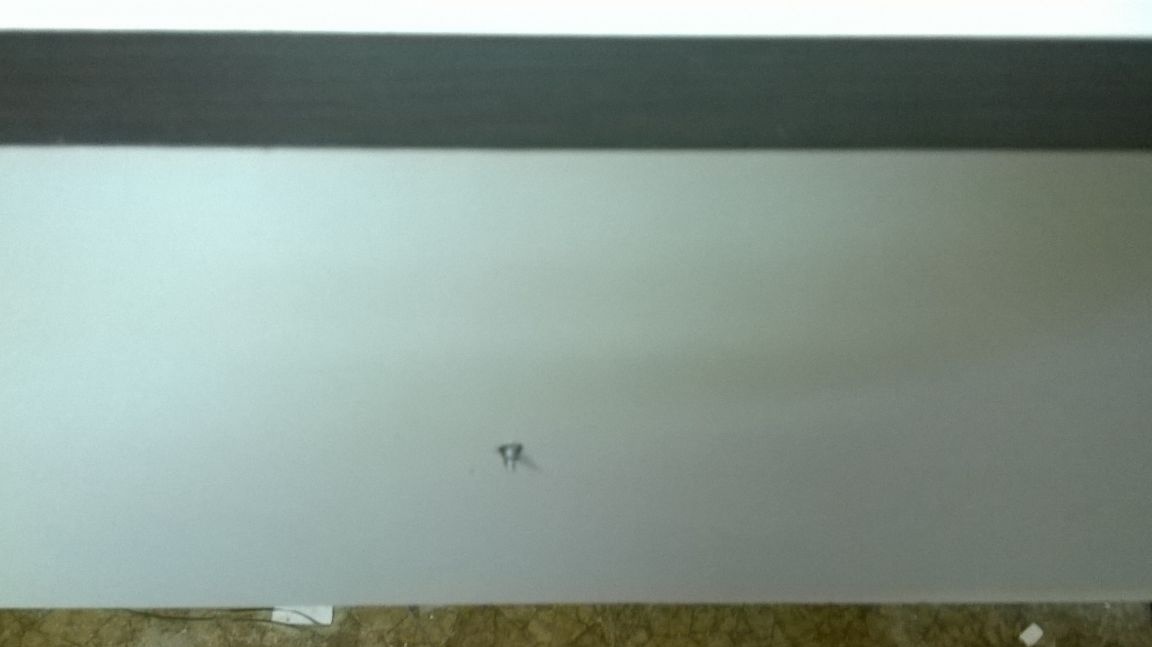
Having departed from the edge of 10-15 cm on each side, drill through holes of 4.5 mm.
And in the middle of the hole is 2.5 mm. This is a hole for adjusting facades.
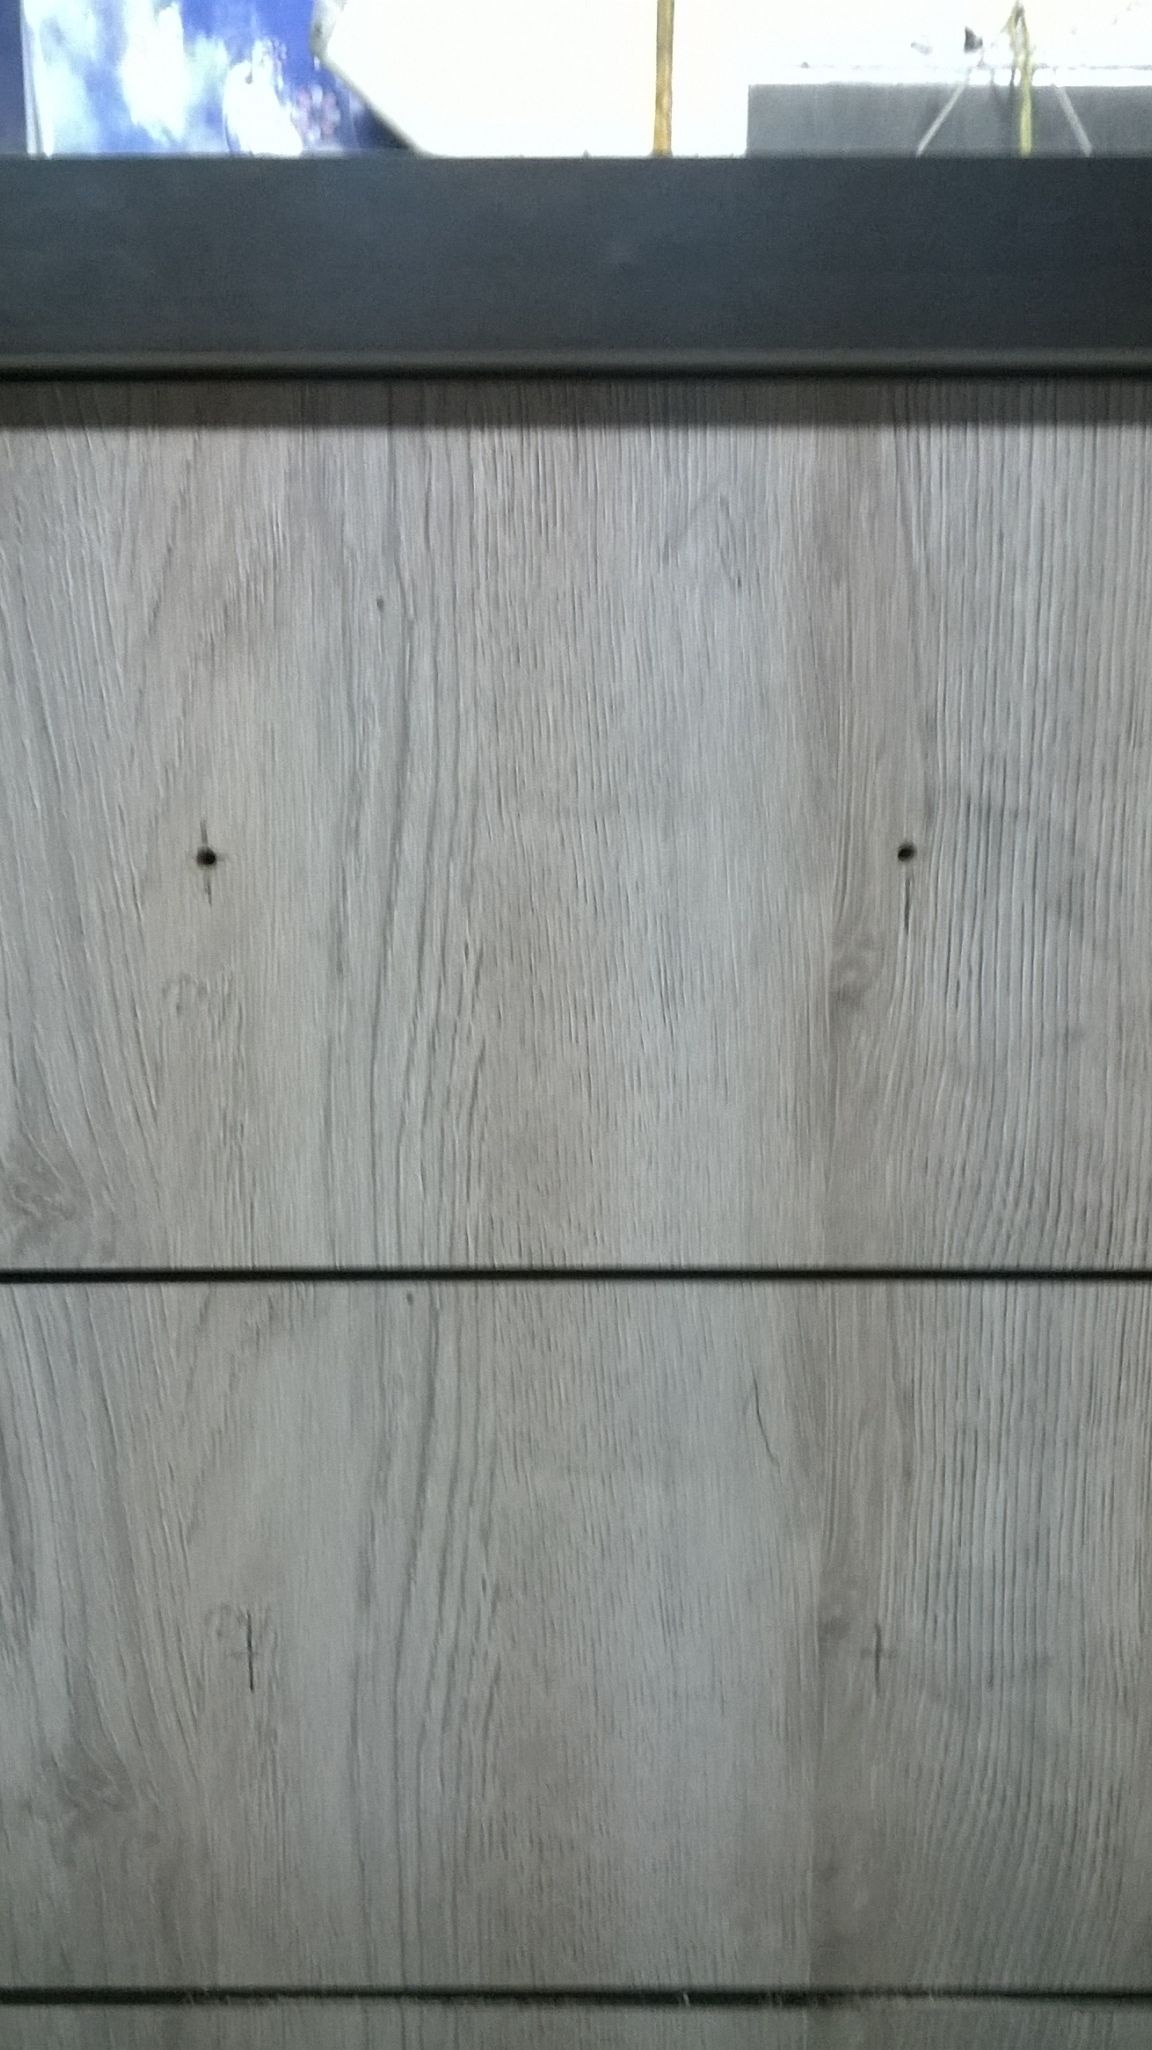
We start from the top.
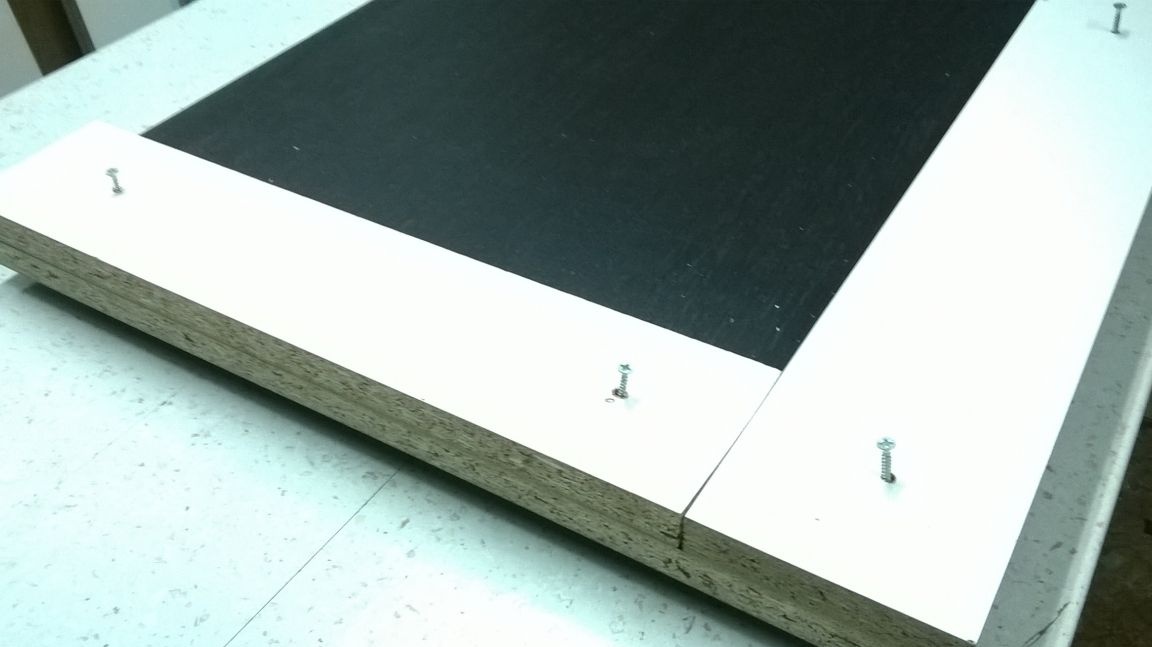
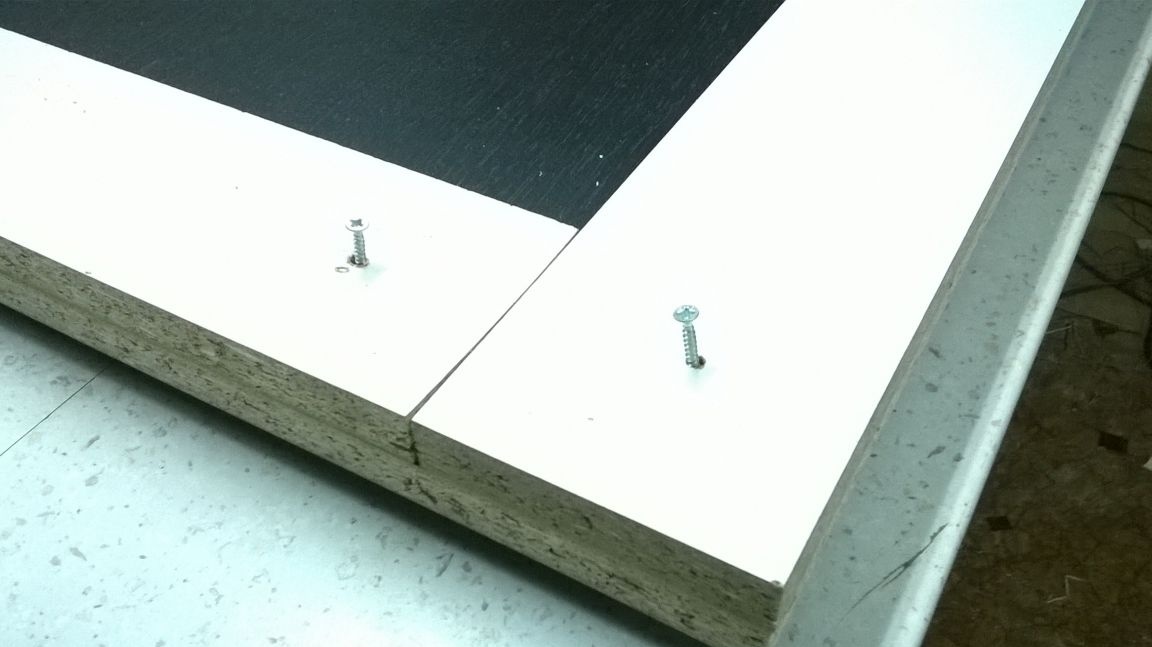
We screw a 30 mm self-tapping screw into the middle hole from the inside, so that it extends 4-5 mm. We put the facade to the chest of drawers, approximately expose it in height and on the sides. Once you are convinced of the correct arrangement, slightly strike on a facade. A small dot from the screw will appear on the other side of the facade. It should be slightly expanded with an awl.

Lean back the facade, combine the hole with a self-tapping screw. We twist the screw. We close the box and again set the facade, making sure that everything is smooth, twist one more self-tapping screw on each side.
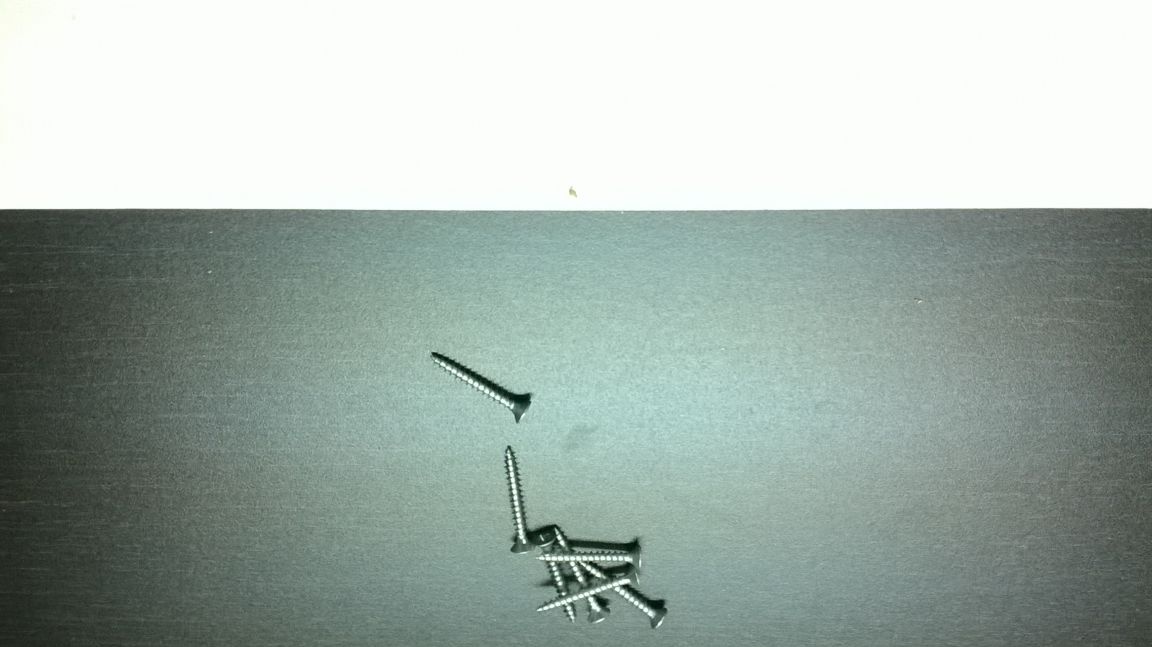
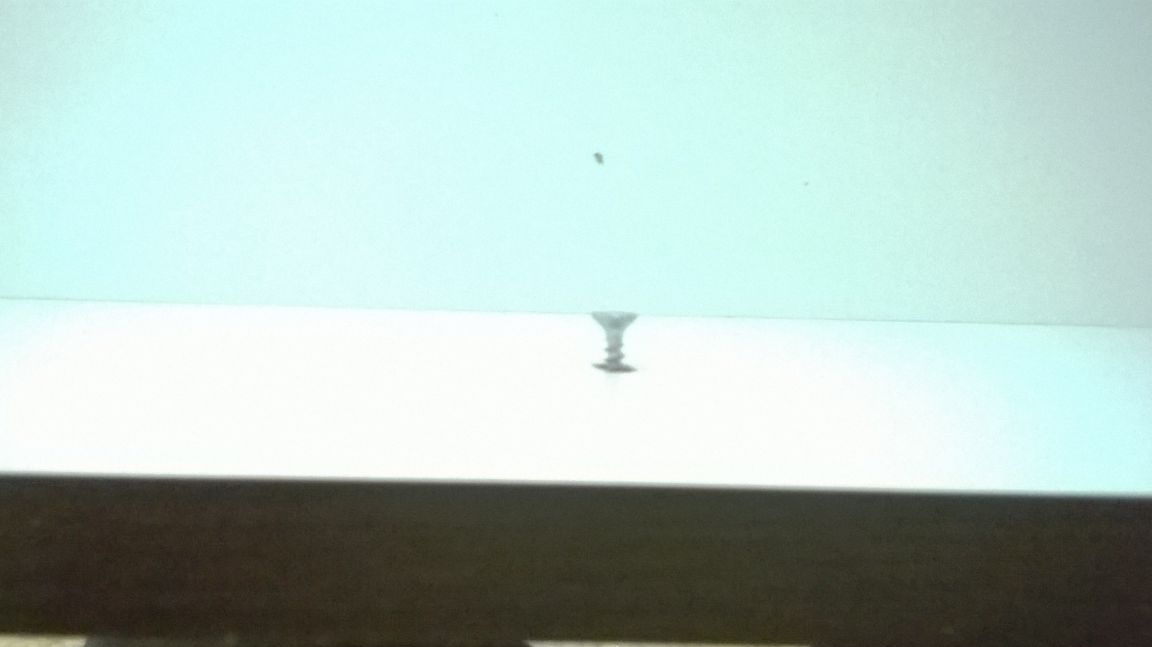
Mark the holes for the handles. We also drill 4.5 mm. 20 mm screws are included with the handles. They will be short for us, so you need to buy eight 40 mm screws.
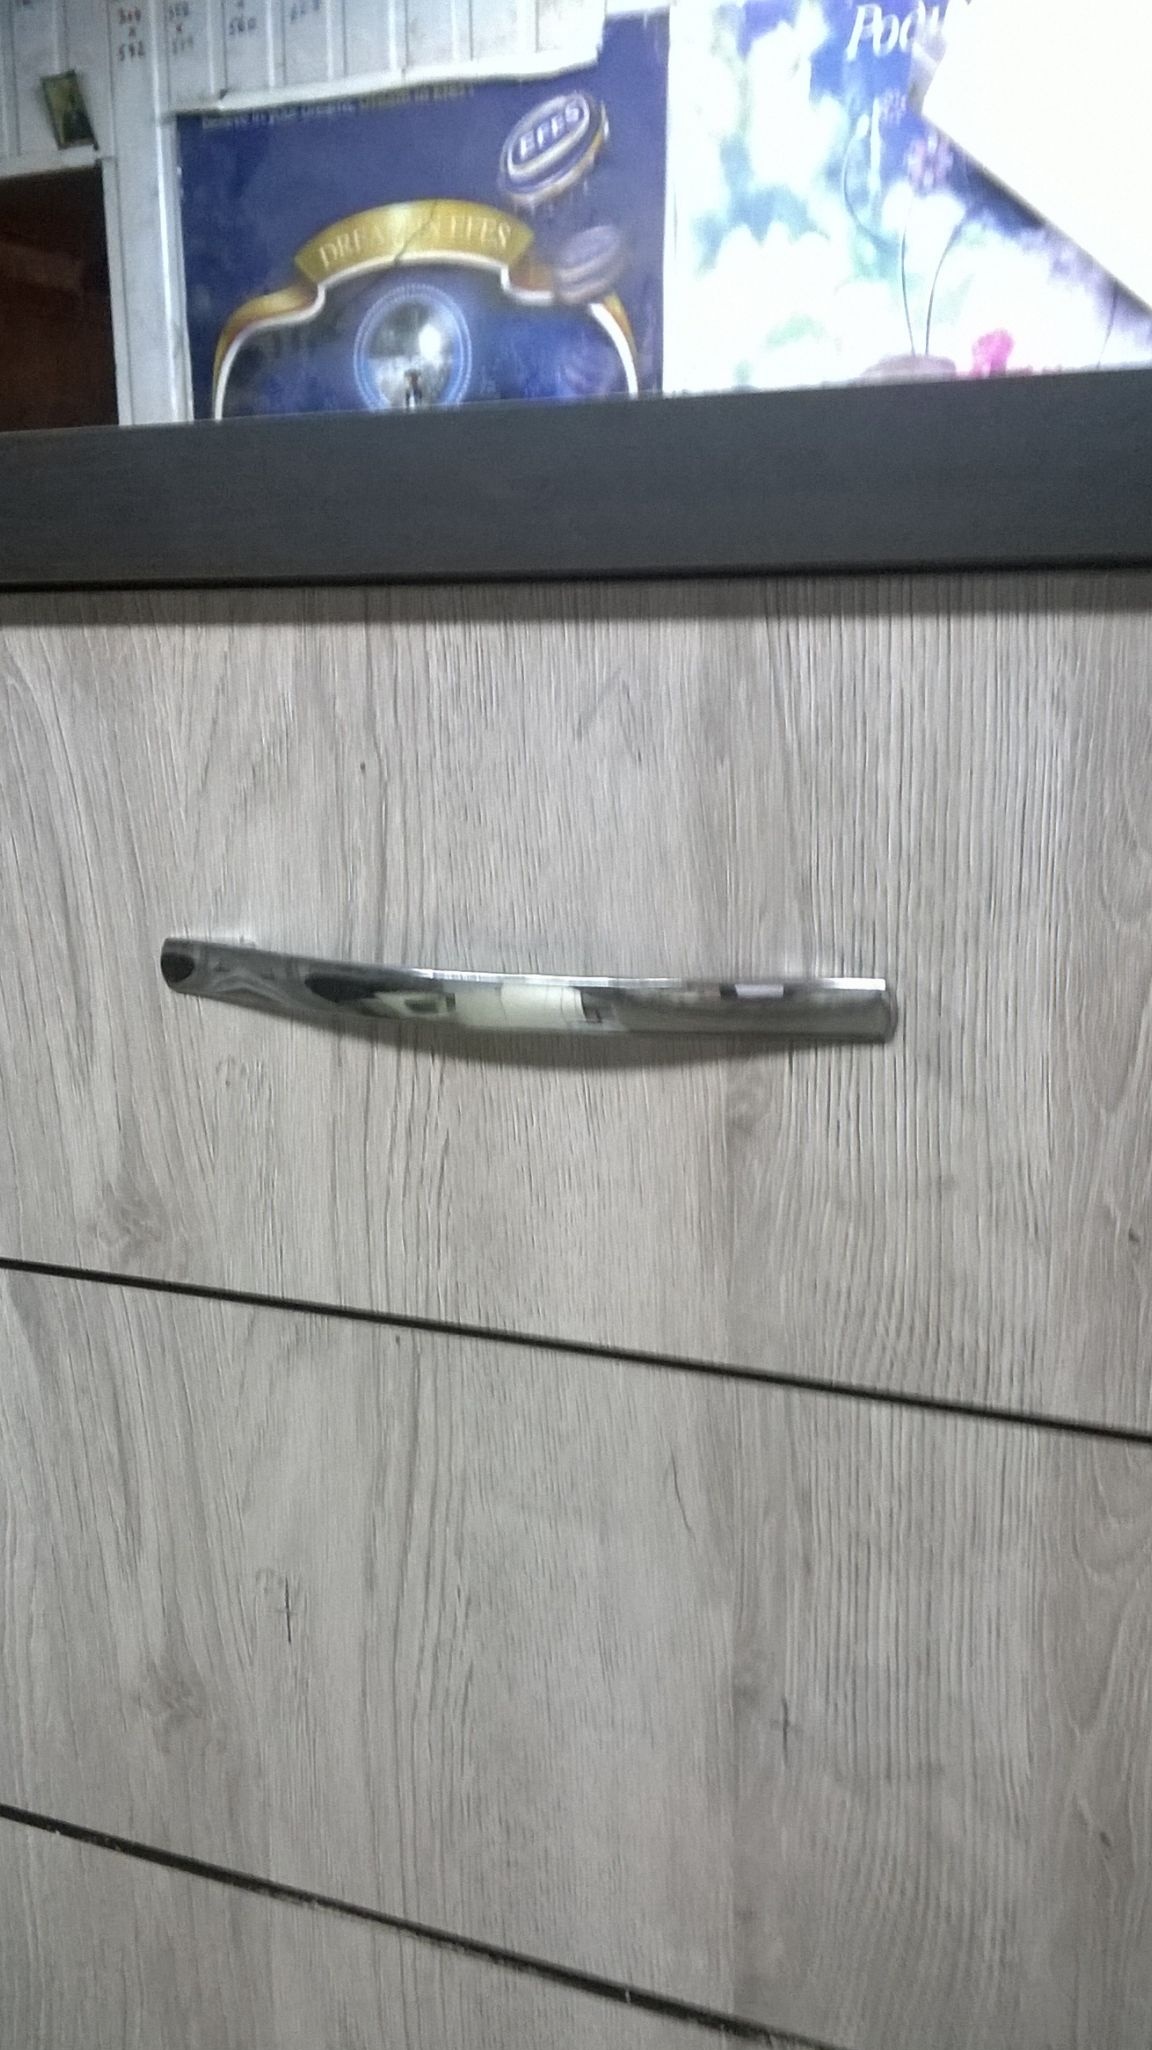
Well, like that.