


And so what is needed:
1) foamed polyethylene, foam or other suitable material
2) aluminum tubes
3) fiberglass
4) epoxy resin
5) a piece of thick plastic
6) M3 countersunk head screws, washers, nuts
7) blind rivets and rivet
8) furniture corners 20x20
Optional - putty, paint, primer, single gloves.
From tools - scissors, mixing container, sandpaper, dremel.
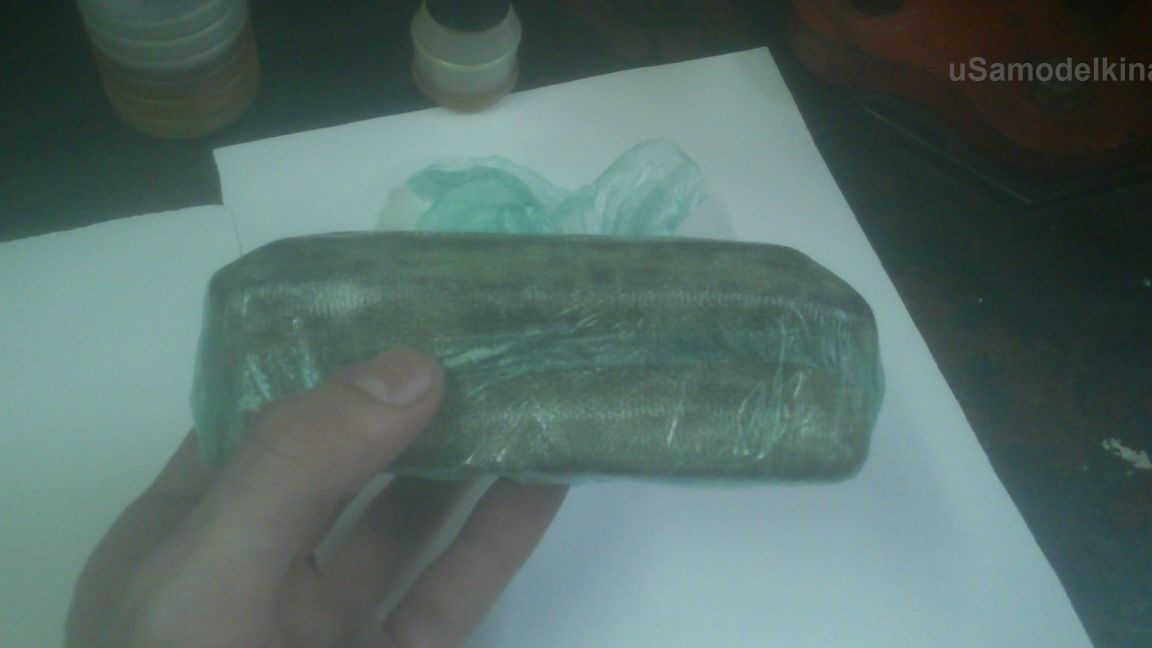
To begin with, we cut out the base from foamed polyethylene or other material. The material should be dense, soft to hold the tip securely.
Dimensions depend on how many arrows in it will be and with what tips. The main condition is that the thickness of the base should be 5 mm greater than the length of the blades on the tips (if Broadheads will be used), the blades should not touch each other.
It is better to first sketch a piece of paper on which foam will already be cut.
Adhesive tape is glued to the front side, where the tips will enter, so that the surface does not get dirty with resin.
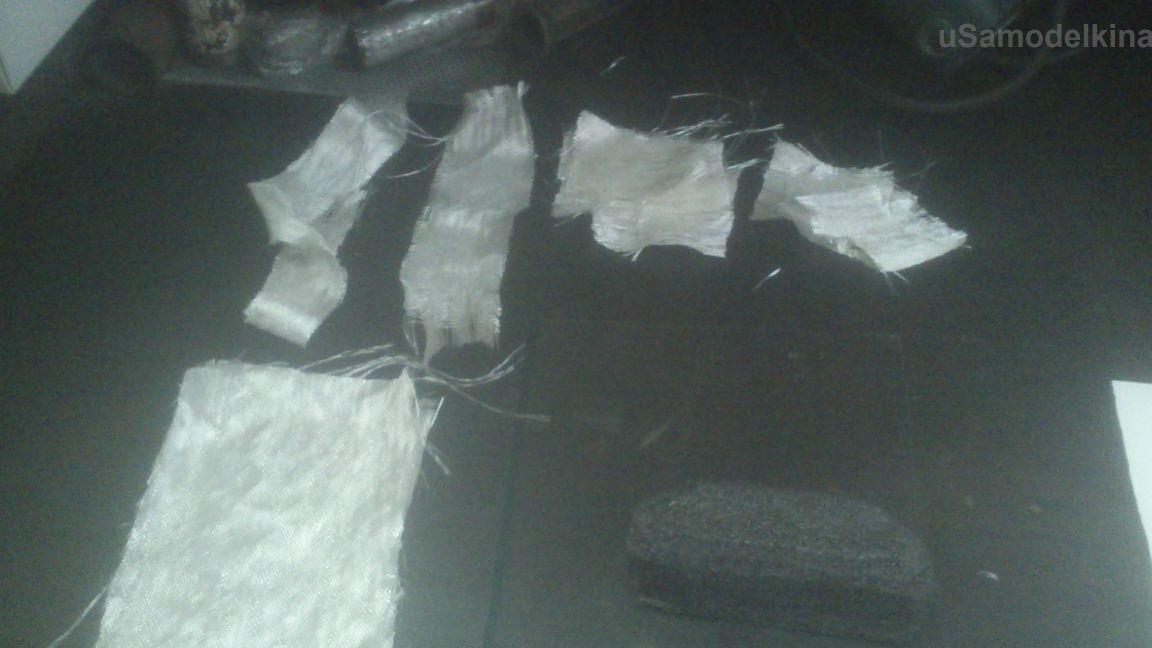
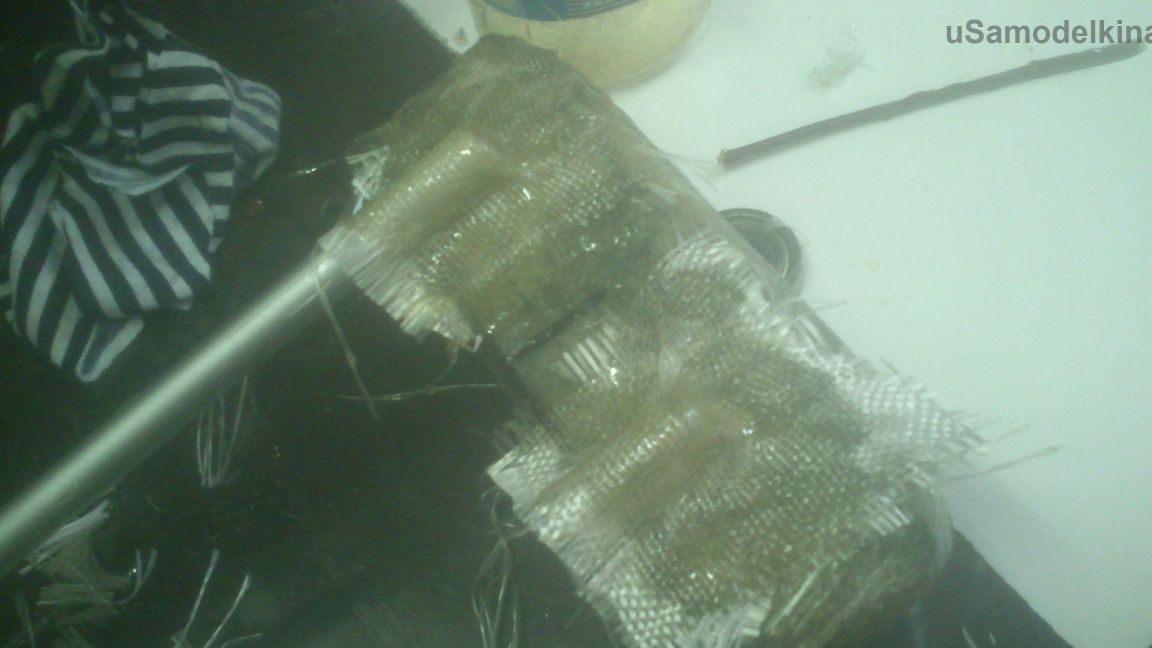
Now we are preparing fiberglass and epoxy. It is best to take carbon fabric (it is easier) and polyester resin, but it's harder to get it all.
We cut out 2-3 large rectangles from fiberglass, with a dozen small ones (they will be used to strengthen and fasten the guides) and 2-3 long ribbons with a width of 20-30 mm to reinforce the edges.
Knead the epoxy according to the instructions. I usually pour twice as much hardener - reduced "working time" to thicken up to 15 minutes. This is enough for me.
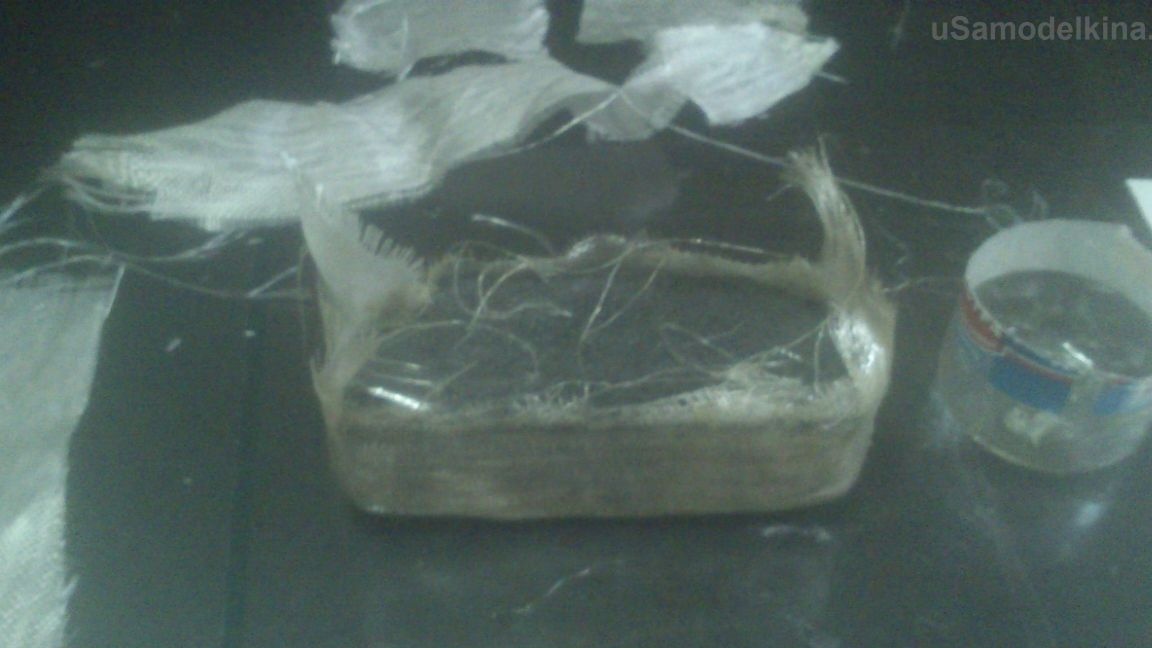
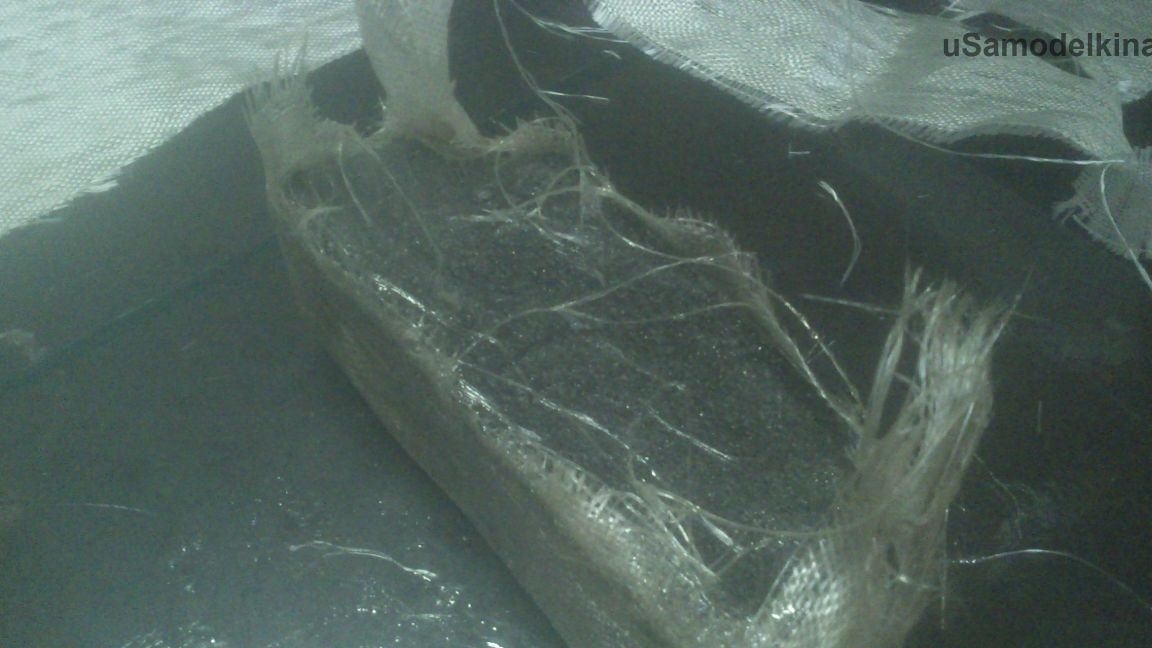
First, epoxy is applied to the side surfaces of the workpiece, then fabric is applied in layers to it. In the beginning, a large piece lies, then a long tape is pasted over the edge and then large rags again lie down.
Since the epoxy in the liquid state does not hold fiberglass well on the workpiece, the freshly glued workpiece should be packed in a bag, tied tightly and smooth the fabric inside. To speed up the solidification, the workpiece can be put on the battery.
A small "life hack": Fresh epoxy is easily washed off with warm water and soap, so that rubber gloves can be used many times, washing them after each use. Just do not allow fiberglass fibers to enter the drain when washing gloves!
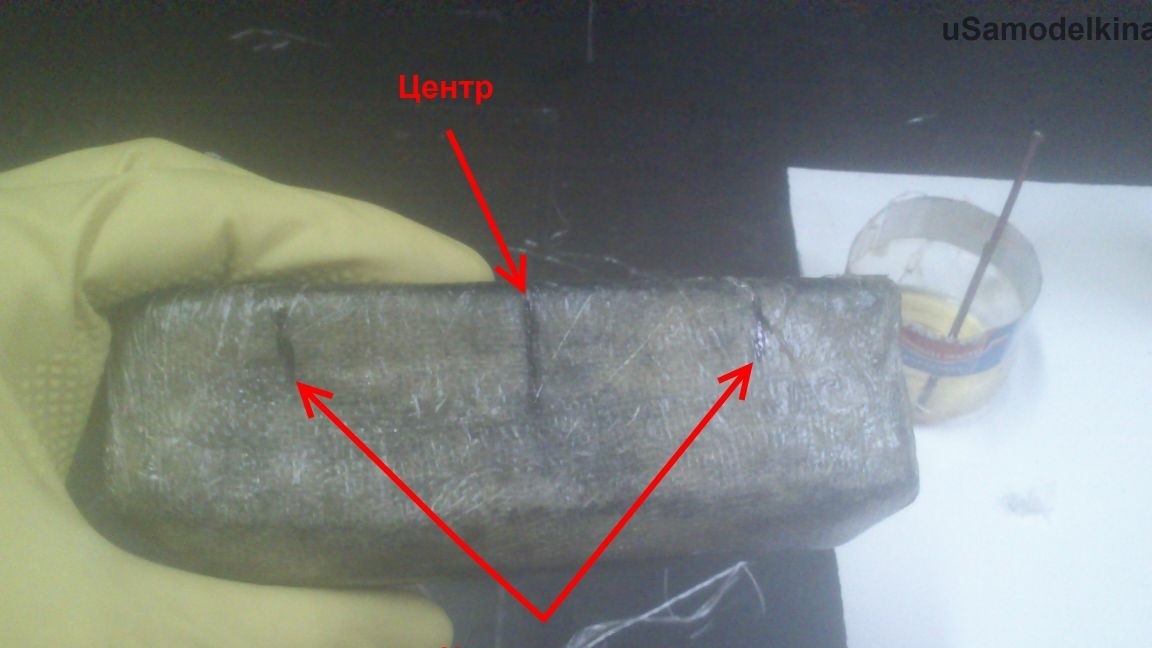
After solidification, the package is removed from the workpiece, the center and the mounting points of the guides are marked.
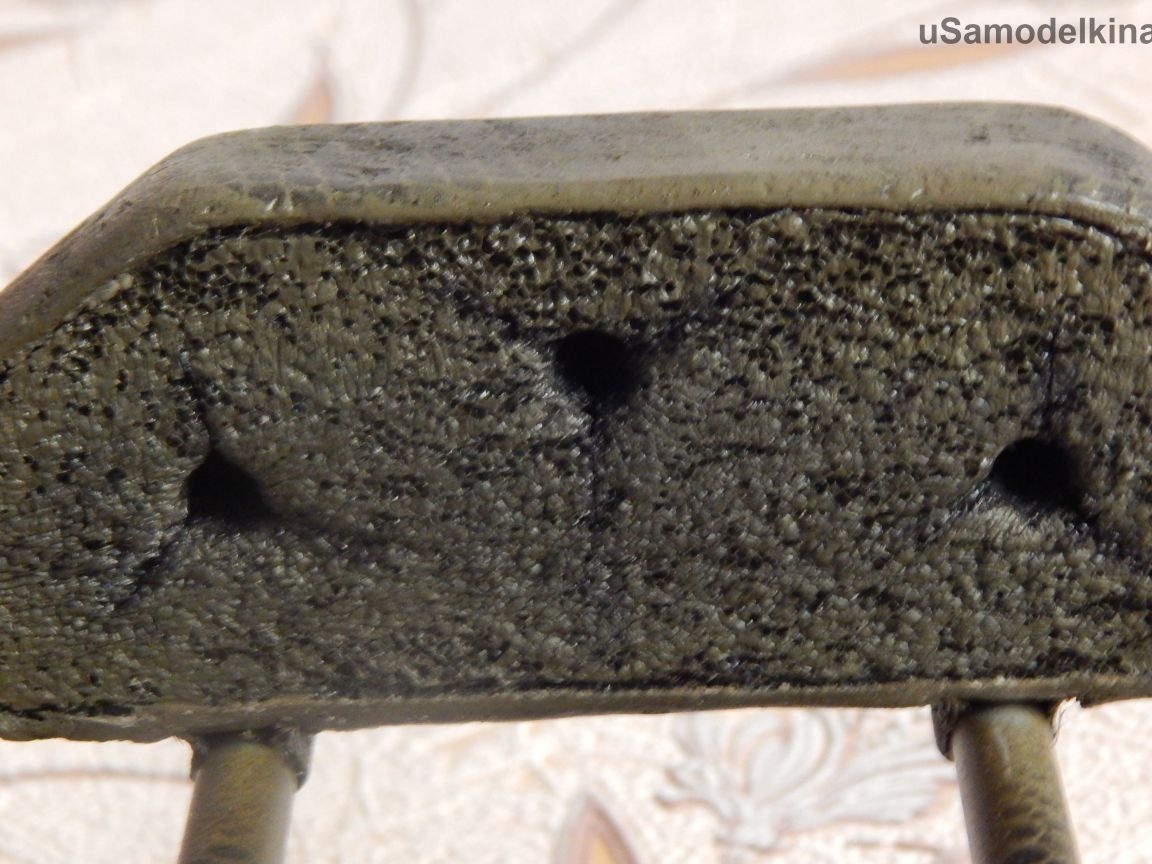
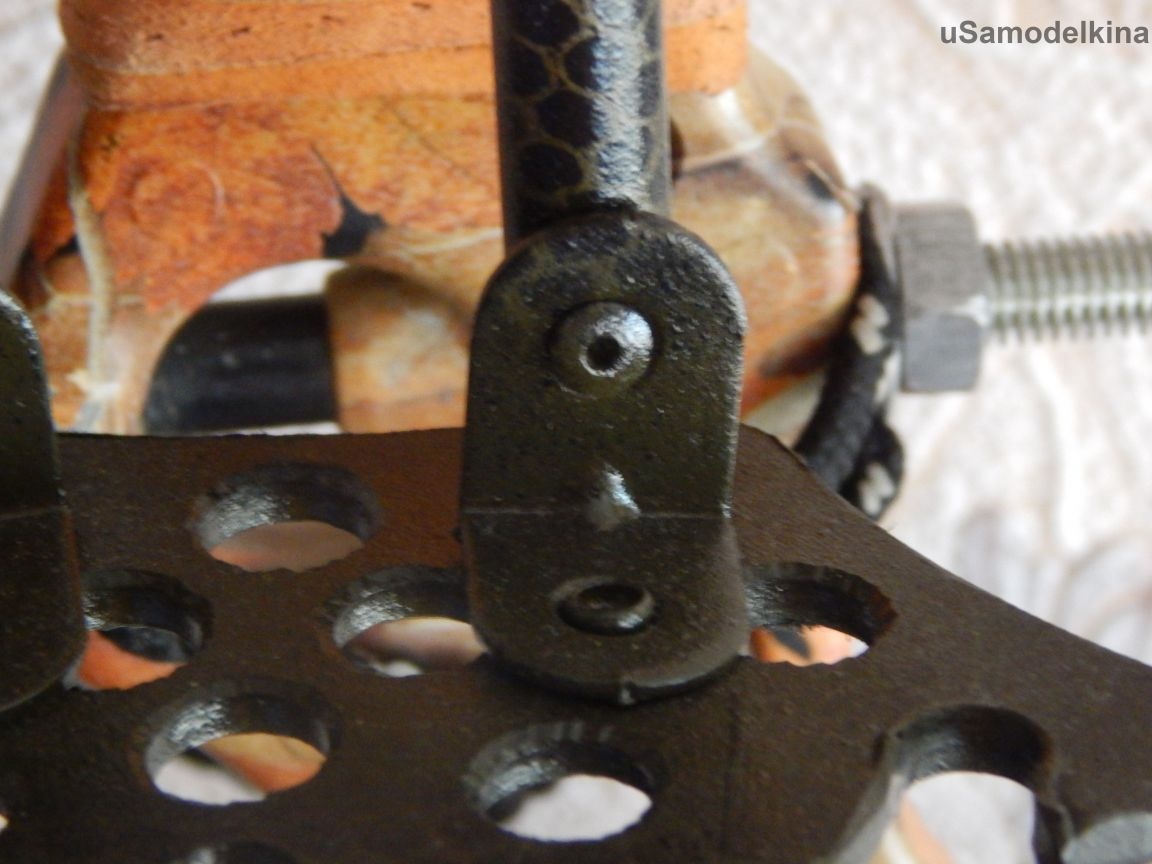
Then aluminum tubes are applied to the marked places (it is better to cut small segments of 55-100 mm), pre-lubricated in a thick grease (lithol or any other) and glued with small flaps. For a snug fit, you can wrap the glued places with polyethylene and wrap with thread. Then drying.
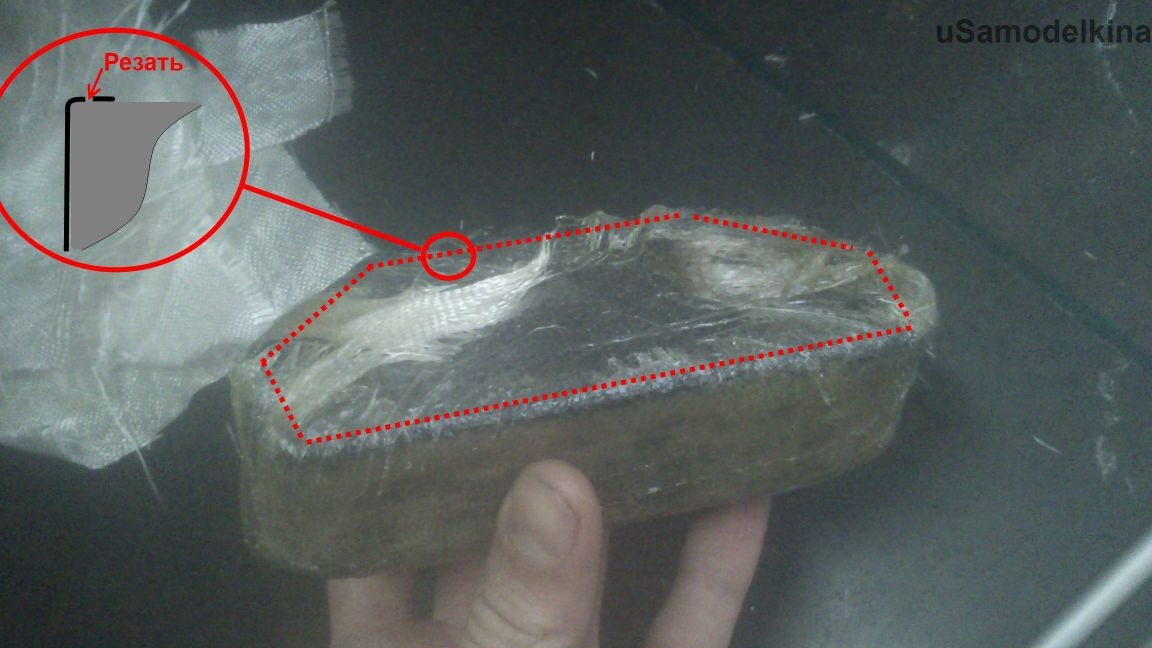
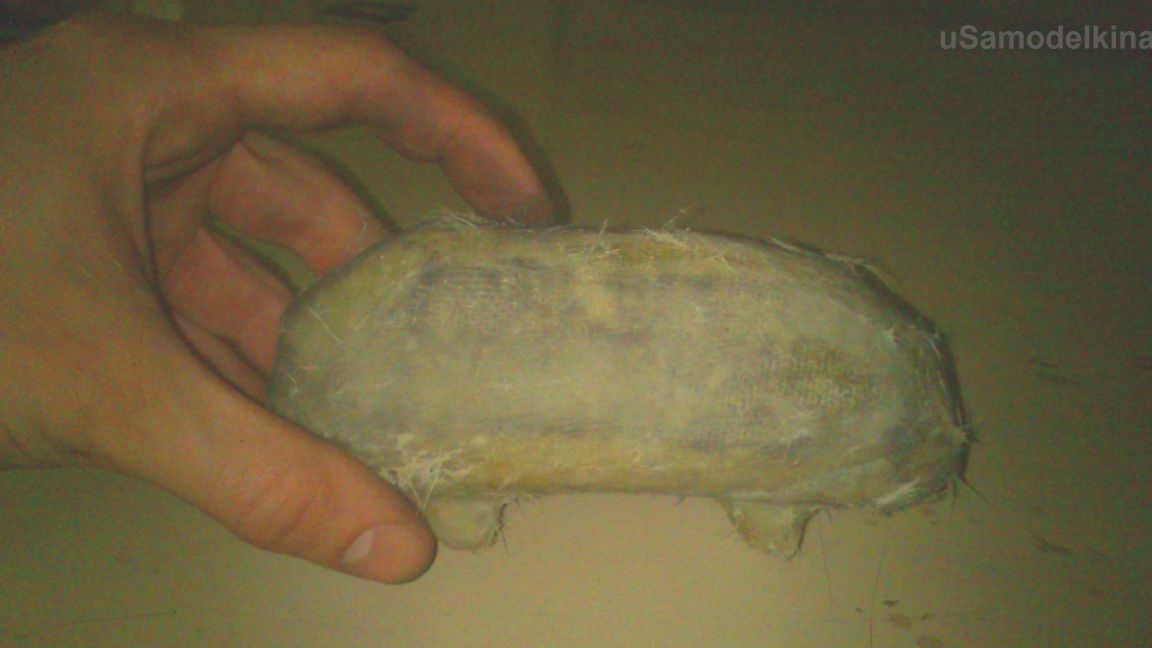
Now you need to free the workpiece from polyethylene, remove the tube. After all the tissue on the front part is trimmed, leaving a small bead. The entire surface is sanded. You can also apply a layer of putty for better alignment and / or primer.
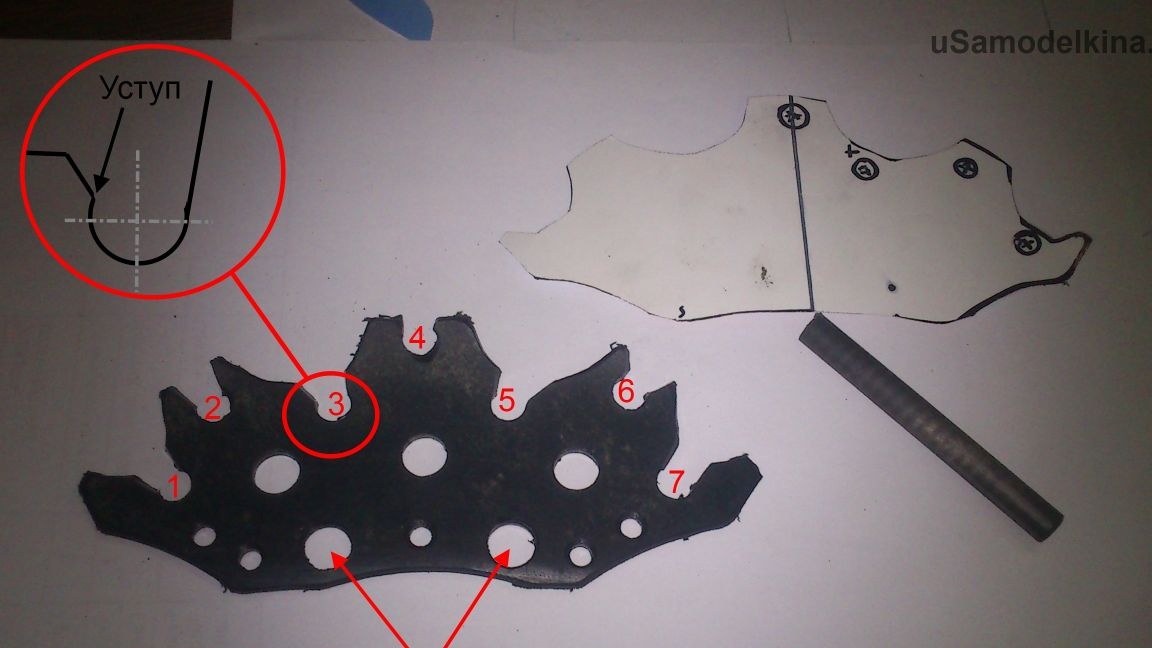
The next step is to prepare the counterpart holding the arrow shafts. It is cut out from a piece of thick plastic, which can be found almost everywhere - the old wheel arch liners (trucks in particular) fit perfectly. The main thing is that it would be convenient to extract arrows and plumage did not crumple.
To fix the arrows, a small ledge must be fused (pictured). The photo shows a blank for 7 arrows.
To fix the holder itself on the guides, holes are drilled 0.1 mm less than the diameter of the guides themselves, i.e. if the tube is 10 mm, then the drill should be 9.9-9.8.
Now cut off the aluminum tubes of the required length. If you decide to bend them, it is better to insert some kind of metal rod inside to prevent the tube from wrinkling. Attention! If you overdo it a little, the tube may burst.
Assembly.
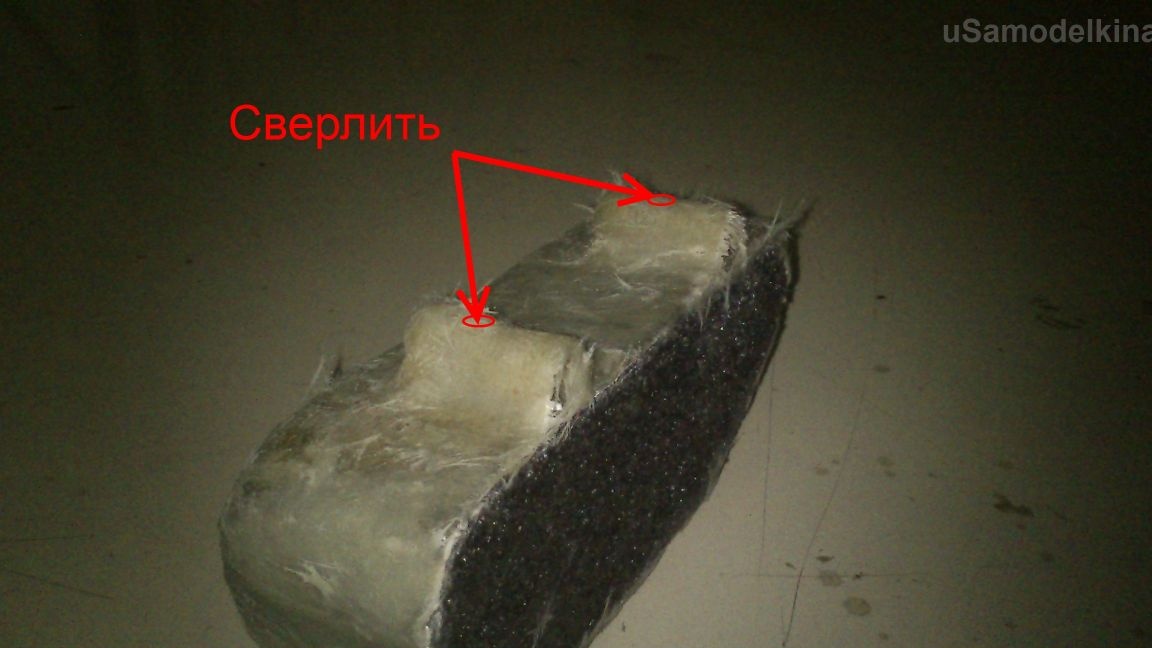
First, mark the base under the tips and insert the tips themselves into the foam according to the marking. After 10-20 uses, the holes for the tips are spread and will be clearly visible.
It remains to prime and paint everything.
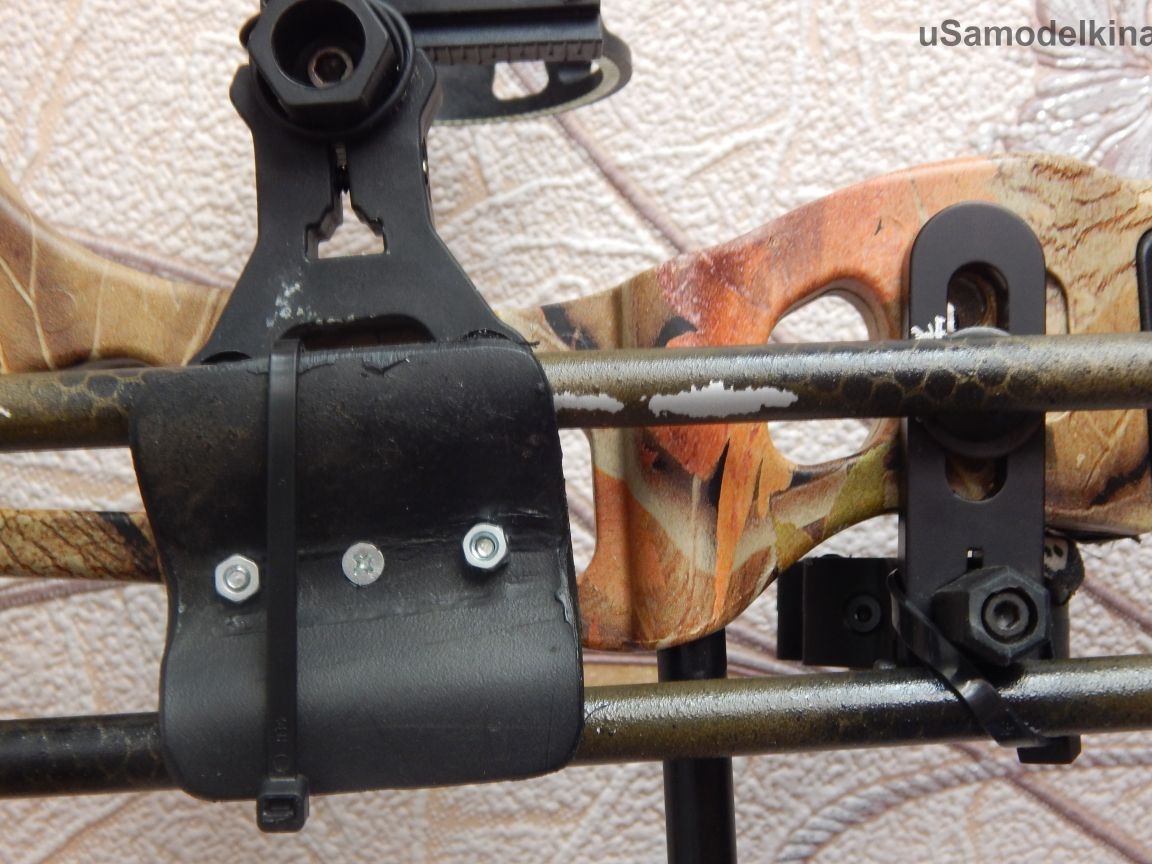
I used 2 pieces of plastic as a fastener, one of which was previously bent over the fire. Both parts are drilled in 3 places. The middle bolt pulls the plates together. The two extremes attract the plates to the sight (the photo shows more clearly). One of the guides is attracted to the sight.
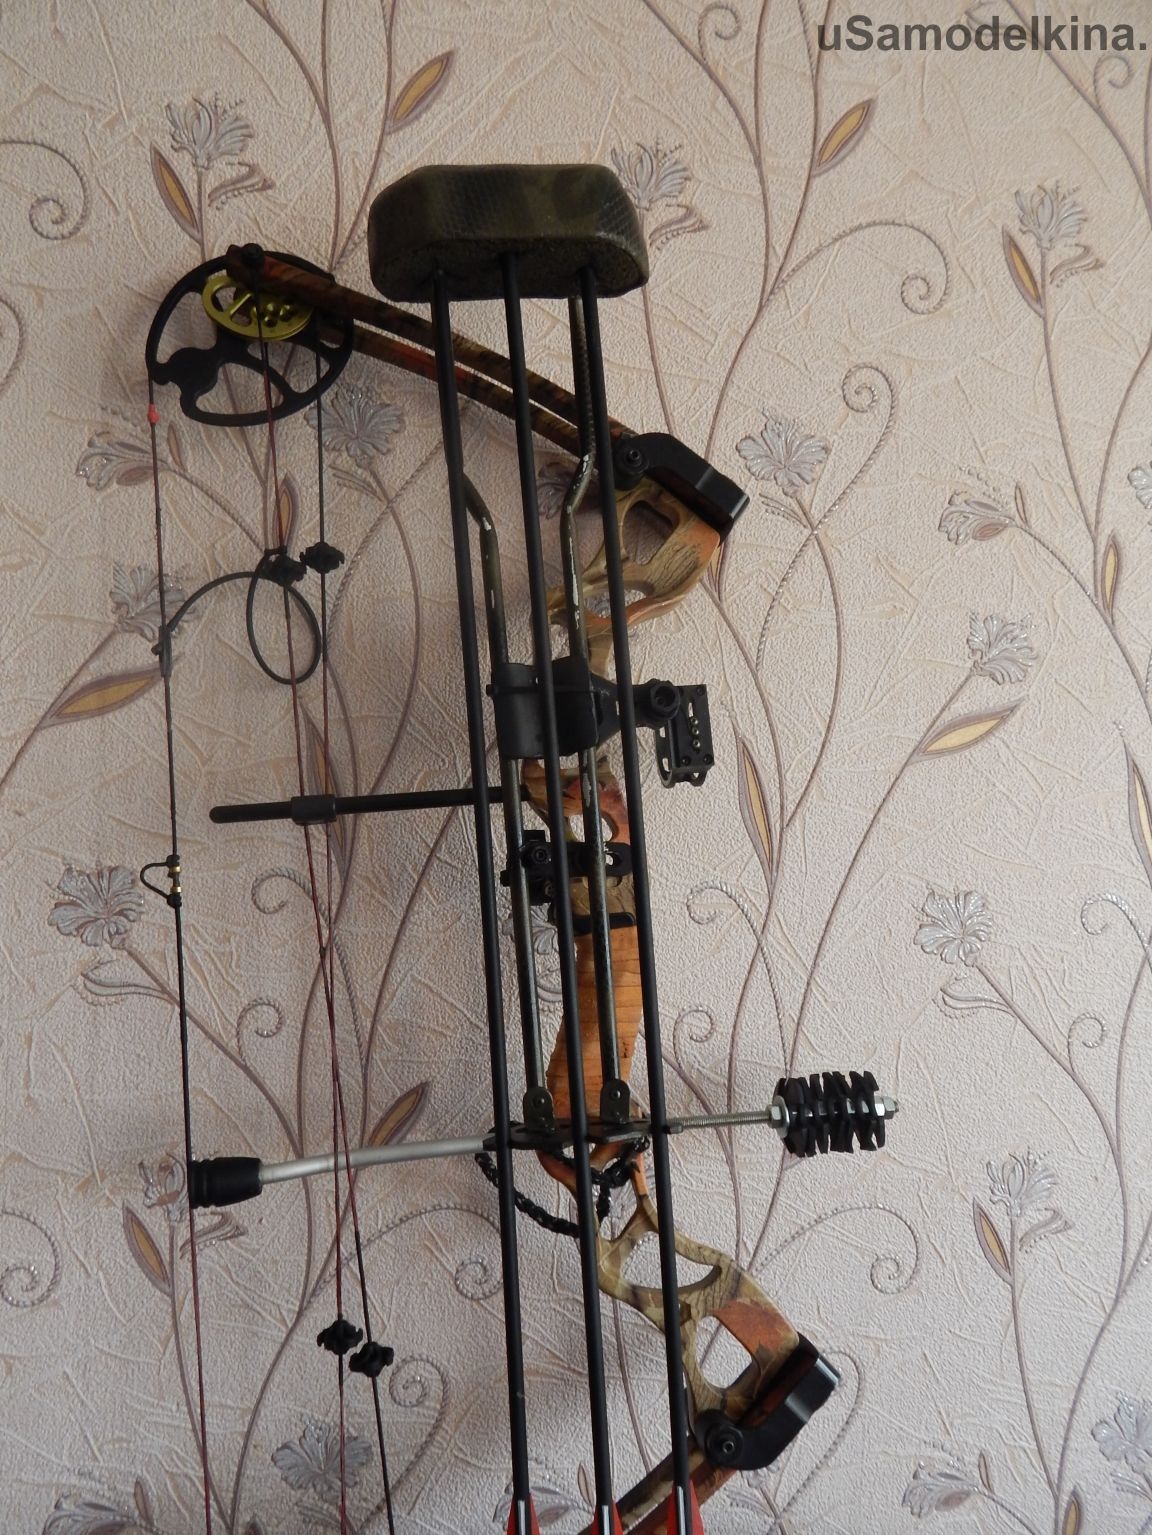
Mounting options may be the sea. You can not make guides at all, but fix the base and holder on the bow.
All! The quiver is ready! We met the + -300r!
Straight arms and well-aimed shots!