As you know, the birthplace of cats consider Ancient Egypt. It was there that the cat was considered a cult animal, she was worshiped and revered. Killing a cat was considered a huge sin.
It is believed that cats settled next to people 10-12 thousand years ago, when people switched to a settled lifestyle. Cats spread around the world thanks to the efforts of the ancient Phoenicians. It was they who began to take these animals on ships during the voyage. Thanks to this, many countries soon learned about cats.
Since the cat is a freedom-loving beast, it was she who became the emblem, the coat of arms of the army of Spartak, who led the uprising. Cats were trained to hunt small birds, the cat was even a guardian of the treasures of the Babylonian kings. In Russia, the cat first appeared in the 11th century, and in the south of Ukraine in the 7-8th century, which is confirmed by the remains of these animals found by archaeologists. Sailors also brought cats to Russia, and their success was simply overwhelming.
Earlier in Russia ferrets and weasels were used against rodents, which they specially taught and cost a lot of money. With the advent of cats, everything has changed. There was no need to train a cat what it is adapted for. Since then, the tradition has begun to let the cat into the house first.
There are also sayings about cats: - without cats there is no hut. Until now, the cat is a universal pet, which is brought up by the vast majority of residents of various countries. Therefore, today I want to bring to your attention how you can make an interesting and comfortable house for our universal favorite - cats, in a few days.
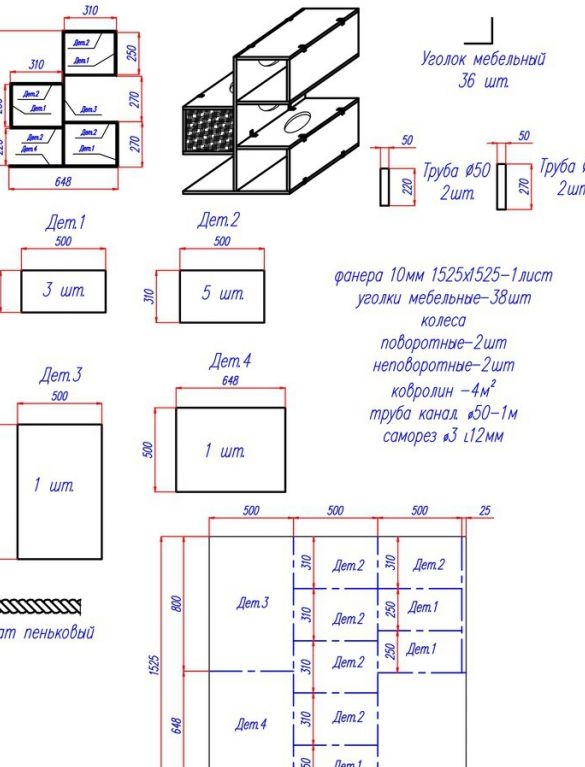
To begin with, I propose to look at the drawings of the house and its components.
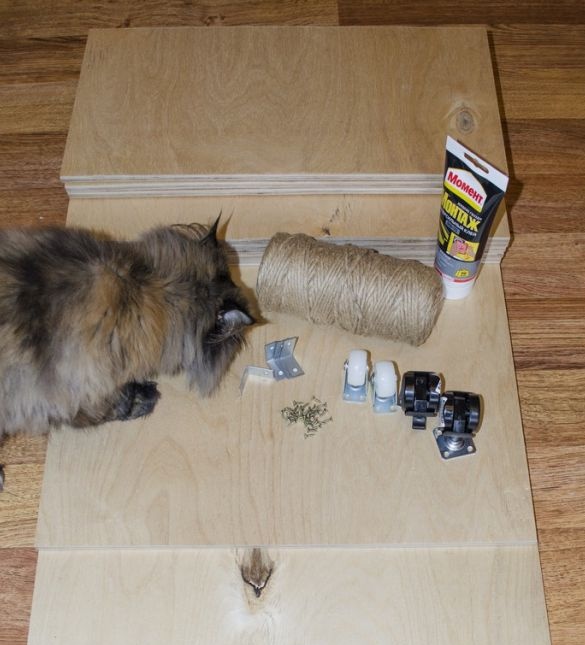
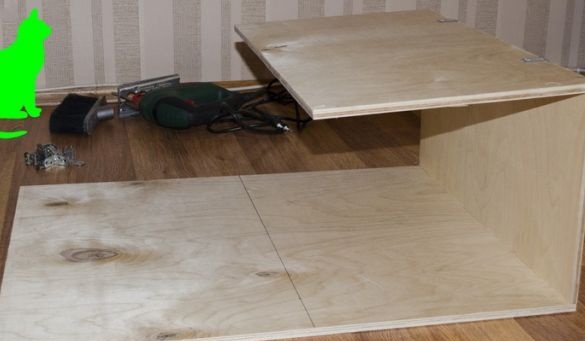
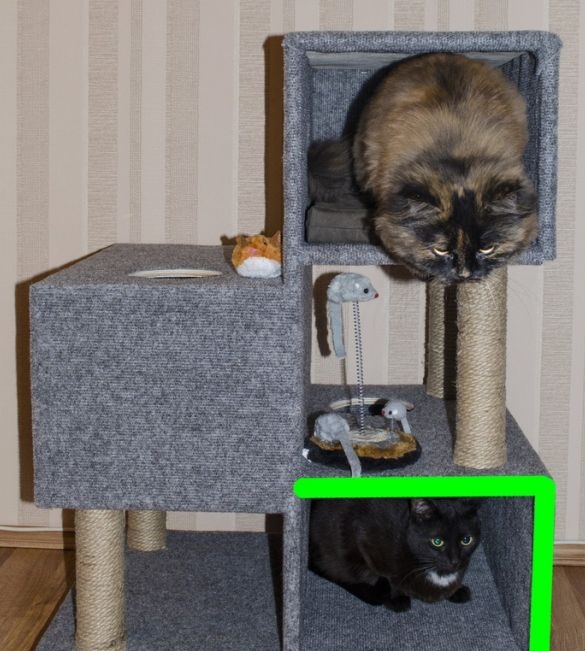
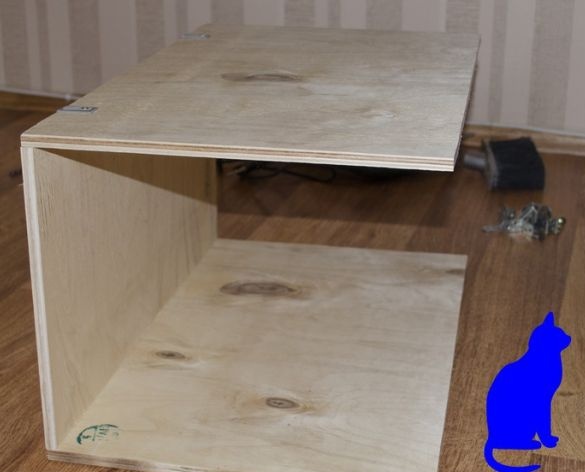
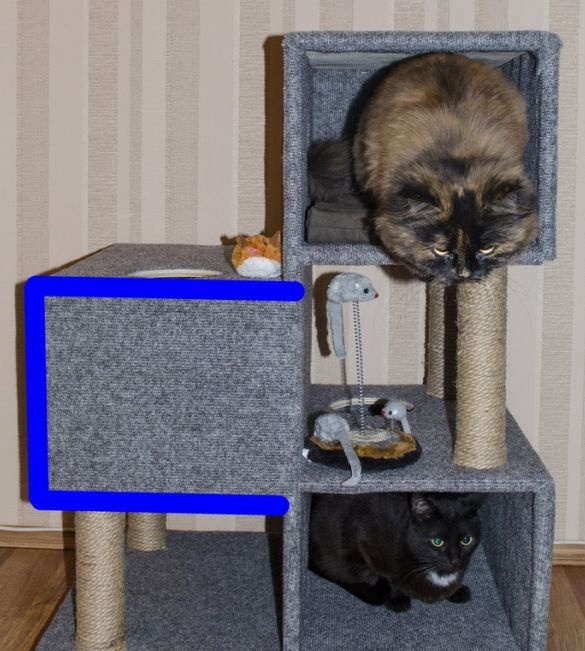
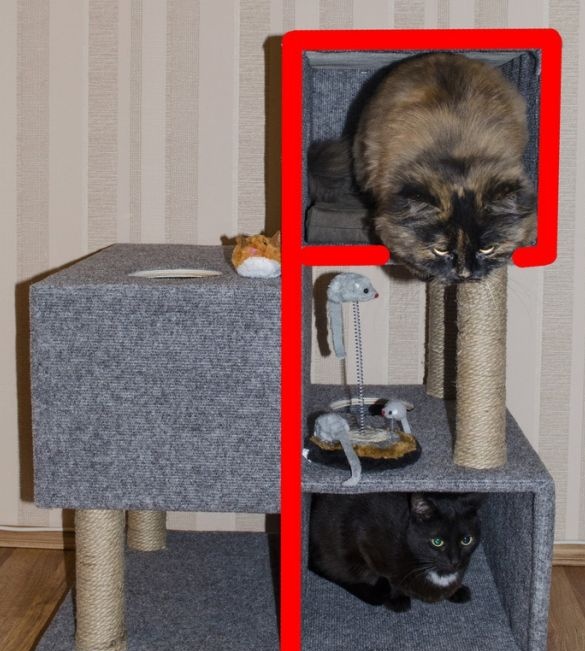
As can be seen in the photo, the author of this creation used ordinary things that can easily be bought in stores. So, let's get started. In order for the residents of our sites to understand everything what and how to do, the author, with the help of flowers, indicated which part goes to an already finished construction. We begin to make the first shelf. To do this, you need plywood or the material that you have chosen. It is going like this:
But this photo shows where later this part will be installed.
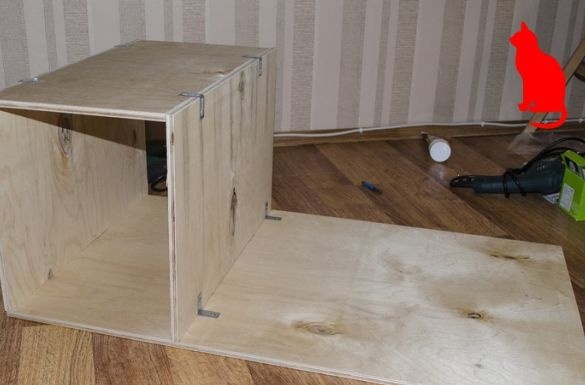
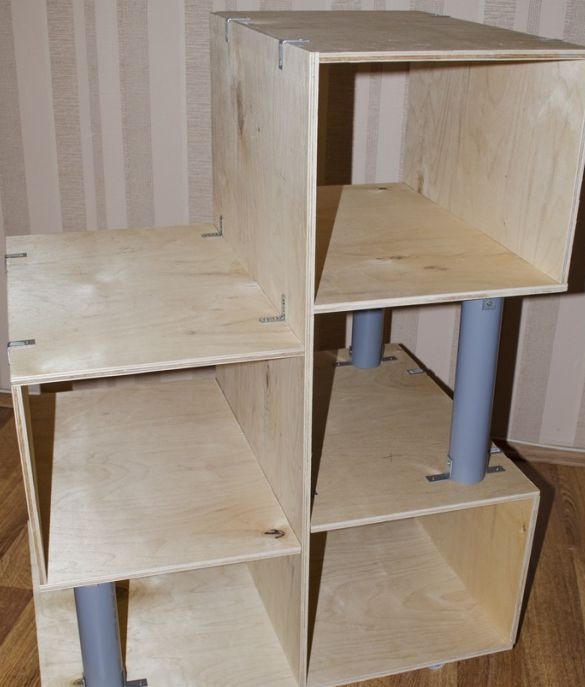
The following shelves are assembled.
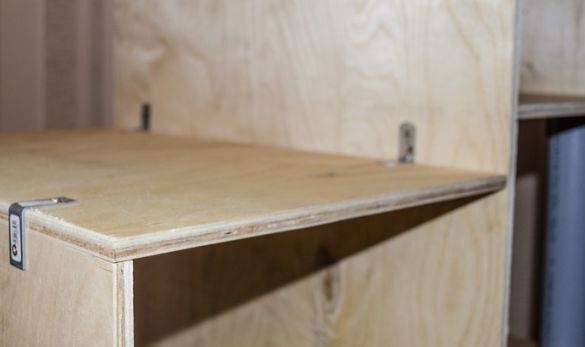
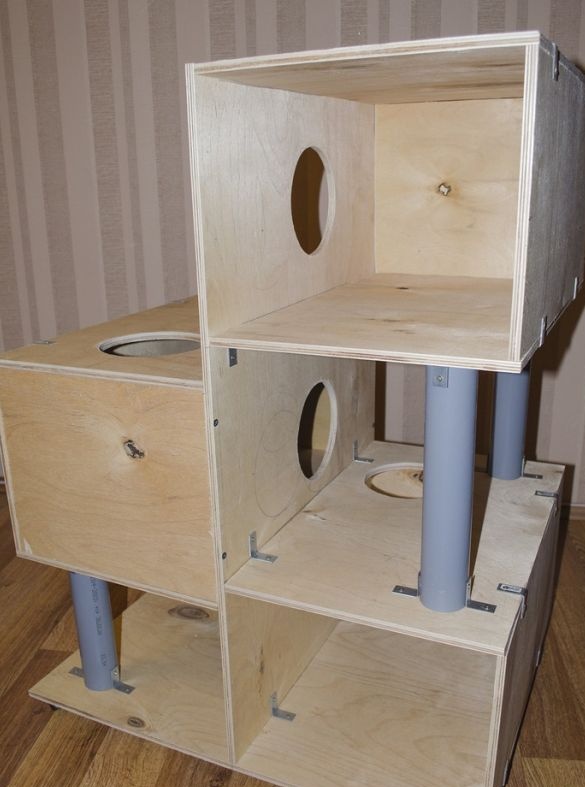
When assembling shelves for structural strength, we strengthen them with furniture corners.
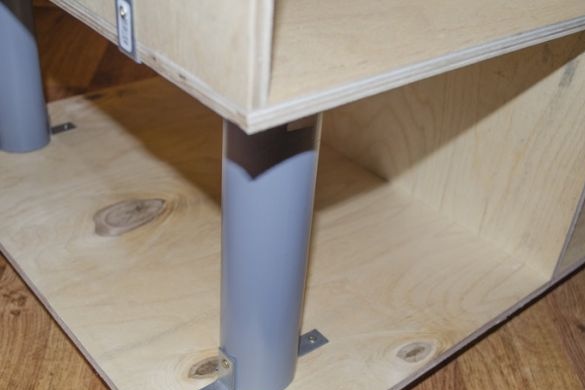
Where the shelves remained in a hanging position, the author also installed plastic pipes with a diameter of 50 mm on furniture corners. Here's what a cat house looks like after all of the above manipulations.
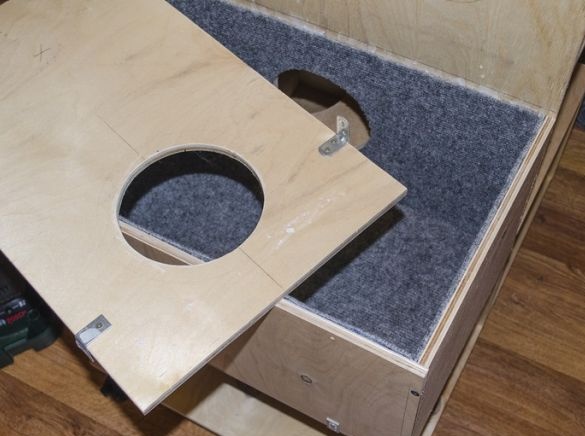
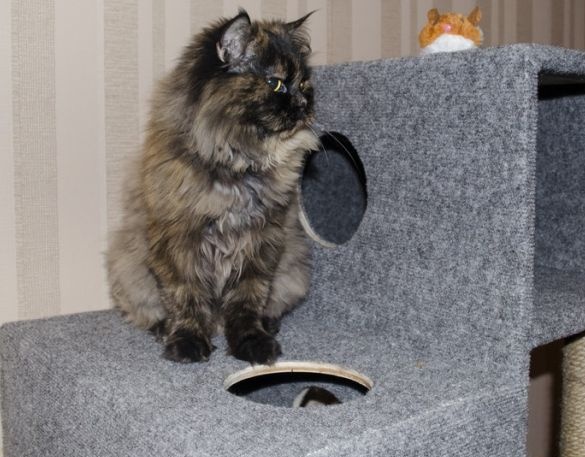
Since cats are quite nimble creatures and like to climb, the author decided to make several holes in the house. He also completely closed one shelf, leaving only holes in it where cats will climb.
Now, square pieces are cut from a piece of carpet and glued inside the "apartments". For reliable fastening of the material, the carpet can also be attached using brackets and a construction stapler.
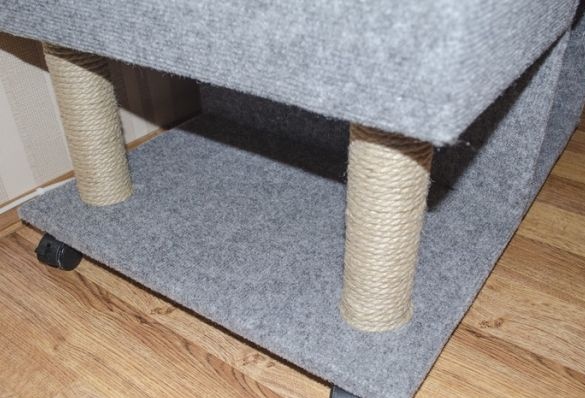
Exterior walls are also sheathed with carpet. It is not important to use exactly the material for the casing that the author uses. It can be replaced with any other one you have available. Pipes also need to be closed up. For this, the author used a jute rope and glue. The pipe is glued with glue and wrapped with a rope. That’s practically a house for your home pets.
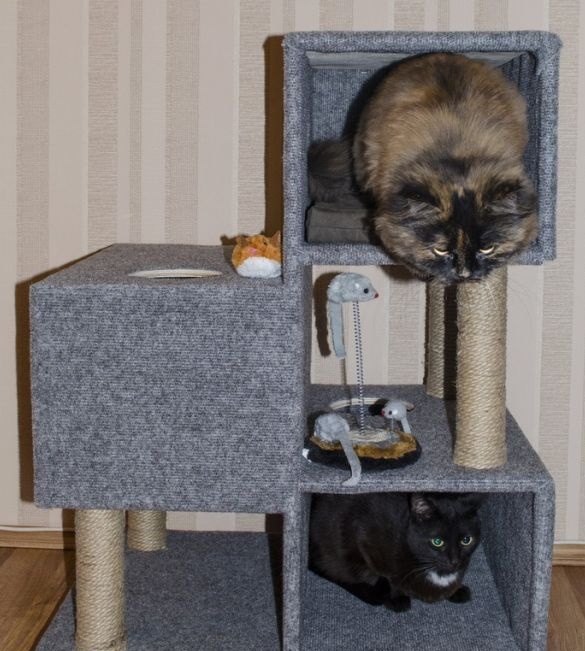
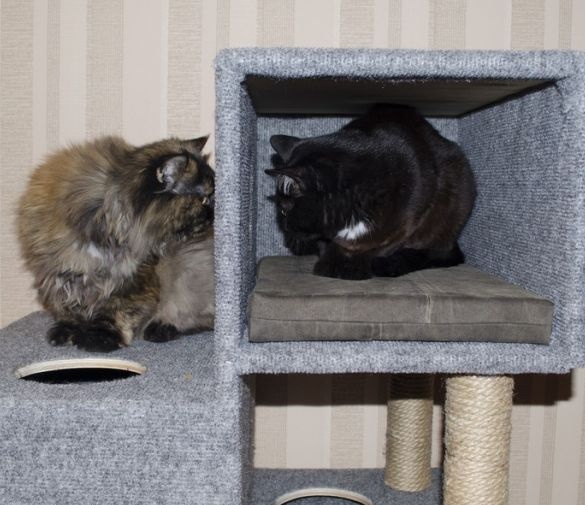
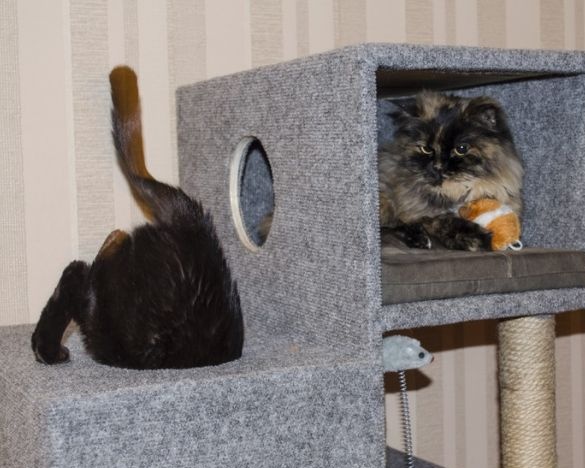
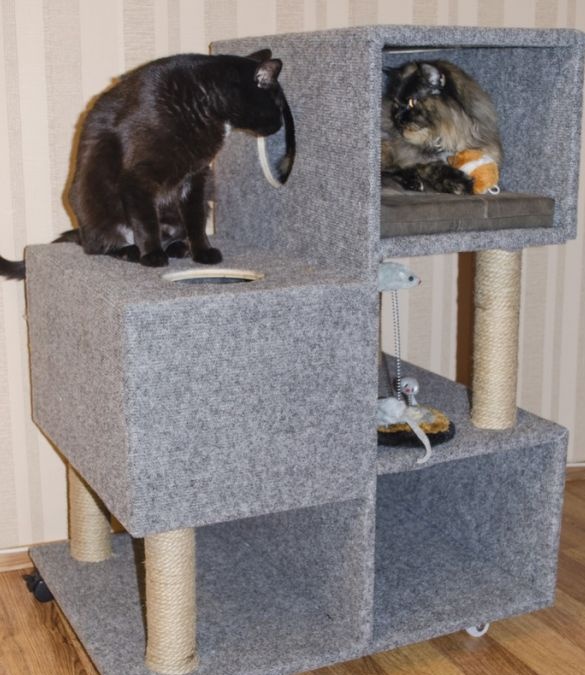
The last stage of the work, the author attached the wheels to the lower platform of the house. Rather, he attached the wheels, judging by the photo, earlier. But in my opinion, for the convenience of sheeting the house with a carpet, they should be attached last. To do this, you need two castors, and two ordinary ones. After everyone has attached, you can populate the animals. This is what this apartment building looks like after all the work.
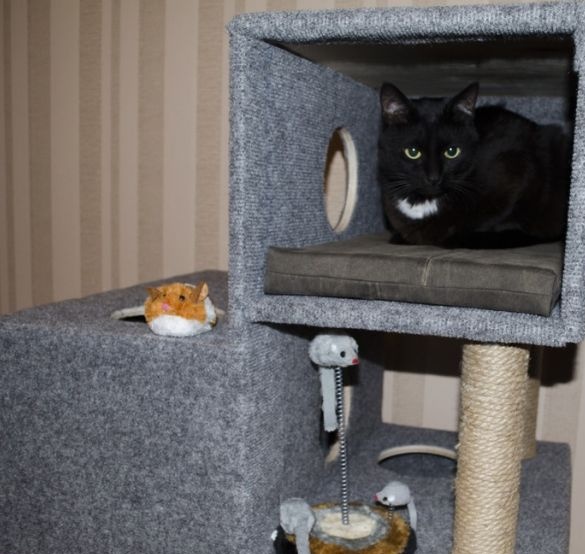
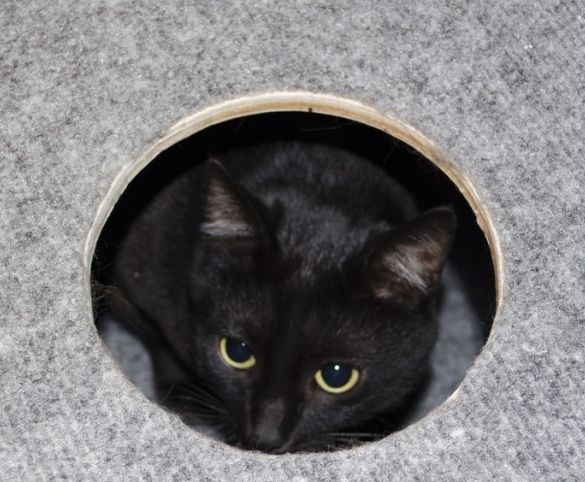
And lastly, an impudent cat face looking out of its new “apartment”.
I wish you all success in implementing your ideas.

