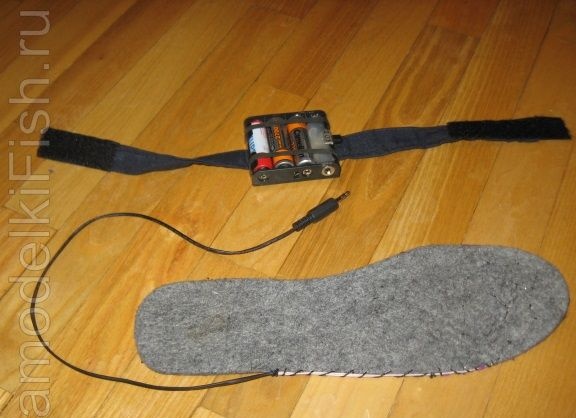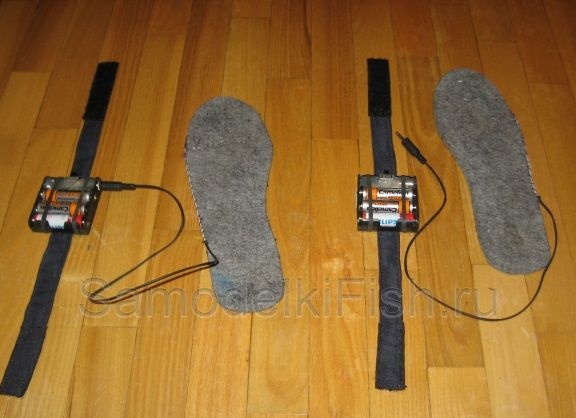
How the heated insoles work
The author used a nichrome thread with a diameter of 0.2 mm and a length of 25.5 cm as a heating element. As a result of measurements, it was found that such a piece of wire has a resistance of 8.9 Ohms. In total, the system uses two modes, one provides for operation from two batteries, and the second from three. In the first case, the insoles will be constantly warm. And the third case is needed in order to make them hot, but not a state of discomfort or burn. Before installing, it is recommended to make a test run in both modes.
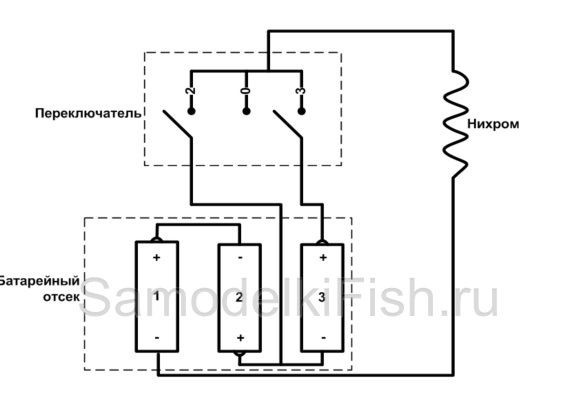
In order to check whether Nichrome is chosen as the optimal length, you need to put the wire in a handkerchief or other similar fabric, and then, connecting it to the battery, hold it between your palms. If the hands are too hot, the length of the wire needs to be increased. Thus, you can choose for yourself the optimal heating temperature of the insoles.
With the operation of two AA batteries, the rated current will be about 270 mA, and from three about 400 mA. Based on these numbers and knowledge of the capacity of the batteries used, it is possible to calculate the time of insoles before discharge.
Materials and tools for assembling homemade products:
- nichrome wire with a diameter of 0.2 mm (length 60 cm);
- two felt insoles;
- about three meters of MGTF wire;
- compartment for installing four AA batteries;
- switch to three positions;
- two sets of mini jack connectors (plug with socket);
- four crimp sleeves (0.2 mm sq.);
- 1 m heat shrink tubing;
- stripes of fabric with a Velcro lock;
- hot glue.
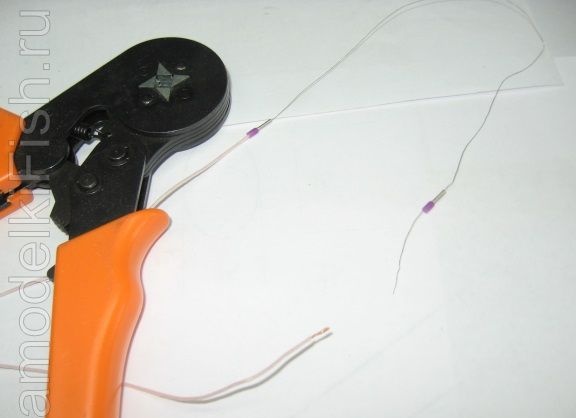
Homemade assembly process:
Step one. We connect to the nichrome wire
For connecting MGTF wire 0.2 mm. sq. to nichrome, the author used crimp sleeves. First, the sleeve is put on nichrome, and then its end must be inserted into the multi-core MGTF cleaned from insulation. At the junction, a sleeve is installed and then crimped. For these purposes, a special crimping tool is well suited, but it all works out perfectly with pliers. The length of the wires is taken so that it is 50 cm from the insole.
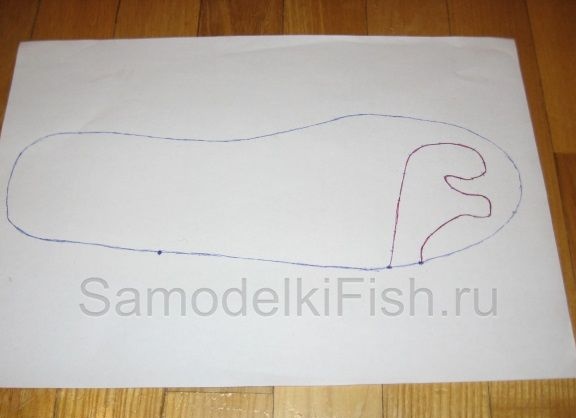
Where to lay the wire, everyone decides for himself, depending on what part of the leg is freezing. The toe freezes at the author, so nichrome fits into the front of the shoe. How exactly to lay the wire can be seen in the photo.
Step Two Fix wire
You can use thread with a needle to fix the wire. It must be carefully sheathed to form the desired pattern. As for the other end of the wire, a headphone plug is soldered to it for quick connection to a power source.
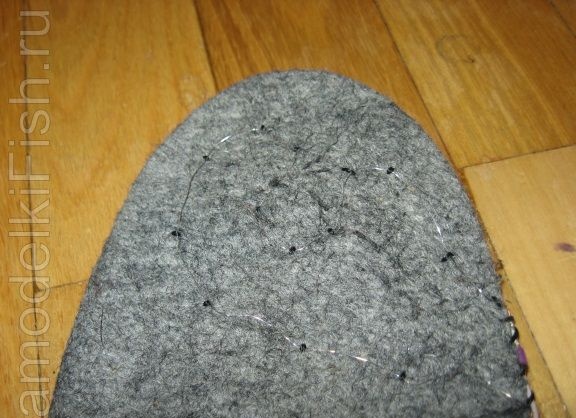
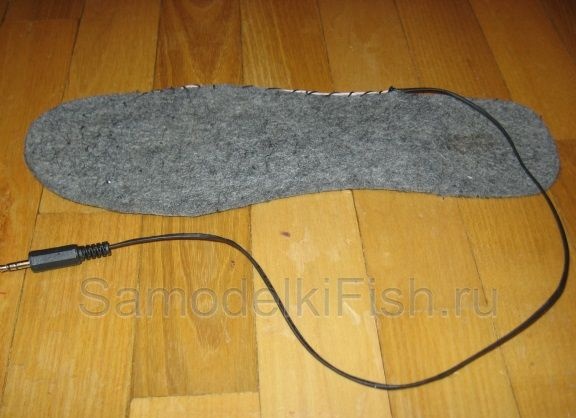
Step Three Installing the battery compartment and testing the device
In total, the author uses three batteries, but the case is selected for four. One compartment is used to install a switch and a mini jack. After soldering, the elements are fixed in place with hot glue. If it so happens that there is no cover on the battery compartment, then this is not a problem, the batteries can be pressed with an elastic band.
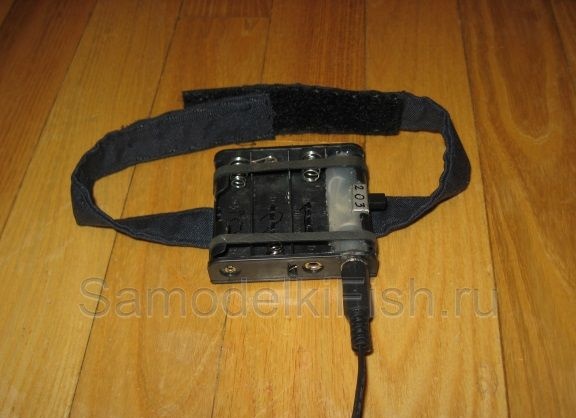
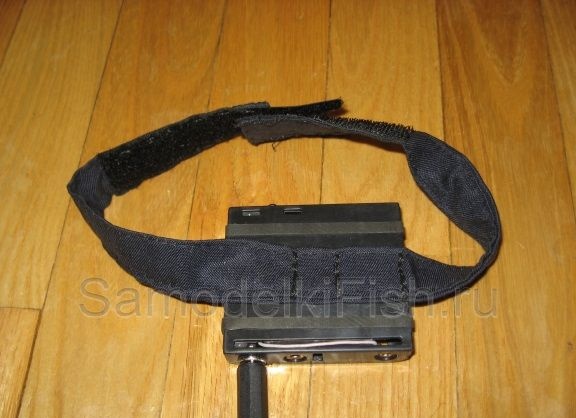
In order to fix the power source on the leg, on the other side of the compartment you need to drill holes, with the help of them a piece of tape with Velcro fastens. Now device it can be easily fastened to the foot and just as quickly removed.
That's it, the heated insoles are ready. According to the author, the homemade product works very well and only two batteries are used, while connecting thirds has not yet been necessary.
