Mosquito nets, in the form in which we know them at a given time, appeared not so long ago. But their history, the method of their application were known in ancient times. Mankind has been fighting for thousands of years with a petty, intrusive, enraging all living vile thing! The prototypes of today's mosquito nets were also used in those days, these "nets" were pieces of fabric with a small cell, which people hung on the windows or on the doors of their homes. Sometimes they were strengthened on a rigid basis, and then already inserted into the openings. In Russia, just a few decades ago, the usual picture was windows on which the windows were covered with ordinary gauze. A rather inconvenient way to protect against small blood-sucking insects, since gauze quickly gets dirty, it is difficult to fill it on the window. I had to use very small cloves.
With the advent of plastic windows in our country, home-made mosquito nets are a thing of the past. And today it’s the usual interior of a city apartment, rural house, office and so on. Today, there are many varieties of mosquito nets. Modern mosquito nets are an excellent protection against flies, mosquitoes and various litter that is in the air.
Sometimes, having a non-standard window or door, you have to specially order a mosquito net, which is not very convenient, since for a long time, it will not be cheap. Therefore, there is an option to make this grid yourself, as the author of this master class did.
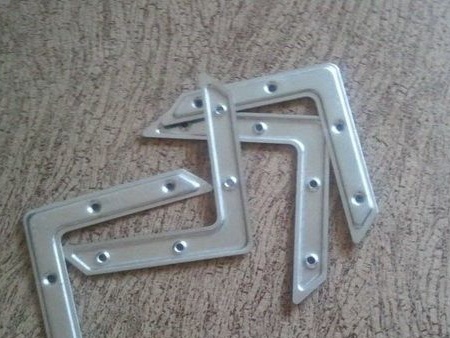
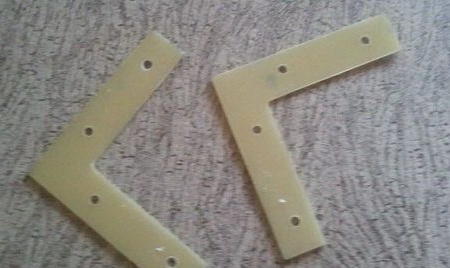
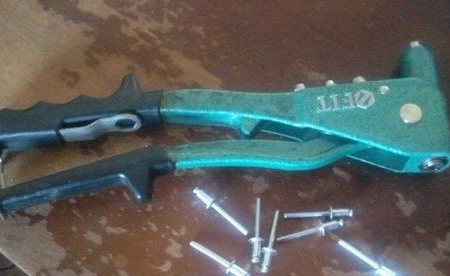
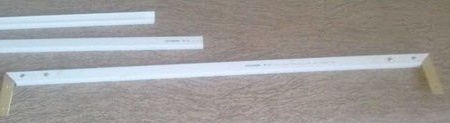
For production we will need: cable channel 25 * 16-3 pieces of 2 m each 15 * 10-1 pieces, mesh, corners, rivets and the riveter itself. Corners can be purchased any, but taking into account that they freely entered the cable channel. You will also need homemade corners made of fiberglass or other strong material, so that the mosquito net design is more rigid.
Next, we determine the size of the workpieces and start sawing the cable channel at an angle of 45 degrees.
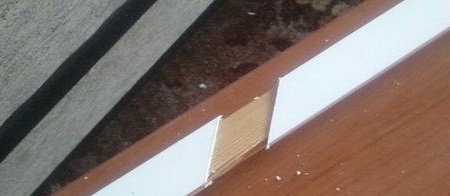
We try on the sawn blanks so that everything is even and exact in size of the opening.
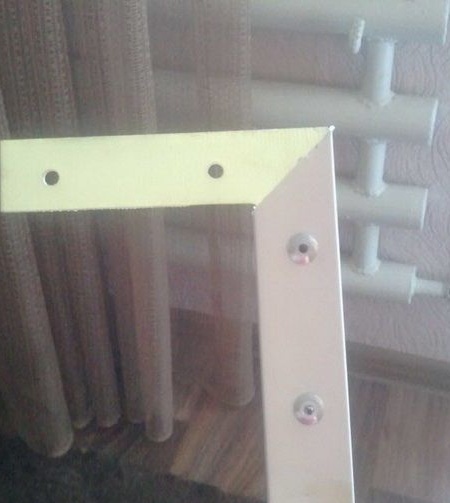
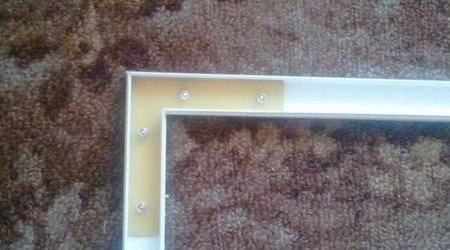
The author of the purchased corners seemed too flimsy, so he independently made the necessary ones and later used them. But if you need a mosquito net of small sizes, then these will do. A corner is inserted into the cable channel and holes are drilled. Rivets are inserted into these holes and riveted with a special tool. The result is such a design.
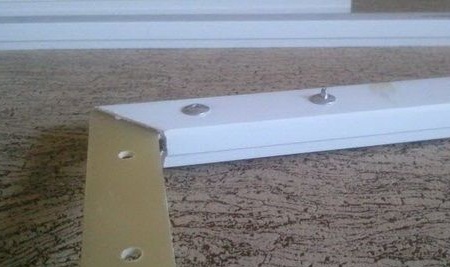
Exactly the same action is carried out on the other side of the cable channel.
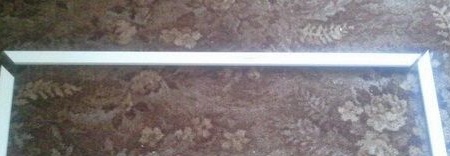
Check exactly or not. Then we rivet with another cable channel. It turns out the connection of several parts.
Inside view.
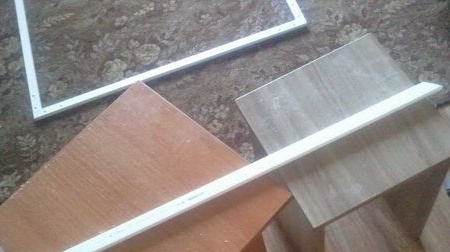
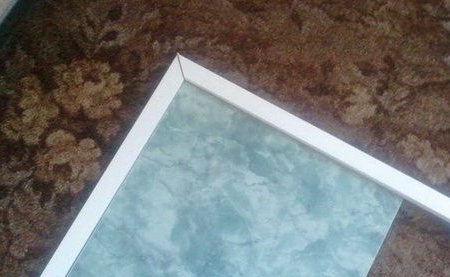
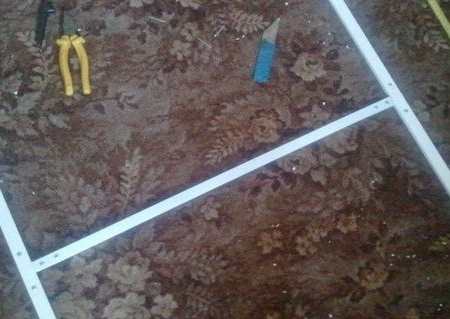
We assemble the frame completely.

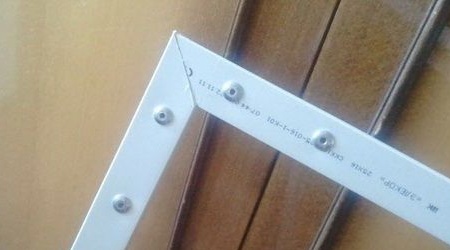
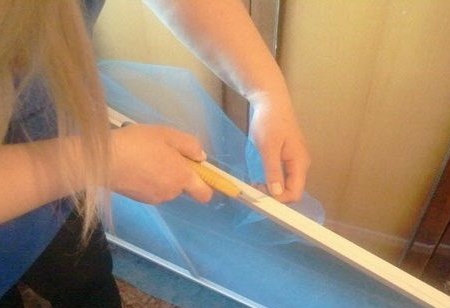
Since it seemed to the author that with such corners, the grid frame was still not very durable, he decided to attach another cable channel in the middle. To do this, a T-shaped blank was cut from the same fiberglass in which it drilled holes. In the cable channels with a clerical knife, we cut holes and inserts a fastener. When cutting, be careful, otherwise you can get hurt badly.
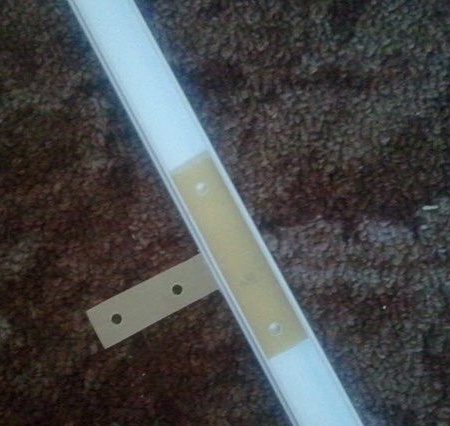
Next, the middle jumper is installed and fixed on the frame of the mosquito net.
Now you need to pull the mesh on the finished frame. Ask someone to help you. When pulling the mesh around the edges there should be a lap of a few centimeters. In order that the upper part of the channel cable (its cover) does not open, then over short distances we smear it with super-glue. Tighten tightly so that there is no sagging mesh, but without fanaticism, otherwise you can deform the finished frame.
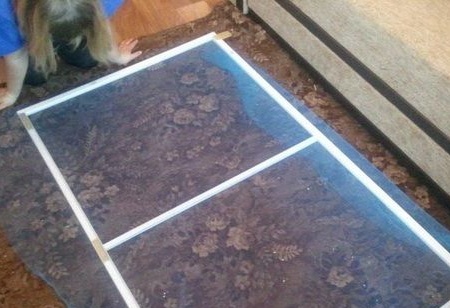
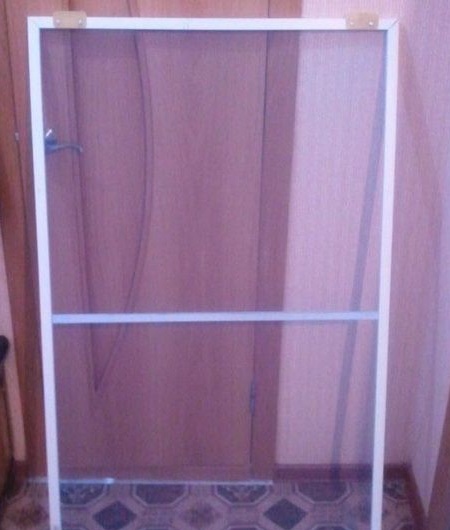
In the end, it turned out the thing you need in the house, which cost you much cheaper than its purchased counterpart. We install it on the window, or the place for which it was intended and enjoy the rest. Without any blood-sucking evil.