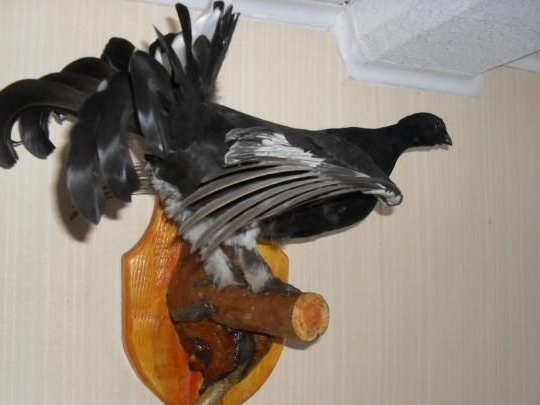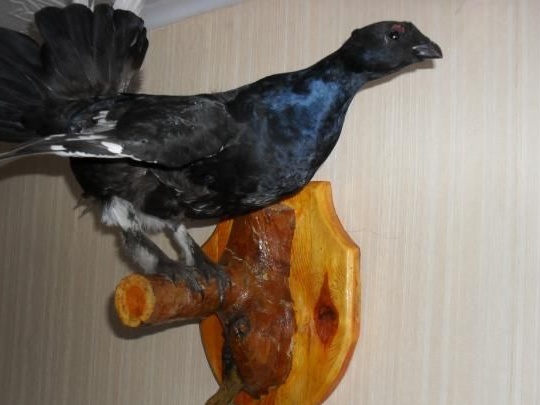
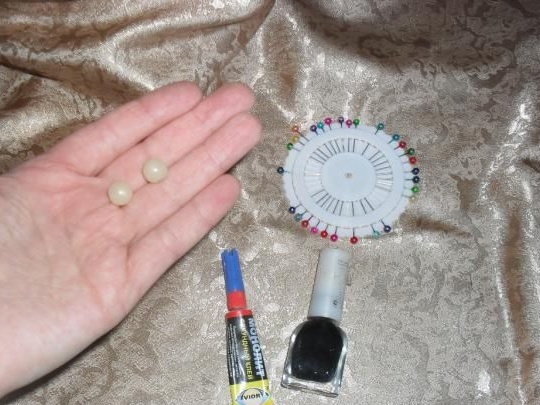
Materials and tools for making stuffed animals:
- copper sulfate;
- wire;
- brush (copper sulfate will be applied to it);
- tow (or other stuff for stuffing, for example cotton wool or synthetic winterizer);
- glue (moment);
- quick-drying varnish (you can use nail polish);
- beads or beads to create eyes;
- knife;
- decorative pins;
- threads with needles.
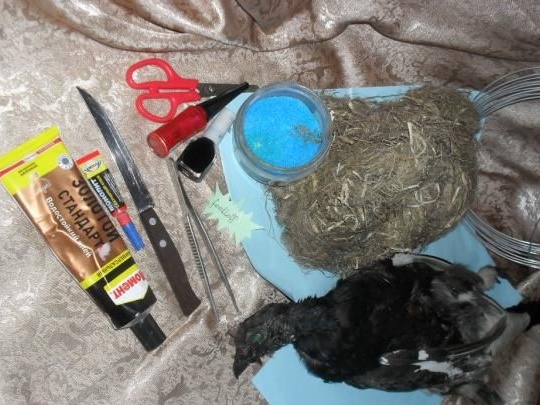
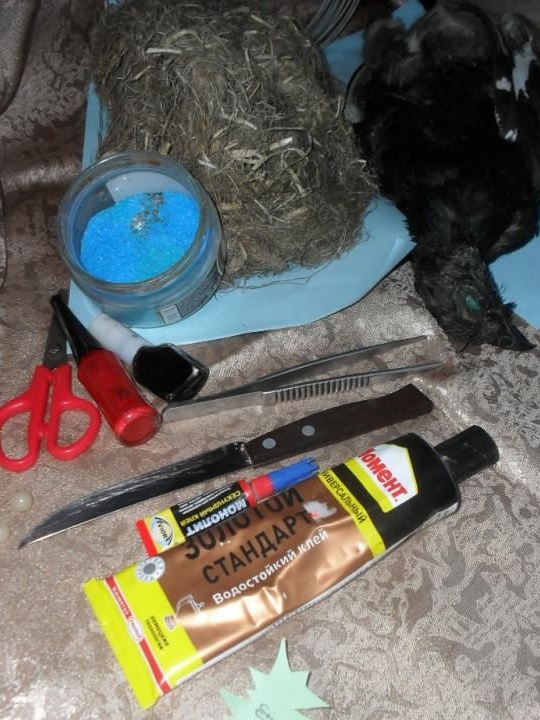
The process of making a stuffed animal:
Step one. Free the bird from the carcass
This is the most complex, painstaking and unpleasant process. You need to cut out all the meat from the bird and do this as carefully as possible, since the skin can be damaged. The most difficult part will be the head, but you also need to carefully consider the coccygeal part, you need to try not to cut the coccygeal gland. The skin also needs to be removed from the feathered feet, while it can be folded into a stocking, this is not scary. The work must be carried out with a very sharp knife with slight careful movements, a scalpel is perfect for these purposes. When the code with feathers is removed from the head, eye sections should be covered with a piece of plasticine.
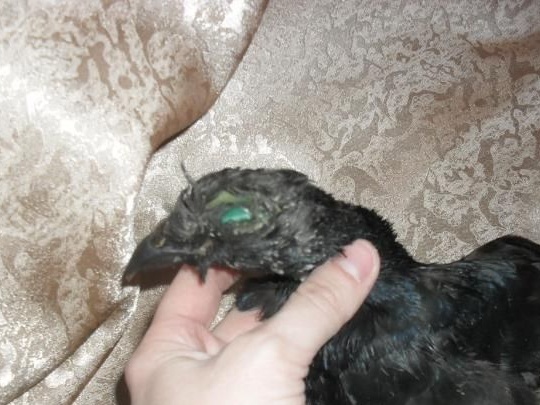
You also need a skull for a scarecrow, it will need to be thoroughly cleaned both outside and inside. You need to wash and clean the skull under running water, the brain must be removed by scraping. Finally, the skull is thrown into the water and boiled for no more than three minutes.
As a result, after all the work for making the stuffed animal, the skull box and skin removed should remain.
Step Two Poison the skin of a bird
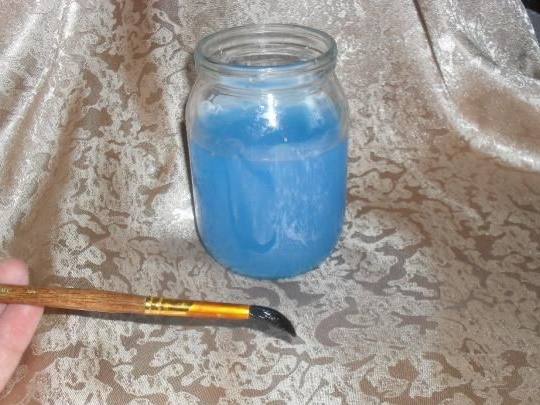
If the stuffed animal is not treated with chemicals, it will quickly disappear, it will simply be eaten by bacteria. For these purposes, a solution of copper sulfate is used. To create it, you need to take one teaspoon of vitriol and dilute to 200-250 grams of water. Next, the author takes a brush and paints the skin from the inside, you can not skip fragments that are not painted over.When the poison is absorbed, the bacteria can no longer feed on the skin. When working, you need to try not to paint the wings, otherwise the appearance of the stuffed animal may deteriorate.
As for the skull, it must be completely placed in a solution of copper sulfate. Now you need to wait at least 6 hours until the vitriol is completely absorbed into the skin.
Step Three Making a frame for a scarecrow
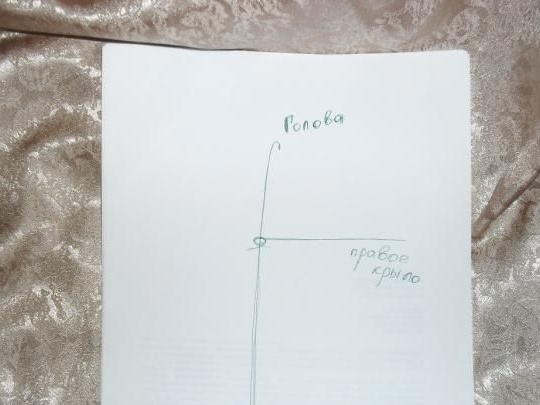
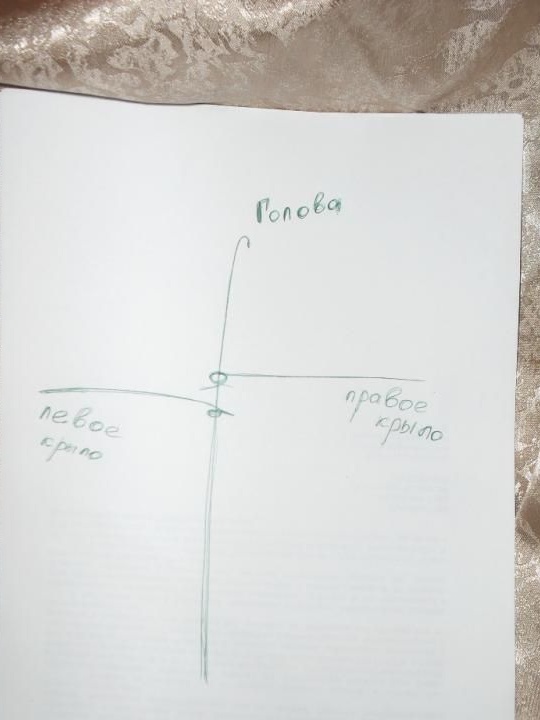
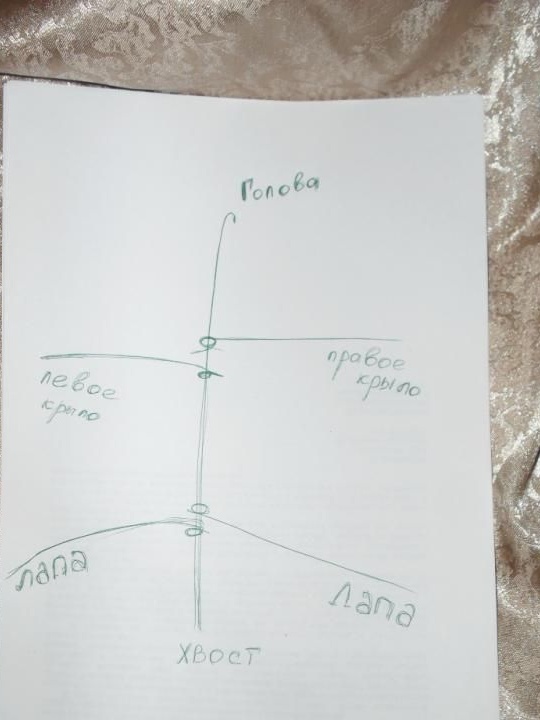
Next, for the bird, you need to make a frame, that is, an artificial skeleton. It goes without saying that in size it should correspond to the size of the bird. To do this, take a ruler, and make measurements of the length of the wings of a feathered, legs, it is still necessary to measure the circumference of the chest and head. Well, then the wire is taken, and the frame elements are made. In conclusion, cotton or synthetic winterizer is wound on the wire.
Step Four We stuff the scarecrow and sew up
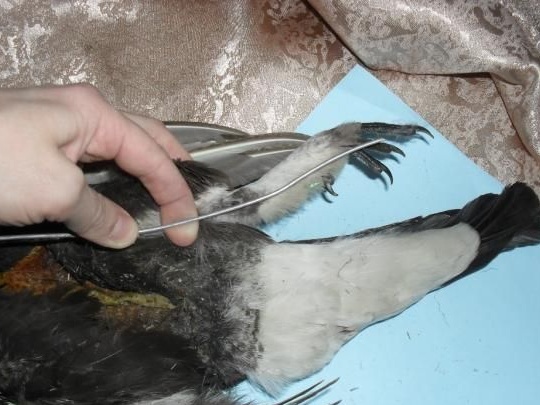
In order for the bird to have a filled form, its body needs to be clogged with some kind of filler, it can be cotton wool, rags, paralon and so on. After that, the bird can be sewn with a thread with a needle. You need to insert a wire into your legs, it is also used to fix the desired position of the wings.
Also at this stage you must not forget to make the eyes of the bird. For this purpose, various balls, beads and so on are used. The eyes are inserted after pulling the skin on the frame, you need to take the tweezers and pull the code to the installation site. Eye color is not important, it will be painted after installation.
To make it easier to fix stitched parts, you can use decorative pins.
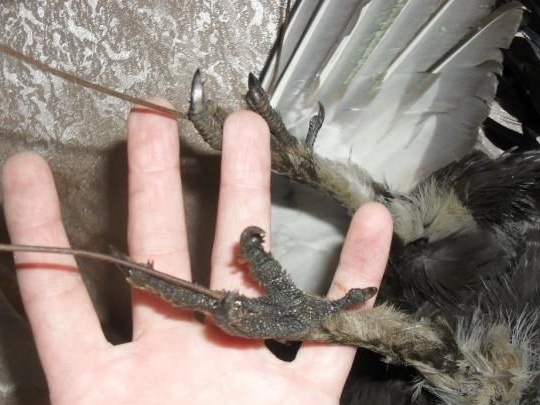
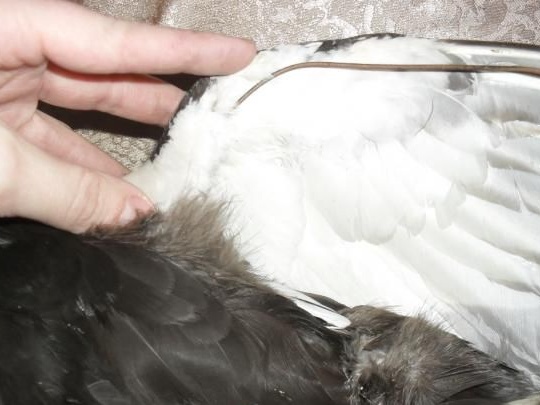
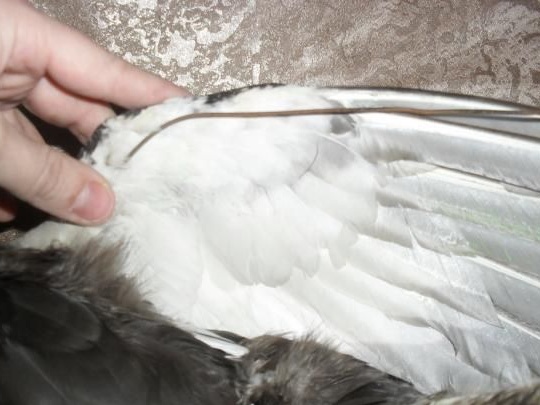
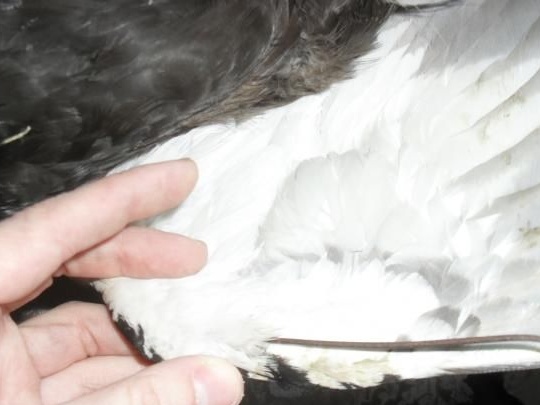
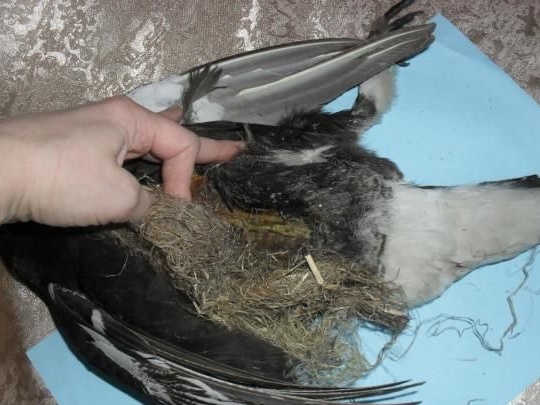
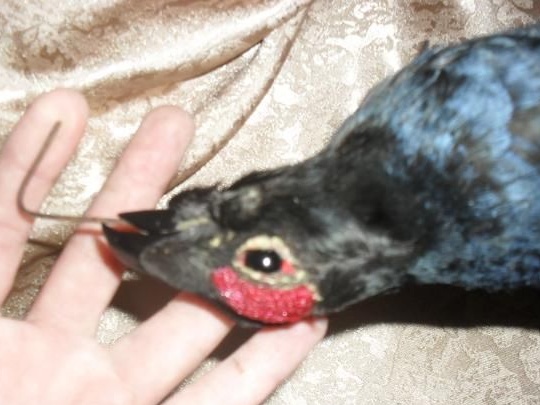
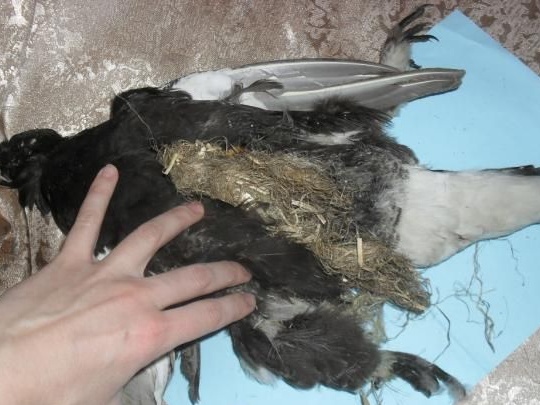
Step Five The final stage of creating a stuffed animal
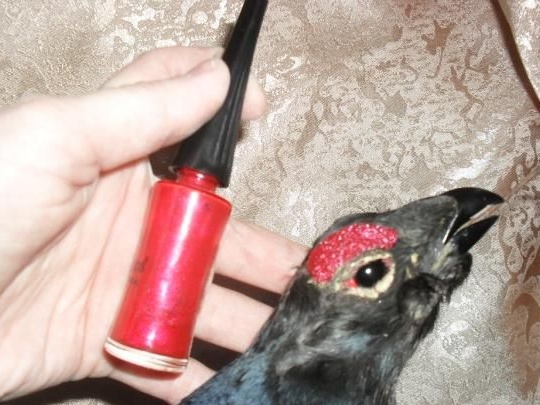
Now the scarecrow is almost ready, it remains to install it and work a little with glue, paint and varnish. If the stuffed feathers stick out and you can’t just smooth them, you can gently grease the feather and glue it. If the bird has some bright elements, such as scallop beards and so on, they will lose color later in order to restore it, nail polish of the appropriate color is used.
As for the beak of a bird, it needs to be smoothed out with the smallest emery cloth and then opened with varnish, so it will look much more attractive. In order to colorize the eye, first you need to paint it whole with varnish, and then make the pupil by putting a drop of paint or varnish in the right place. The author made the stuffed eye completely black.
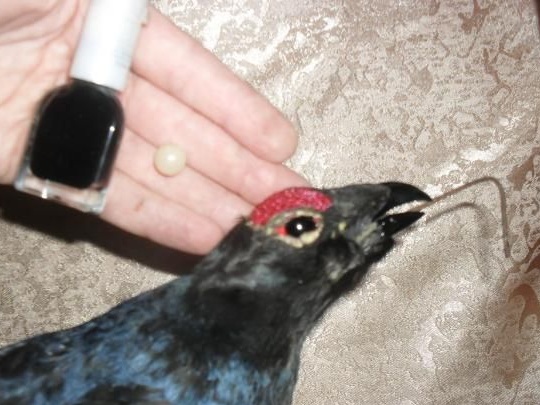
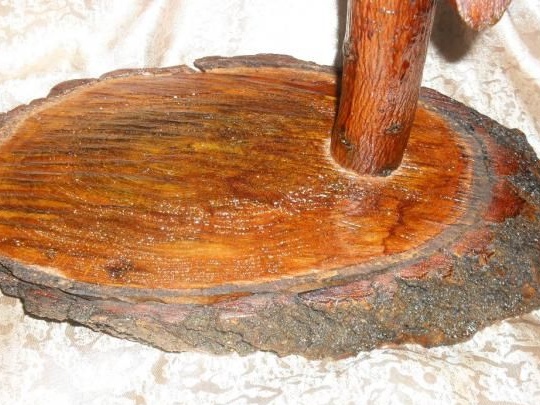
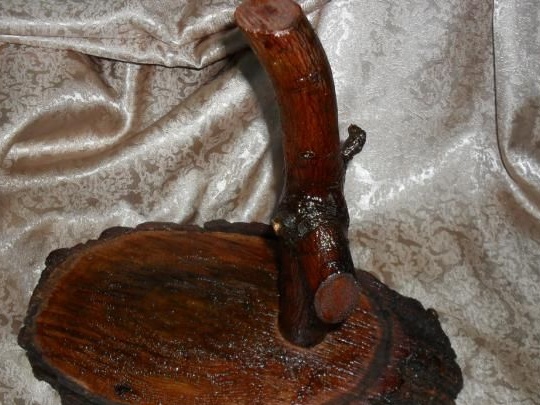
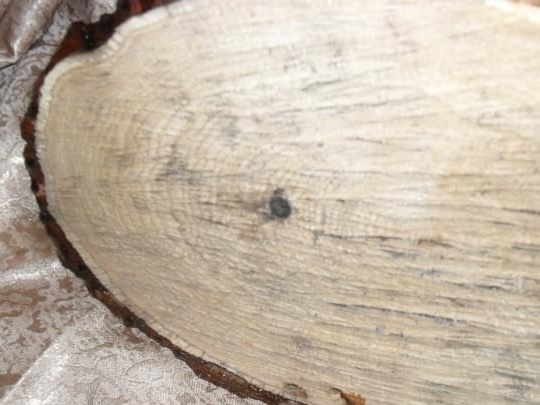
Well, in conclusion, the bird needs to be fixed. You can take a stump or some beautiful root, process it with sandpaper, stain, and then open it with varnish. A bird planted on it will look very realistic and beautiful. The author used a wooden saw, to which he screwed a wooden knot.
