
Materials and tools for manufacturing:
- wooden beam (alder, oak, elash, linden and others);
- a pencil;
- large and small sandpaper;
- wire to create a frame (stainless);
- a hacksaw for metal;
- a piece of plexiglass (for the manufacture of blades);
- flat file;
- lead or tin;
- primer, paint, varnish;
- acetone, probionate (for impregnation).
The process of creating a wobbler:
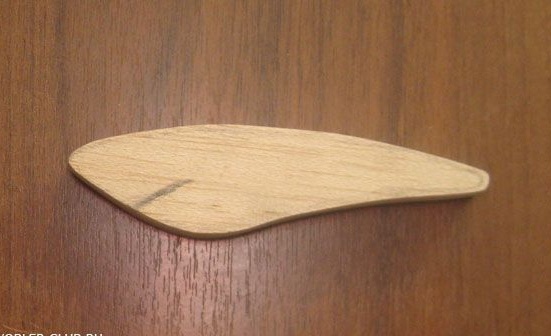
Step one. Wobbler Shape Design
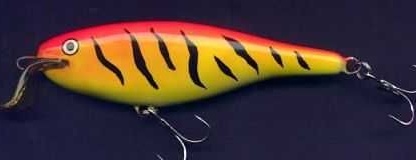
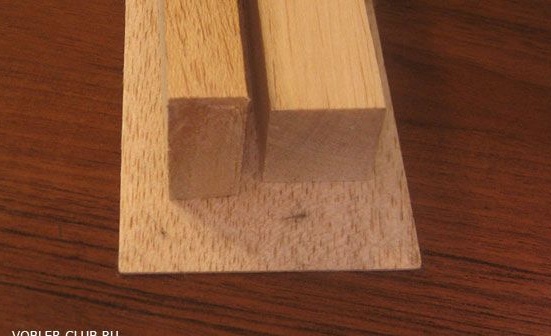
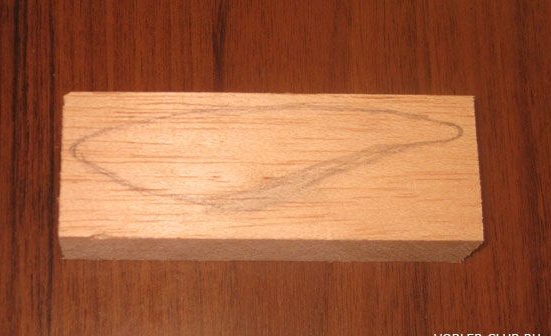
First you need to come up with a form for a wobbler and calculate the size, its game will depend on these parameters. The shape of the future bait can first be drawn on paper, and then transferred to a tree. To create a bait, a wooden beam with a size of 20 * 40 * 1000 mm and 30 * 30 * 1000 mm is suitable. When choosing a beam, it is important to understand that the wood is different in density and weight, so for floating lures you need to use lighter types of wood. As a material, the author used balsa. In order not to look for additional wood then to fill in the places for cuts, you can purchase a balsa sheet 1-1.5 mm.
After the drawing is applied to the beam, you can cut the workpiece.
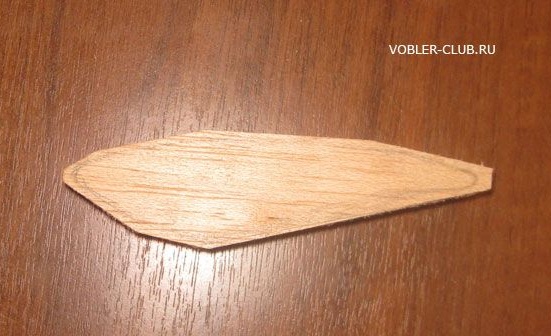
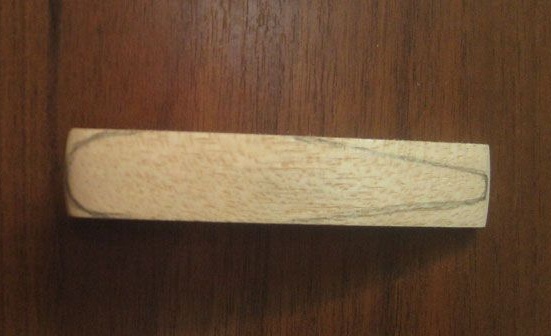
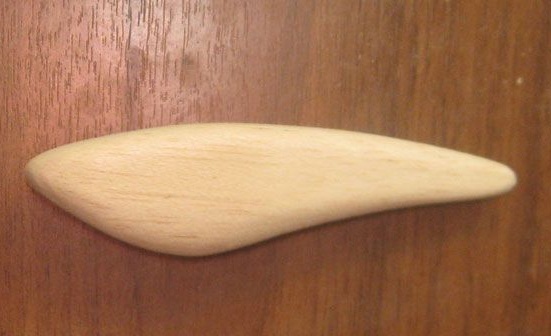
Step Two Bait Body Treatment
After the workpiece is cut, it must be processed, giving a smooth edge. First of all, you need to deal with the top view, here you need to draw a contour with a pencil. According to the author, balsa is very easy to process, all rough work is done with sandpaper with a grain size of 150-180. In the manufacture of a wobbler, it is very important to understand that his body must be symmetrical. Otherwise, getting the necessary bait game will fail.
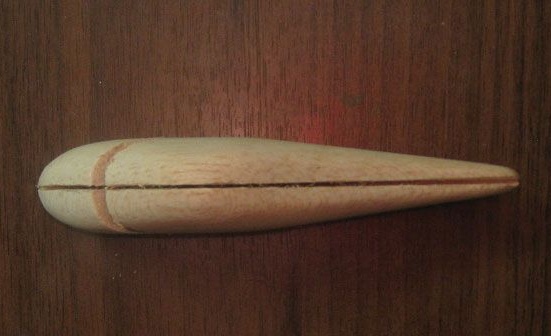
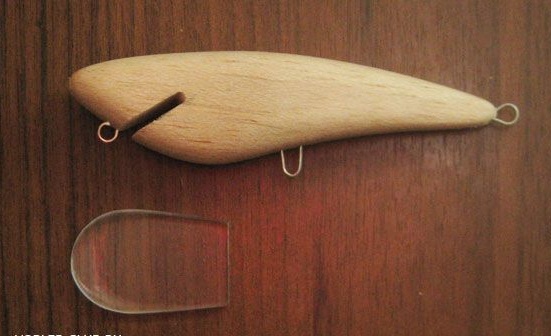
Step Three We make a cut under the wire frame
Some authors refuse to manufacture a wire frame at all, but simply attach the hooks to the body of the wobbler. This is a rather weak design, and when biting a large fish, the hook can simply break out of the wobbler. To catch pike, chub and other large fish, it is necessary to make a wire frame, hooks are attached to it.
It is necessary to make a cut along the entire length of the bait at the bottom, for this purpose a hacksaw is used for metal, it has a thickness of 1 mm and is perfectly suited for these purposes.
To make the frame, the author uses a 0.8 mm thick stainless orthodontic wire. It fits perfectly in a 1 mm wide cut. You can use a wire from another metal, the most important thing is that it does not oxidize. If you use copper, then you can irradiate it.
Step Four How to make a wobbler blade
Plexiglas is used to make the blade, in this case its thickness is 3 mm, as the lure turned out to be quite large. For smaller baits, a thickness of 2 mm is quite enough. The most important thing in this matter is symmetry, since the game of the bait depends on it. The blade can not be grinded from plexiglass, but you can buy it already ready. The author sets a stepped blade on the bait.

Now you need to decide how to install the blade. The larger the angle of the blade, the deeper the wobbler will dive. Here, everyone decides for himself. Propyl need to be done with a hacksaw, and to expand it, a file is used.
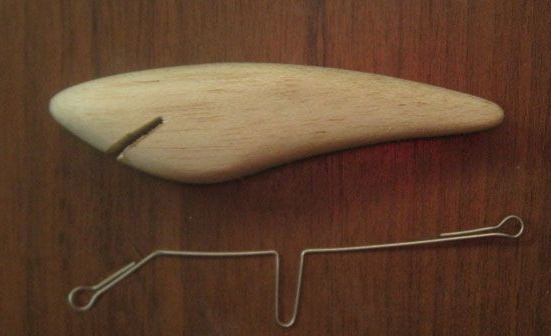
Step Five Wire frame fabrication
As mentioned above, the frame is made of a piece of orthodontic wire, it is strong, bends well, does not rust and fits perfectly into the groove made. The frame made must be shaped like a wobbler. In the mass production of such baits, you can make a template on which such frames can be made.
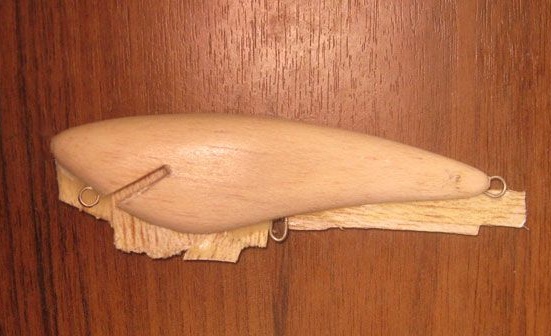
After the wire is laid, you need to close the cracks. For these purposes, the author uses a balsa leaf; he is glued into the slot using superglue or epoxy. After the glue dries, the bait needs to be properly sanded with sandpaper.
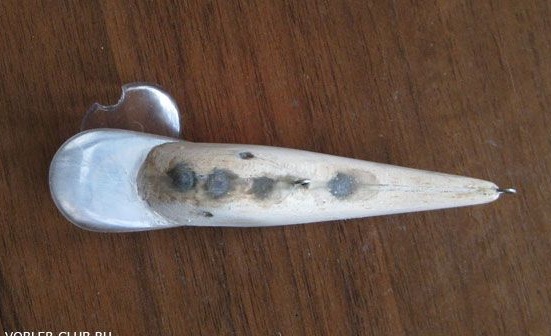
Step Six Wobbler loading
If the wobbler should be sinking or better buried, it can be loaded. To do this, holes are drilled in the lower part of the bait and then molten lead is poured into them. In addition to loading, this additionally fixes the frame. Also at this stage, you can install a wobbler and a rattle, if necessary.
Seventh step. Final stage, impregnation and painting
So that the wobbler does not absorb water, it must be thoroughly saturated with varnish, applying several layers. The author used a special composition of a mixture of acetone and white probionate as an impregnation. The probionate is diluted in a ratio of 1 to 11. After drying, the wobbler is opened with a primer, which is made from probionate and acetone, but with a ratio of 1 to 8. In total, 2-3 layers will need to be applied and a rather strong coating will be obtained. The most important thing is to remove the primer from the hinges, otherwise after drying and mechanical cleaning cracks may form on the bait.
That's all, now the wobbler is ready for use and after installing the hooks it can be tested. If the wobbler does not penetrate well, you can always fill in additional lead by drilling a hole in the bait. If the wobbler falls to the side during wiring, you can slightly bend the loop in the opposite direction. Or you can modify the blade.