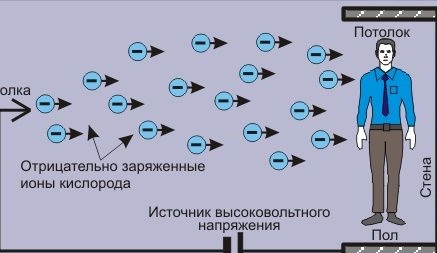
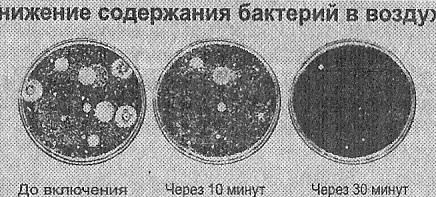
The Chizhevsky chandelier was invented in 1927, and to this day it is actively used in medicine, crop production, livestock farming and so on. Today this miracle of technology can be bought, but not all devices are able to work correctly. So, for example, in the purchased device, the voltage on the electrode is rarely more than 25 kV, which means that such ionized air does not affect health at all. And if the ionizer at work forms the smell of ozone or nitrogen oxides, then this is all harmful to health. Let's consider some simple schemes with which you can assemble an air ionizer do it yourself.
Materials and tools:
- soldering iron with solder;
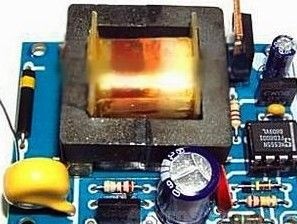
- high voltage transformer;
- transistors;
- zener diodes;
- diode bridges;
- resistors;
- capacitors;
- and other radio elements.
A complete list of materials depends on the particular homemade.
The manufacturing process of the ionizer:
The safest air ionizer
On the popular electronics site, the safest version of an air ionizer was introduced.
First of all, the plus of the device is that it does not have external elements that have a high voltage, which reduces the likelihood of getting an electric shock when touched.
The proposed scheme still creates not such a level of radio noise and produces less static voltage, which can lead to disrepair of the surrounding equipment.
And finally, industrial ionizers often attract dust very strongly; here they also tried to remove this drawback.

A multivibrator built on transistors VT1 and VT2 is used as the basis for the ionizer. The multivibrator frequency is changed using the tuning resistor R7 in the range from 30 to 60 kHz. From the multivibrator, the pulses arrive at the voltage converter, it was built on two transistors VT3, VT4, as well as a transformer T1. When the frequency on the converter changes, the output voltage at the converter output changes. If you decrease the frequency, the output voltage will increase.
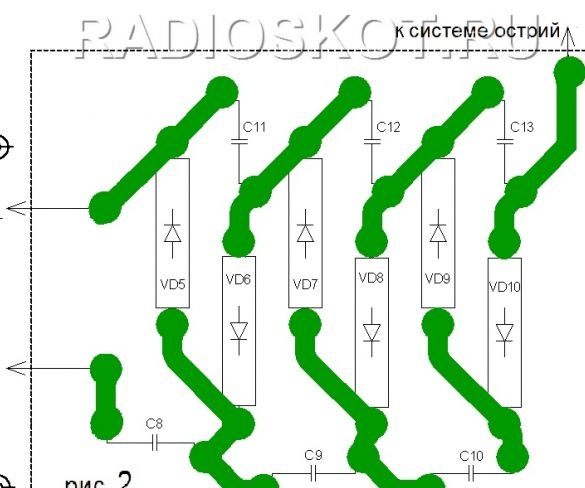
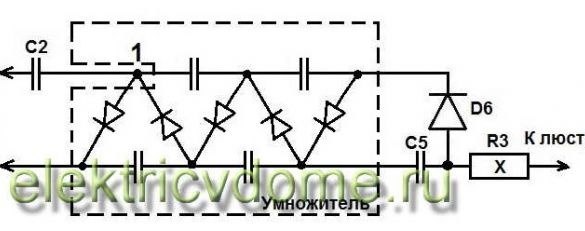
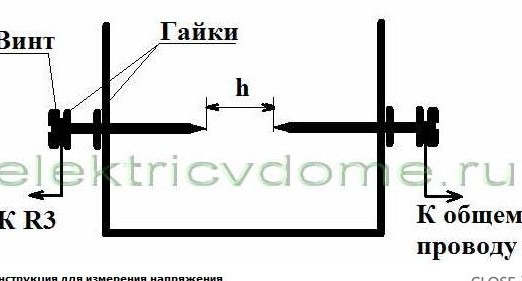
Next, a high voltage (of the order of 2.5 kV) from the secondary winding of the transformer T1 goes to the input of the multiplier, it is assembled on capacitors C8-C13 and diodes VD5-VD10. Well, then the voltage goes directly to the chandelier itself, it is made of a multi-strand copper cable, the veins of which are branched with an umbrella at a right angle. One terminal of the secondary winding of the transformer T1 is connected to the housing (minus) of the device. The distance between the electrodes is selected individually.
Protection
To prevent a too large potential difference between the electrodes and other structural elements, resistors R8-R10 are used. In order not to break through the secondary winding of the transformer, a spark gap SG1 is provided in the system.
Nutrition
The power circuit is built on reactive capacitance. It consists of a Zener diode VD2, capacitors C1, C2, a diode bridge VD1 and a resistor R2.
Case and fan
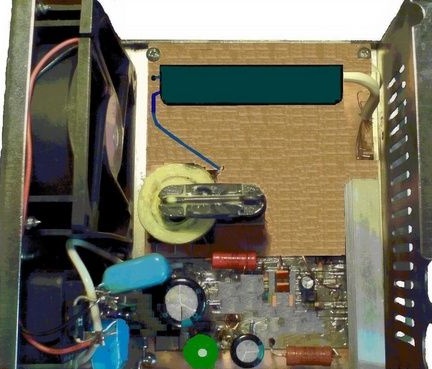
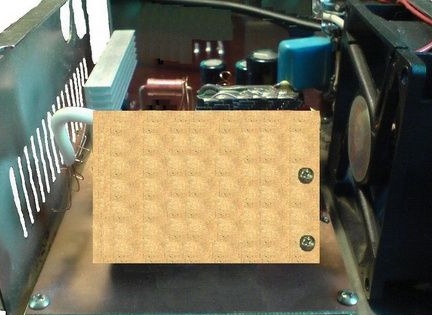
To make the device safe, it is placed in a case from a computer power supply. To ensure the circulation of ionized air, a computer cooler is used, which stands in its native place in the power supply. The fan runs on a 12V power supply and a separate circuit is also provided for it.
Car ionizer
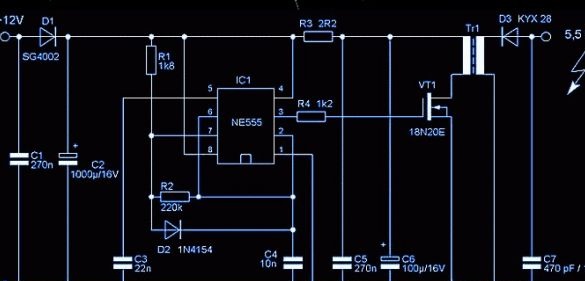
Also a small ionizer can be installed in car, one author on the site decided to share such a homemade product. The system is designed in such a way that it generates rectangular pulses, which then enter the gate of the field-effect transistor. It, in turn, closes or opens at a given frequency. The transistor is connected to the transformer, as a result of this, a pulse voltage is generated on its primary winding.

As for the transistor, it must be powerful, for these purposes the IRF740 or IRF840 is well suited. As for the transformer, the one used in horizontal tubes for picture tubes is used here. On the free side of the core, you need to wind ten turns of copper wire with a diameter of one millimeter. The secondary winding of the stringer is used by the native.
High voltage comes from the secondary winding to the rectifier and then charges the capacitor. KTs106G or KTs123 can be used as a diode.
A couple more air ionizer circuits
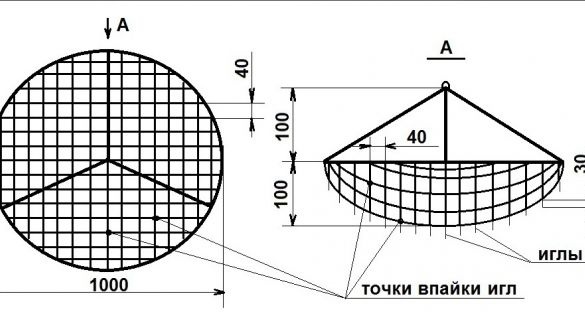
The site was laid out a scheme for creating a classic air ionizer, that is, in the form of a chandelier. The main ring is made of bare copper wire with a diameter of 4.5 mm. Then a thinner copper wire 0.7-1 mm in diameter is pulled perpendicularly to this ring.
You can also use a metal gymnastic hoop to create a ring.

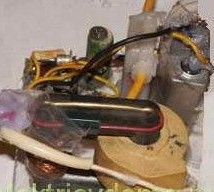
To make needles on the chandelier, ordinary pins are used. They are soldered at the intersection of the wire. The chandelier is attached using three pieces of copper wire with a diameter of 0.7-1 mm, which is attached to the rim at an angle of 120 degrees. Now it remains only to connect the voltage to the chandelier, it can be carried out with any wire, even an antenna cable will do.

