

In order to make a homemade fountain pen we need:
* A wood lathe, about the assembly of which I already wrote in my article.
* Parquet or oak branch.
* Sandpaper of different grain sizes.
* Wood cutter.
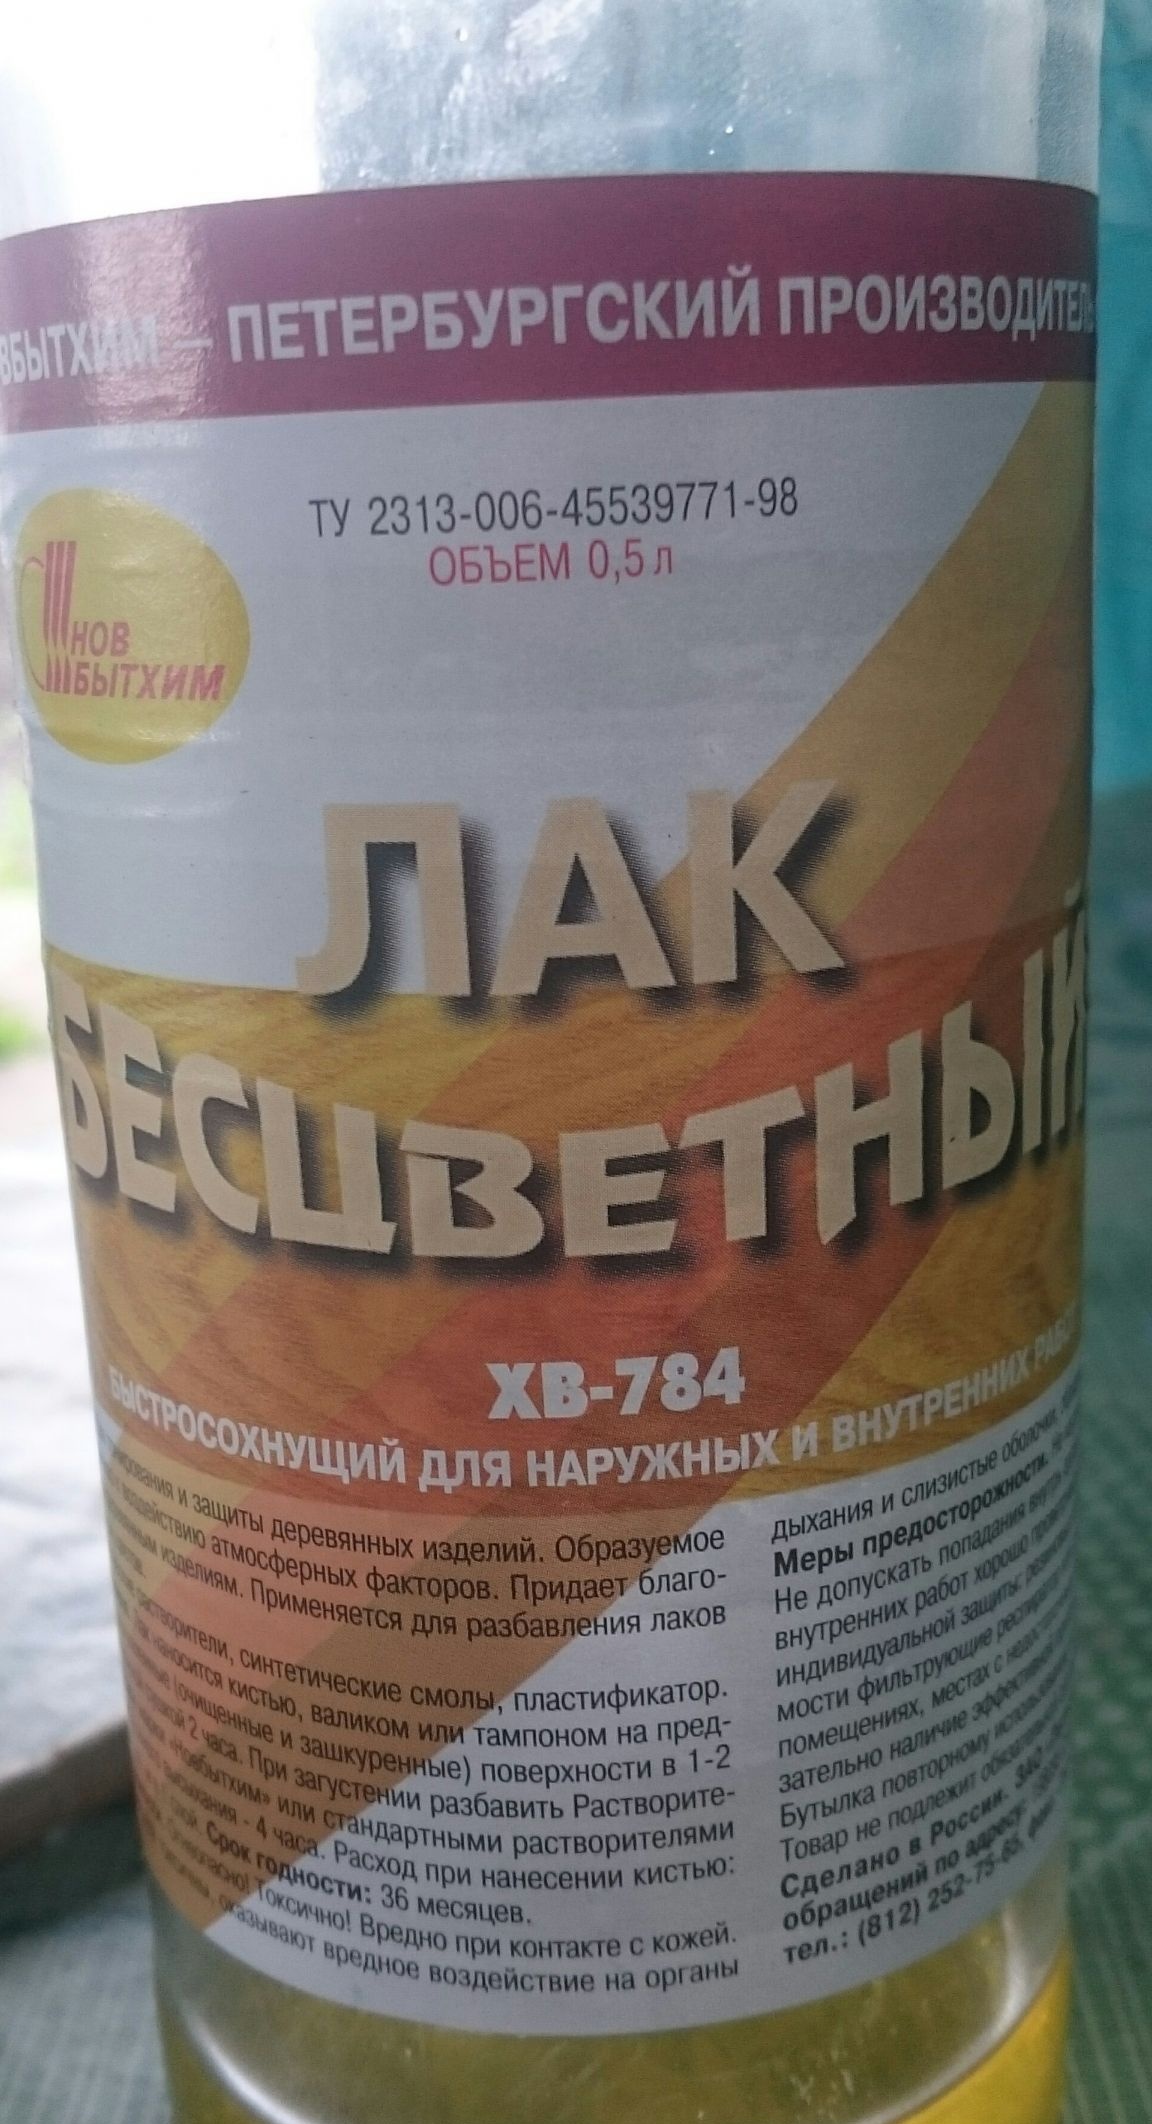
*Clear nail polish.
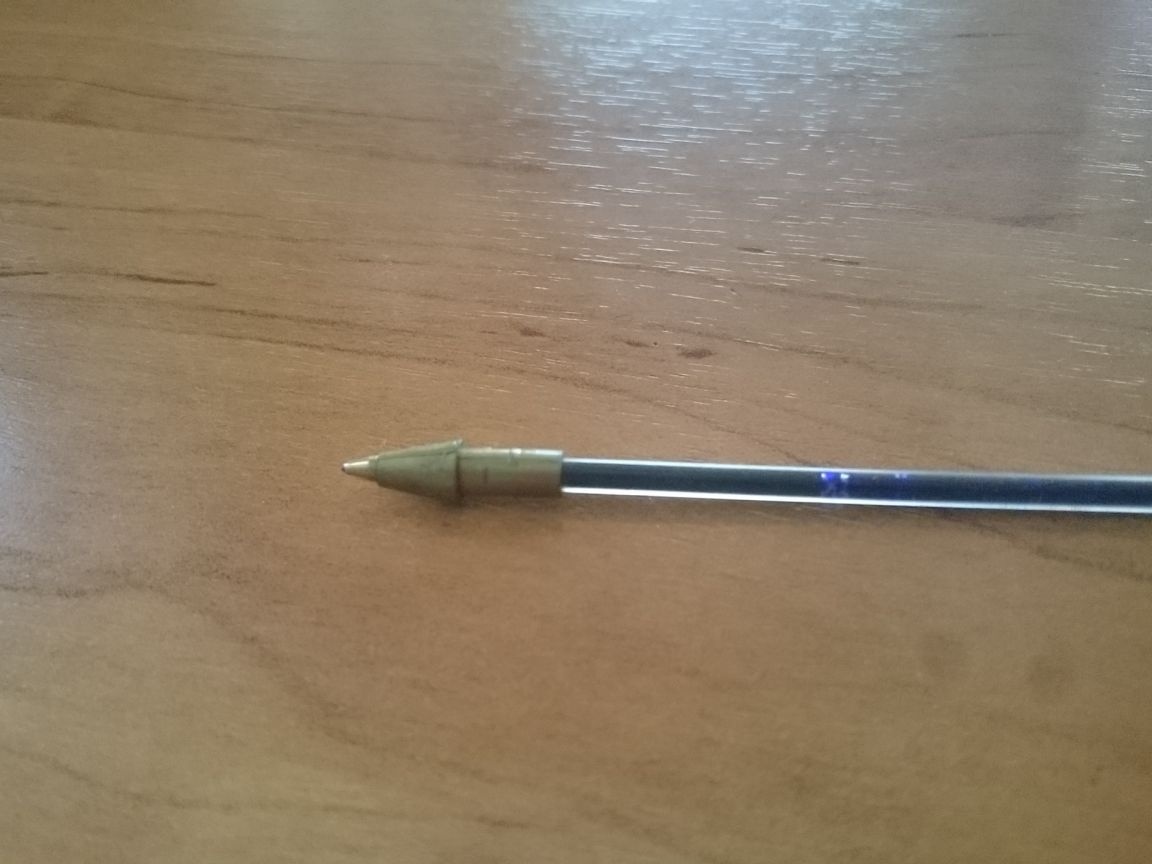
* 3mm wood drill bit, depends on which rod you use in your handle.
For the manufacture of pens everything is there, you can begin to work.
The first thing I found was a long time ago unnecessary parquet, I decided to grind it on the machine, but before that I sawed off part of it with an electric jigsaw, which is just enough with my head.
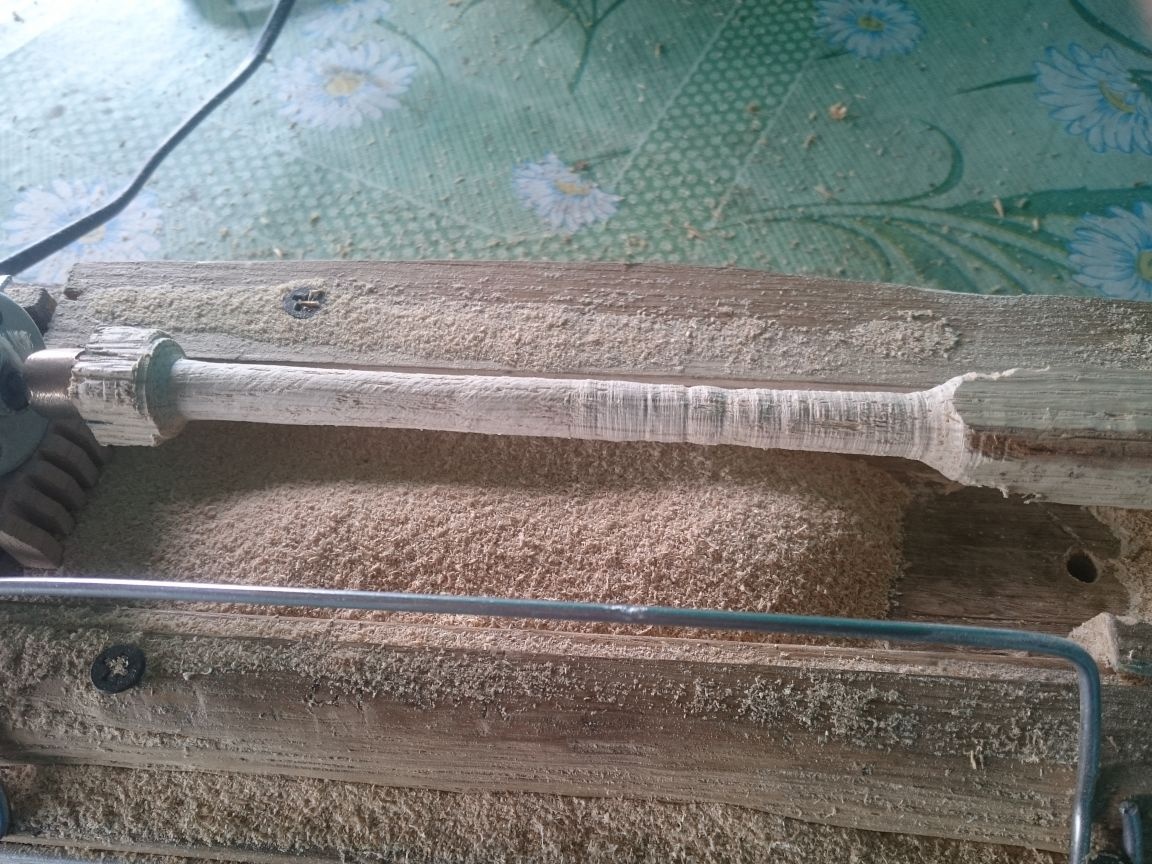
Since our workpiece has a square shape, it must be installed in the machine.
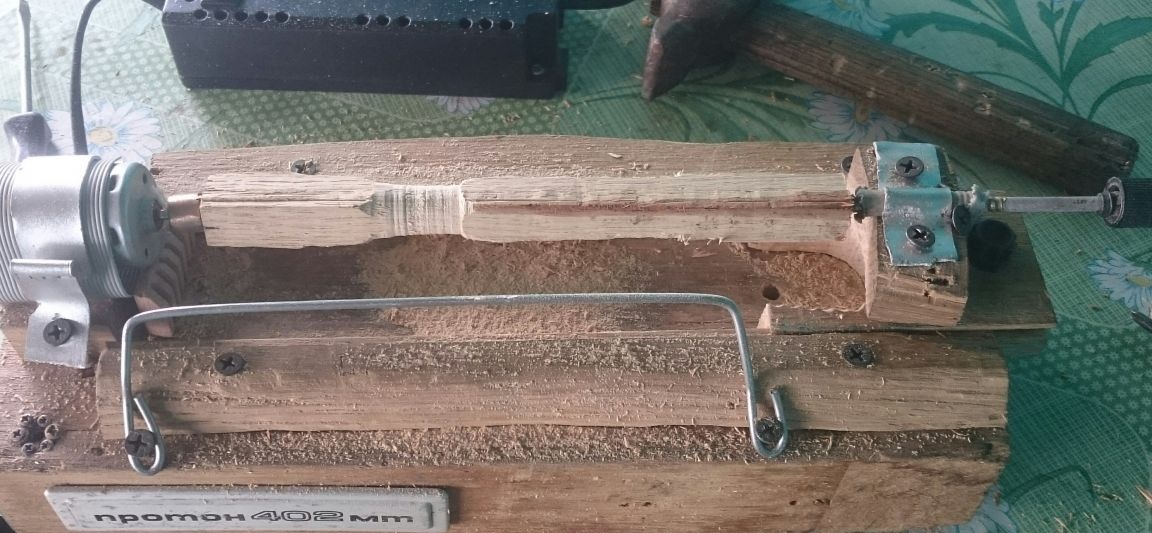
In order for the headstock to hold the workpiece tightly, it is necessary to make two cuts in our piece of parquet, and for the tailstock we need to make a shallow hole, now we are still clamping the uncut workpiece. We check for a beating, if everything is pretty good and the piece of wood does not fly out of the machine, then we proceed with the handle manufacturing process itself.
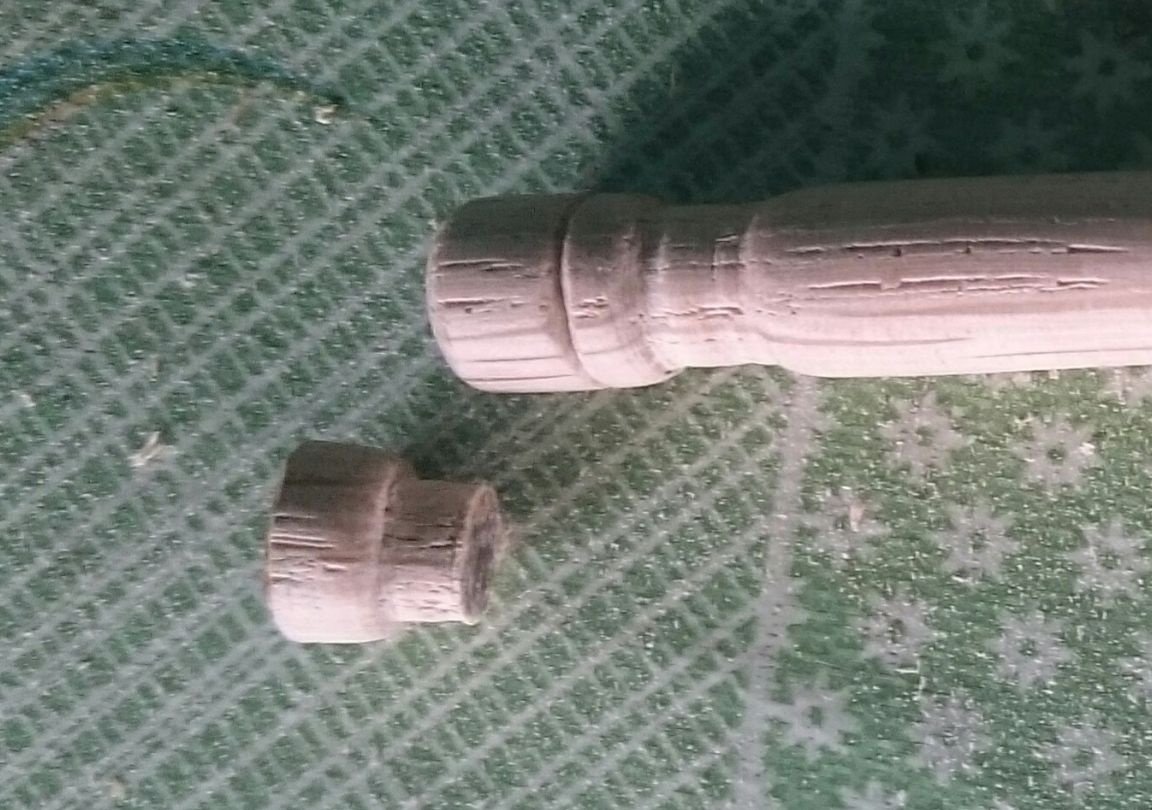
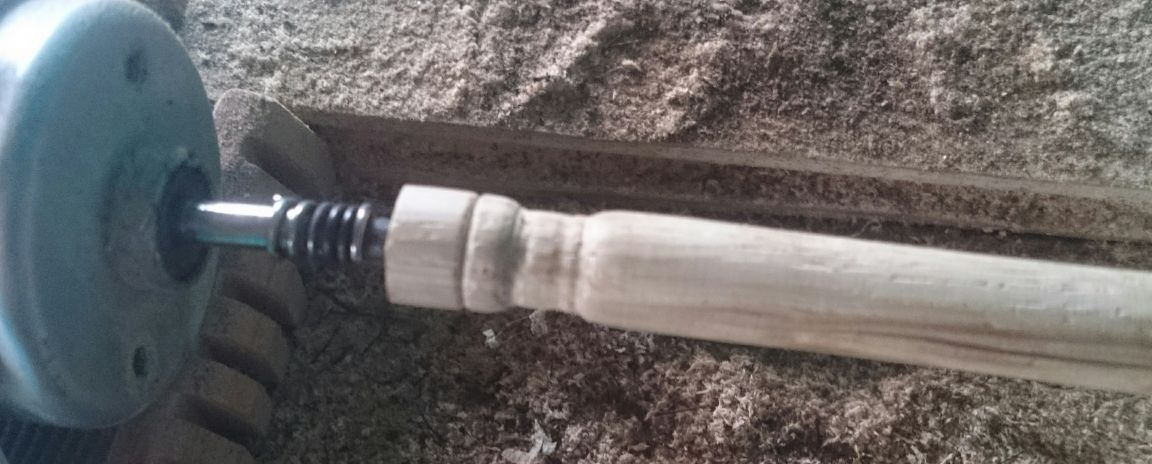
To give the shape of a handle, you must gradually grind the workpiece until its base becomes round, also from this bar we make a lid for the handle, it looks like this.
After that, we measure the diameter and bring it to the desired result, in the process you can use the caliper, so as not to overdo it.
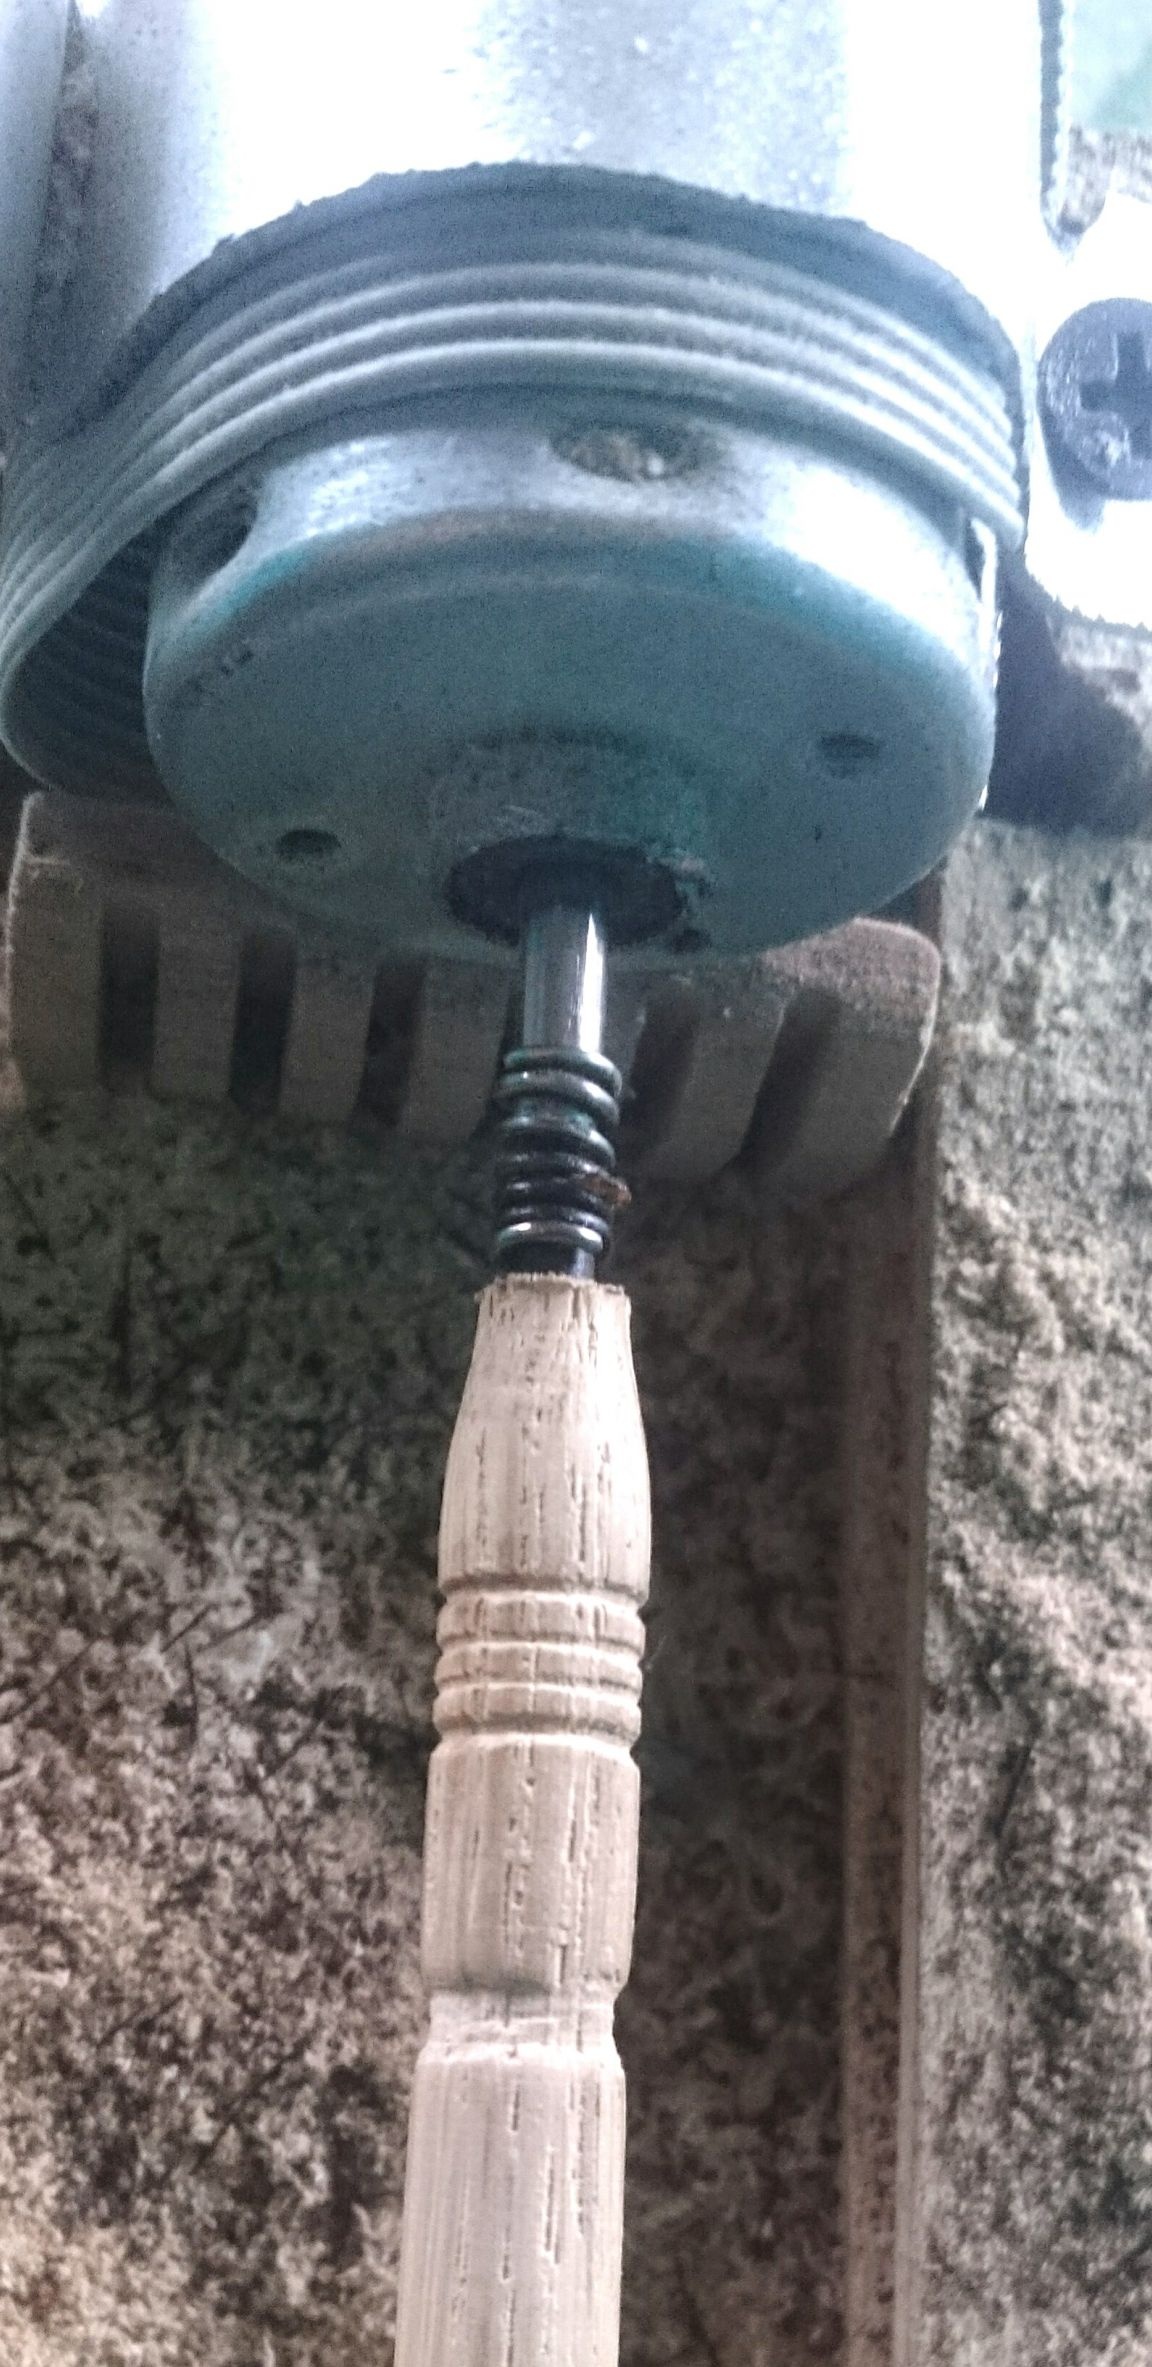
When you already have something similar to a photo in your hands, you can come up with a special style for the pen and make patterns using the thin part of the cutter.
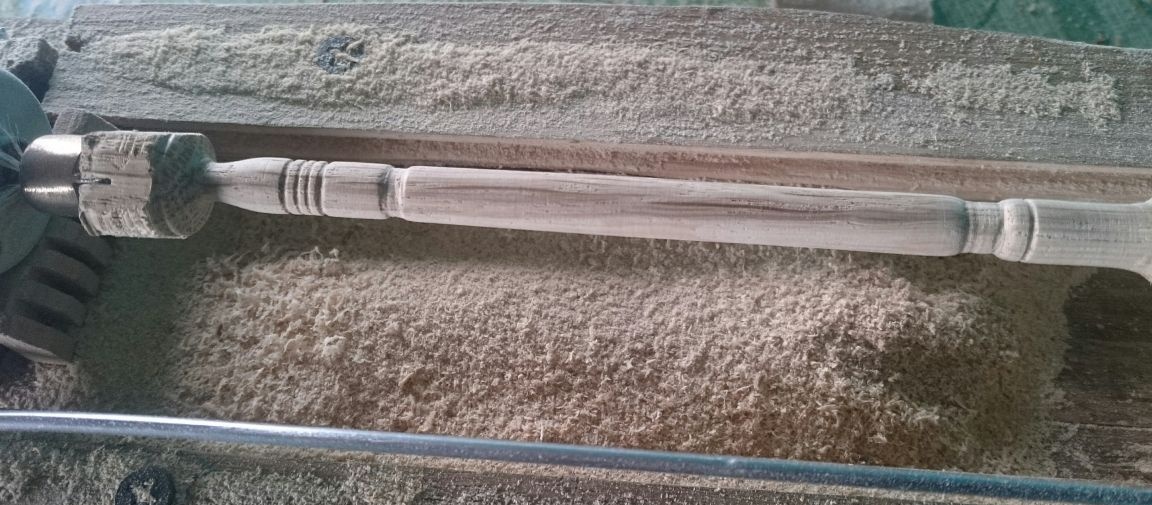
I did not play much with the patterns, I thought that it would be enough to make small grooves so that the fingers did not slip on the surface of the handle.
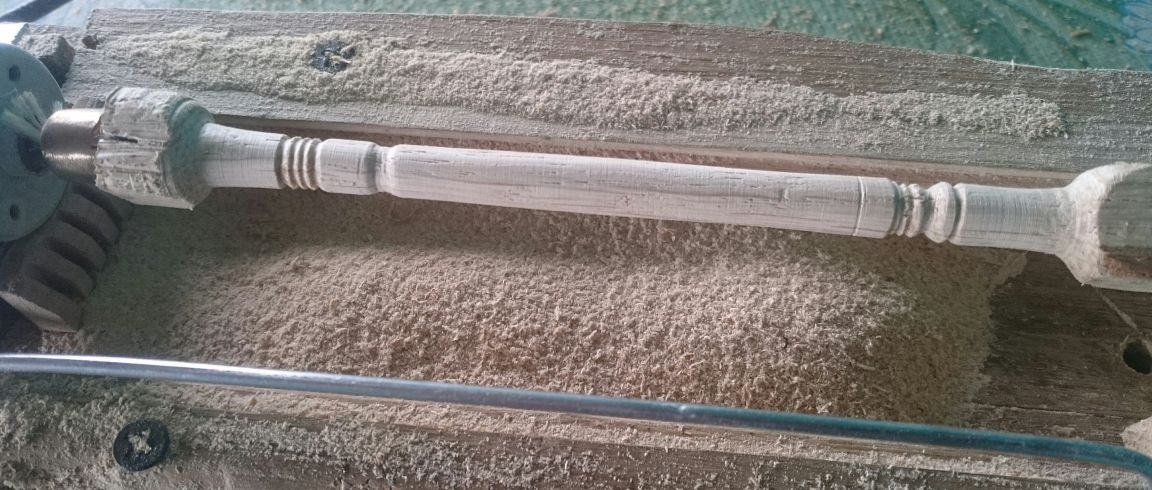
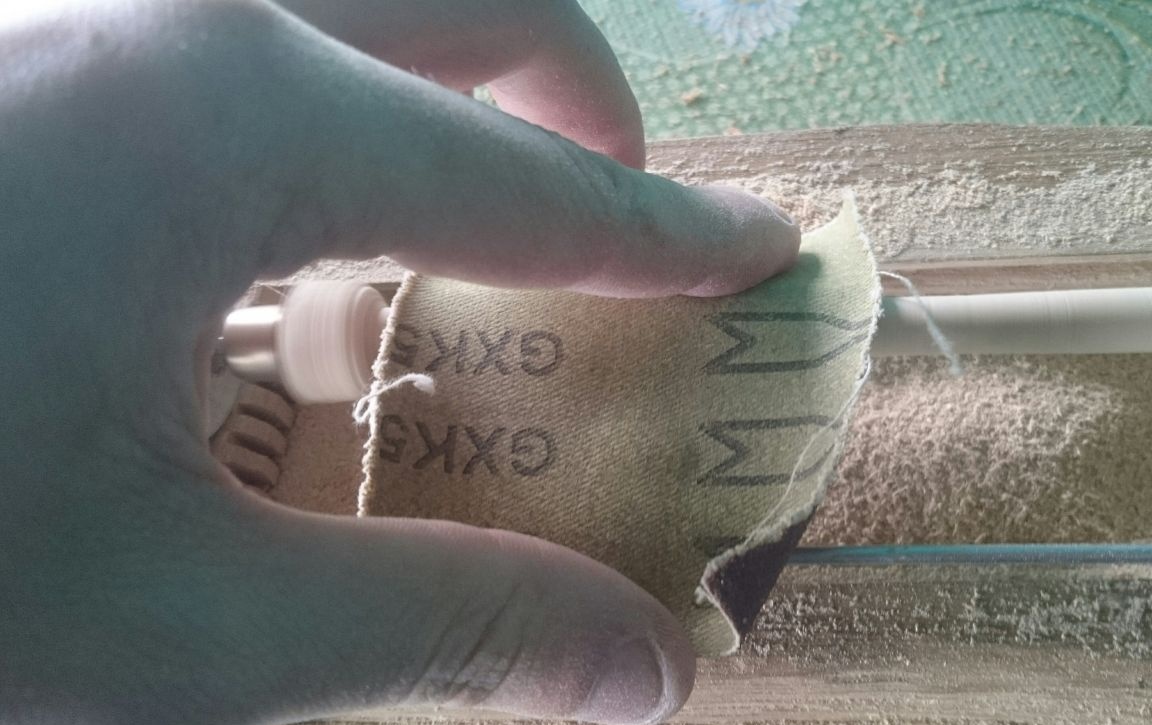
After processing with a cutter, we proceed to grinding, we begin with a coarse-grained, and we finish with nulling.
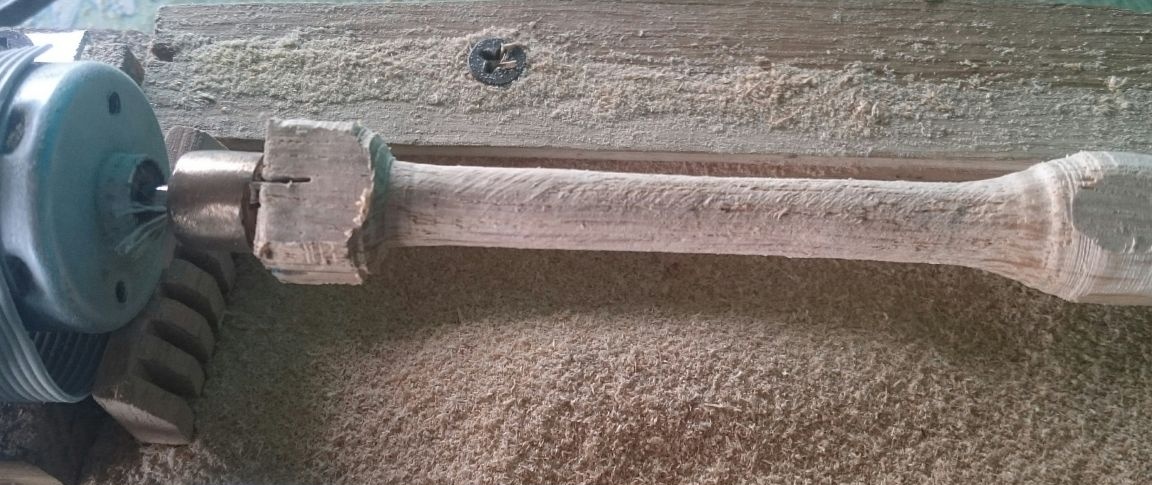
But since each fountain pen has a hole for installing the rod, then ours must be done as well.We drill with a 3 mm drill, for greater evenness, I installed it directly on the machine.
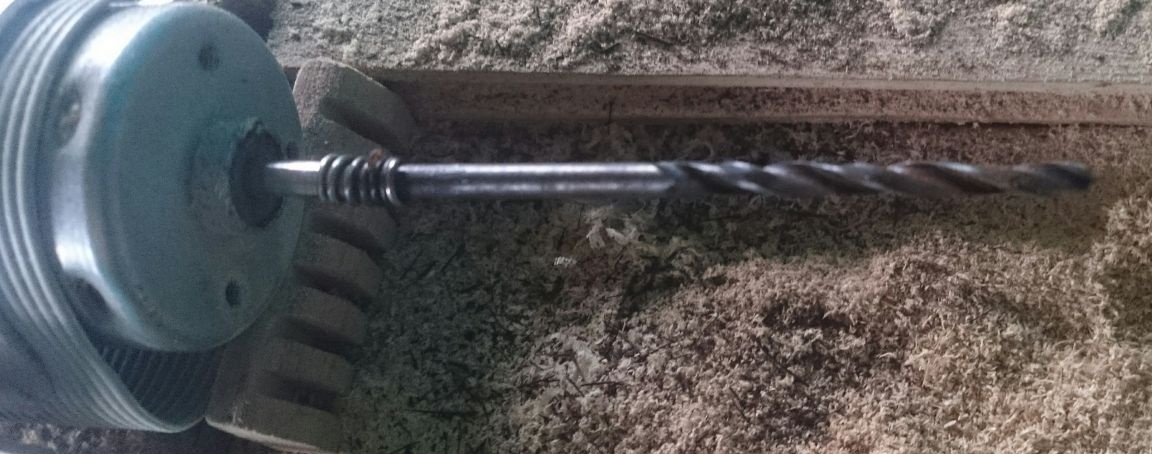
Had to drill on both sides, as the length of the drill was not enough. For the final finish line, we coat our handle with a clear varnish in several layers.
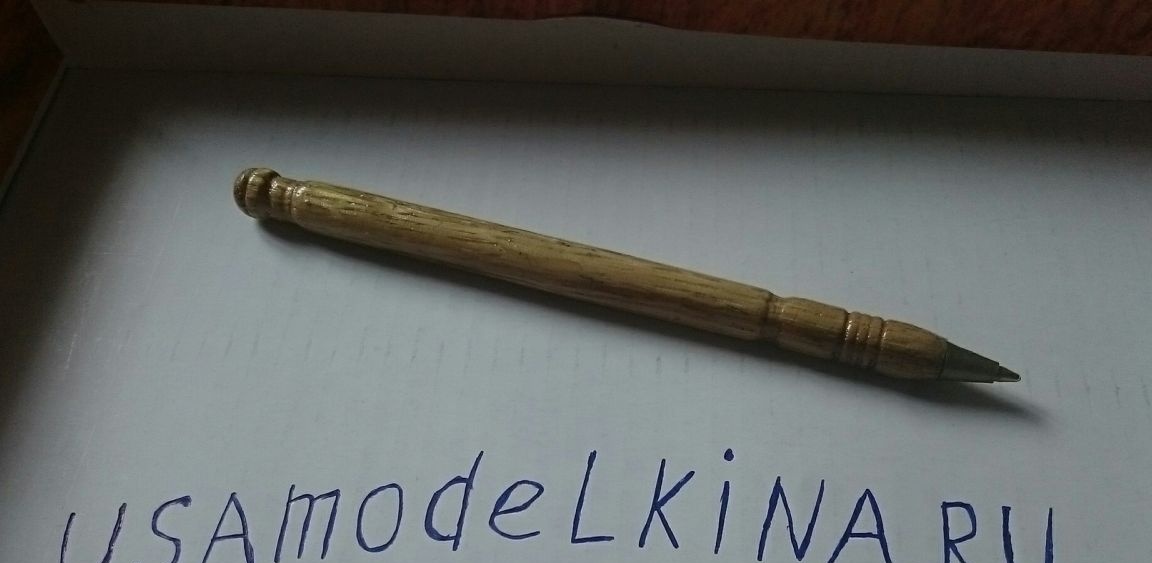
After drying, we put in the hole a rod having a cone of plastic, it complements the body of our handle.

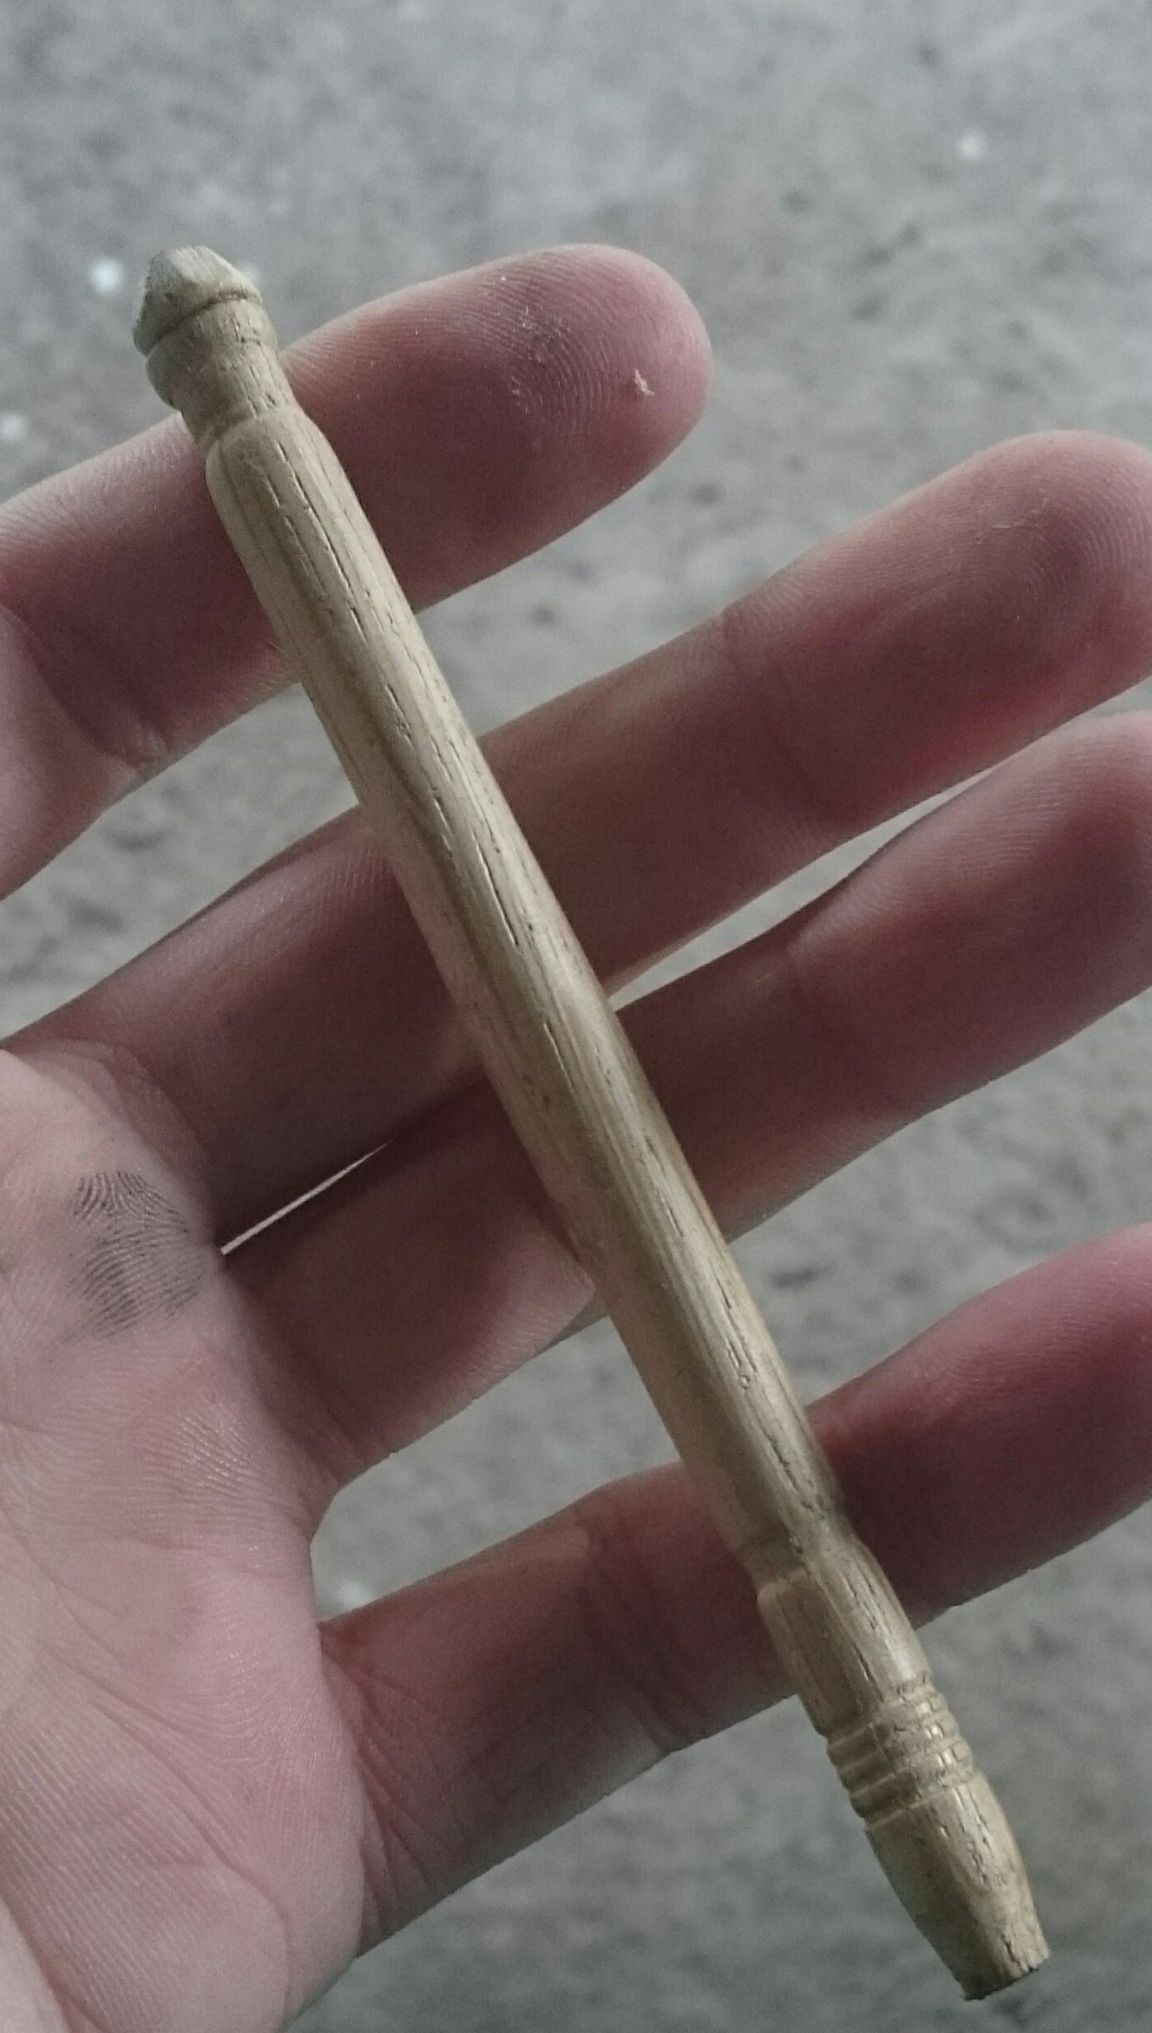
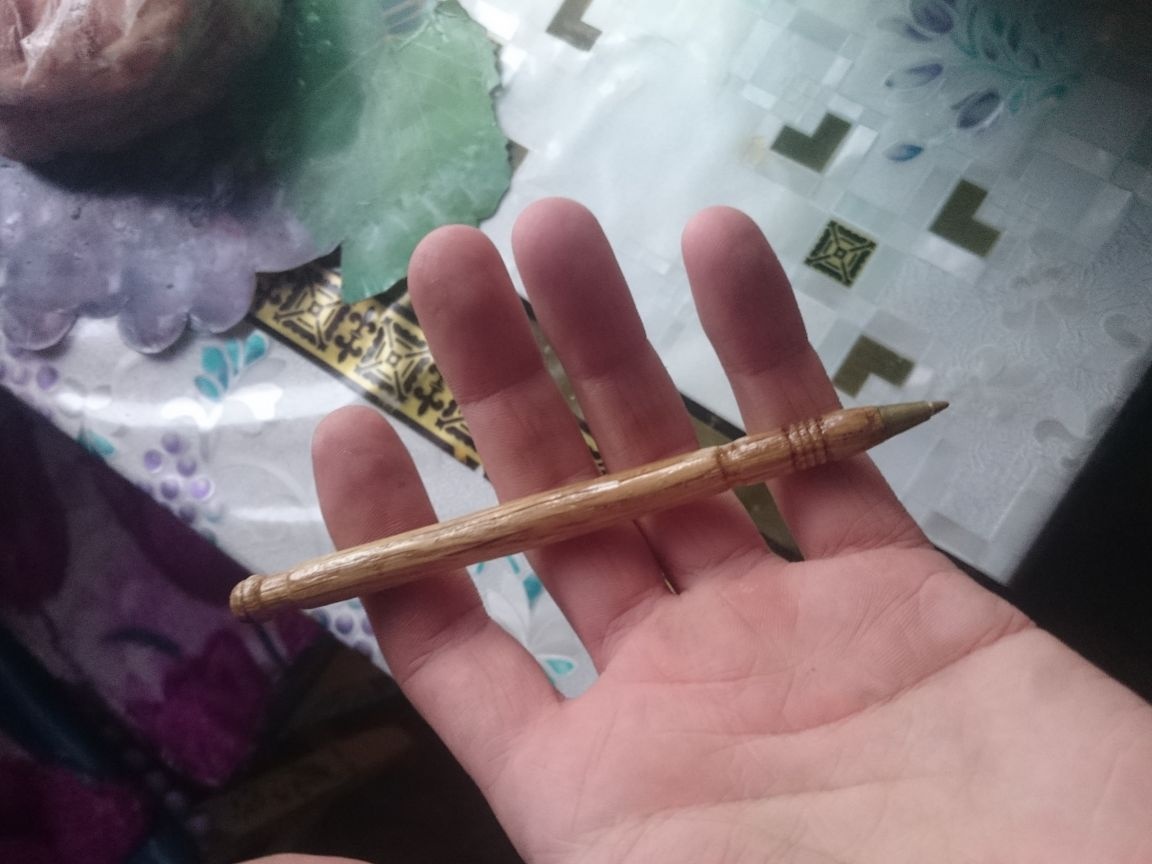
In conclusion, I wanted to say that the pen came out exactly the way I wanted. It turned out conveniently, firmly, and most importantly it has a pleasant appearance and weighs lighter than plastic. Thank you all and good luck with your ideas for new articles.