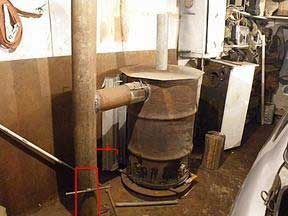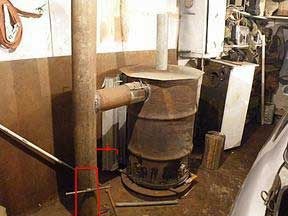
Every person who has garage, a barn, any utility rooms on the site, and so on, which need heating, sooner or later the question arises of how to heat all of the above premises without any special costs. And if you take into account the price of electricity, then heating with electric heaters disappears altogether, especially in large areas. Therefore, for those who are faced with such a problem and are looking for ways to solve this furnace will be just a find. The “Bubafonya” stove, that’s what it was popularly called by the people, does not require constant attention to it. It is enough to lay firewood once to the eyeballs, set fire to it, and with the help of a simple system for regulating the air supply to the system, the combustion process will turn into smoldering. This oven, according to the author, will burn for several days. It’s easy to make. It is enough to have basic skills in the possession of some needed tools, in particular a welding machine, and you yourself can make this stove for heating any rooms.
To start, the drawing:
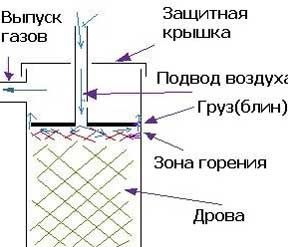
The combustion system, as well as the design of the stove itself, is not standard. If in a conventional stove, firewood burns from the bottom up, then in this design everything is exactly the opposite — combustion is from top to bottom. Firewood in the working part of the furnace is ignited through a pipe for supplying air. It’s not very convenient, but since you don’t have to do this often, you’ll go and you can get used to it. Smoke escapes through the edges of the pressure pancake, which, as the wood burns through, goes down.
To make such a furnace, the author needed:
A 200 liter barrel of fuels and lubricants, a circle cut out of metal, a couple of centimeters in diameter is smaller than the diameter of the barrel itself, 4 corners or channels, a 100 mm pipe with a length slightly greater than the height of the barrel and 150 for a chimney with a length of at least five meters .
So, the barrel is taken from the fuel
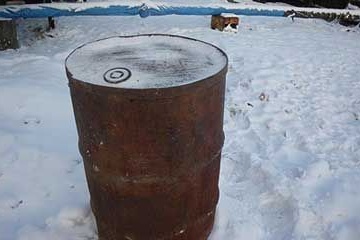
The top of the barrel and the weld are cut off.
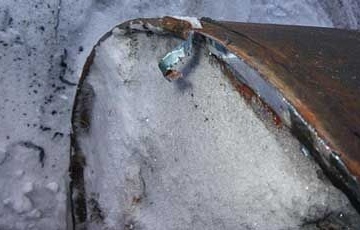
The result is a barrel with an open top and a finished lid, the edges of which are processed and bent.

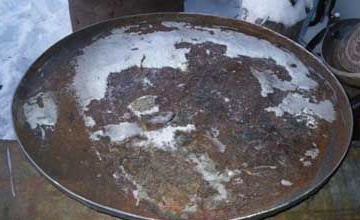
The edges of the barrel itself are also processed and bent inward.
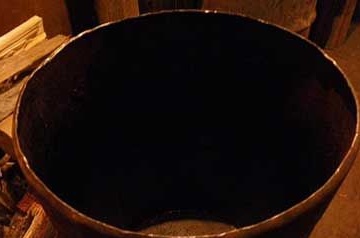
The edges of the lid bend outward. As a result, the lid will sit tight and not fidget on the barrel. In the middle of the lid, a hole is cut for an blow pipe, with a diameter of 102-103 mm.The hole on the lid that remains from the cork can be brewed tightly, but it’s better not to, since by attaching a handle to it so as not to burn yourself, you can unscrew it and observe the combustion process.
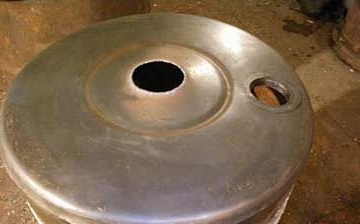
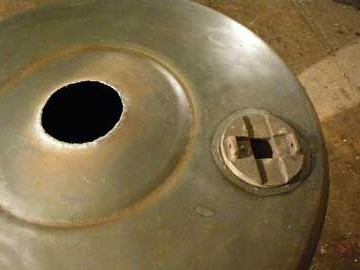
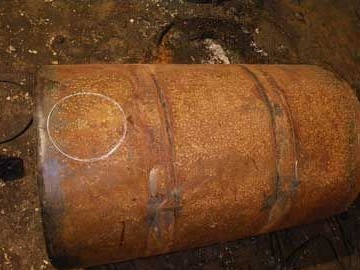
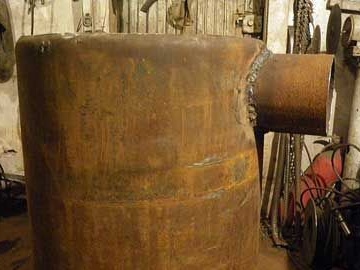
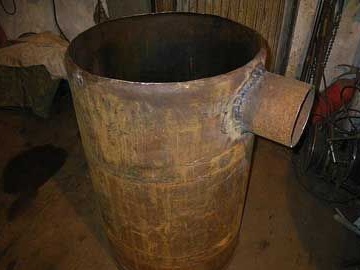
Next, in the upper part of the barrel, cut a round hole, with a diameter of 150-153 mm. Part of the chimney pipe will be welded here. By welding, you can immediately make and install an air supply damper inside this pipe.
Now an air supply device is being made. For this, a hole was cut in the middle of a metal pancake and a pipe with a diameter of 100 mm was welded to it. If you do not have a sheet of metal and you will use a pancake from a barrel for this, then the hole from the cork is welded tightly so that the gases released during the combustion process exit only around the circumference of the pancake.
In the lower part of the pancake, either corners or a channel are welded.
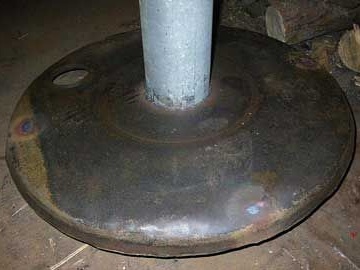
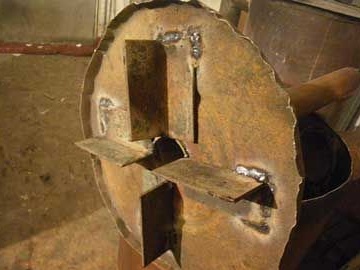
The air supply is ready. It will be inserted inside the barrel, cylinder. On the top of the pipe we install a shutter. To do this, a threaded rod is taken and welded to the inside of the pipe. If there is no stud, you can cut off the head of a suitable bolt and weld it. A circle is cut corresponding to the size of the hole in the pipe. A hole for a hairpin is drilled in it. Drill so that the damper completely covers the hole in the pipe. Next, we put the flap on the hairpin and fasten it with the wing nut. By loosening the nut and moving the damper, you can adjust the air supply to the combustion chamber.
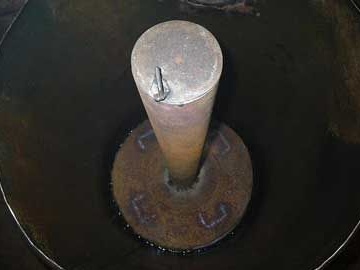
Now the lid is installed and the oven is almost ready.
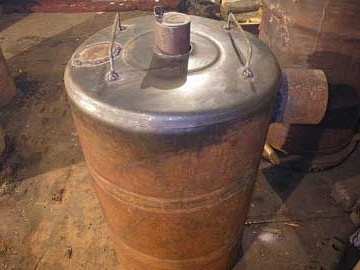
It remains to install the chimney. Its diameter should not be less than 150 mm, otherwise the combustion products will not completely leave the stove. For best traction, the chimney should be at least five cm. It is installed next to the furnace, the lower part is hermetically sealed. The stove joins the knee in the chimney. Also, for tightness, fiberglass or some other non-combustible material is placed under the clamps. A ball valve is installed under the knee to allow condensate to escape. It is convenient to clean it. A faucet is necessary, because if you have a stove in the utility room or shed in the winter and are heated from time to time, the condensate can freeze and the weld seams to break. Even condensate can flow into the furnace itself, and through a loosely connected clamp and out.
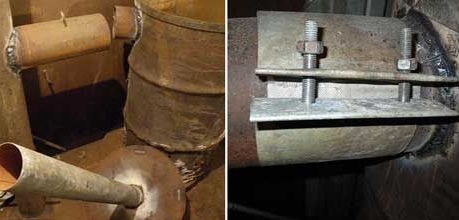
After all of the above actions are completed, you can proceed to the furnace of this furnace. The principle of action is as follows: the lid is removed and a pancake is pulled out with an air supply pipe. Firewood is laid down. Logs can be laid and thick, according to the author they burn without problems. Small chips or branches are superimposed on the top layer, in a word, kindling. It is wetted with kerosene or a bonfire liquefaction fluid. Firewood is laid no higher than the lower edge of the chimney knee. We insert a pancake with an air supply pipe and everything is closed with a lid. It is ignited through the flap.

When the firewood is fully flared, the shutter is completely shut off. In this mode, this stove can burn for days.
