
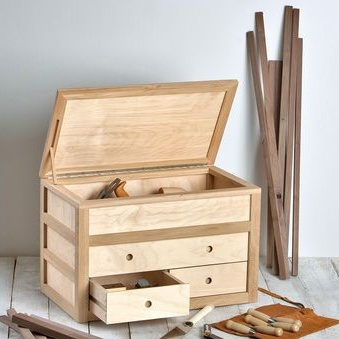
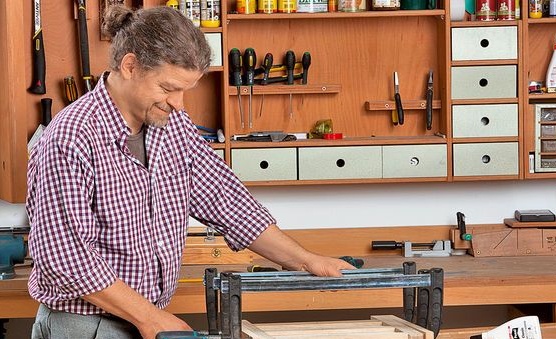
Each owner takes care of his tools, looks after their good technical condition, and carefully cleans them after work. All tools should always be at hand, so that, if necessary, they can be easily taken, and not searched throughout the workshop. Therefore, today I will show you, using the example of the author of this master class, how to independently make an excellent and convenient box for a variety of tools.
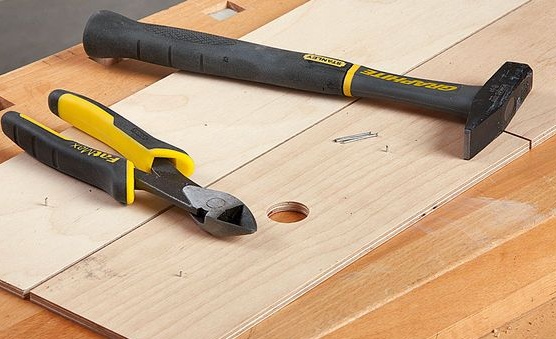
To make this box, the author needed tools such as:
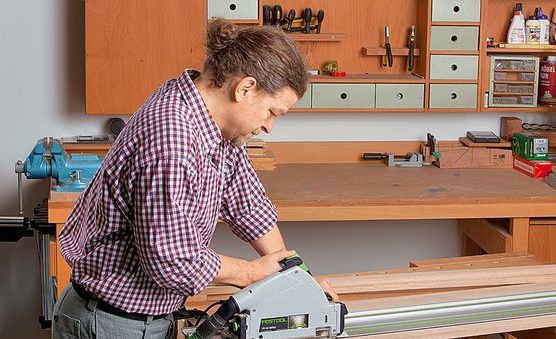
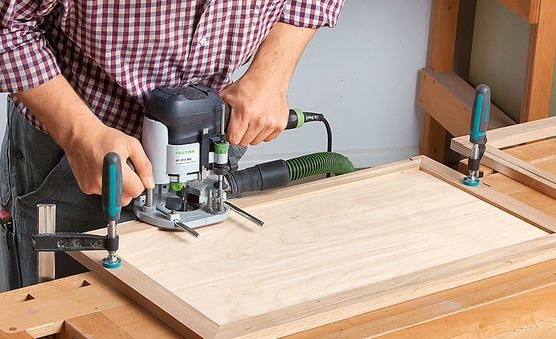
Milling machine
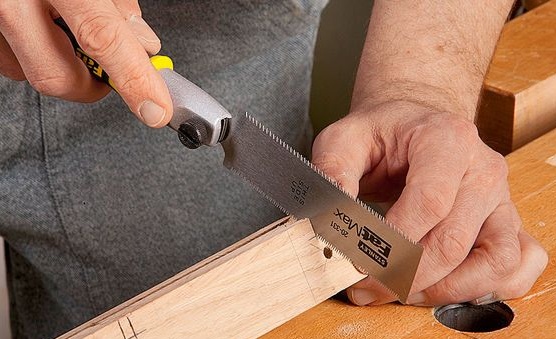
wood hacksaw
file,
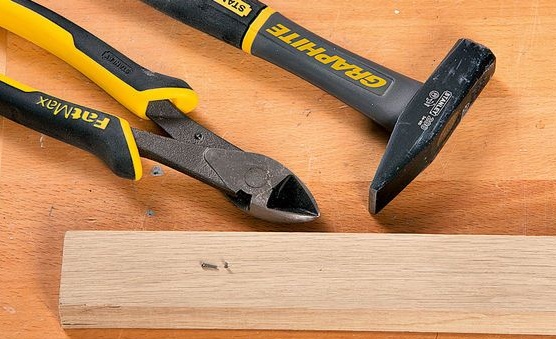
nippers, hammer, and grinder.
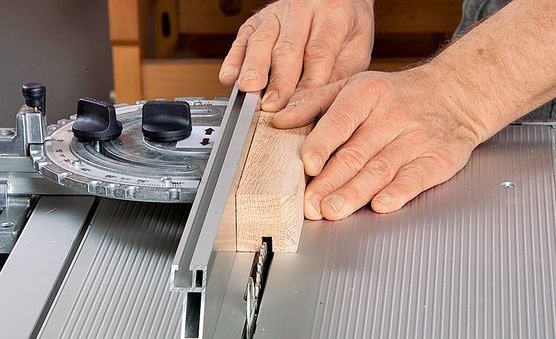
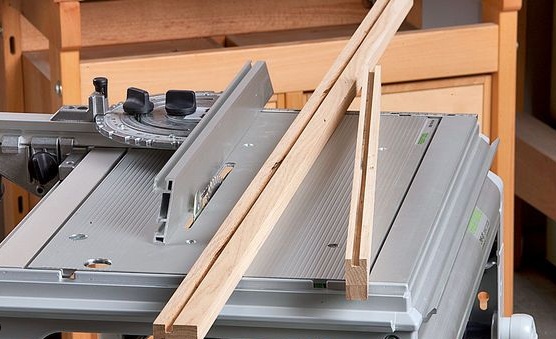
It is advised to make the frame of this box of oak wood, as it is a very durable material, which has increased strength and resistance to mechanical stress. The basis are glued boards, the thickness of which is 19 mm. This material is very convenient to use, because has no knots or putrefactive inclusions. Further, with the help of a circular, the author cuts off blanks-strips 38 mm wide.
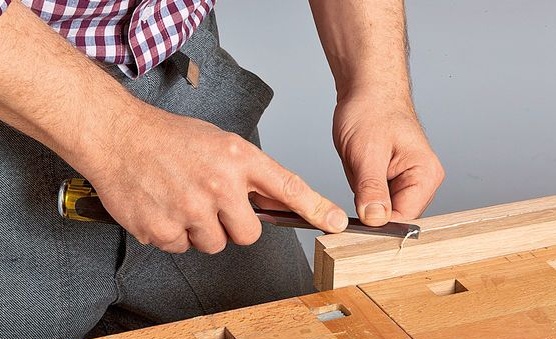
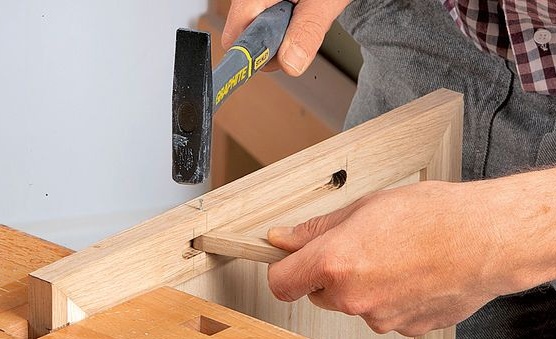
Now the details need to be glued together. In order to prevent the details from sticking out and there are no distortions or irregularities, a small clove is driven into the first blank, the hat of which is removed with nippers.
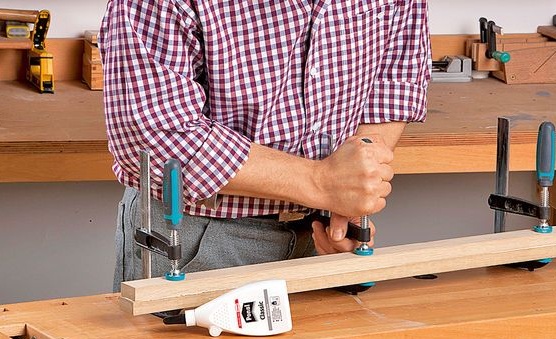
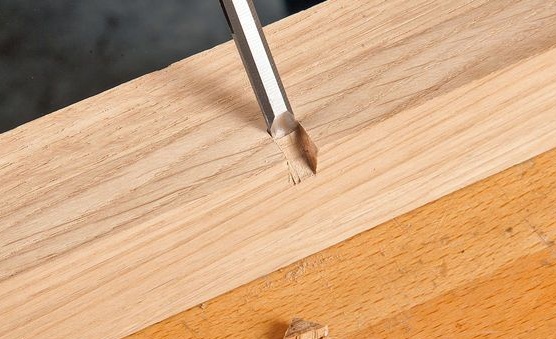
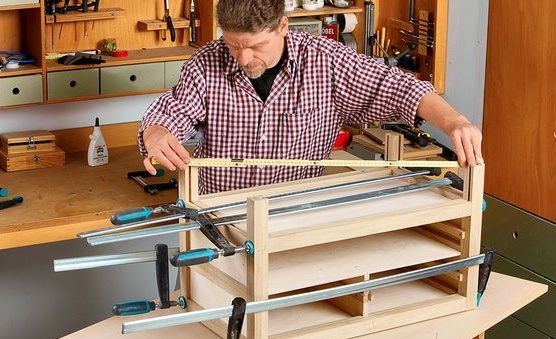
The boards are additionally coated with glue and fixed with clamps. The glue that appears on the protrusions of the parts, waiting until it dries, is removed with a sharp object, or a chisel, or a knife.
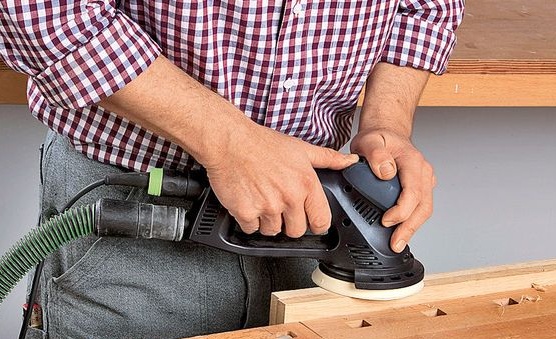
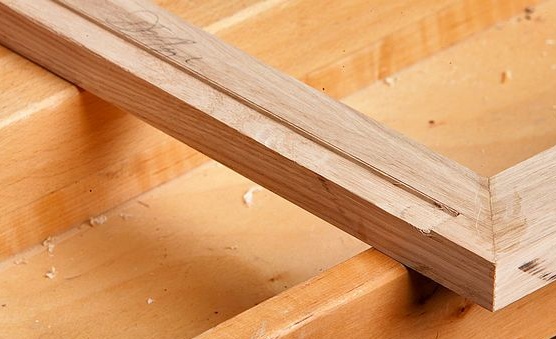
As a result, the part should be 38x38 mm in size. The ends are polished.
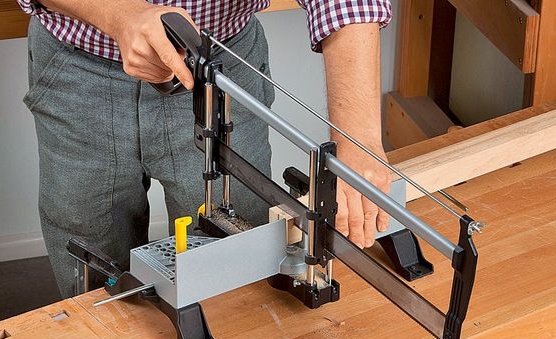
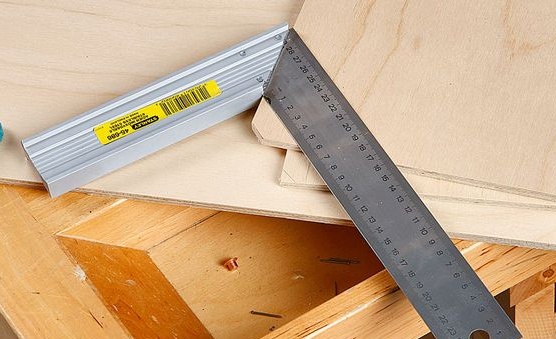
The part of the length you need is cut. The cut must be exactly under 90 °.
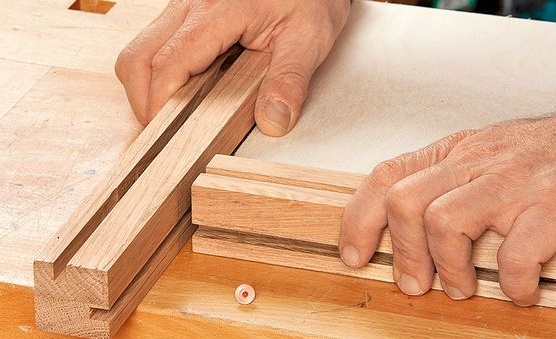
Finished parts are folded together and marked so that in the process of further assembly they do not get confused.
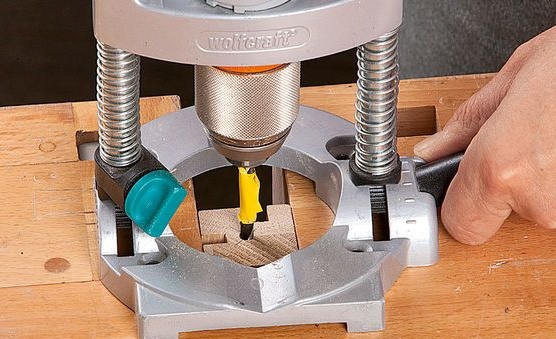
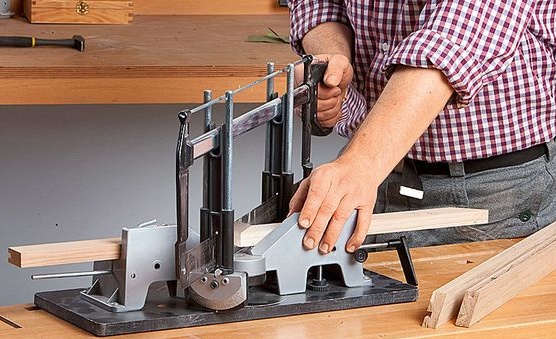
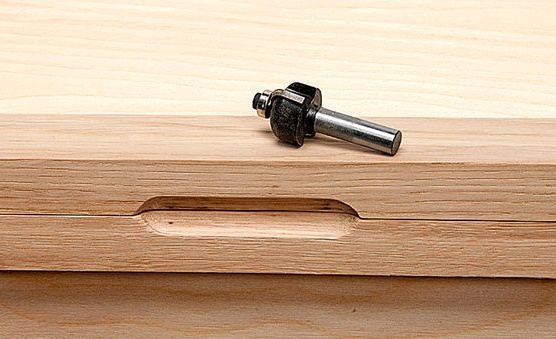
Every detail should have a groove, exactly in the middle, which can be done with a circular saw or a milling machine.
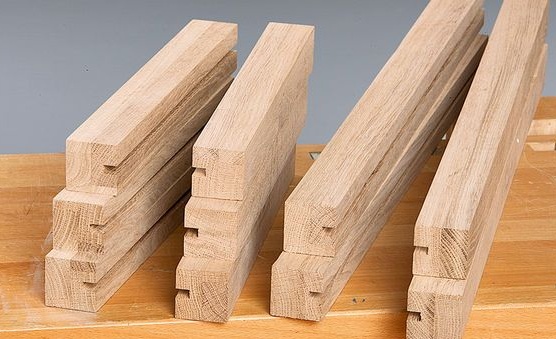
Parts that go to the vertical supports at the corners of the frame are marked with a transverse marking. Another longitudinal groove is made in the rear corner parts, but it is not needed in the front corner parts.
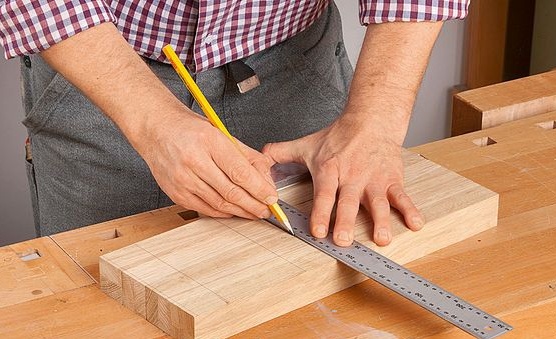

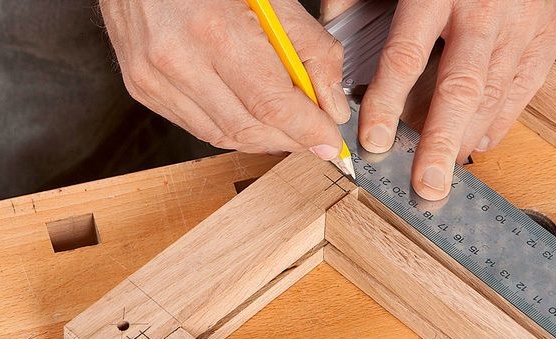
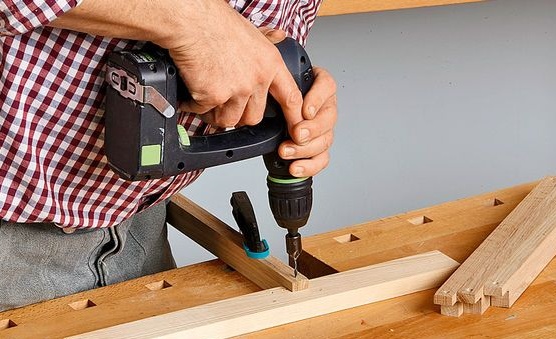
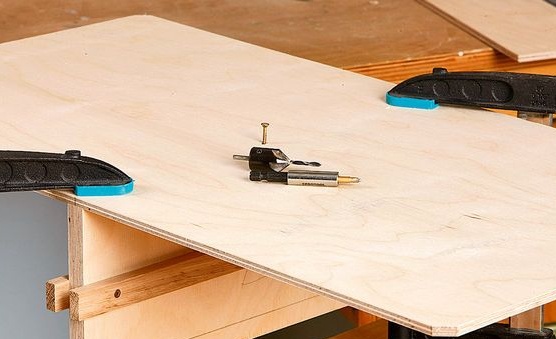
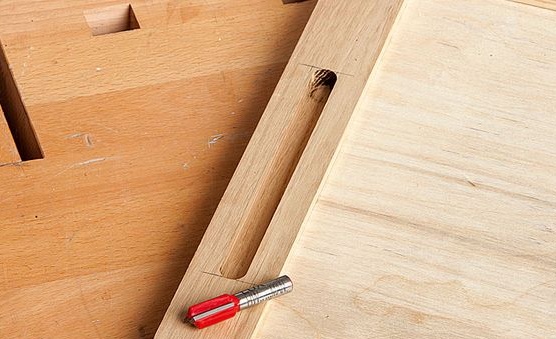
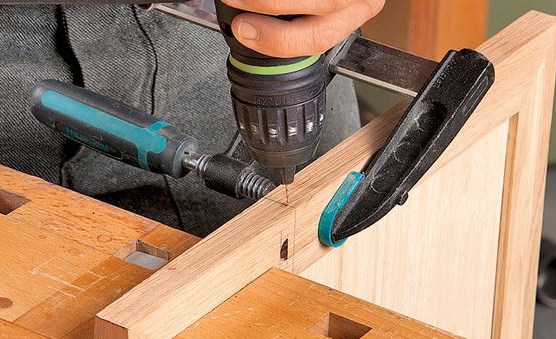
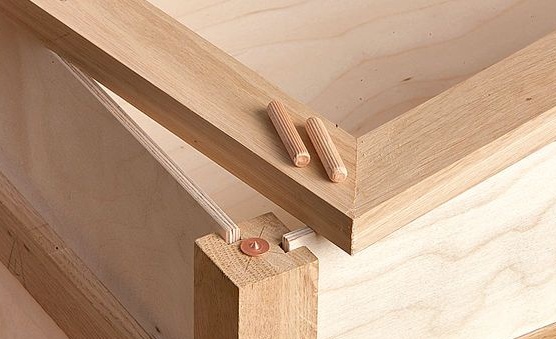
For the subsequent fastening of parts, you need to find the middle in the end parts (the intersection of the diagonals is the middle of the part) and drill a hole for the dowel diameter of your choice.
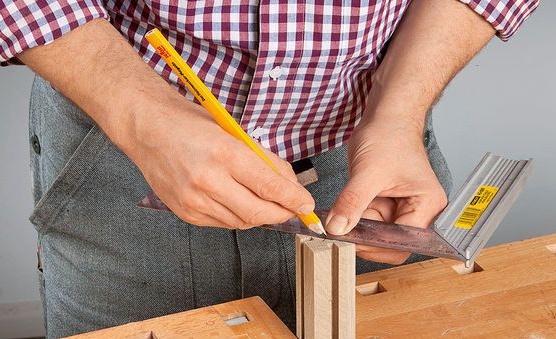
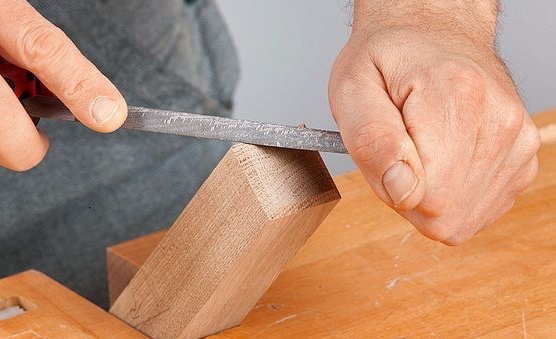
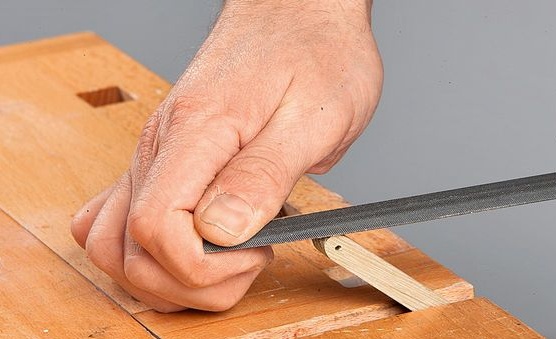
All parts are carefully checked for matching grooves and processed in the end parts by a file.
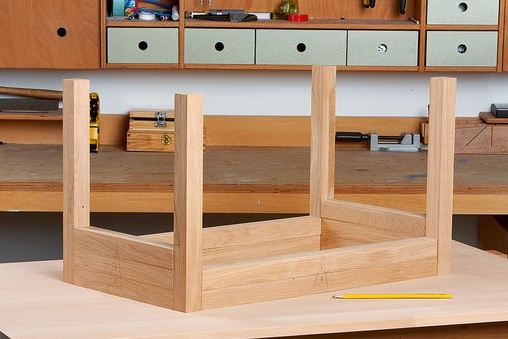
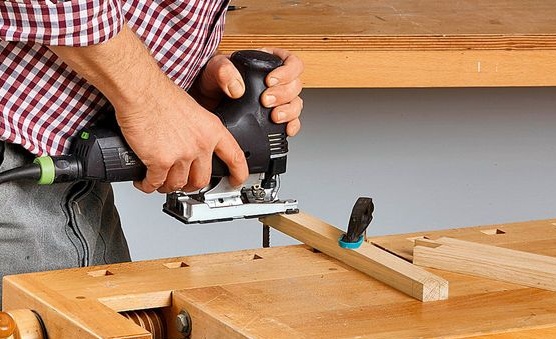
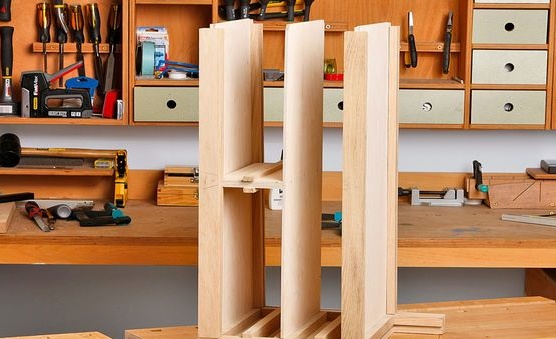
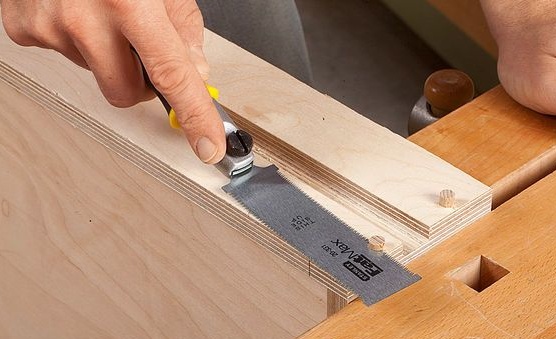
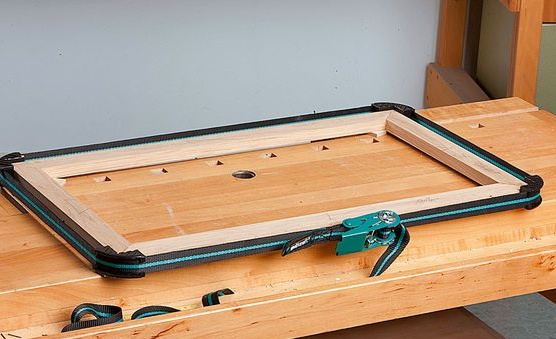
Next, the frame is freely assembled. Marks for lengthening grooves are marked on it. They are cut with a hacksaw on a tree and the excess is removed.
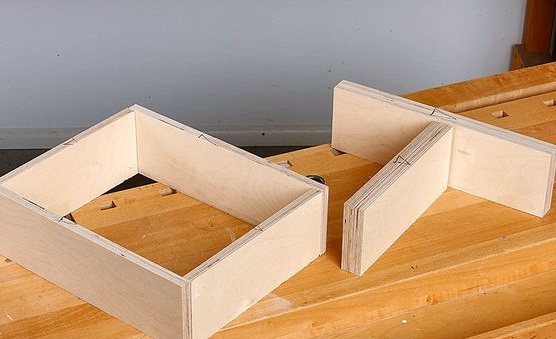
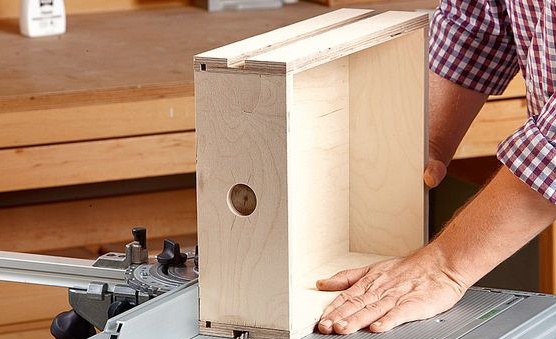
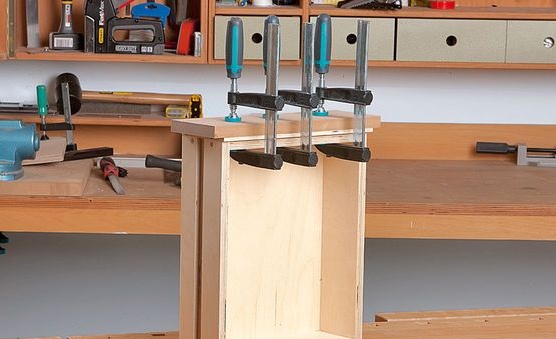
Now the author makes tool boxes. They are made in parts: First, the side walls are made, then the whole structure, drawers, and the lid at the end. The side walls of the box will consist of birch plywood.
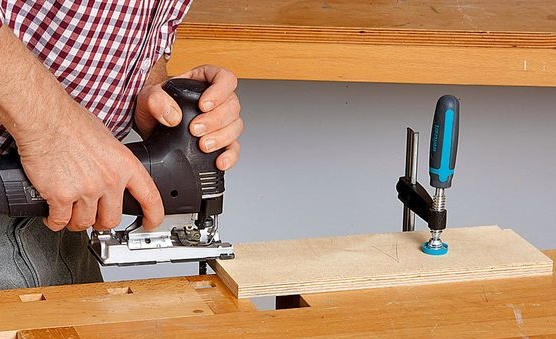
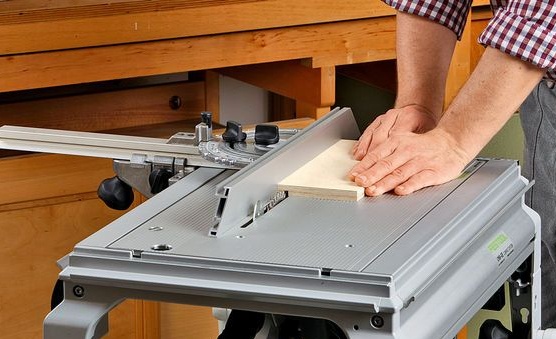
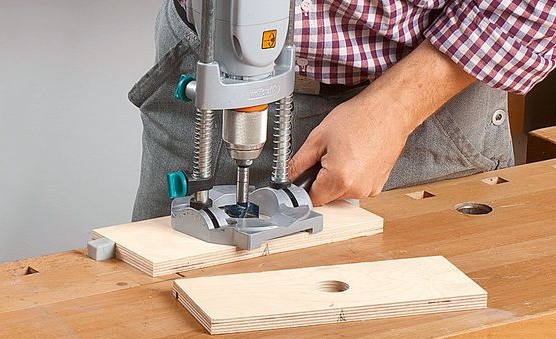
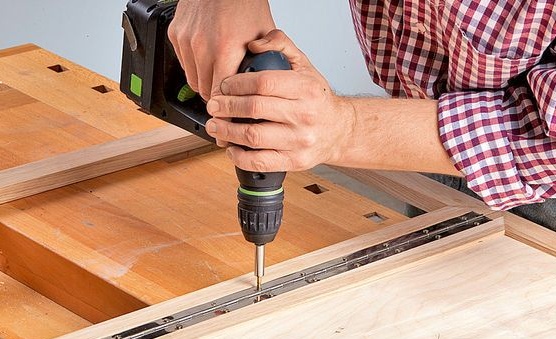
Drawings are made for drawers. A corner is cut out at the end of the part. Billets are drilled in order to fasten them with bolts.
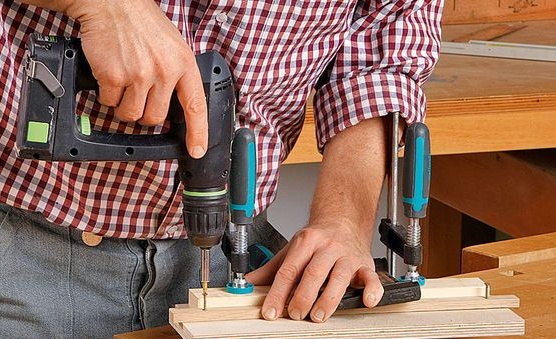
On the parts that will be used for fastening and separating the drawers, cuts are made at an angle of 90 °. Parts are installed in the right place and screwed on.
Next, the process of preparation and fastening of the details of the boxes.
The diagonal is checked again to make sure the future design is accurate.
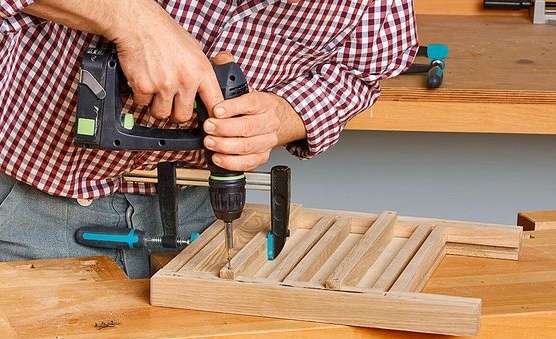
Drawers are made from plywood. Grooves are cut out and a hole for the handle is drilled. The parts are fastened together with glue, after drying, they are fastened with wooden dowels for strength.
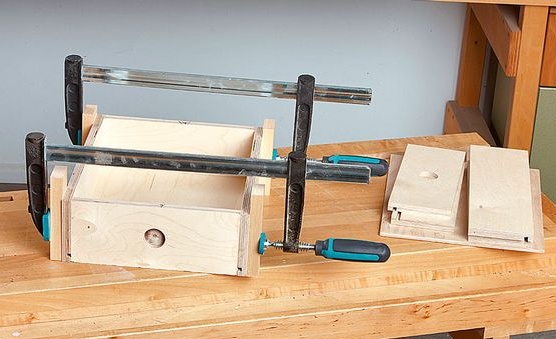
Try on the panels and see if all the parts are evenly spaced.
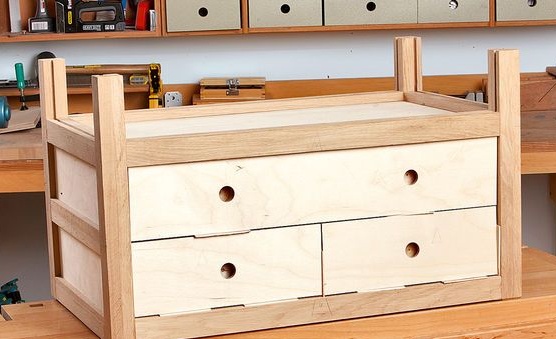
Now the author begins to assemble the upper part of the frame, which will be plywood. For this, the workpieces are sawn off at an angle of 45 °, glued together and fixed until completely dry.
A groove is made in the lid for the support bar. Fasten plywood to the frame. A support bar is made, its edges are formed and fastened to the frame.
They make a groove in the frame and attach it to the box on the dowels. A groove is made on the frame and cover. The lid is mounted using a swivel joint.
After the author has completely assembled the tool box, he varnishes it and you can start using it!
