

Hello, dear visitors and regular users of the site. Today I want to talk about one more of my homemade products and post a detailed photo report on its manufacture. Since in addition to rabbit husbandry in my subsidiary farm there is also a large number of chickens, the question of the optimal feeding regimen, as well as the method of preserving the feed, was very acute for me.
The fact is that the chicken is constantly rowing, looking, and so on. Therefore, the feed that I poured into conventional feeders, namely wooden trays, half of the tires from cars and the like, they were either raked or trampled. And with a herd of about 70 chickens, feed losses are quite high.
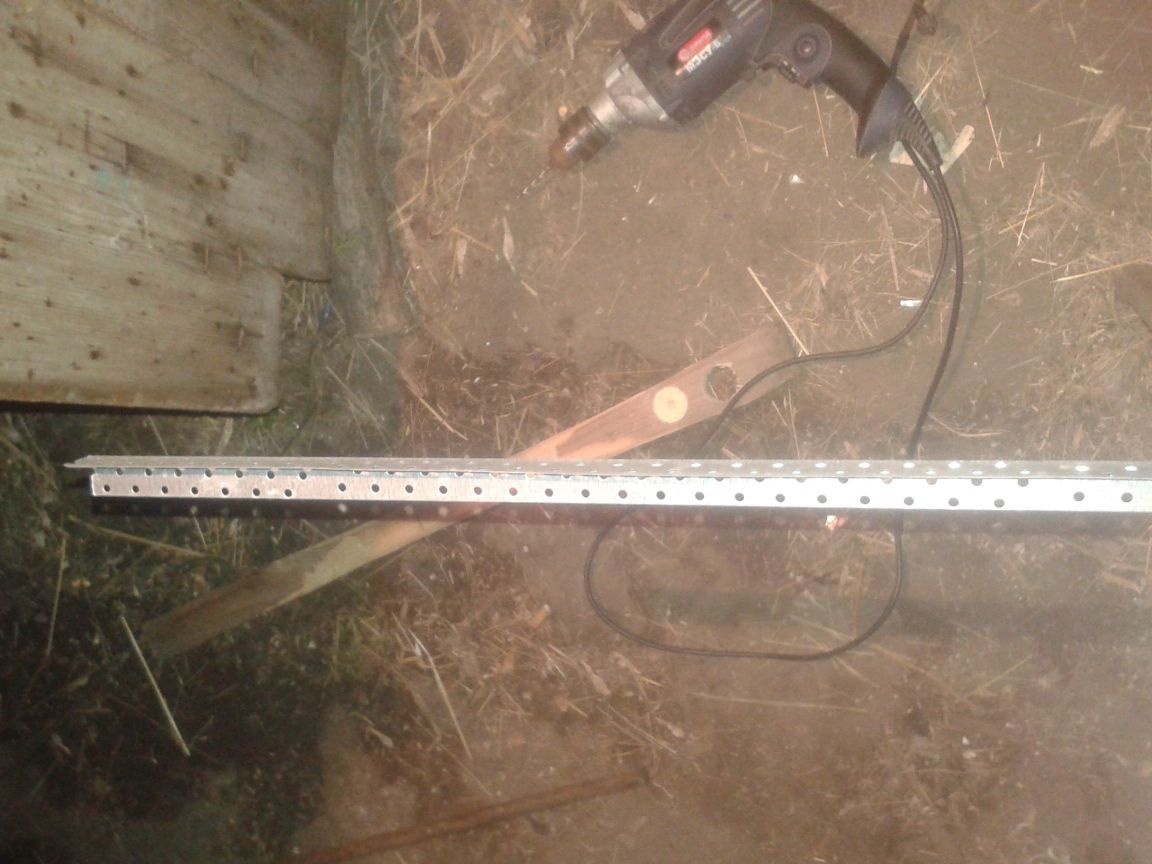
Wooden feeders are still not comfortable for me, whatever one may say, but the material is short-lived. Yes, and standing on the street all the time. Of course you can buy a feeder, but they are all small, and if they are made to order, the price will be sky-high. Therefore, rummaging on the Internet, I found for myself just such an option, which completely suited me. I downloaded the picture and based on it made a side pattern. The remaining parts are not needed, because there is nothing complicated in them, these are ordinary galvanizing strips of the size you need. For work, I needed such tools and materials. A sheet of galvanized steel, rivets, riveting tools, drills, drills with a diameter of 4 mm, a hammer (preferably a wooden mallet), a grinder with a petal disk for grinding, metal scissors, tape measure, marker for marking and a welded mesh, the cell of which is 3x6 cm.
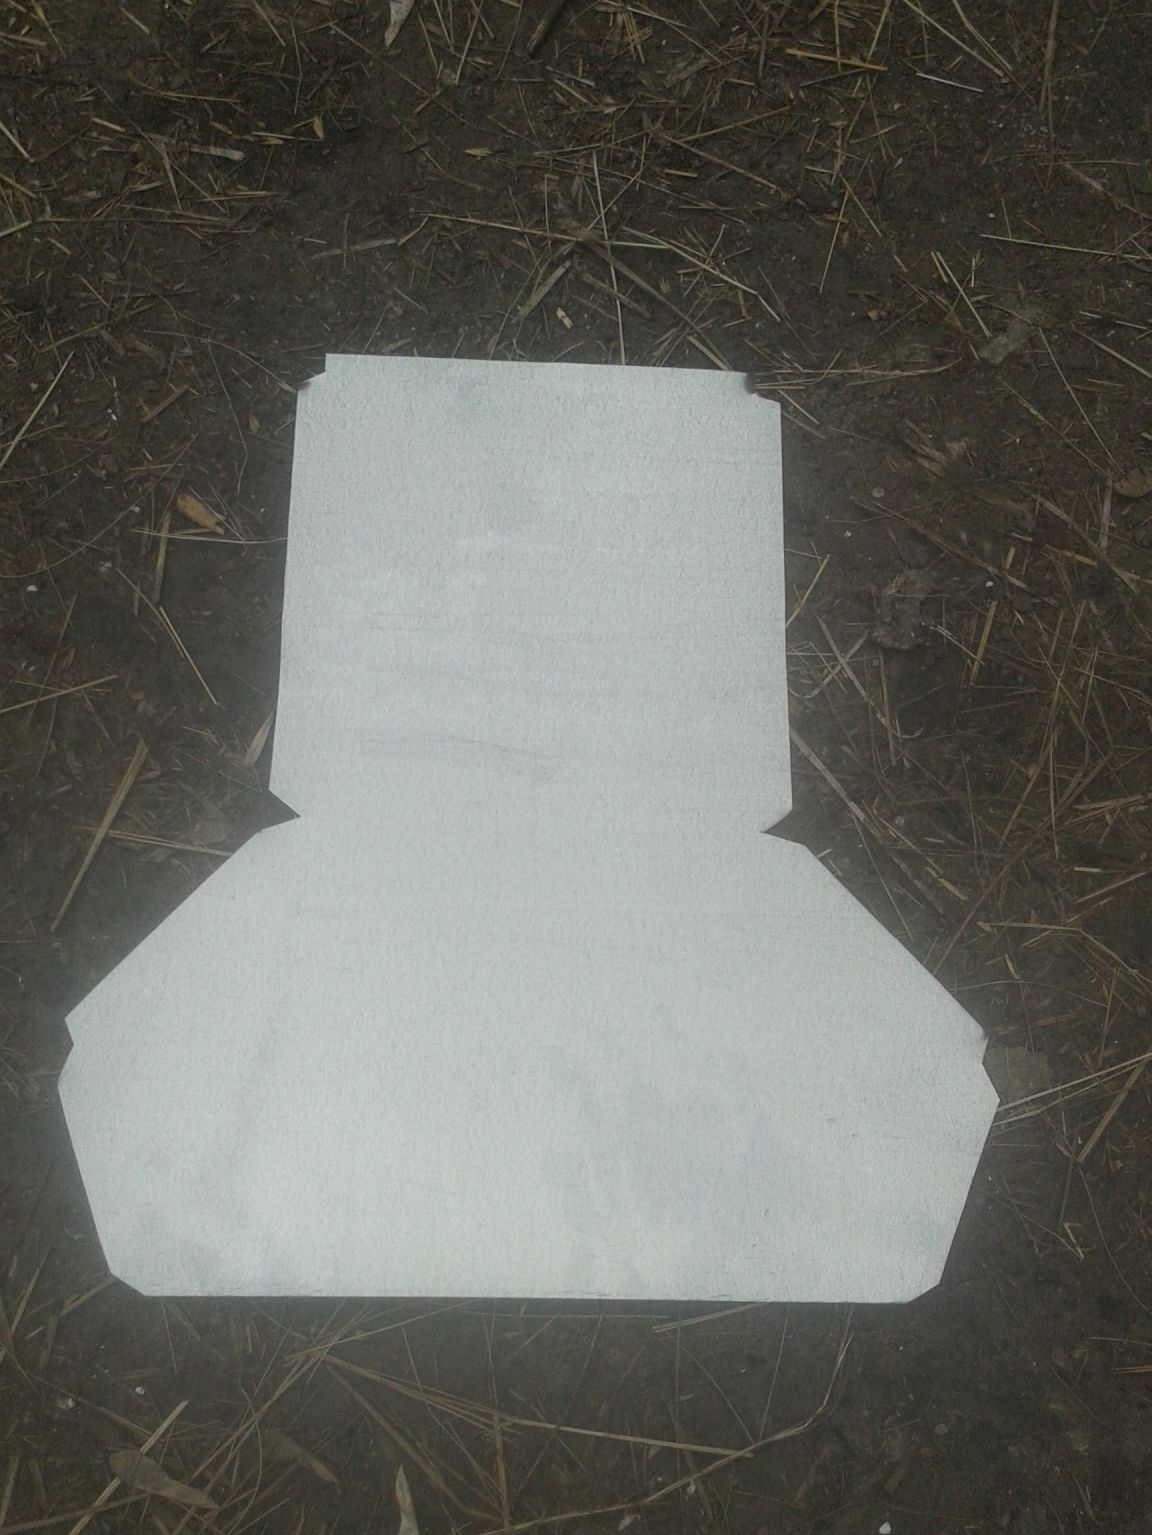
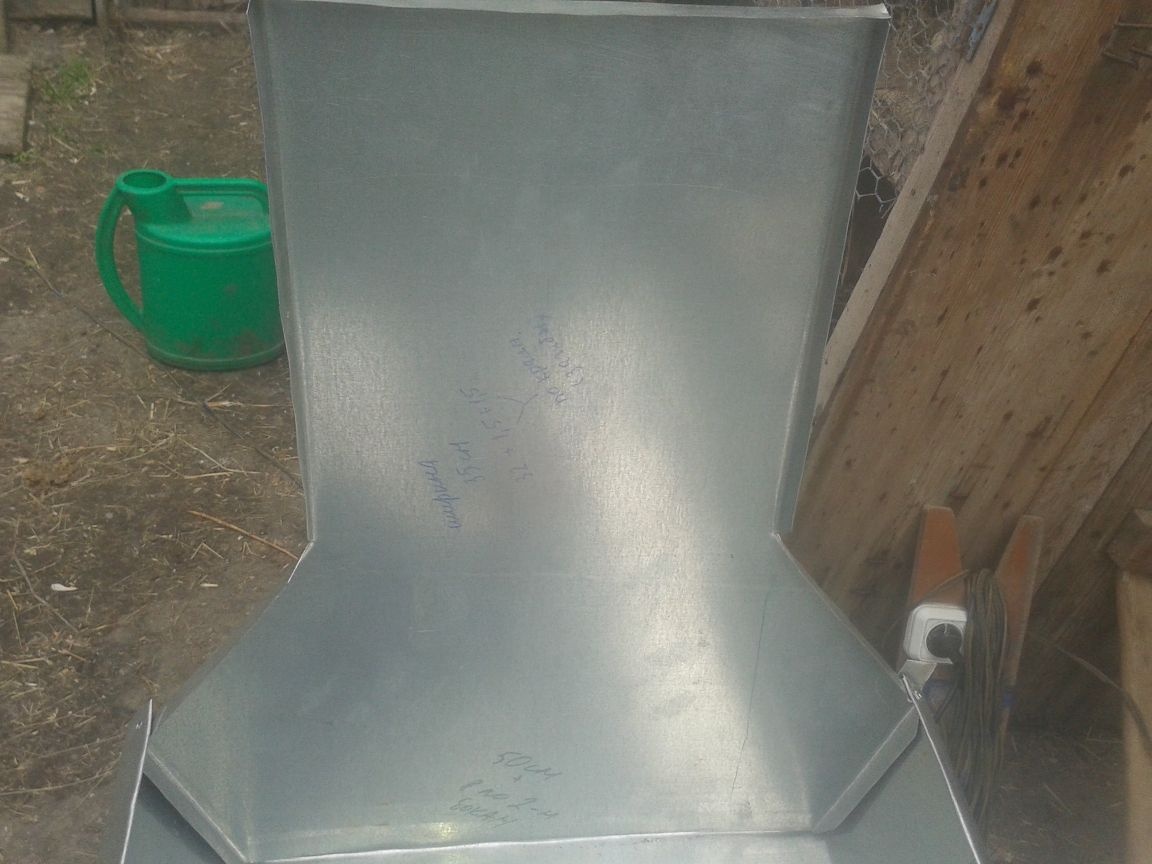
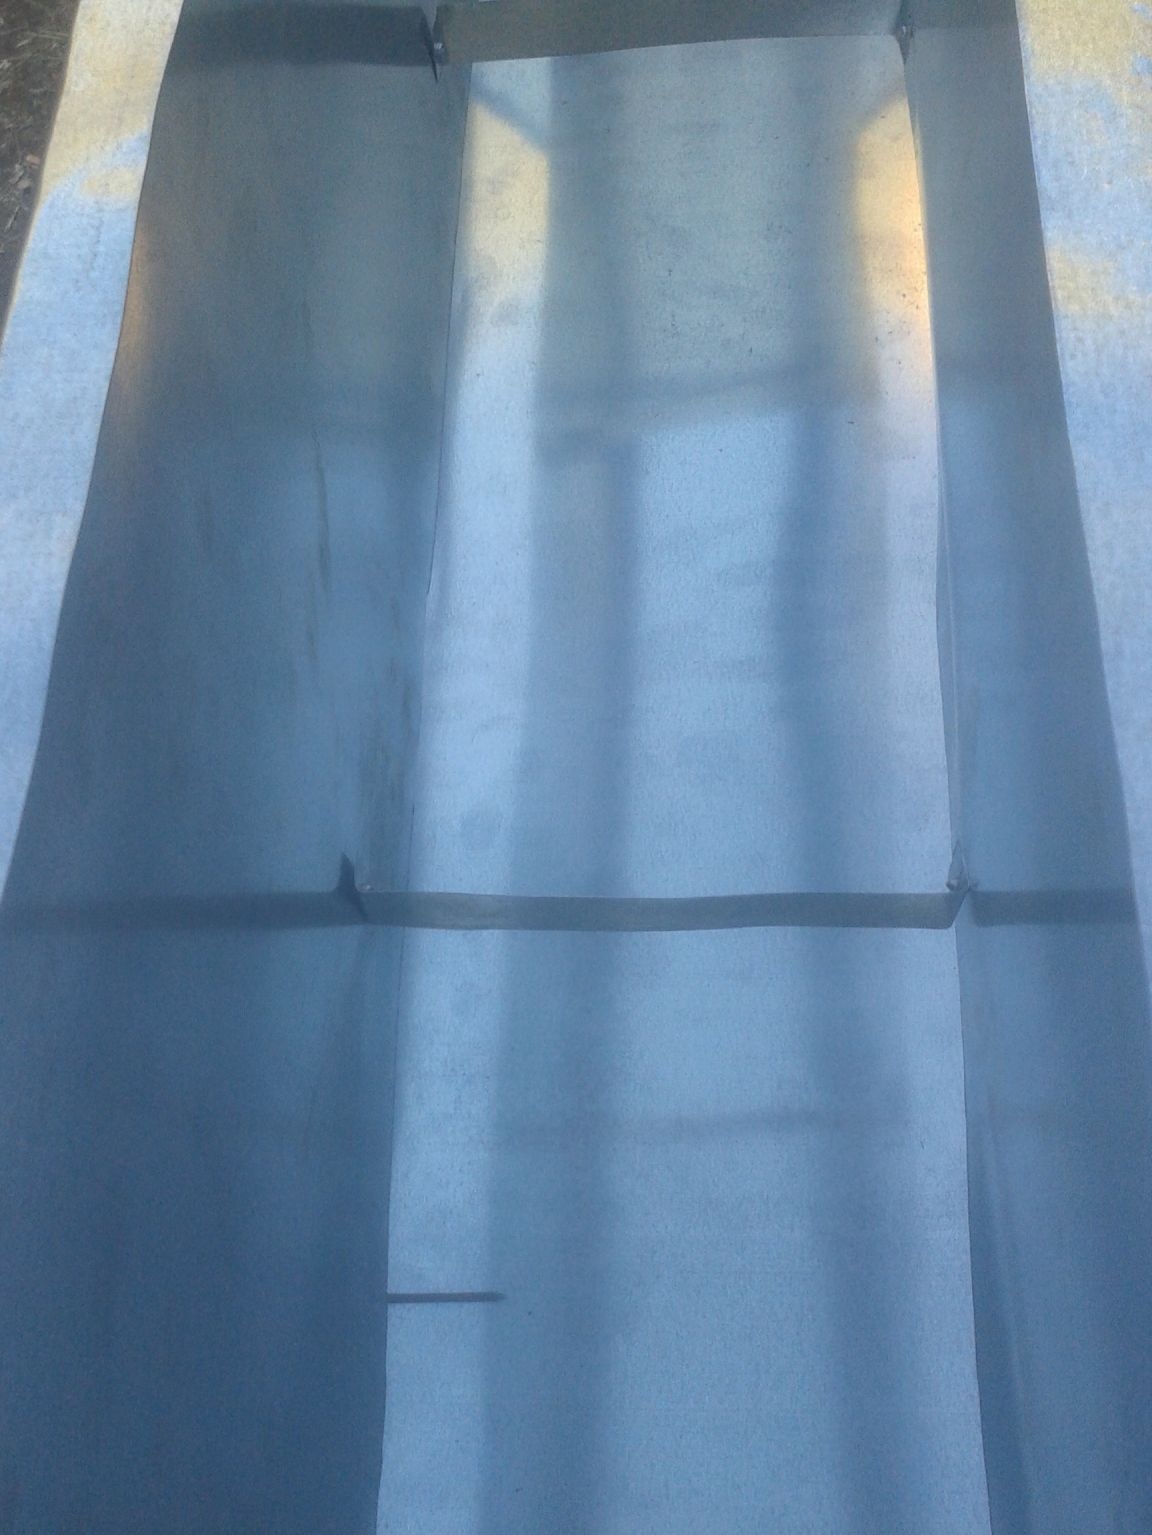
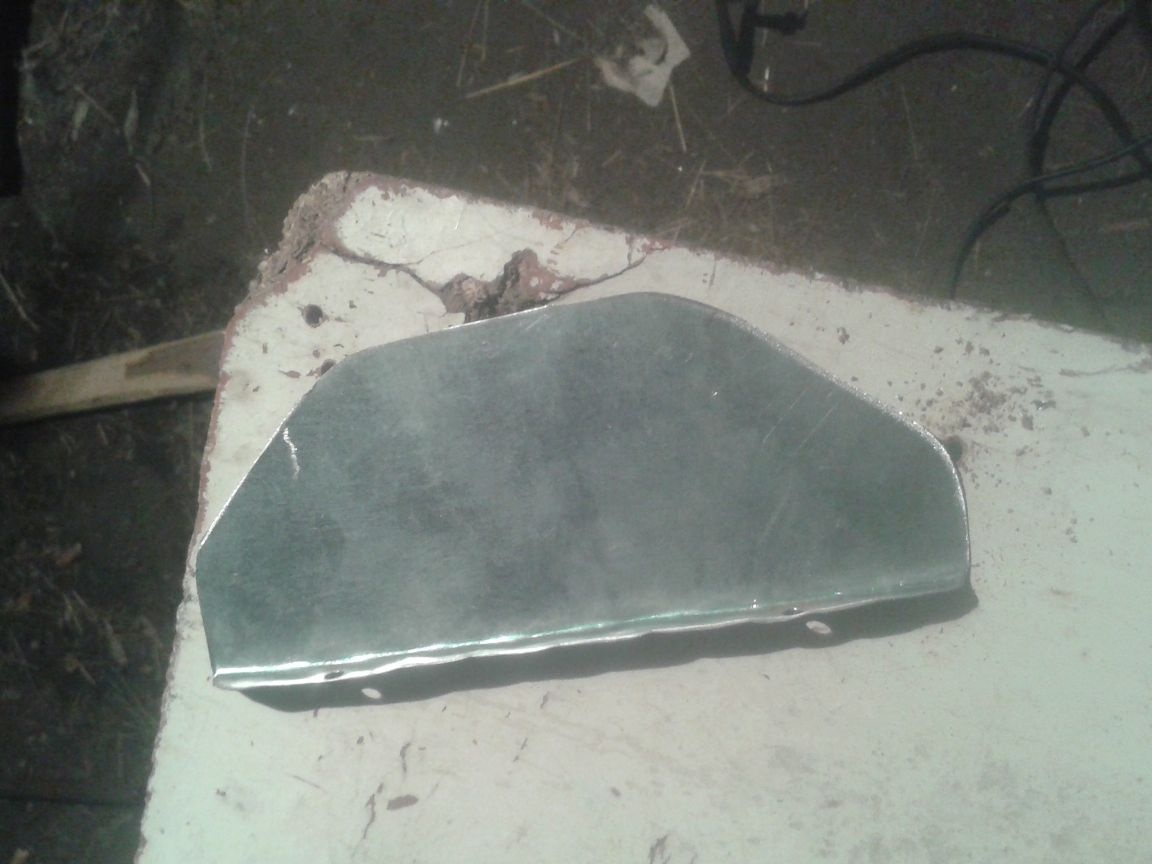
Initially, I prepared a pattern. Did by selection method, i.e. cut and looked, suitable or not. Since the weather was windy, so as not to blow the edge, put a load on it. But this does not interfere. Everything is clearly visible in the photo and you can easily make yourself the same.
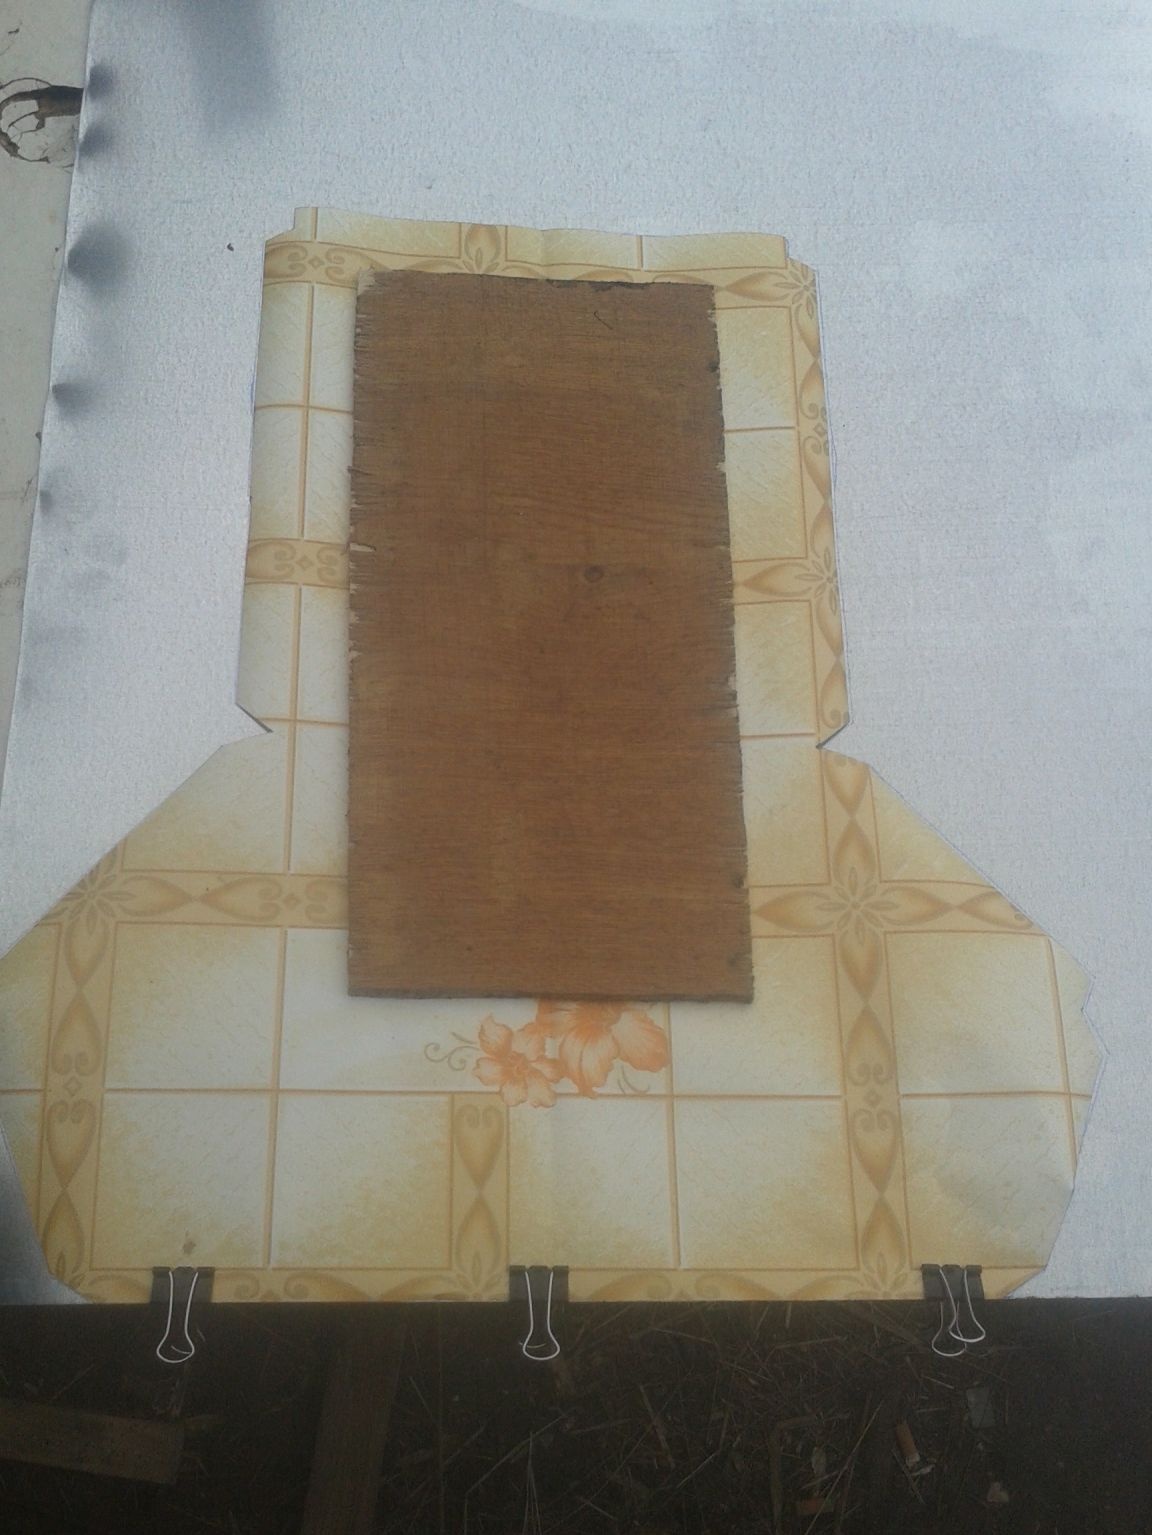
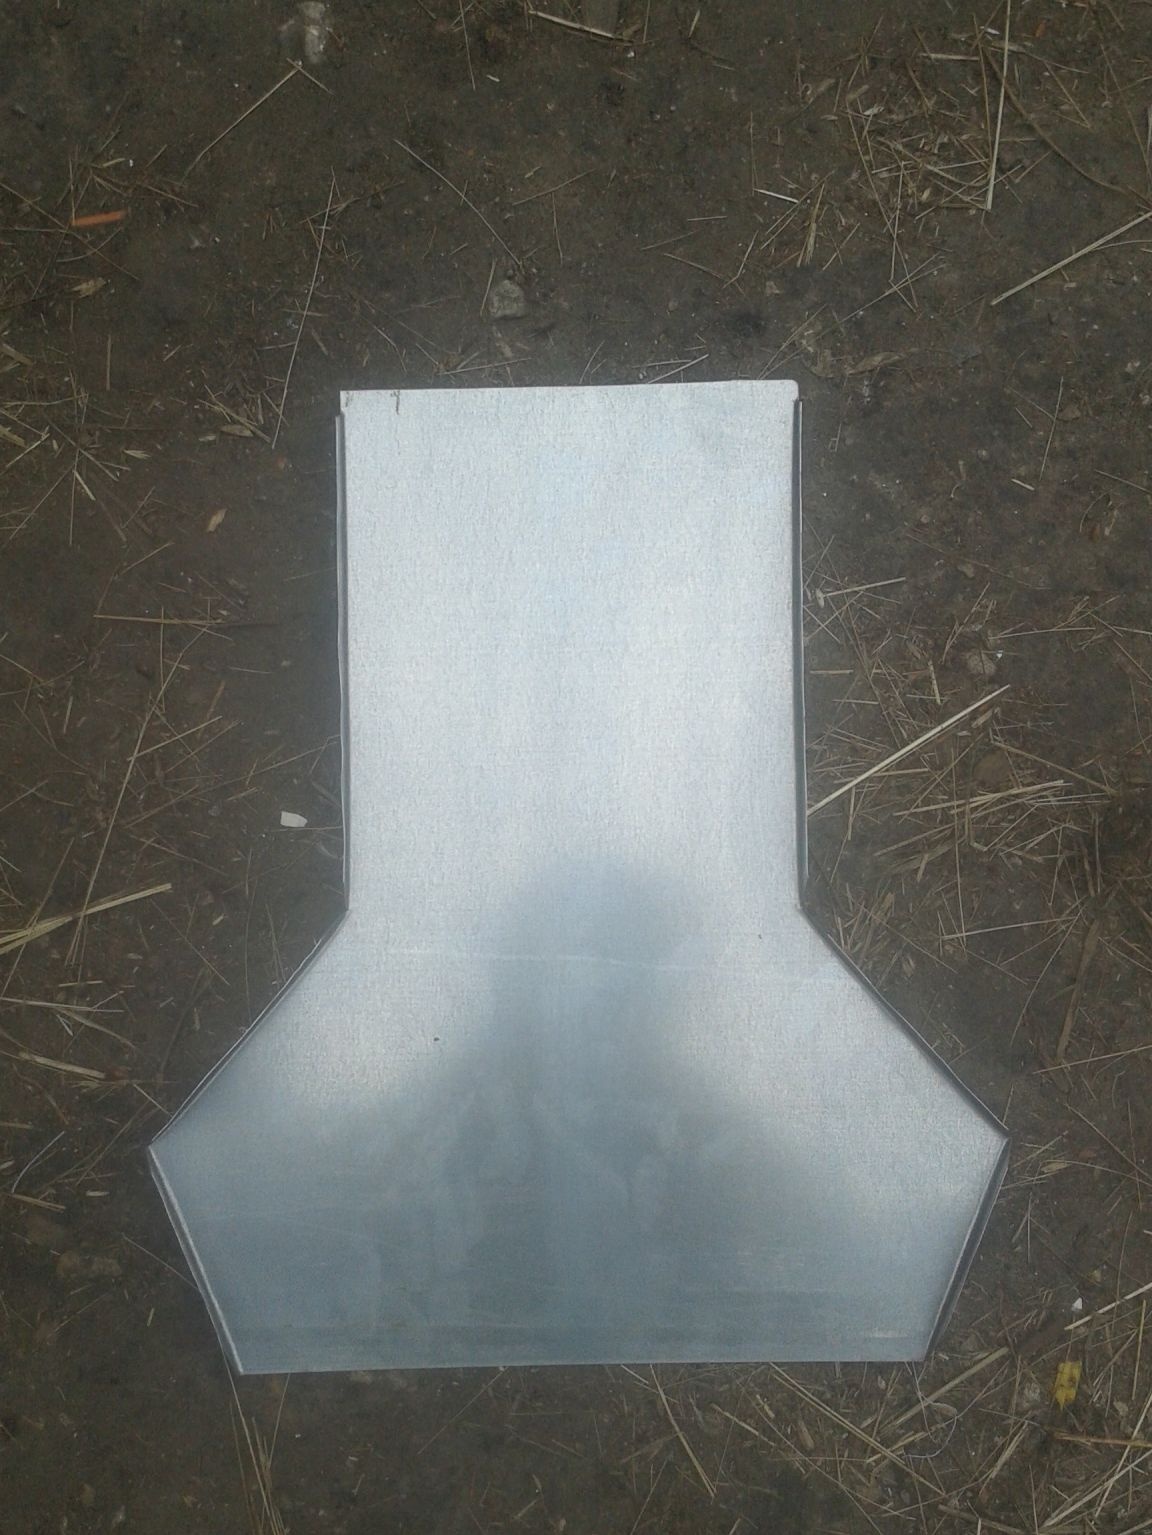
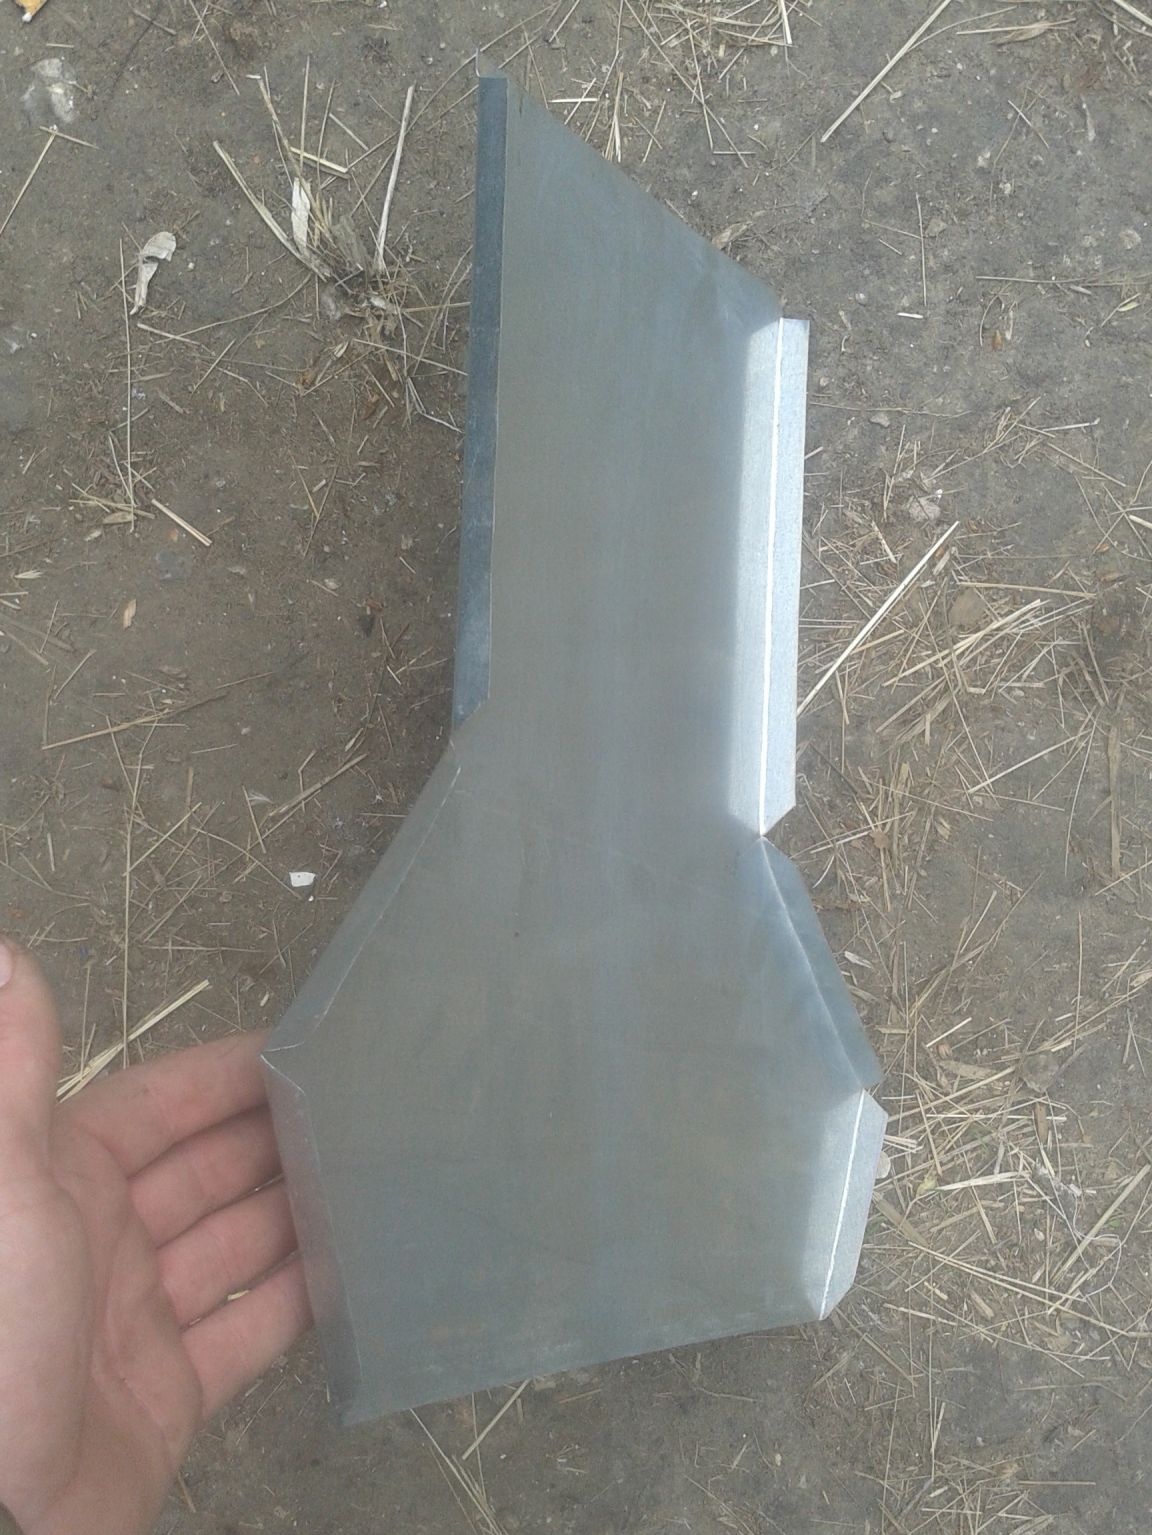
I draw a felt-tip pen along the contour and cut it out. But it’s worth the haste. If you don’t cut it out within 7-10 minutes, the outline on the metal will blur and you won’t get the exact dimensions. Such items need 2 pieces.
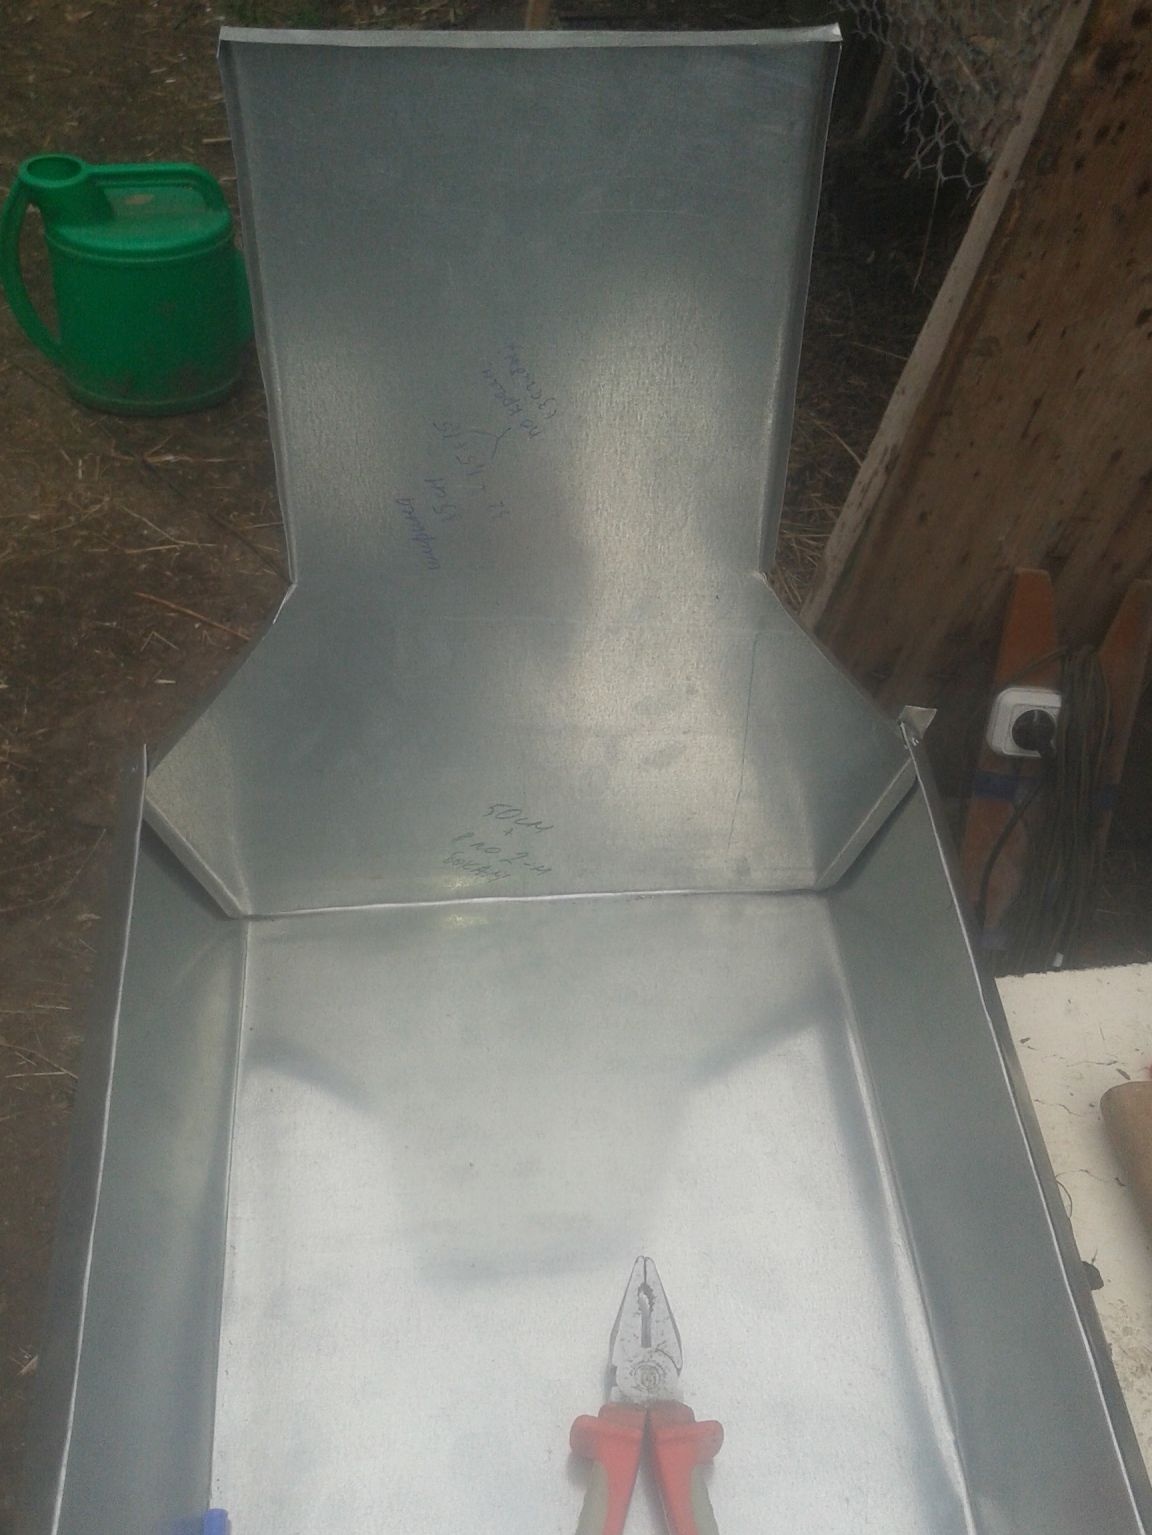
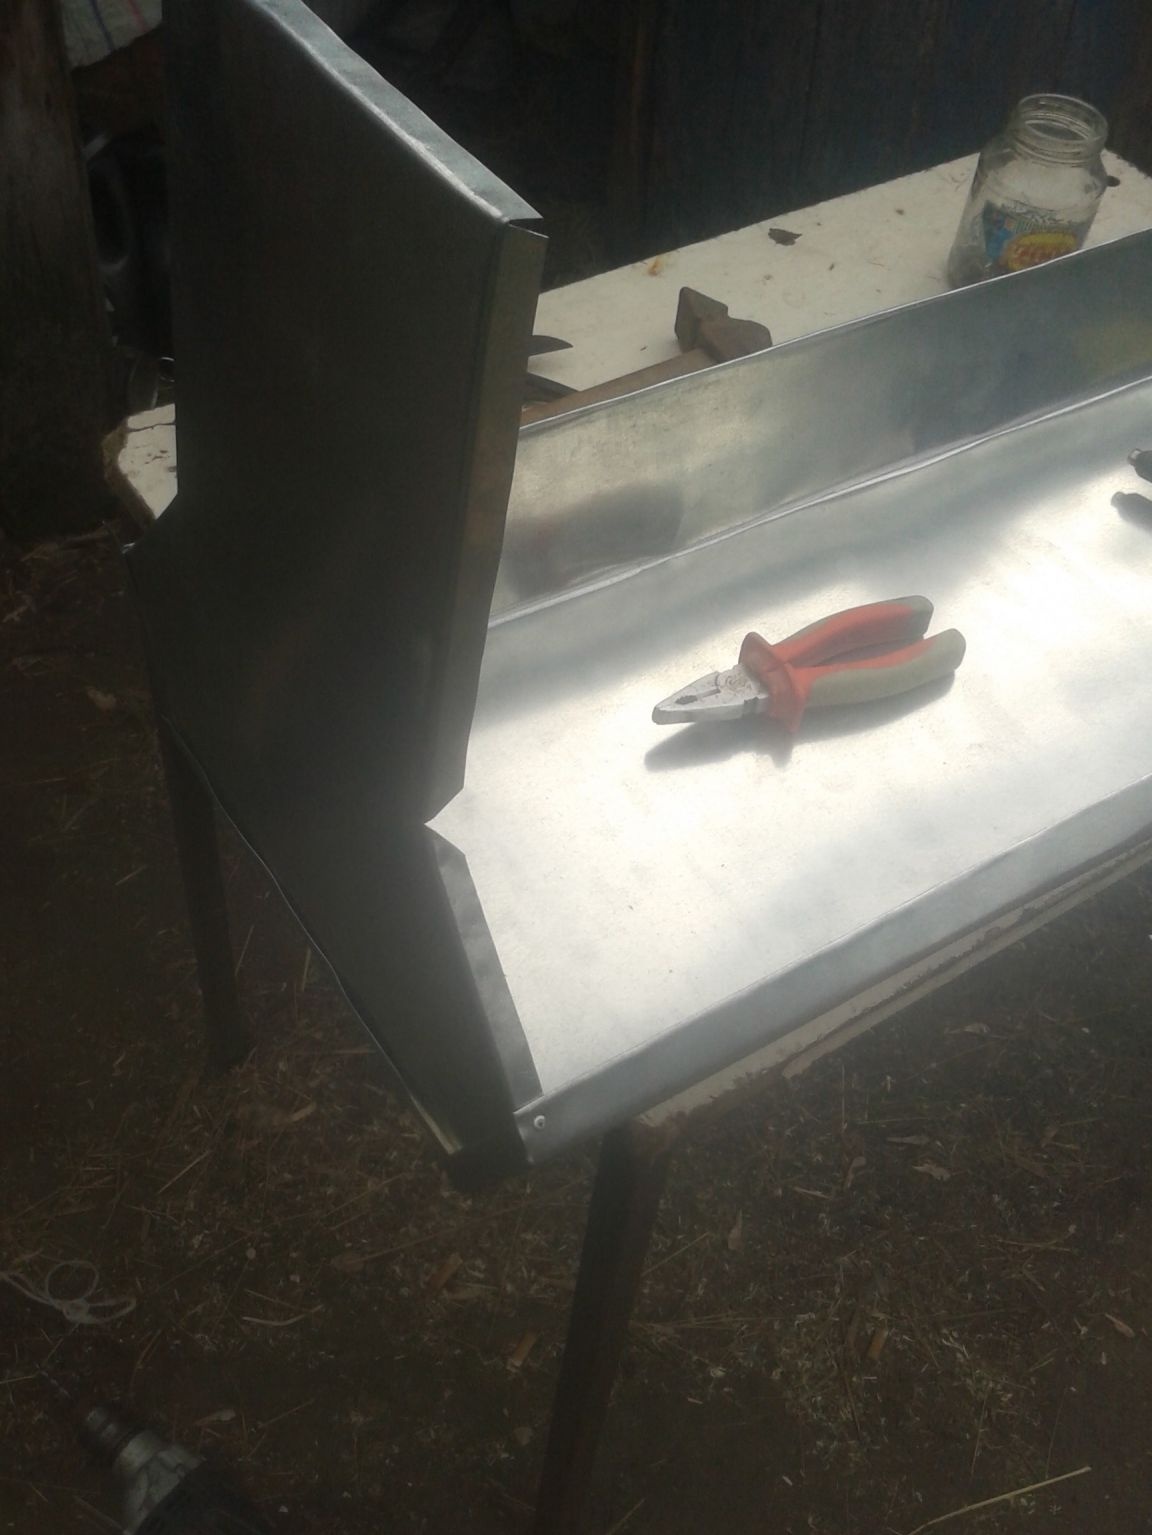
After that we bend the edges of the blanks as shown in the photo.
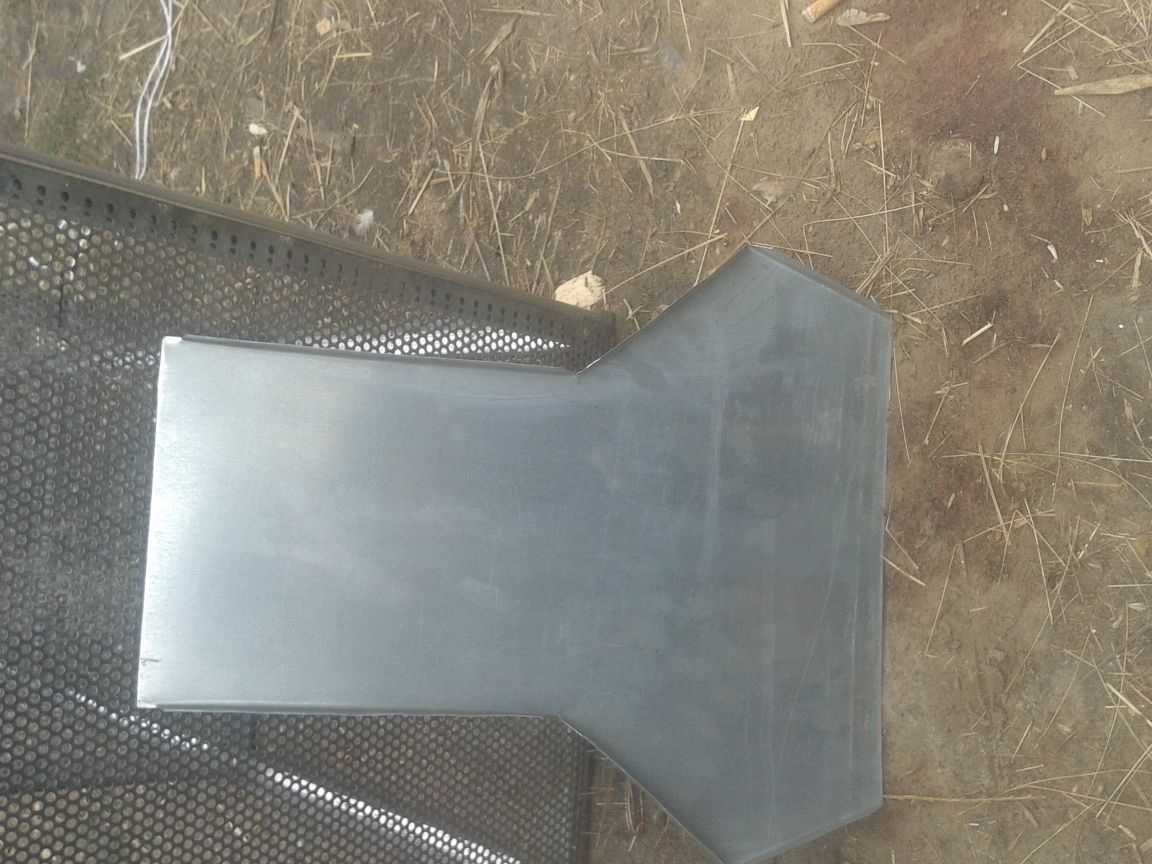
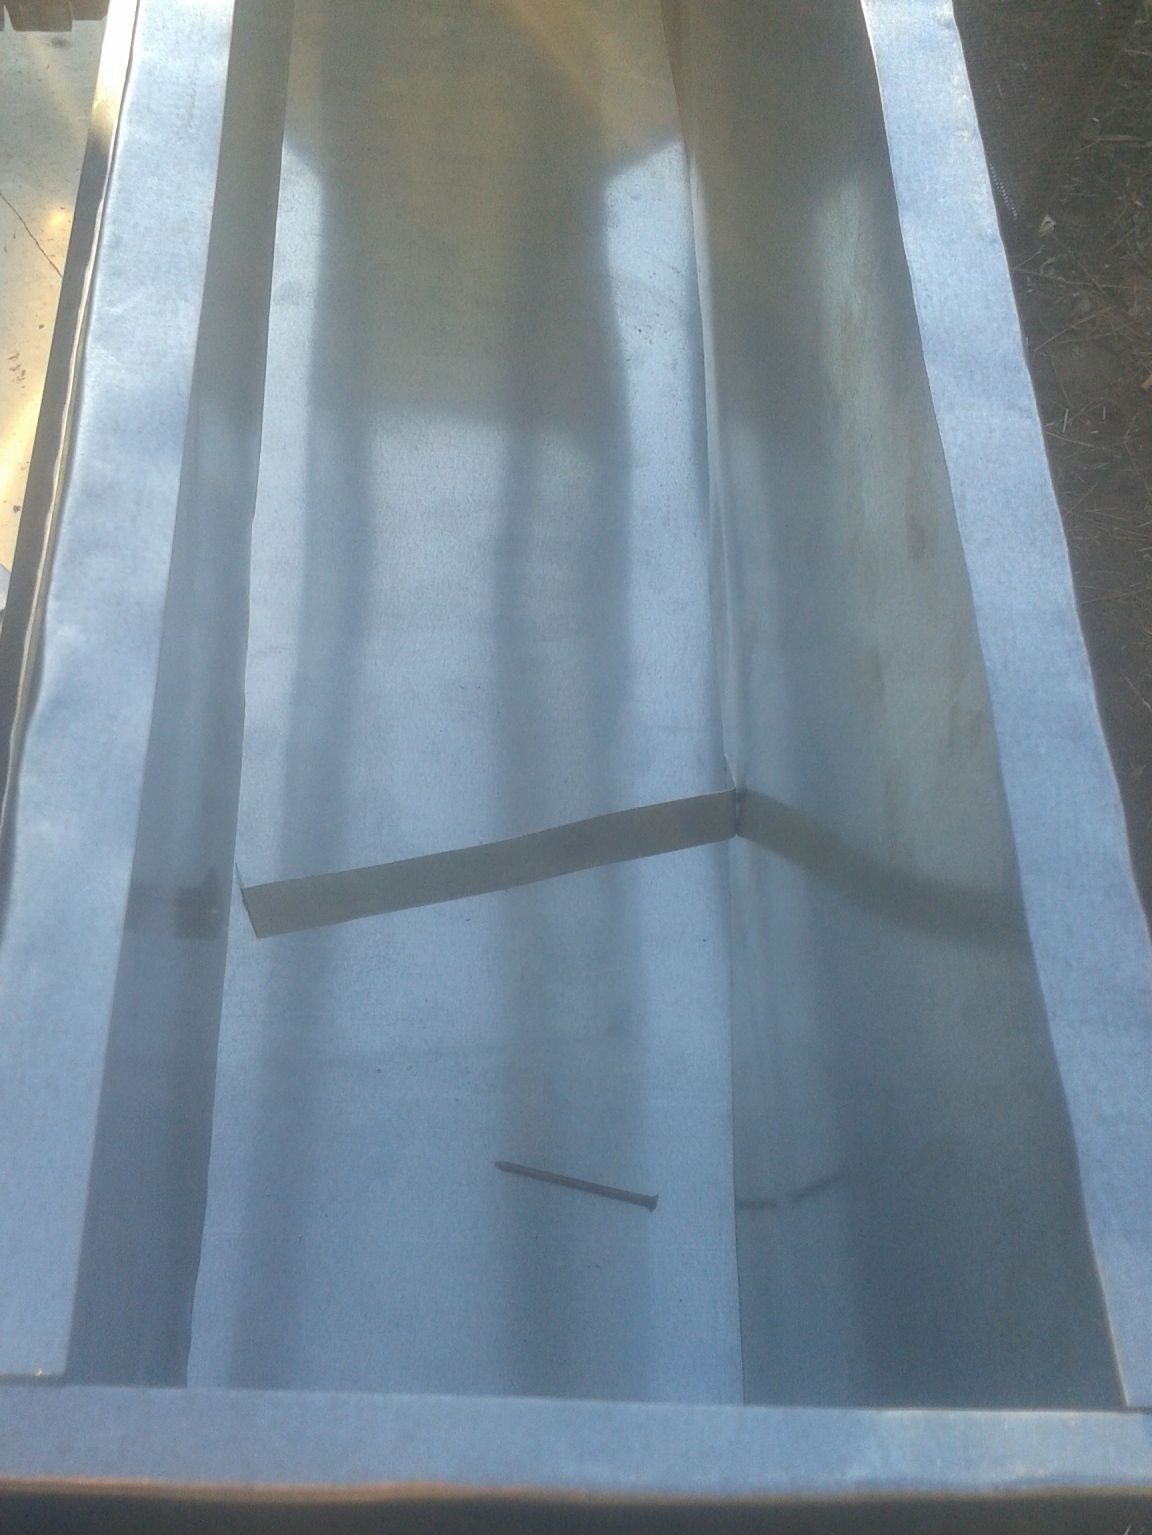
Then I cut out the pan of the day feeder. Its length is 96 cm, and 2 cm per bend at the edges.I calculated its width so-folded the length of the lower part of the sidewall and two adjacent to it, plus 2 cm for bends. Marked and began to bend.
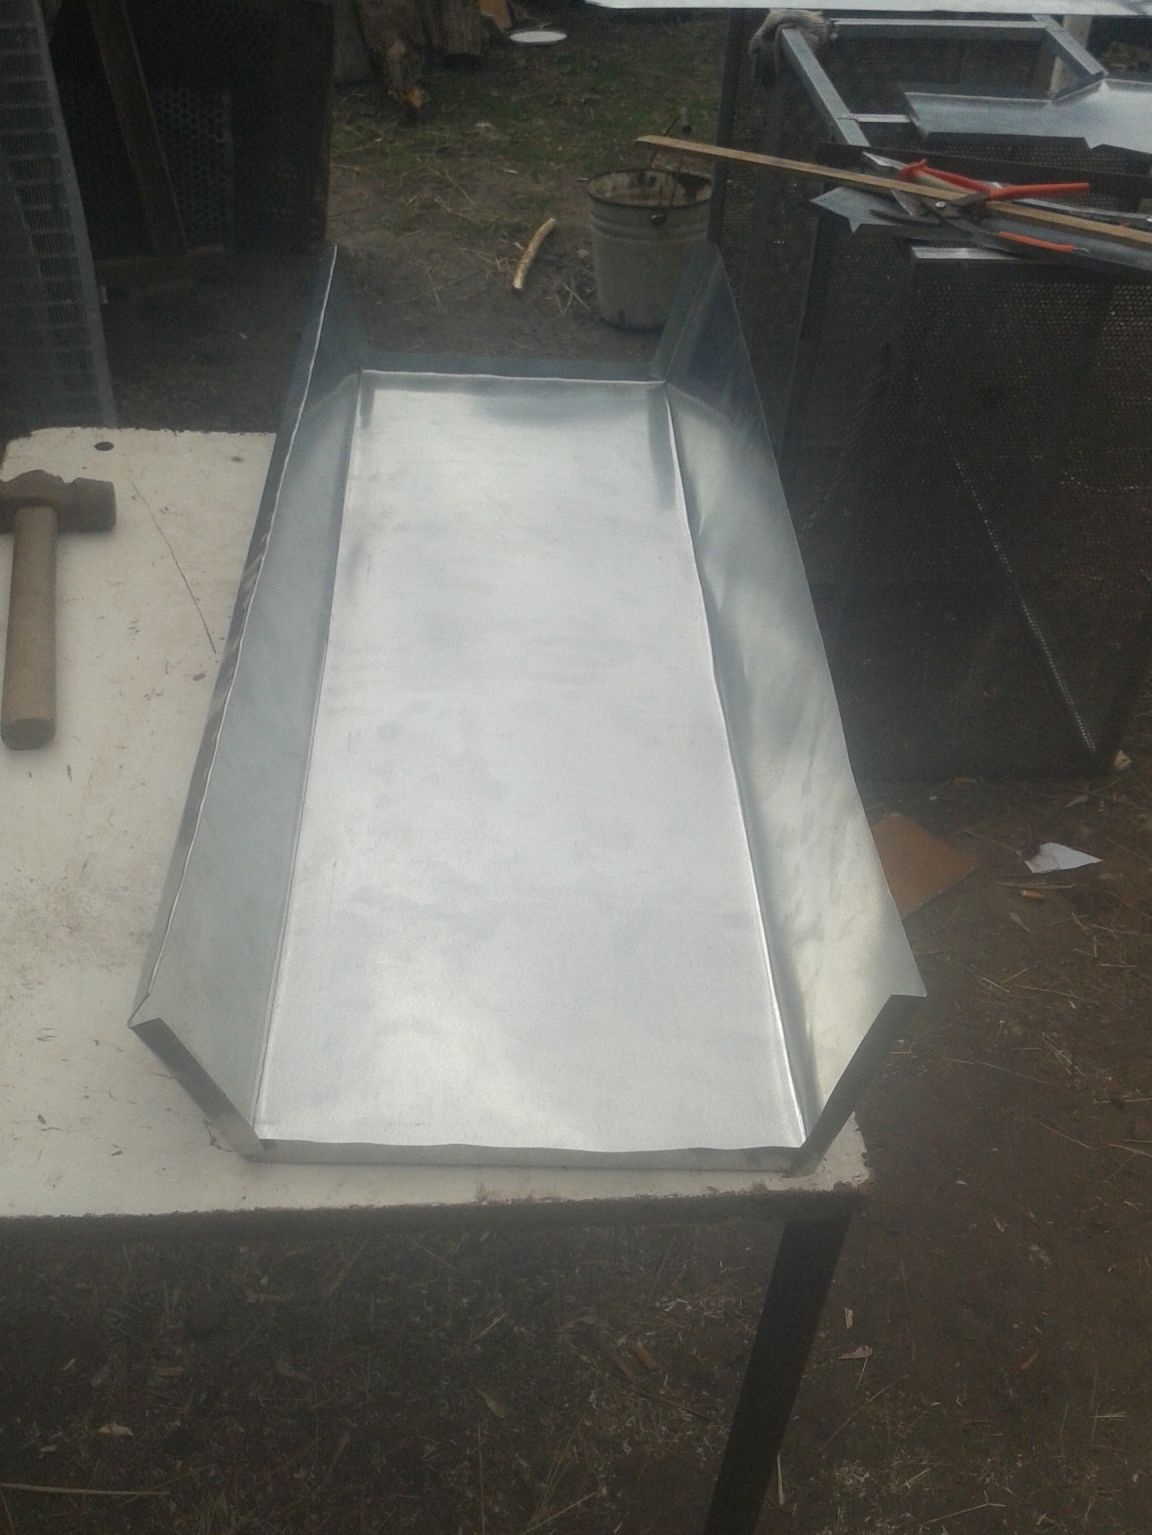
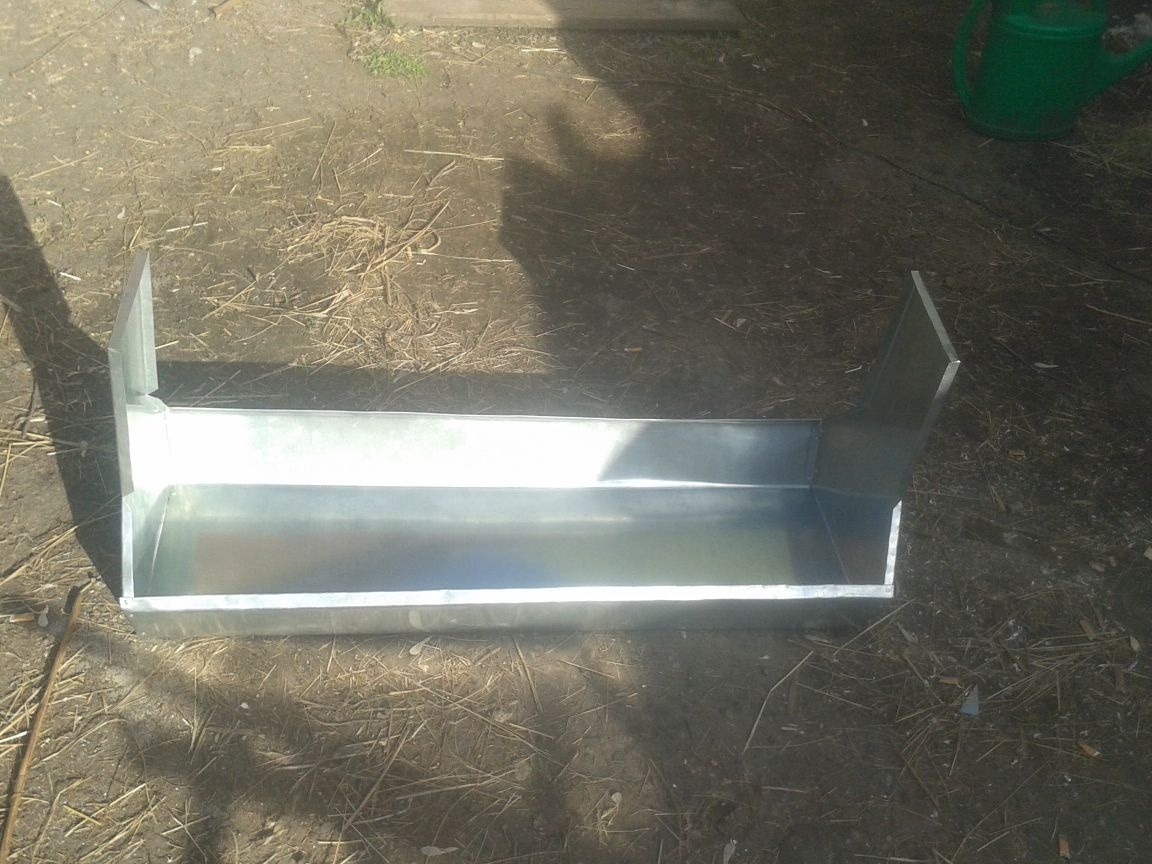
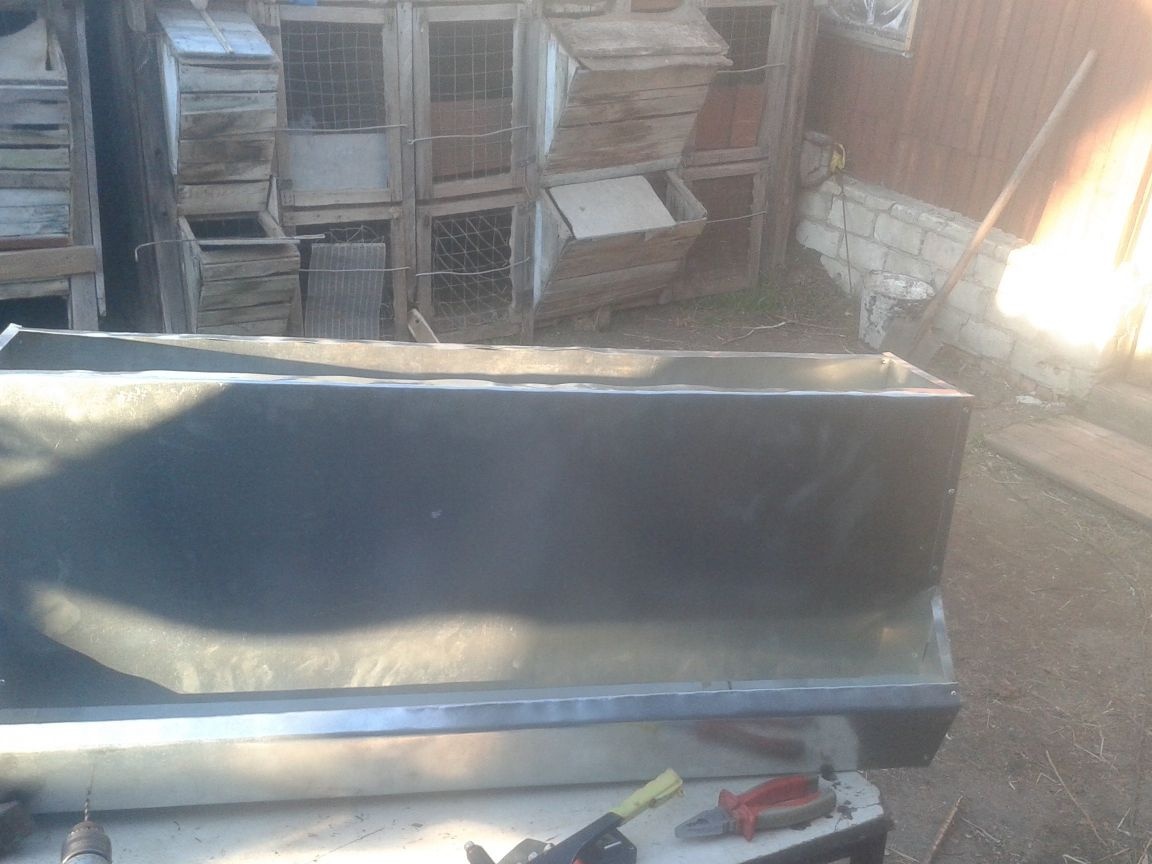
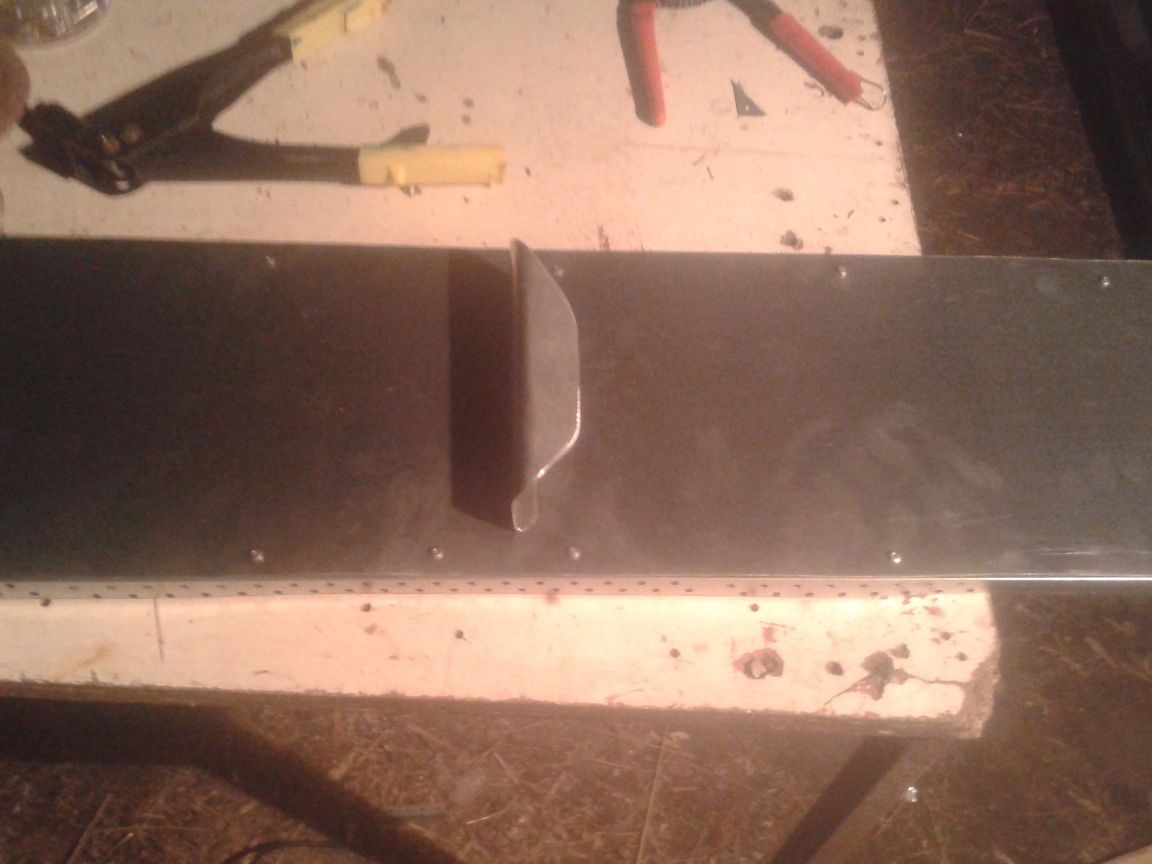
As a next step, I cut out 2 strips of metal that will be mounted inside the feeder and will be the front walls of the feeder, its bunker part. Then I just cut exactly 96 cm, since the bends on them are not needed, they will be attached to the side walls on which they already exist.
The lower part of these parts falls below the upper side. This is so that the feed that you will pour into the feeder does not wake up over the edges. And the bird will not be able to throw it. The main thing is not to lower too low, otherwise it will be difficult for birds to get it out of the feeder.
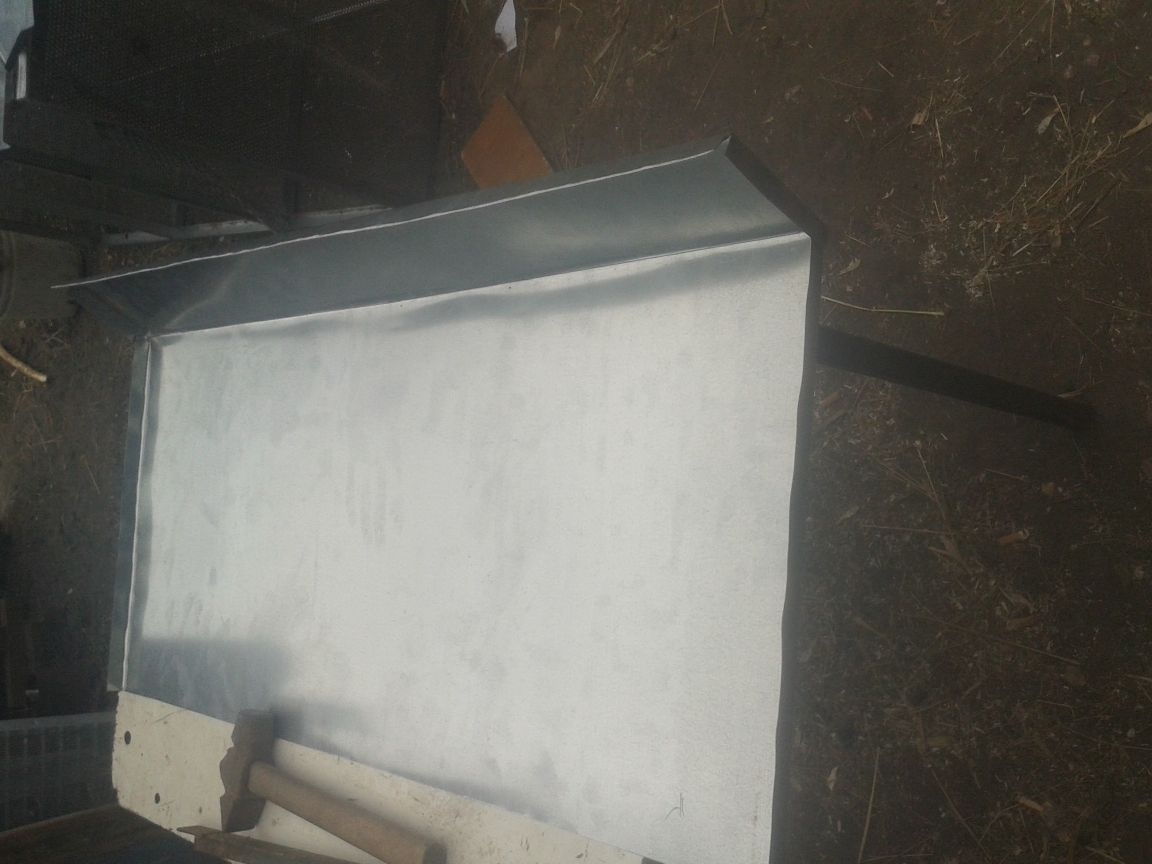
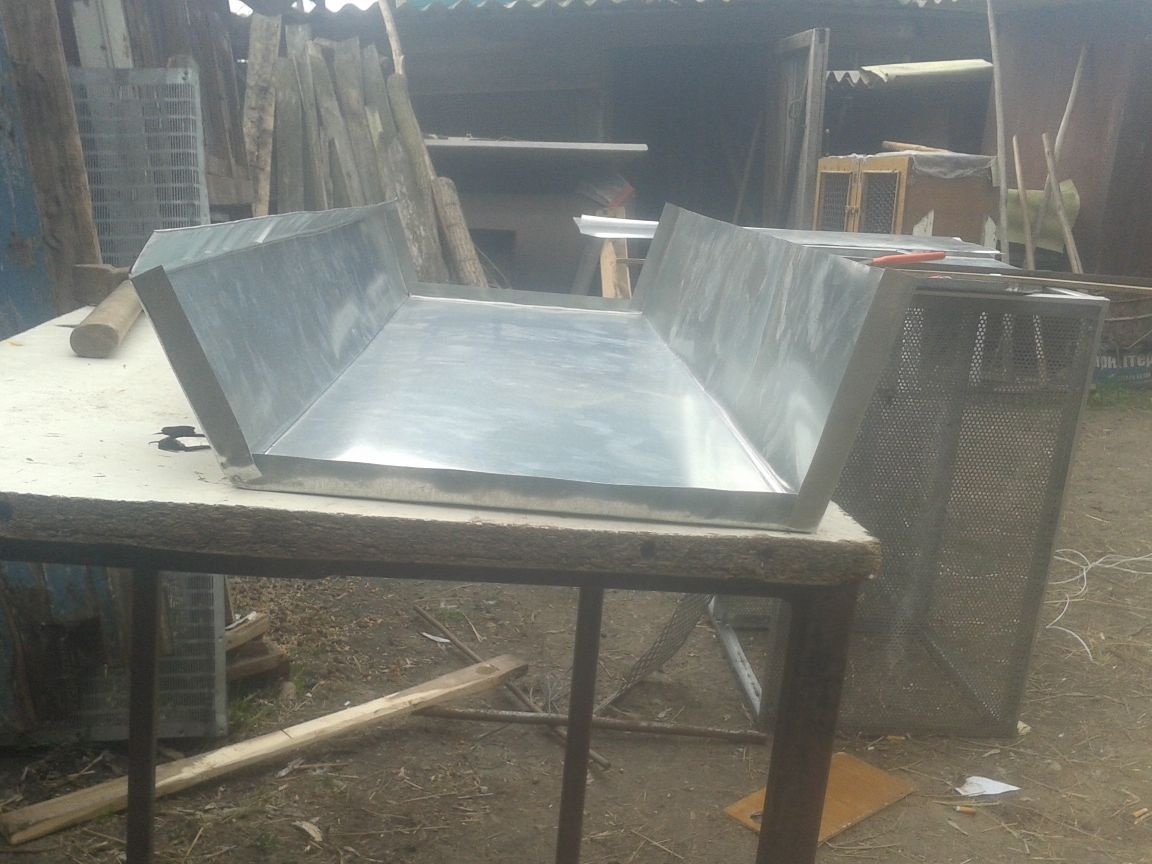
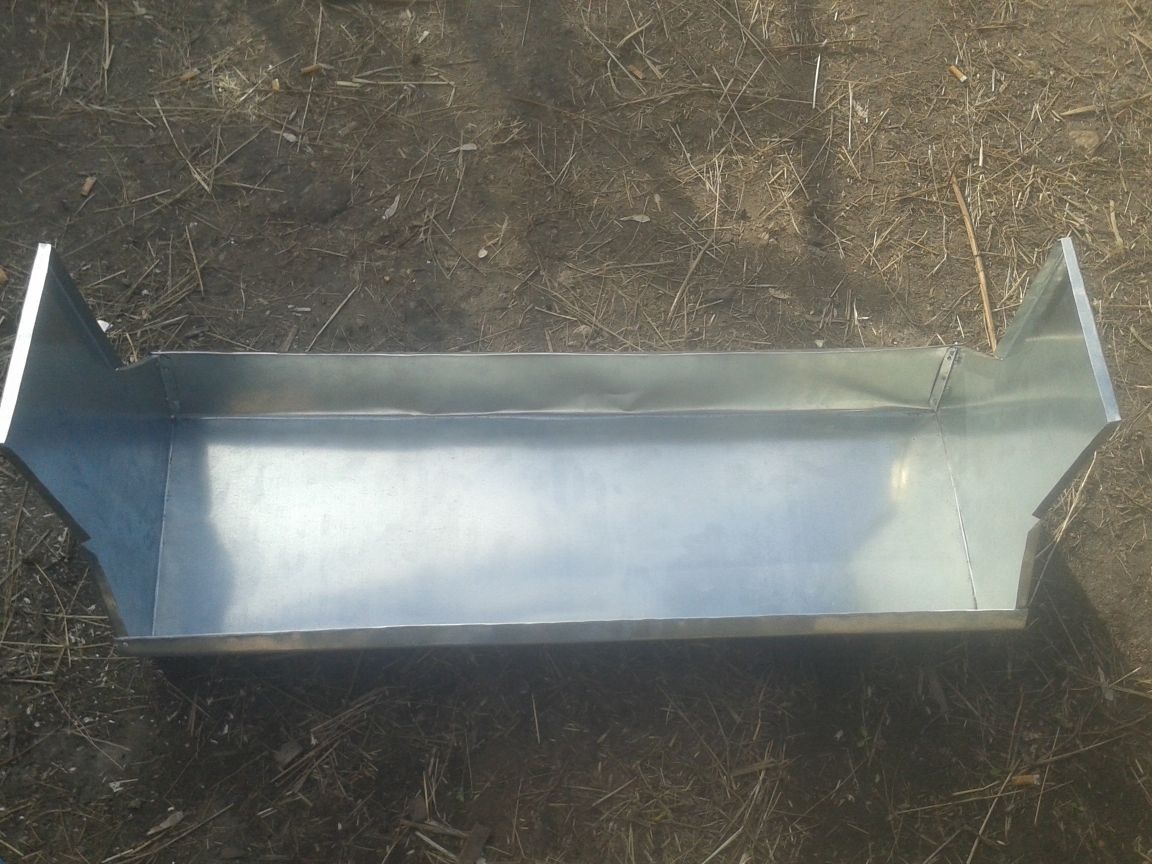
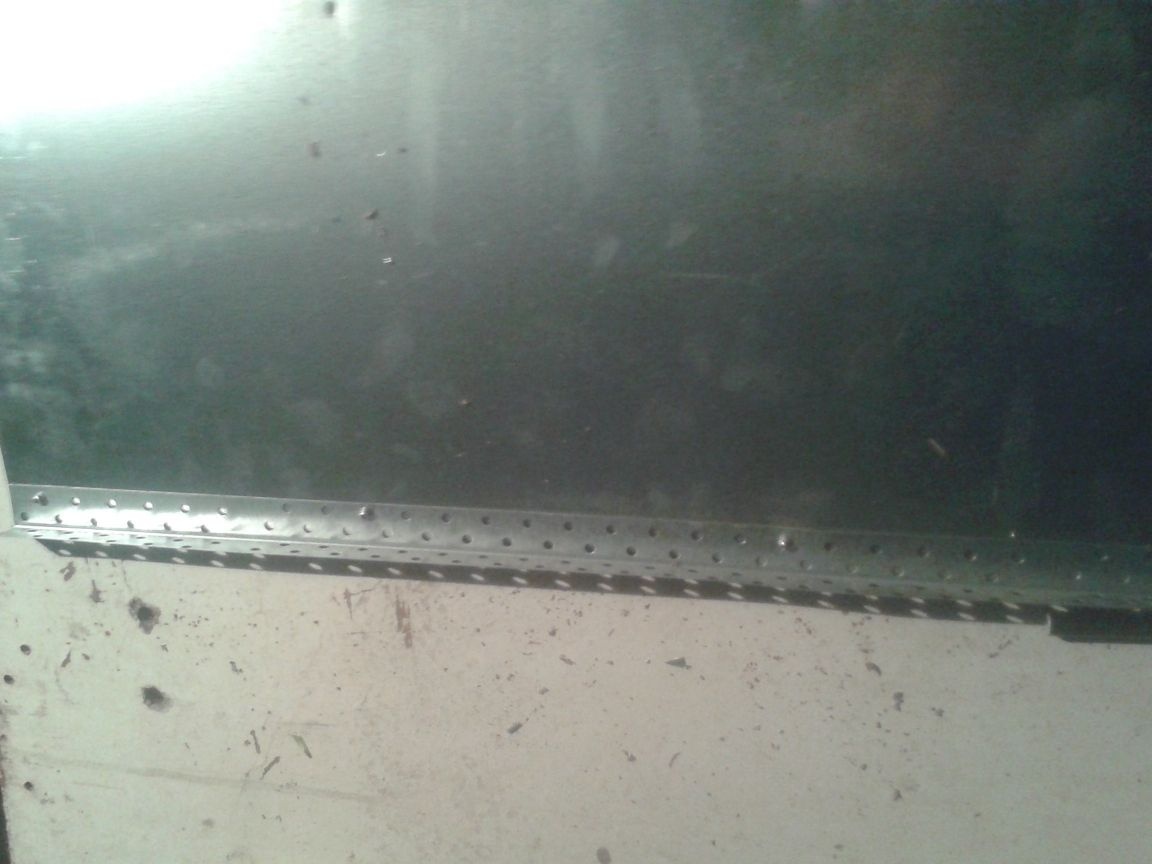
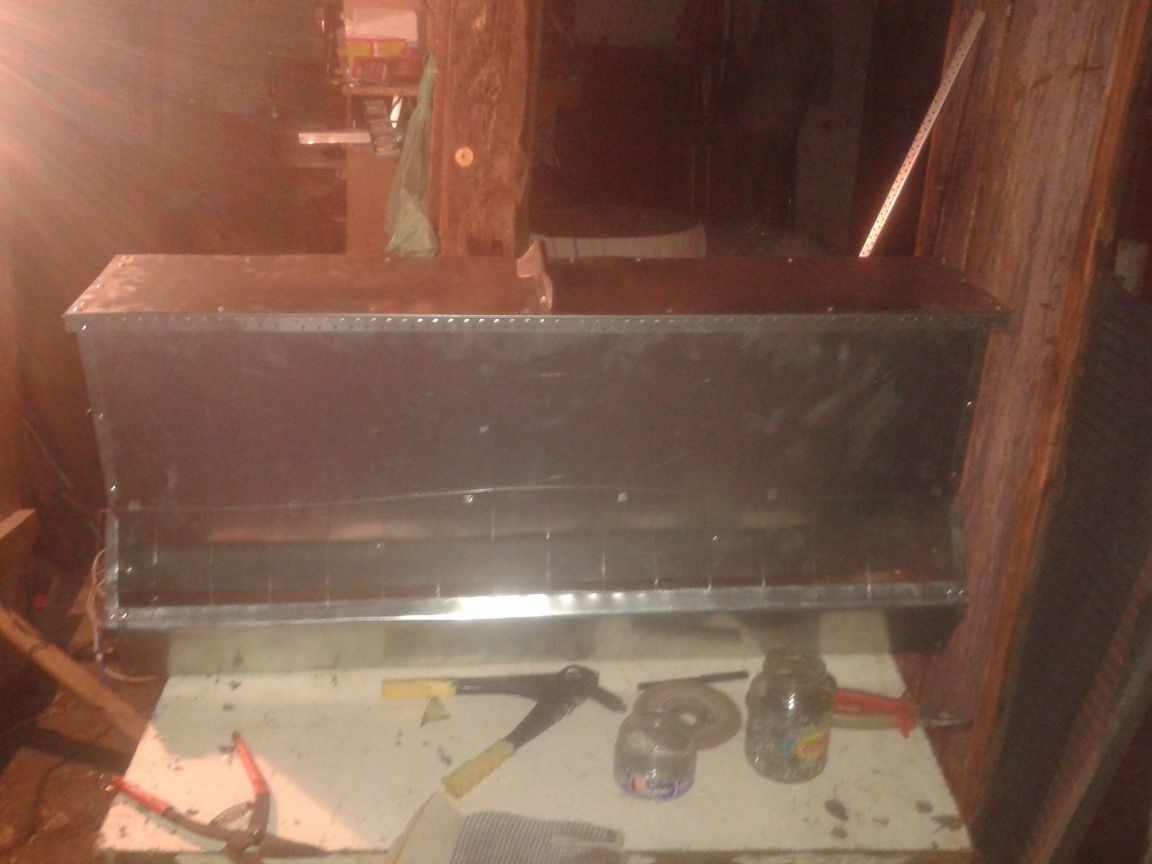
The main work is done. Since I have a large feeder, according to my estimates of the bag one and a half feed will enter it, it is necessary to strengthen its bunker walls. This is necessary so that the grain in it does not burst the walls, which will lead to deformation of the entire structure. To do this, I cut out strips from the same galvanization and bent them around the edges at an angle of 90 degrees, in the form of the letter P. I riveted them into the interior of the bunker.
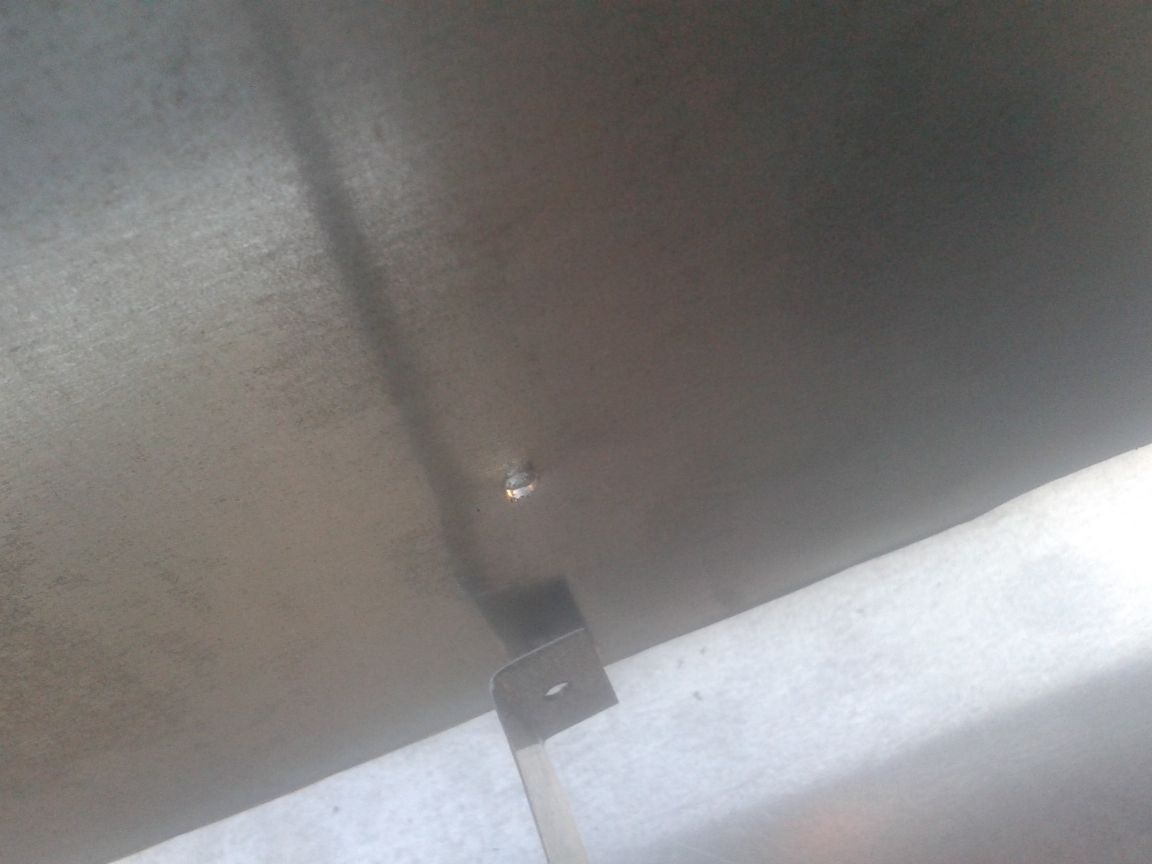
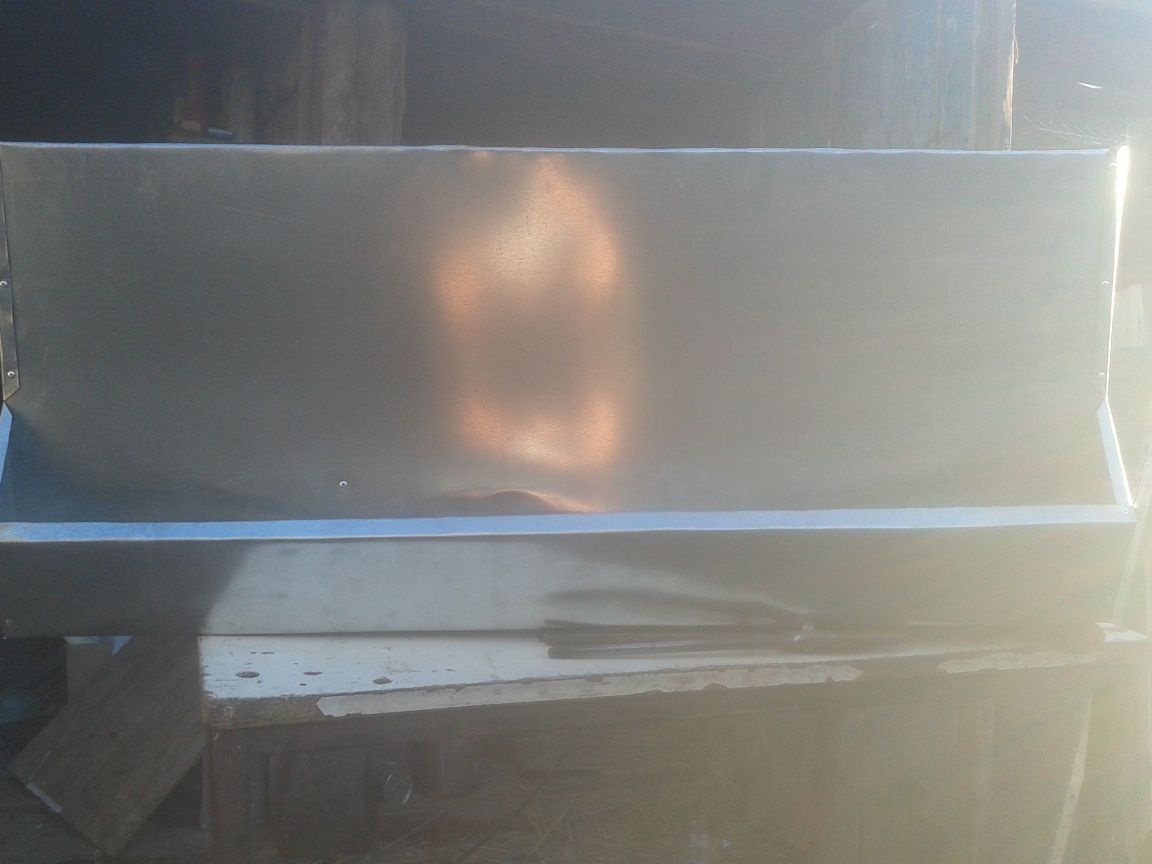
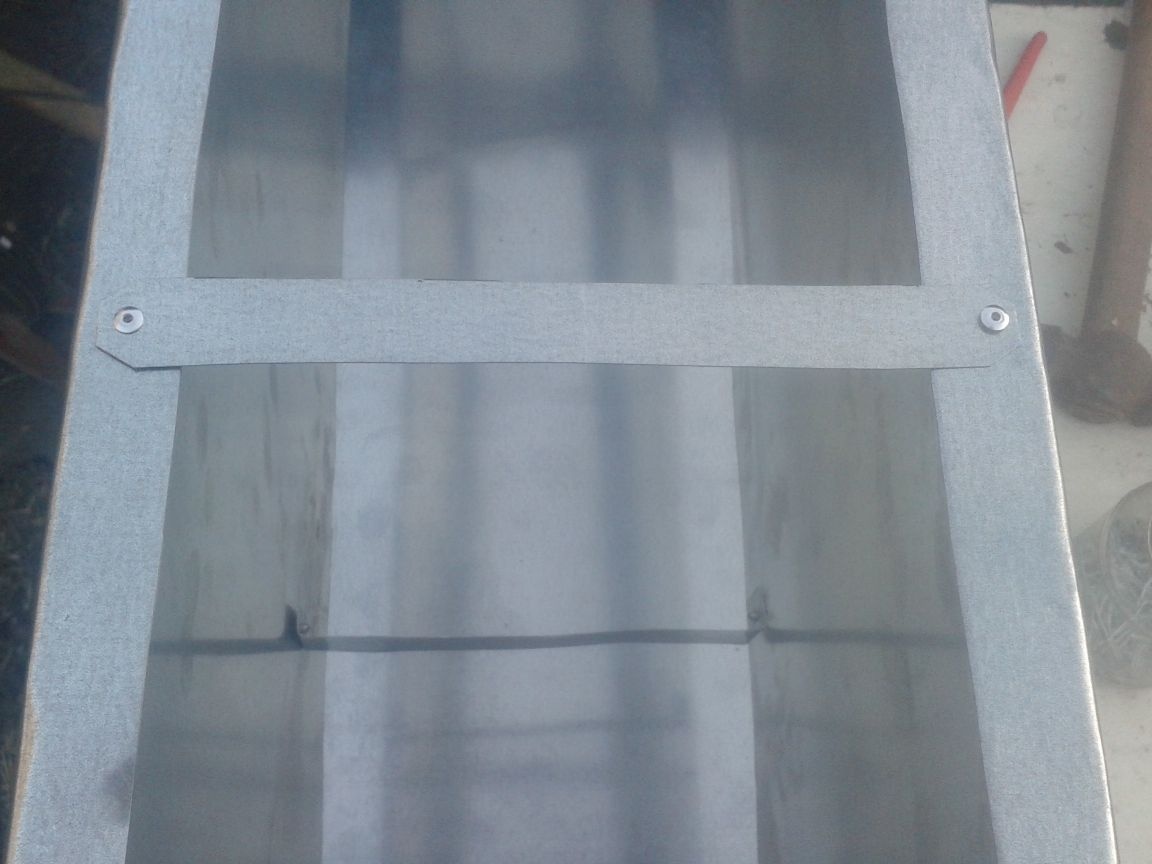
Set the same strip on the top of the feeder.
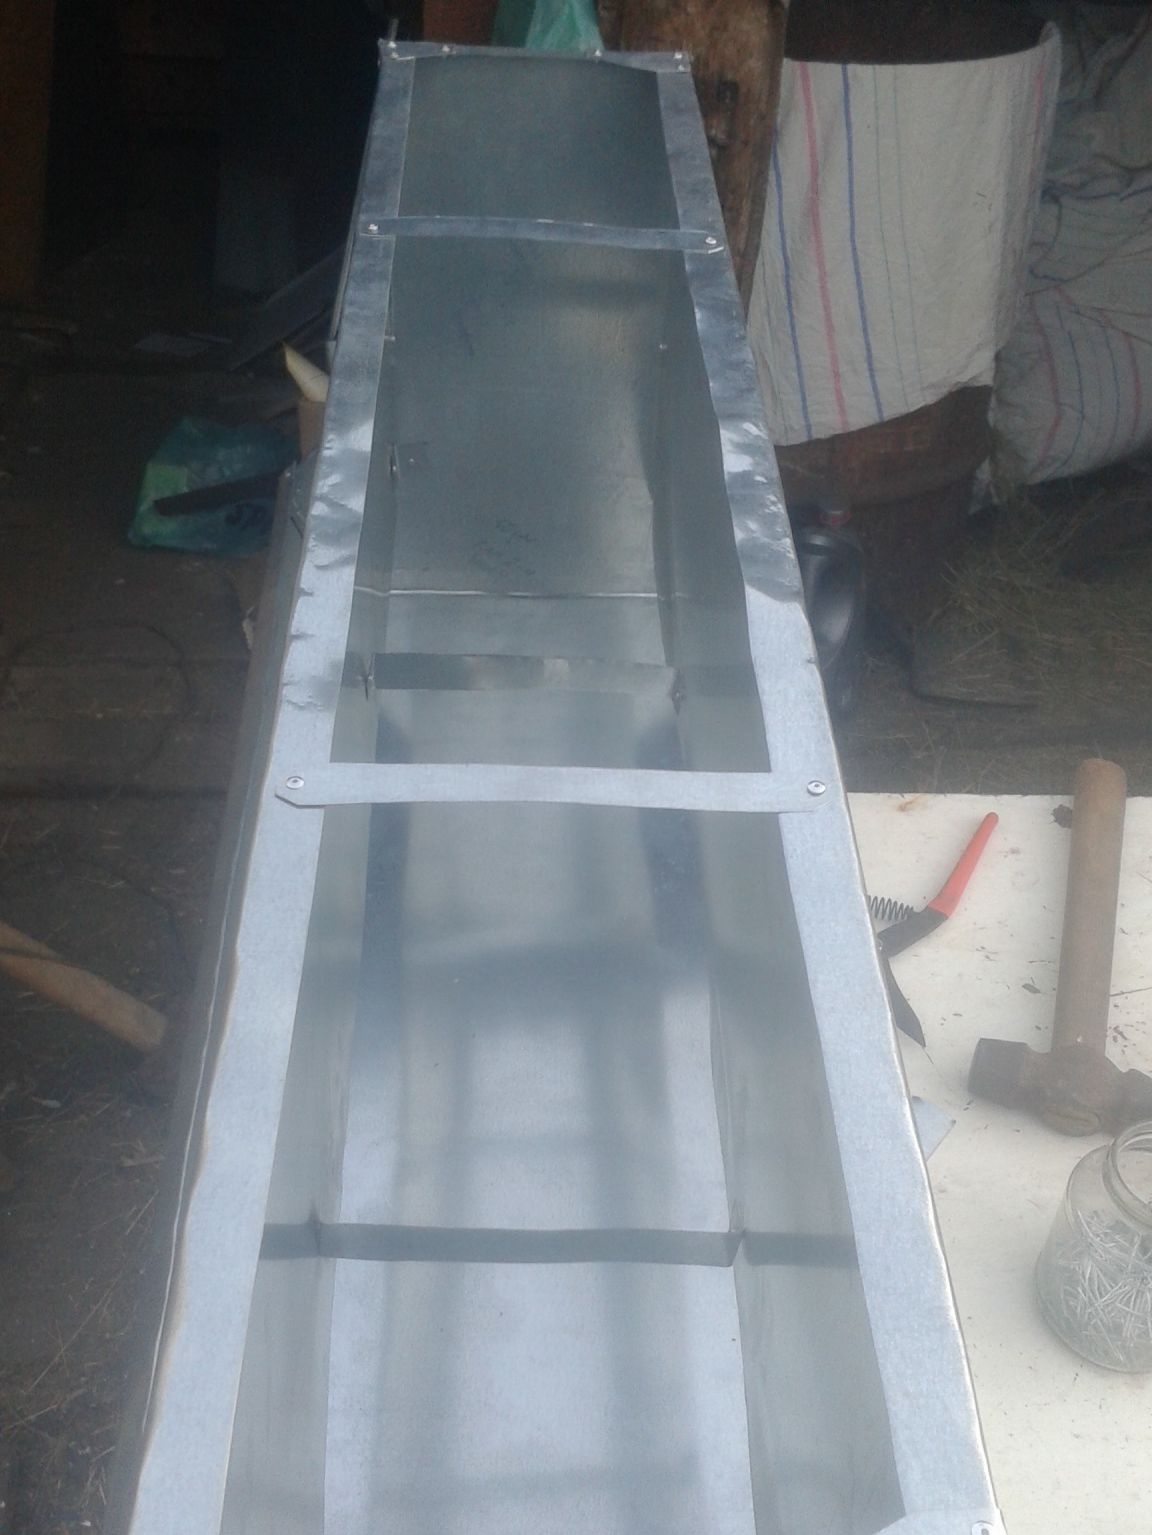
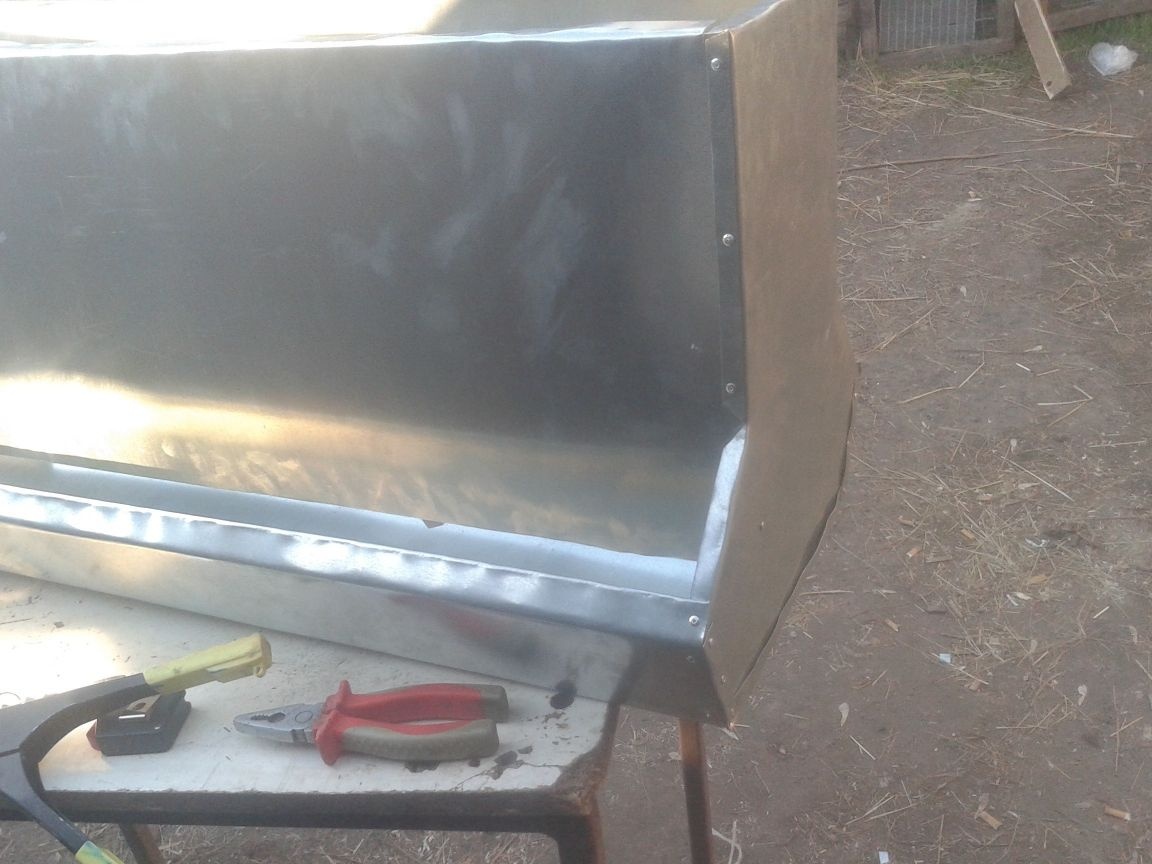
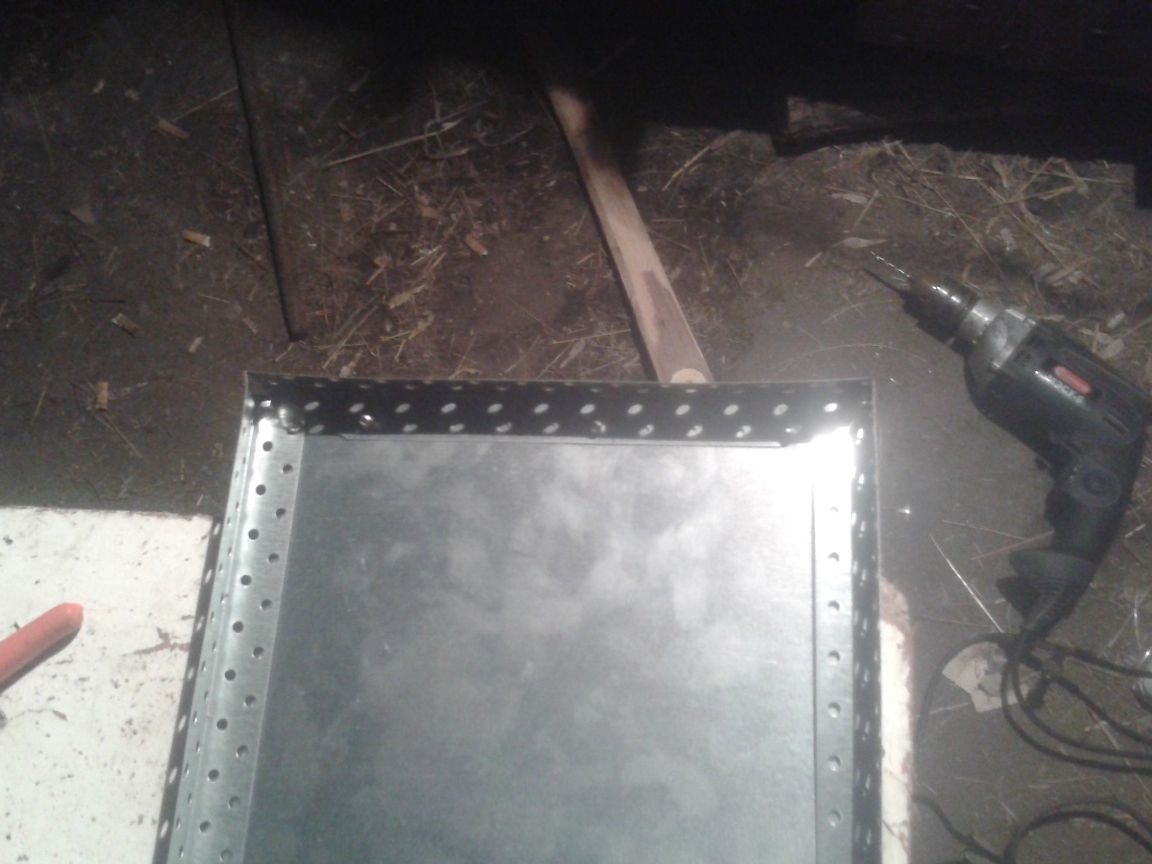
also cut corners and set them at the corners of the structure. And for strength and for a more "presentation"

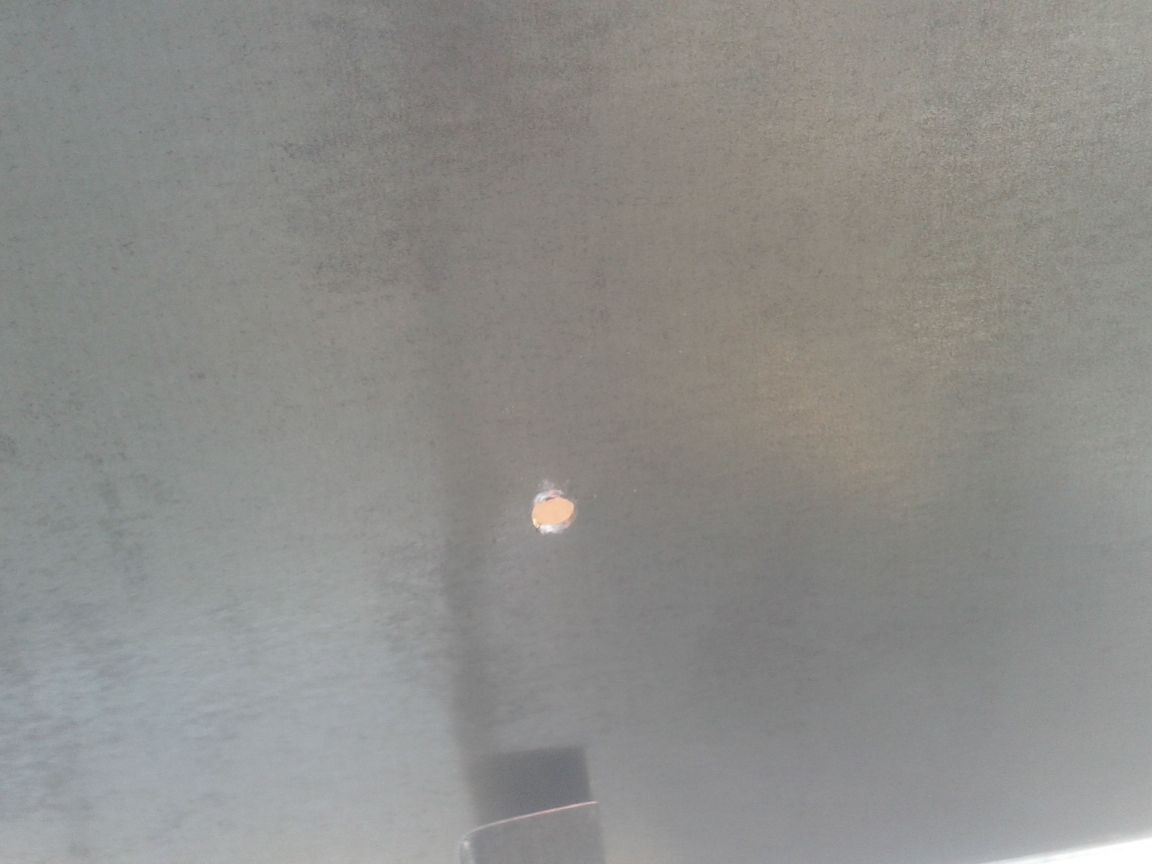
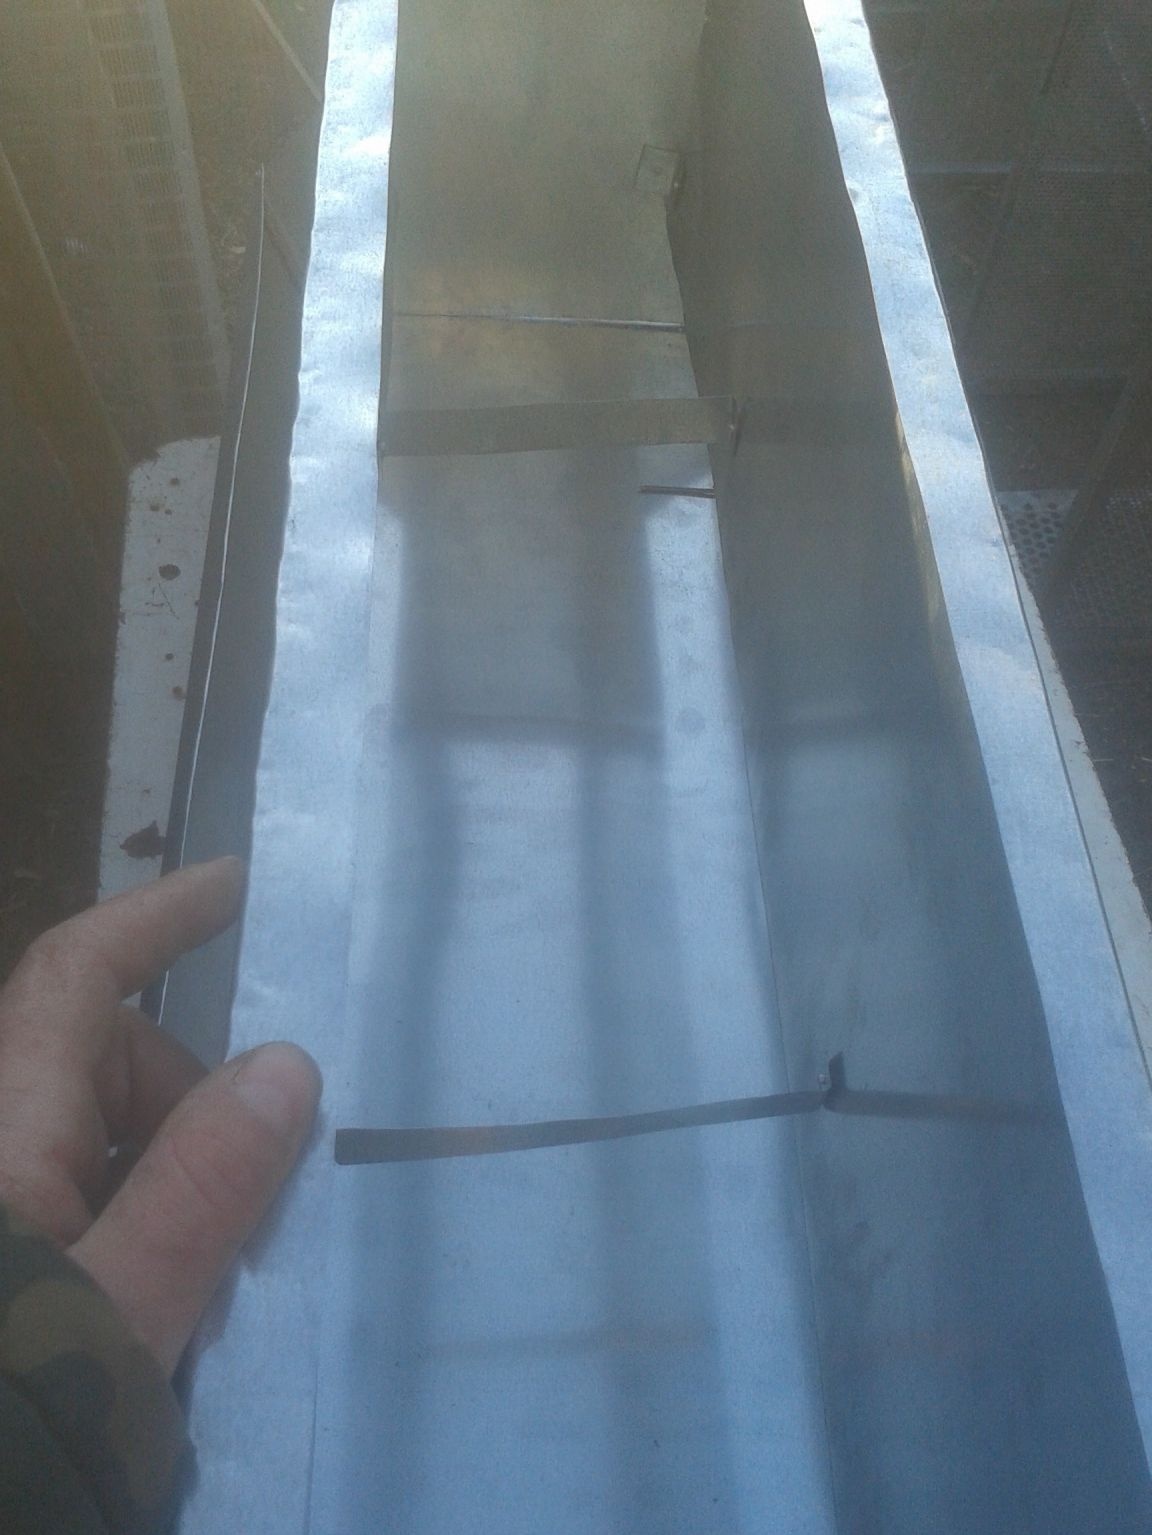
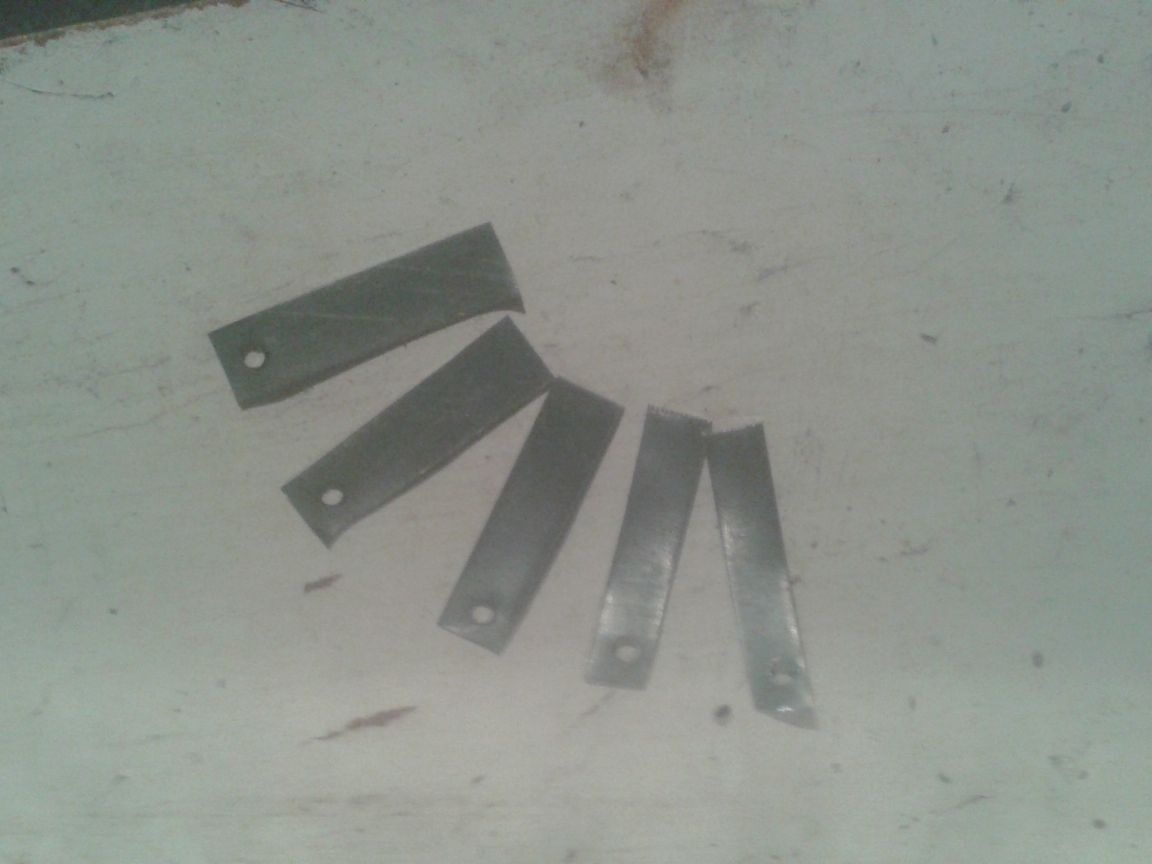
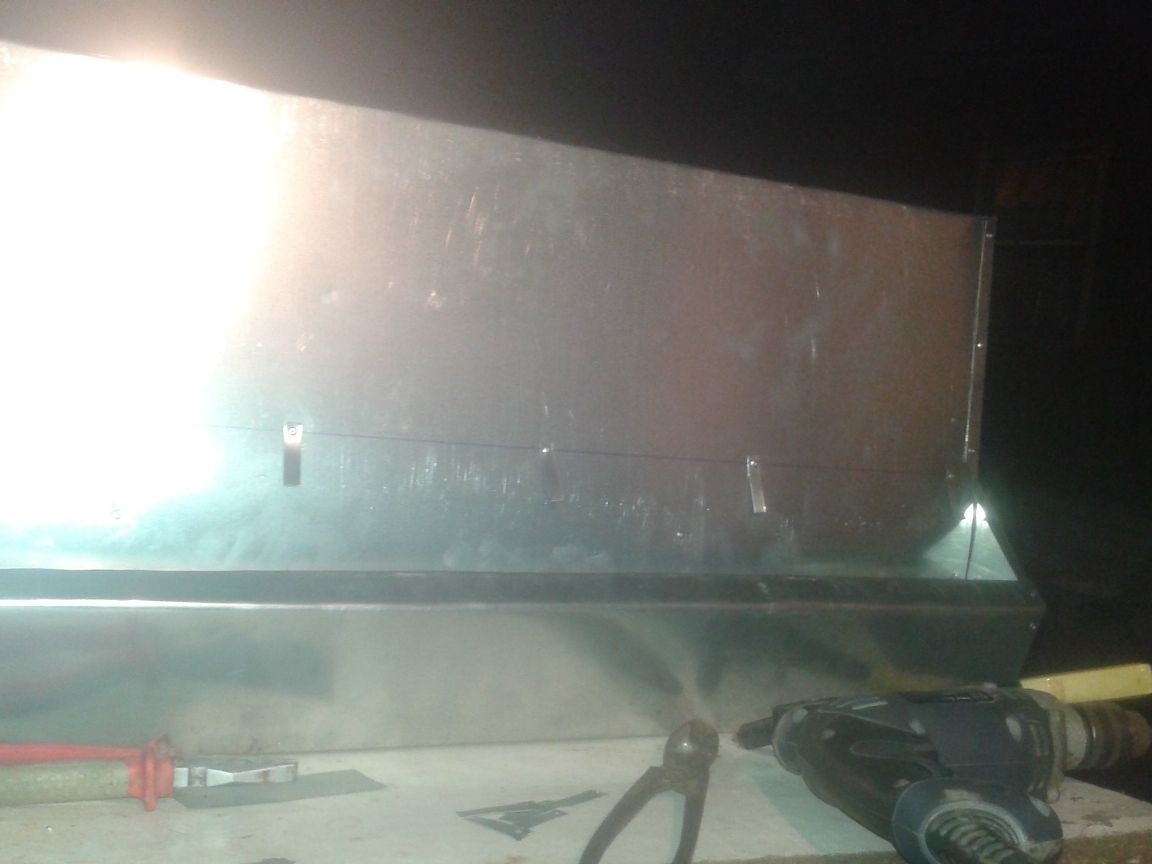
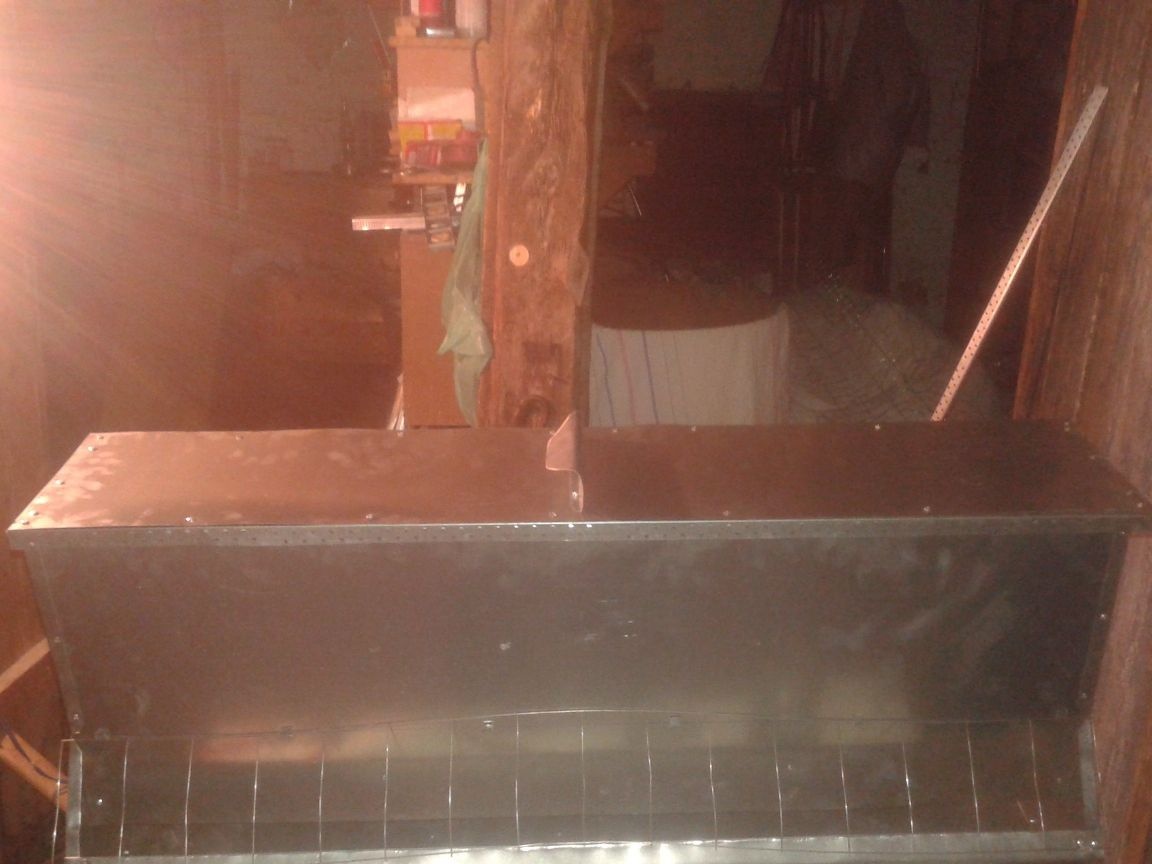
It's time to fix the grid. To do this, I cut into small strips of galvanization, which I had previously drilled at one end. Having marked the place of placement of the net on the feeder, he made holes and riveted these blanks there. They play the role of loops when raising the mesh. It can also be fixed firmly so that the net cannot rise, but then, if the feeder is dirty, it will be very inconvenient to clean it.

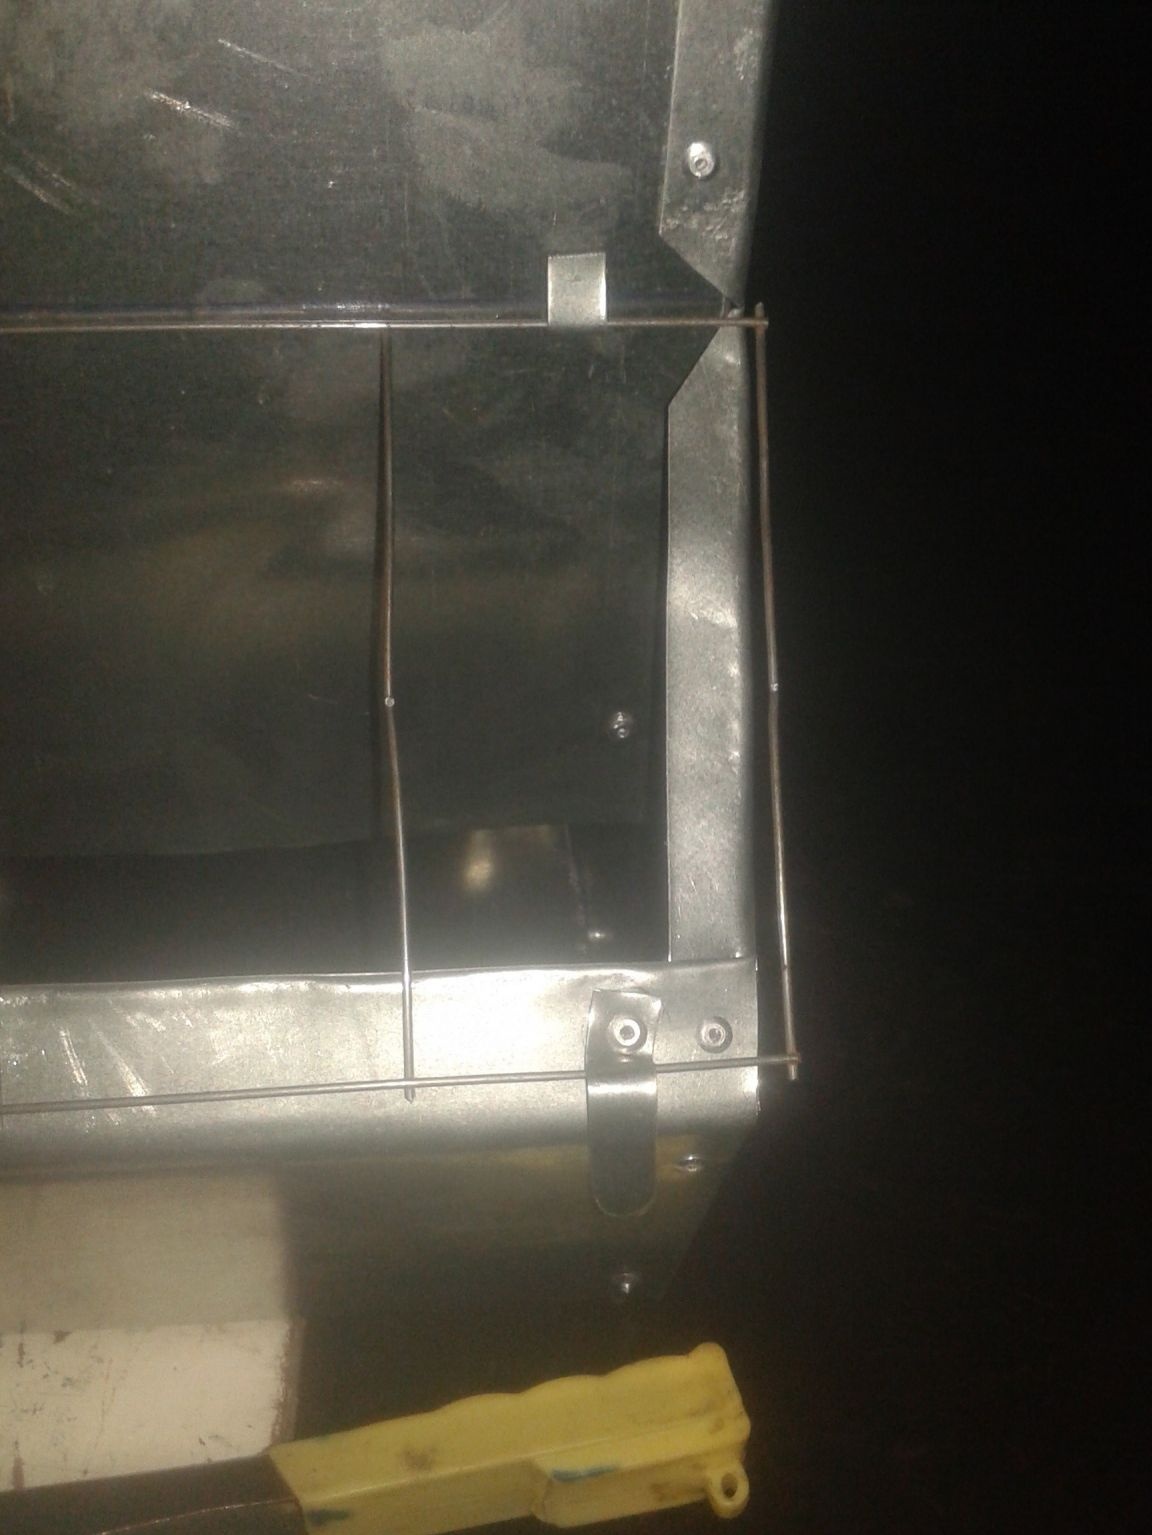
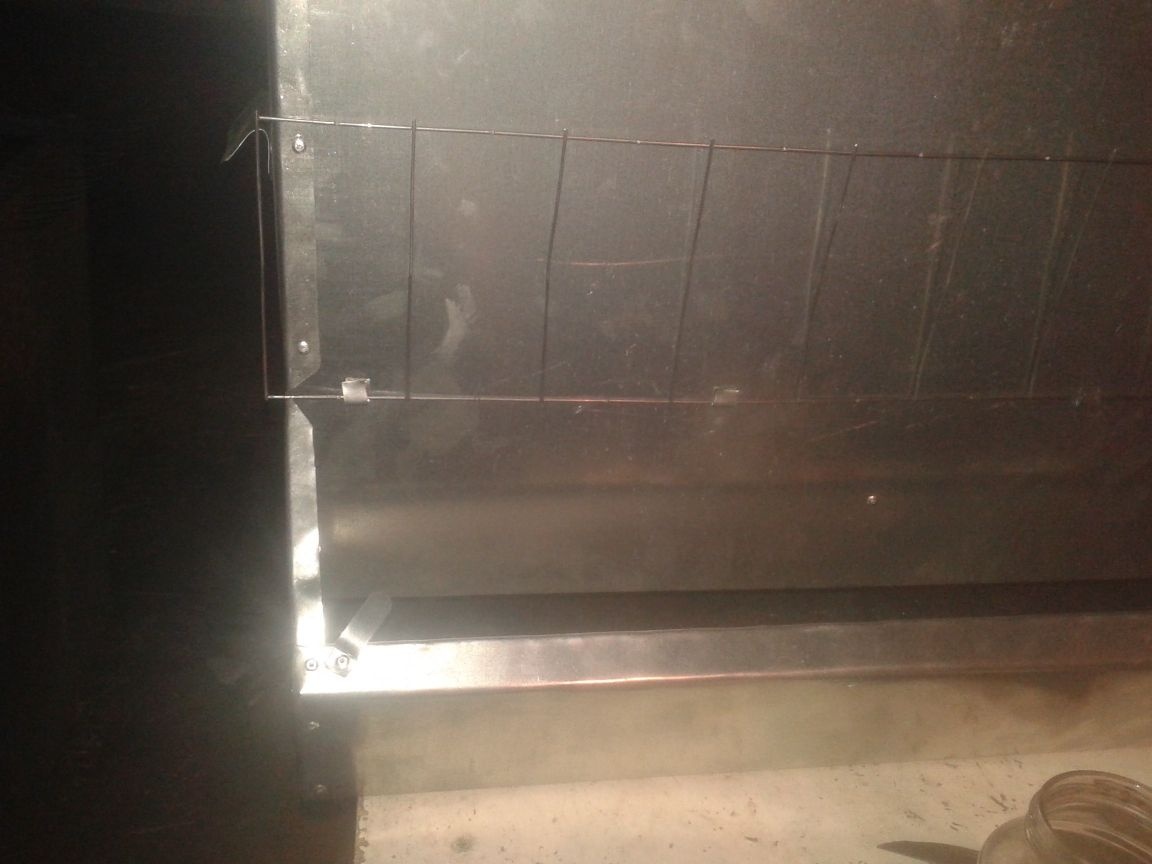
Now prepare the grid. Since it has a cell width of 3x6, and this is not enough for the chicken’s head to creep into the grate, I removed the jumpers and the cell width doubled. Sticking out the bitten off remains of the lattice I grinded so that the bird could not get hurt. I install it on improvised loops, bend them and cut them to the desired size. On the sides, I also make clips from the strips so that the mesh is fixed firmly and cannot open.
Since this feeder will stand outdoors most of the time, it is necessary to make a cover for it so that rain does not get into the feed. To do this, I took the mounting corners and attached them to the edges of the metal strip, which should become a cover. As usual, I fasten everything with rivets.

I make a pen. It does not make sense to bother and therefore it is made of the same material as the entire feeding trough. Just bend the metal as shown in the photo and attach it to the lid. At the same time, I make the same handles, only of a smaller size, for the sidewalls, in order to more conveniently carry the design.

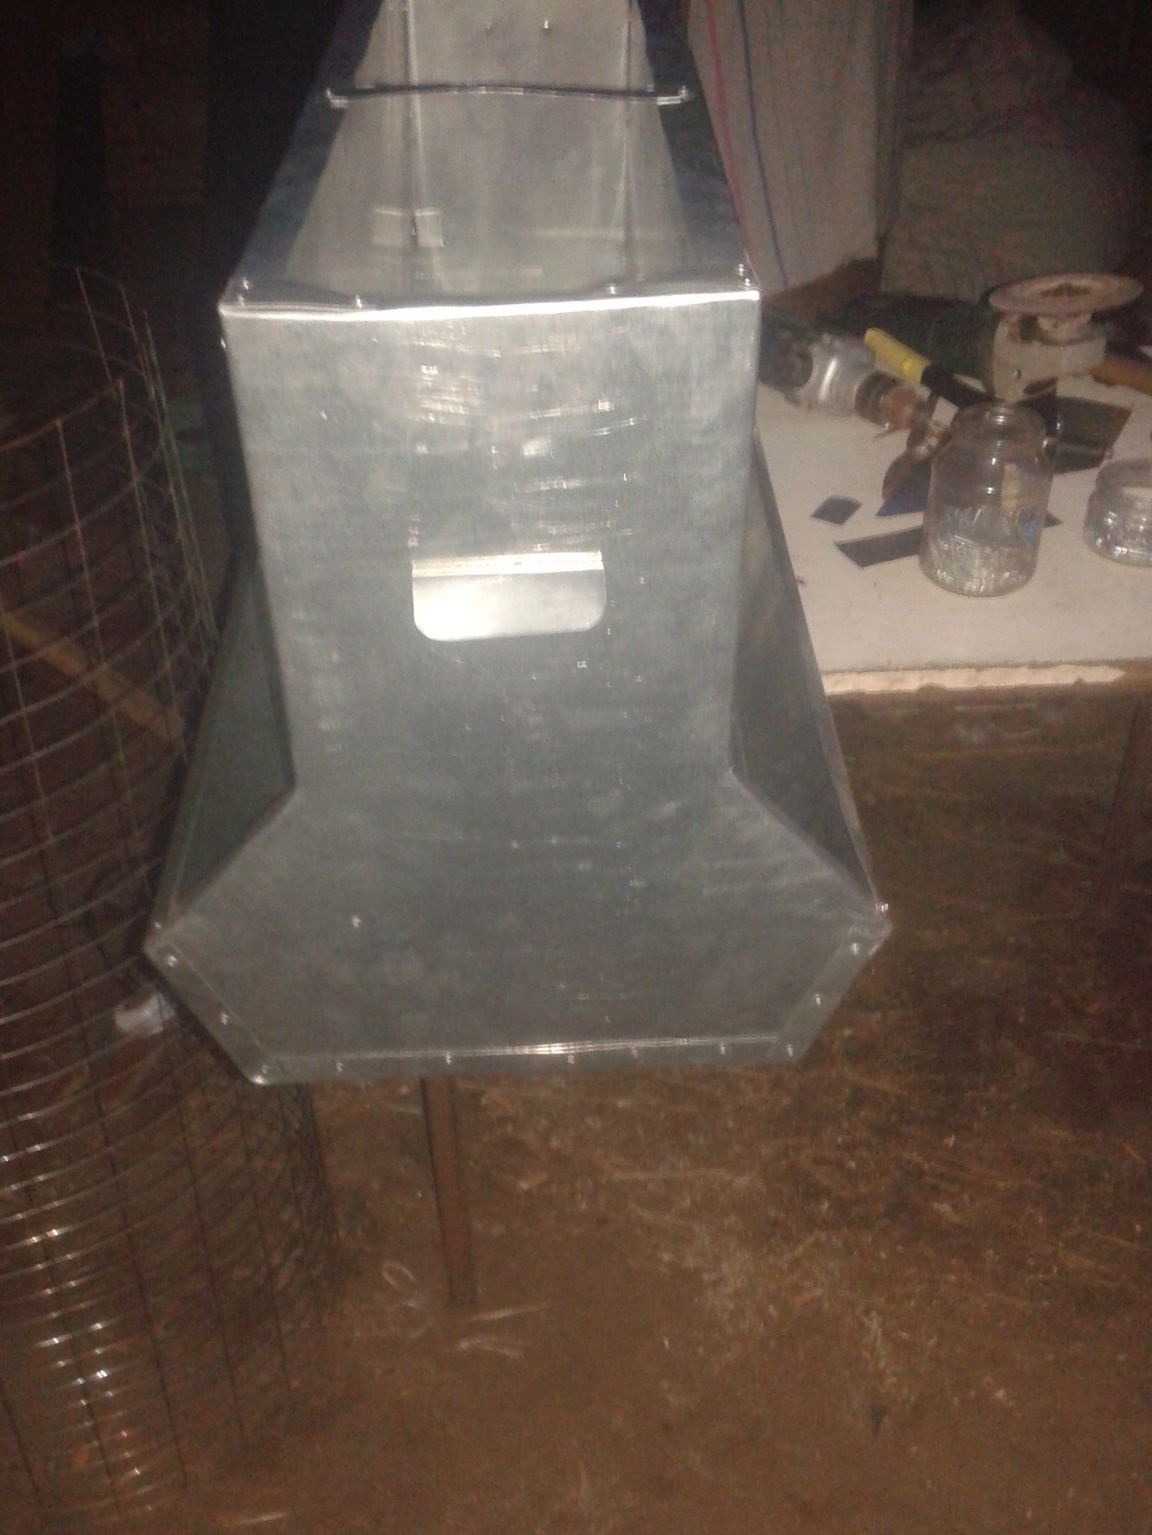
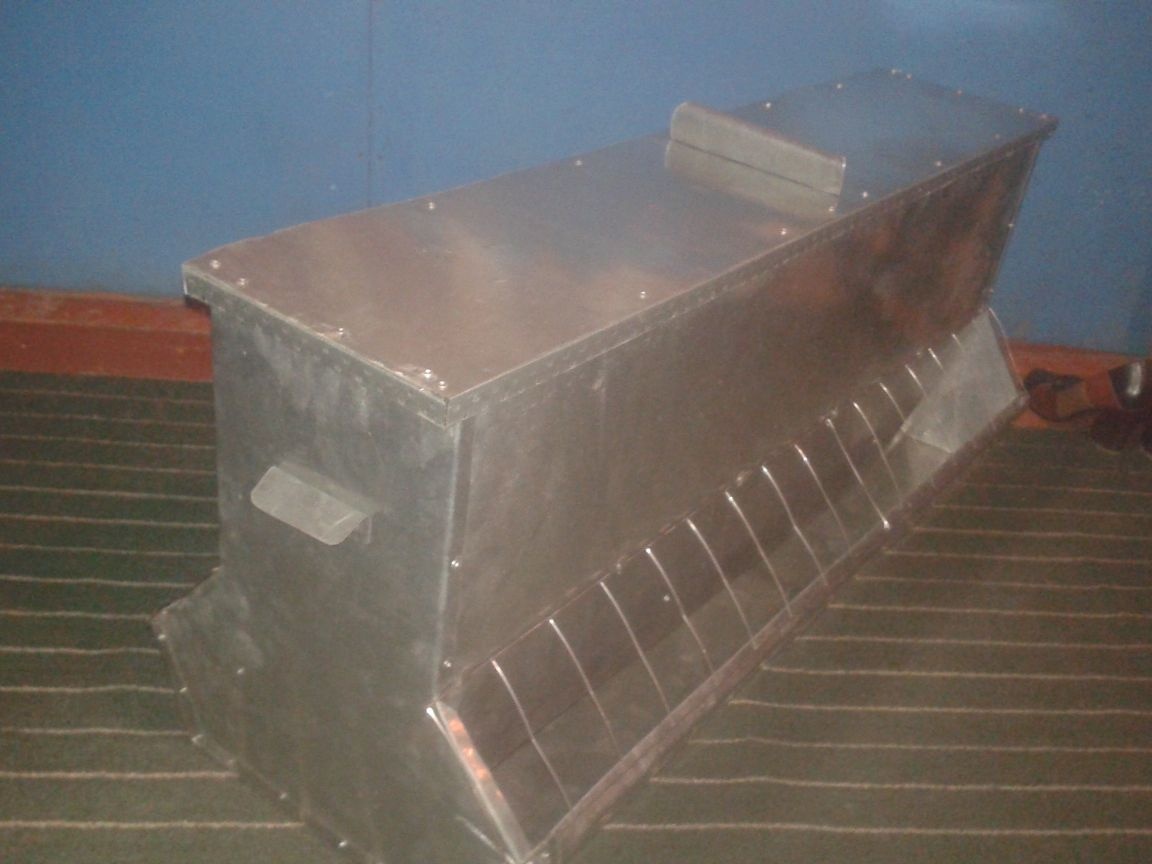
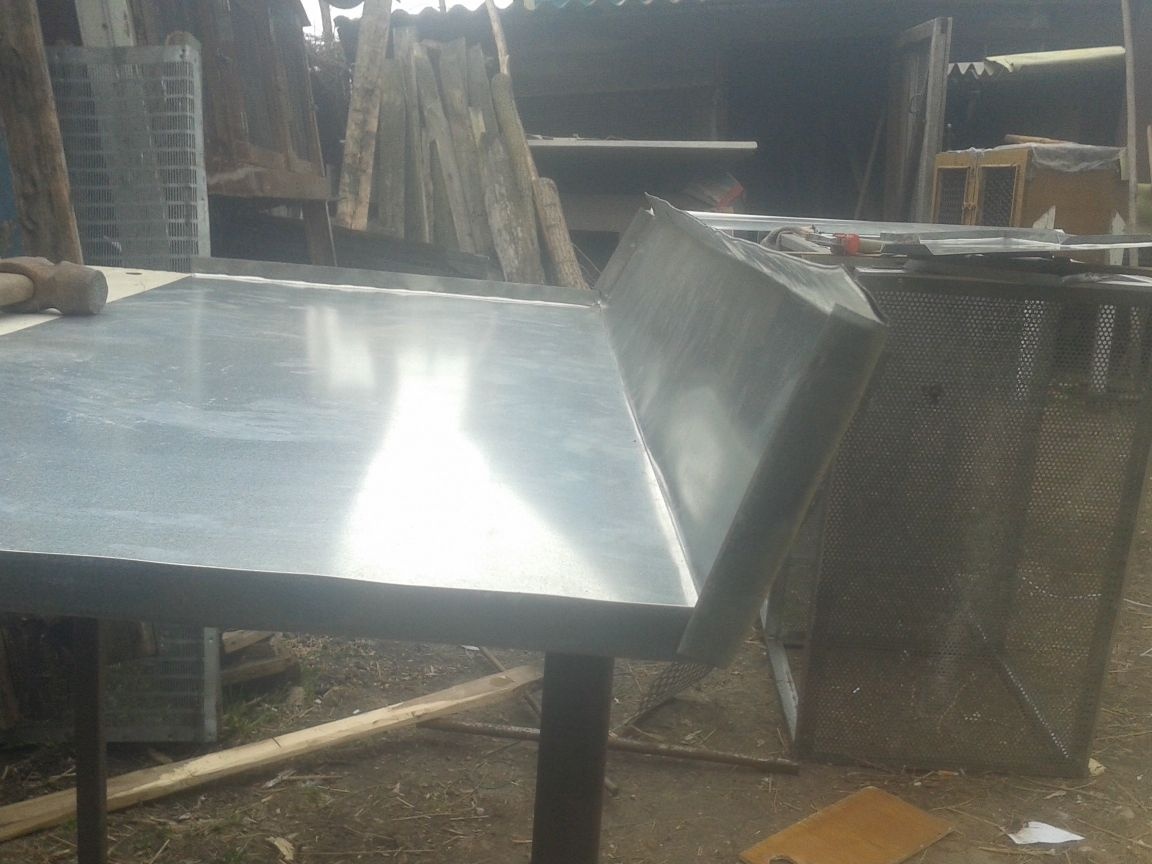
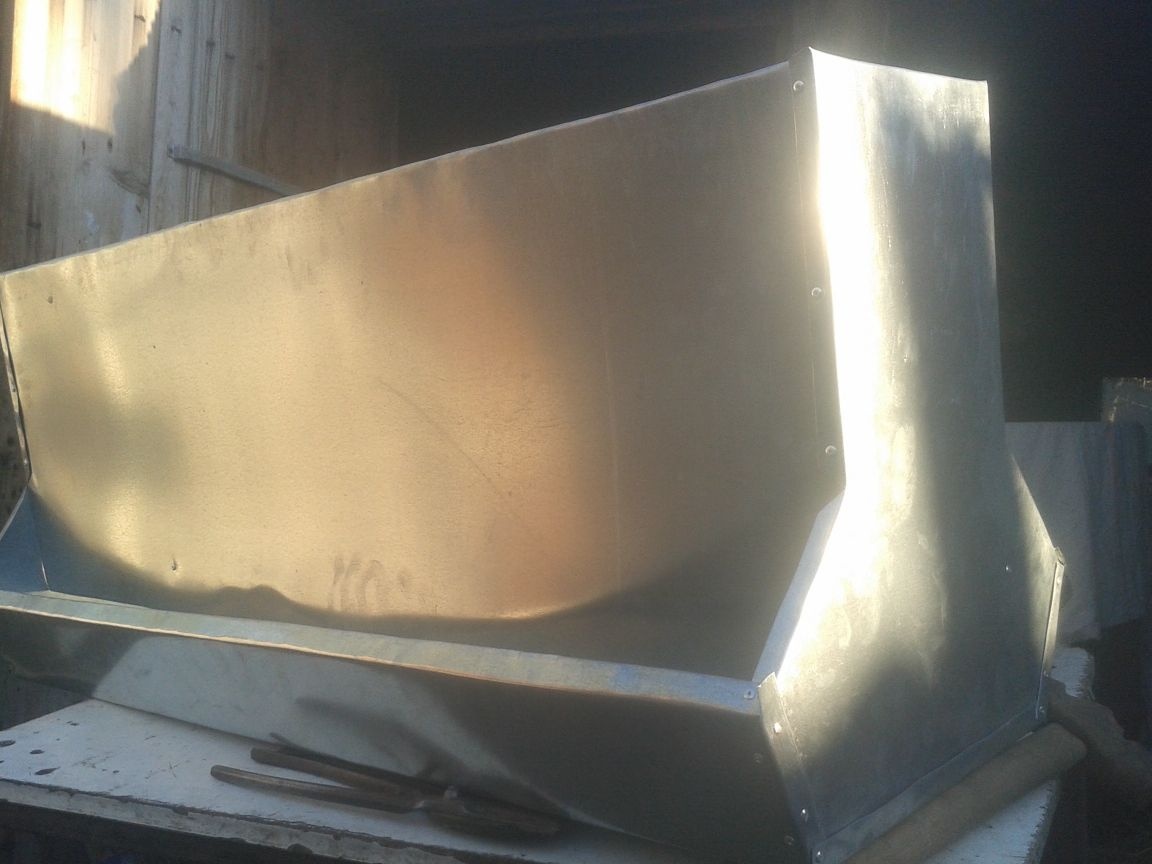
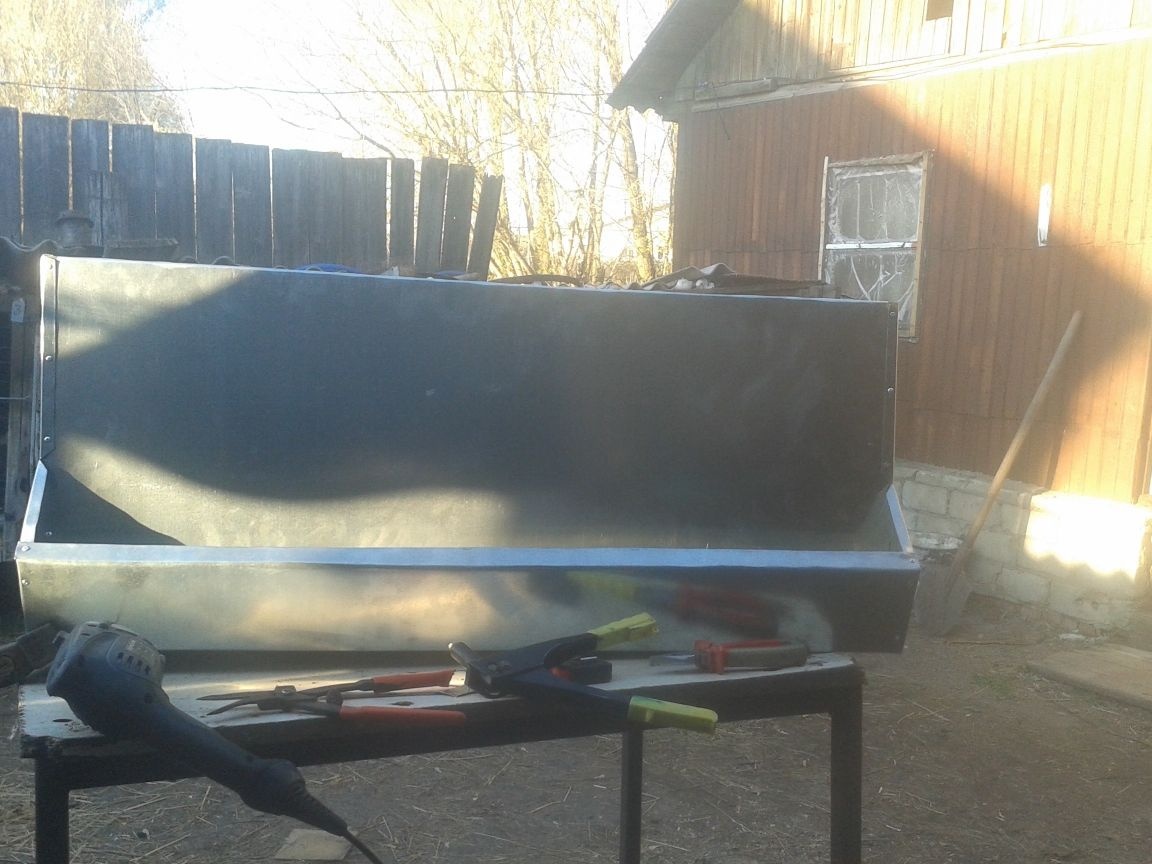
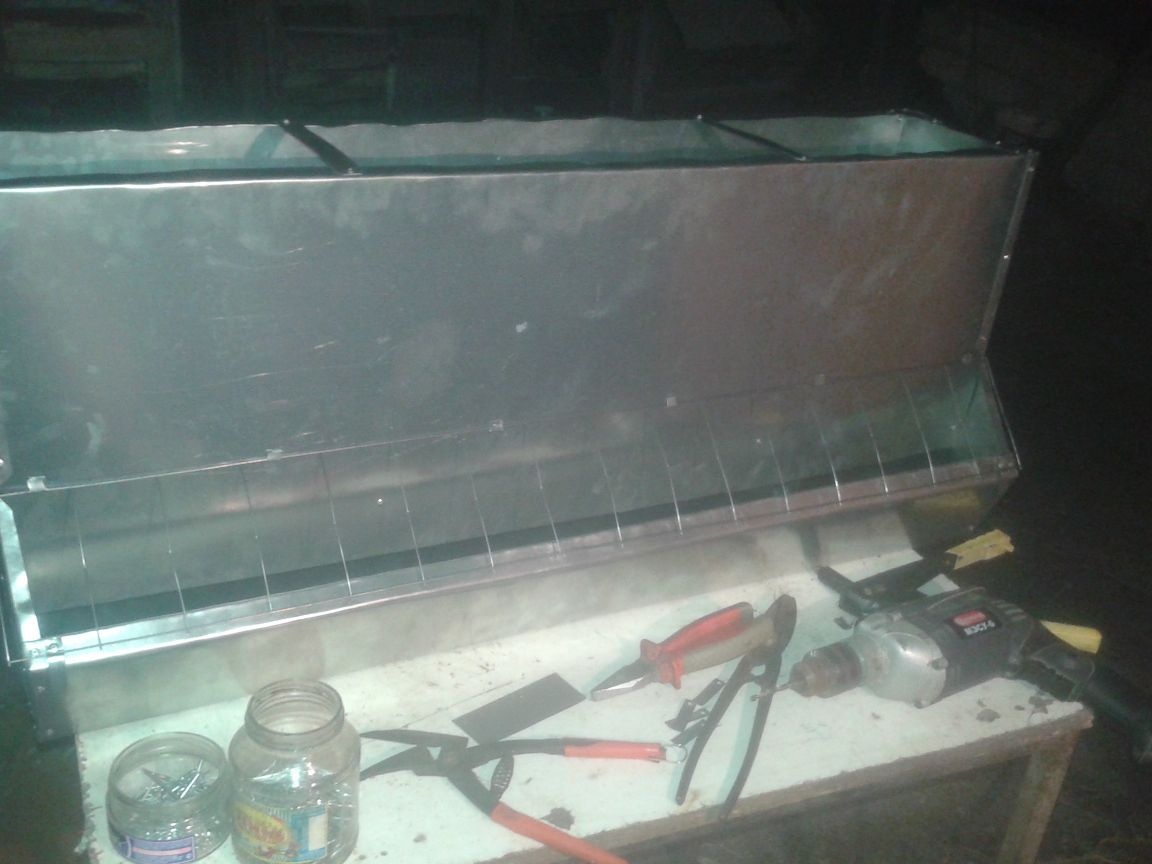
In the end, this is what happened to me.
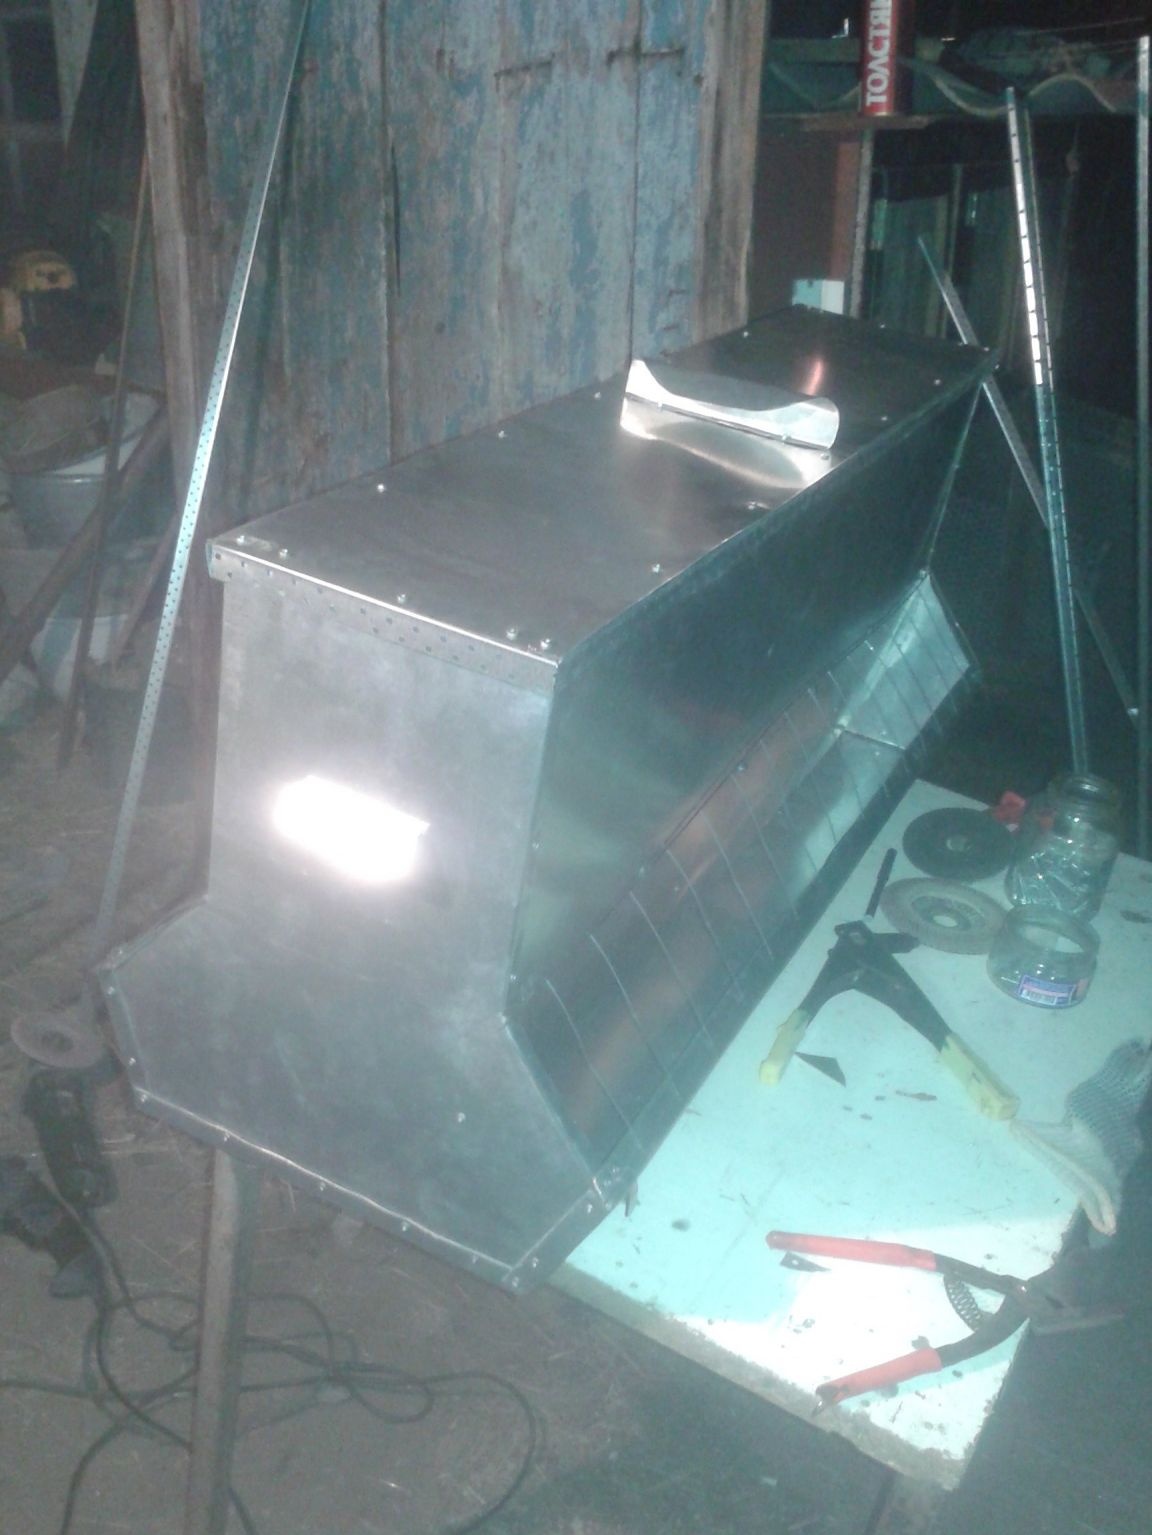
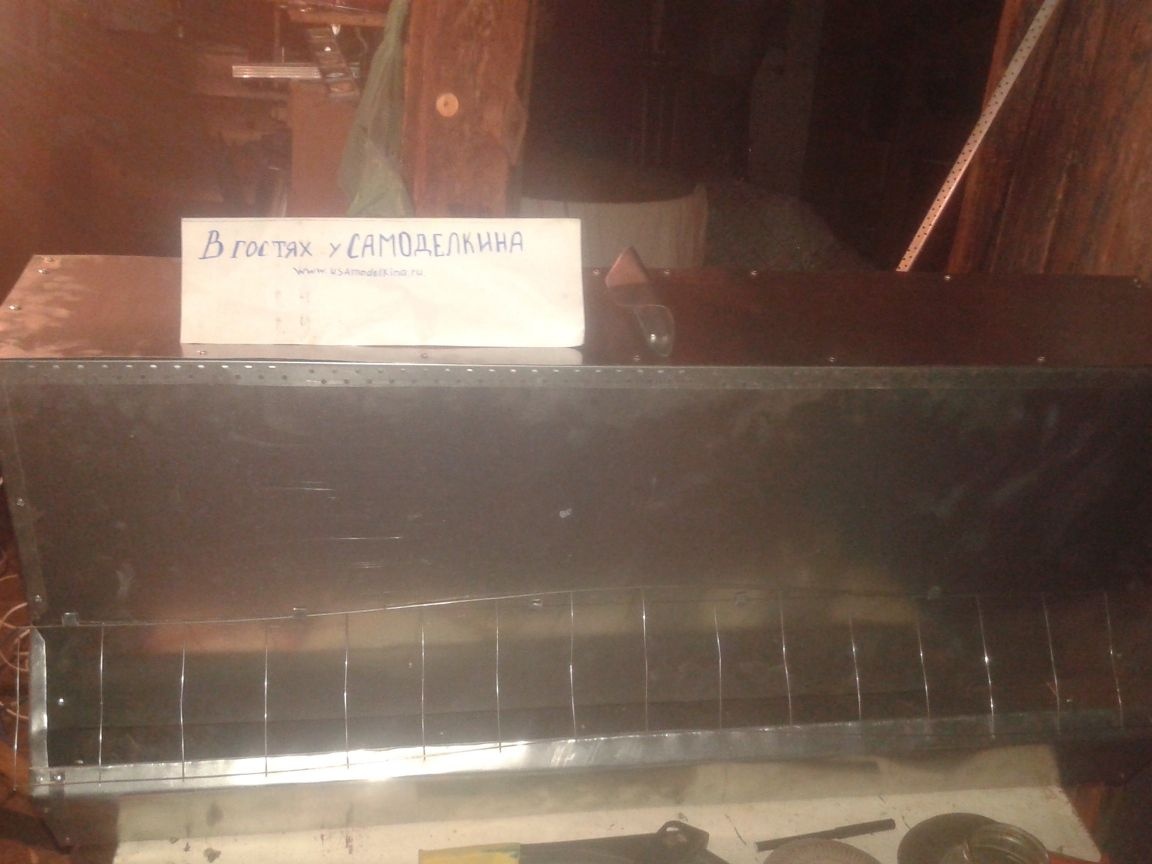
The advantage of this feeder is that you will no longer depend on whether the chickens have grain or not. Asleep once every few days, depending on how many bird heads you have, you can calmly go about your business and not think about the need to go feed the farm. As the grain is peeling, thanks to the bunker device, the feeding compartment will be constantly replenished with feed until it ends in the bunker. Production time about 4.5 hours. This is completely from the development of the drawing to the last riveting. Next, I got the hang of doing in 2-2.5 hours. The cost of such a feeder is about 800 rubles, while for the same price on the Internet you can buy a feeder for 15 liters. The benefits are obvious. So do it. I wish you all success !!