Each ordinary owner who prefers to do as much as possible do it yourselfInstead of buying goods and various accessories of dubious quality for impressive money, the workshop always contains a huge variety of tools that are necessary at a given moment in time, depending on the type of work performed.
If in the arsenal there are only a few screwdrivers, a hammer and pliers, then there is no need to bother - he put everything in an unnecessary old bag, or some drawer and put everything in a cupboard or on the mezzanine. But if the assortment of working tools is much more complete, then various problems can arise.
Many masters for convenient storage and location of the instrument assemble wall shields on which all the necessary tool is located. The advantages of this storage are that all the tools are in a conspicuous place, and the shield itself does not take up the necessary working space, since it can easily be assembled on the wall. But there is a drawback to such storage. Suppose you are doing work in a workshop where you have a given shield, but at some distance from it. Therefore, in order not to run after the tool you need each time, you will take them several at once. As a result, by the end of the work you will have a pile of tools that need to be placed back on the shield. This is quite inconvenient.
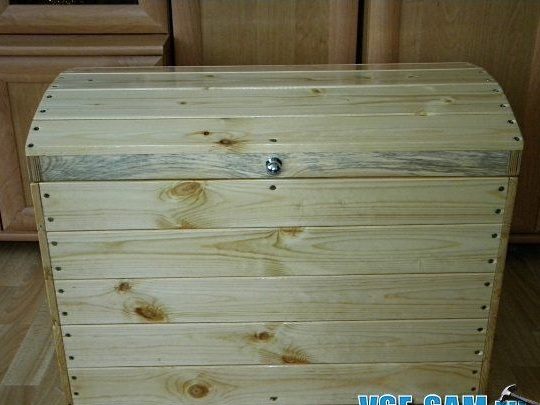
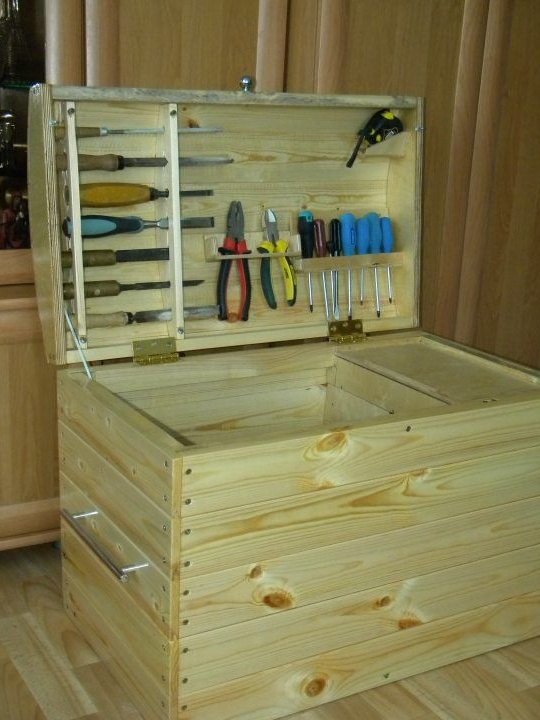
Therefore, in today's article I want to tell you how to make a convenient chest for storing a variety of tools. The whole pantry in one place.
The author began making his chest with a frame. For this, he used a 20x40 bar.
To begin with, we determine the size. Do not forget to take into account the place for drawers, which will be located in the inner space of the chest. After that, in the bars of the desired length, grooves are cut out in the end parts of them.
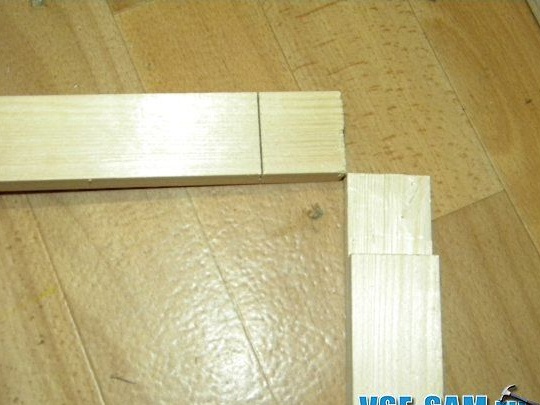
After the blanks are ready, they are glued into a rectangle. There should be two such blanks. Further, transverse slats are attached to them, which are mounted on self-tapping screws, for which holes are pre-drilled so that the workpieces do not crack.

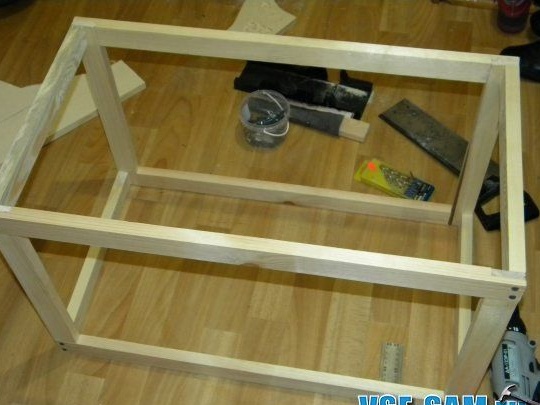
We mark on the blank the places where the boxes will be located. At this distance we fasten a couple more bars, and 2 more on the sides of the structure. They are not only for boxes, but also for the general strengthening of the structure.
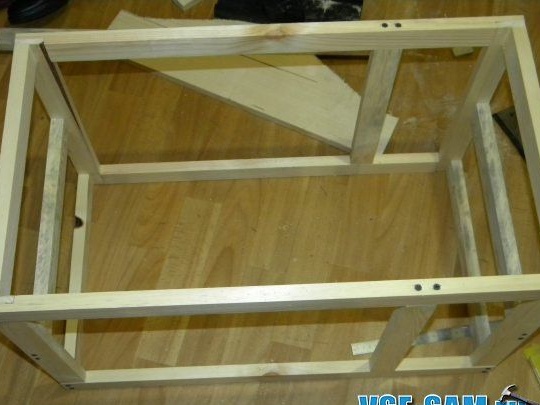
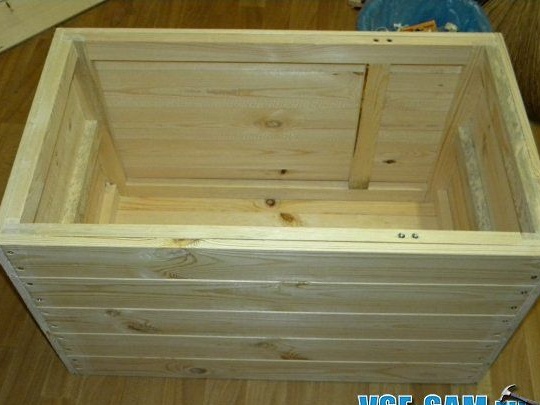
The frame is ready. Now proceeds to its skin. It is from grooved lining with a diameter of 12 mm. You can also use plywood.
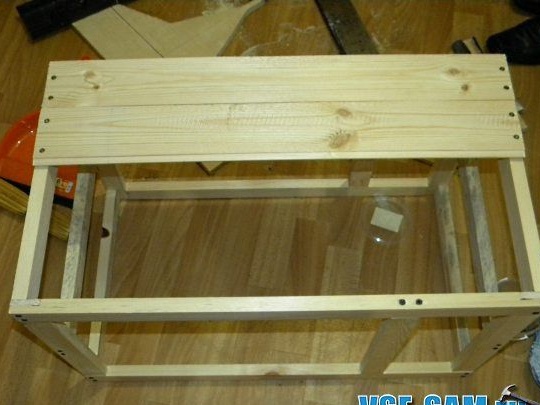
Now we turn to the manufacture of the lid of the chest. I decided to make it semicircular. For him, he needed a thread and a pencil. He tied a thread to a pencil, and the free end took a little on himself. The result was an impromptu compass. With his help, he marked a semicircle on plywood. Further, with those scraps that remained from the wall cladding, the author marks the location on the lid. it turns out not a semicircle, but a curly wall.
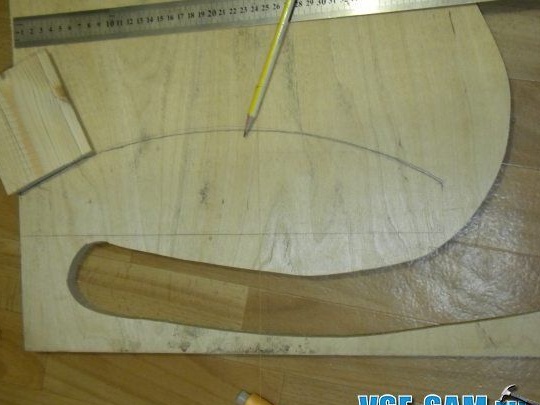
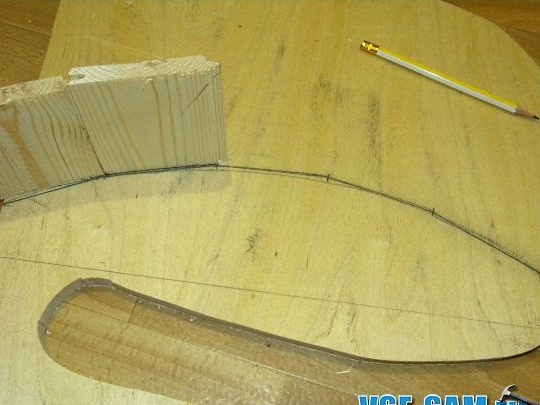
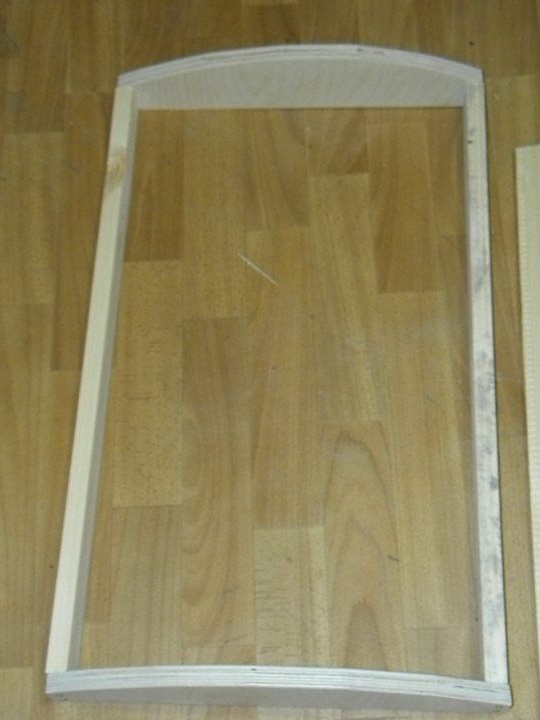
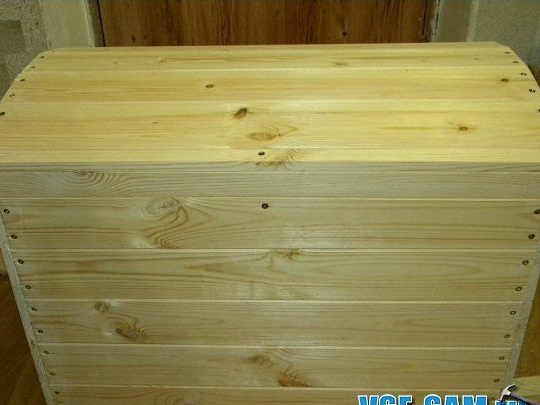
We fasten the lining to the frame of the lid, not forgetting to remove the tongue at the edges of the lid. The chest, its main part is ready.
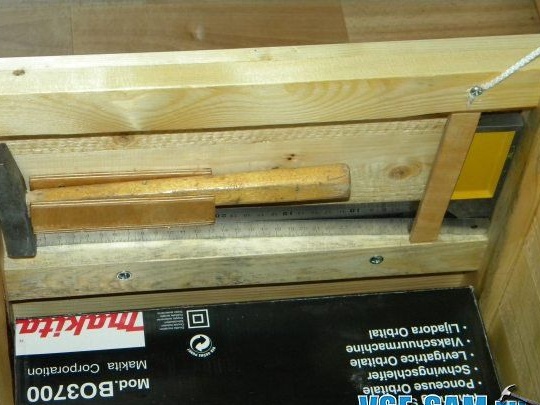
The next step is to make the boxes. Since the author had previously decided on their size, he cuts them out. For this, 6 mm plywood is used. It is mounted on small screws. The height of the boxes is arbitrary. Skids for boxes are cut from the same plywood. Width 1.5 cm. Attaches to the inner side walls of the chest.
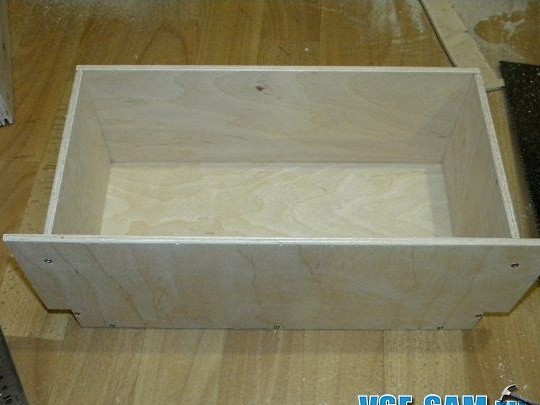
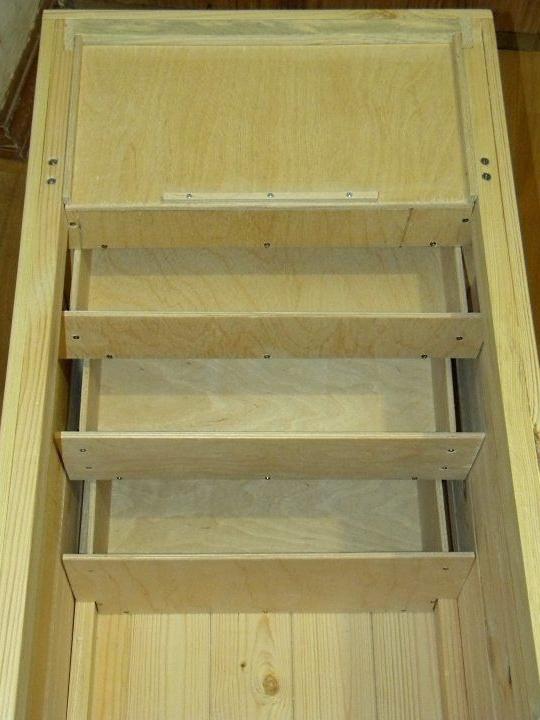
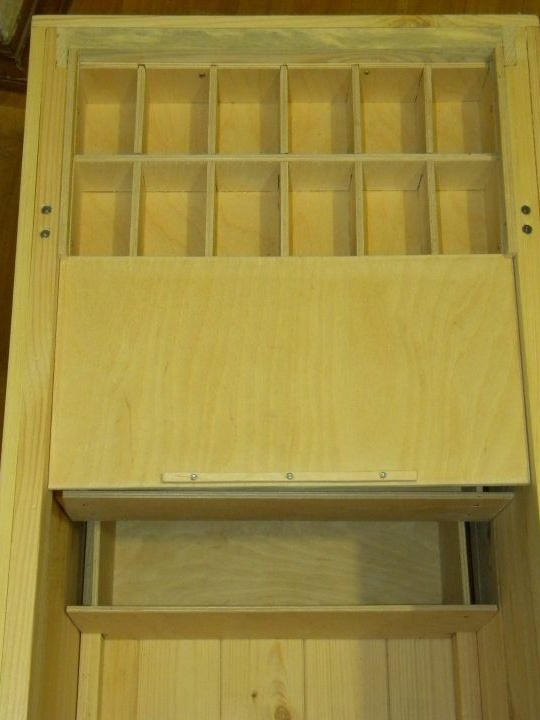
Boxes are also provided for small parts - nails, screws, screws, etc.
Everything is made from plywood. Determine how many departments you want and their size, and then make parts. They stick together and fasten with small studs for durability. A lid and skids are made for it.
All surfaces of the chest are polished and varnished so that it is not afraid of moisture and for beauty. Loops are attached and limiters are made on the sides. The location of the handles is determined and secured. In the end, it turns out here is such a thing necessary for every master.

