
Every woman spends a huge number of hours in the kitchen. Frying, park and varied cooking for the whole family. In order for any woman to feel comfortable during cooking, there is a huge variety of kitchen equipment that make life easier for any housewife. One of the necessary components of any kitchen is a range hood. It is difficult to imagine that until recently, not every house had such a necessary thing, without which it is impossible to do in the modern world.
Just imagine how often you had to do the cleaning. Launder furniture and walls from soot and greasy deposits that settled on the entire area of the kitchen, and if you forgot to close the door, then throughout the house. After all, these fumes settled on curtains, chandeliers, and on everything that is in the house! In addition, the combustion products that occur during cooking on a gas stove, very much affect human health.
Cooker hood solves all the above problems. It captures all the smells that are formed during cooking, preventing them from spreading throughout the house or apartment. Therefore, thanks to this particular equipment, the whole family can safely gather in the kitchen to eat or discuss something and an unpleasant smell will not bother anyone. The range hood does not filter odors for a pleasant smell or not, it just removes everything. Therefore, when the hood is operating in the kitchen, it is better to leave the doors to it unlocked so that the room is ventilated.
Therefore, I want to present you an article on how to make a hood do it yourself.
So, for the author of this master class to work needed components like:
Drywall, metal profiles, various fasteners fixtures - screws, screws, bolts, anchors, corrugated vent pipe, and batting.
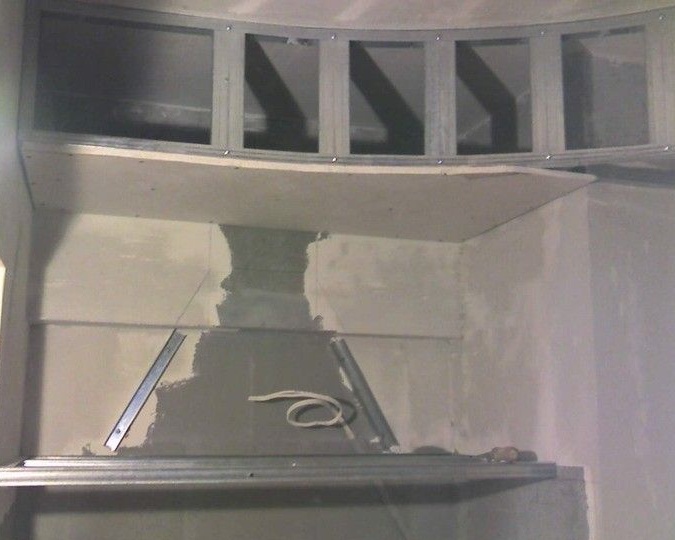
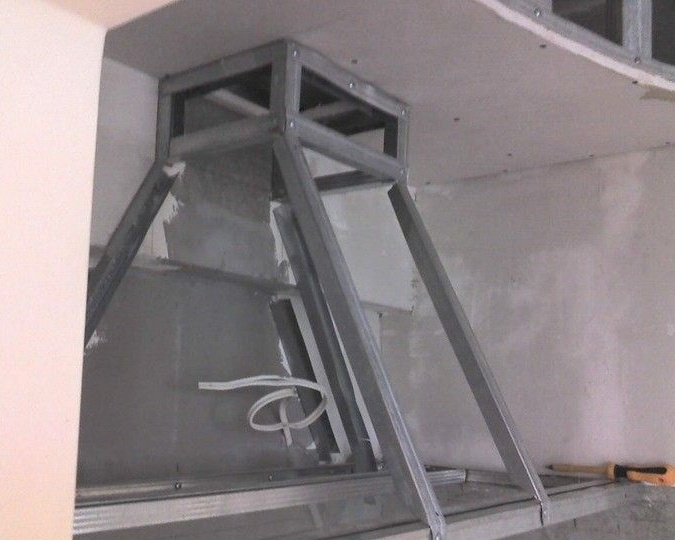
To begin with, I decided on the place where the hood will be located, where the exhaust duct, pipe and so on will be laid. The upper body is created from the profiles, along which the corrugated air duct will pass.

Next, horizontal supports from the profile are attached.When attaching them, you need to pay maximum attention, since the main load of the entire hood will fall on them.
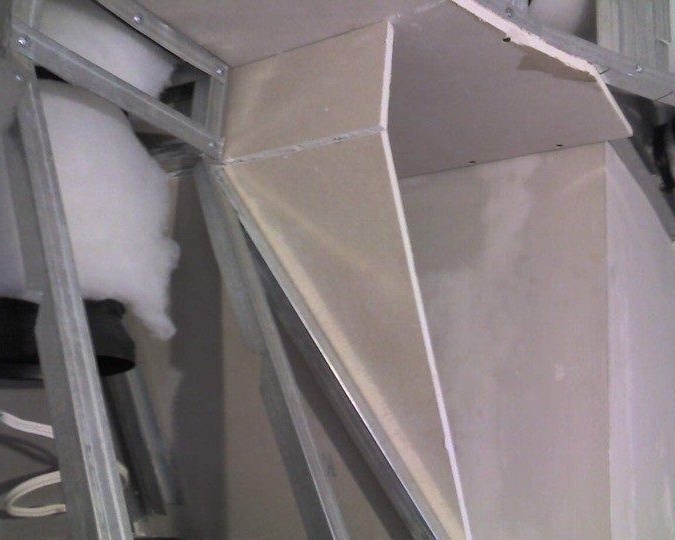
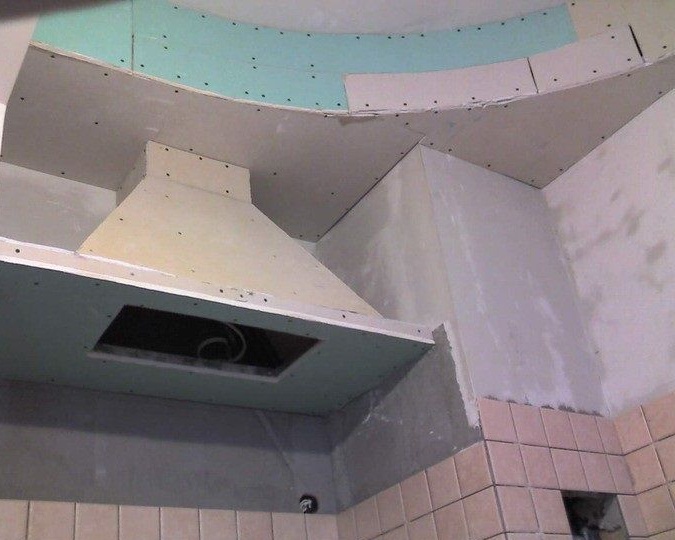
Next, the frame of the hood from the profiles is built. In the top sheet of drywall, cut a hole under the pipe.
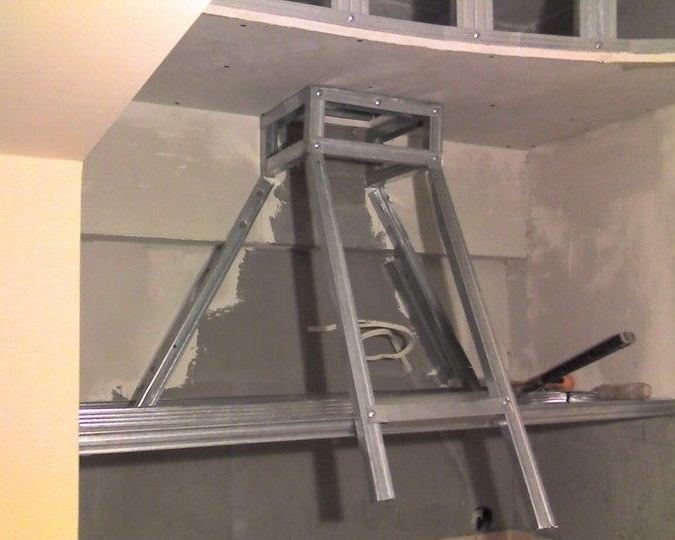
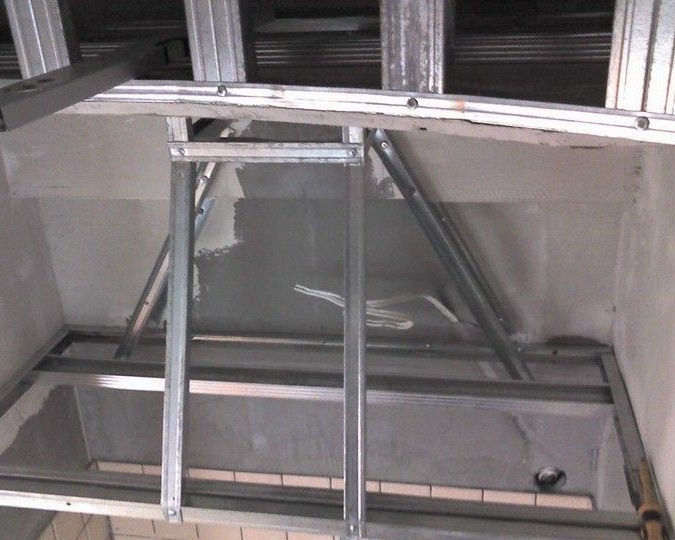
We connect and fasten the ends of the profiles. Add additional stiffeners to the hood frame.
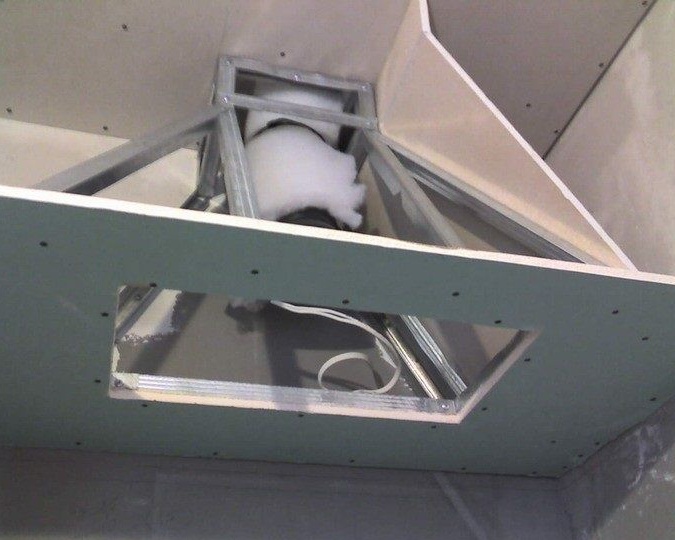
Now the corrugated pipe fits into the previously prepared design. The pipe must first be wrapped with batting. This must be done carefully, as how vibration and noise can be created due to air flow.
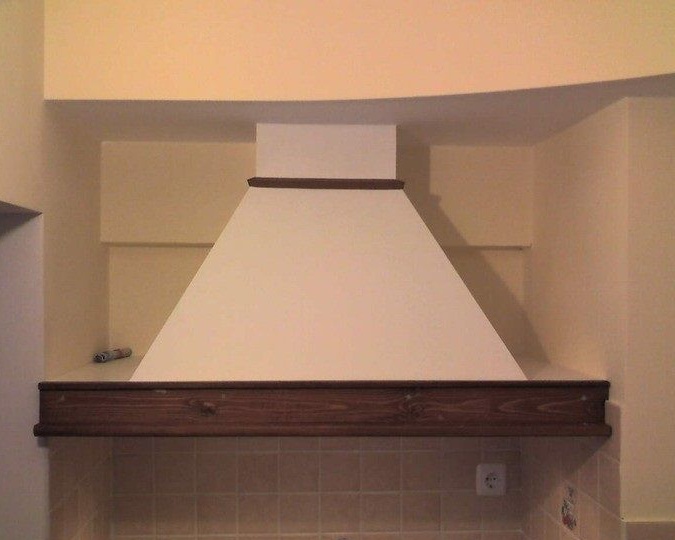
We sheathe the rest of the hood frame with drywall. The next step is to cover up all the irregularities, plaster and paint the entire structure.

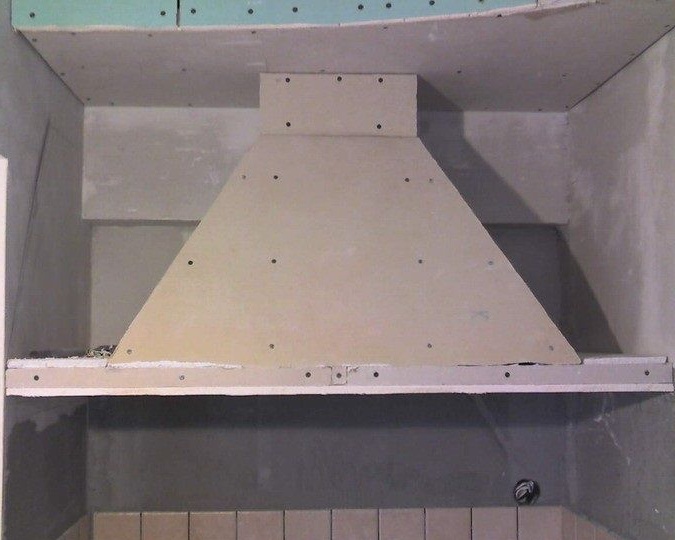
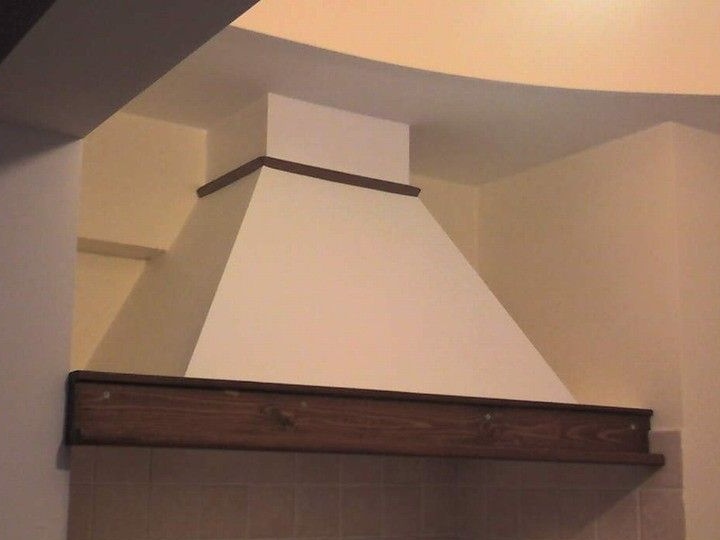
In the end, the author got such a hood. No need to spend money on its purchase, nor for installation. And if you install lamps in its lower part, it will be quite convenient. You can also integrate a clock with a timer so that it is convenient to time the cooking time.
Good luck to everyone, a sea of creative ideas and success in their implementation.