
Materials and tools for the manufacture of the device:
- unnecessary electric oven (heat source);
- a wooden table (as the basis for the device;
- parquet board and MDF;
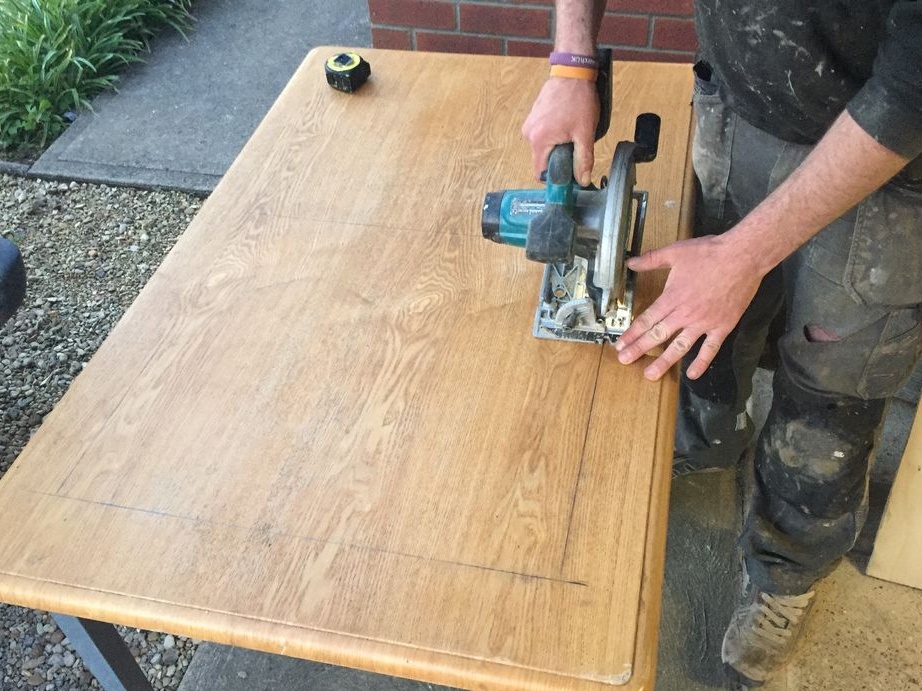
- hand circular saw;
- screws with nuts, self-tapping screws;
- drill, pencil, measuring tool;
- a powerful vacuum cleaner to create a low pressure or compressor;
- a piece of plastic pipe and a hose for connecting the compressor;
- sealant;
and other.

The manufacturing process of the device:
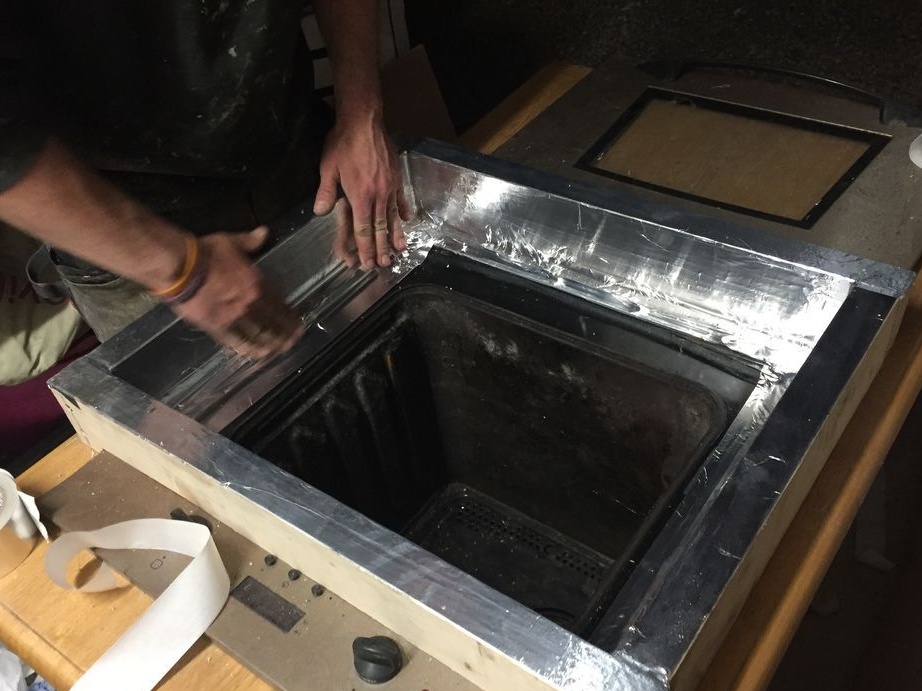
Step one. We make the heating part of the device
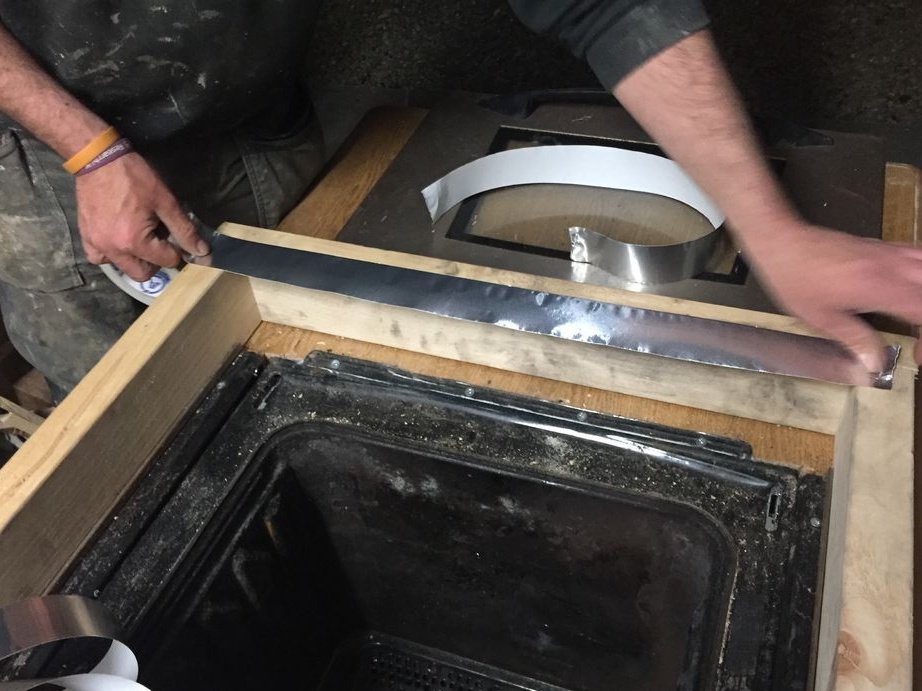
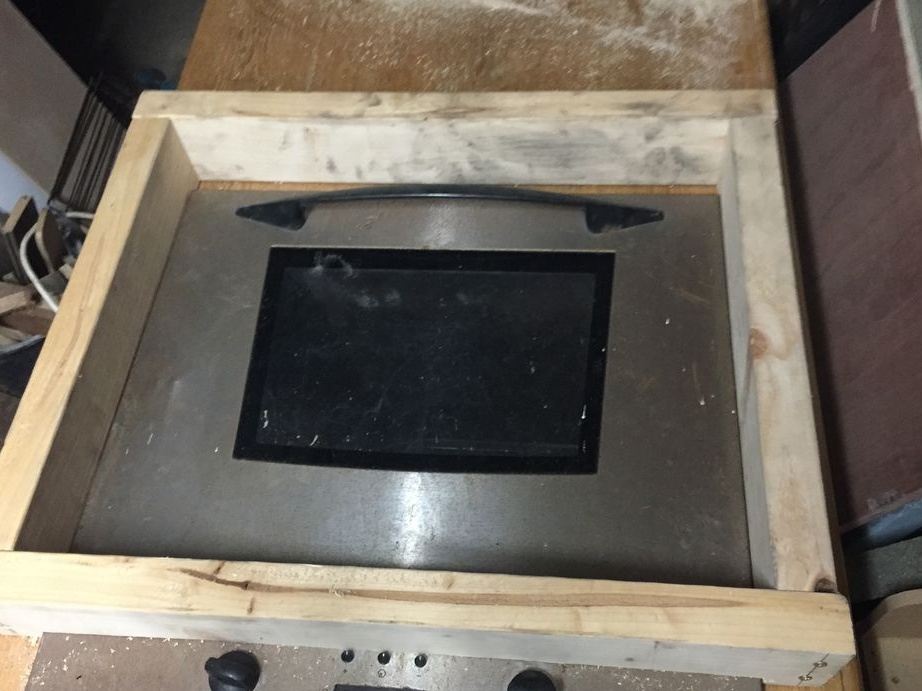
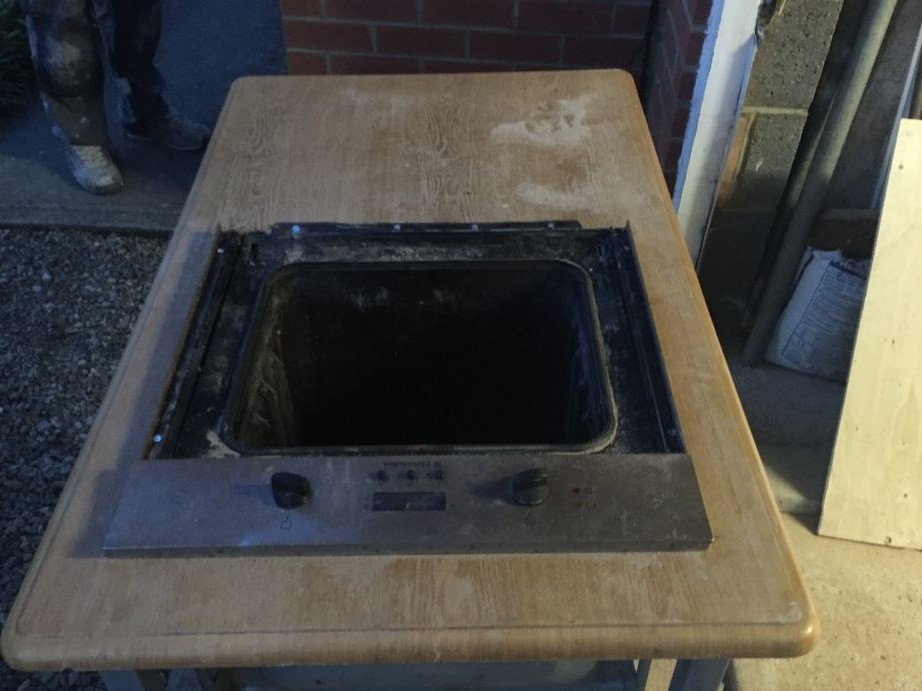
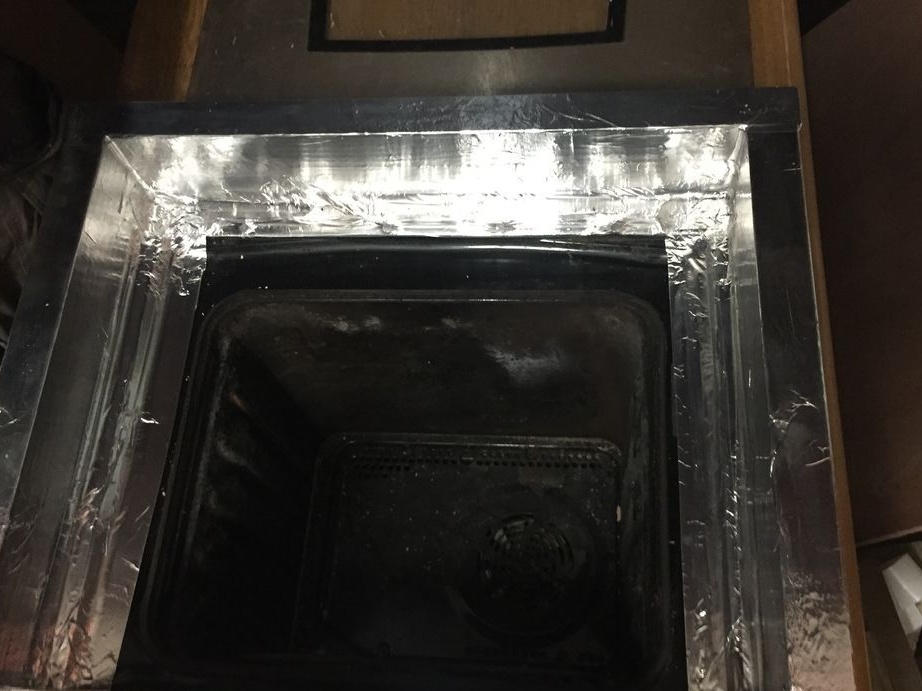
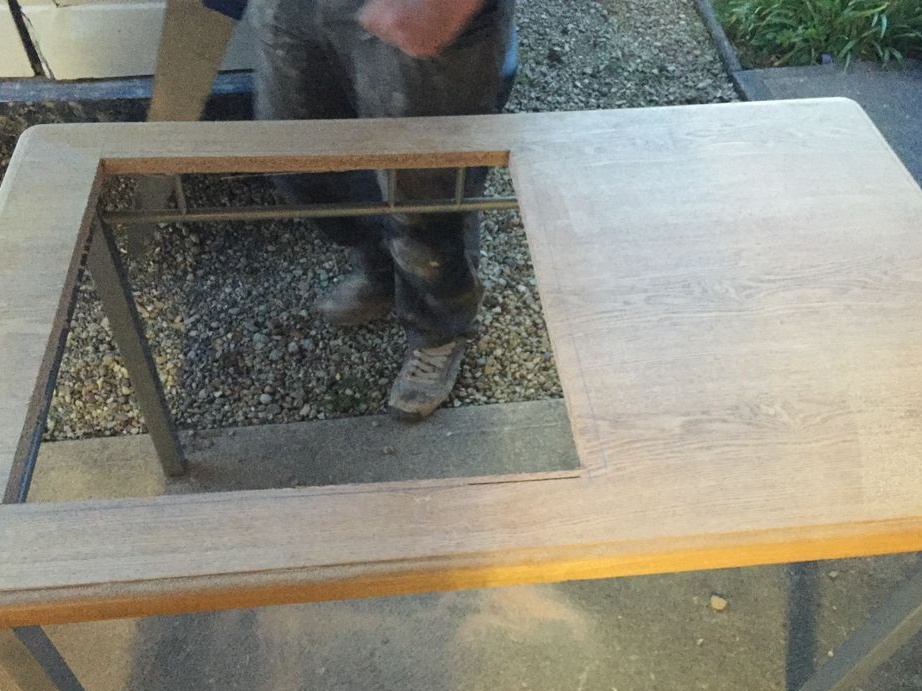
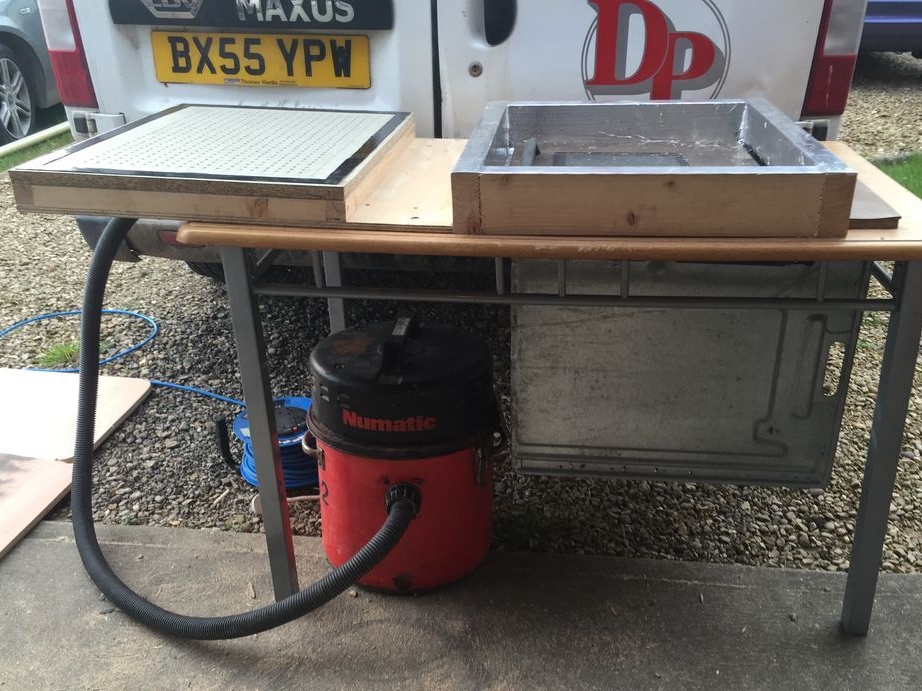
In order to heat the plastic, you will need an electric oven. It will be installed vertically, as can be seen in the photo. The oven door must be removed, and it is installed in the table, in which with the help of a circular saw you need to cut the corresponding niche. To seal the oven so that the heat does not go away, foil is used.
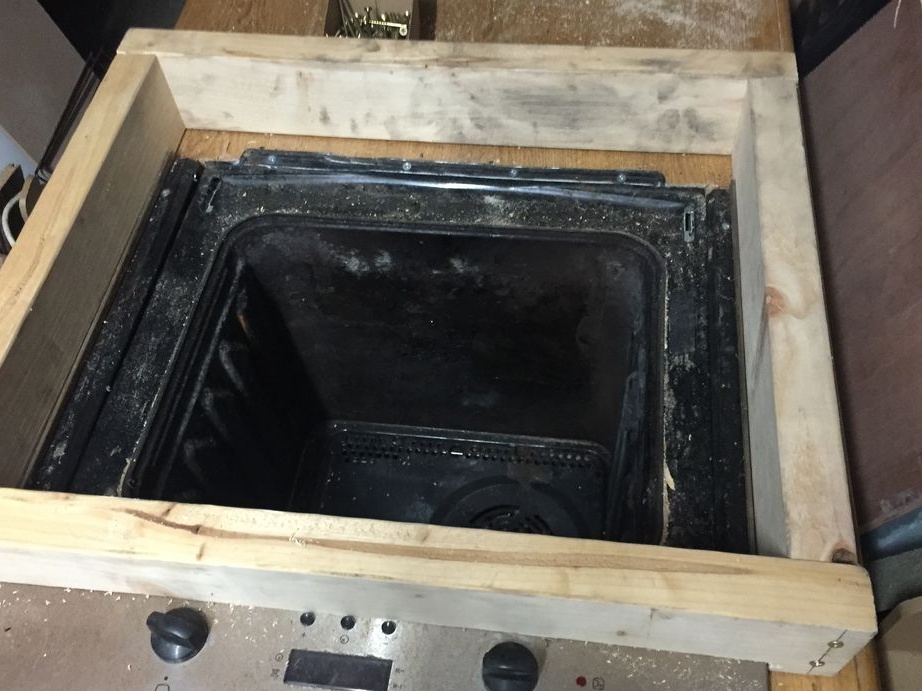
A frame of boards is made on top of the table around the oven; subsequently, a frame with a sheet of plastic will be laid on it, which will need to be heated. As you can see, everything is pretty simple here. The result is a rather convenient device with adjustable temperature.

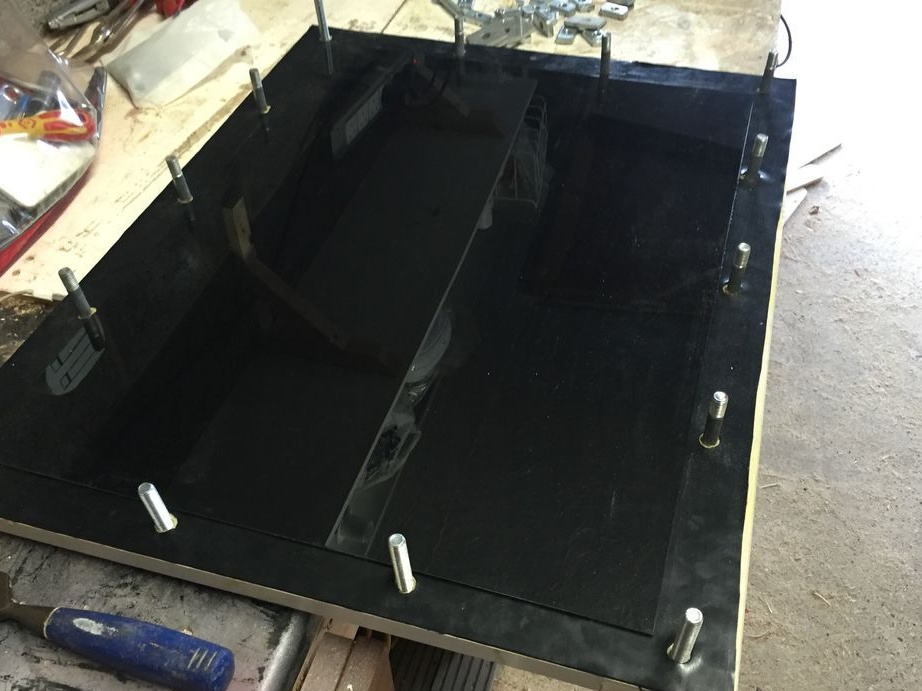
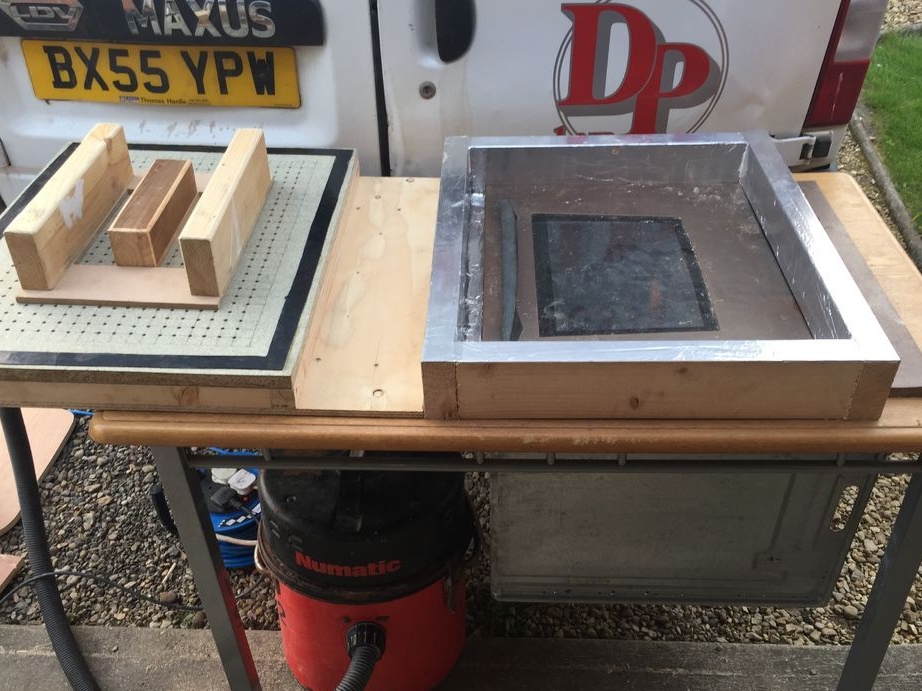
Step Two Create the second part of the device
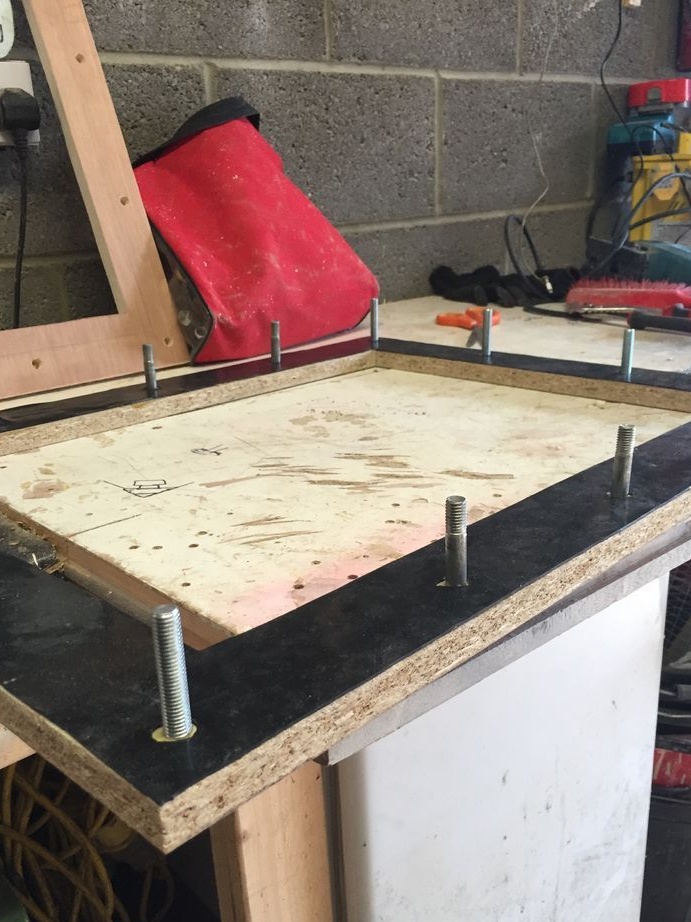
Perhaps this is the most difficult part of homemade work, but technically there are no special difficulties here, it just requires some patience. First of all, a wooden frame of a suitable size is made. The material here is parquet, you can use other wood, the most important thing is that the material is even and smooth, otherwise it will be difficult to achieve the desired tightness.
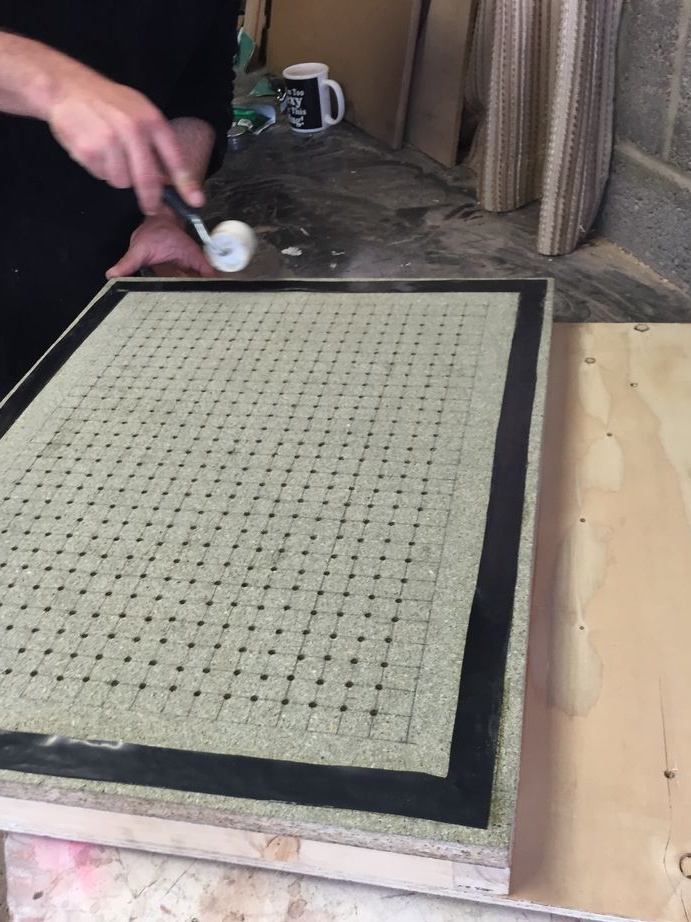
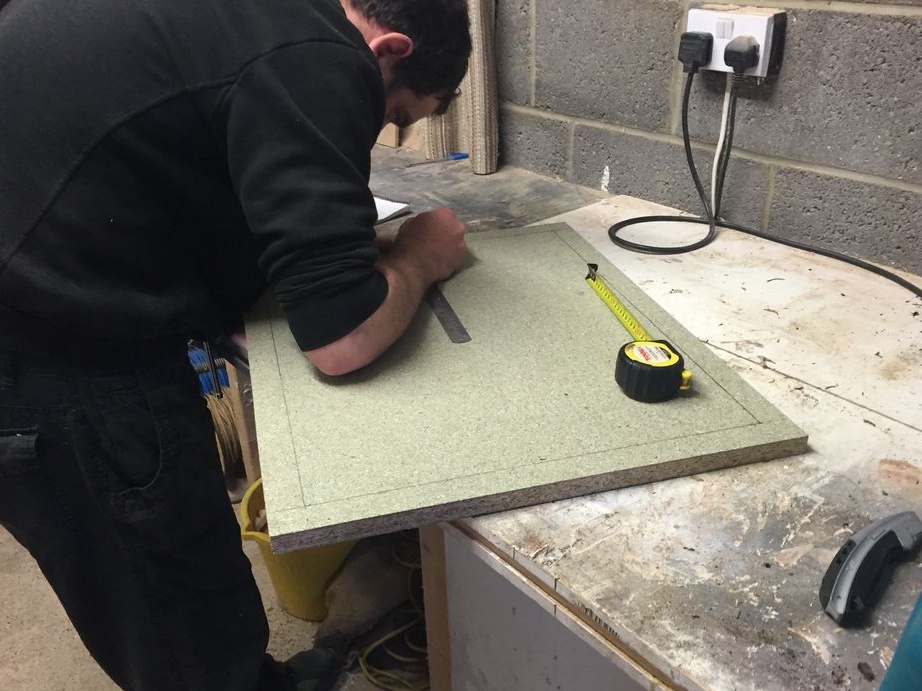
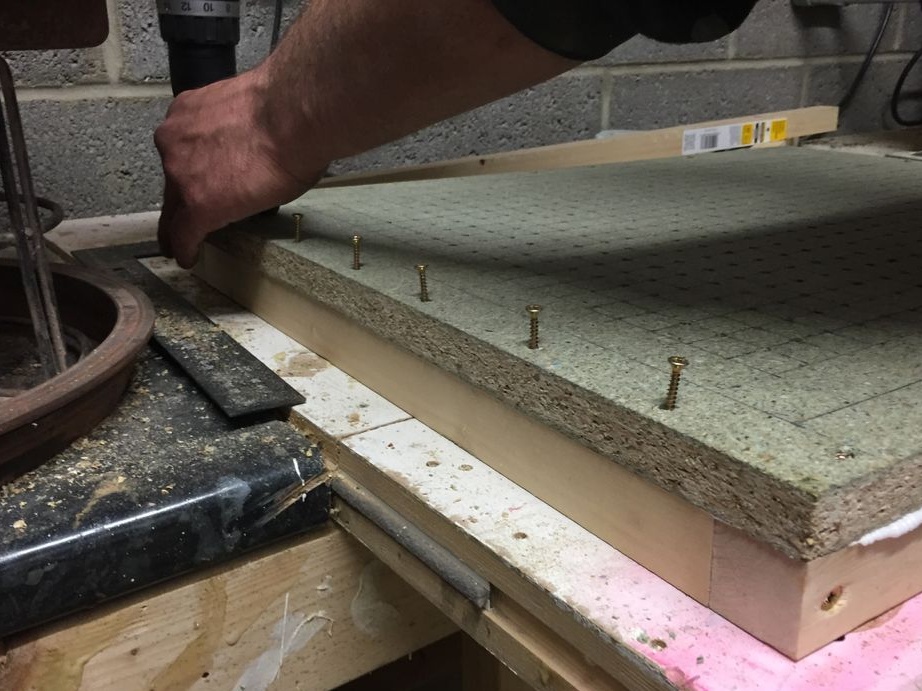
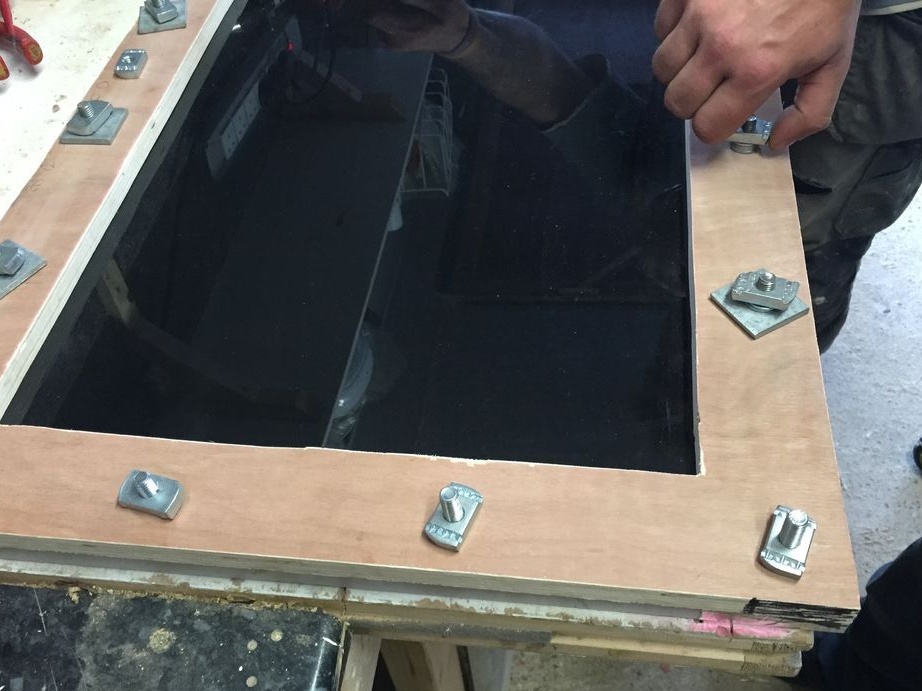
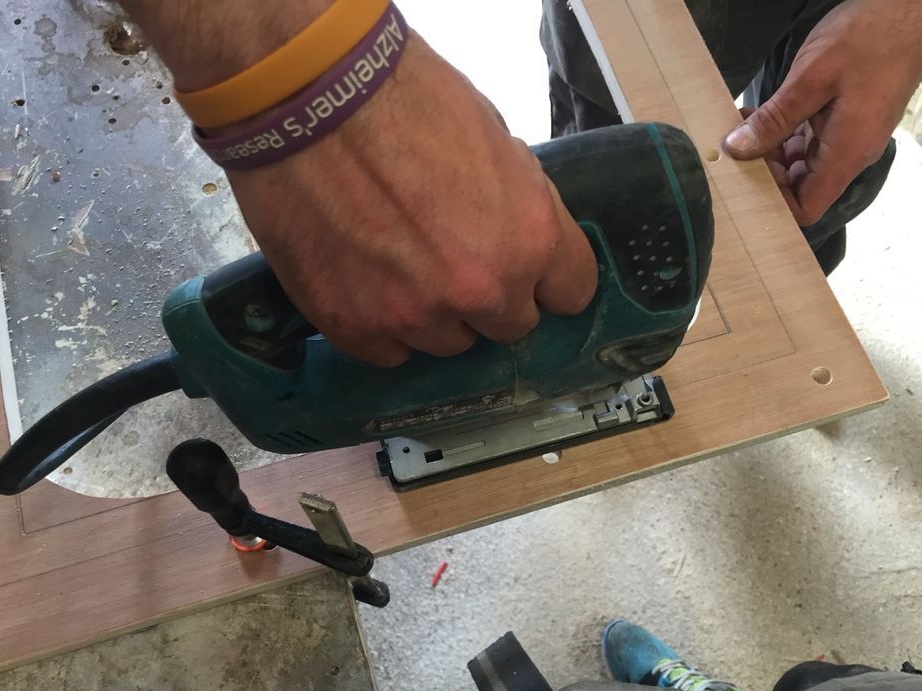
After the frame is assembled, you can begin to create a site on which work will be carried out. It is a piece of MDF, in which a large number of holes are drilled. Most importantly, these holes should be at the same distance from each other and have the same diameter. Otherwise, the vacuum will be uneven, and this will lead to the fact that the products will be of poor quality. The holes are drilled after high-quality marking.
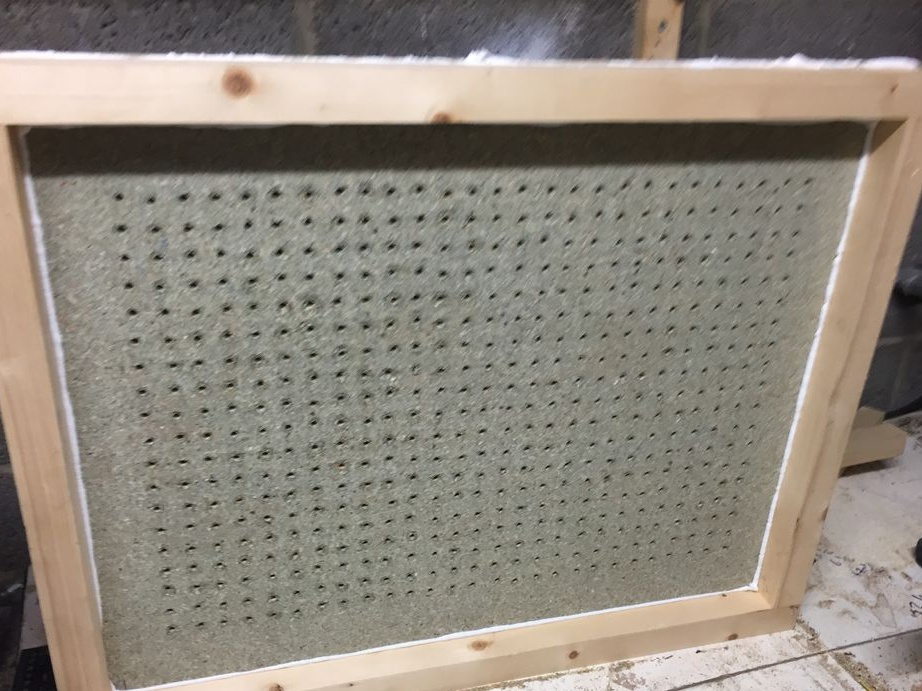
At the next stage, this part with holes is attached to the previously made frame, self-tapping screws are used. To ensure tightness, the frame is carefully lubricated with sealant.

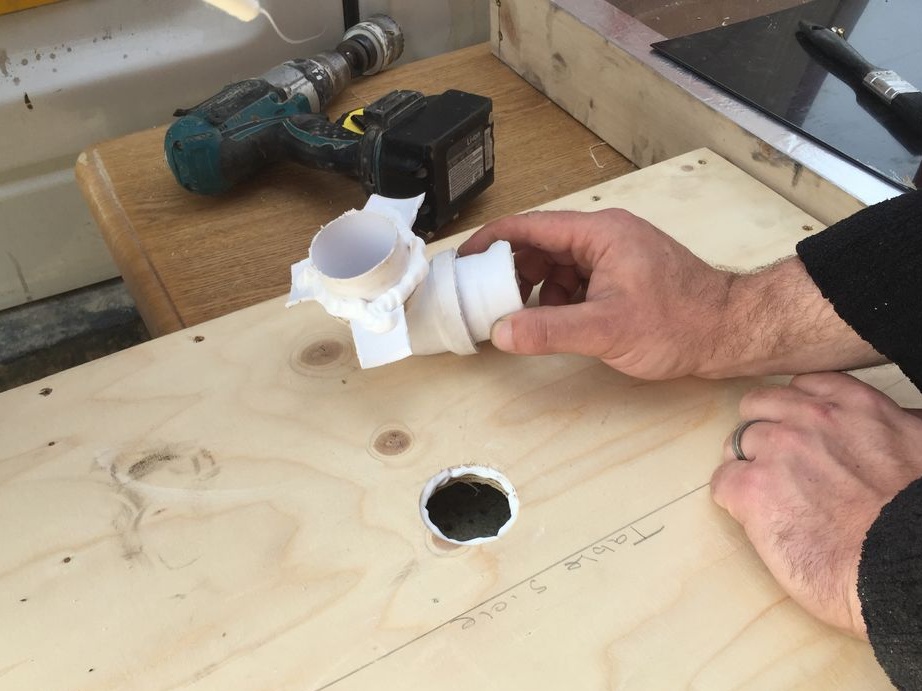
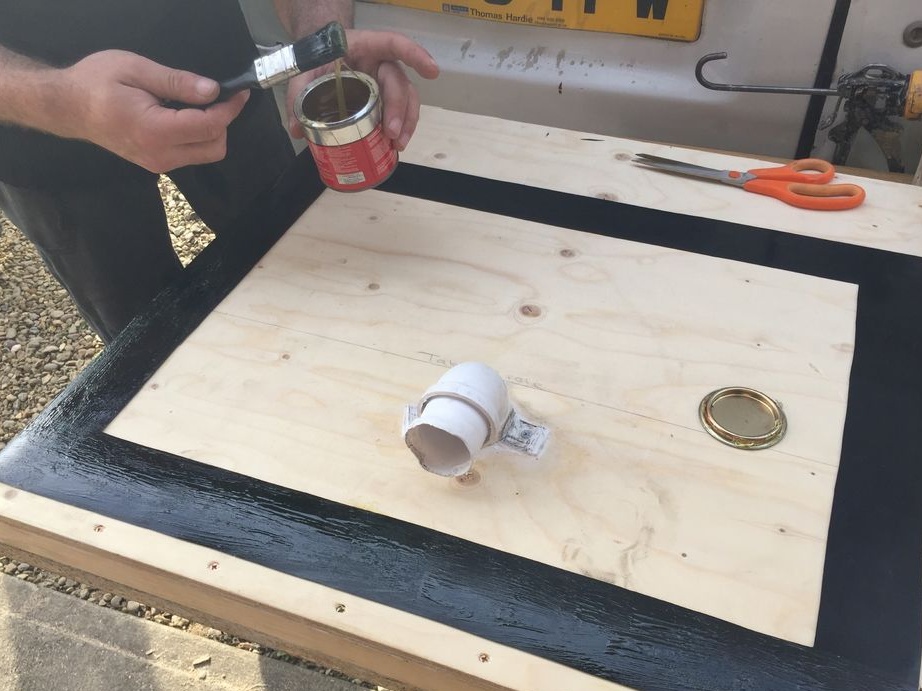
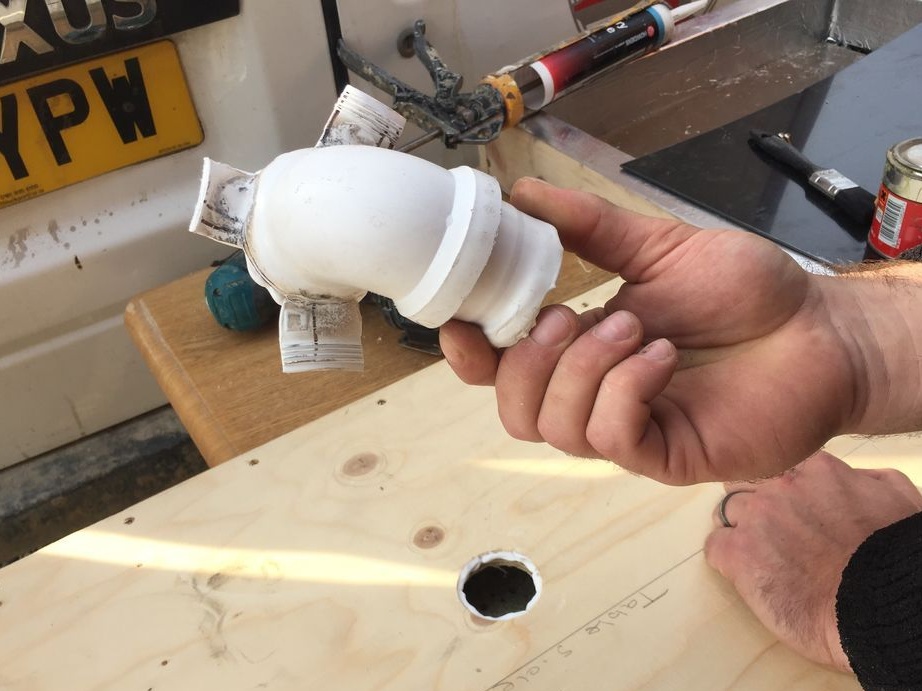
Now another part that is mounted on the other side of the frame. Its function is to connect the vacuum cleaner to the frame. In other words, you will need another piece of MDF, in which you need to drill a large hole and install a pipe to connect the vacuum cleaner. Of course, the entire structure should be airtight, so the sealant does not need to be spared during assembly.
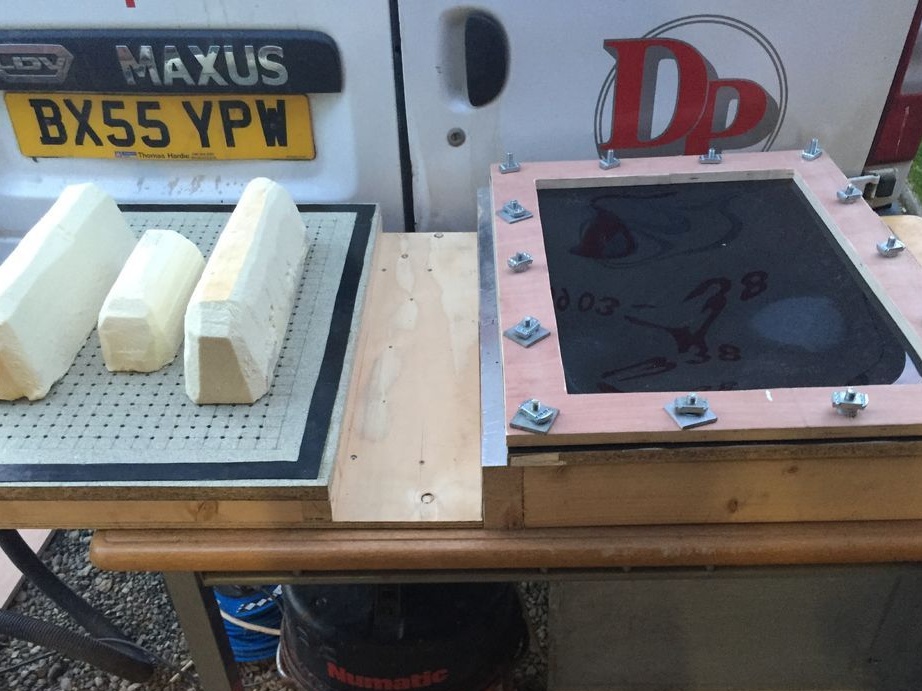
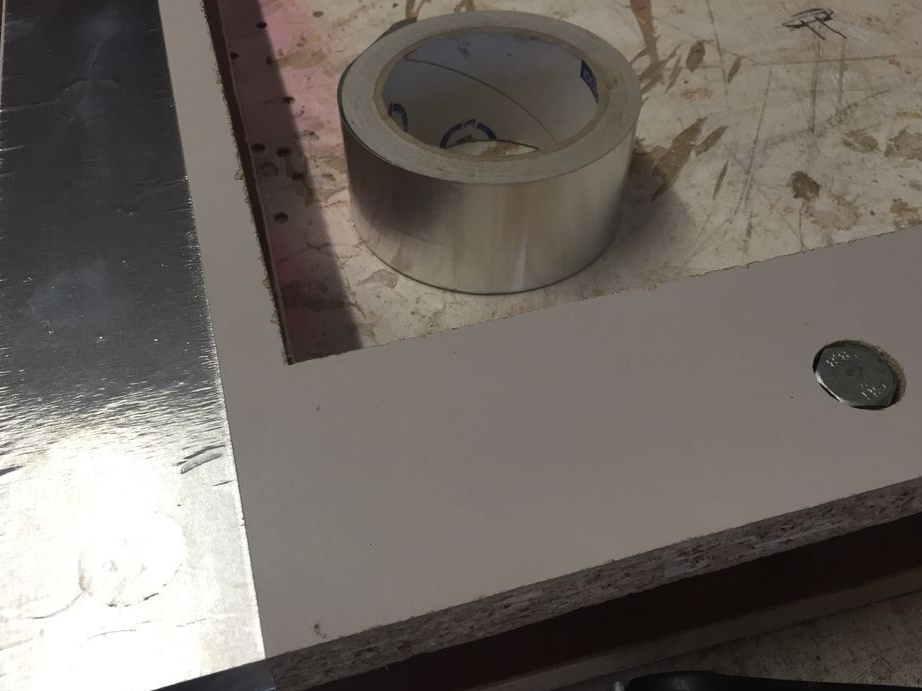
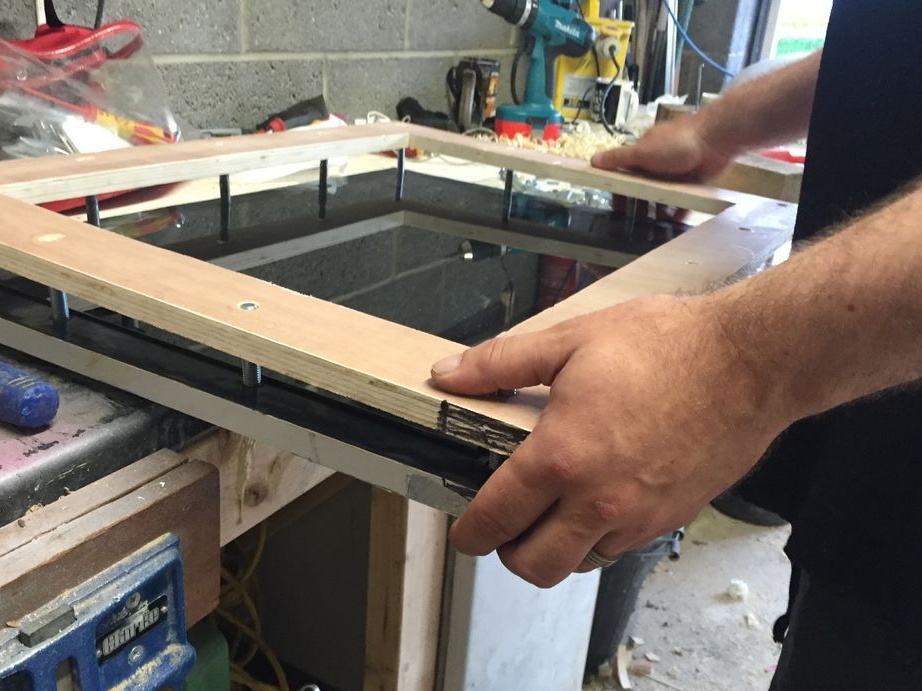
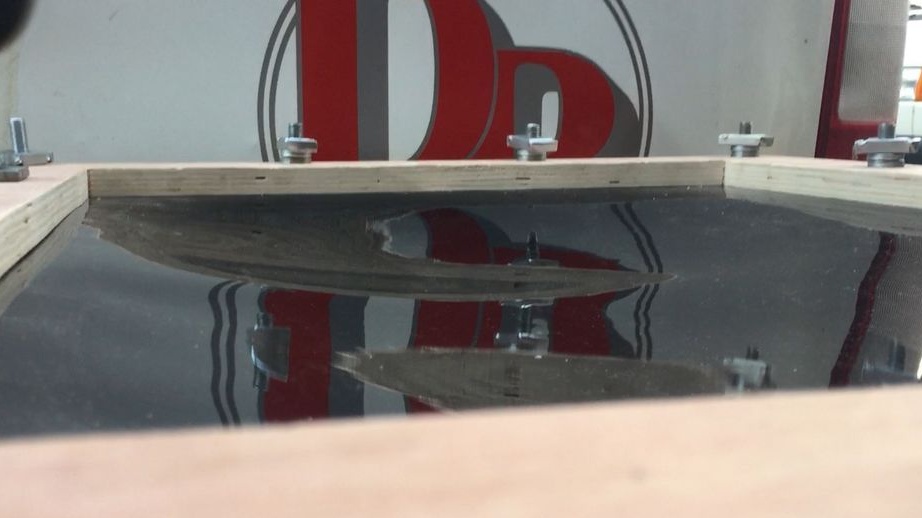
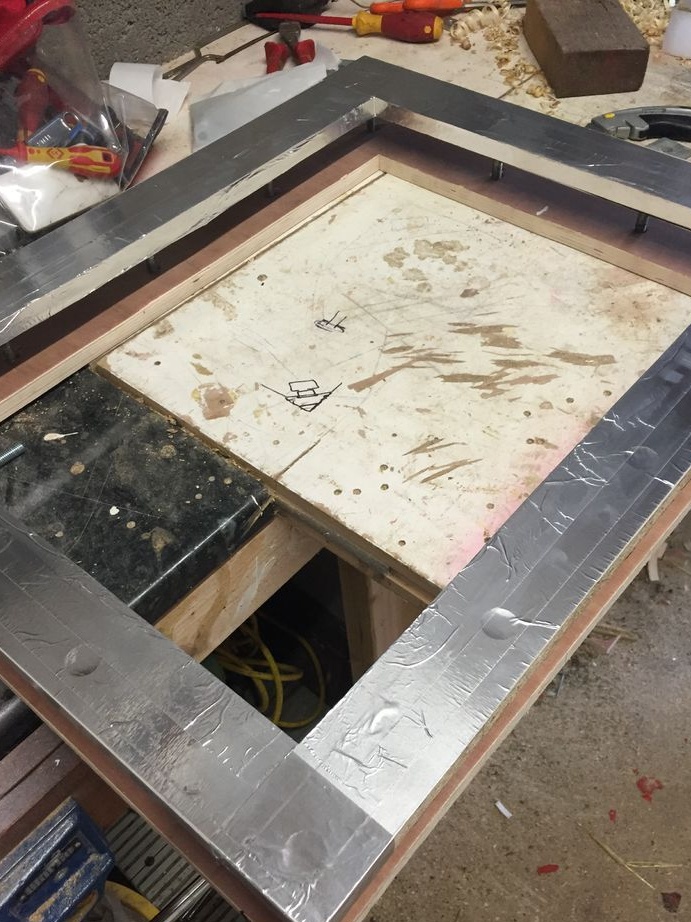
Step Three Screen making
A screen is needed in order to hold a sheet of plastic during production. The screen consists of two parts, between which a sheet of plastic will be clamped. For these purposes, MDF is also suitable, you can use other material, the main thing is that it be even and smooth. In two sheets, you need to cut out the window you need to size, and then drill in a circle of holes for the bolts. Bolts with nuts are needed in order to tighten the two halves of the structure and thereby clamp the sheet of plastic. For better tightness and reliability of the clamp, a rubber gasket is installed on the inside of the screen. The back of the screen is covered with tin foil, probably to reflect heat.
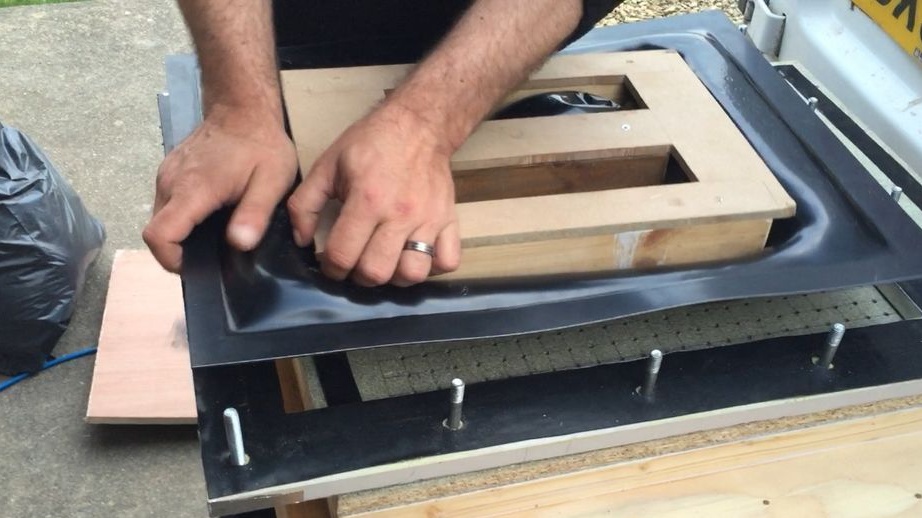
Step Four Device testing
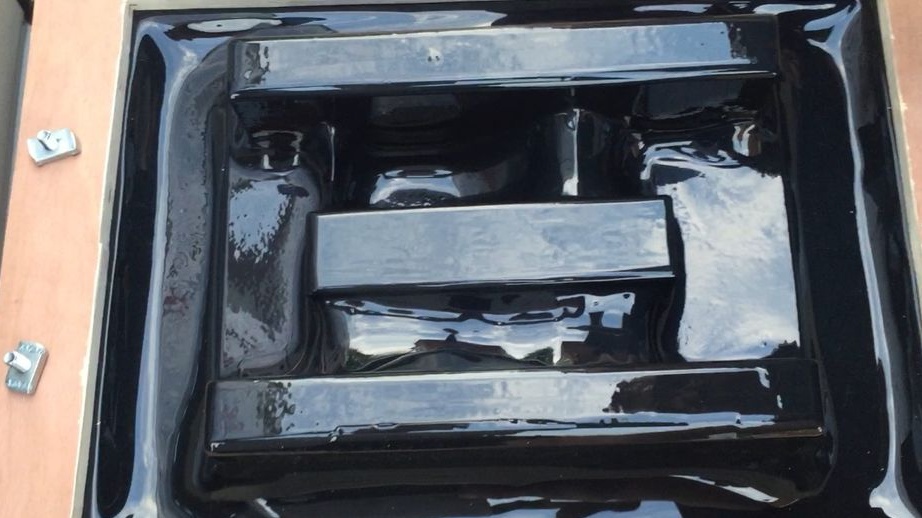
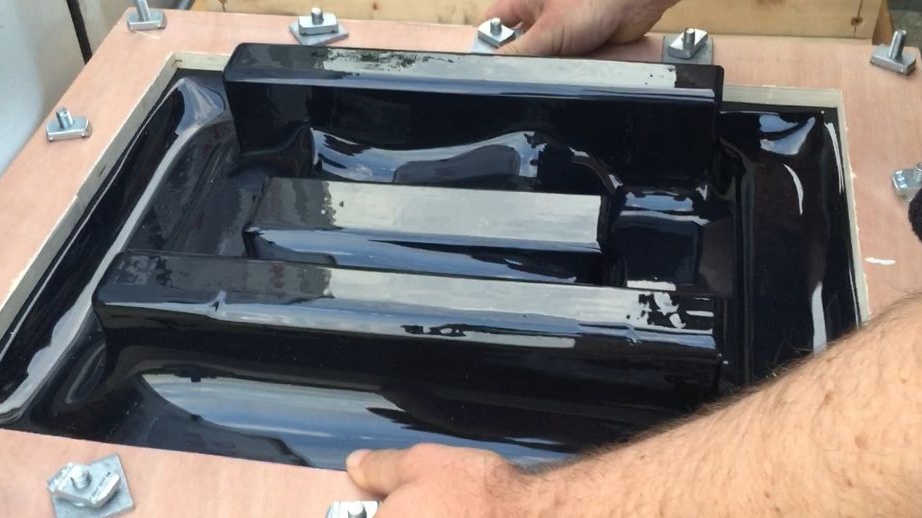
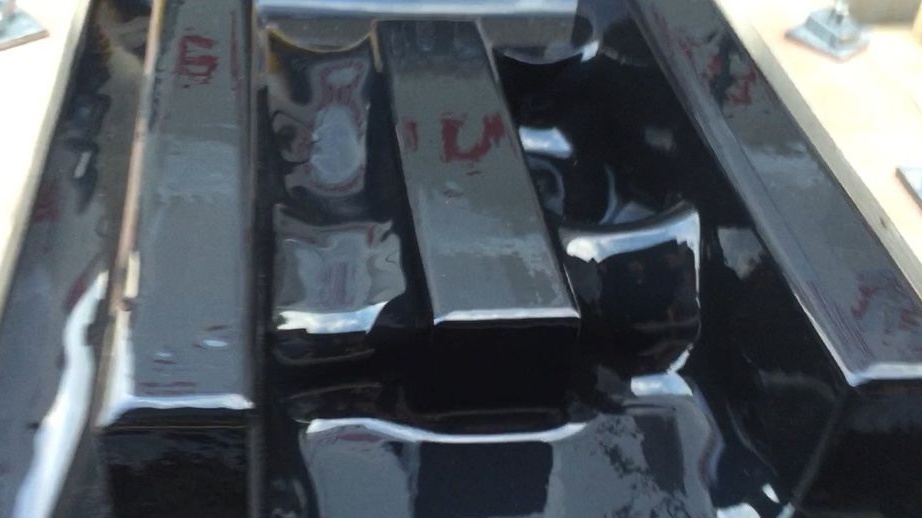
From the first time to make the desired product using such a device may not be so simple. After all, you need to correctly determine the heating temperature of the plastic and the vacuum force. As you can see in the video, the author feels the plastic with his hand, thereby checking its elasticity. Next, take the form by which you want to make the product, and install on a frame with holes. After the plastic warms up, the frame is transferred to the part where the vacuum is created, and placed on top. After turning on the vacuum, a vacuum is created and the plastic envelops the mold. After cooling, it remains only to cut the product out of plastic.


In such a simple way, you can build a small production workshop at home. So you can make almost any product, building materials, fishing lures, a variety of containers, toys for the Christmas tree and much more.