Materials and tools for making a scooter:
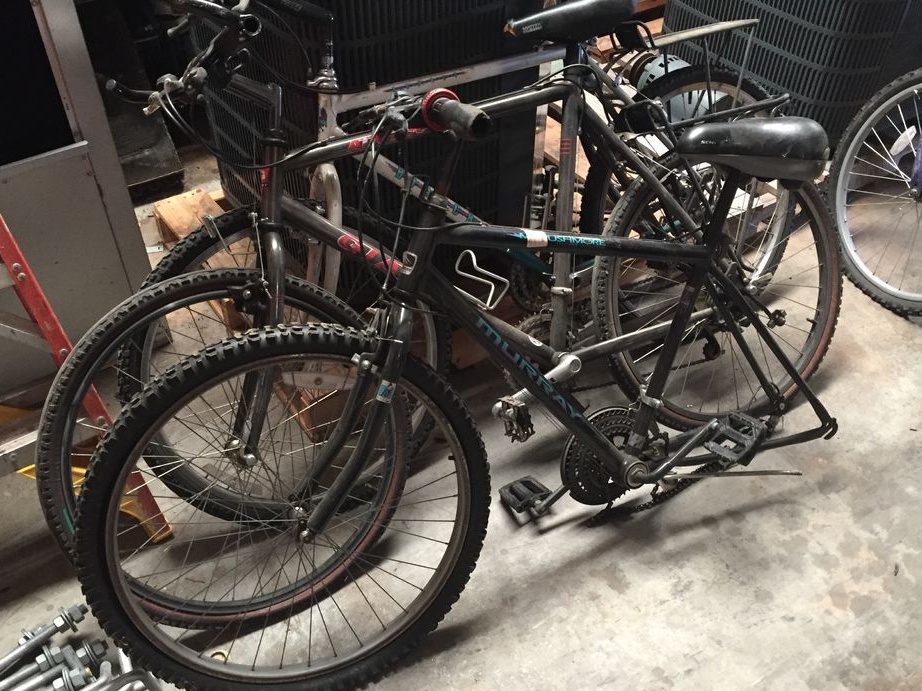
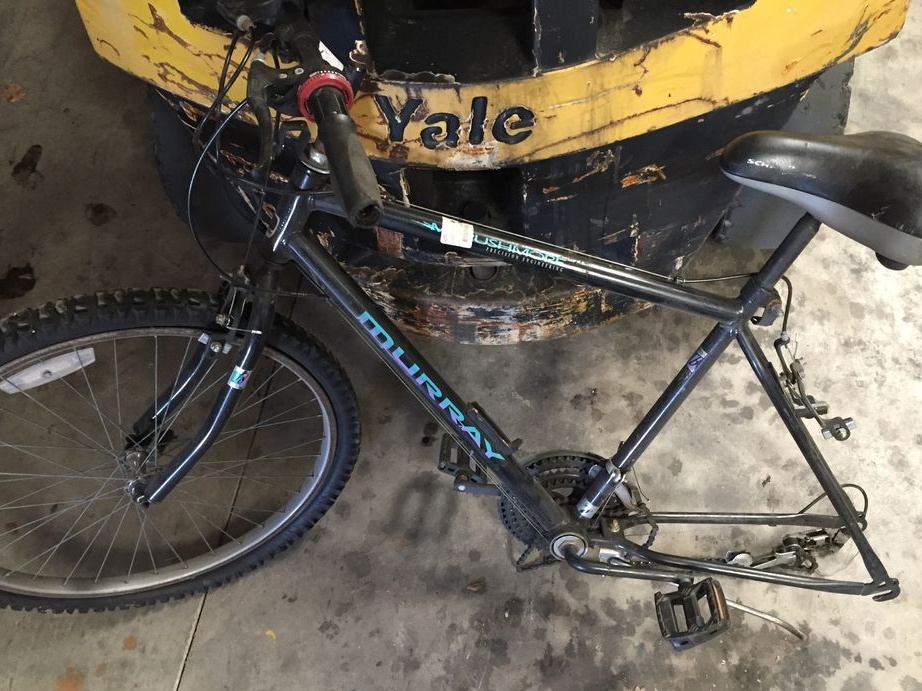
- front part of a mountain adult bicycle;
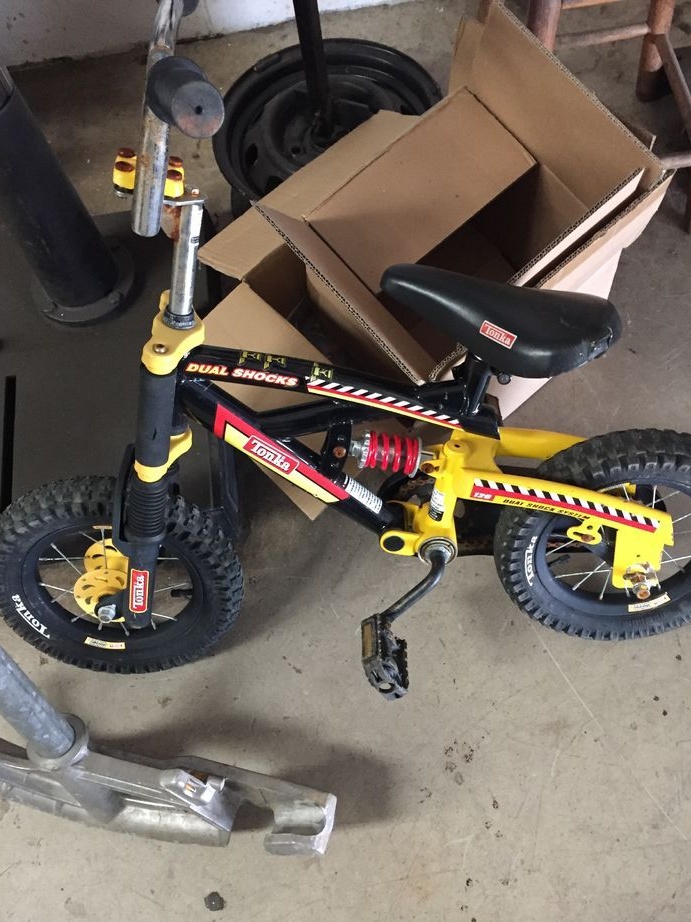
- a back fork with a wheel from a children's bicycle;
- steel plates;
- screws;
- a piece of strong metal pipe to create a frame;
- spanners;
- welding machine;
- grinder;
- drill;
- paint.
Scooter manufacturing process:
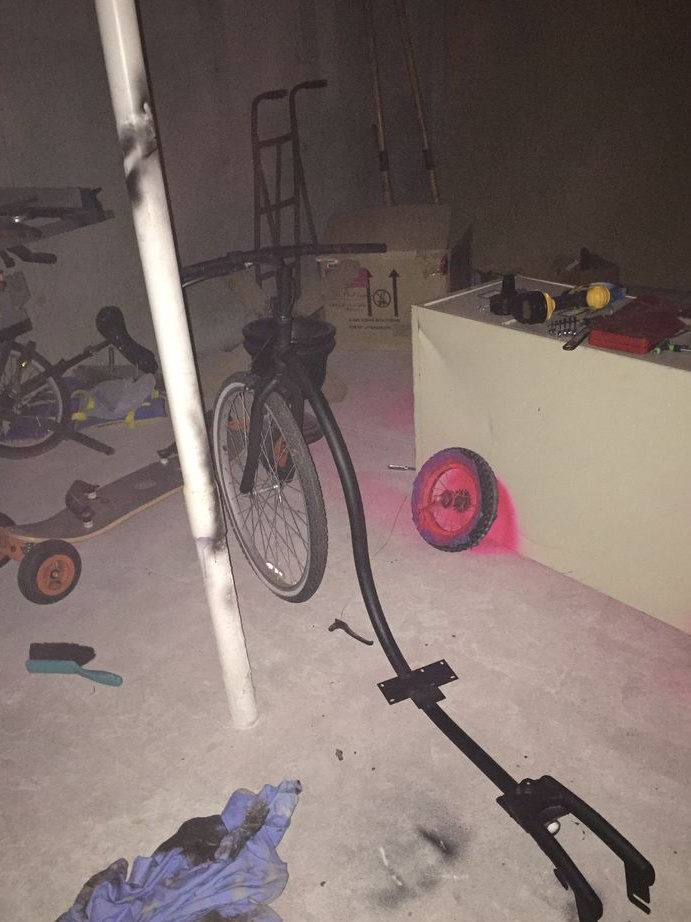
Step one. Disassemble bicycles
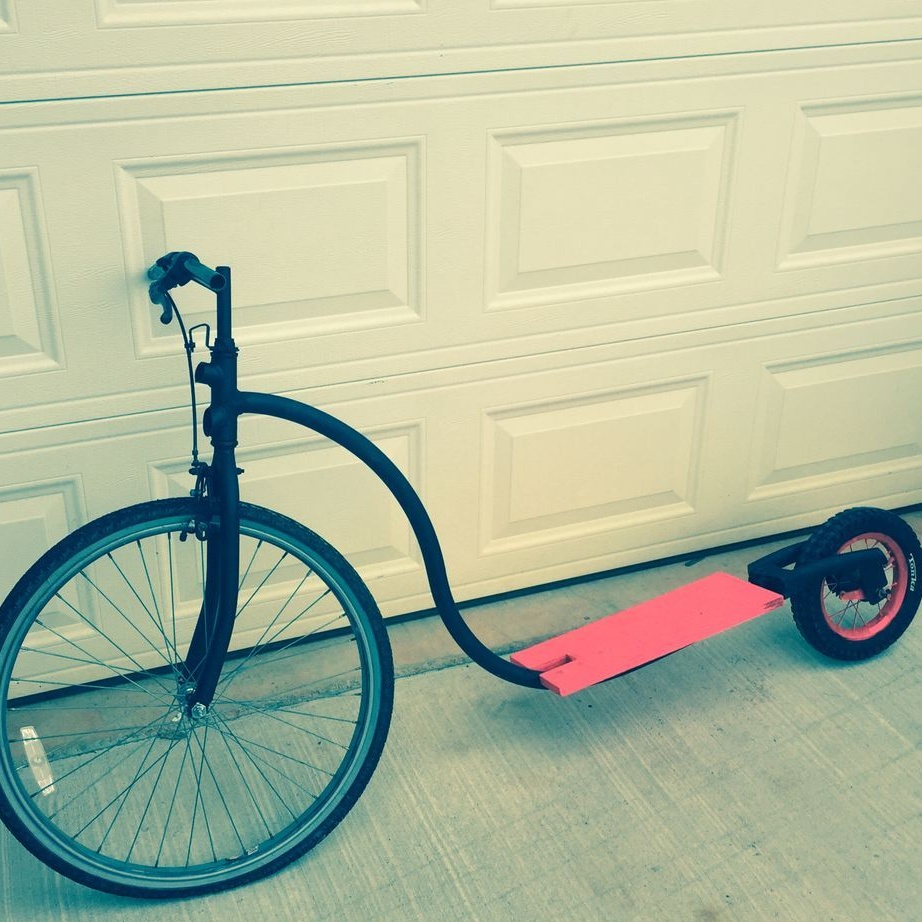
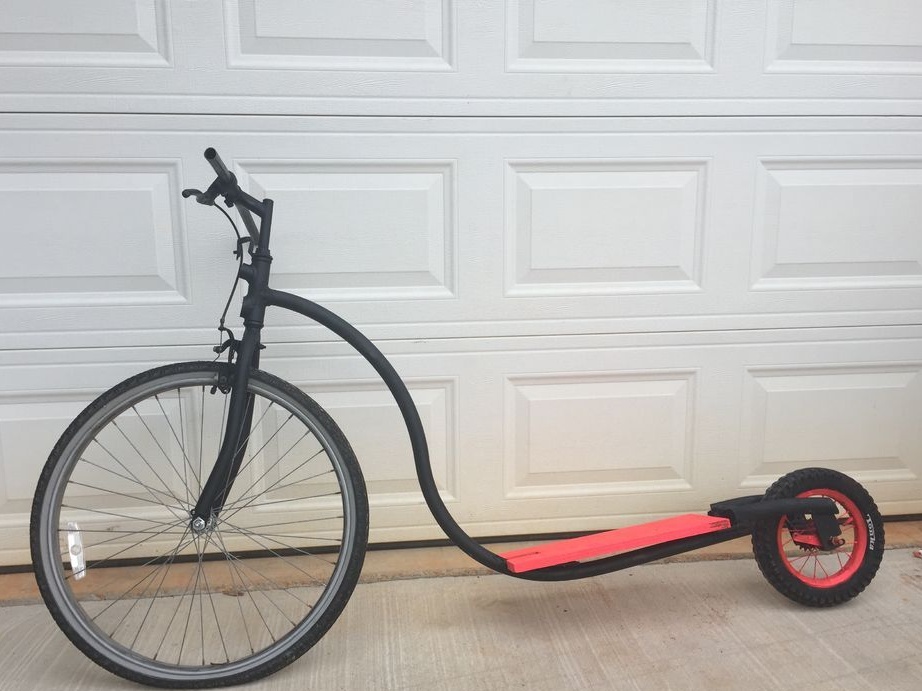
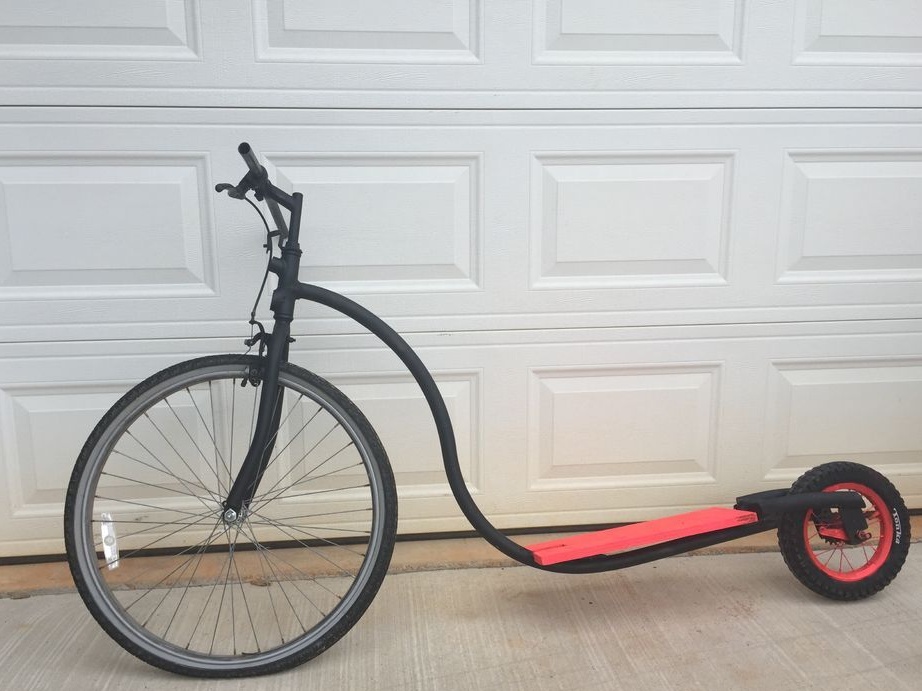
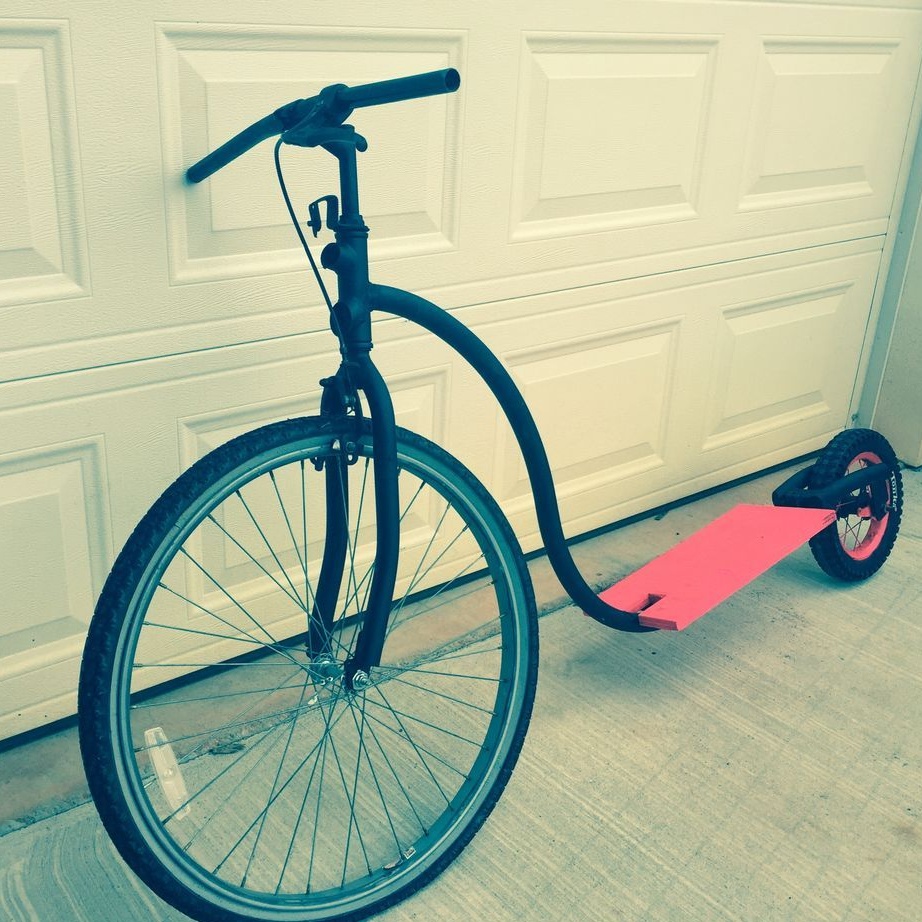
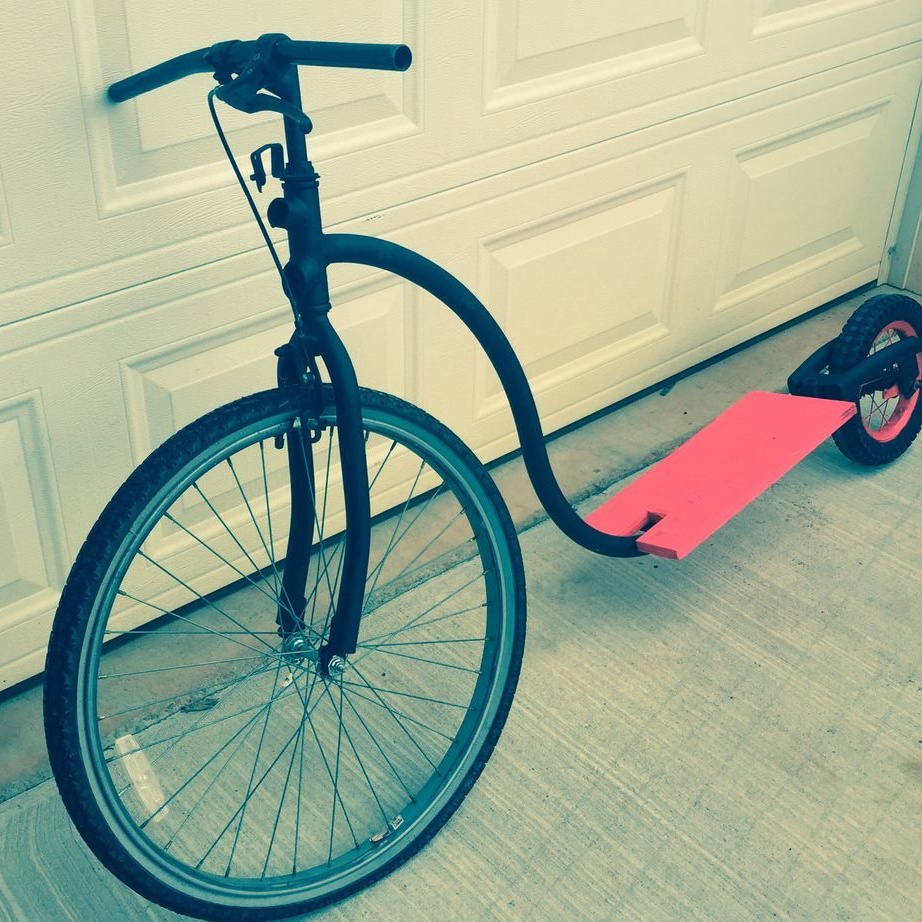
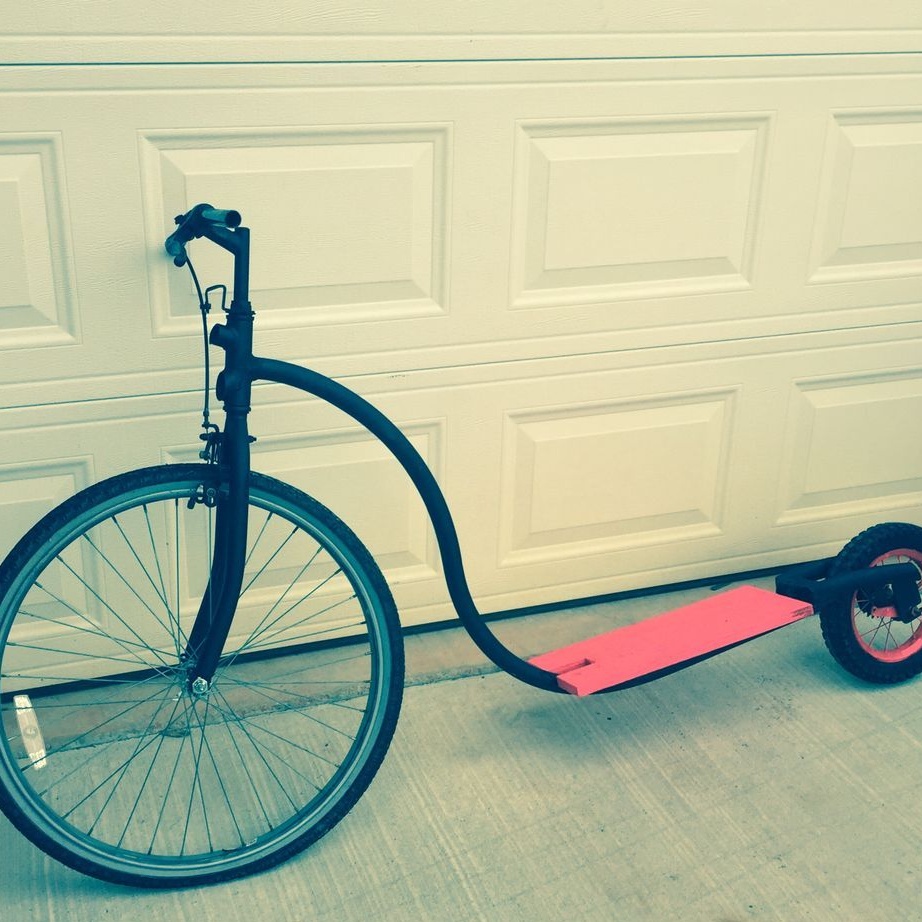
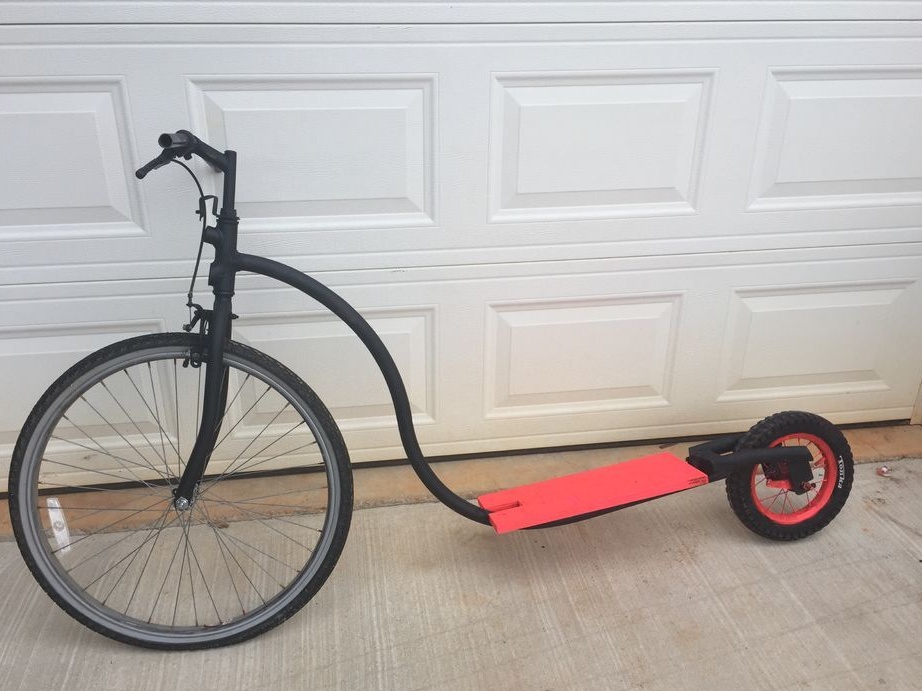
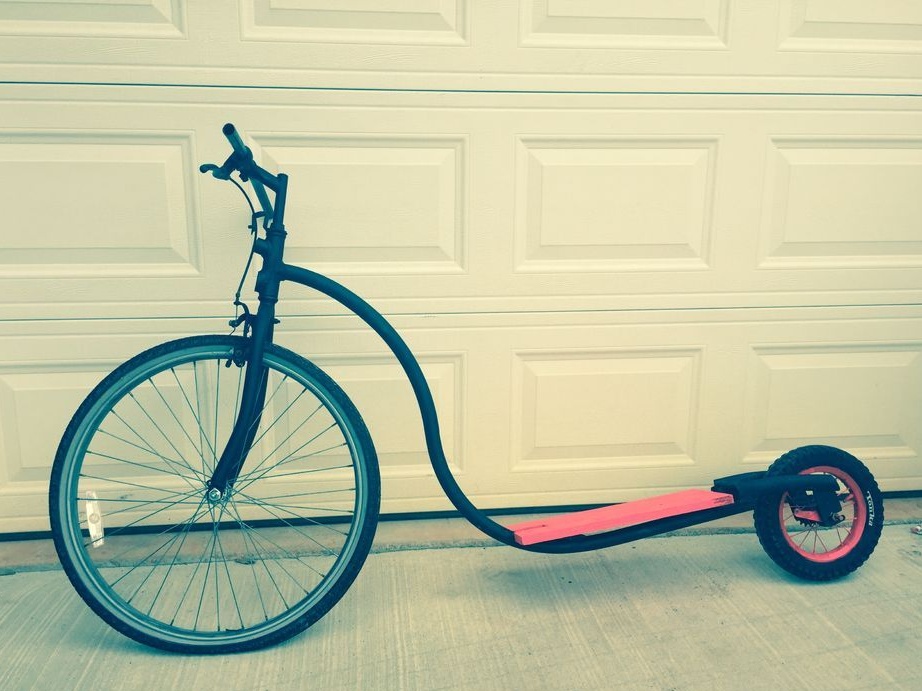
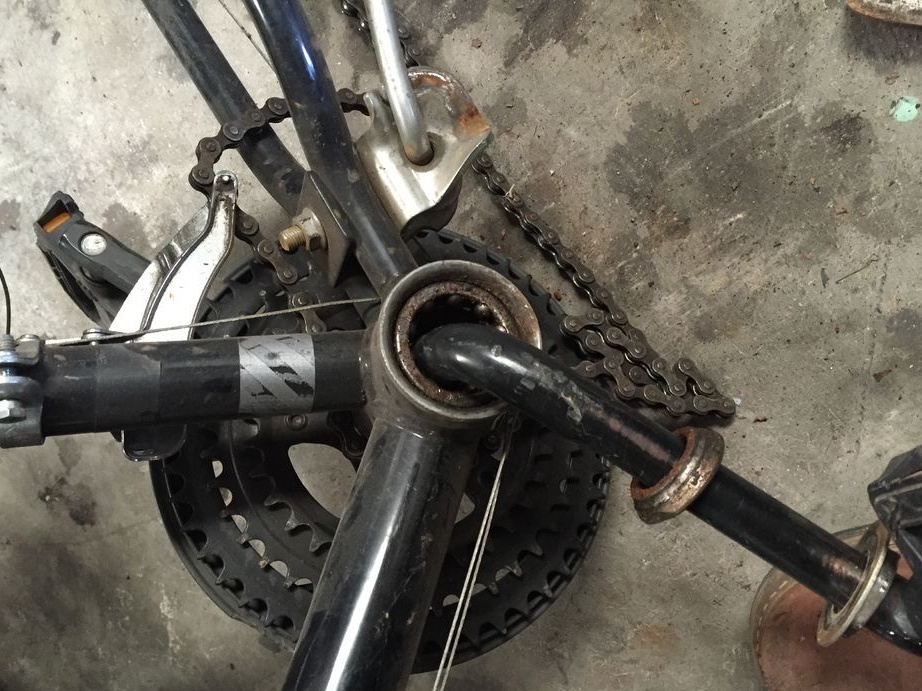
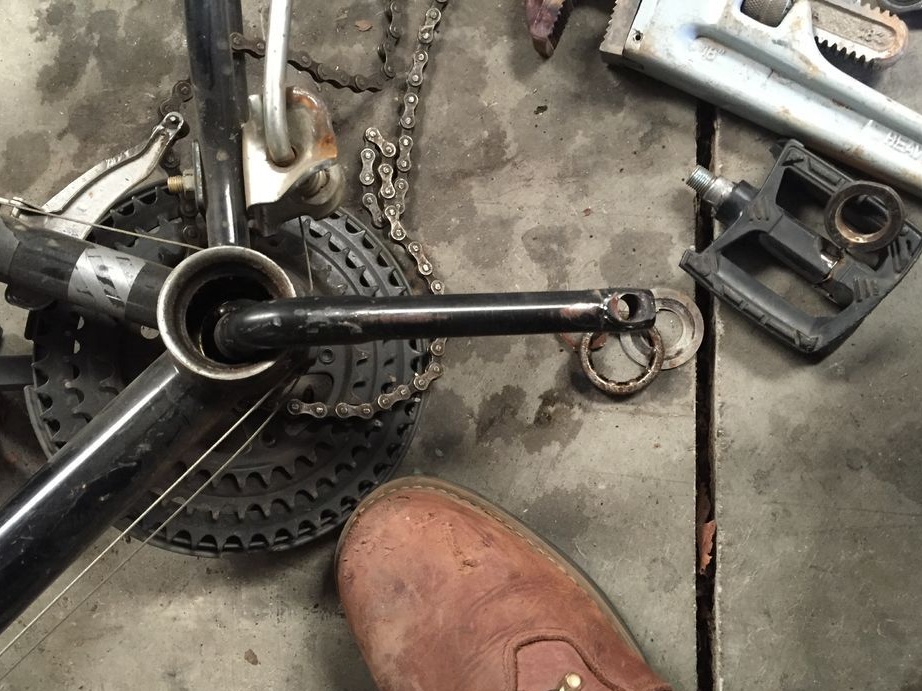
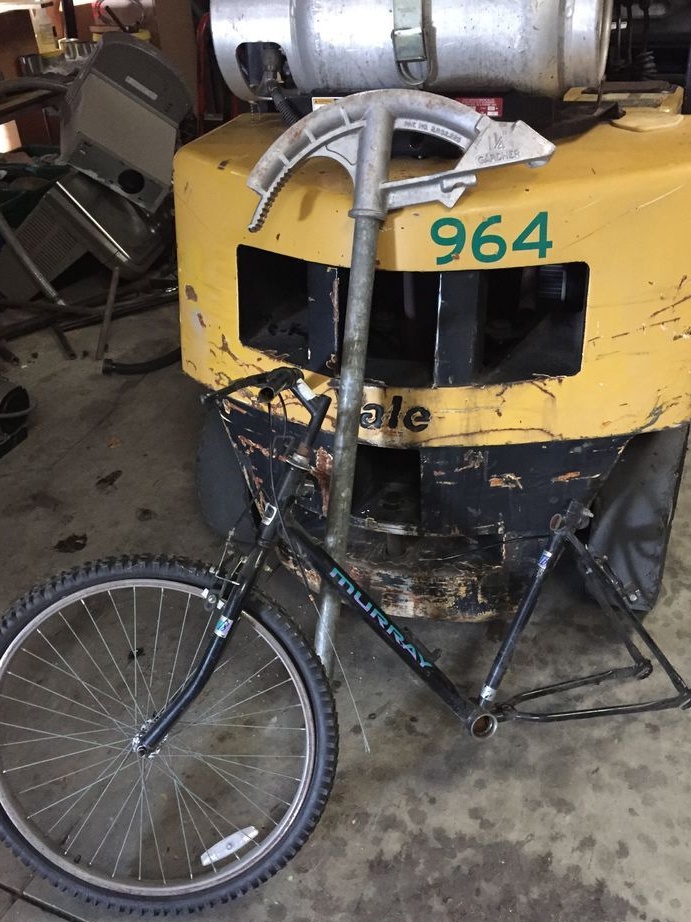
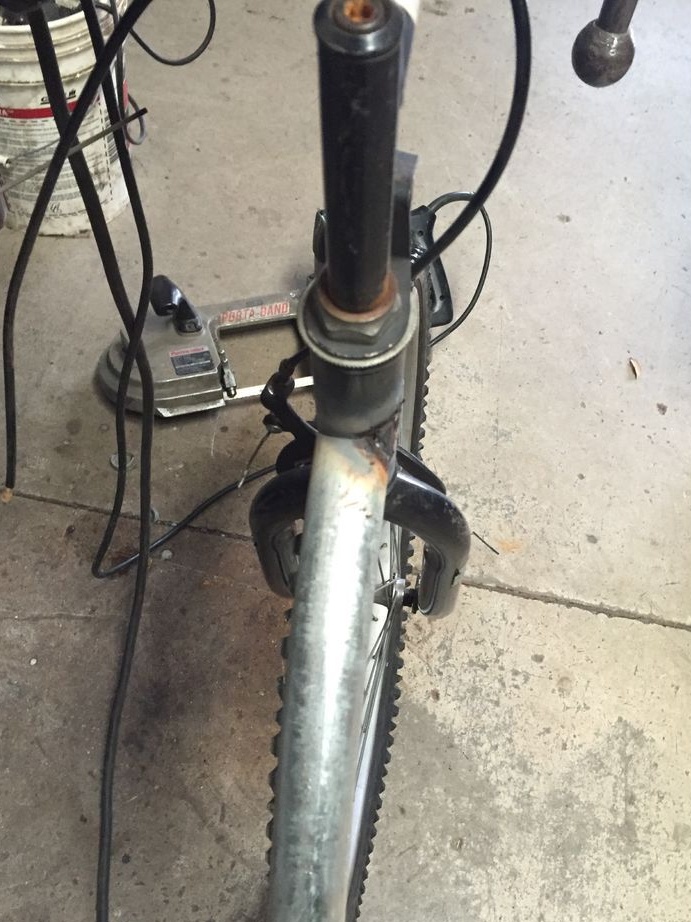
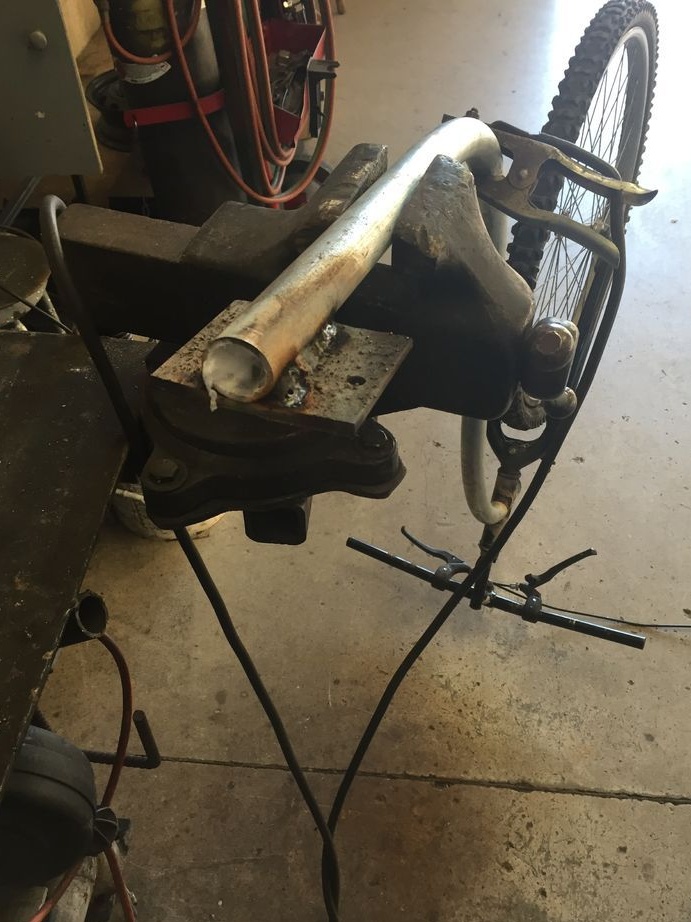
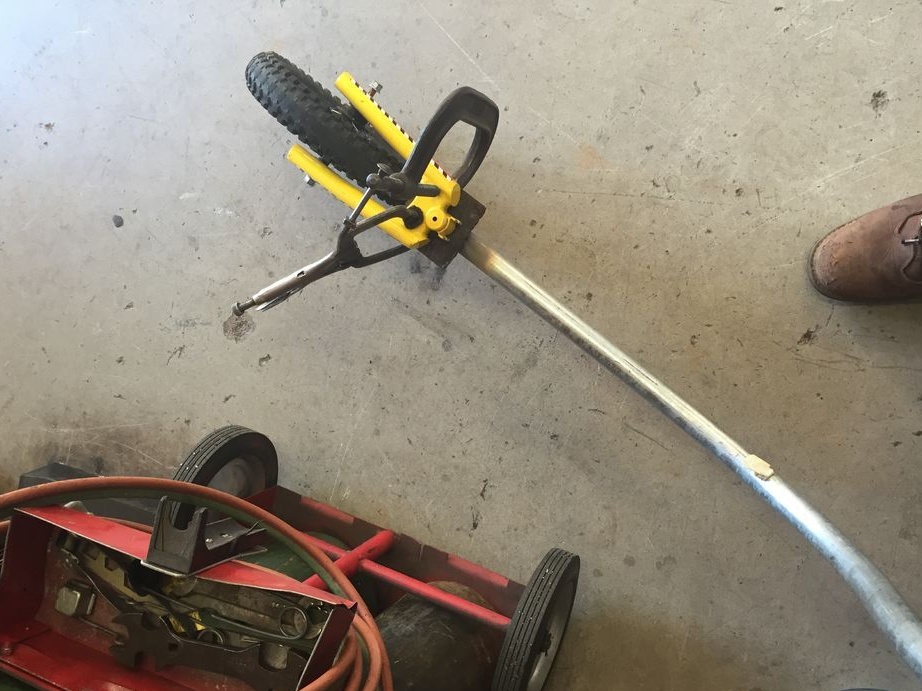
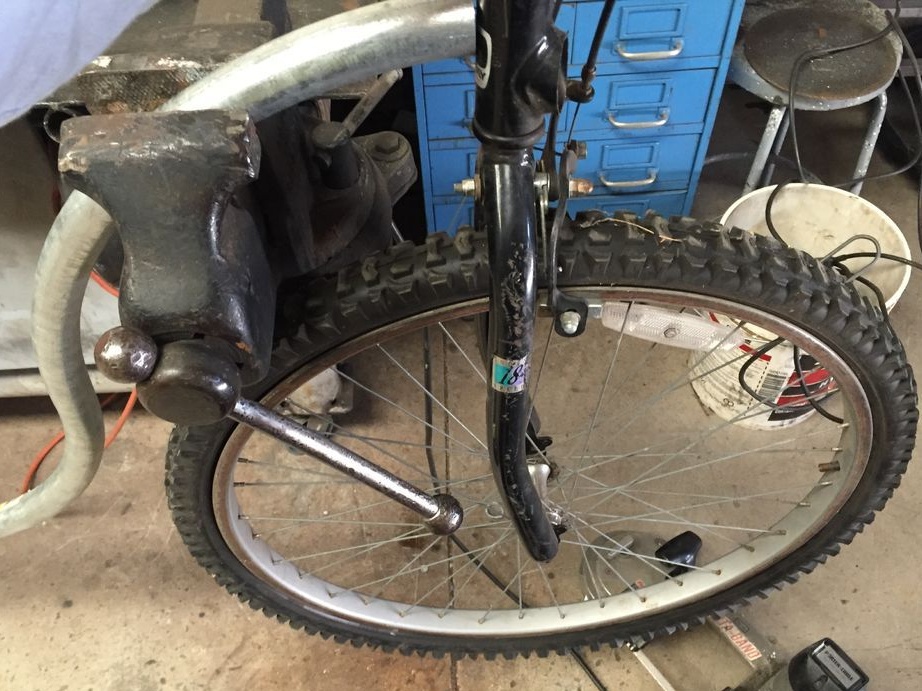
First you need to get the necessary elements to create a scooter. From a mountain bike, you will need a front fork with a wheel, you also need to leave the hand brake. You need to take the grinder and cut the frame from the front fork, as can be seen in the photo. In addition to this, there is also another option, you can not cut off the bottom of the frame, but simply extend it with a piece of pipe if it is stiff enough to create a scooter.
As for the rear fork from the children's bike, it all depends on the design. If this is also a mountain bike, then you can simply unscrew the plug. If usual, you will also have to work as a grinder.
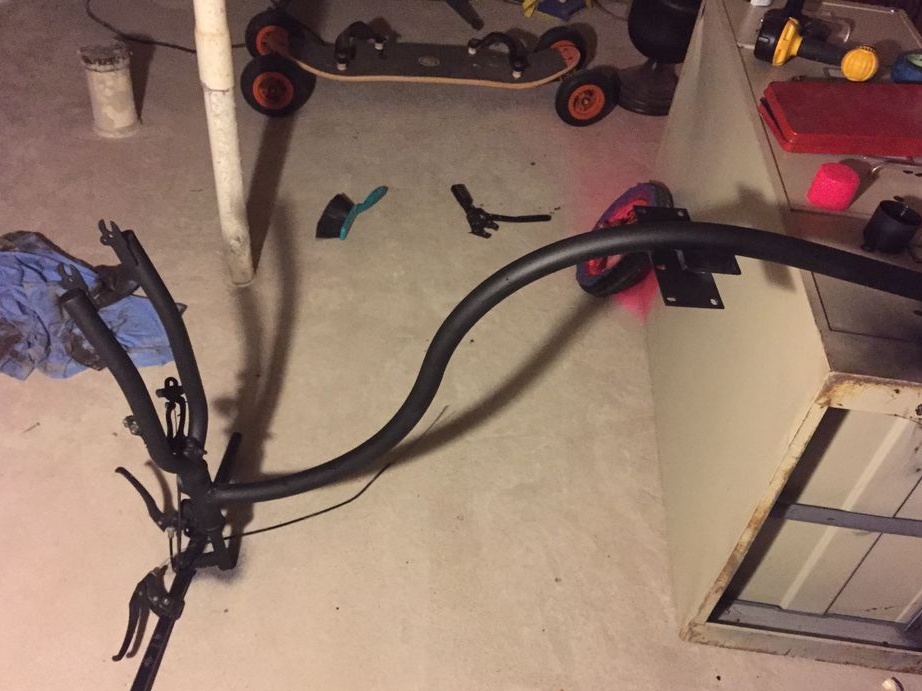
Step Two We create a frame and weld the structure
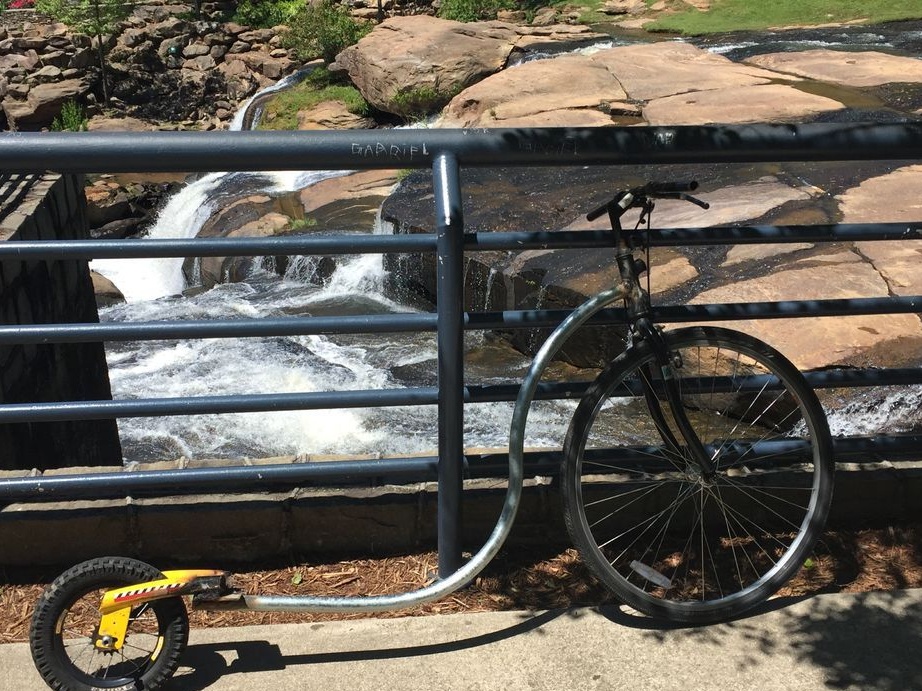
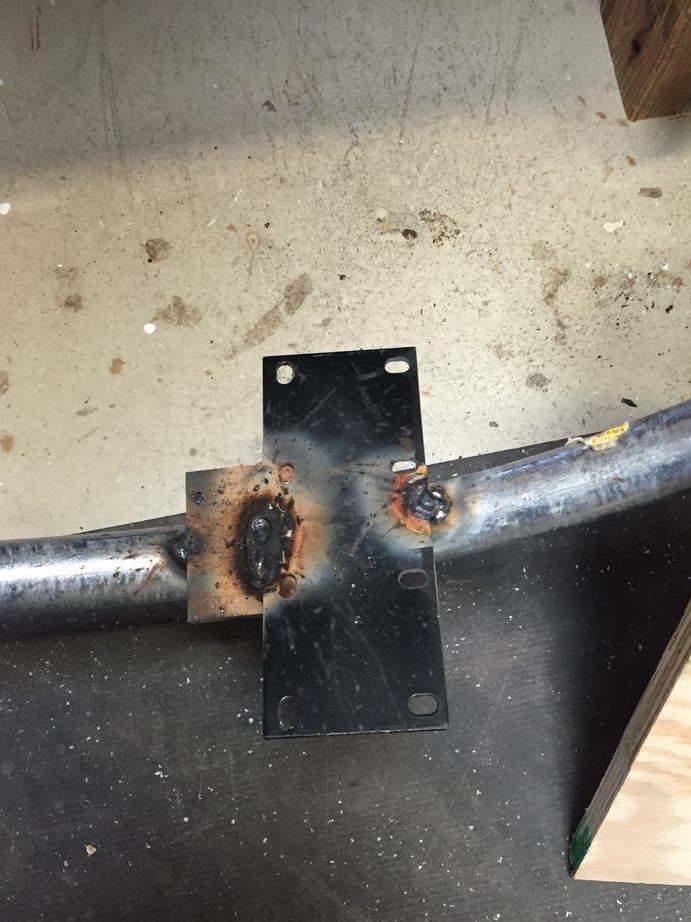
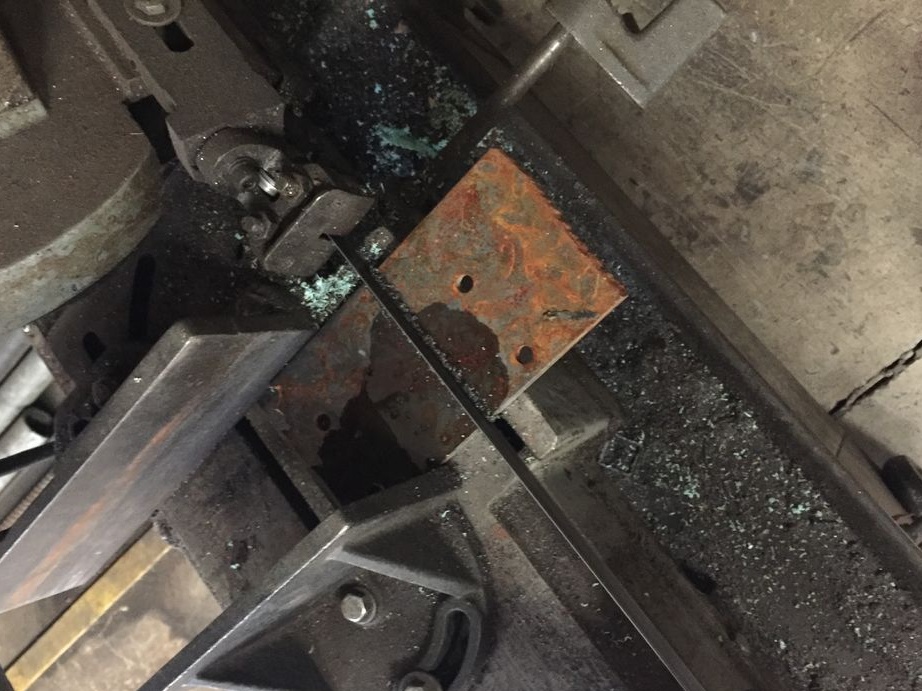
To create a frame, you need to take a metal pipe and bend it so that its shape is approximately the same as in the photo. The pipe must be strong so that it does not bend under the weight of a person. One end of the pipe is welded to the front fork, and the author welds a metal plate to the other end. Further, the rear fork is welded to this plate already, so the design is more reliable, since the rear wheel has the greatest load.

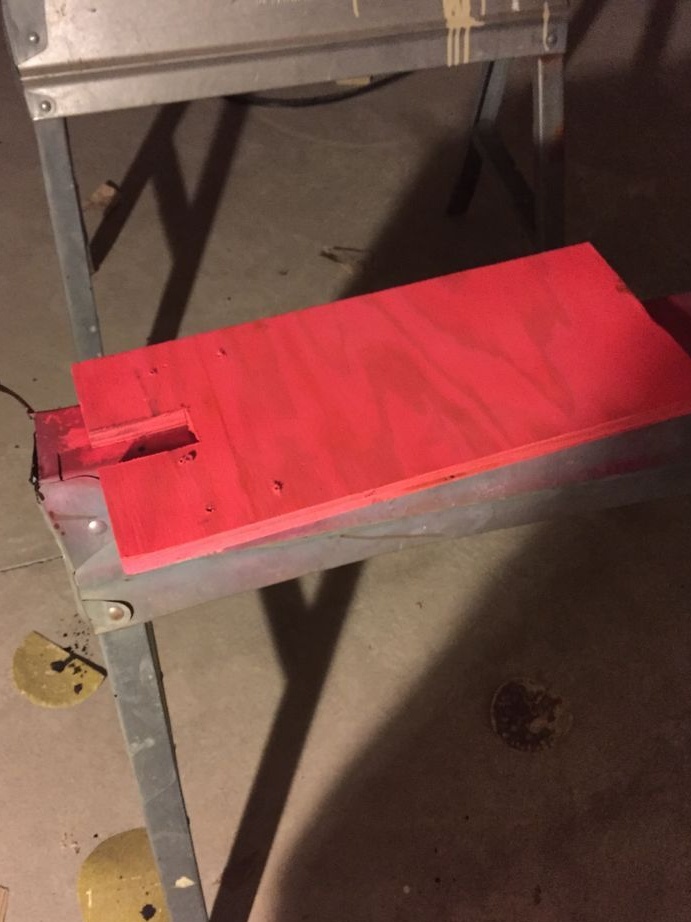
Step Three We attach a board
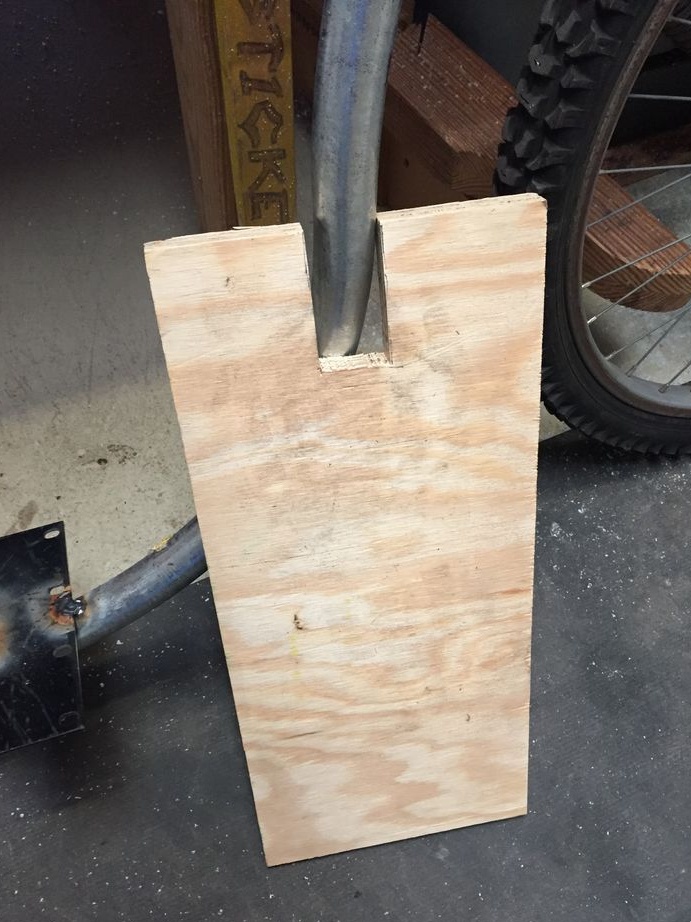
To make it comfortable to stand on the scooter while riding, you need to fasten the board to its frame. For these purposes, first you need to weld 2-3 metal plates to the frame and drill holes in them. Well, then the board is simply screwed to the plates with screws with nuts or self-tapping screws.It will be necessary to make a cut on the board, as in the photo, so that the frame comes into it.
Step Four Scooter painting
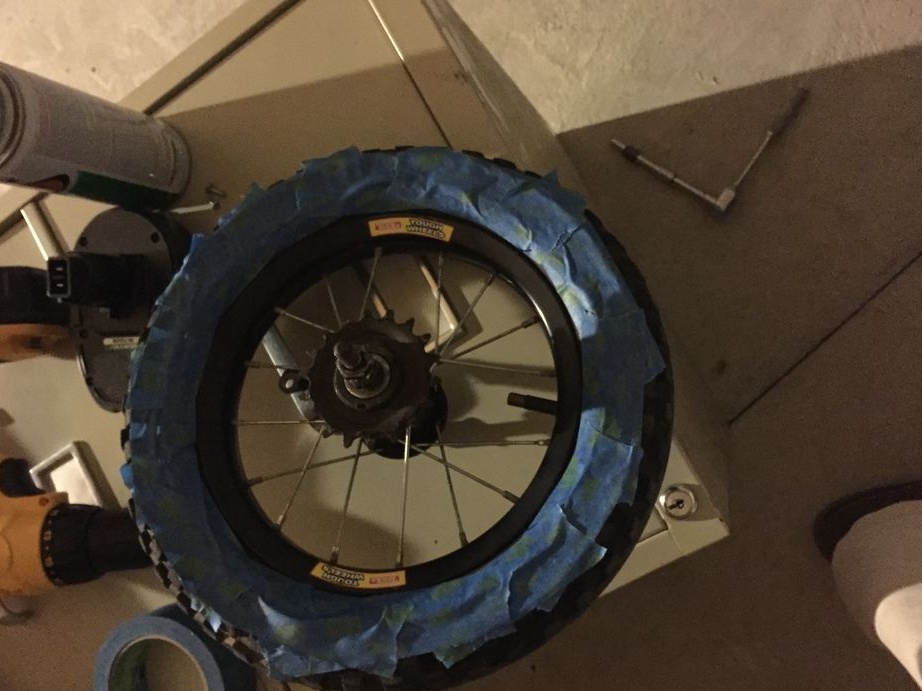
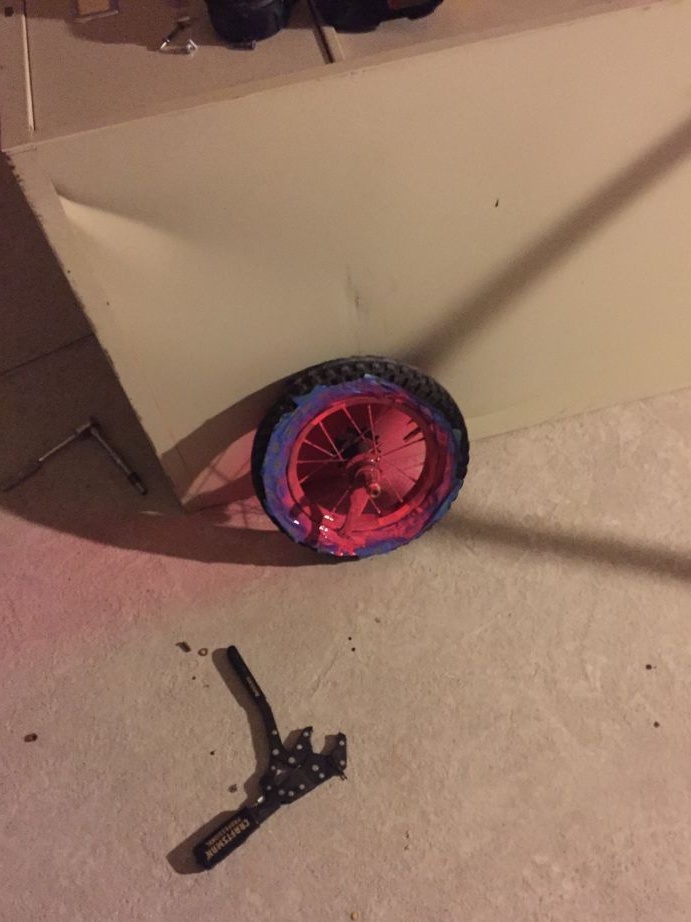
You can paint a scooter to your taste. The author used black matte spray paint for the frame. As for the board and the rear wheel, bright pink fluorescent paint was used here. It is this color that is most liked by the daughter of the author.

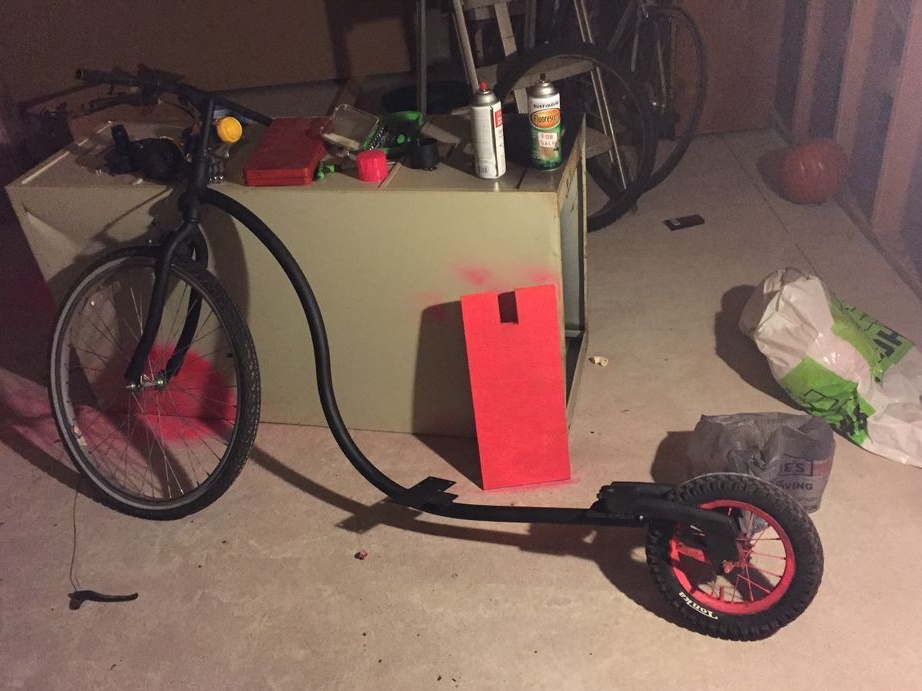
That's all, now the scooter is ready for testing.