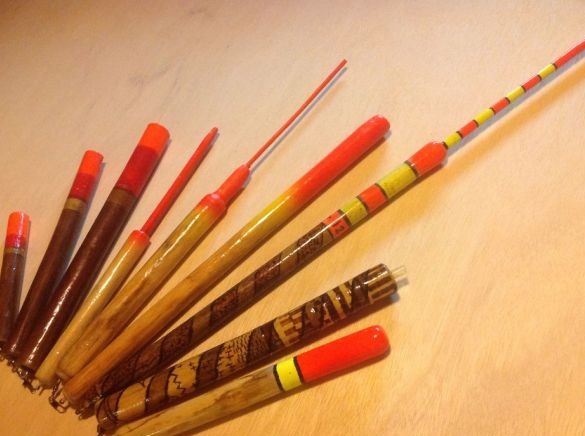
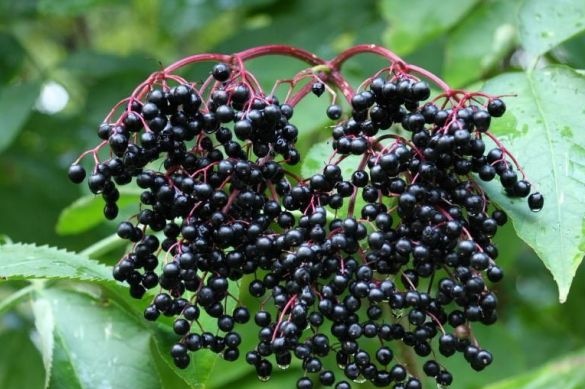
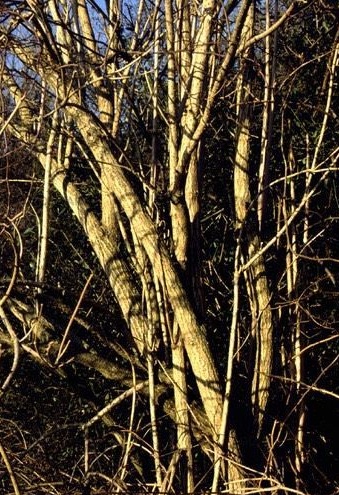
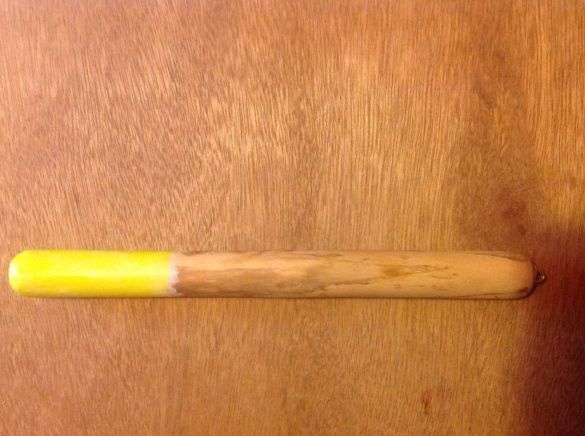
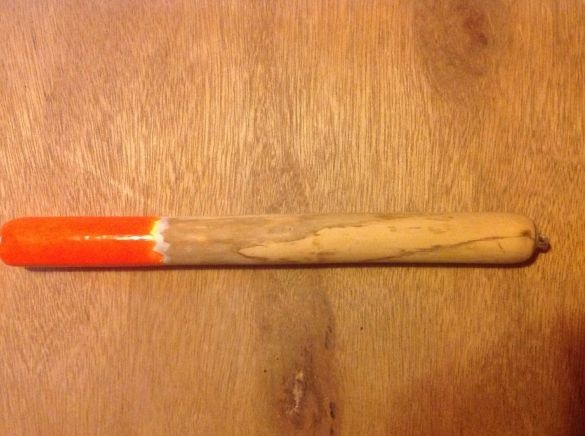
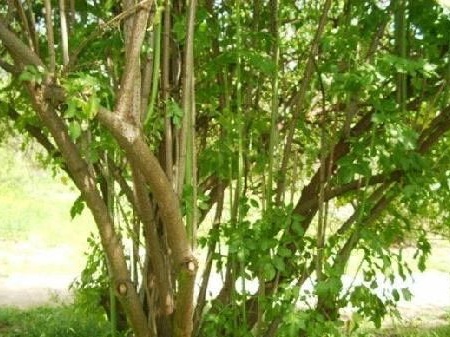
If the task is to create a series of high-quality floats, then an ideal and most easily accessible material for these purposes will be a tree such as elderberry. It is very common and it is difficult to be in such a forest where it would be impossible to meet such a plant. A distinctive feature of this plant over others is that the elderberry stalks are full, they are filled with something like a soft foam, which can be very easily removed. The result is a hollow tube that is great for creating floats. In addition, elderberry is also very light wood after drying, and it lends itself very well to processing.
Materials and tools for the manufacture of floats:
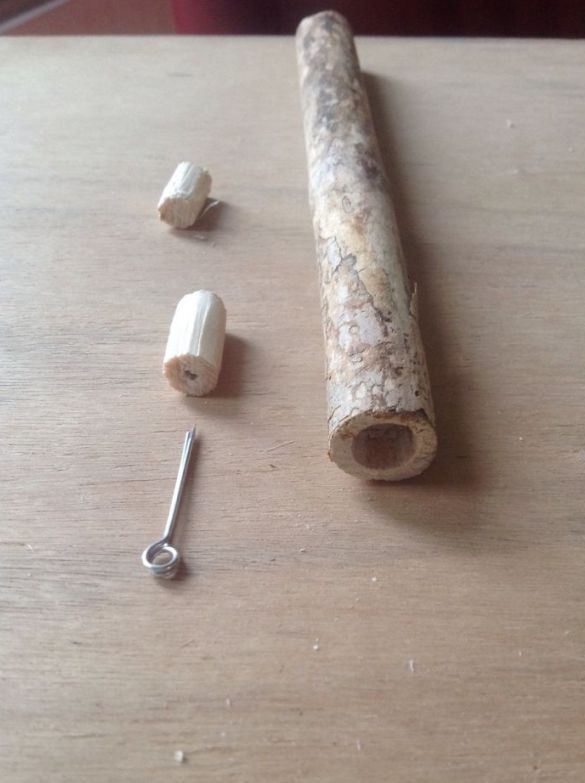
- smooth branches of elderberry;
- knife;
- sandpaper;
- a hacksaw for metal;
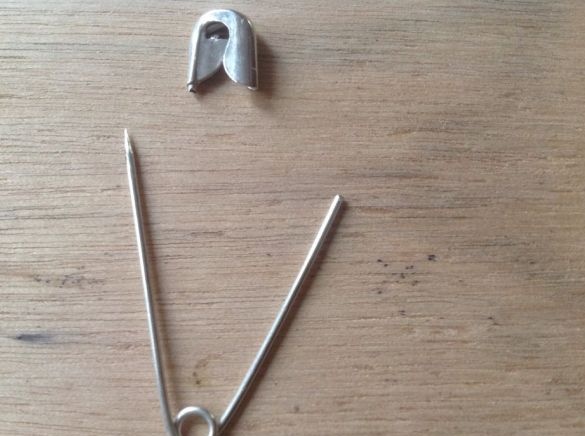
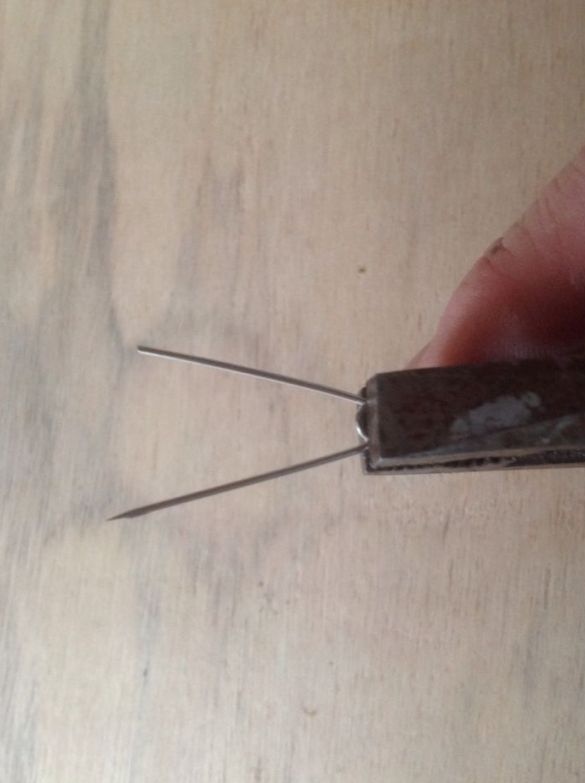
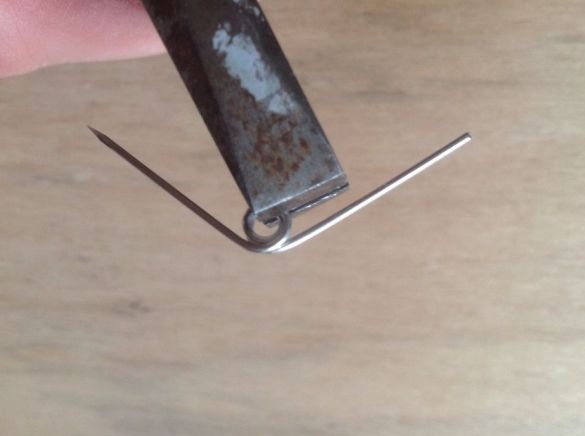
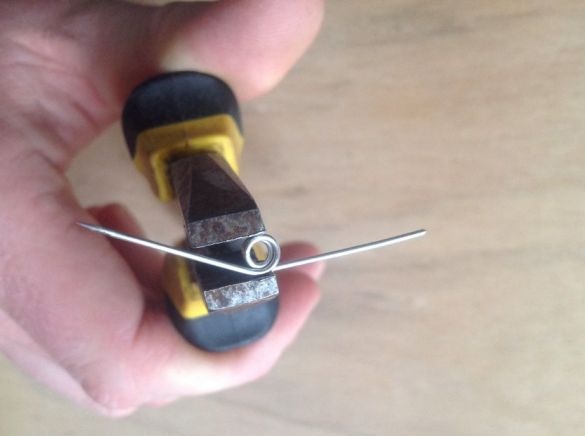
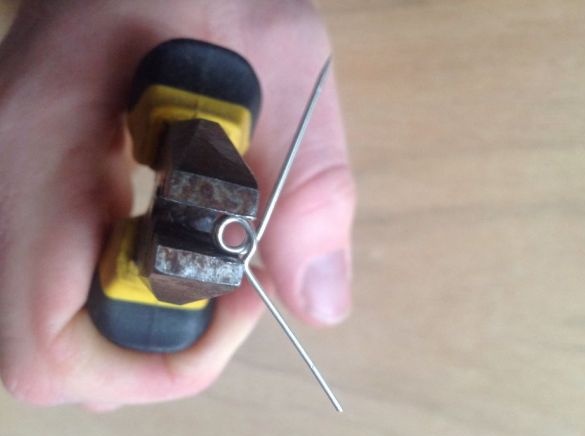
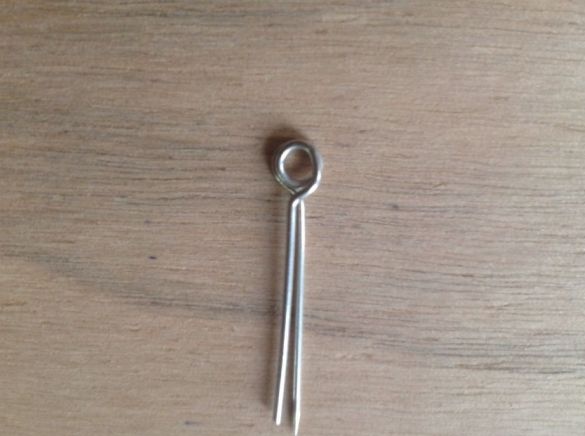
- wire to create loops (the author uses pins);
- wood to create plugs (pine, birch, etc.);
- paint, glue, varnish and accessories for painting.
The manufacturing process of floats:
Step one. We stock up on material
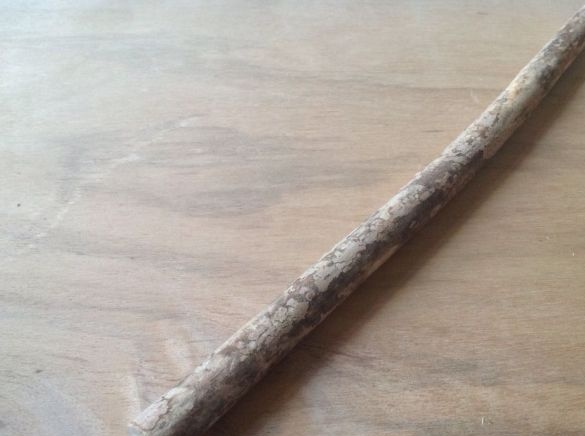
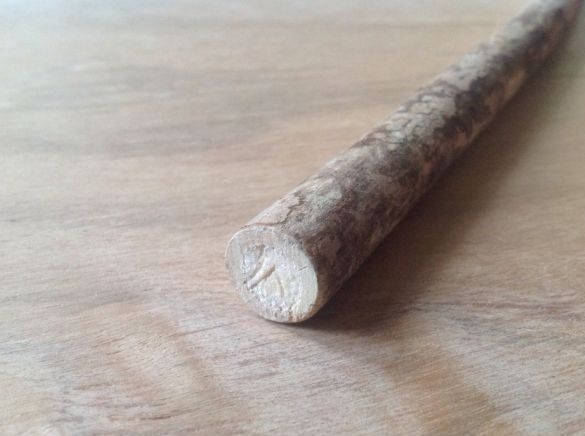
First you need to find the elderberry bush and cut the blanks to create floats. You can use both already dry branches and raw ones, but the latter will need to be well dried before painting. Dry branches need to be watched, because they are already too brittle and brittle to create a float. As for the diameter of the barrel, it all depends on the needs of the fisherman. The most important condition is that the stems are even and without knots.
Step Two We create blanks for floats
First you need to find on the branches those stems that have no knots and are even. They need to be cut as long as you want to create a float. Next, you need to remove the bark from the workpieces and dry them thoroughly. Drying should occur smoothly, gradually, otherwise the sticks may crack. Cutting wood is best done with a hacksaw, as elderberry is quite fragile. Also, before drying, foamy cellulose must be removed from the column, it can be picked out with a screwdriver or cleaned with a nail head.
If we talk about numbers, then the author's floats are obtained from a length of 15 to 30 cm, and in diameter about 15-25 mm.
Step Three We make caps for holes
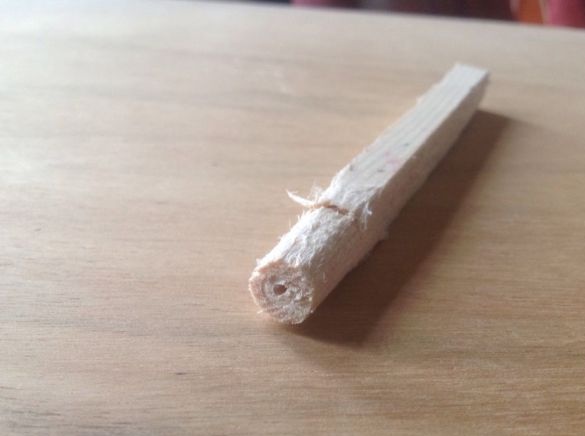
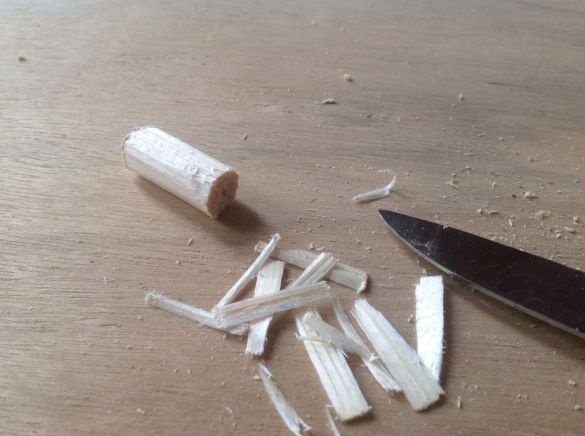
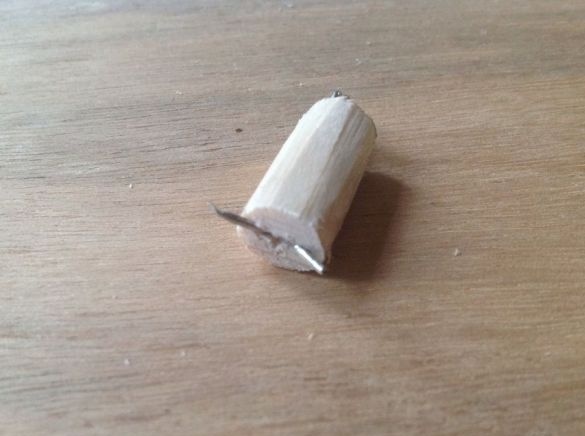
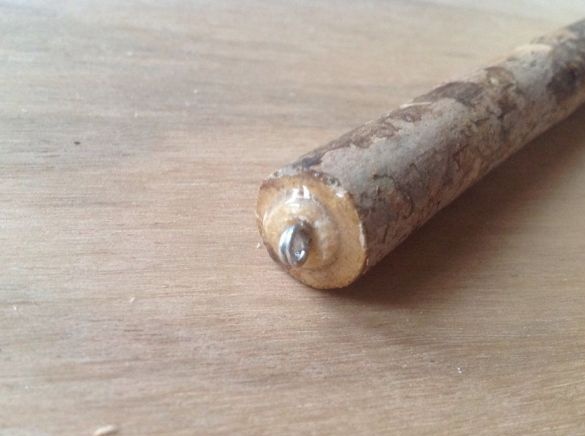
While the workpieces are dry, you can make caps for floats, they are needed to clog the upper and lower holes. In addition, a loop is installed in the bottom plug, which allows you to attach the float to the fishing line.To create a stub, any wood can be used, the main thing is that it be soft and easy to process with a knife. A drill hole must be drilled through the bottom plug to install the hinge. As for the upper one, if an additional pole will be attached to the float, then there will also need to be a hole.
Step Four Collect the bobber
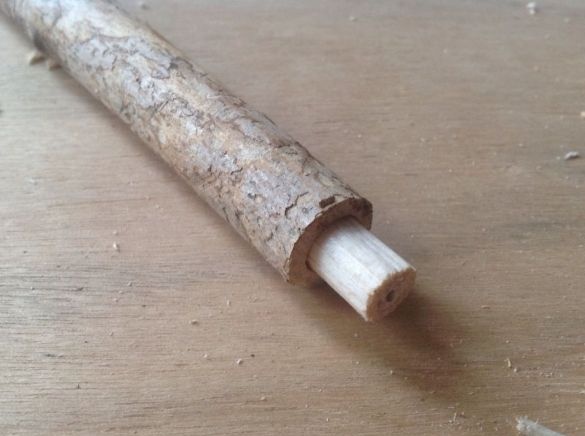
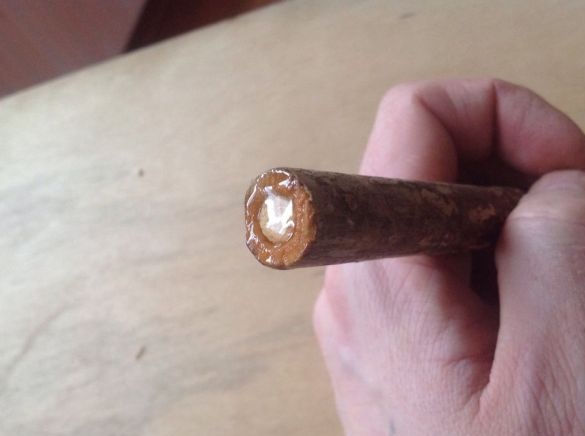
When the workpieces have dried, the float can be collected. First, you need to insert a loop into the bottom plug; the author makes it from pins. On the other side of the cork, the wire must be bent so that it is securely fixed in the float. The wire itself needs to be greased with glue to ensure good tightness. Well, then the corks with glue are installed in a tube of elderberry. As an adhesive, the author uses epoxy resin.
Step Five Final work
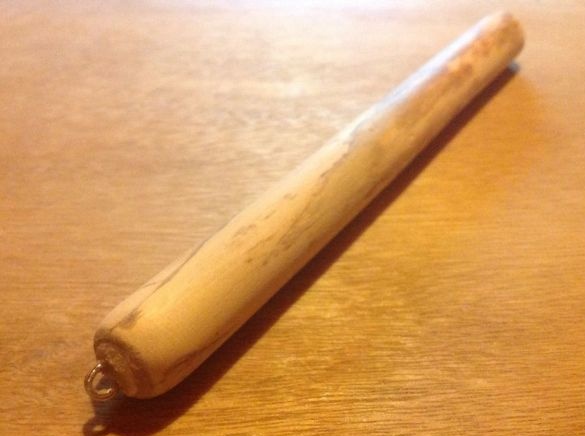
After assembling the float, you can come to grinding it. For these purposes, you will need sandpaper. With the help of it, the float needs to be made even and smooth, at this stage it is prepared for painting. Also, sandpaper needs to give a rounded shape to the upper part of the float and the bottom, this will make it more aesthetic. After processing, you can start painting.
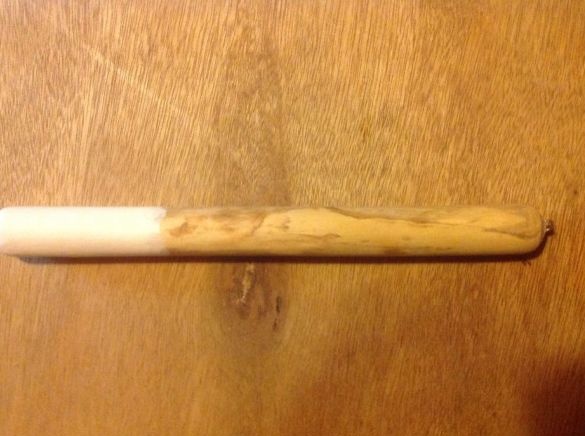
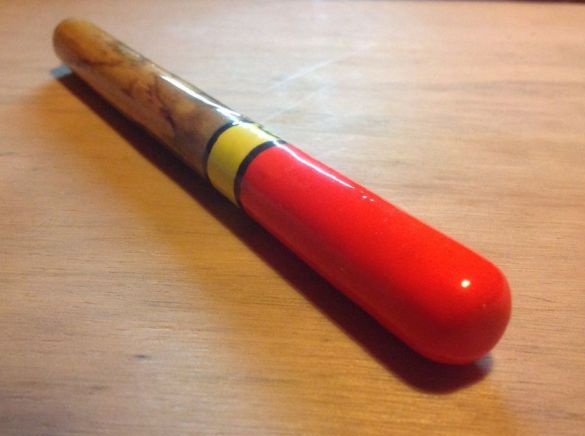
Painting a float consists of several stages. The most important thing in this is to reliably protect the wood from getting wet, otherwise the float will quickly deteriorate and begin to sink. As for coloring, here everyone already chooses to their taste. According to the classics, to make the float clearly visible when fishing, it is painted with alternating red and yellow colors. When the paint dries, the float must be opened with several layers of colorless varnish. This will reliably protect it from exposure to water.
According to the author, the floats have pretty good characteristics, but they are a bit heavier than those made of balsa wood. The float, which can be seen in the photo, is 17 cm in length and 16 in diameter, as a result, its weight is 17 grams together with varnish and paint. The density of the material is about 0.5 grams per cubic centimeter, this suggests that the float does not have very high buoyancy, which means that it will require a small weight, and you can catch it only on light and medium baits. If heavier baits will be used, then a similar float can be made from balsa, its buoyancy will be three times higher.

