It all started with the fact that I still had an idle LED strip. The need to do something with her plunged me into heavy, painful thoughts. After some time, my cerebellum, creaking, gave birth to a project that I risk putting on a “site”.
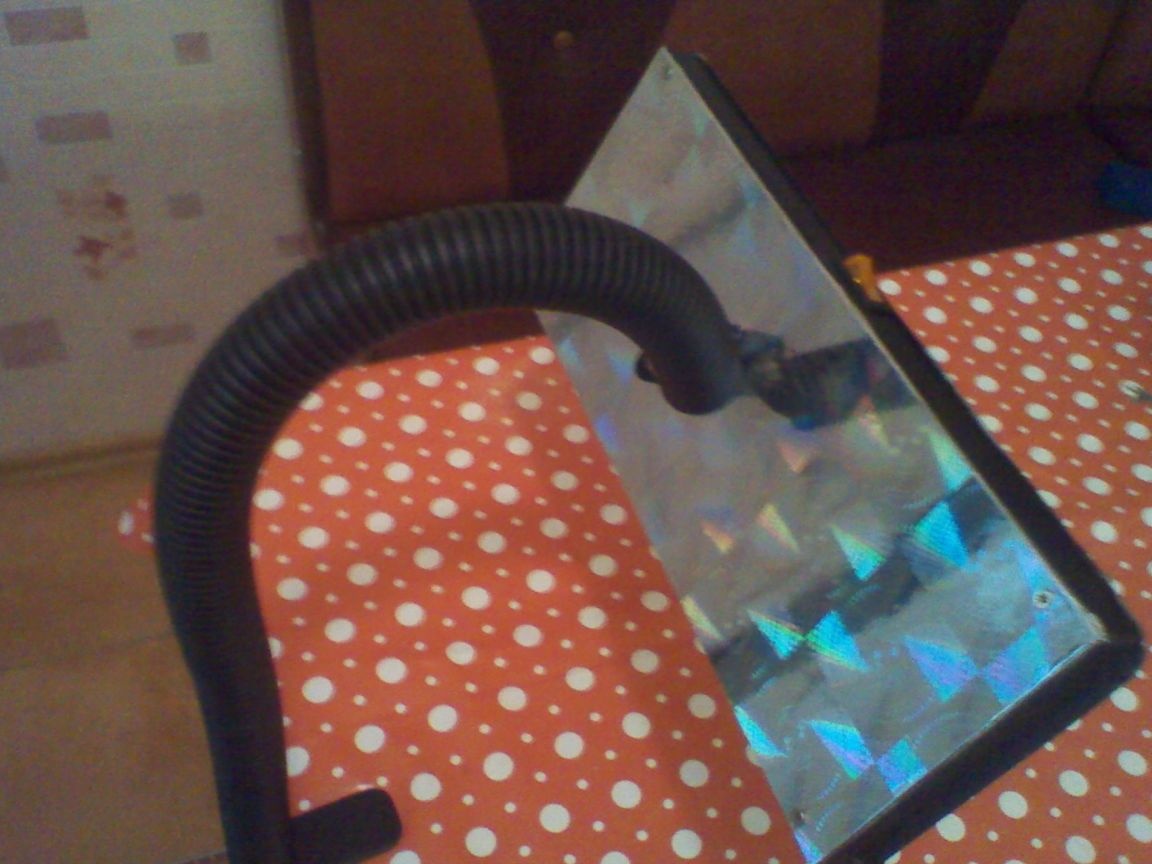
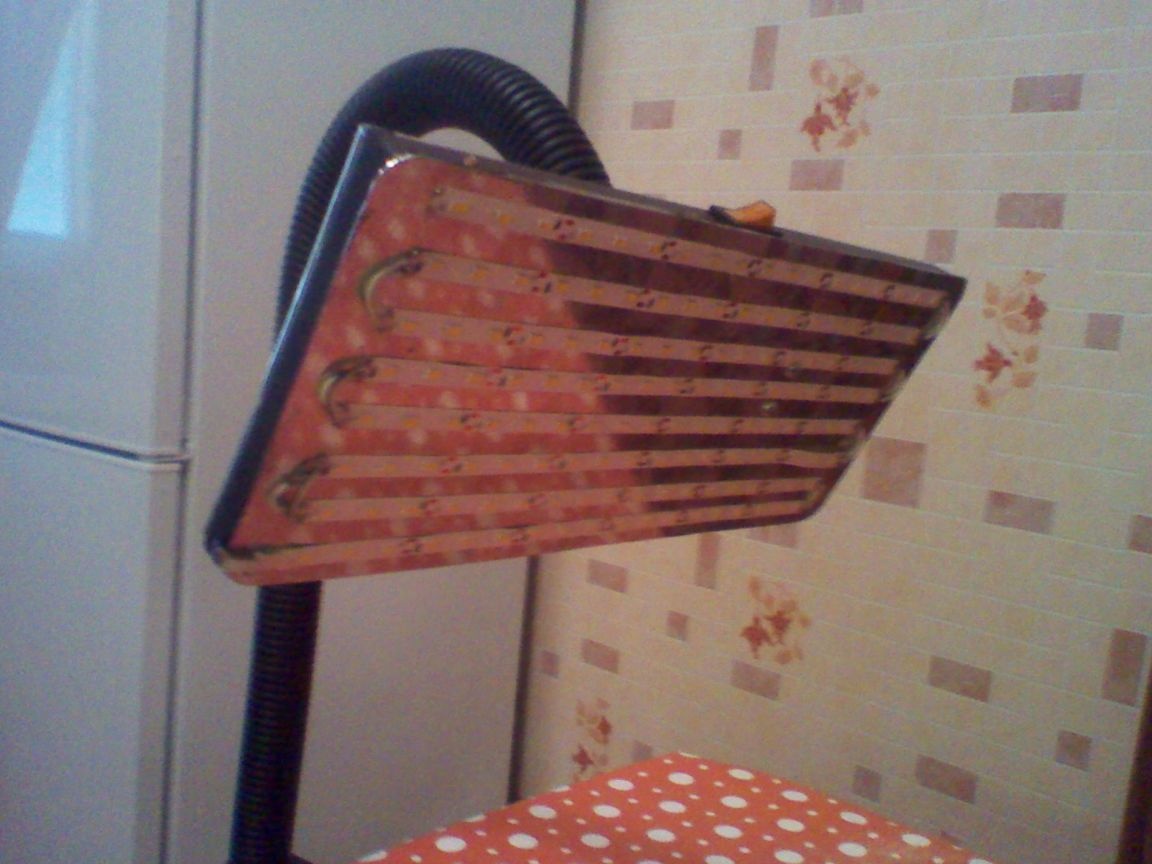
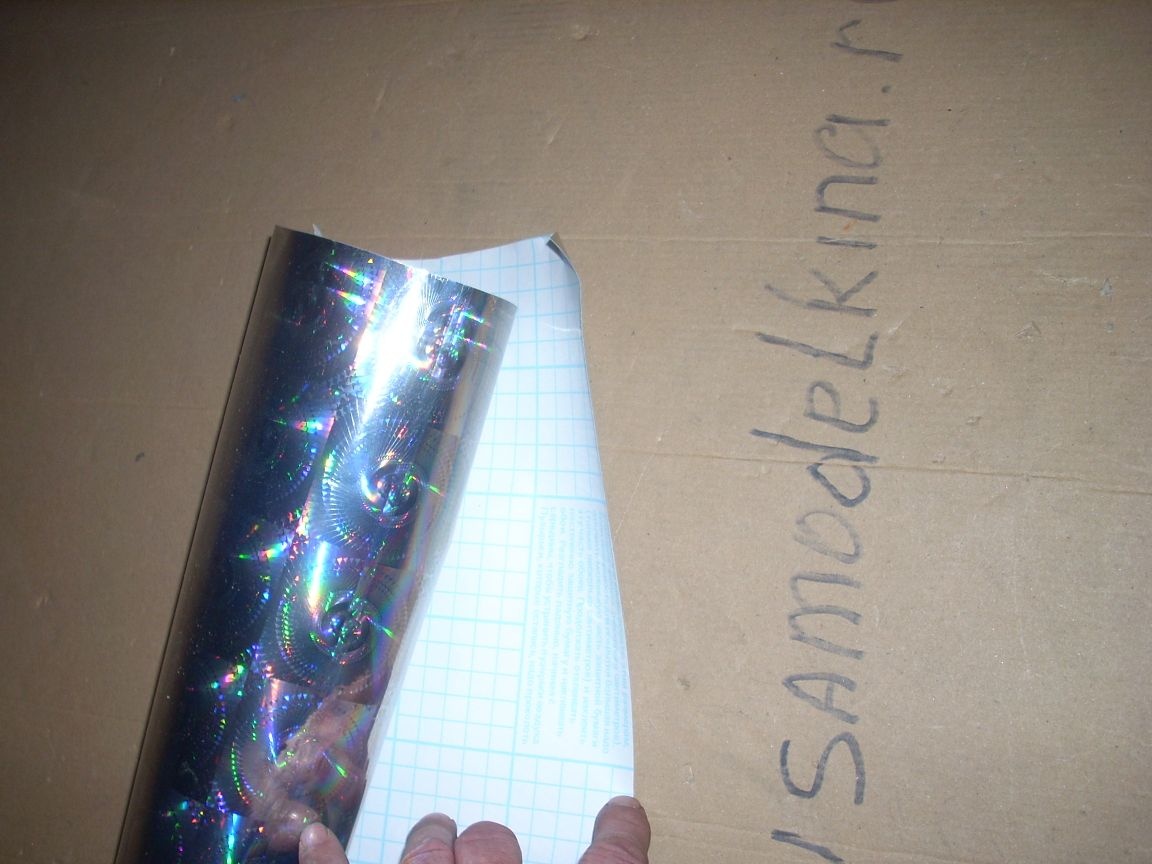
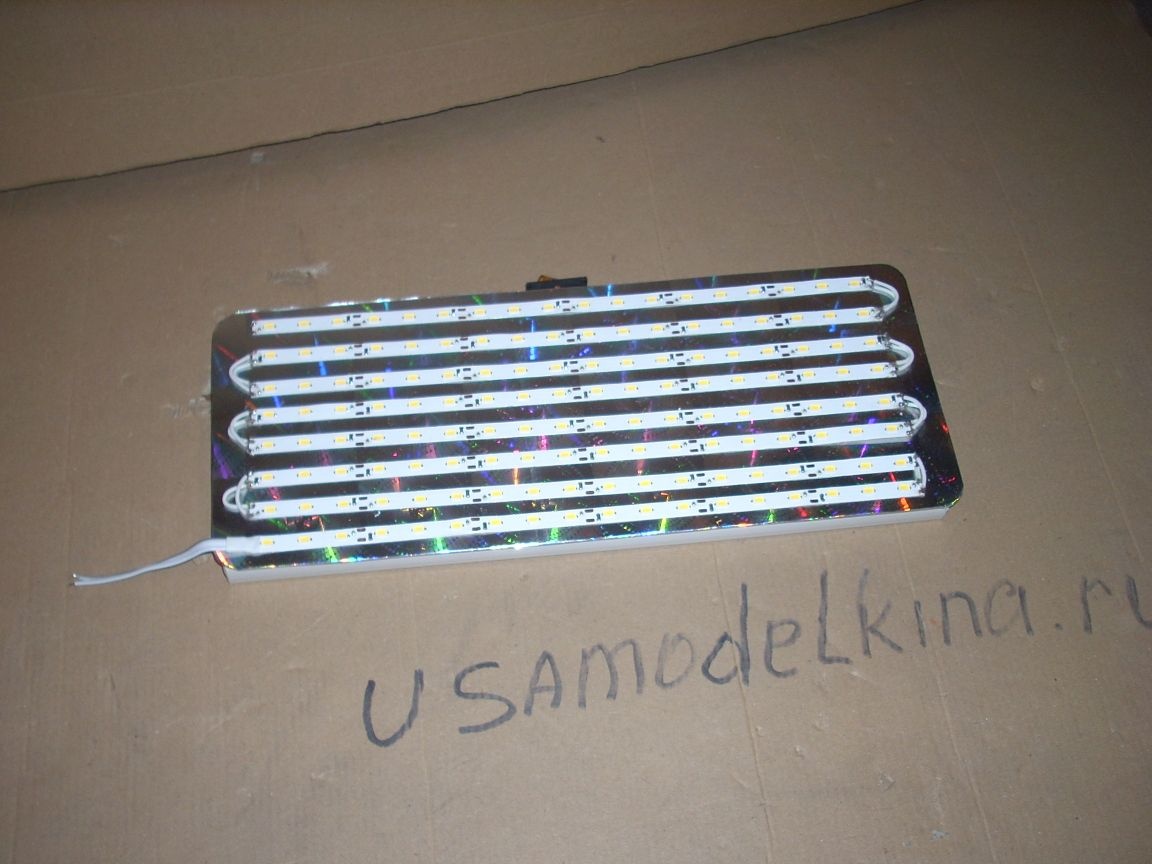
I decided to make a “designer” table lamp for work in the workshop. To begin with, I cut out a piece of aluminum sheet from which I intended to stick on an existing tape from an old industrial refrigerator lying around at a landfill at work. Initially, it was assumed that I would polish aluminum to a mirror state, but in the process it turned out that it would not be possible to achieve an acceptable polishing quality. Therefore, giving the sheet the necessary shape, I pasted it with shiny self-adhesive foil paper.
Materials:
1. Diode tape.
2. Aluminum sheet.
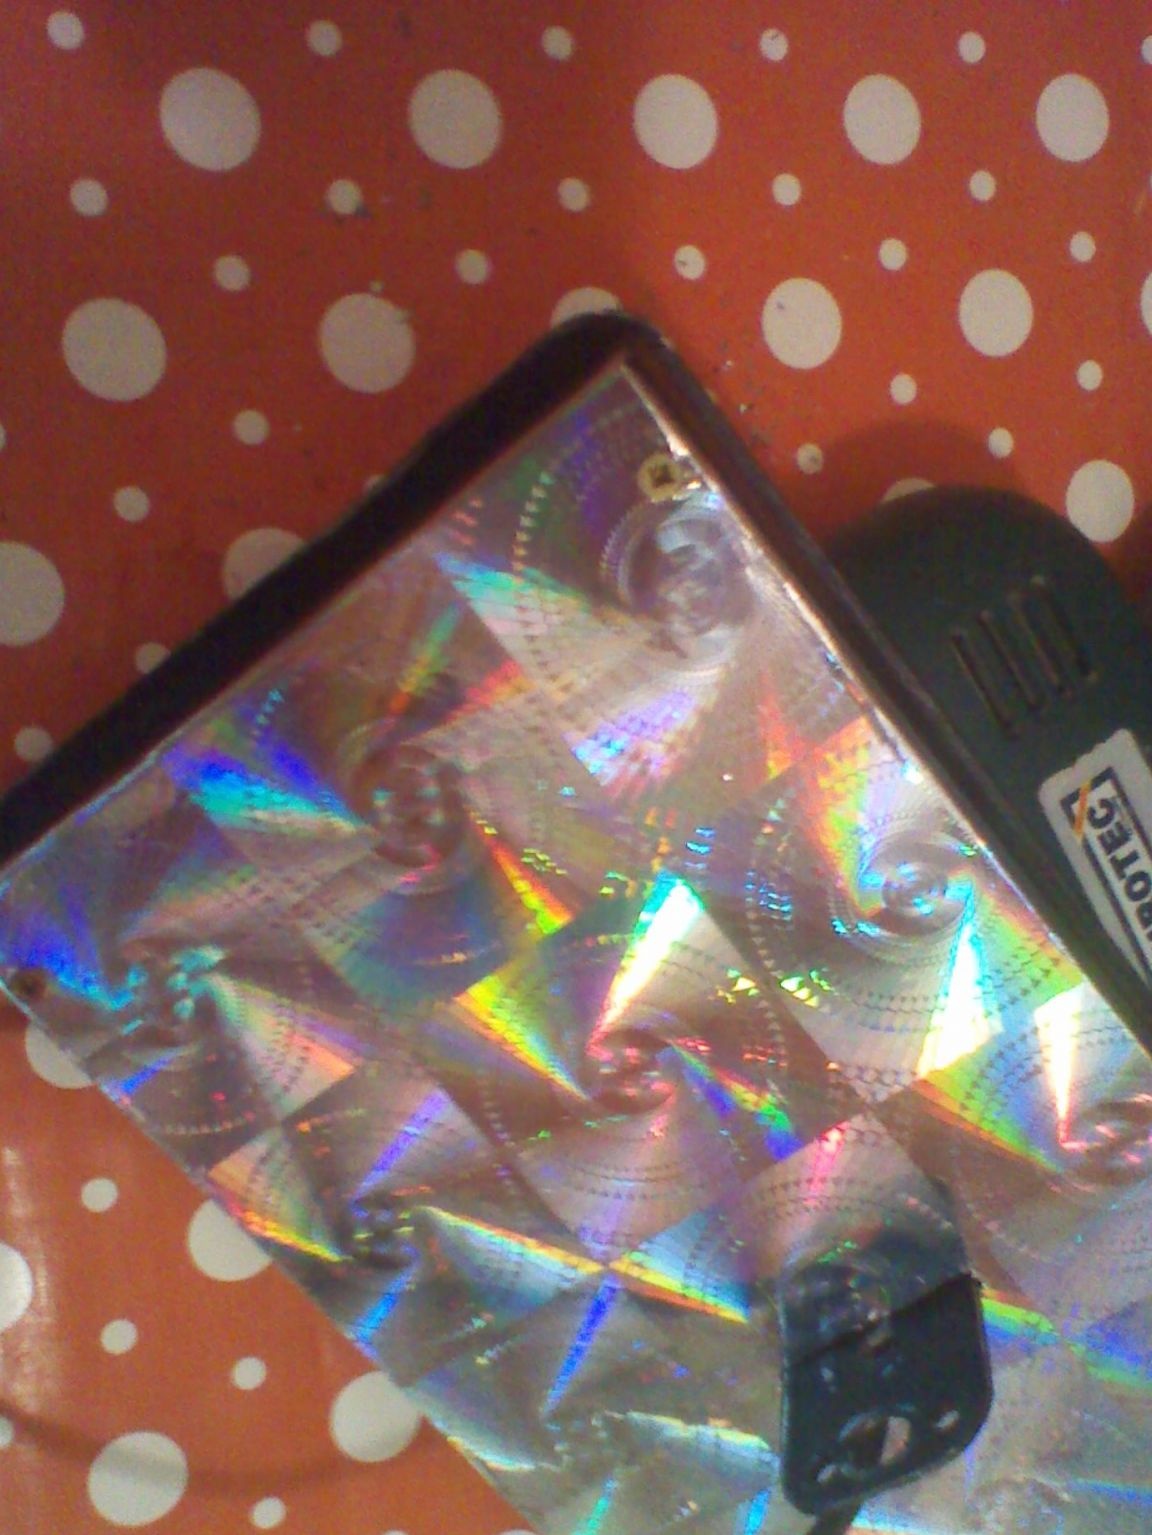
3. Self-adhesive mirror film for lamination.
4. Trimming a plastic box for wiring.
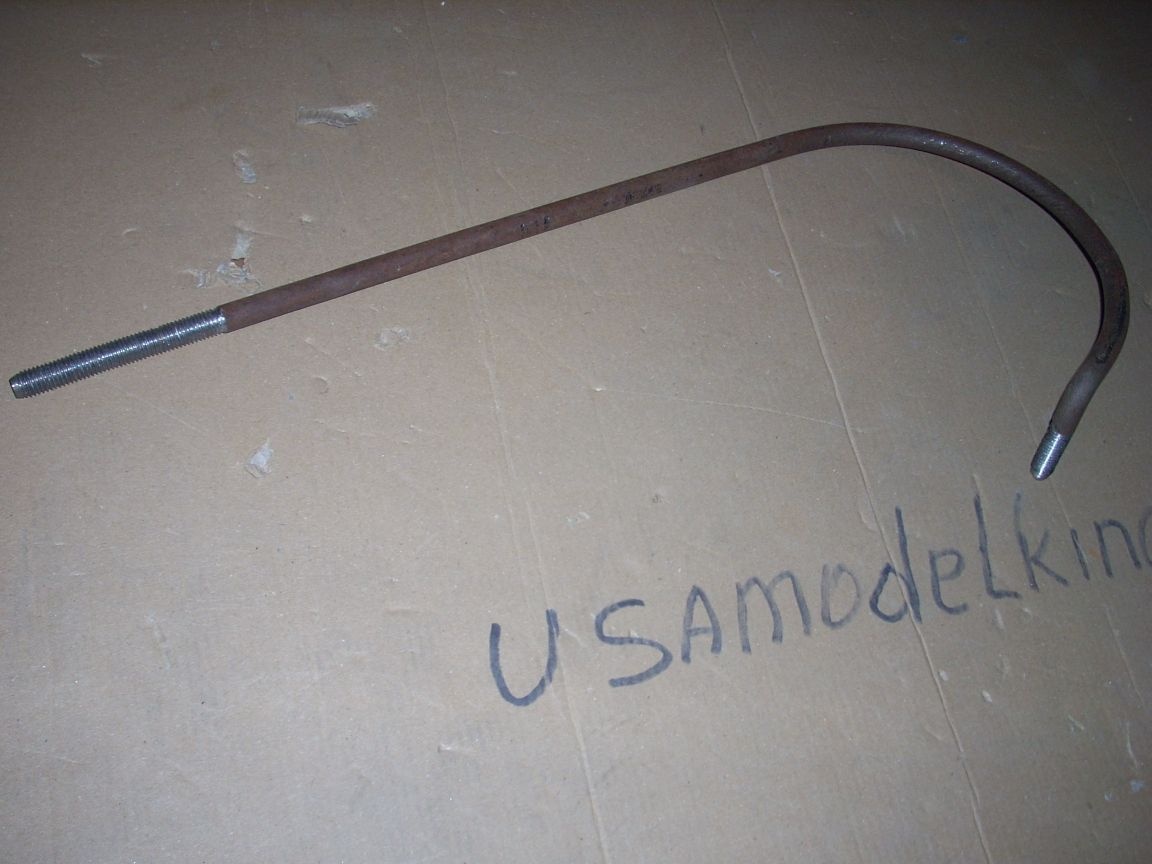
5. Steel bar
6. Bolts, nuts.
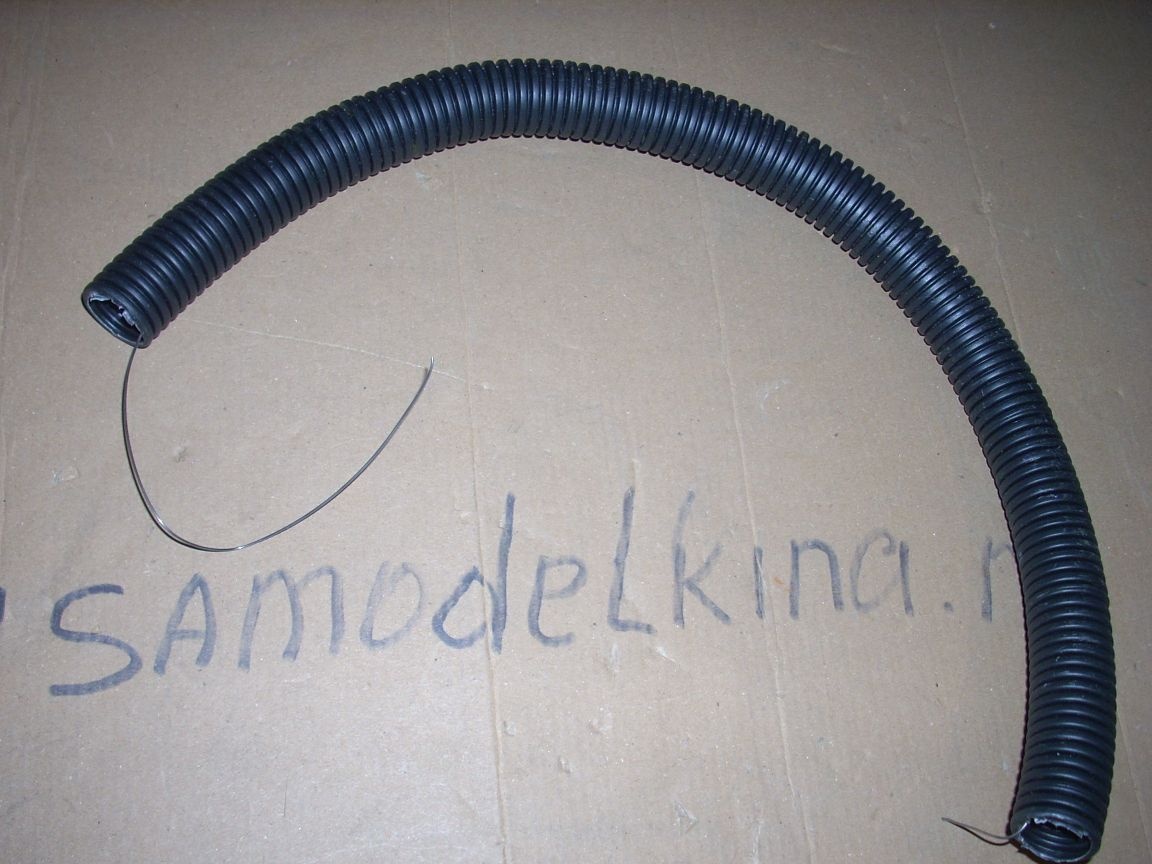
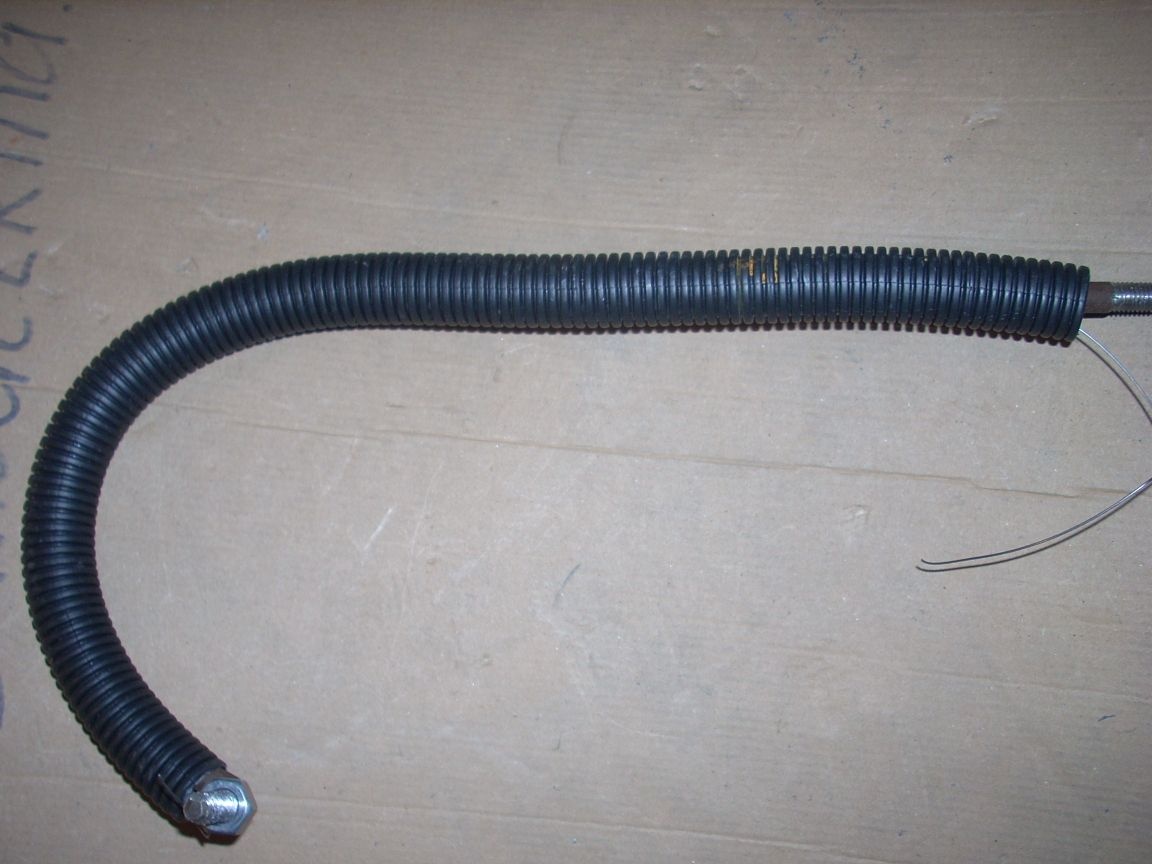
7. Cutting electrical corrugation.
8. Trimming steel strip.
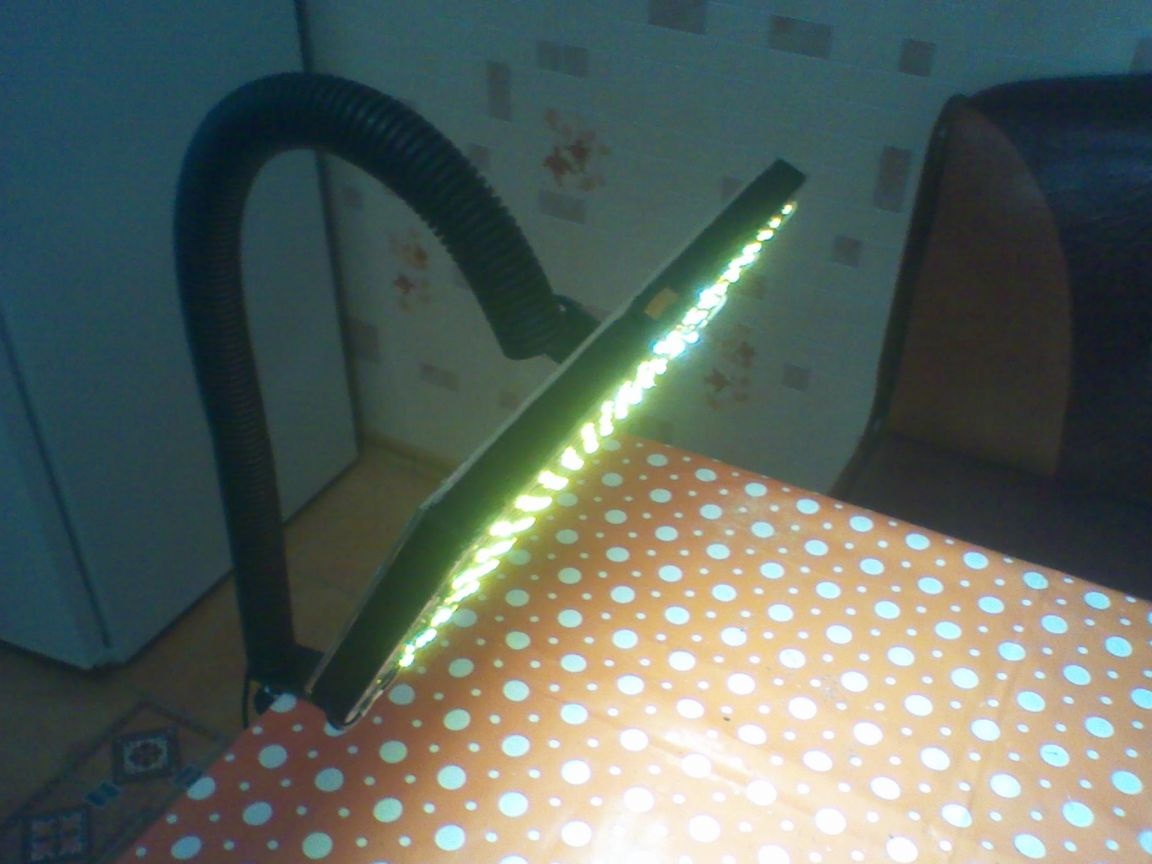
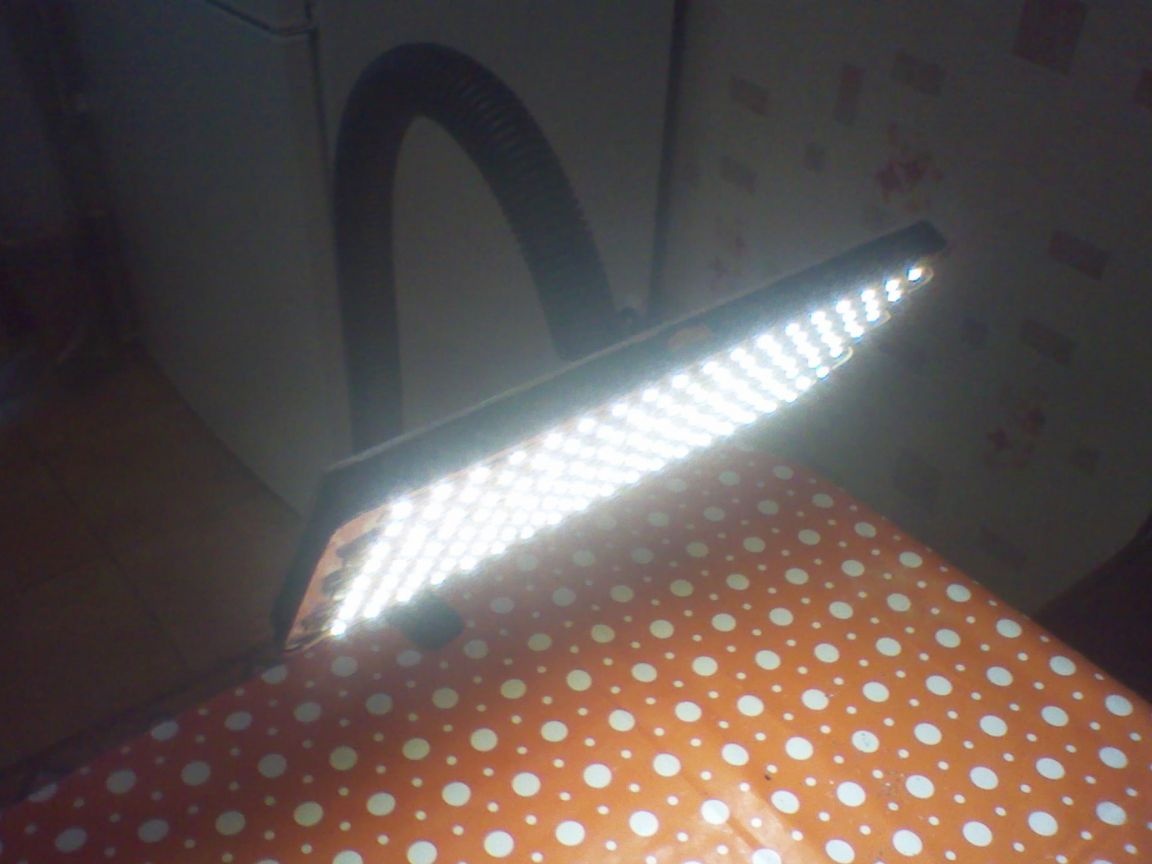
Against expectations, it turned out pretty well. I glued the LED strip onto the resulting base, which was previously cut into the appropriate pieces (which, of course, I first soldered together and checked whether they were shining). Here is the result:
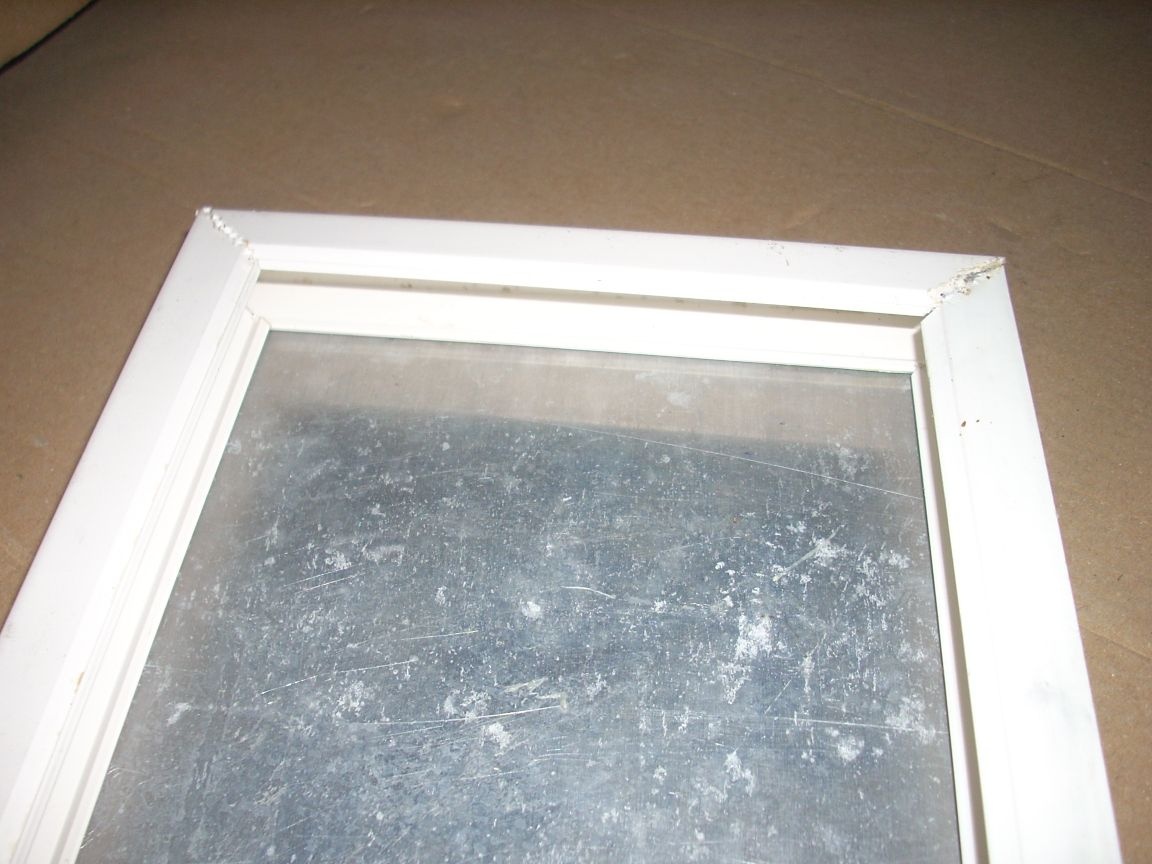
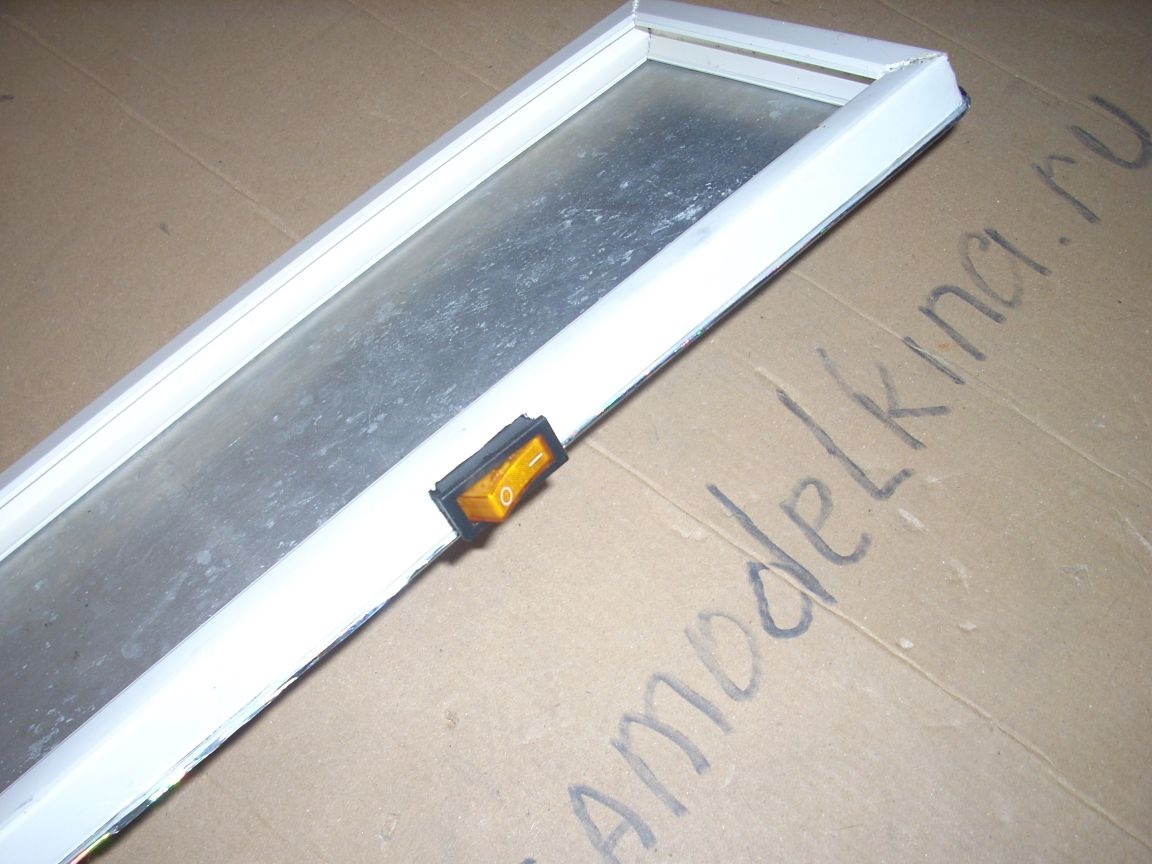
On the reverse side of the sheet, I pasted with a universal glue a plastic frame made of scraps of the cable channel stolen at the same dump for electrical wiring. Cut off pieces in front of the sticker on the base for the convenience of work, “soldered” among themselves with a soldering iron with a small sting.
The frame is necessary in order to hide the back side with wires, as well as to fix the switch on it, bought (alas!) In the store of electric junk.
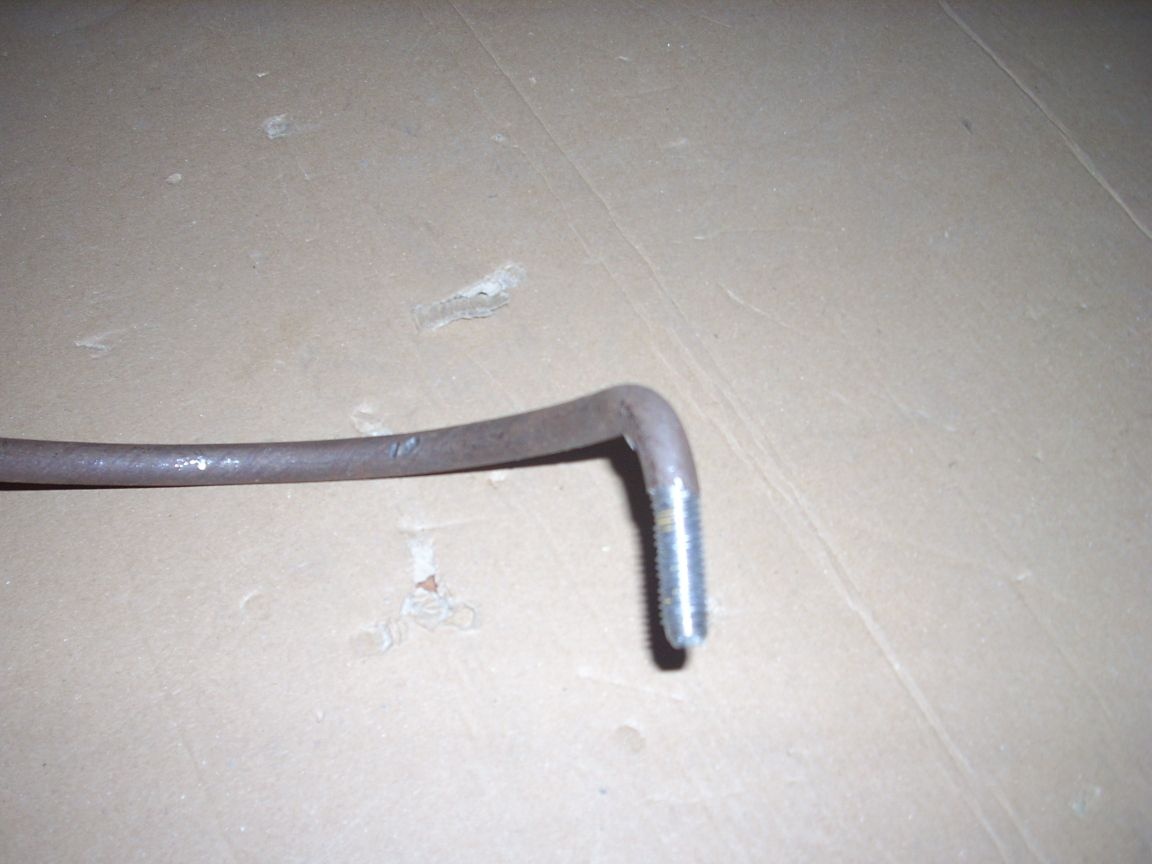
Then, from a piece of steel wire rod using a vise, a hammer and a die with a head, I made a frame:
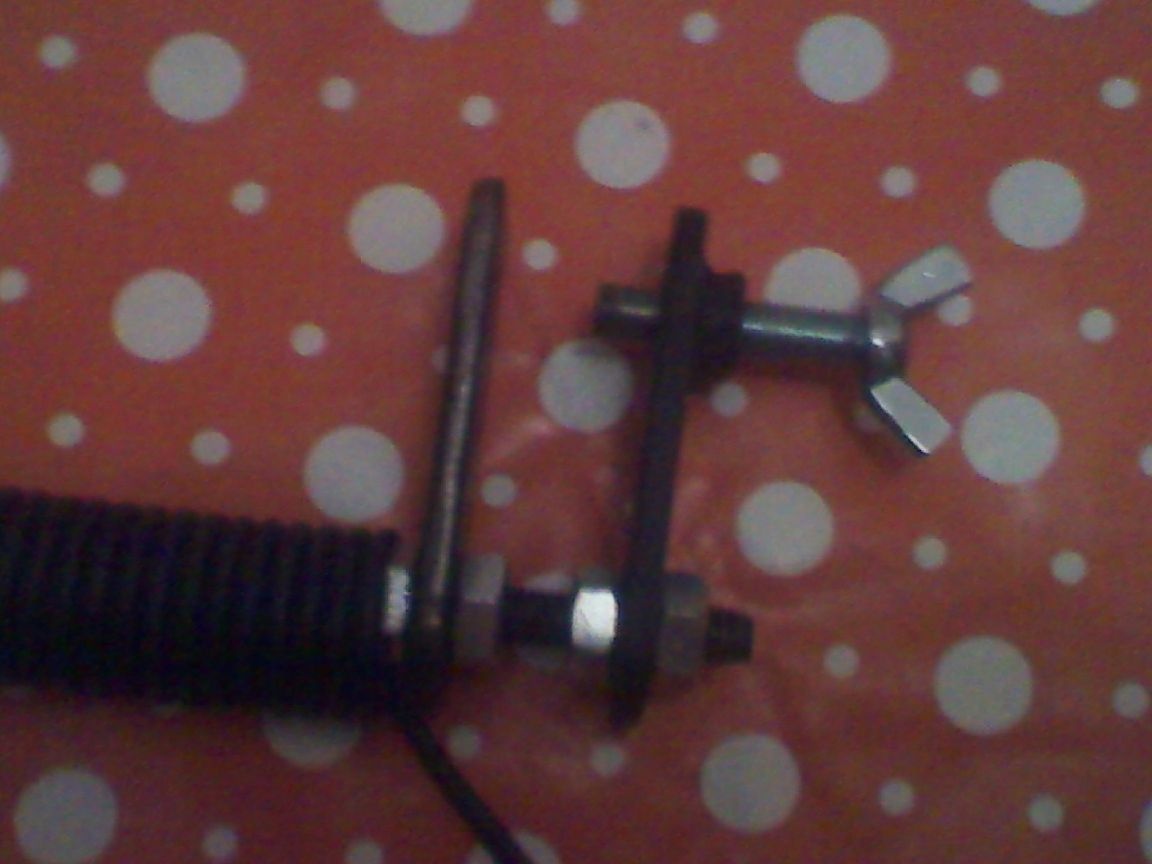
I fastened the “luminous” part of the lamp to the frame with the help of a corner, one ordinary nut, one nut with a wing and two small bolts with nuts:
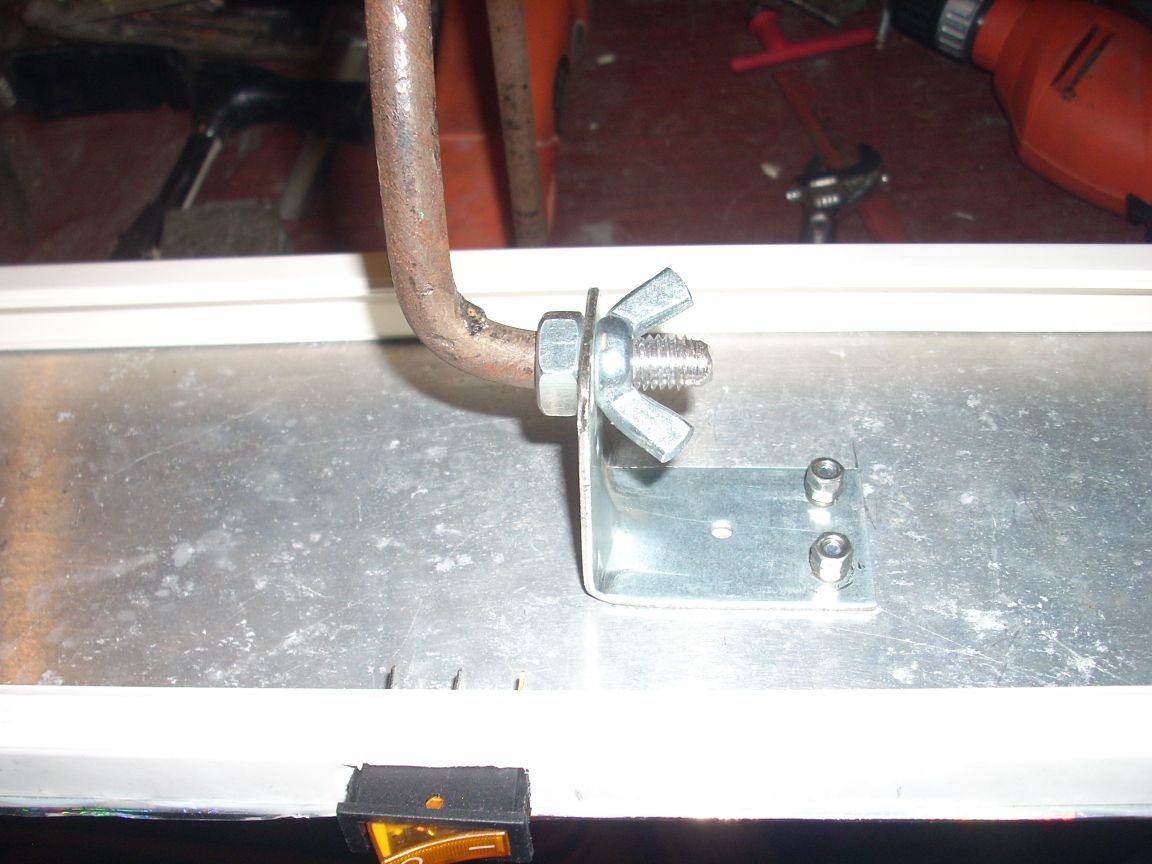
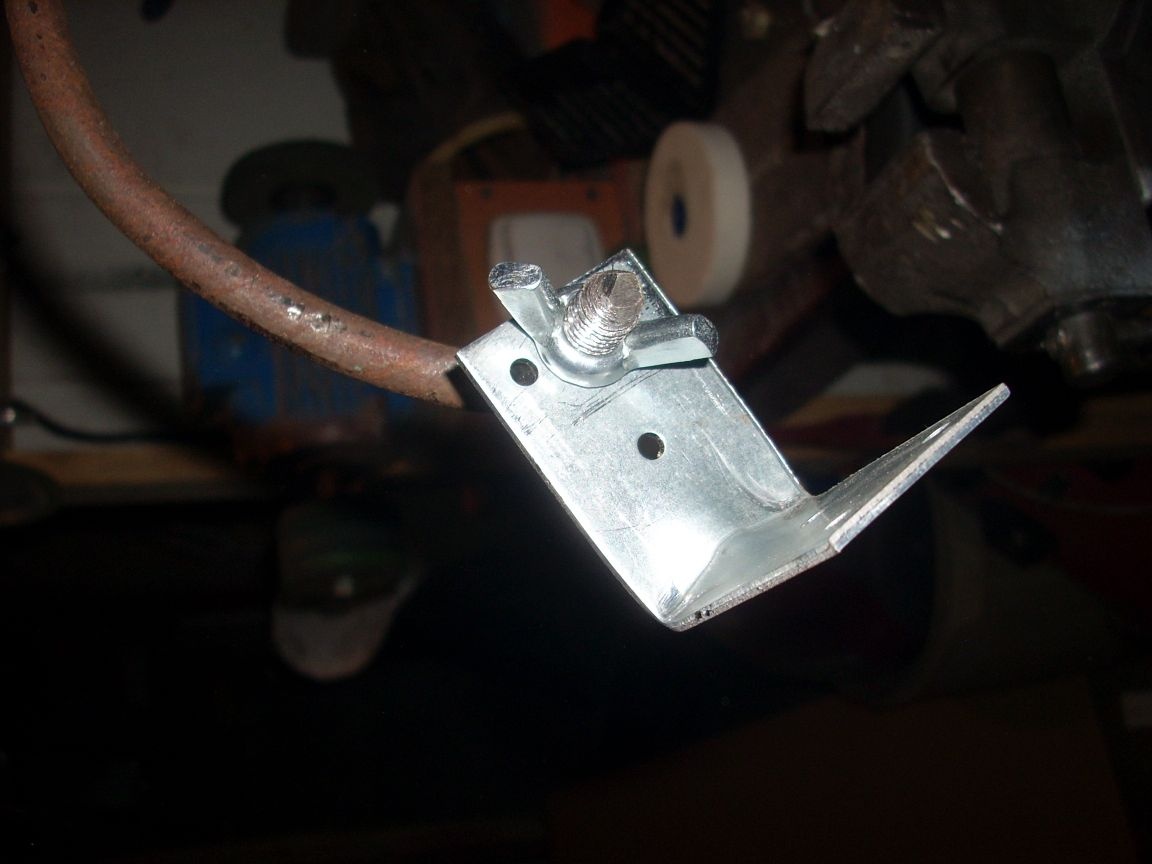
A nut with a lamb is necessary in order to regulate the direction of light.
Mounting-clamping the lamp to the table made of two pieces of steel strip, in which I drilled the necessary holes.
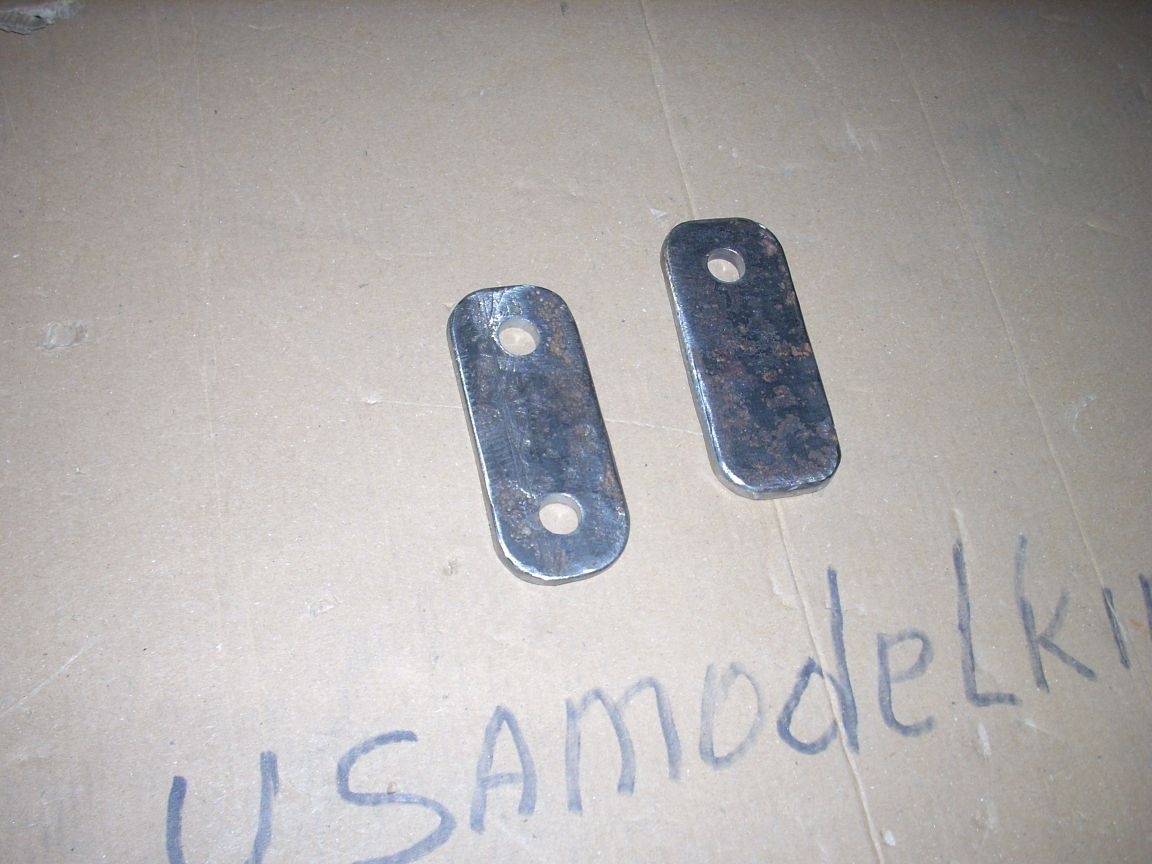
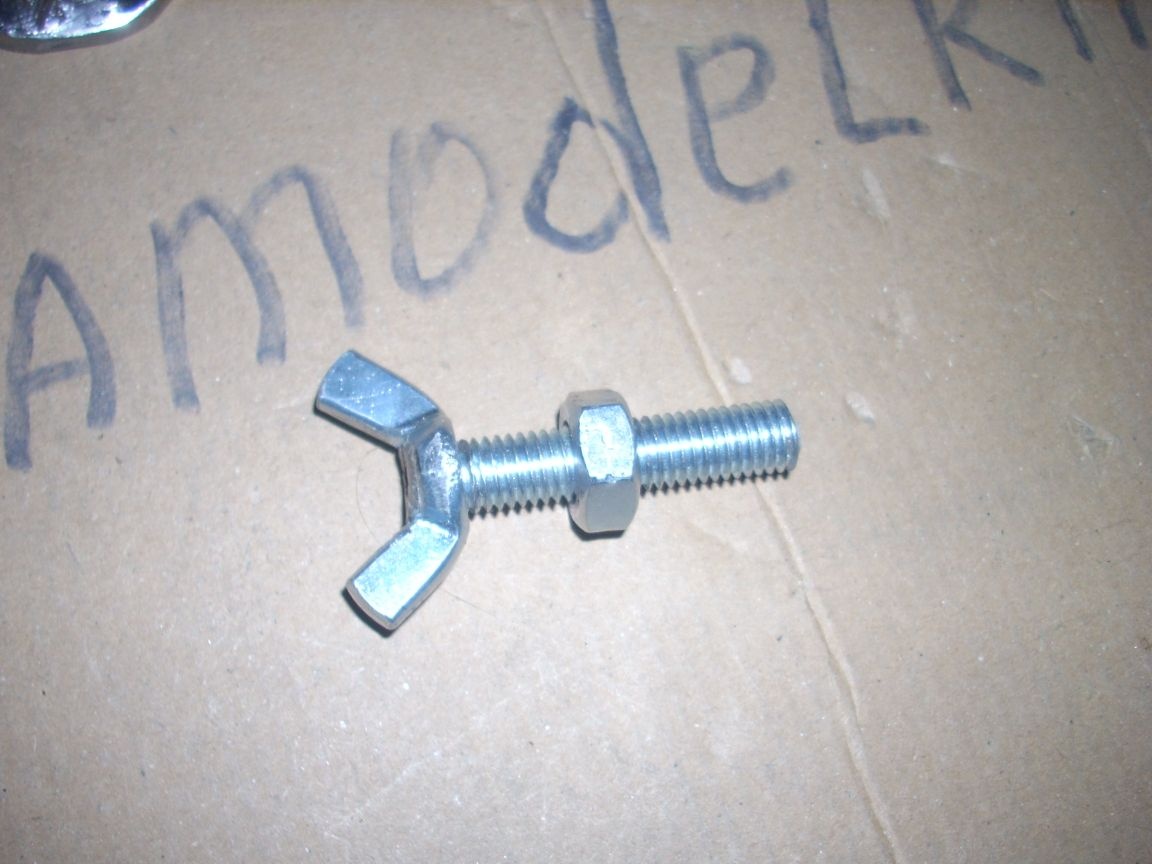
To a piece with one hole coaxially with the hole, I welded a nut into which a clamp bolt with a wing will be screwed:

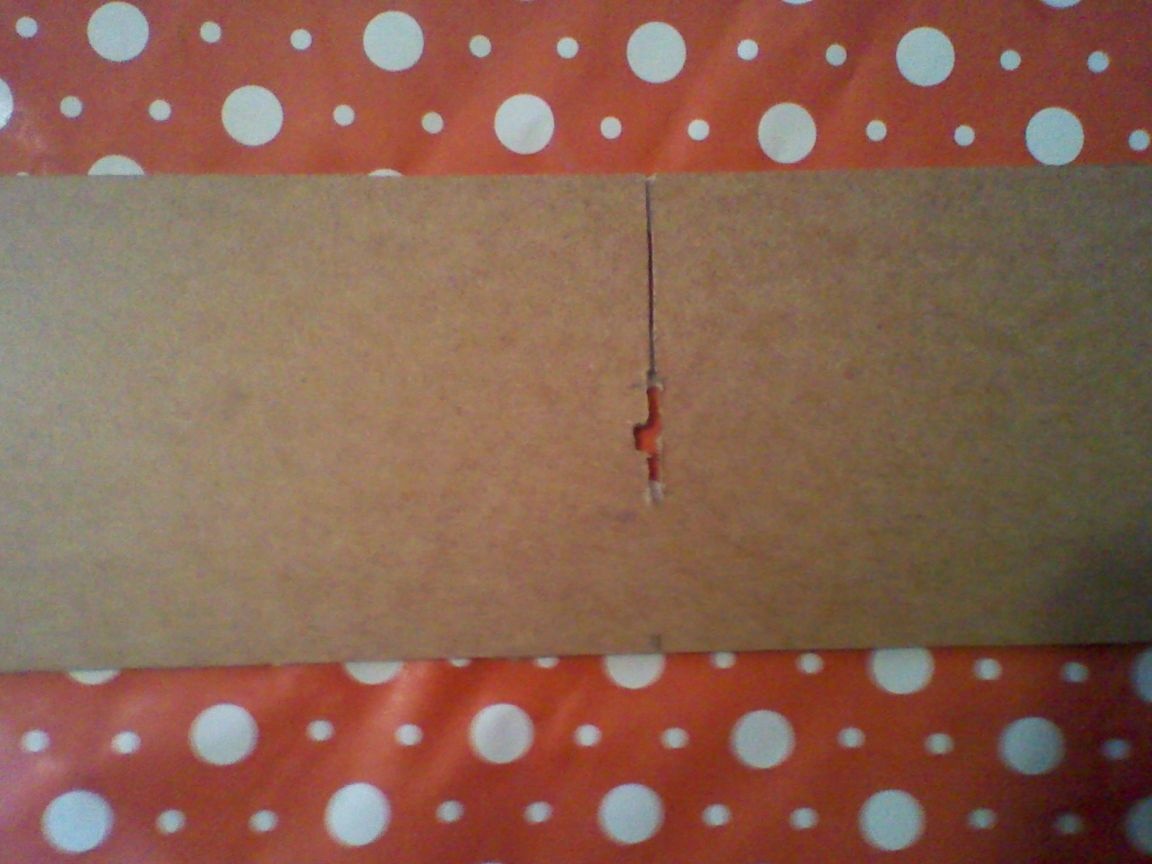
Then the back side of the plastic frame was covered with a piece of fiberboard with the corresponding slots:
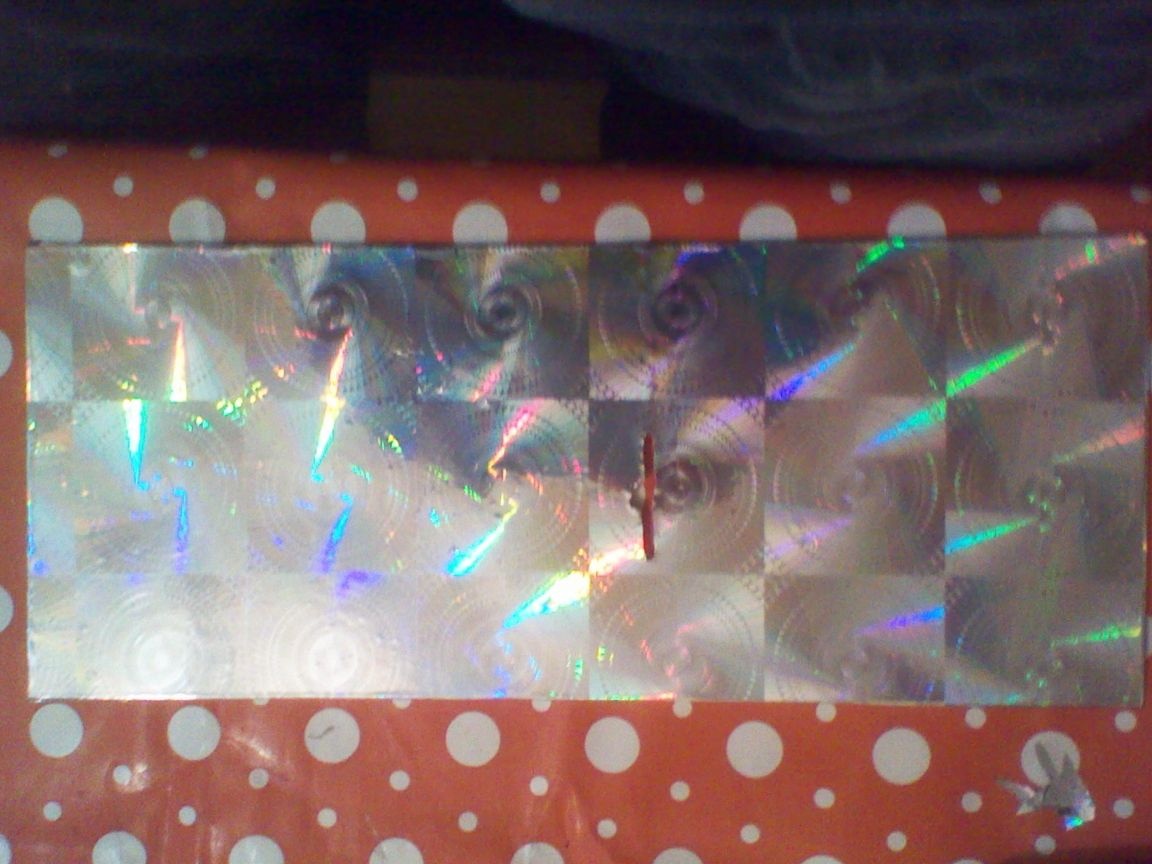
This piece for beauty was also pasted over with the same shiny paper:
In assembly, everything looks like this: