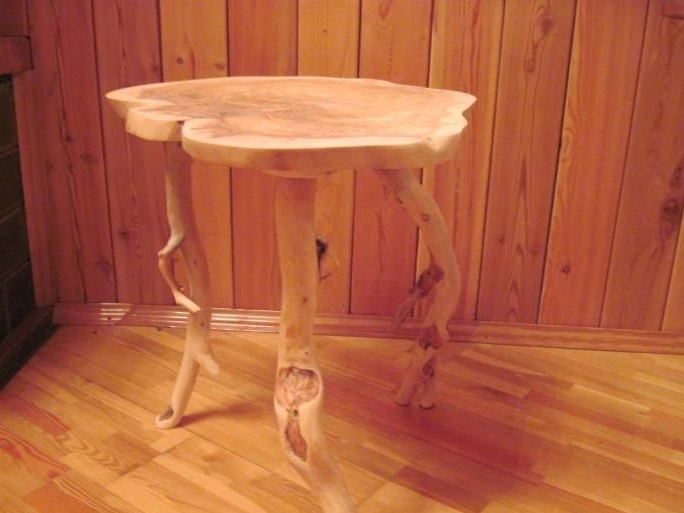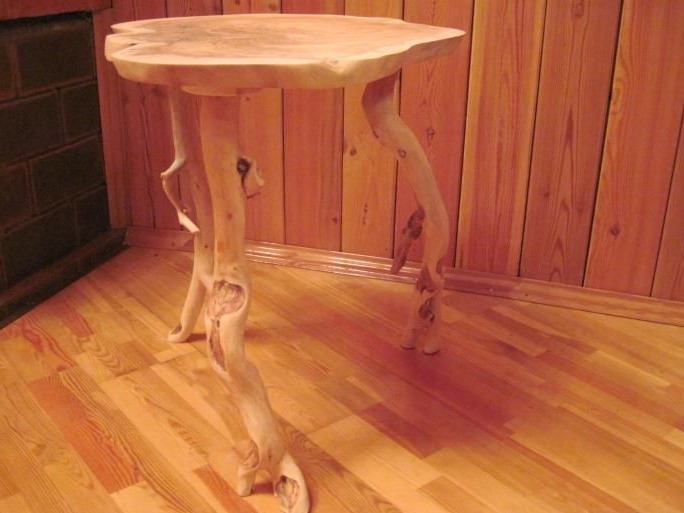
This photo report tells how the author fashioned an exclusive coffee table from a transverse saw cut of an Angora pine burl.
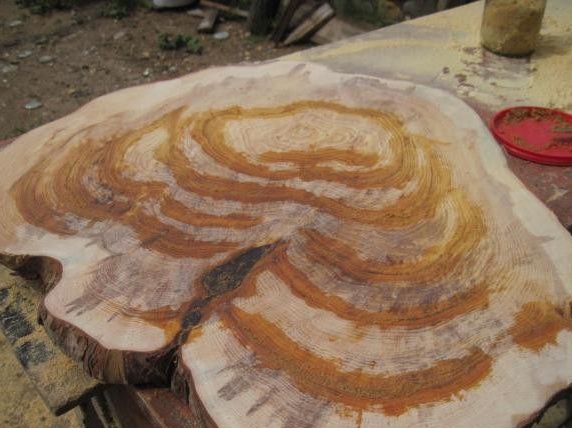
A cap is a growth on a tree with deformed growth and the location of the fibers in the wood. Caused by a sharp change in plant growth conditions. Very appreciated for its beautiful texture.
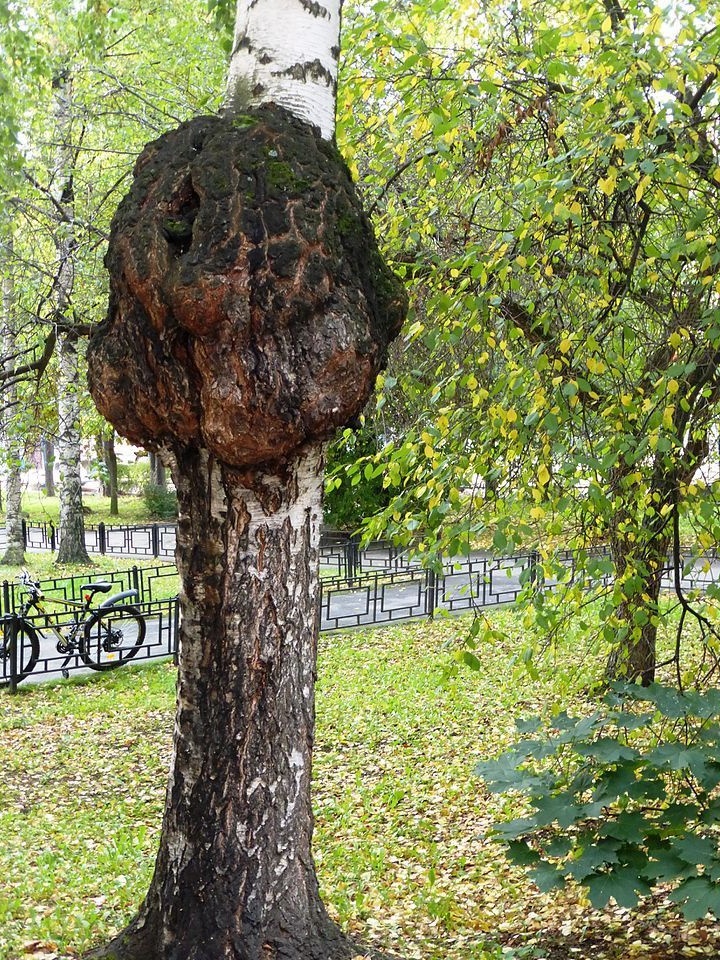
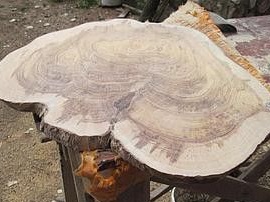
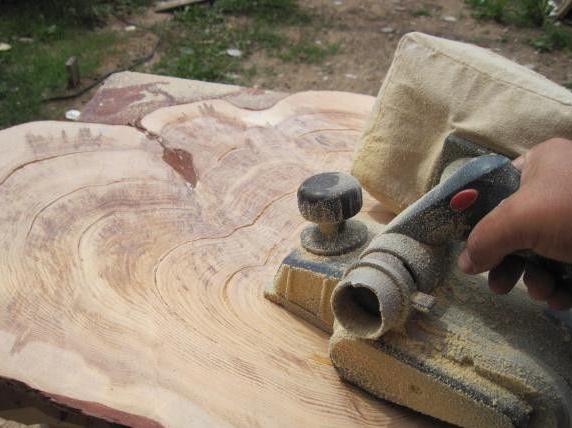
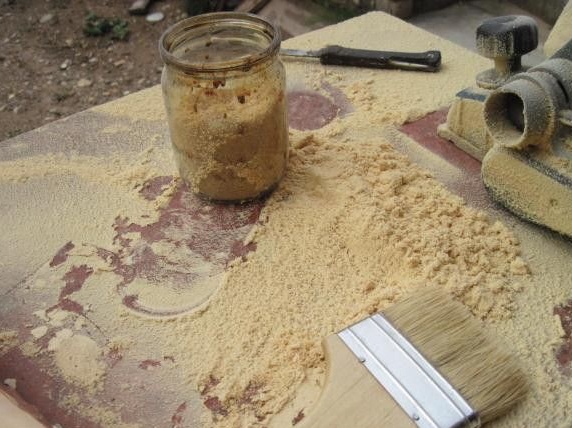
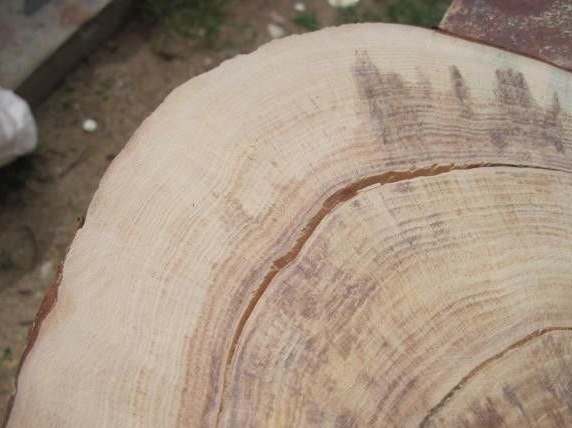
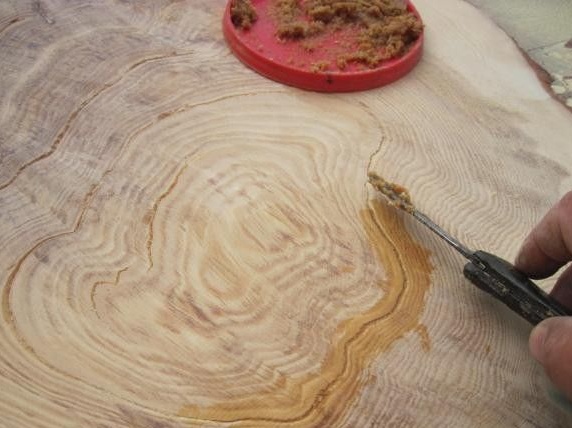
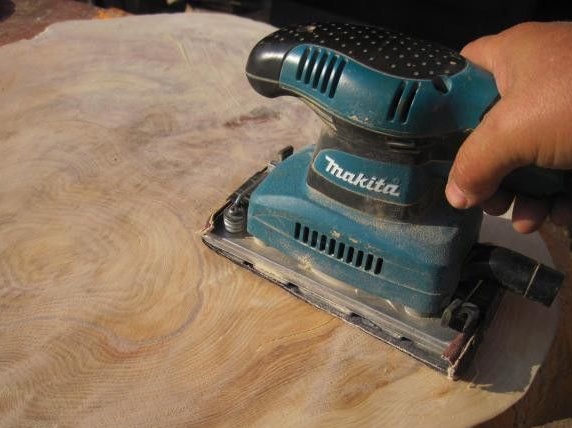
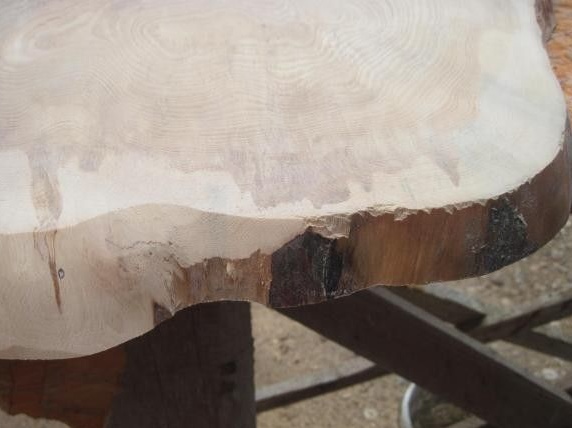
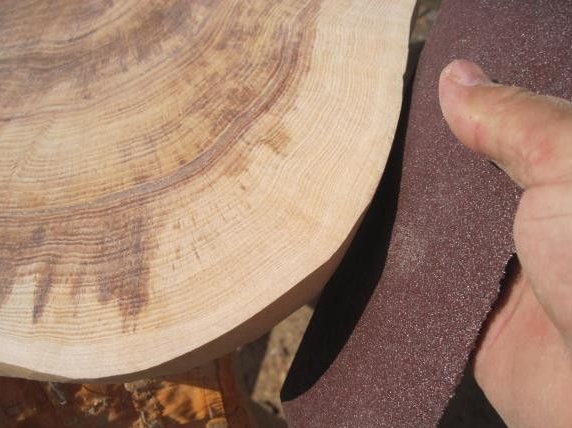
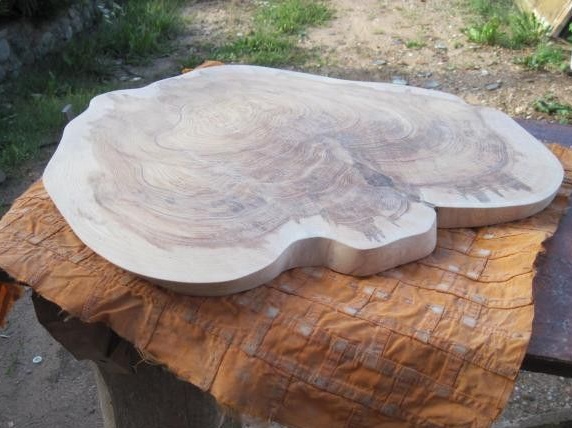
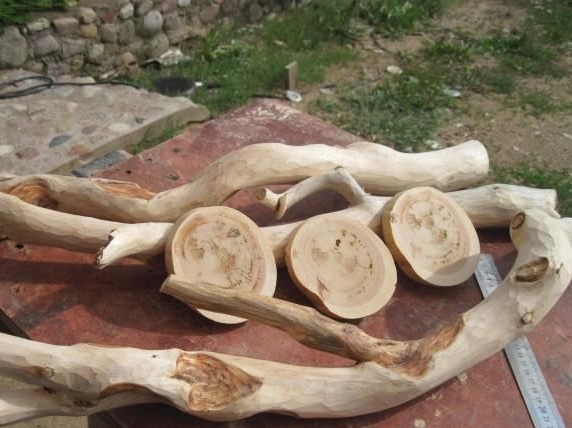
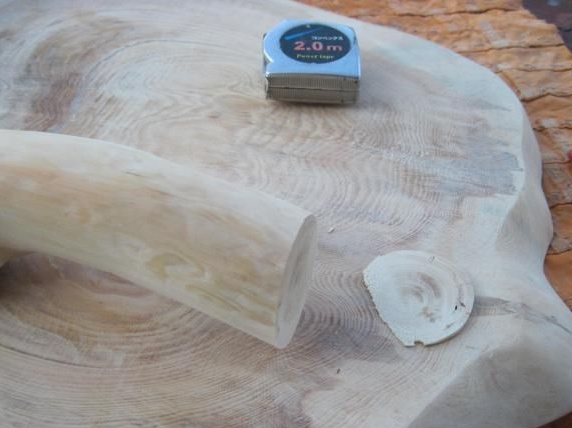
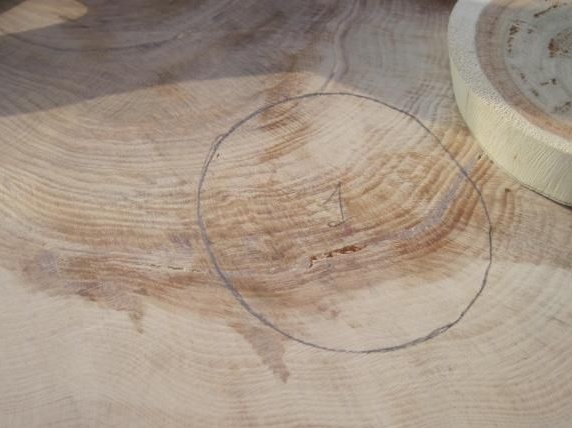
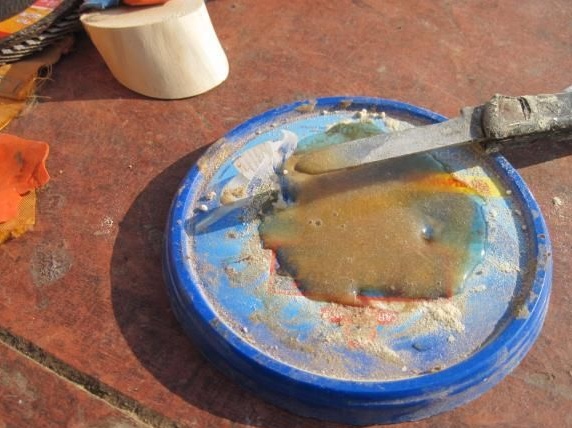
Such a growth was found on a tree and removed. Cross cut was made to get a flat surface for countertops. She, after she had dried, was sanded with an electric planer. and then thin section with a machine, for a smoother base. Do not throw out dust from the thin section; it will come in handy. We clean the cracked areas from dust and prepare a mixture for filling them. To do this, take epoxy glue and filler, in the role of which the dust remaining from polishing the countertop acts. We fill the gaps with it, and let it dry completely. After drying, we grind again to remove excess glue and roughness.
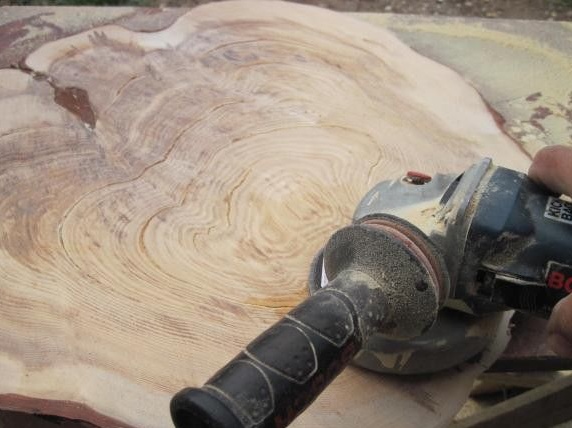
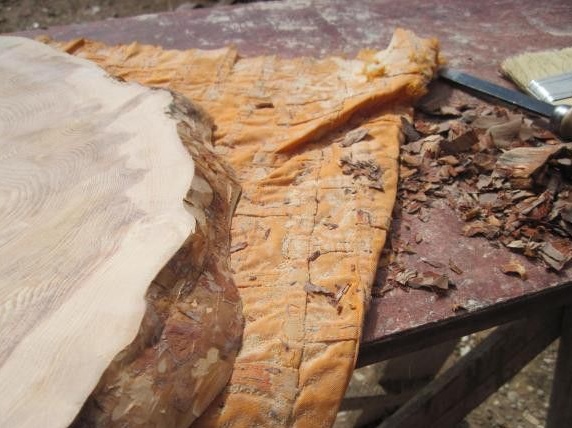
The next action is to remove the bark at the ends of the saw. She won’t keep it anyway, so we’ll clean it so as not to spoil the look of the product. After we pass through a grinder for final cleaning.

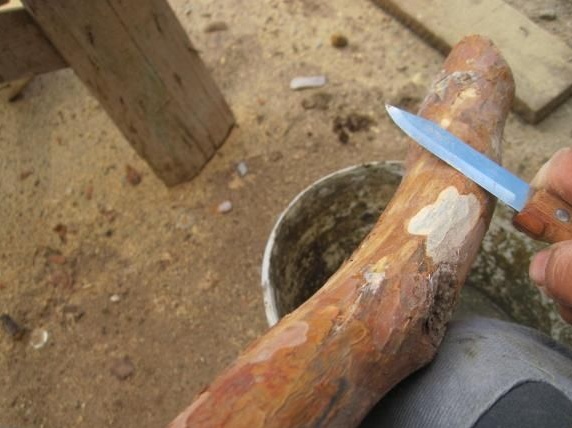
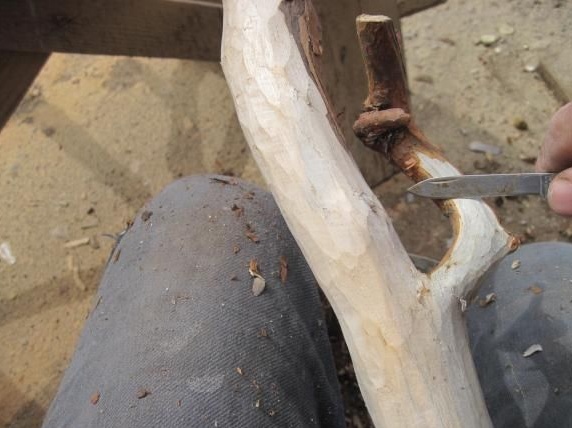
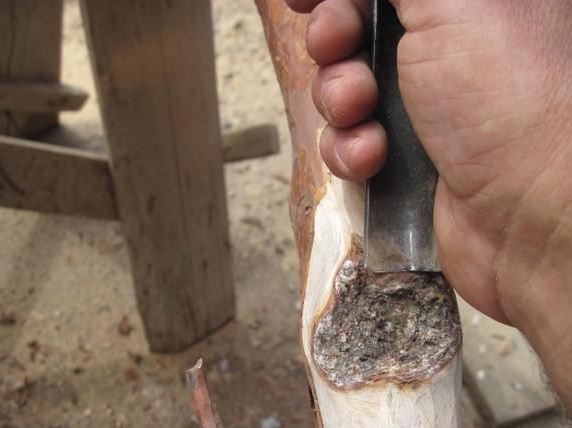
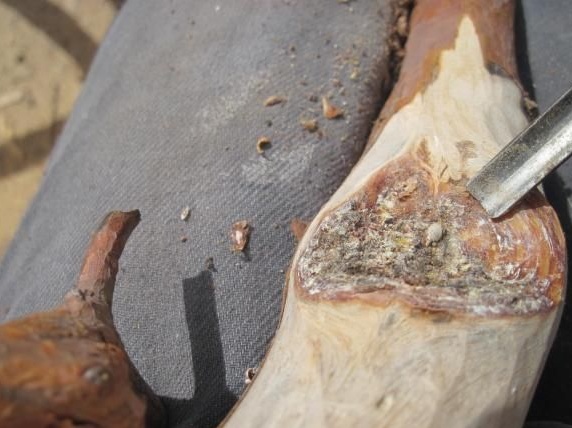
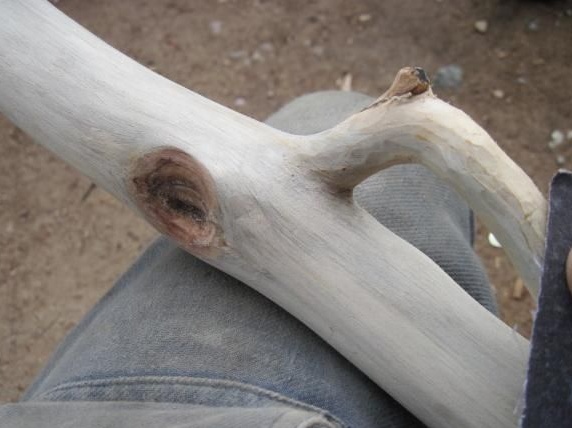
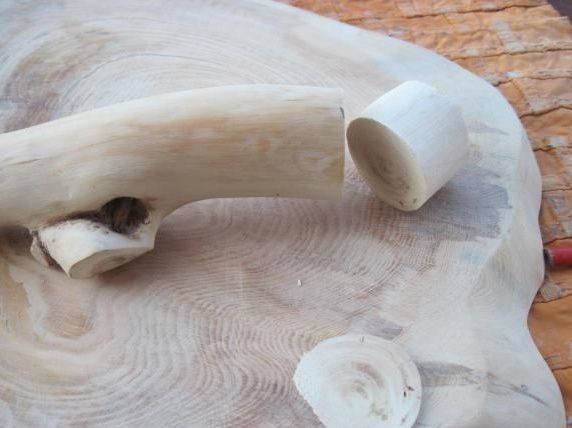
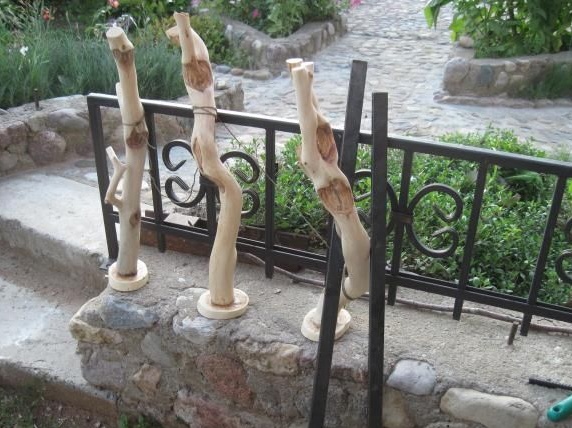
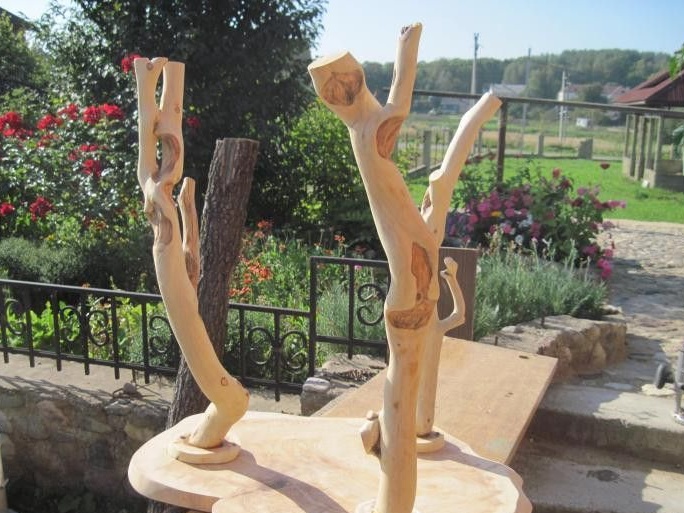
Now do the legs. They are from the same wood species as the countertop. Choose your favorite branches and clear them of bark. In the place where the tar was formed, we clean with the help of semicircular chisels. After the bark has been removed, the branches need to be polished and the upper parts, those that will be attached to the countertop, be cut at an angle.

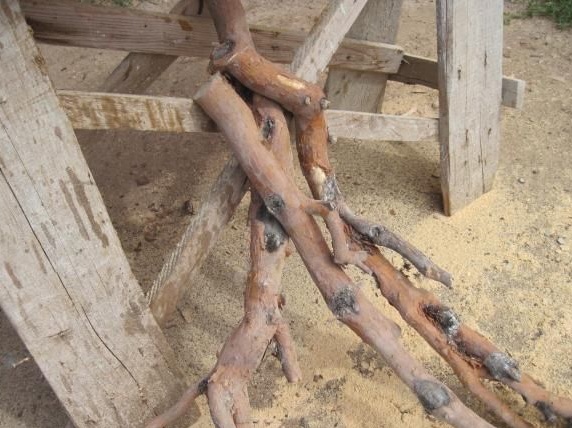

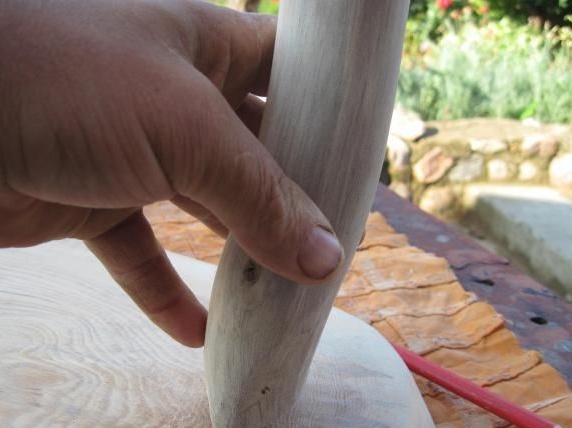
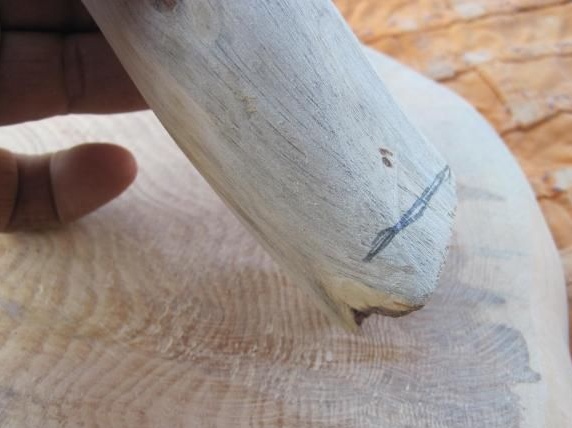
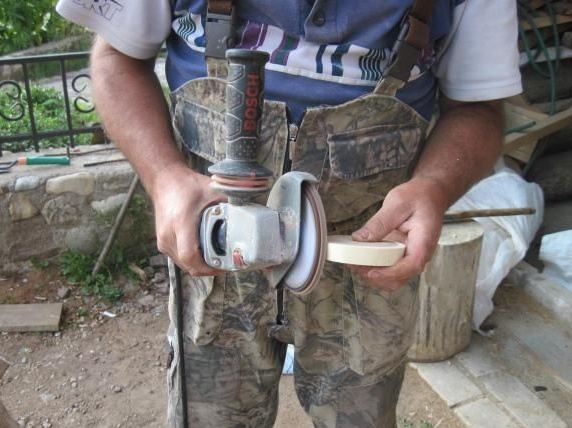
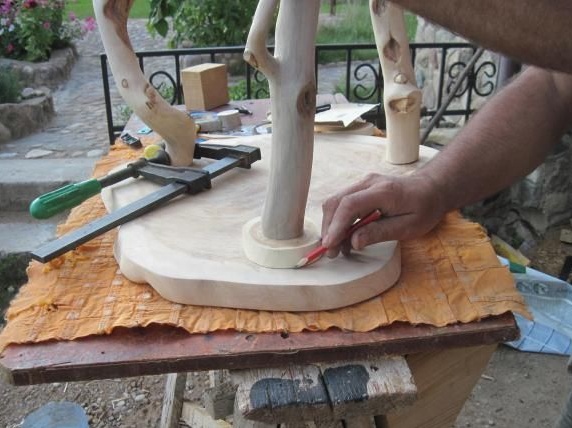
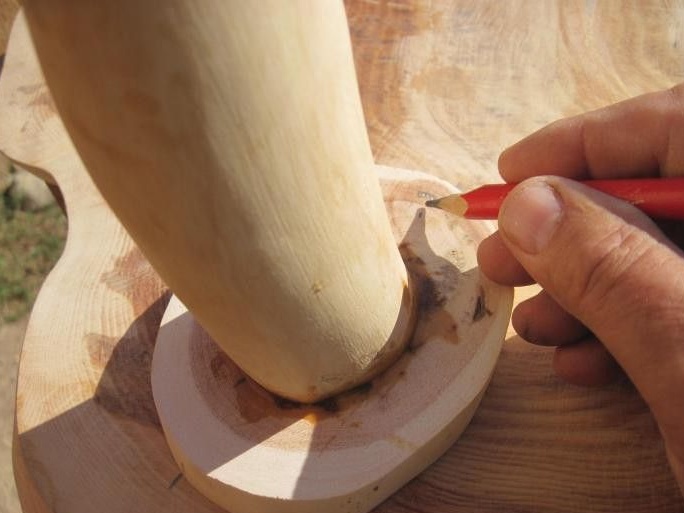
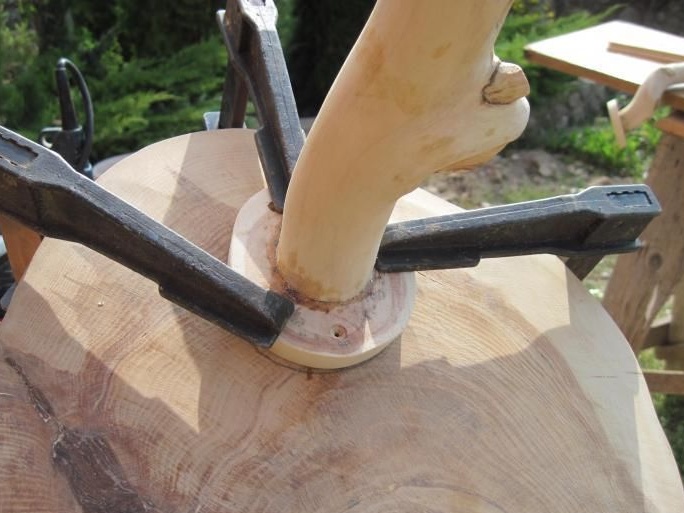
Now we proceed to gluing the legs to the saw cuts of the tree, their mounting stands, on which they will be held already on the countertop. Grind the saw cuts. We attach them to the countertop and mark where they will be attached. Then, we put marks in order not to lose the location. We number all the parts to be glued together.
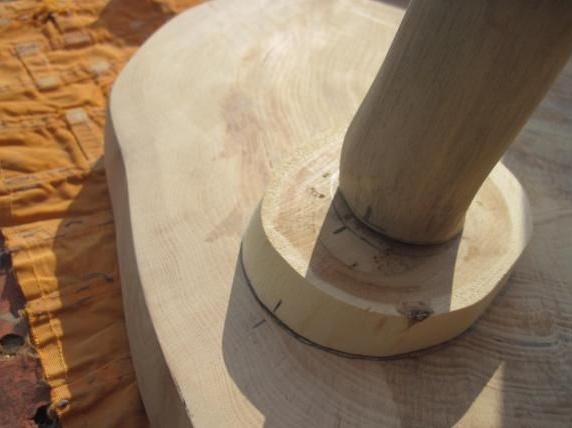
We prepare glue with a filler and glue the legs with supports. Since the legs have a small angle, after gluing we fix them so that they do not move. We leave it so for a day so that the glue has time to dry.
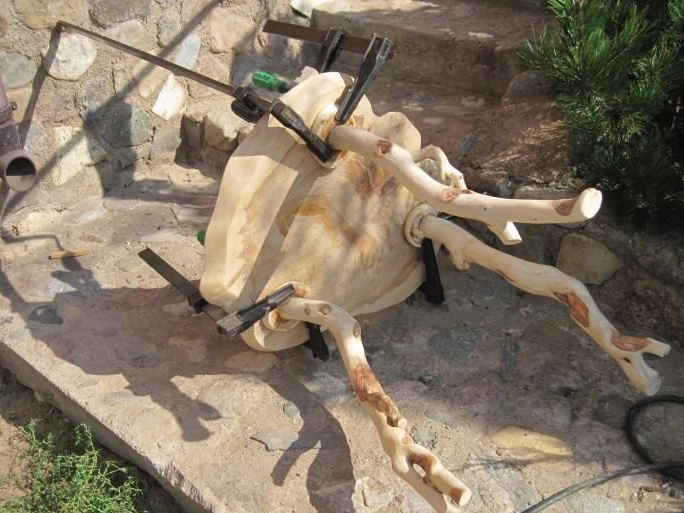
After the legs have dried, proceed to the rough assembly.This is necessary in order to align all the legs and to make the table stand level.
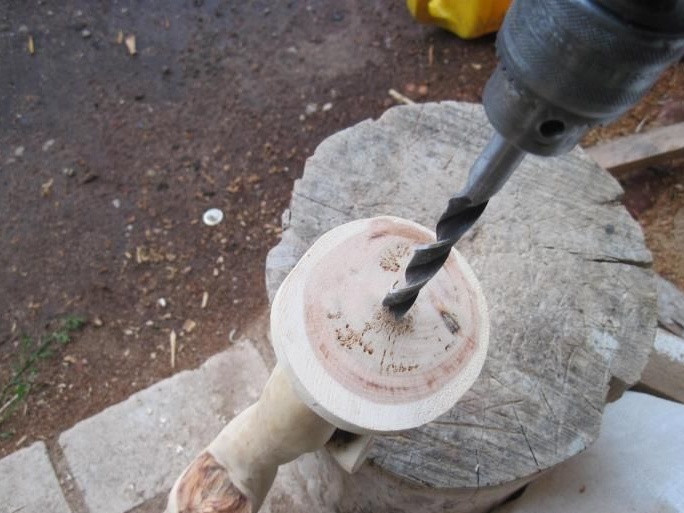
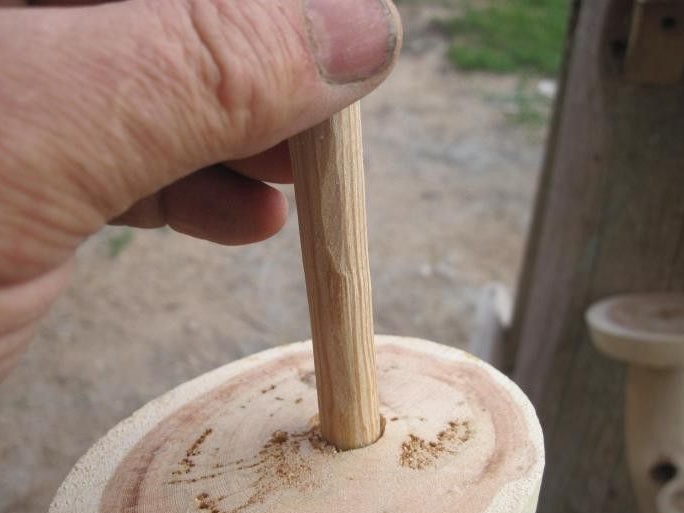
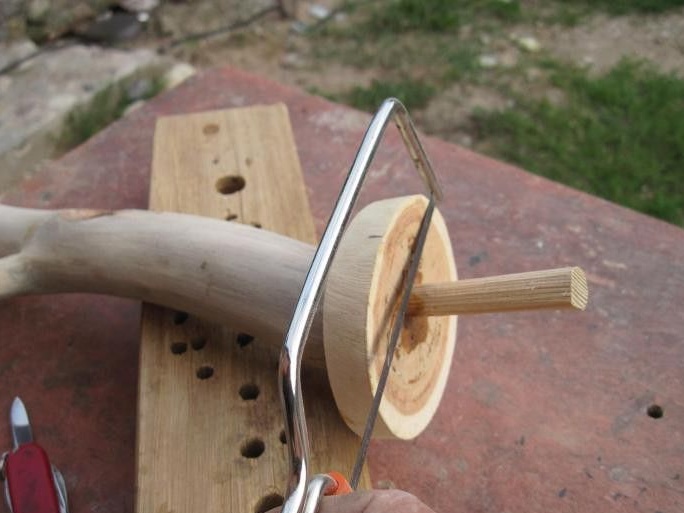
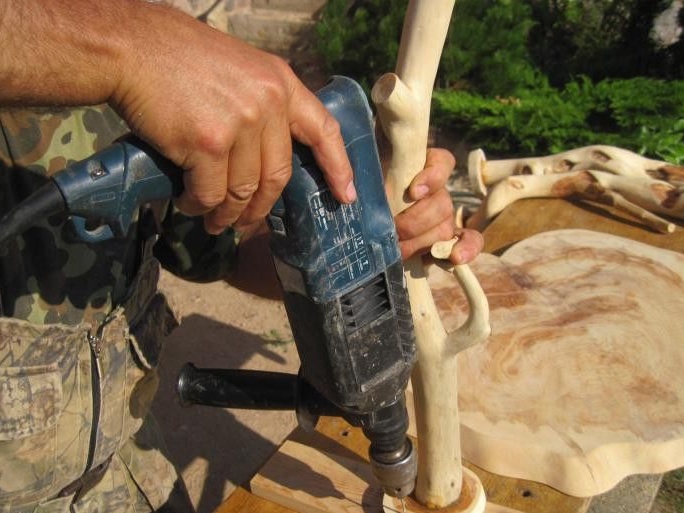
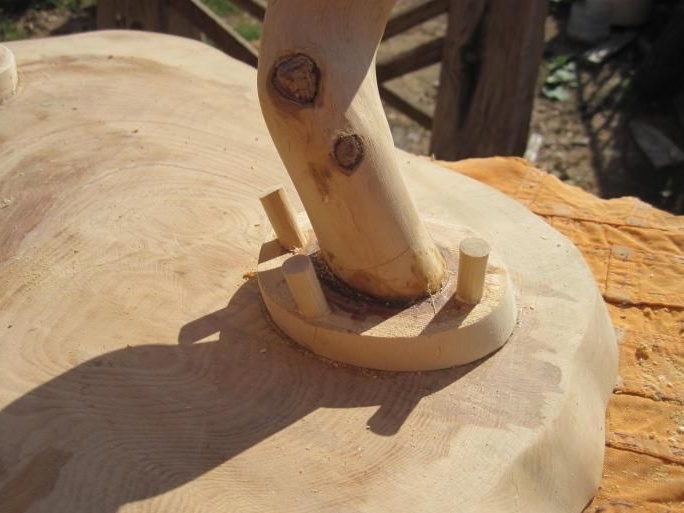
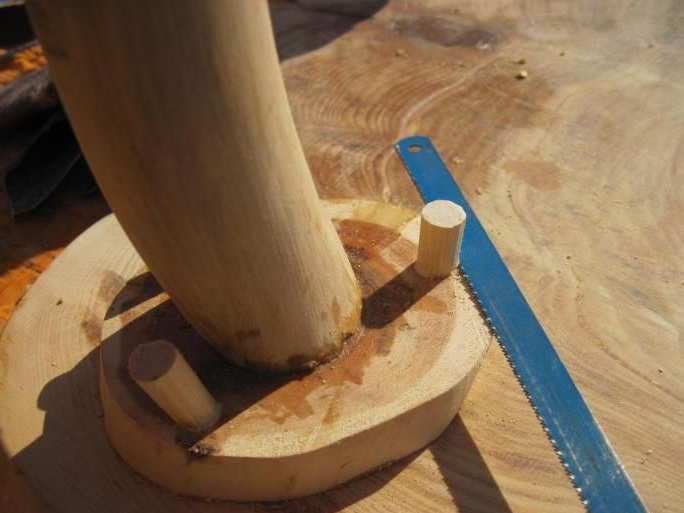
A hole is drilled in the leg, so that the drill goes through and dives and goes deeper into the leg itself. Then with glue and nagel we fix for greater strength. The remainder is sawn off.
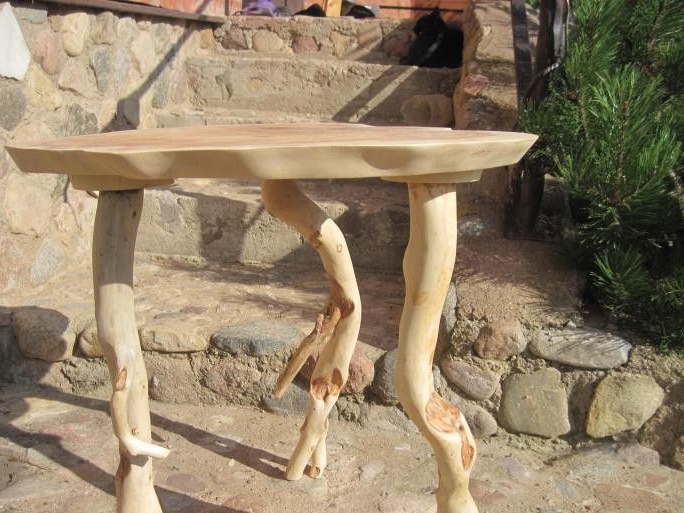
Now fasten the finished legs to the countertop and align.
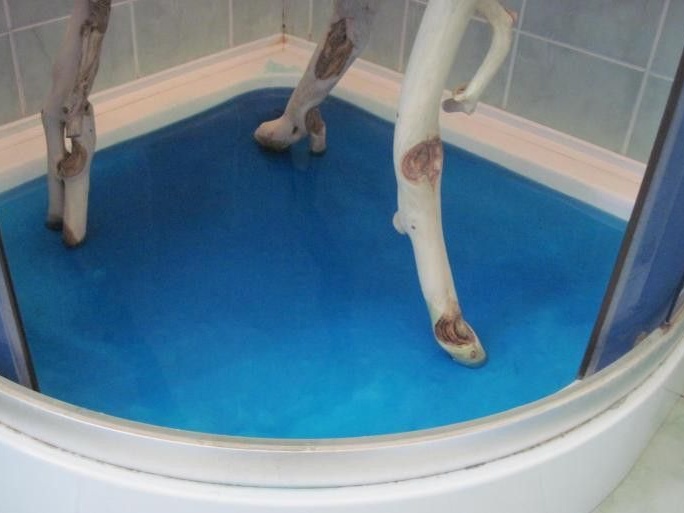
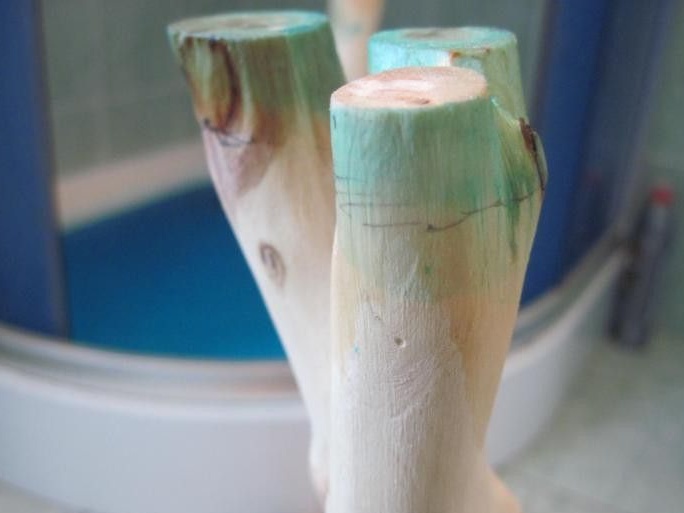
For more even and accurate debugging, the author puts the table in the shower tray, draws water and blues it. It becomes clear where you need to finish in order to lobby the ideal level.
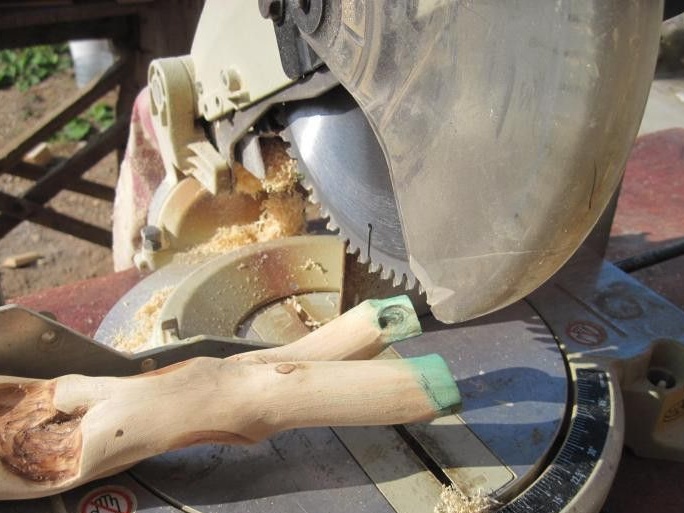
Sawed off by marks. After the table has become level, all details need to be varnished several times. After drying, proceed to the final assembly. Holes are drilled and dowels are put on glue in them. Cut off the excess. After drying, it is sanded and varnished. When gluing, clamp with clamps. Lining is placed under them so as not to spoil the polished surface.

This is what ultimately comes out.