
Sometimes it is necessary that the light fall on a certain surface. Or when reading, or when drawing, and so on. Therefore, we need a lamp that could be controlled - to adjust the angle of incidence of light. I present to you the lamp made by the author do it yourself.
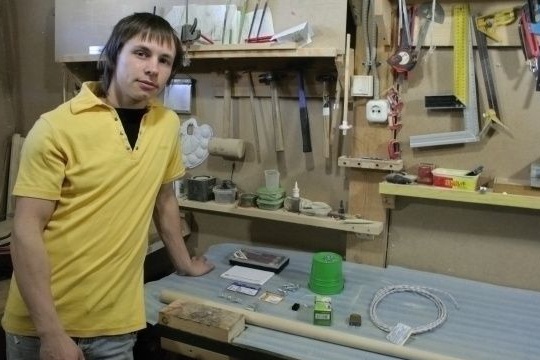
Materials and Toolsthat were used to create the lamp:
round baluster, lamp holder, lamp, cable, plug, metal bucket, bolts and nuts, screwdriver, drill, saw.
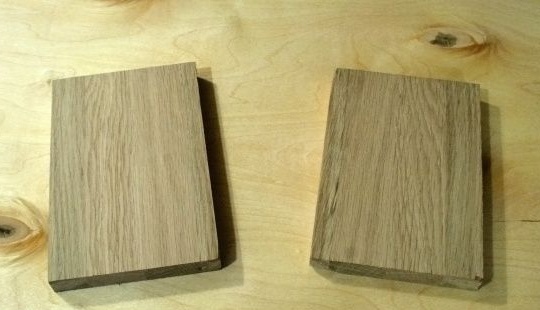
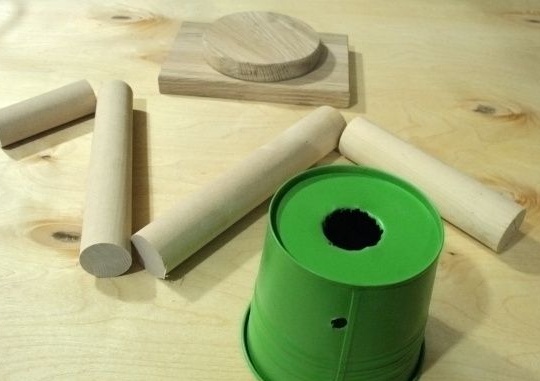
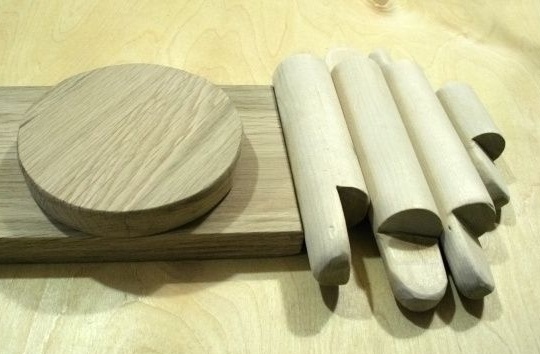
First, two pieces of furniture board are taken.
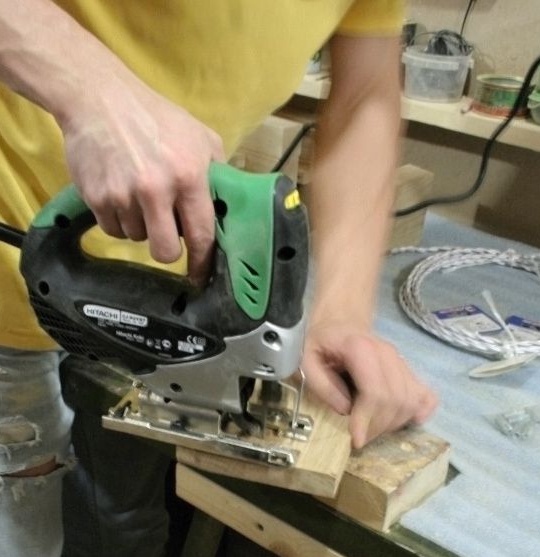
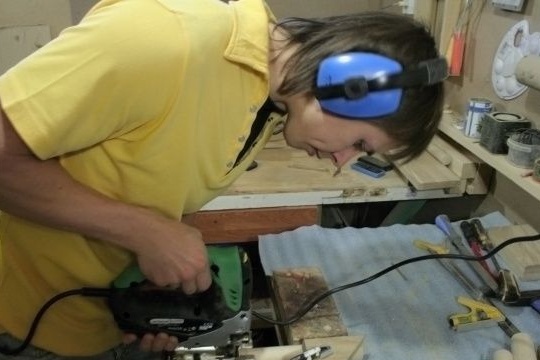
From one you need to cut a circle with a jigsaw.
This is how these two parts will be fastened together.
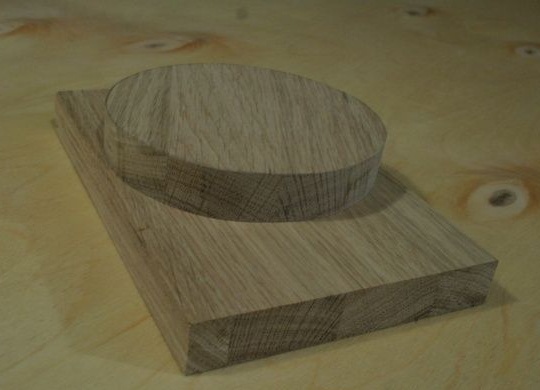
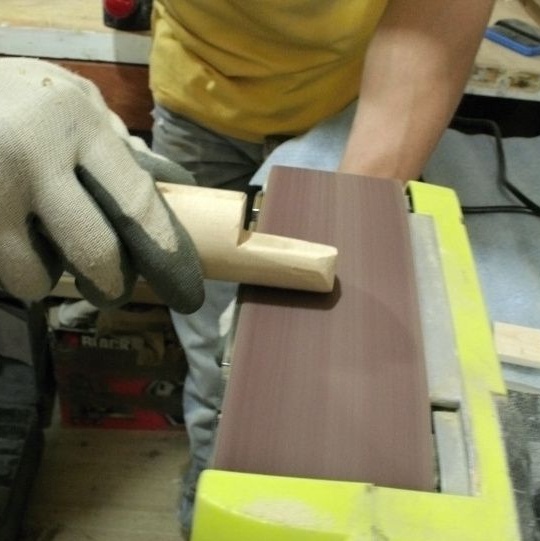
Next, the sawed-off wheel is ground to become smooth and free of burrs.

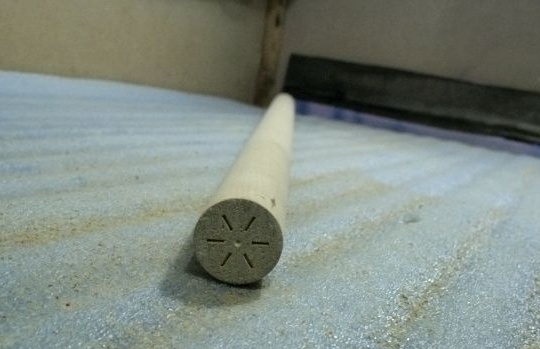
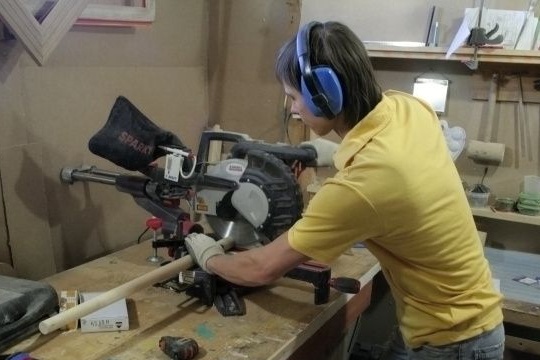
The main part of the future adjustable luminaire will be assembled from a round baluster. We determine the size of the knee and saw the workpiece.
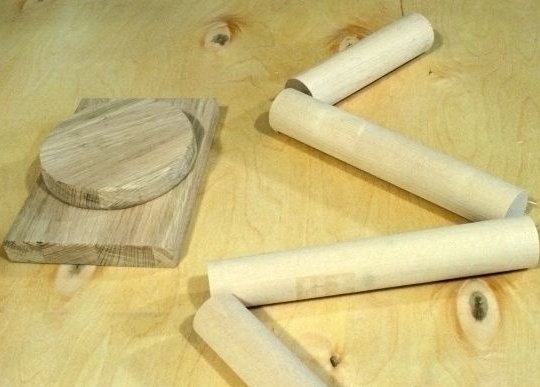
Here is the result.
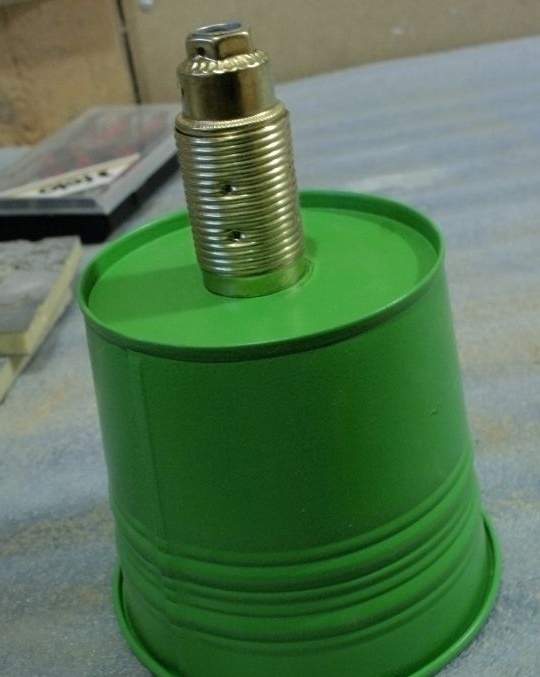
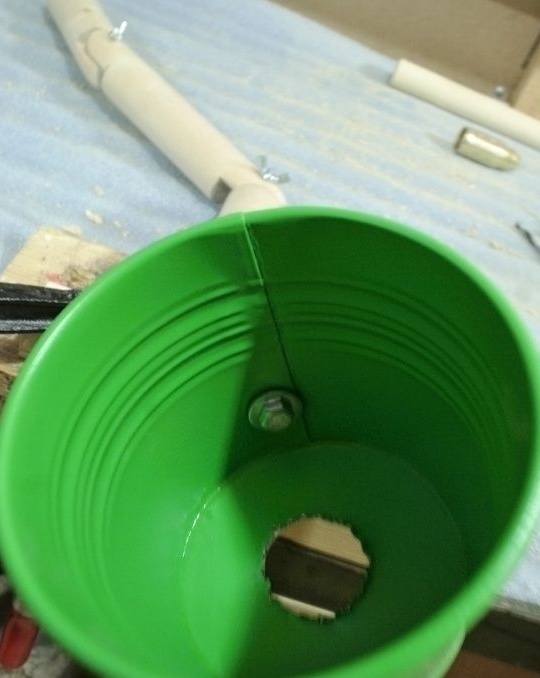
Now the author begins to prepare the ceiling. It will be from a metal bucket. A hole is made in the bottom for the cartridge, and on the side - to attach it to the base.
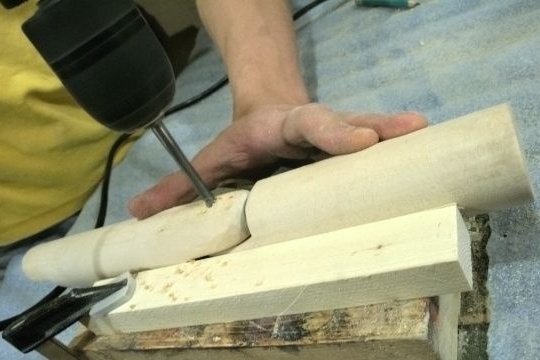
Next, the knees are prepared, which the author made of a baluster. In each of them, recesses are made with which they will be attached to each other. A longitudinal cut is made with a jigsaw or saw, then transverse to extract a part of the tree. In two knees, such recesses are made on each side, but this is only here, because the author will have a lamp consisting of four knees. If you decide to make them more - then the notches will be made on the remaining parts. And in two - with only one, since these knees will be attached to the ceiling of the bucket and the base of the lamp. Edges are processed by an emery cloth or a grinding machine.
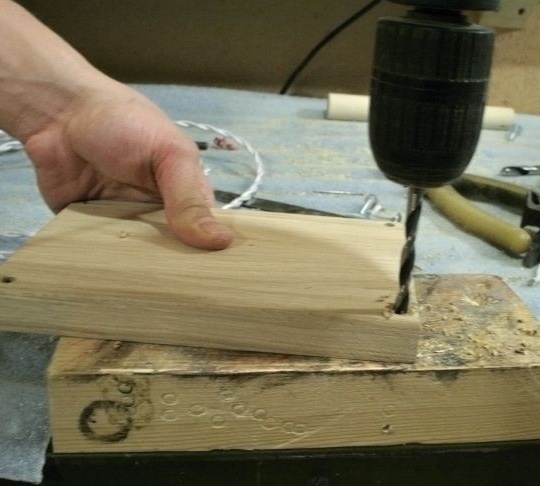
Next, drill holes in the knee attachment points.
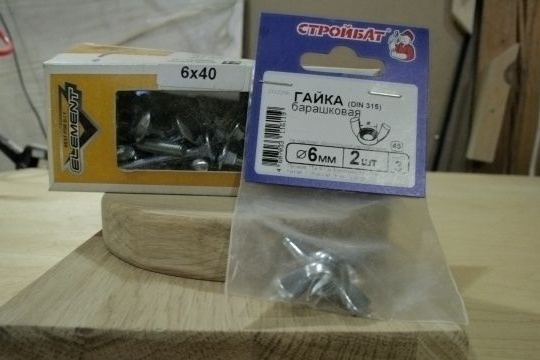
To connect parts to each other, use a fixed bolt with a wing nut.
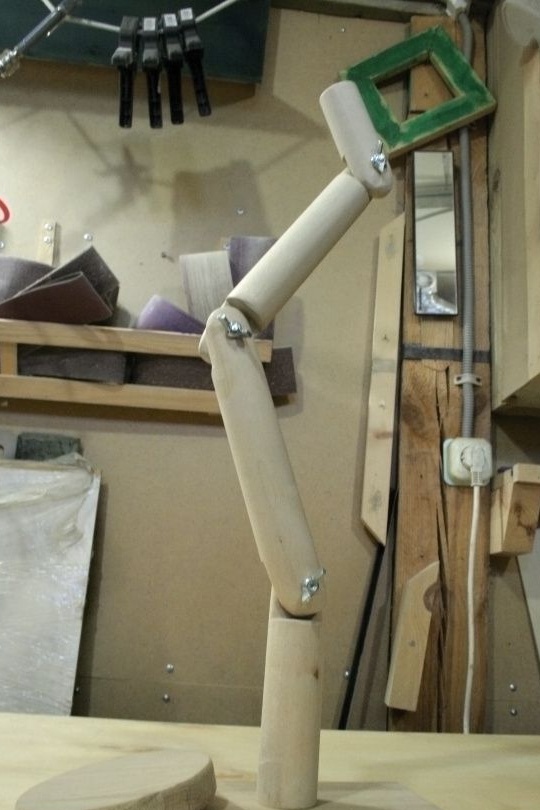
When assembled, the design looks like this.
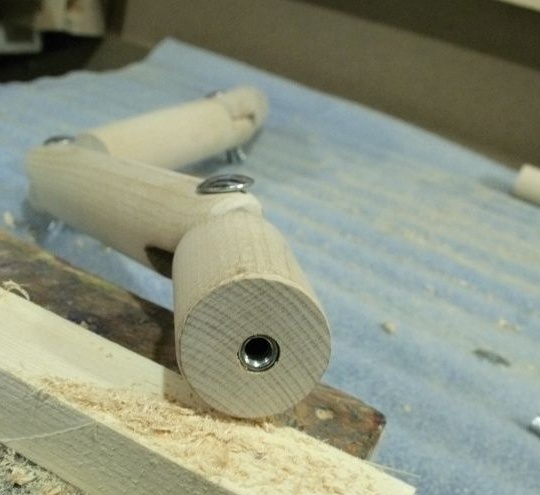
Now in the knee, on which the bucket-lampshade will be attached, a hole is drilled in its end part. A metal dowel is inserted into it. We fix the ceiling. Put a washer under the bolt.
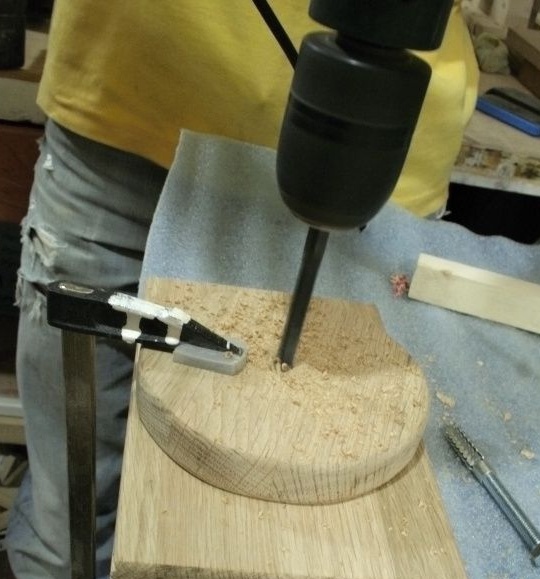
In the blanks on which the lamp will be held, we make a hole in the middle, after clamping them with clamps, so that the center does not shift.
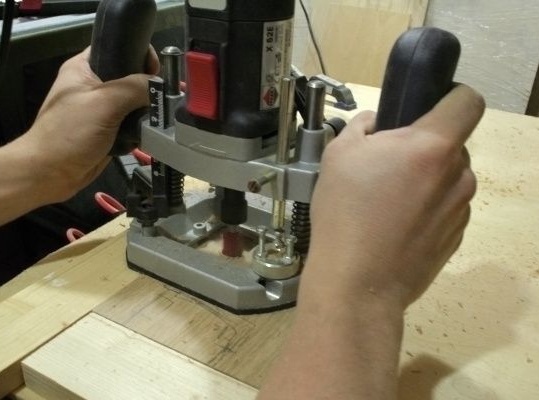
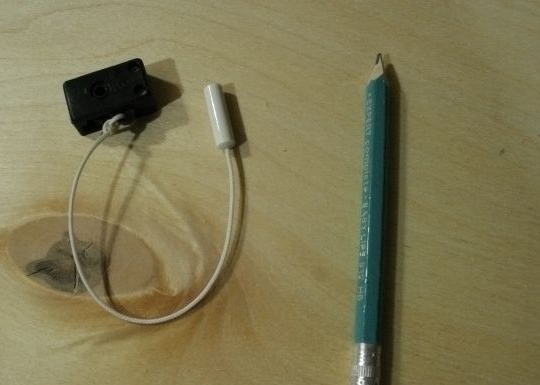
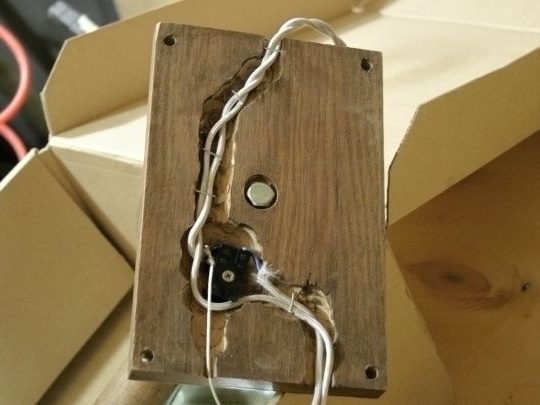
In a rectangular workpiece, with the help of a milling cutter, a groove for a cable and a switch is selected.
also in the same workpiece, four holes are made in the corners, with the help of which the lamp will be attached to the wall.
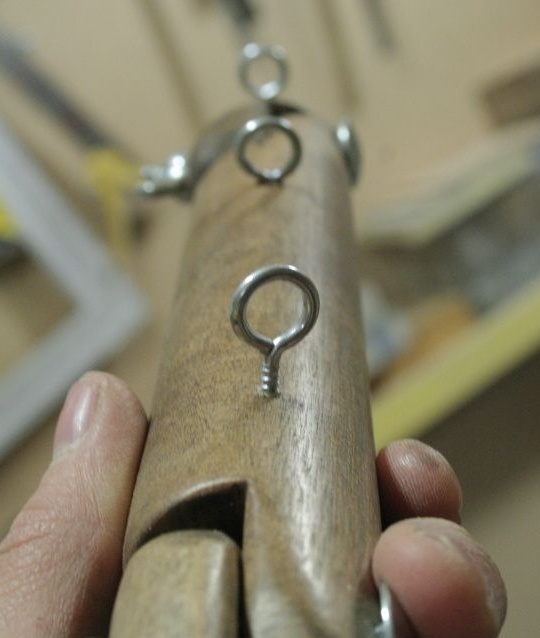
Along the length of the lamp, rings are screwed into the knees to hold the cable and the entire product is varnished.
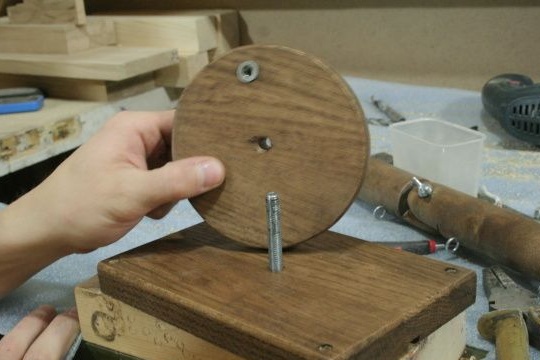
A hole is made in the round billet of the lamp in which the dowel is installed. With the help of a bolt, the lamp will be fixed in the position that you need when rotating it along its axis. The axis itself is a large bolt that passes through both mounting platforms and is screwed into a dowel in the end lower part of the lamp.
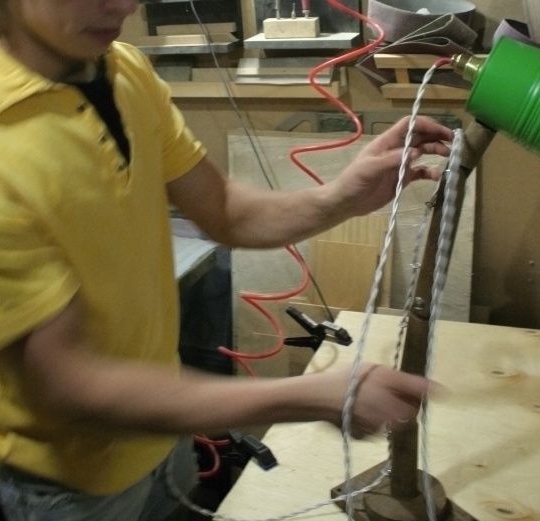
At the very end of the work, the lamp is switched off. The cable goes through all the rings. The cable goes below, connects to the switch and goes up to the ceiling.
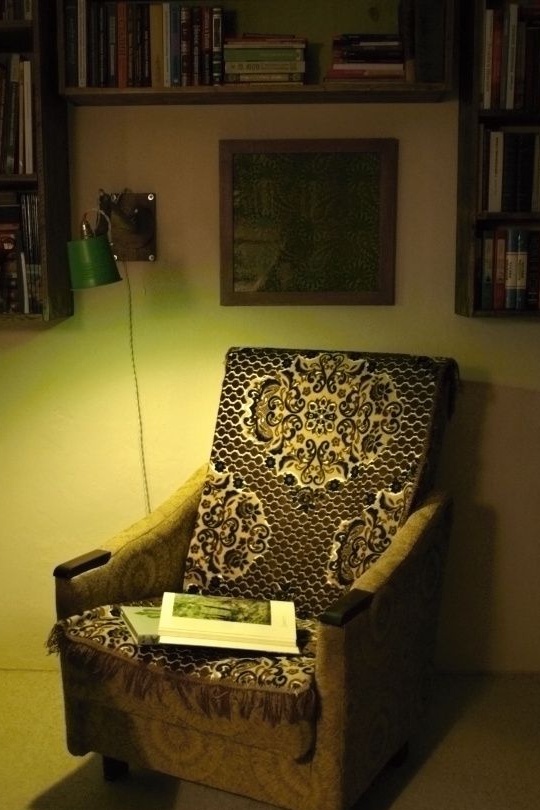
And this is what comes out after several hours of work.
