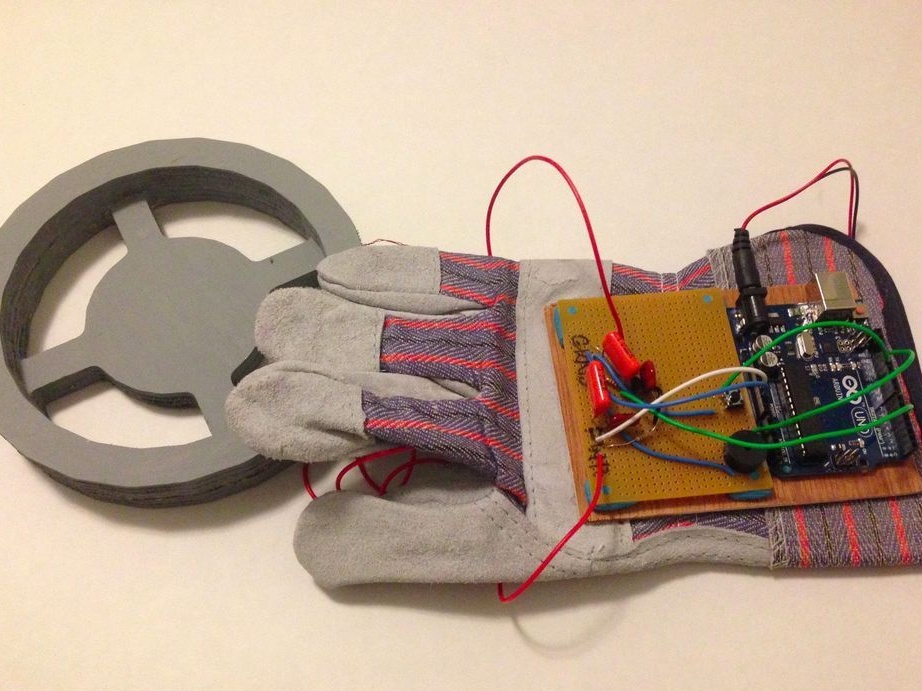
This article will cover a simple example of creating metal detector based on microcontroller Arduino. Its peculiarity lies in the fact that the device is made in the form of a glove, it is located here and electronic part, and search coil. The metal detector was created to search for homes of lost small metal things, for example, earrings, rings and other things. However, based on this scheme, you can make a classic metal detector for work on the street. To make the device, you need a minimum of materials, the lion's share of the tasks is solved by the Arduino microcontroller.
The power of the metal detector is small, but for domestic purposes it is quite enough.
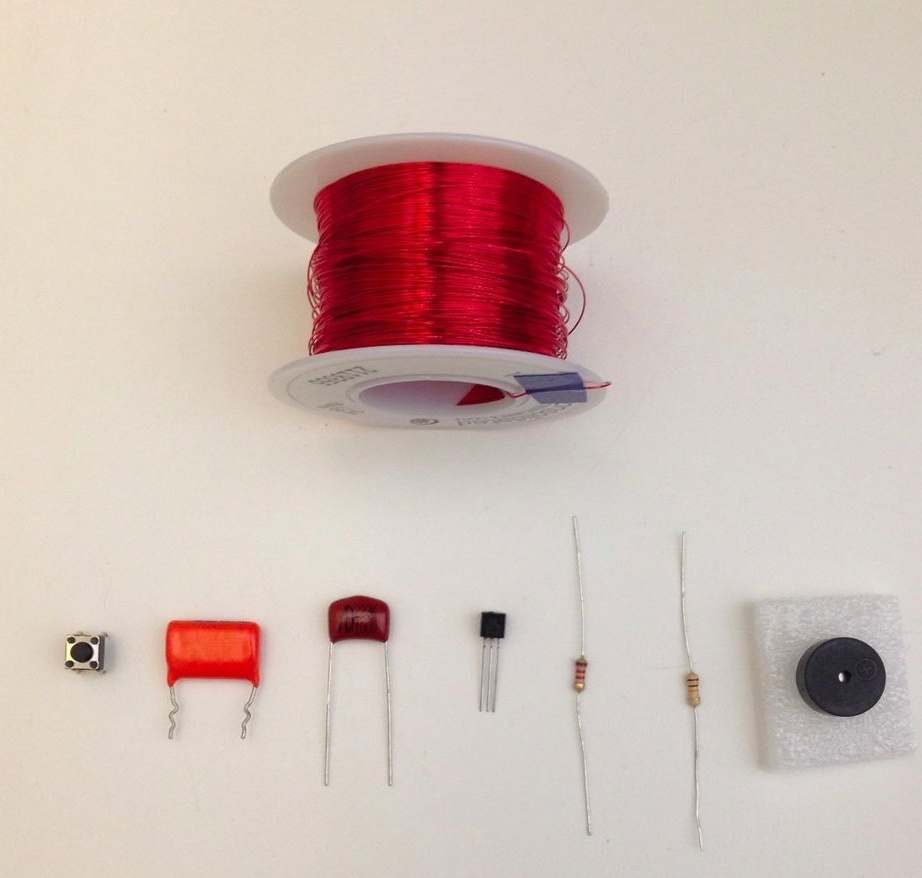
Materials and tools for manufacturing:
- microcontroller Arduino UNO;
- 28 gauge wire (diameter 0.32mm);
- one switch;
- piezo buzzer;
- two 10K resistors;
- one 1.2K resistor;
- two capacitors 100n;
- two capacitors 22n;
- one transistor type BC547;
- 9V battery;
- construction gloves.
Plywood, wood glue, soldering iron with solder, stranded wire, breadboard and other little things will also be needed.
The process of manufacturing a metal detector:
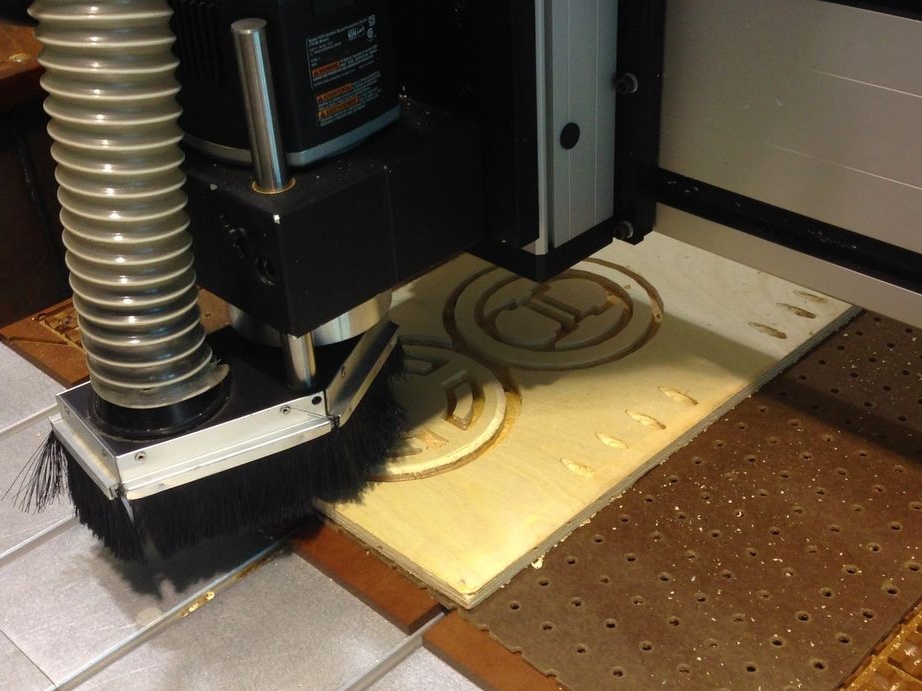
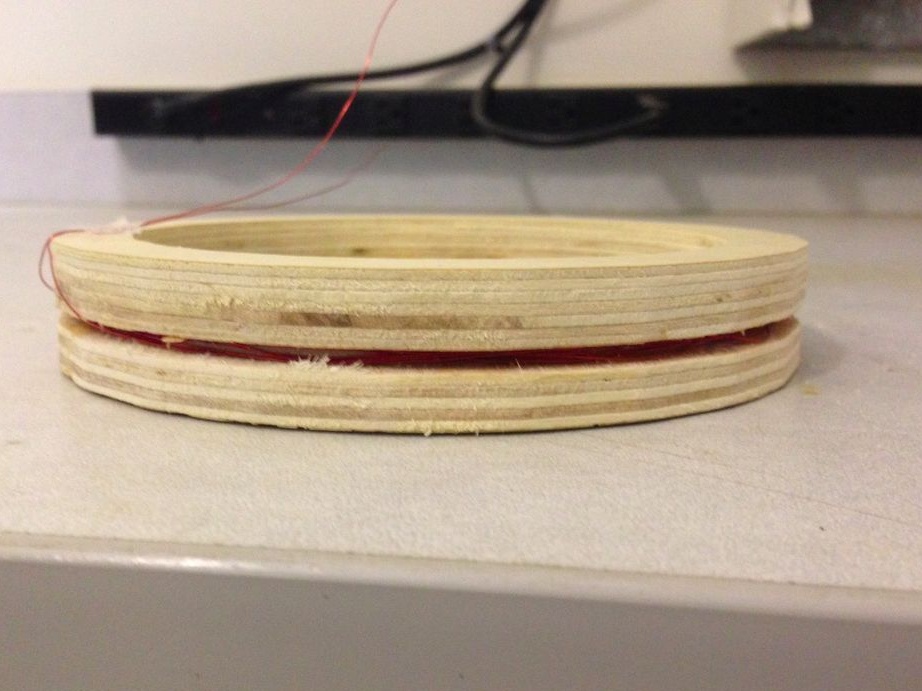
Step one. Coil manufacturing
To make a coil, for it you need to cut out the base, the body. The author cuts a coil of plywood on the machine, its diameter is 6 inches. The result is two rings that are subsequently glued together with wood glue. After drying, the coil is carefully treated with sandpaper to make it smooth. After the base is made, a wire can be wound around it. In total, 30 turns of wire must be made, leaving an end of at least 5 inches long for connection. You need to wind the wire tightly, this will ensure high-quality work of the coil. Over the wire, the coil can be wrapped with tape or tape for better fixation.

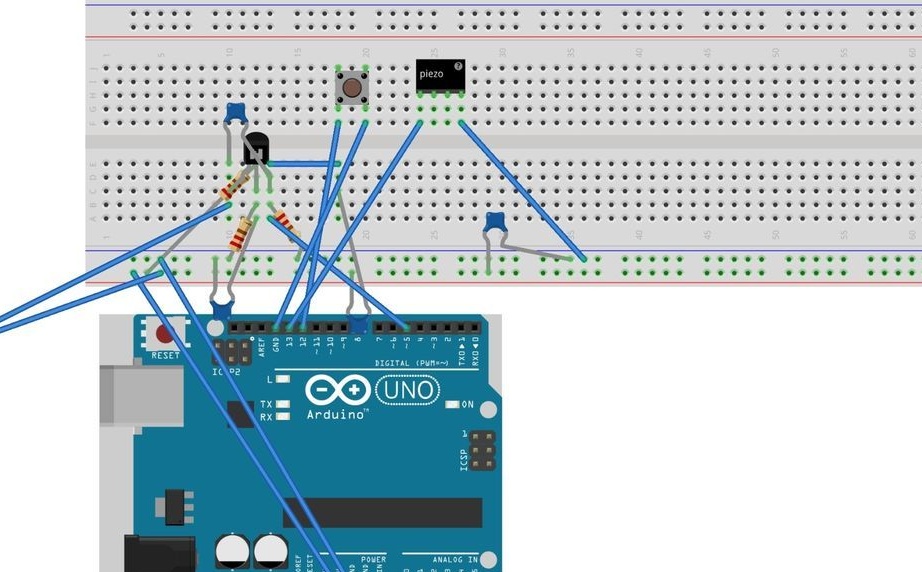
Step Two Assembly scheme on the layout
To make sure that the coil is assembled correctly and the whole system works correctly, you must first assemble it on the breadboard, and then solder it. The connection order is not fundamental, the author began with a transistor, then went resistors and capacitors. After that, the “male and female” connectors were connected on the Arduino ward.
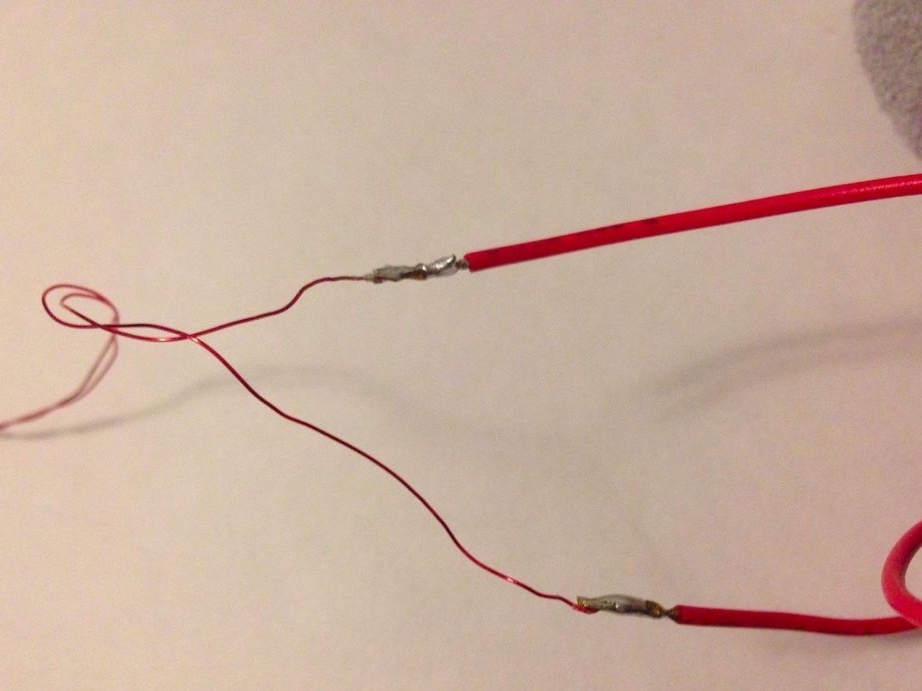
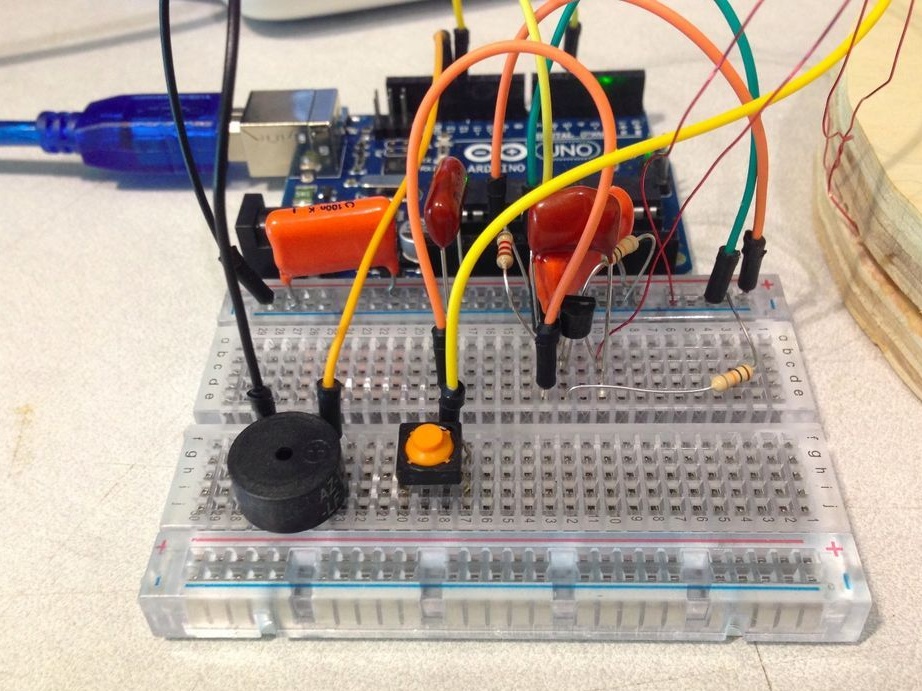
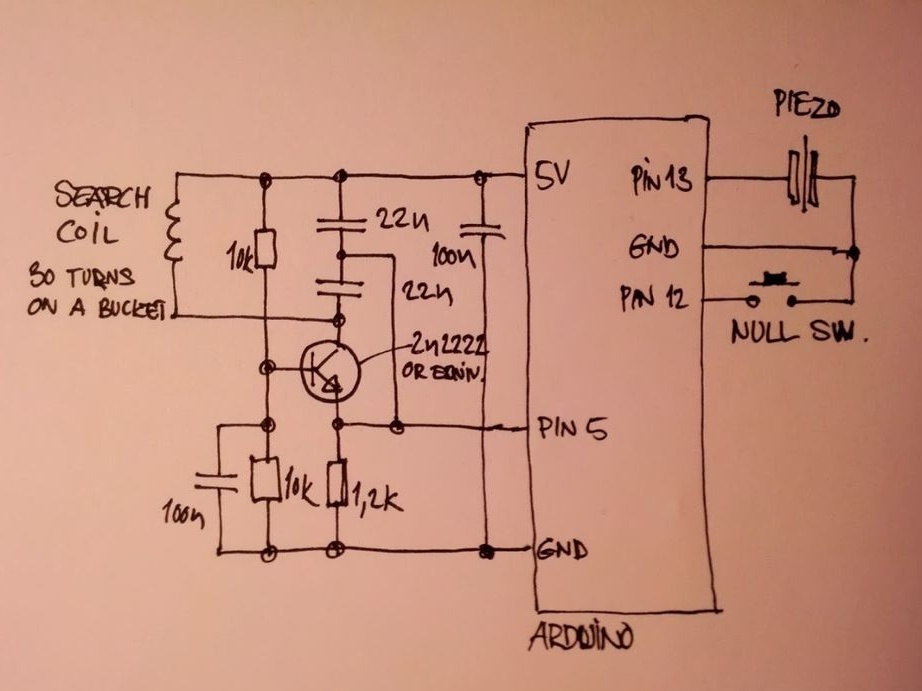
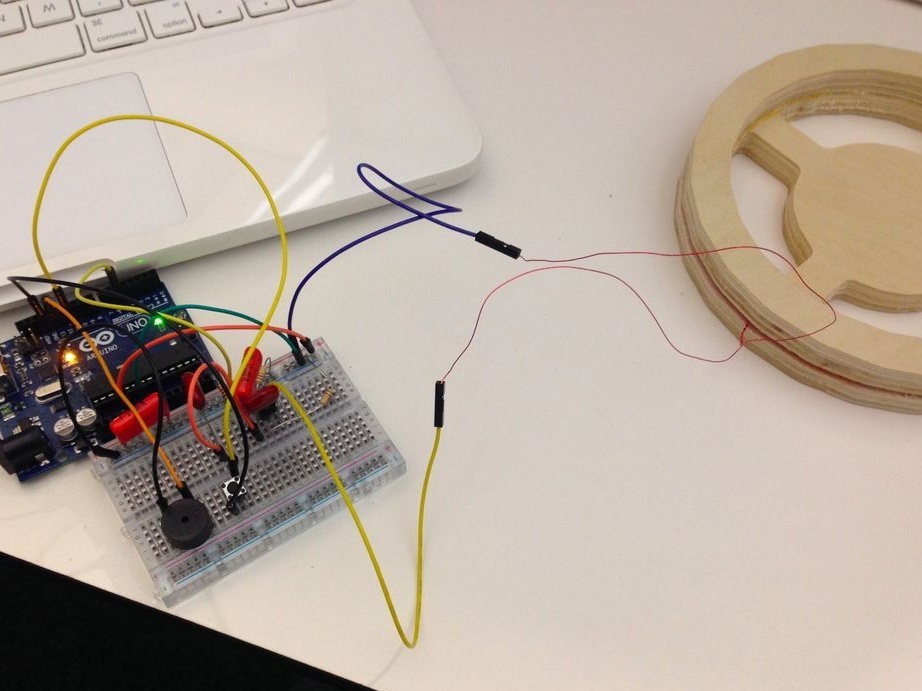
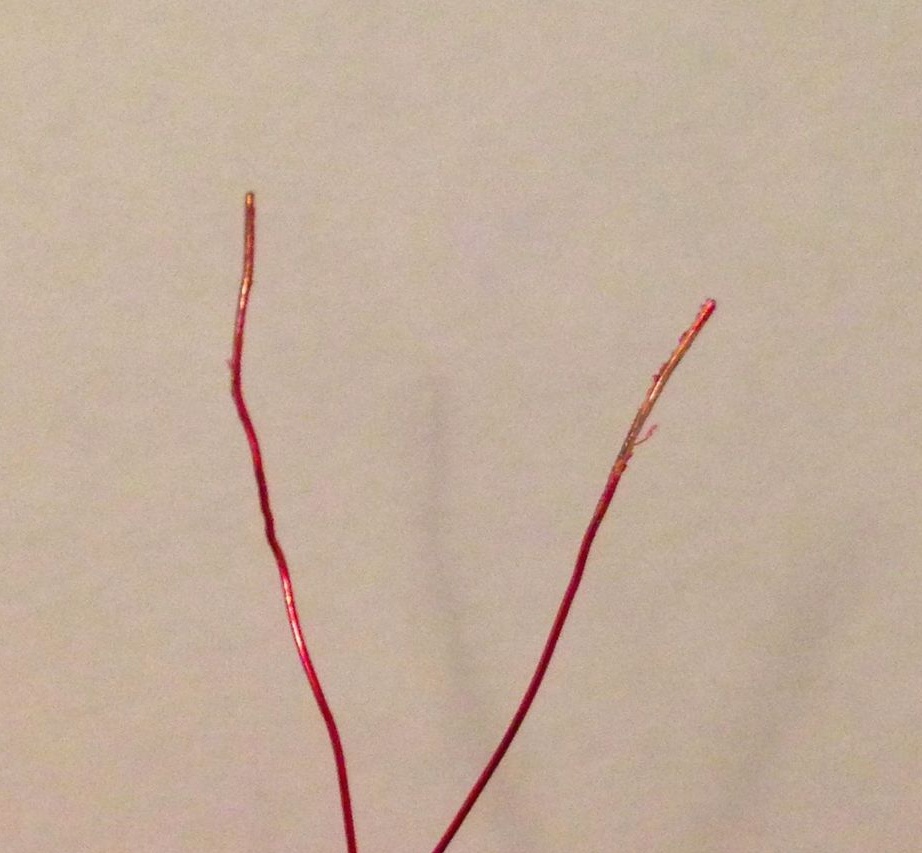
After that, you can connect the coil. Since the wire has a varnish coating, it must be scraped off at the ends with sandpaper or a sharp knife. You need to make good contact. The coil is connected using the "male and female" connectors.After assembling all the elements in the controller, you can download the firmware and check how everything works in practice.
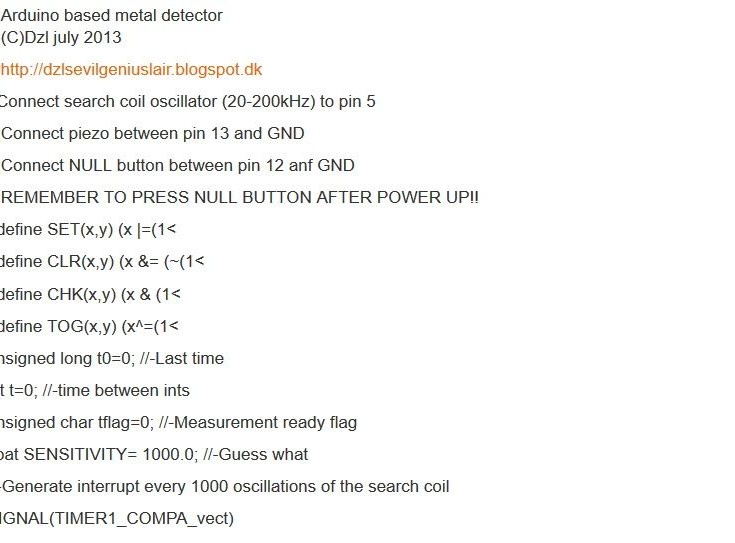
Step Three Installing firmware and checking the system
Next, you need to load the firmware into the controller. You may also need to make some adjustments in the code for the detector to work correctly. Once the code is downloaded, you can begin testing. You need to connect a 9V power supply to the system and turn off the switch. If the metal detector is working, you can begin to solder all the elements on the board.
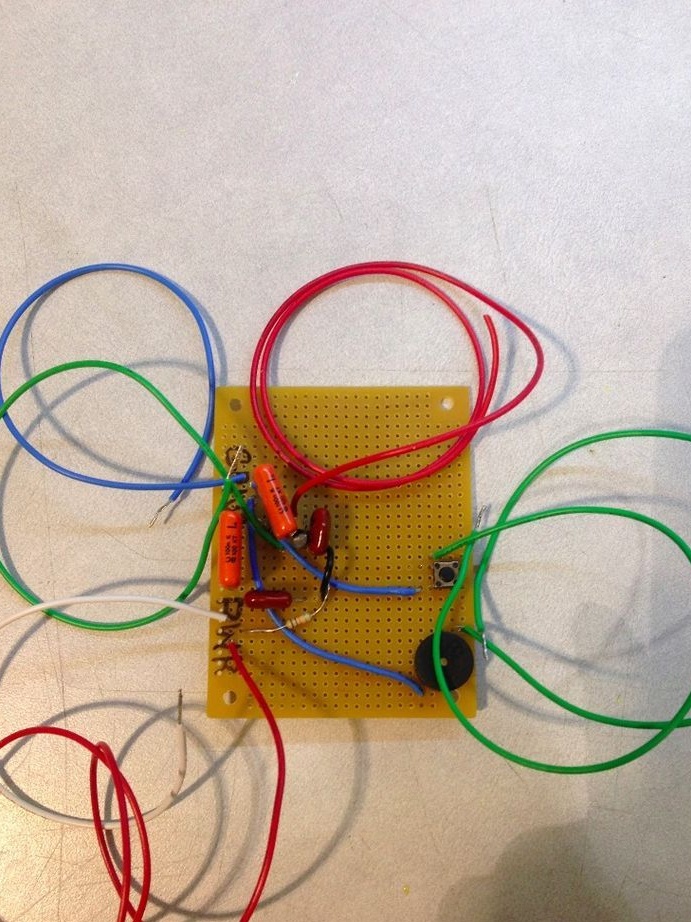
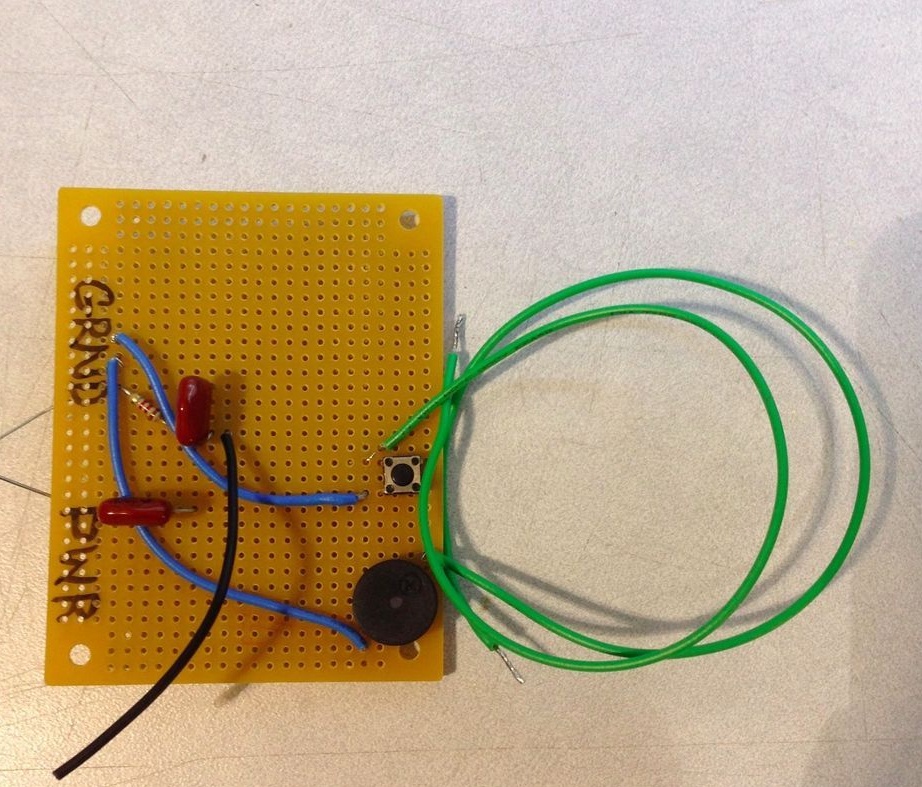
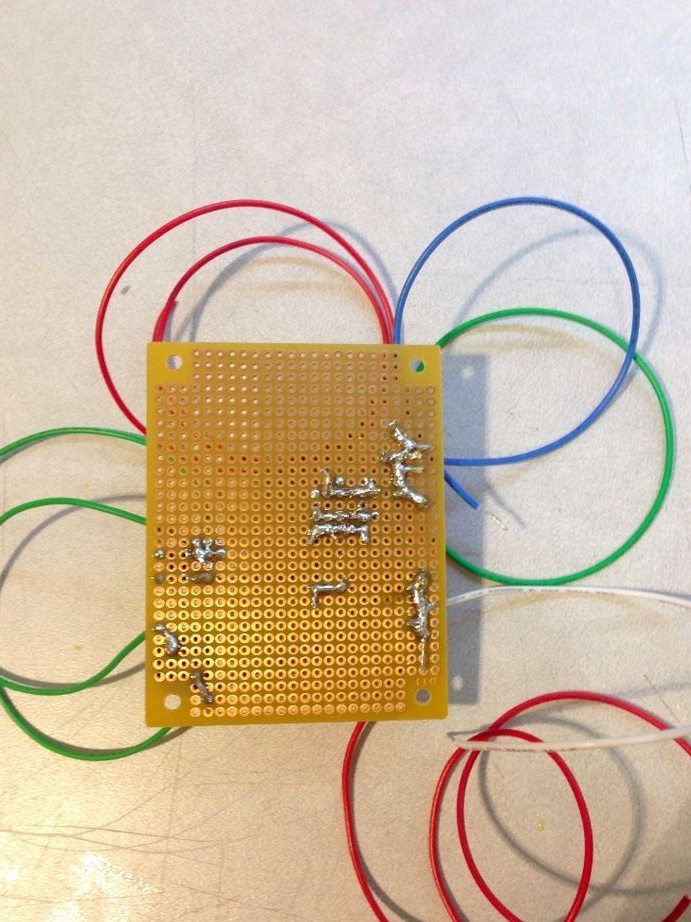
Step Four Soldering circuit
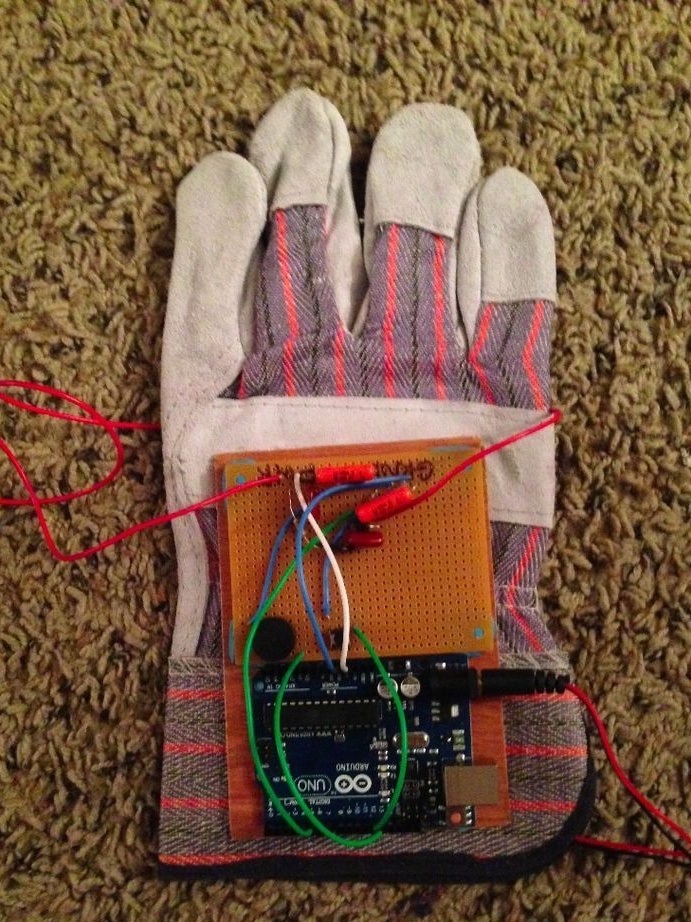
Everything is assembled on a piece of PCB, the contacts are soldered together using pieces of wire. If necessary, you can make a special board for the device by etching. You can see in more detail how the circuit is assembled, see the photo.
Step Five The final stage of assembly
To fix the board, the author uses a piece of plywood. In size, it must be such that it fits the Arduino controller and the printed circuit board. The edges need to be treated with sandpaper to make them smooth. In order to stick the elements to the plywood, you can use double-sided tape. Also glue and any other methods of fastening are suitable.
Now the coil can be painted, the author used gray paint to match the glove. After the paint has dried, the coil is attached to the glove, for this purpose you can use hot glue. After that, you can connect the battery to 9V and enjoy the operation of the device.
As for the power of the device, then through the air the device can quite see objects at a height of about 15 cm, which is not bad for such a simple homemade.