

Regards to you, MNS1961.
I present to you my next homemade product - Micro-fan:

In connection with the onset of the summer period, I had the idea of creating mini-fans for comfortable work in offices and at home.
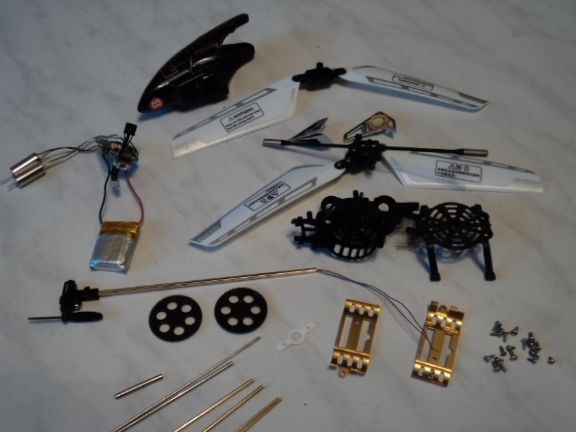
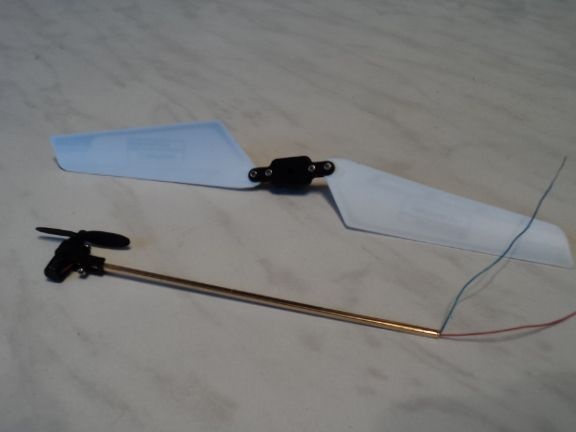
Honestly, this idea came to me after I got from my grandson a malfunctioning small helicopter with a Chinese-made IR remote control under the brand name “Phoenix”. Here is a photo:
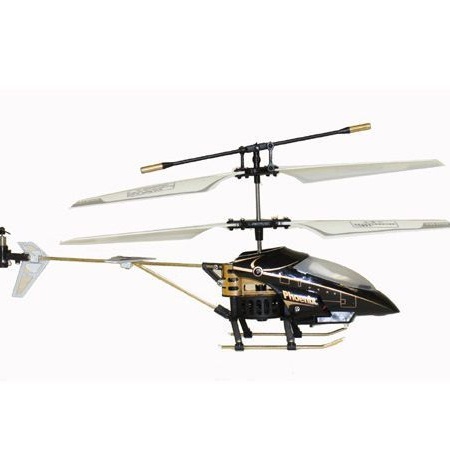
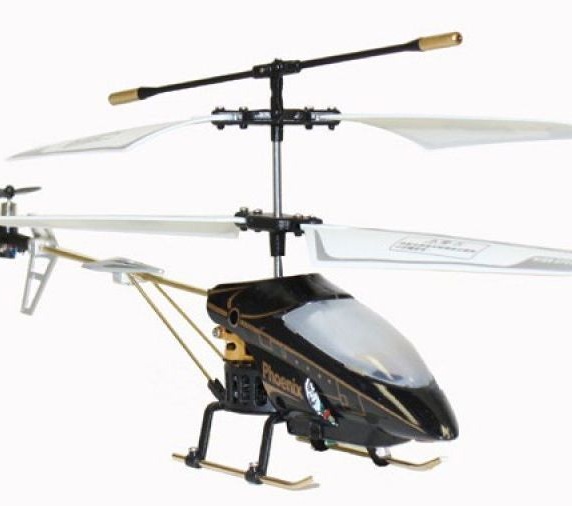
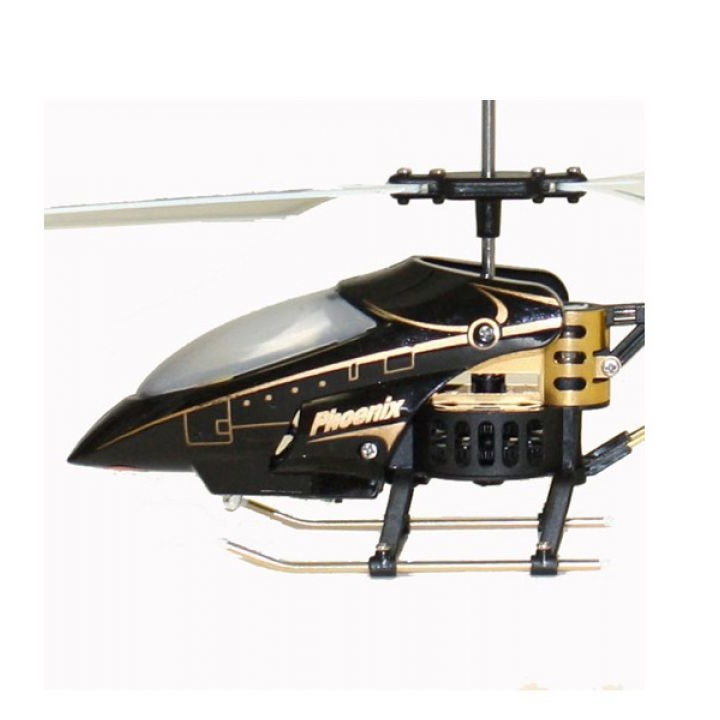
It is so small that it fits in the palm of your hand, but the spread of the main blades is 18 cm (this is important next, because we will use them in the next part of this topic).
The helicopter itself was faulty due to the fact that it did not have driving gears from the engines to the propeller shafts, i.e. with electronics, which can be used in other home-made products, and the main components, everything was in order.
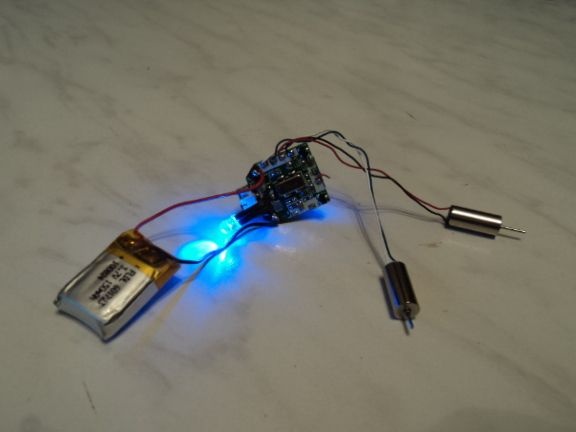
It pleased me, because I decided to use only micromotors and blades of this helicopter.
So:
"Soon the fairy tale is affecting, and bestdiy.washerhouse.com is also soon doing the thing."
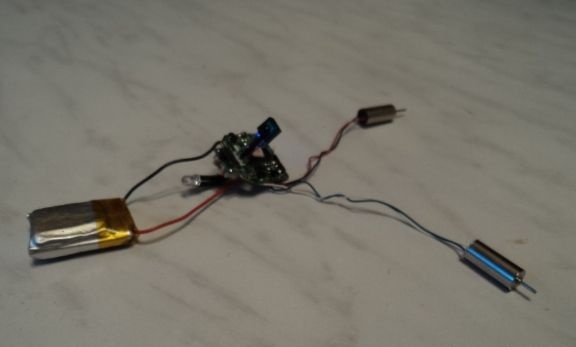
After several minutes spent disassembling our toy, this is what happened:
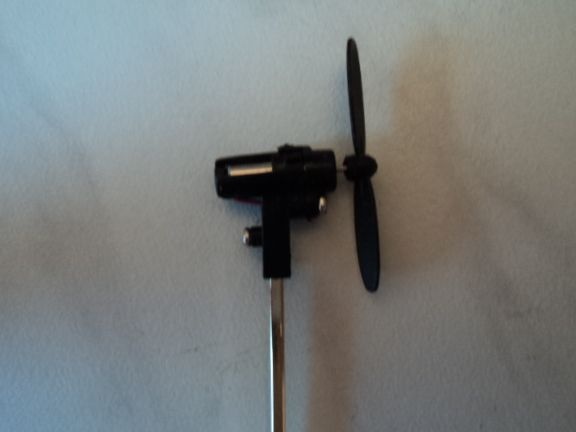
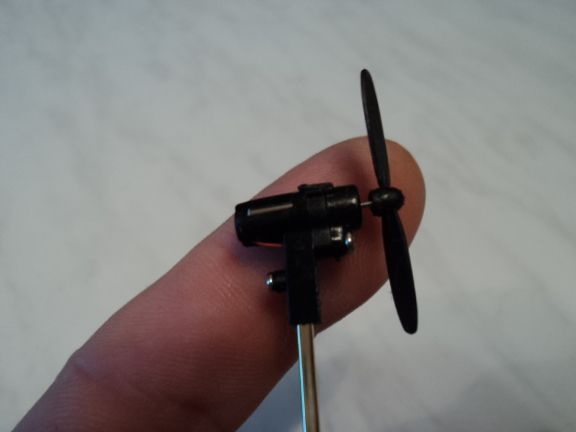
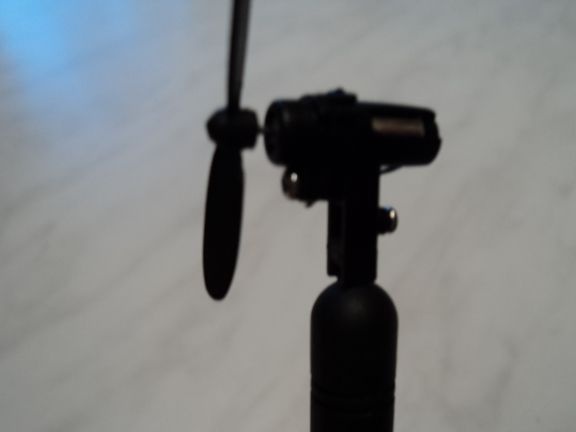
Having disassembled the helicopter into the main components, I realized that the tail boom with a micromotor and a screw (propeller) is a ready-made micro-fan. It is only necessary to fix it (the bar) on a solid foundation, connect the power and put the switch.
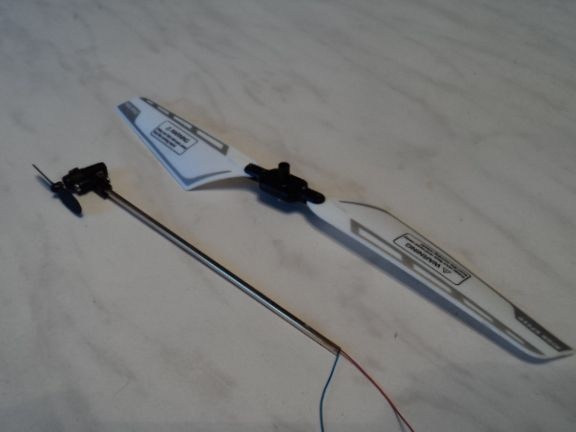
I also drew attention to the main blades of the helicopter, which created the impression that they can become a good propeller for medium-sized home fans.
Here they are:
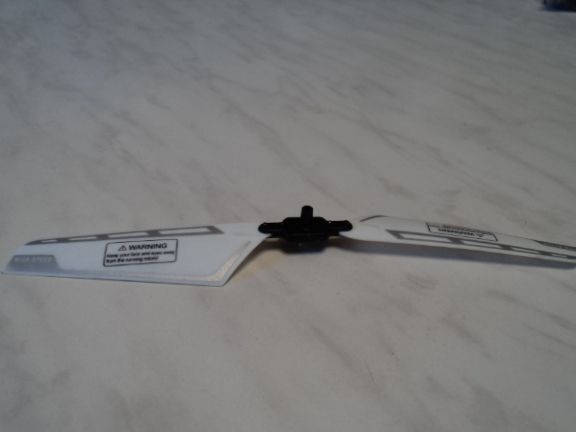
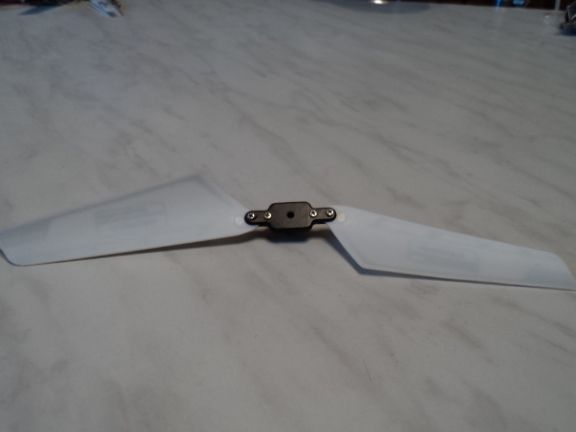
Creating a fan based on this propeller I will describe in the next part of this topic.
So, back to our micro-fan (hereinafter “m-in”):
There was a need to find a small, but beautiful and multi-functional base for our “m-v”, so that it could contain autonomous power supply (batteries or accumulators, at least three volts) and an on and off button.
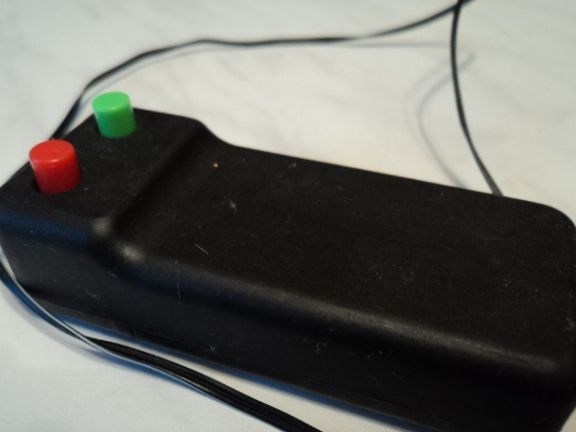
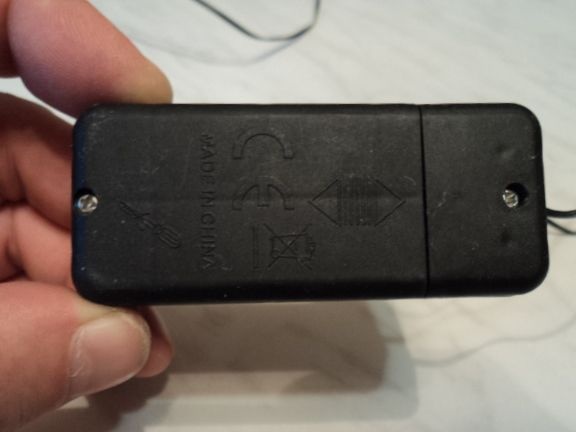
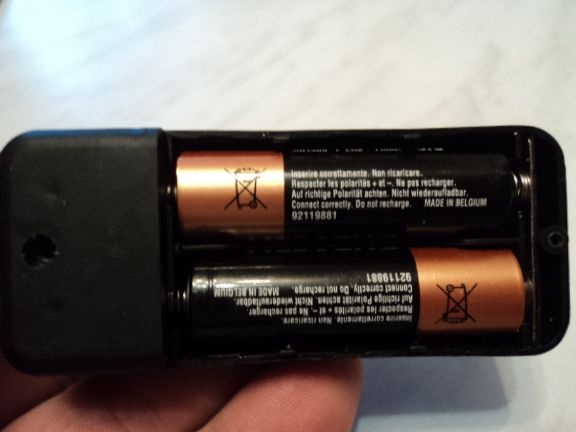
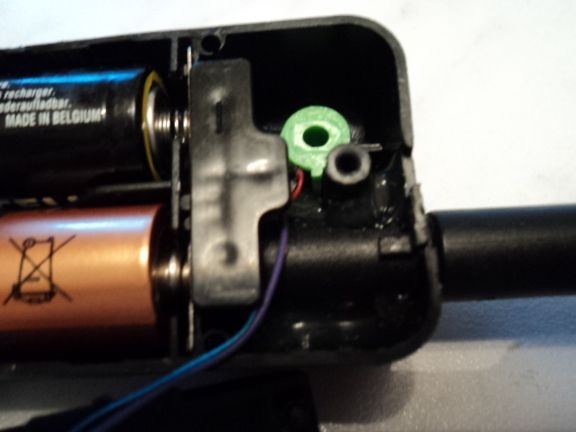
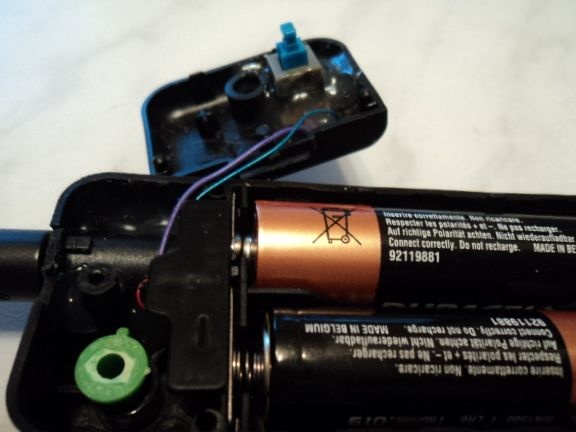
After a brief search for my “bins”, I decided to use as a base a remote control from an old children's toy car with remote (on wires) control, which had long been thrown away, and I, just like any master, left the remote control just in case (here he came in handy for me). It looks like this:
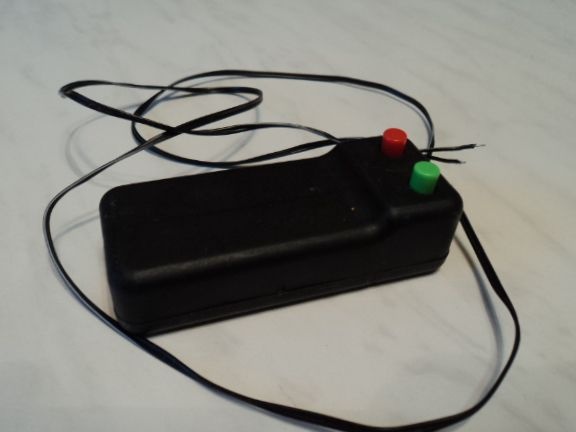
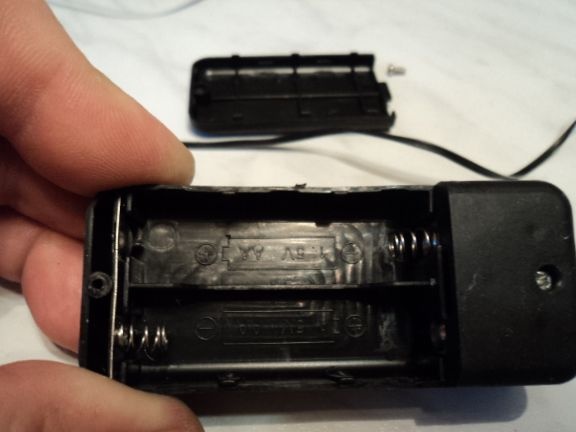
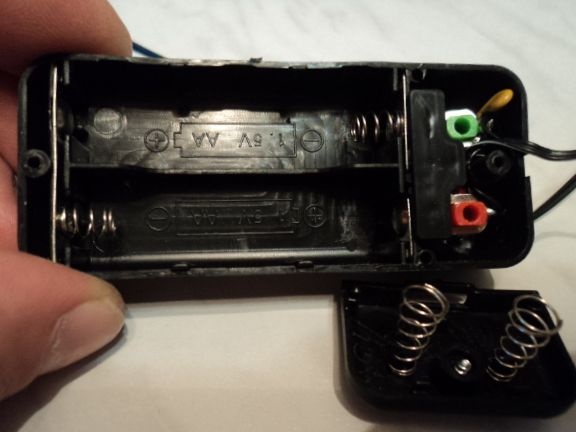
As you understand from the photos of my base-remote, two “finger” batteries are inserted into it, which we will use to power our “m-v” (I think these two batteries will last for more than six months a daily 3-hour work).
Further, it is necessary to securely fix our rod with a micromotor and screw (propeller) on the base-console. It would seem much easier, but I, like any master with unbridled imagination, had an idea so that it (the bar) could change its position relative to the base.
My attention was drawn to the wi-fi router, which was given to me for spare parts, because it didn’t work.
There he is:
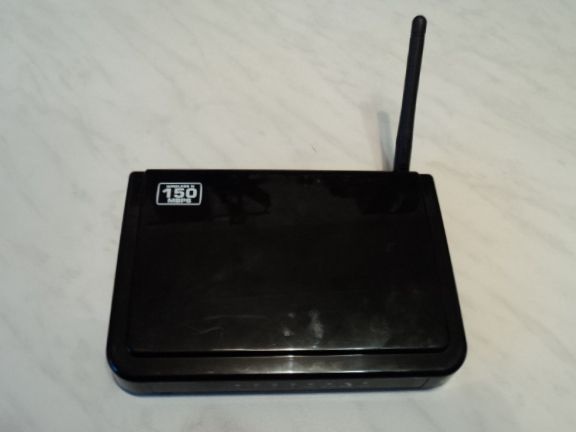
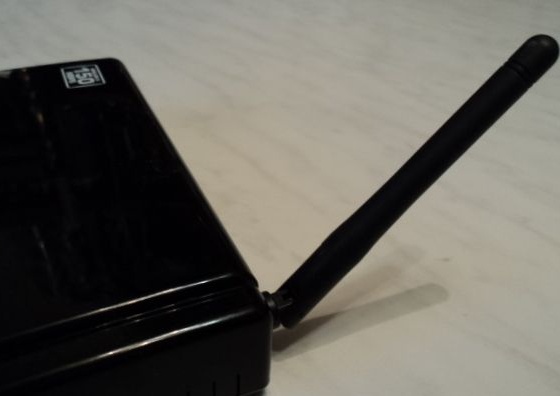
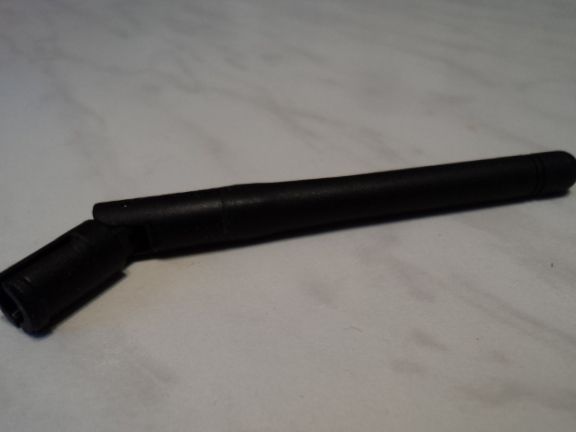
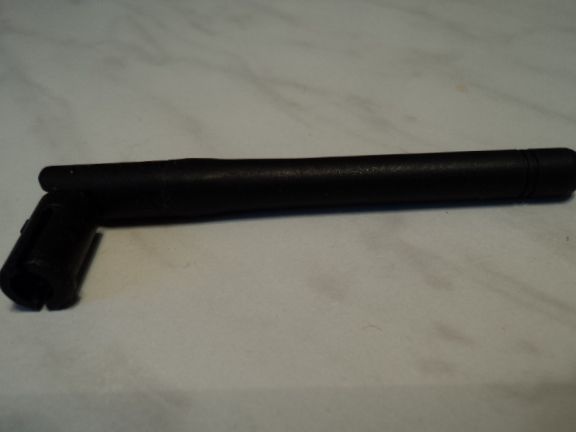
For this homemade product, I took an antenna from it, which is made of durable black plastic (to match the color of my base), and has three main positions fixed relative to the base - 90 °, 120 ° and 180 °, I was satisfied with these data.
I will also use the case, but more on that later.
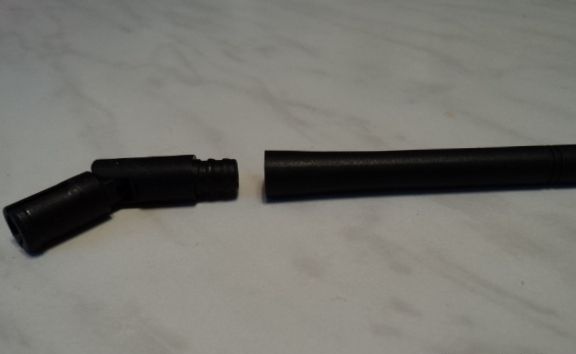
Having removed this antenna, I was convinced that it suits my homemade work as well as possible - it is collapsible, hollow inside and through it (despite the fact that it changes its position due to the hinge), you can stick the wires from my micromotor.
Here is her photo:
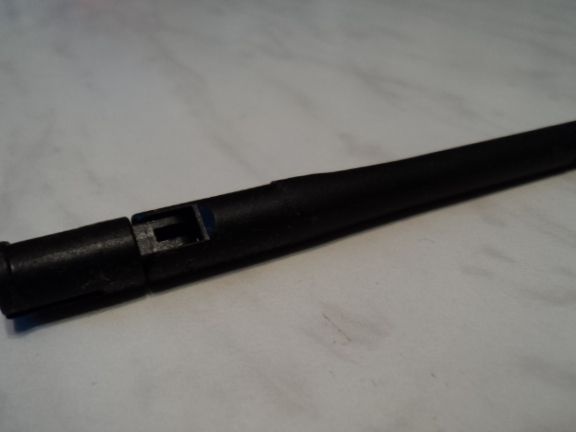
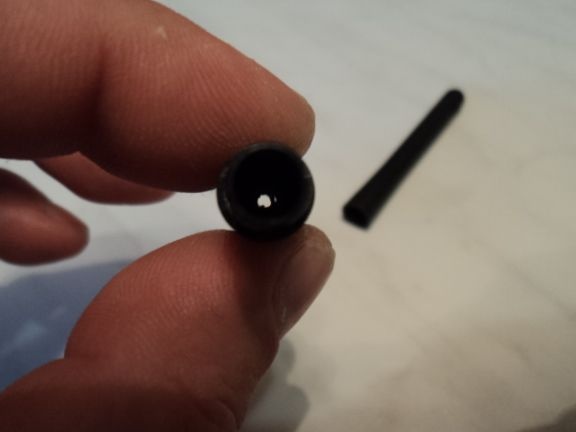
Having drilled a 2.2 mm hole in the upper part of the antenna, I inserted a rod with a micromotor (it is a square aluminum profile 1.5x1.5 mm), put in the micromotor power wires and filled it with glue.
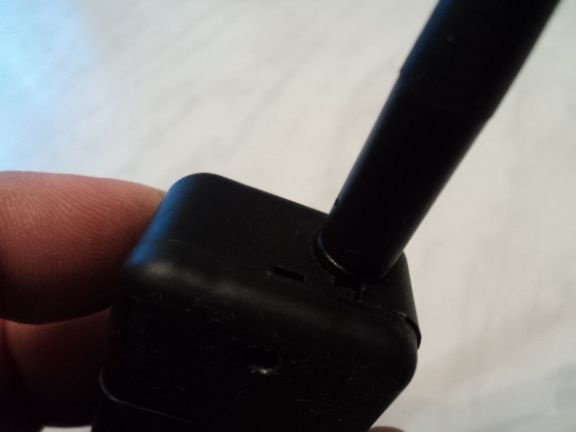
To fix our antenna with a micromotor and a propeller again, I drilled a hole in its end face with a diameter of 9 mm, inserted it (antenna) into this hole, carefully pulled out the wires for further connection with the power on and off button, and fixed it with silicone glue using glue the gun.
Like this:

Now it remains only to put the power on / off button and solder the wiring to the batteries and micromotor.
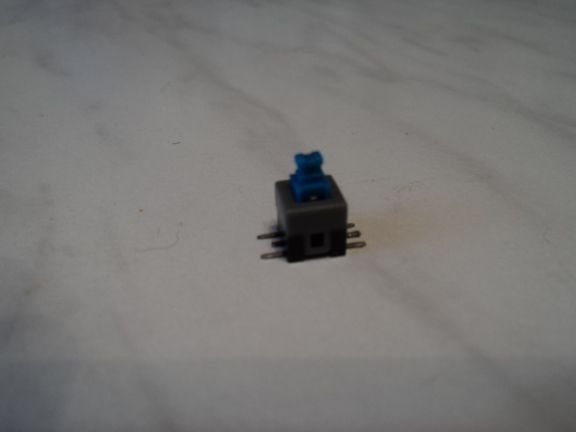
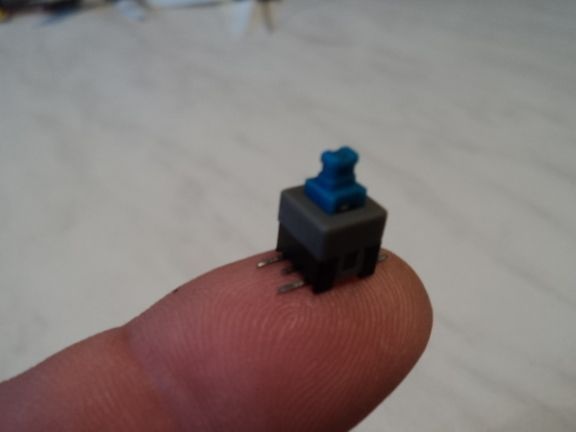
To turn the power of our “m-v” on and off, I took a mini-switch with a latch, which I recently received by mail from at a price of 47 rubles for 10 pieces (in general, for that !!!).
Here
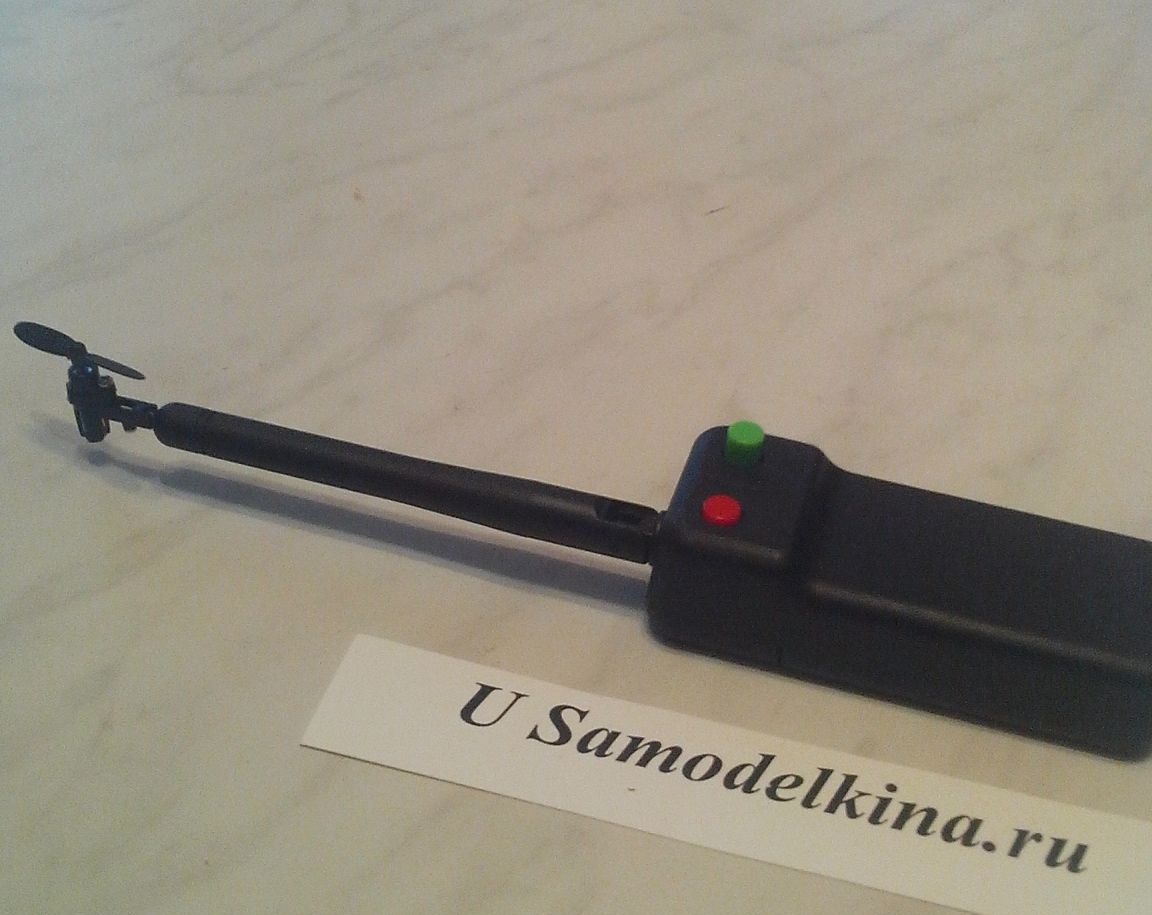
In size, this mini-switch ideally suited the green button already in my base, and I cut the red button to make room for the antenna with a fan and glued it with silicone glue so that there was no empty hole, i.e. it is not used.
That's it.
Next, I soldered the wires from the micromotor to the switch and the batteries, inserted the batteries into the compartment, closed and secured the covers and ...
DONE:
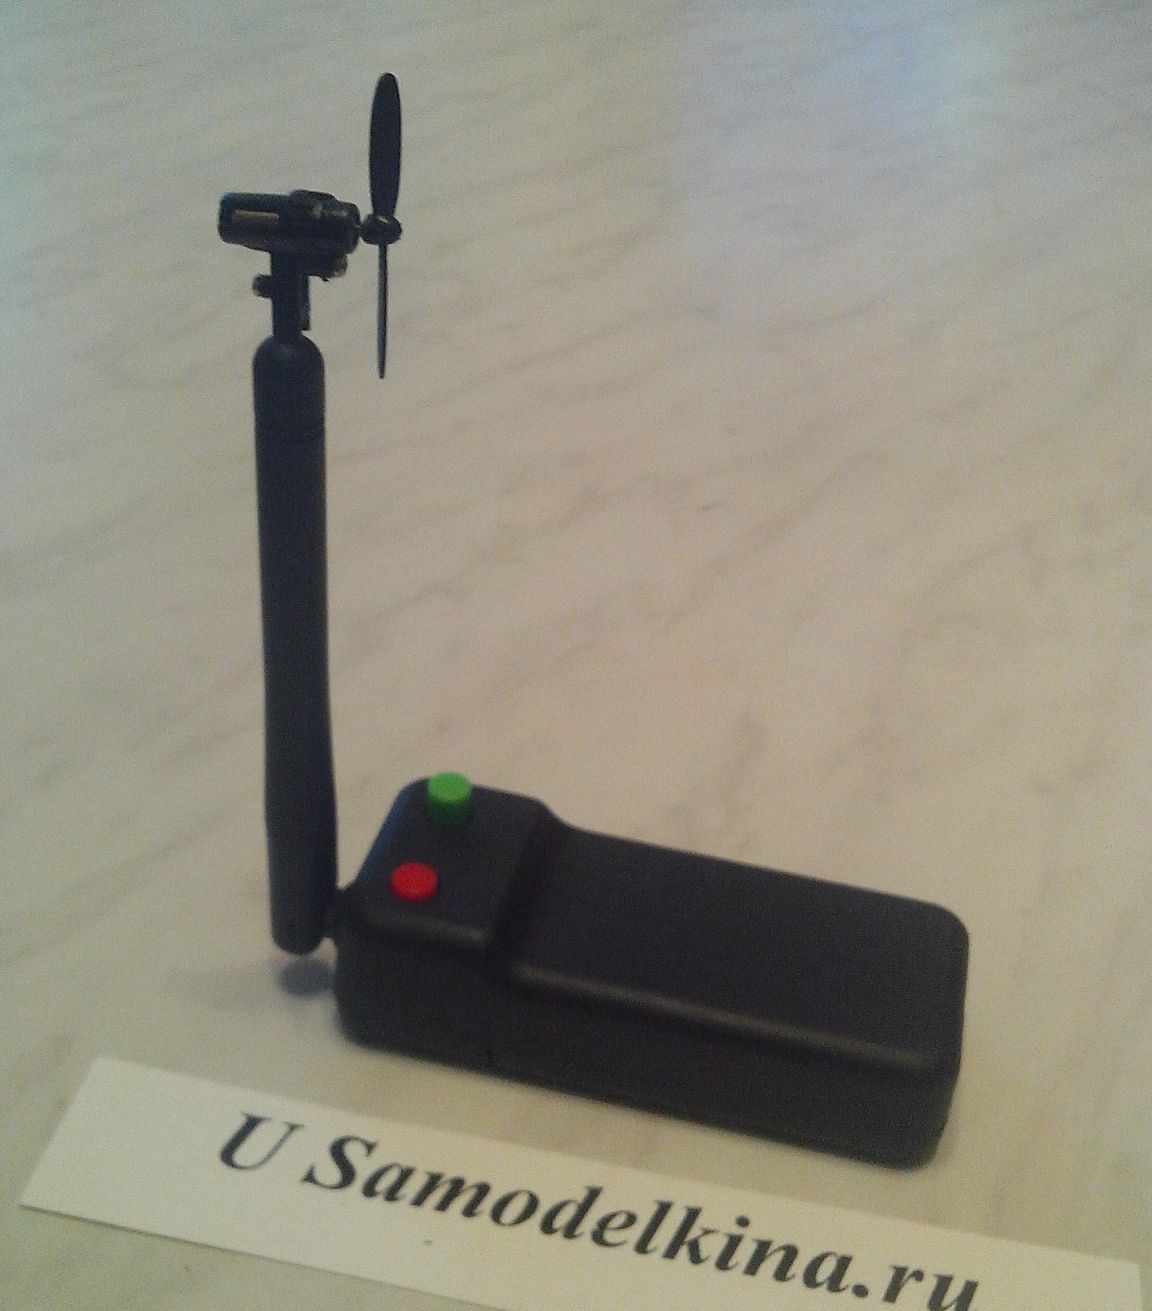
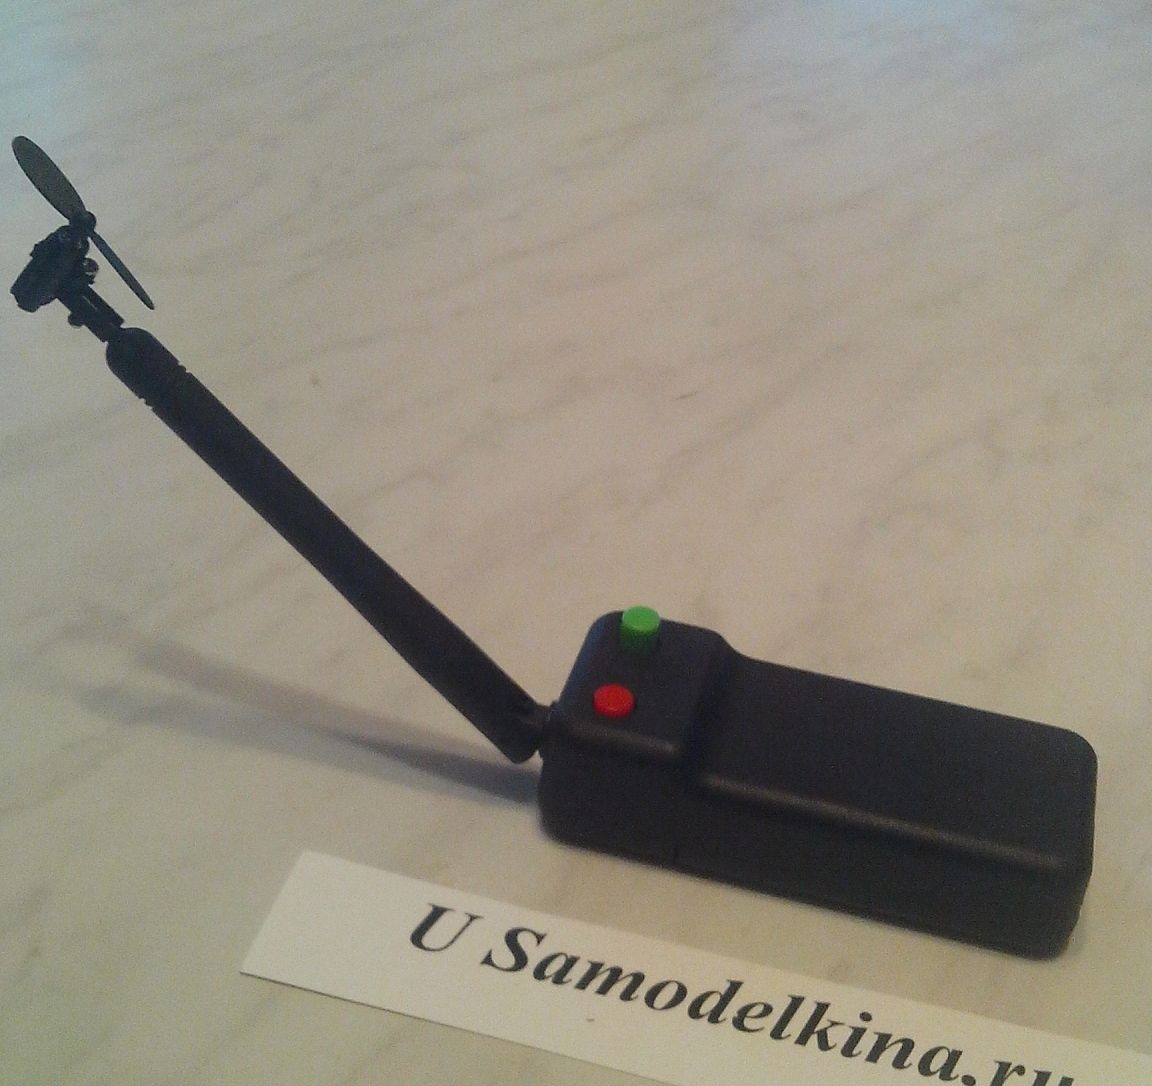
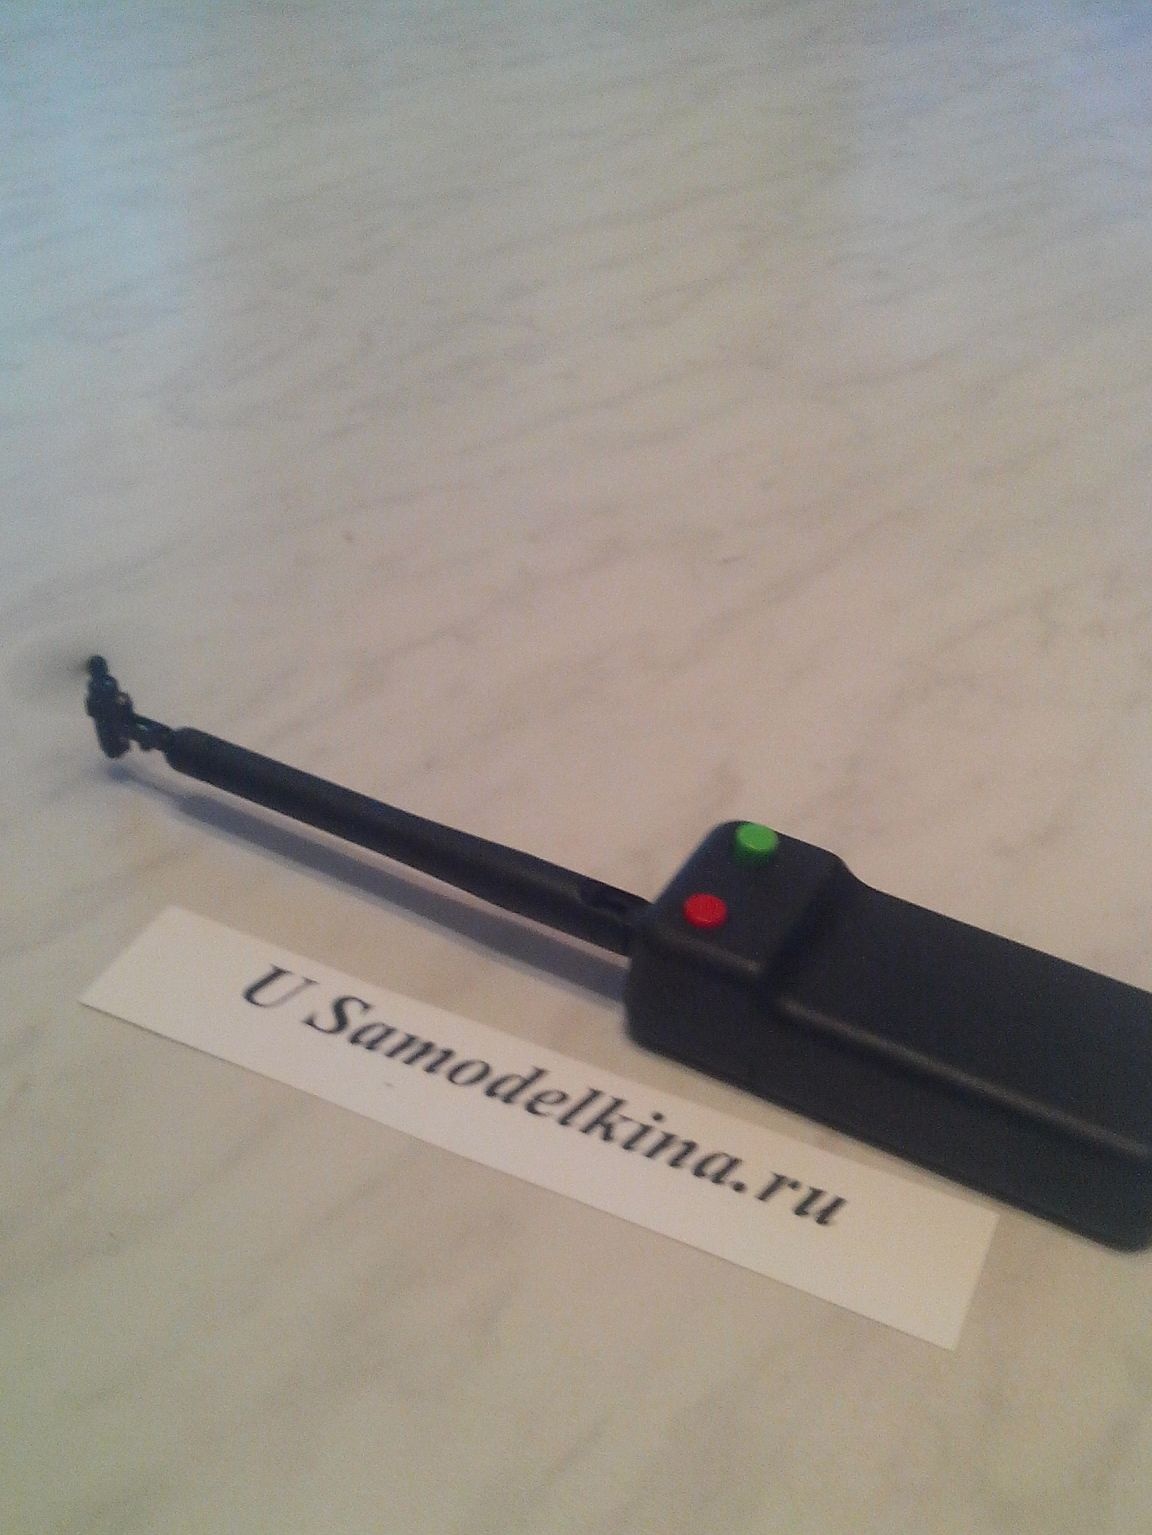
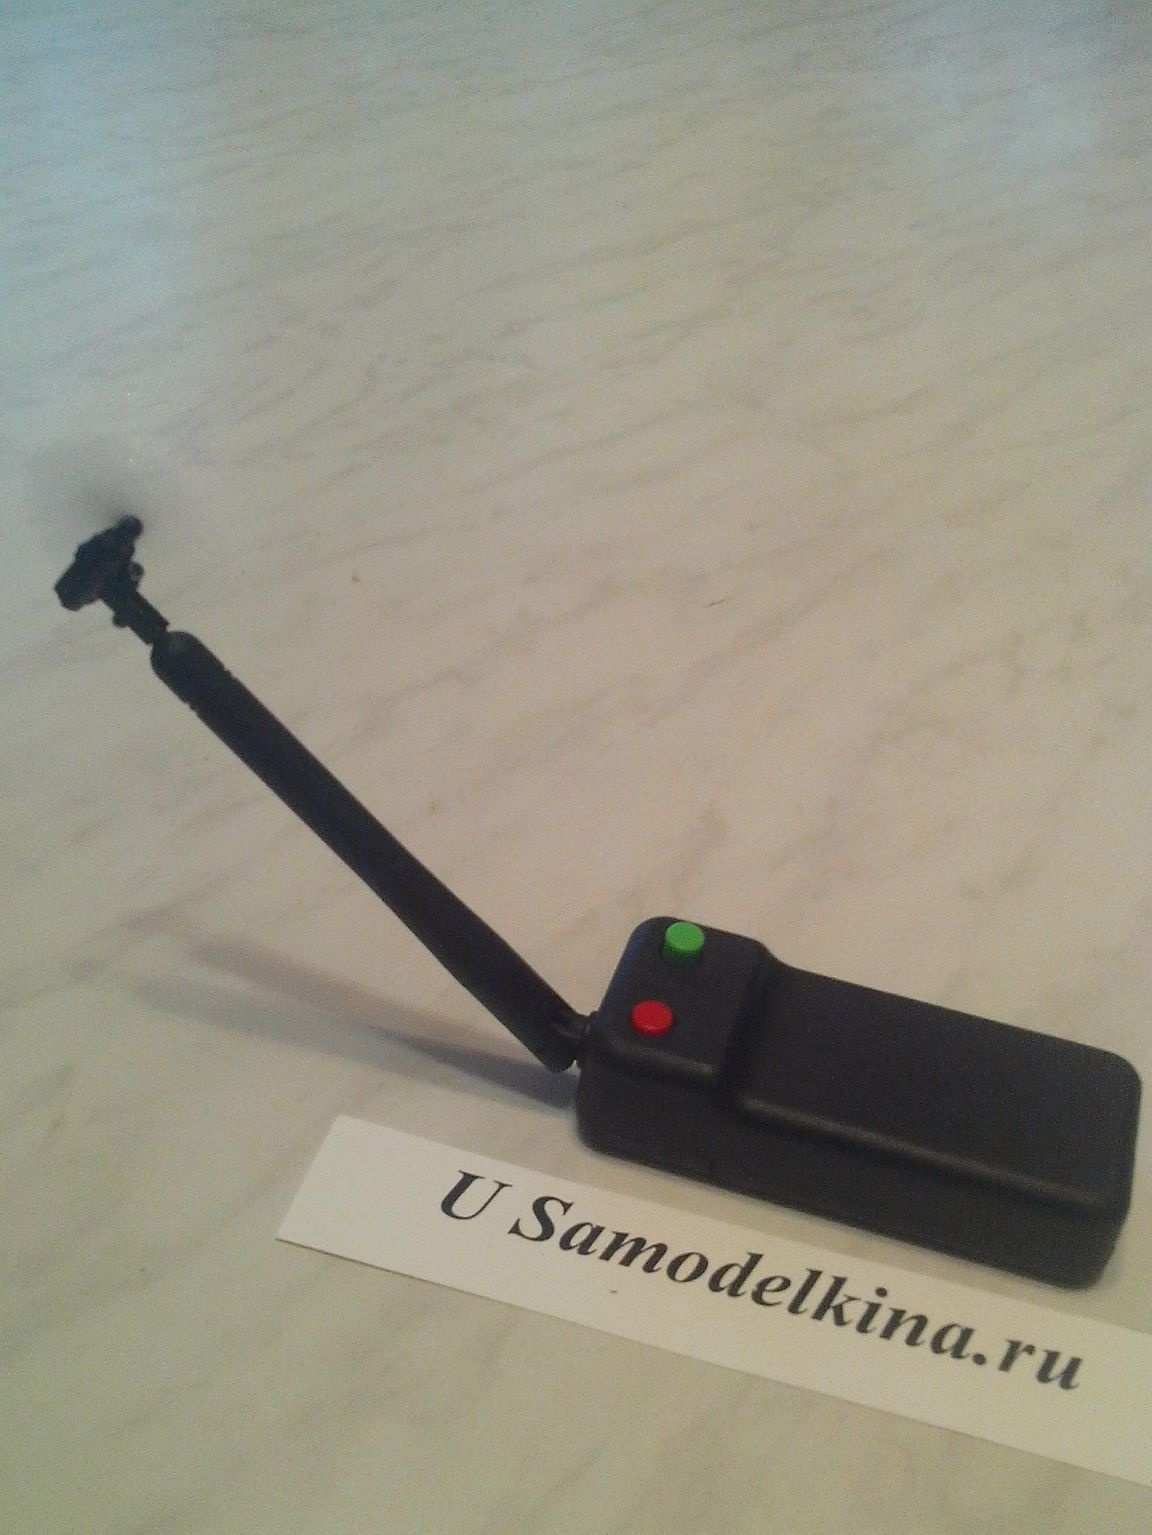
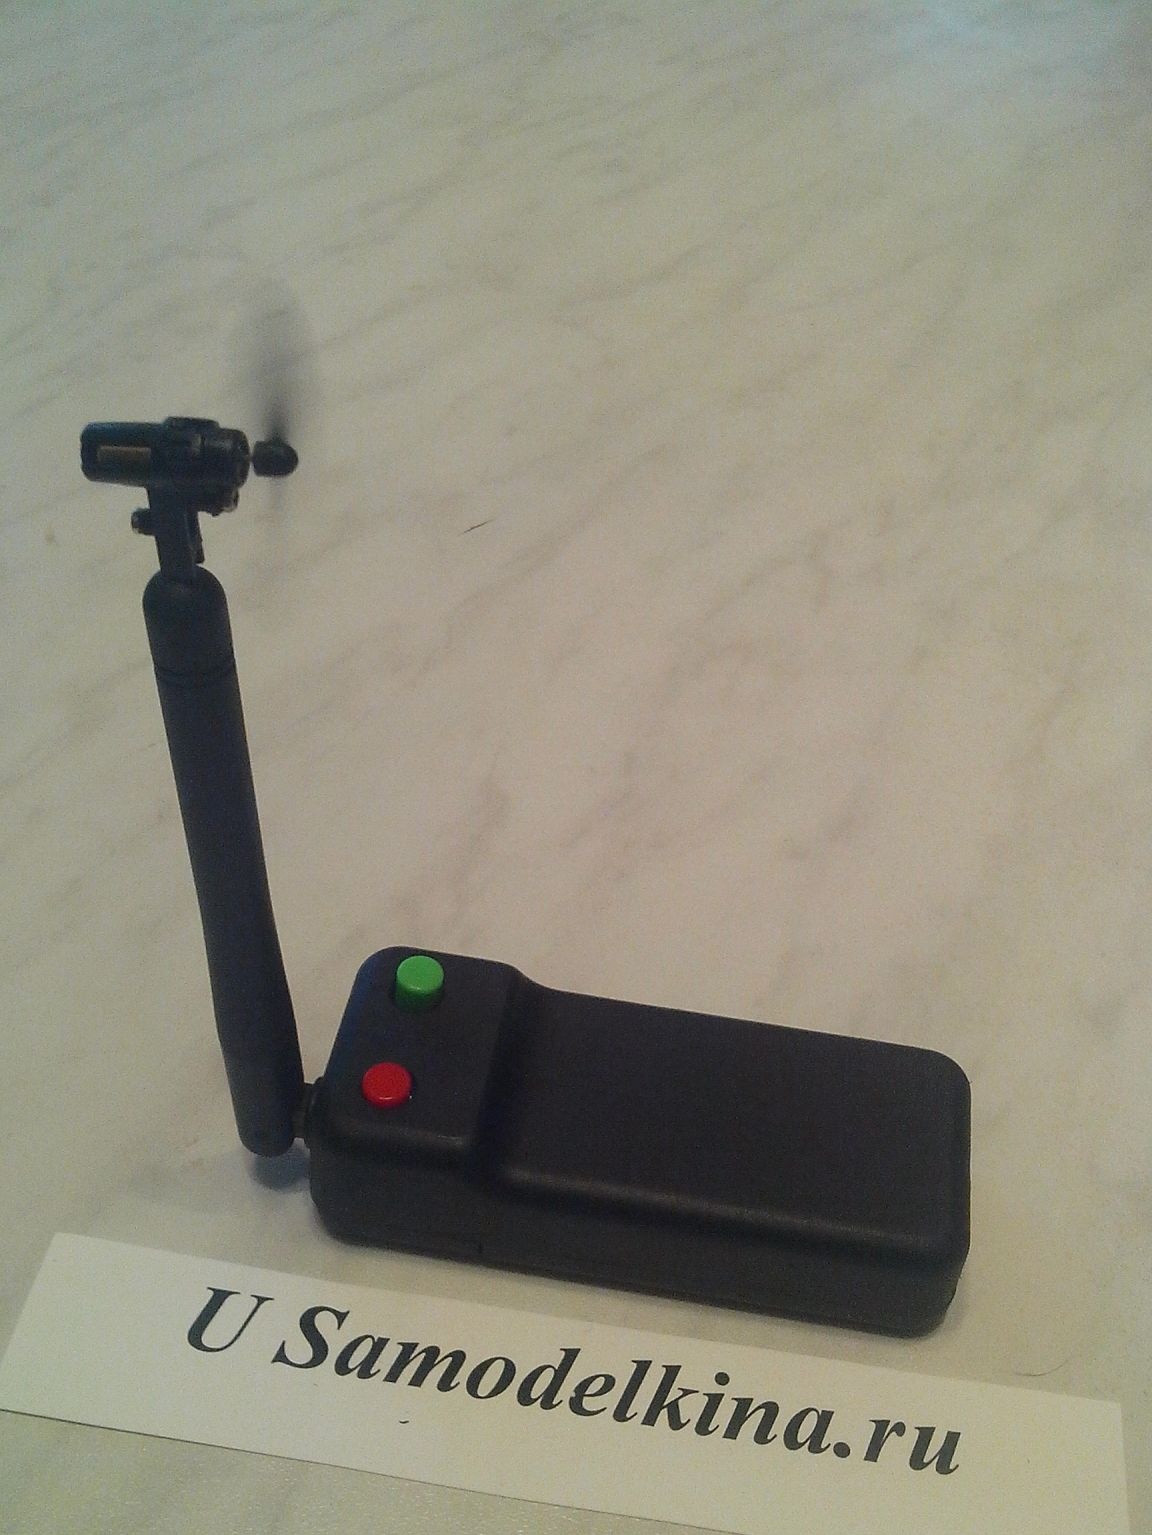
It turned out very beautifully (at first glance you can’t even say that it’s homemade) and is workable. Honestly, I am very pleased.
The air flow from my “m-in” is not strong, but even from half a meter there is a pleasant coolness.
In the second part of this topic I will describe how I used the main blades of a helicopter to make an already more powerful fan.
Thank you all, good luck and new ideas for homemade products.
Regards, Michael - MNS1961.