

Regards to you, MNS1961.
In his homemade product from June 2, 2016 - “Micro-fan from a helicopter toy"I described the manufacture of a micro-fan from a disassembled small Chinese helicopter manufactured under the Phoenix brand, and promised to return to this topic to use the main blades of the helicopter, which created the impression that they can become a good propeller for medium-sized home fans - let's call it mini fan.
The fact that I never saw domestic (and not only domestic, but no) fans with movable propeller blades prompted me to create this homemade product.
As a curious master, I asked myself the question: “Why not try?”
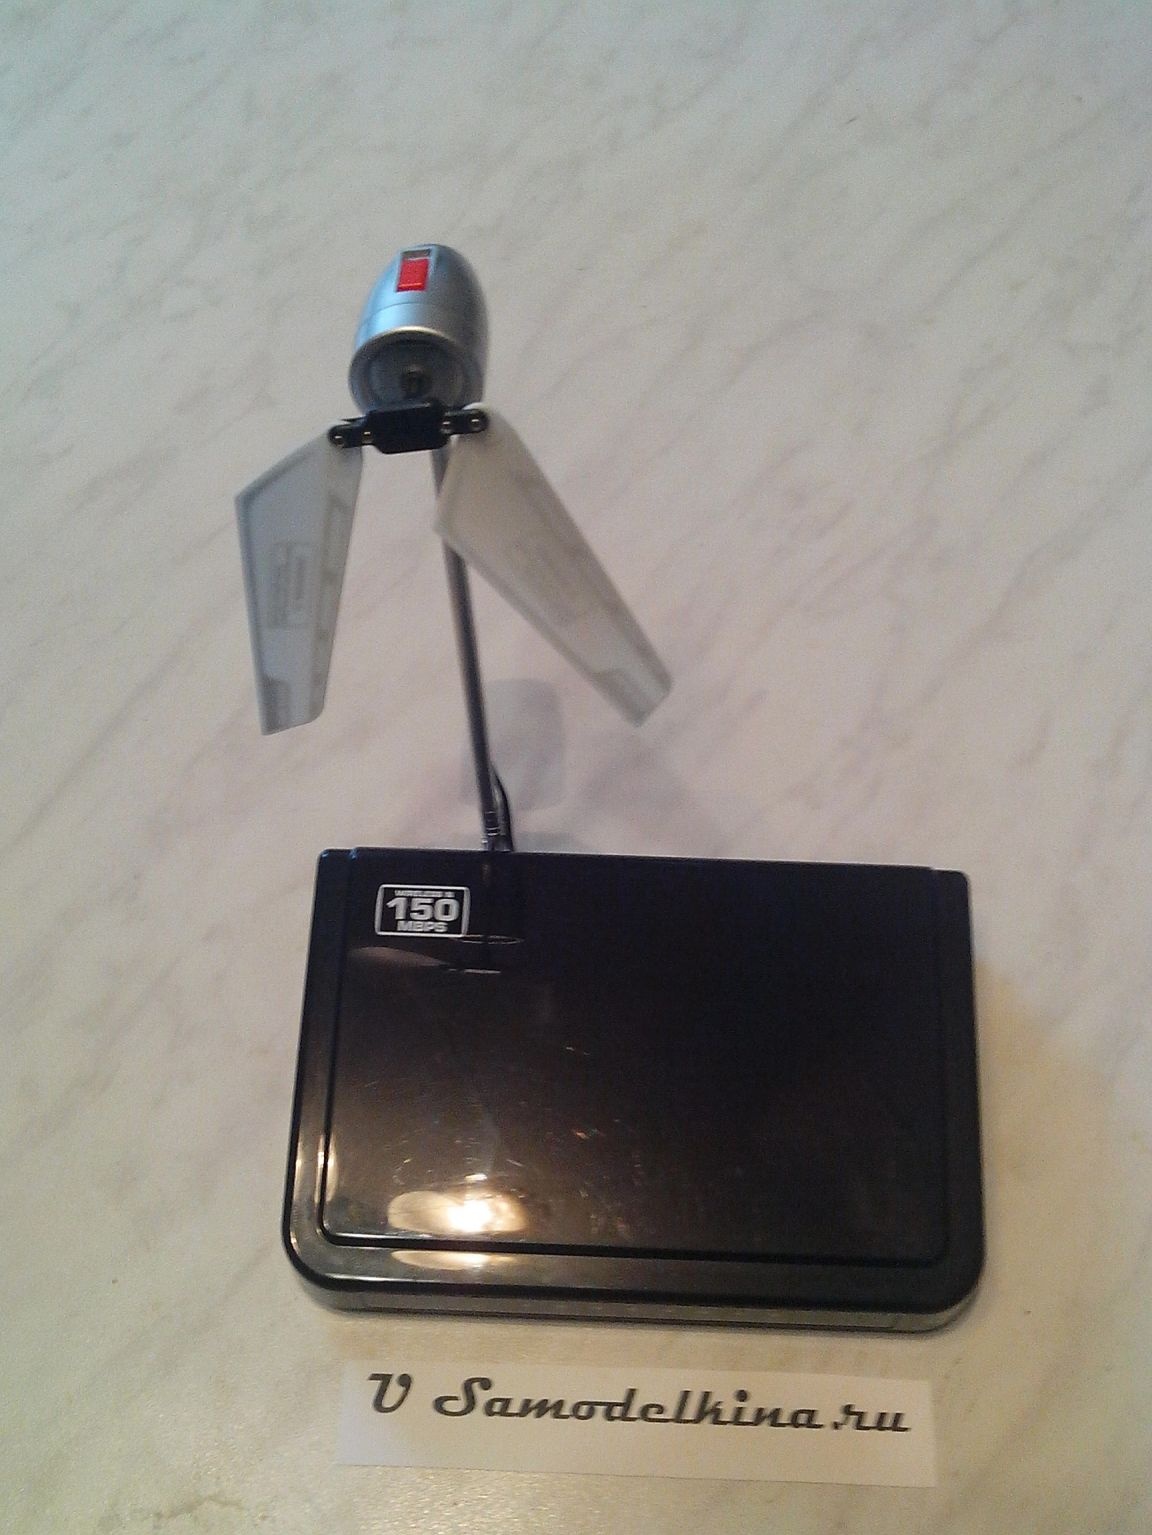
As a result, here is what happened:
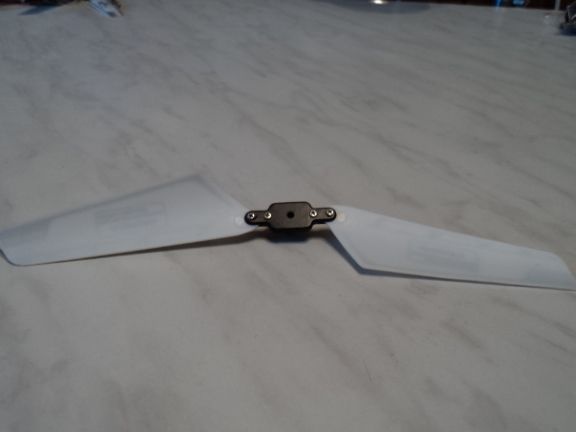
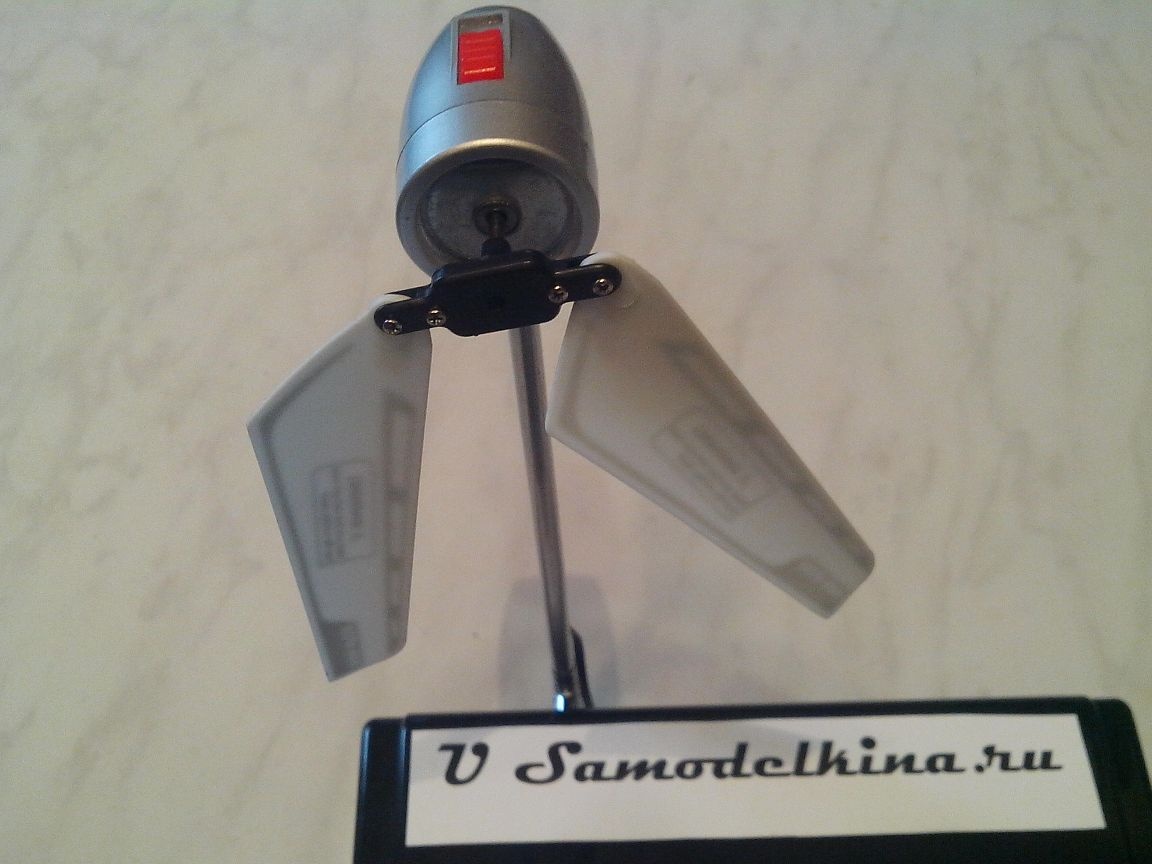
The propeller with moving blades, which I used in my mini-fan, after disassembling the helicopter, looked like this:
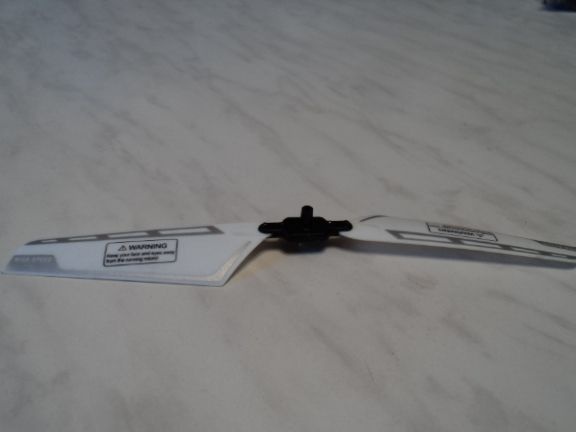
It was this propeller, and them in the design of the helicopter 2 (the upper one with a gyroscope, the lower one without - I used the lower one), was mounted on an axis with a diameter of 1.5 mm, which I did not really like, because to find a high-speed electric motor with a shaft of 1.5 mm in my stocks was not realistic, but I didn’t want to buy something, and it’s stupid to lose time, if you can come up with a replacement.
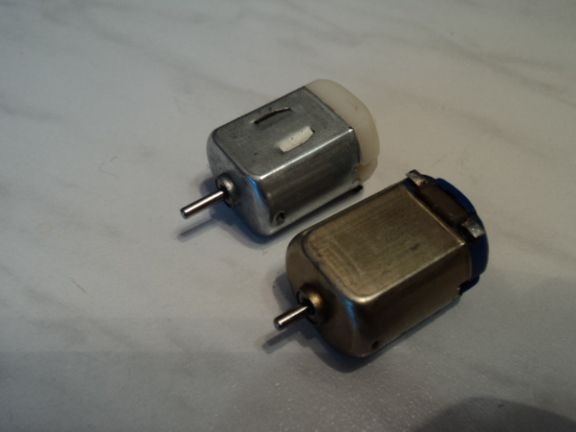
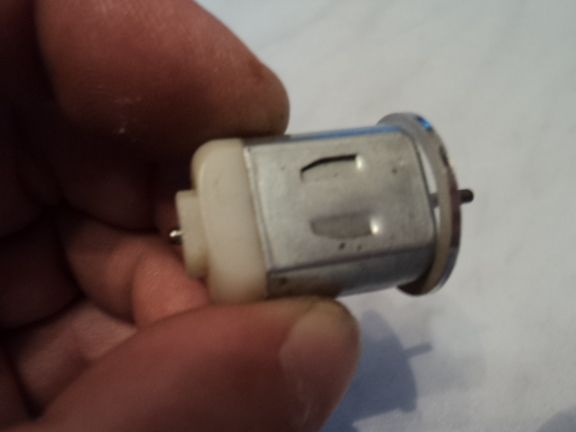
So, rummaging in my reserves, I found a suitable electric motor with 3V power and quite high-speed. Such were used and are used in cheap children's toys, where there are simple motion drives (cars, cranes, robots etc.), and since they are very high-speed, they are always used with gearboxes.
Here is one:
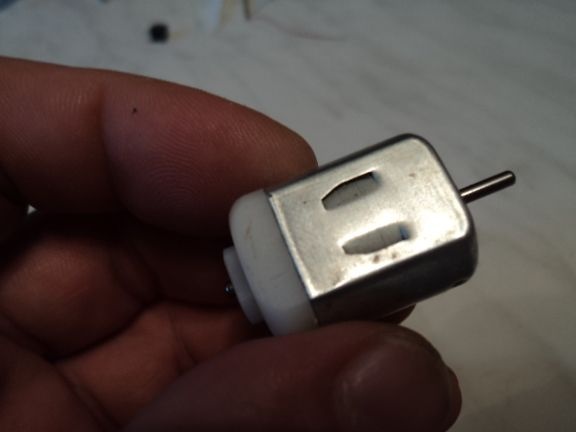
By the way, on AliExpress such an electric motor costs 45 rubles. 80 kopecks., (In general, a fig is not worth it).
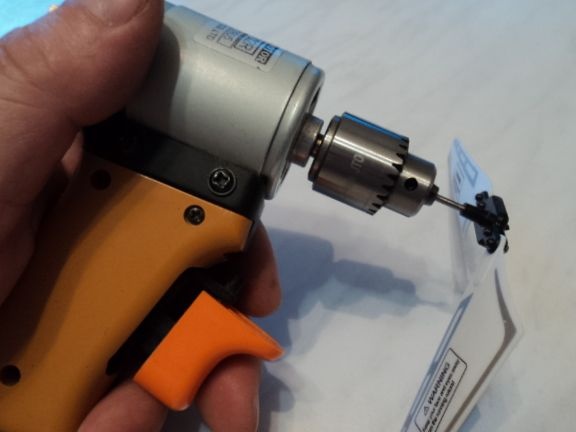
True, the shaft diameter is 2.0 mm, but for me this is not a problem. Using my mini drill described on this site in my article “Mini Drill - Crocodile”I carefully drilled the landing hole of the propeller used with a 2.0 mm drill, and everything was“ ok ”, the propeller“ sat ”on the electric motor shaft, as if it had been poured in.
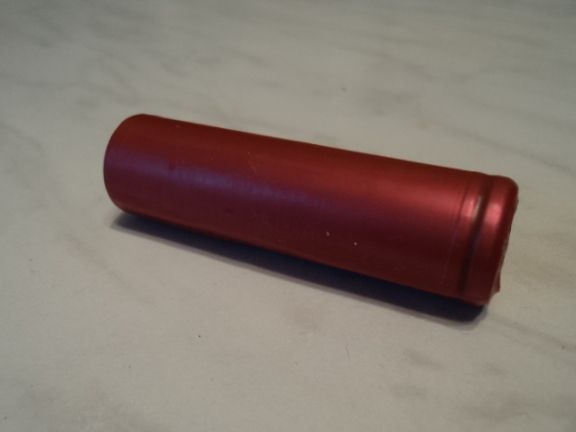
I also want to say that using such an electric motor I was very seduced by low-voltage power, which made it possible to use 3.7V Li-ion batteries, which are distinguished by their reliability and durability (they are used in rechargeable batteries to power laptops, netbooks, LED flashlights, etc. .).
That's where I bought these batteries.
Not cheap, of course, but I assure you, it's worth it. These batteries are the highest quality and most reliable of all that I bought. I used it to power my mini-fan.
Next, I decided to put my electric motor in a suitable and beautiful, important case, to solve the problem of aesthetics and its attachment to the bar of the future mini-fan.
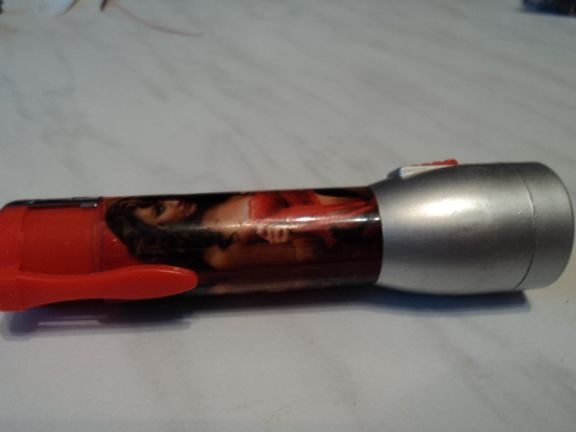
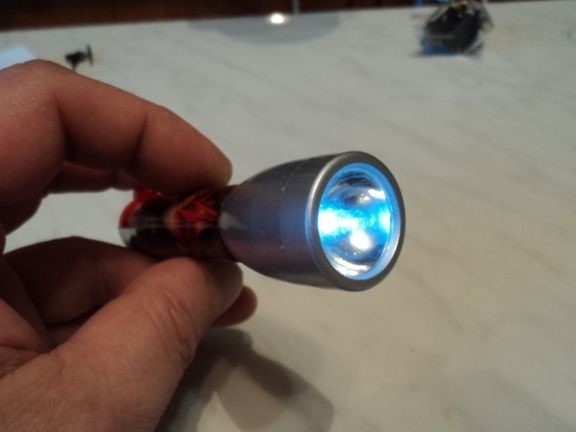
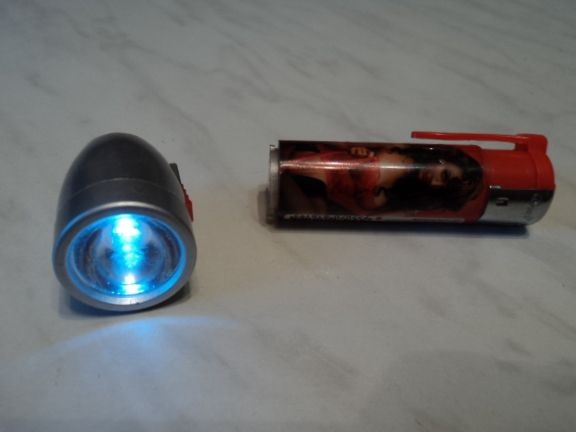
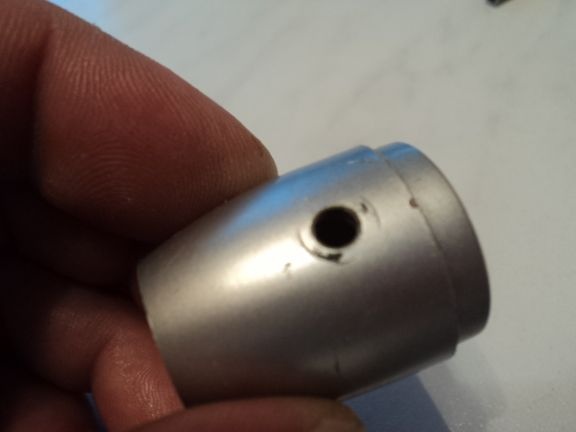
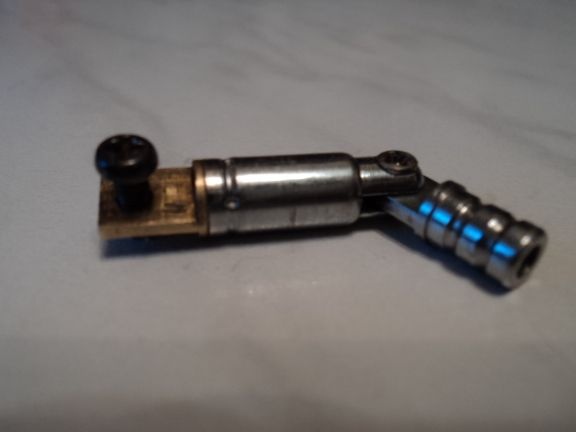
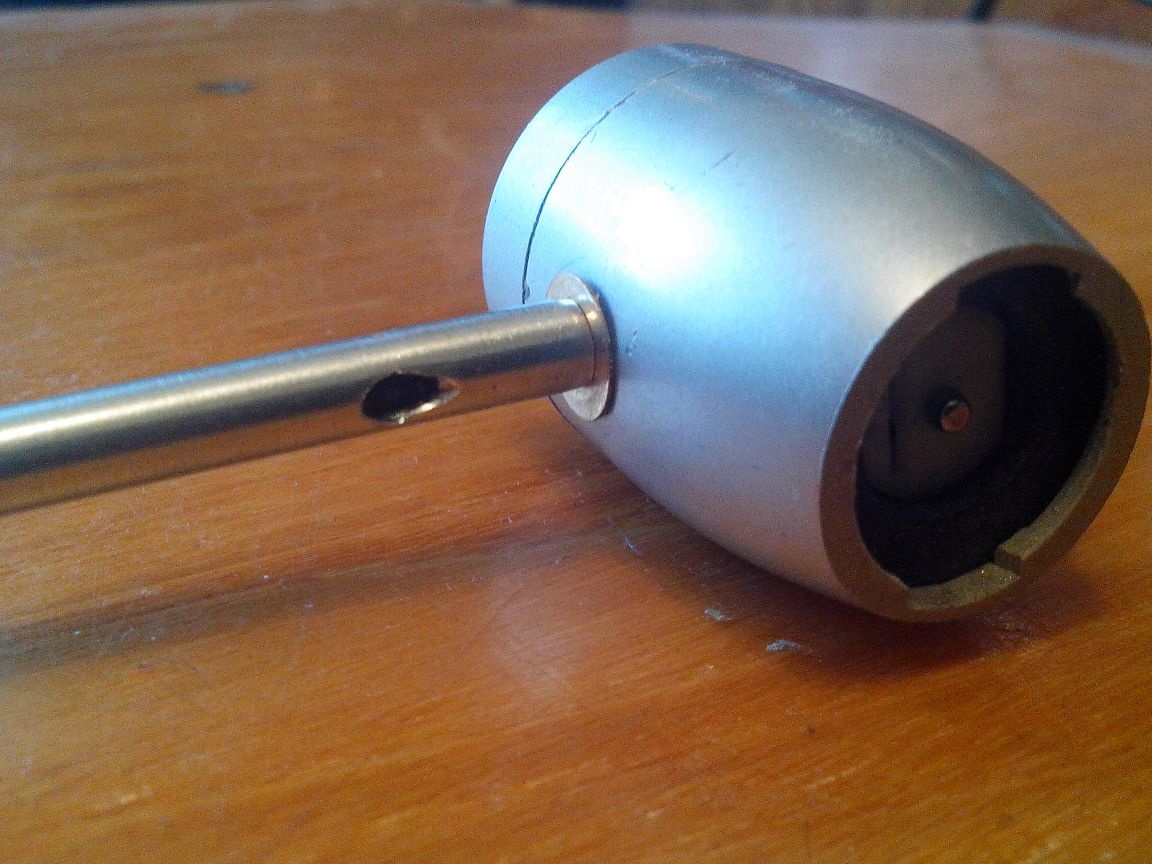
I looked around the trinkets I had, and I settled on a cheap lighter with an LED flashlight, where the flashlight was removed from it by a 90º turn. The body of the flashlight was ideally suited in size for my electric motor, in addition, it resembled a turbine of a jet airplane in shape, which ideally coincided with a “helicopter” propeller.
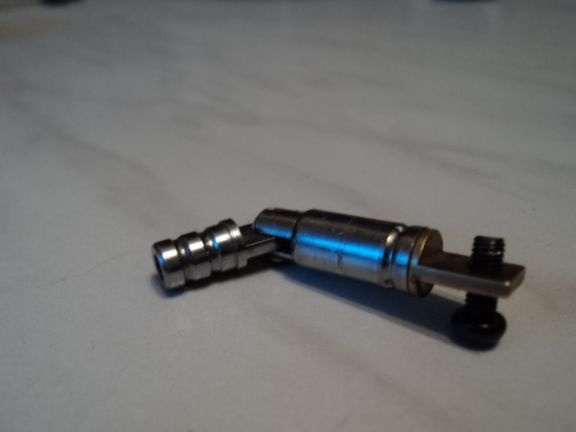
Having disassembled this design,
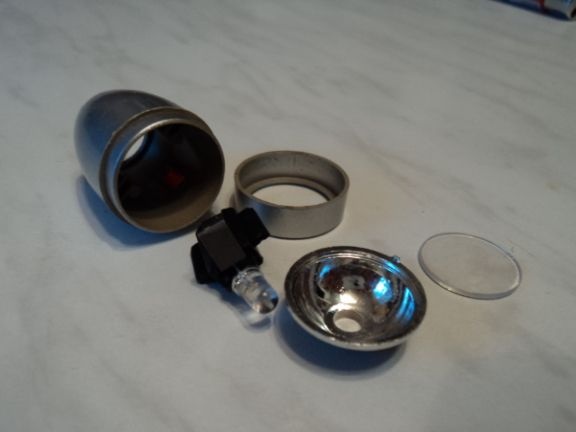
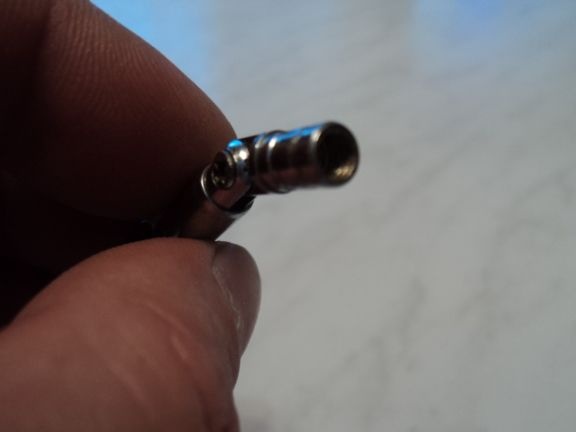
I carefully cut out the guides for the LED "filling" of the flashlight,

drilled a hole in the case for attaching a rod of a mini-fan with a diameter of 4.0 mm,
drilled a hole in a transparent plexiglass for a centering protrusion on an electric motor with a diameter of 6.0 mm,
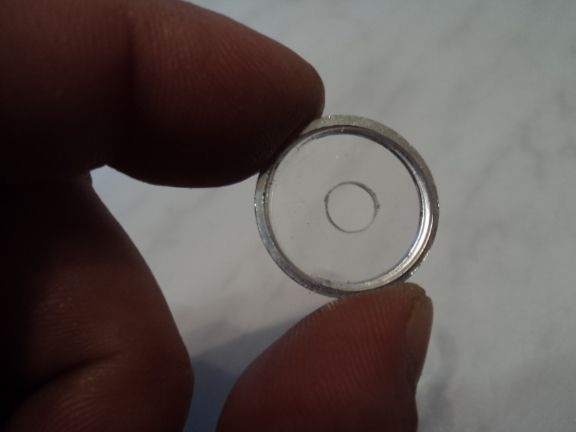
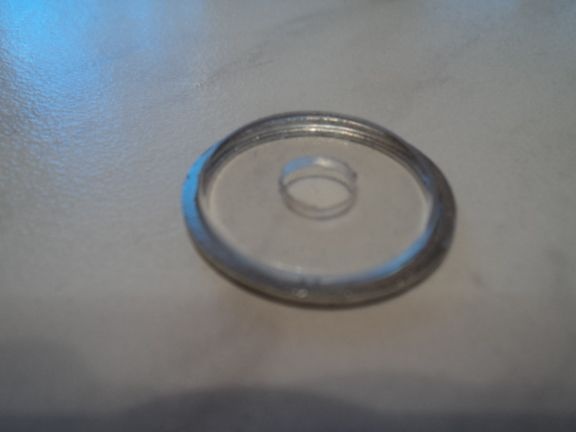
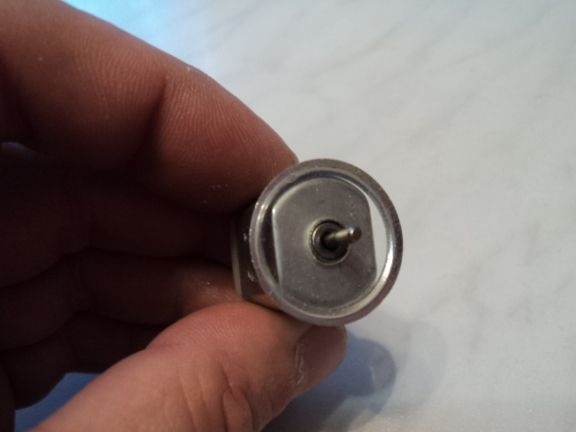
and planted plexiglass on an electric motor.
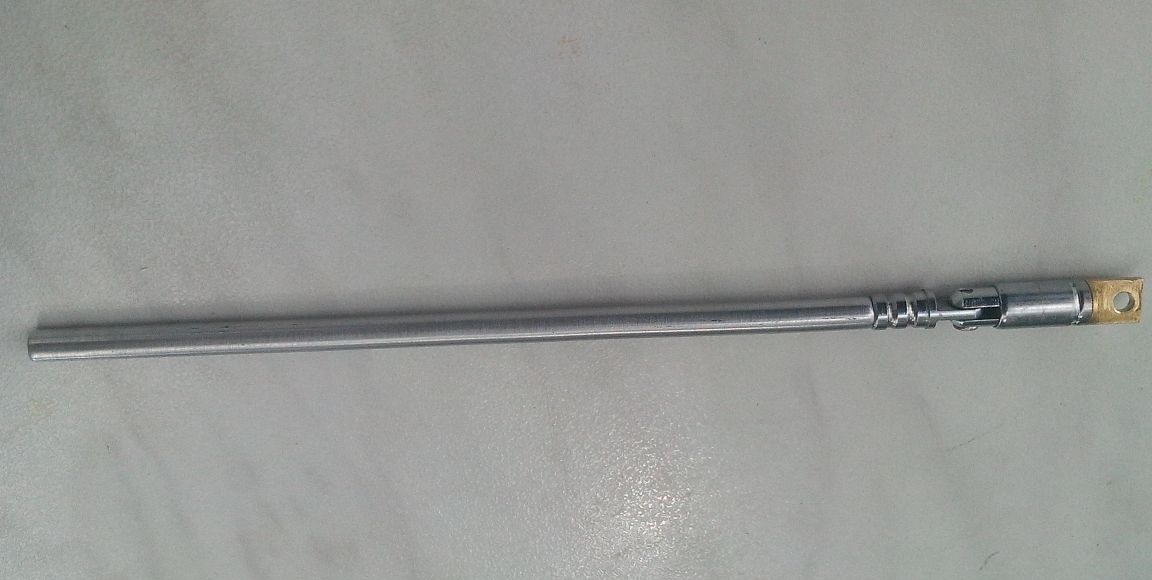
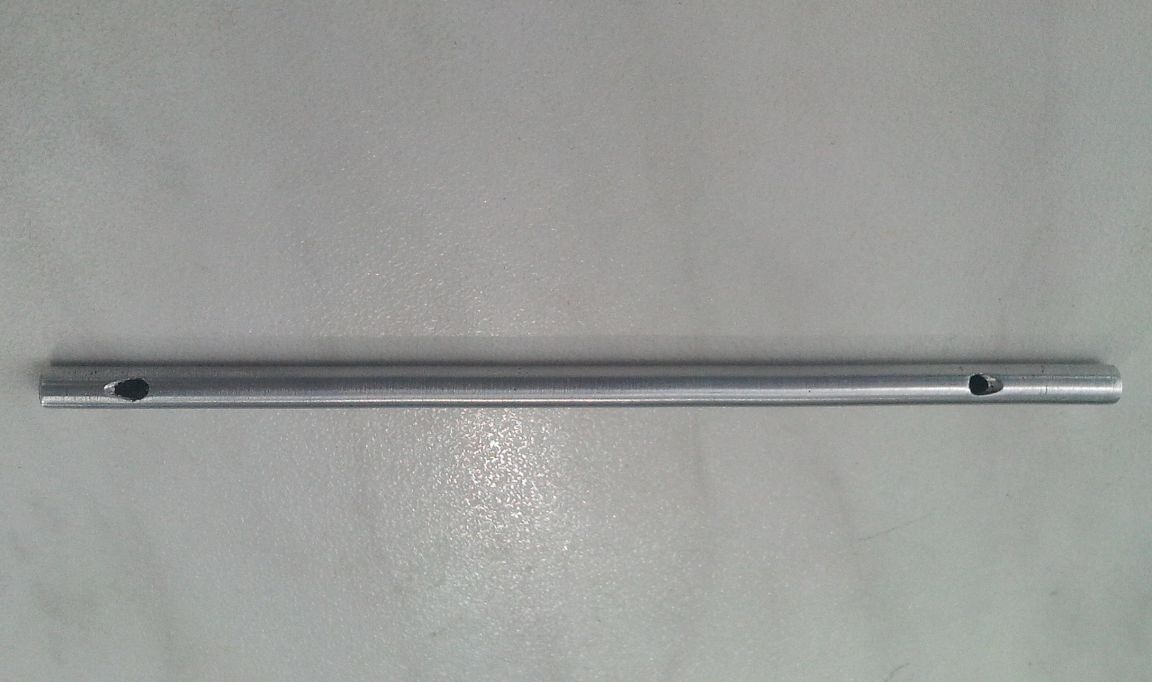
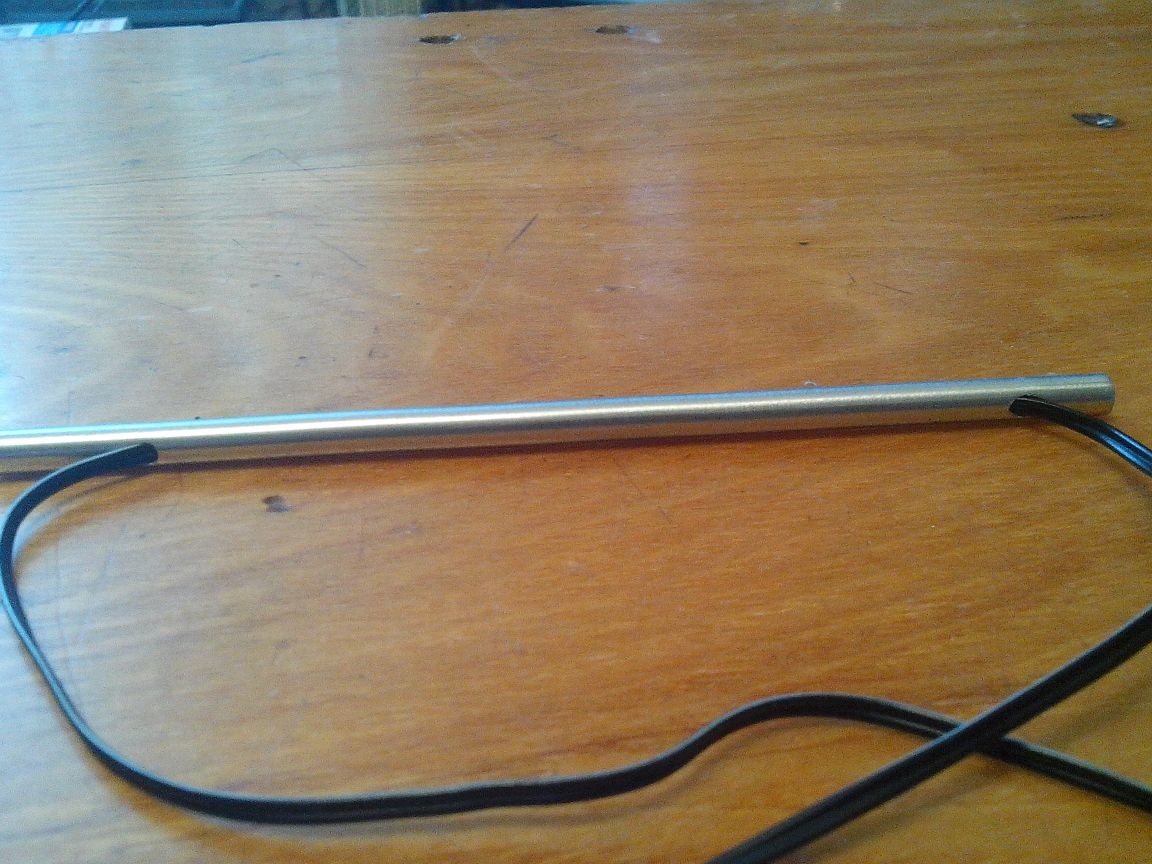
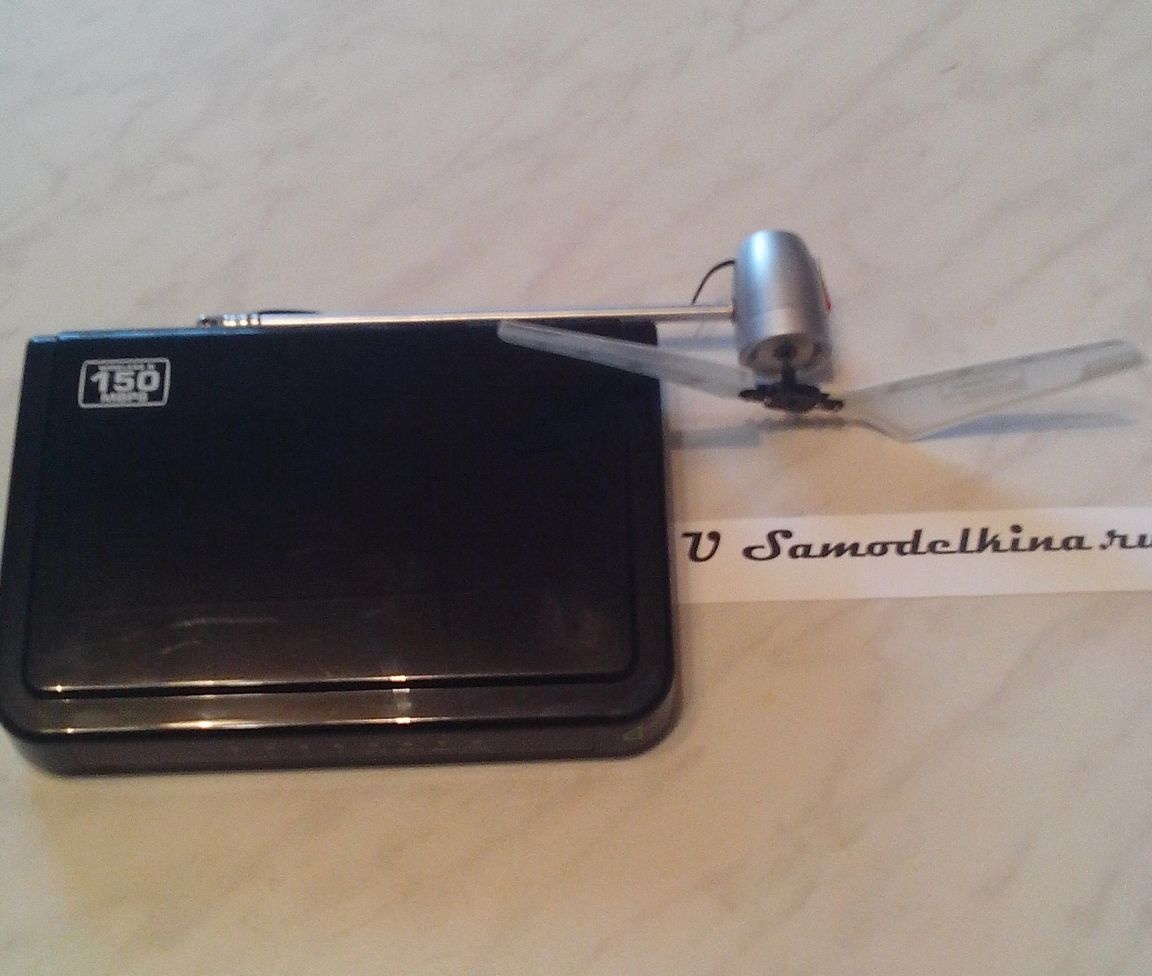
As a mini-fan shaft, I took an aluminum tube with an outer ø5.0 mm, an inner ø3.0 mm and a length of 125 mm. Such tubes were used in old television antennas, which the people called the “dryer”. These antennas are now throwing everything out, replacing them with "plates", so only the most lazy master will not be able to find such a tube.
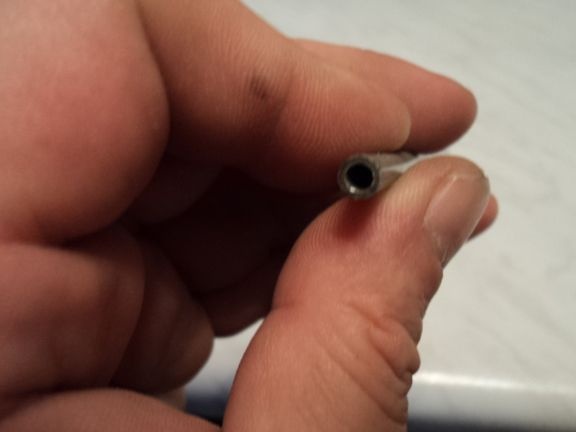
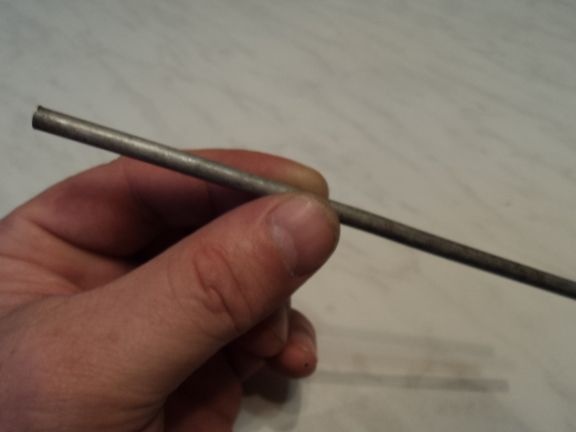
The length of the rod was chosen based on the size of my propeller - 180 mm, i.e. 90 mm to the center of rotation, which is quite enough for unimpeded rotation of the propeller, and did not extend the design itself.
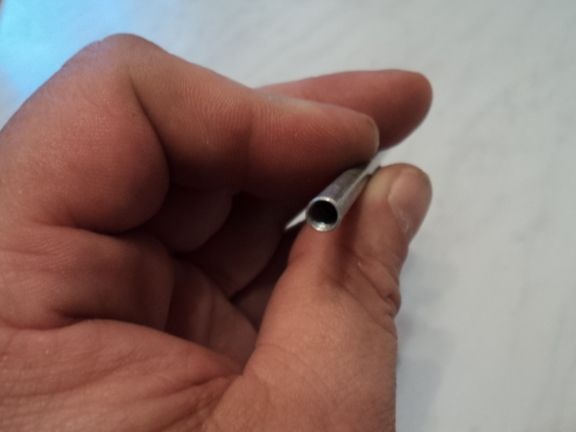
Having pre-drilled the inner diameter of the tube-rod from each end with a 3.5 mm drill, I cut an M4 internal thread into them to a depth of about 15 mm with the purpose of attaching it (the rod) to the electric motor housing and base.
 [/ center]
In order to change the position of the fan in space, I decided to fix the lower part of the bar to the hinge from the telescopic antenna of the radio receiver. Such antennas very often break, and I, as a master, do not throw out the hinges, because they can be used in many moving structures.
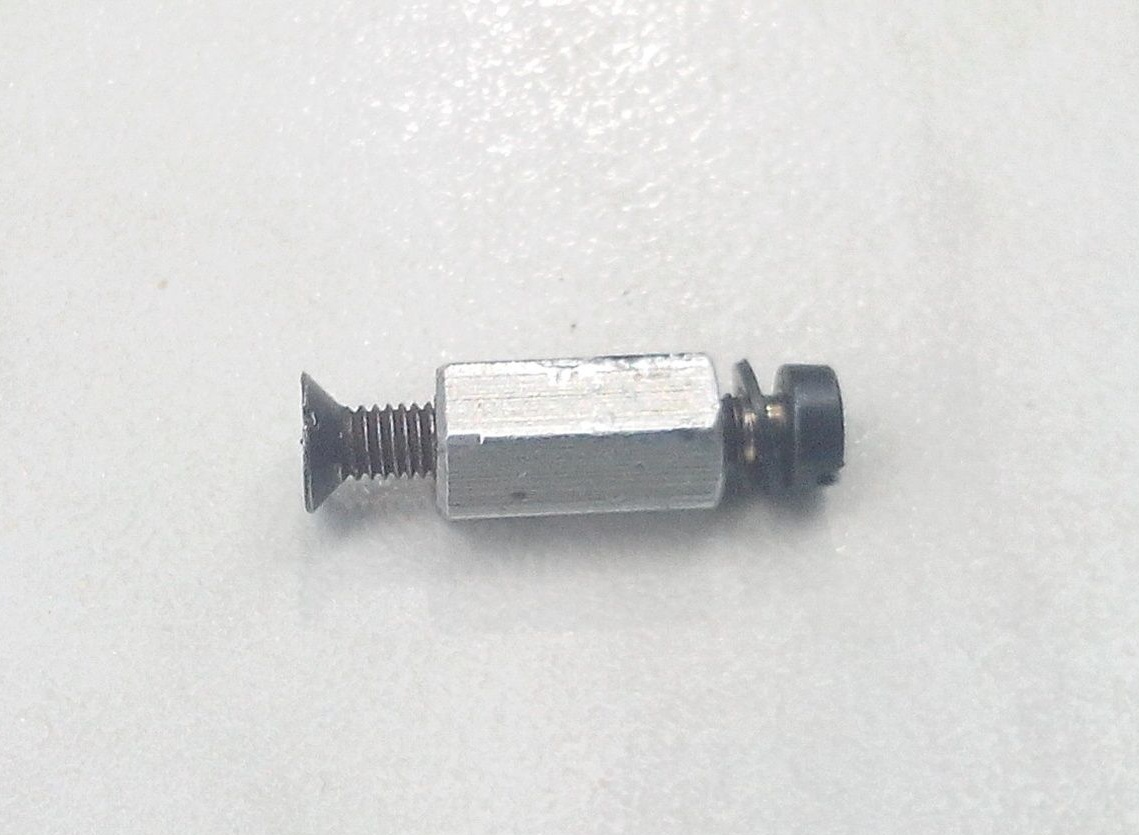
Having drilled and cut the M4 thread in such a hinge, I screwed into it (all the way, with force) a pin made of the M4 bolt
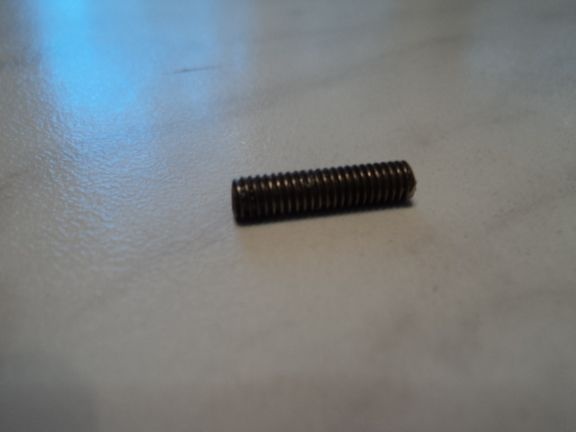
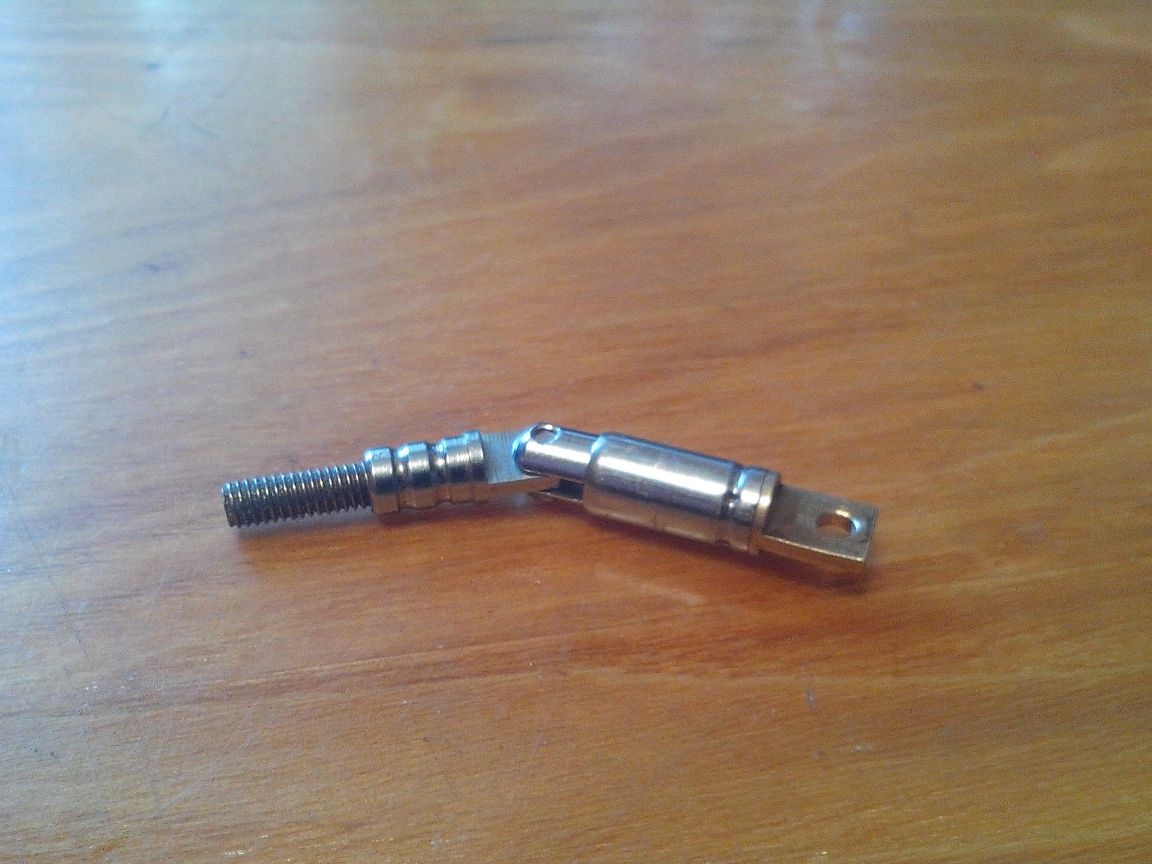
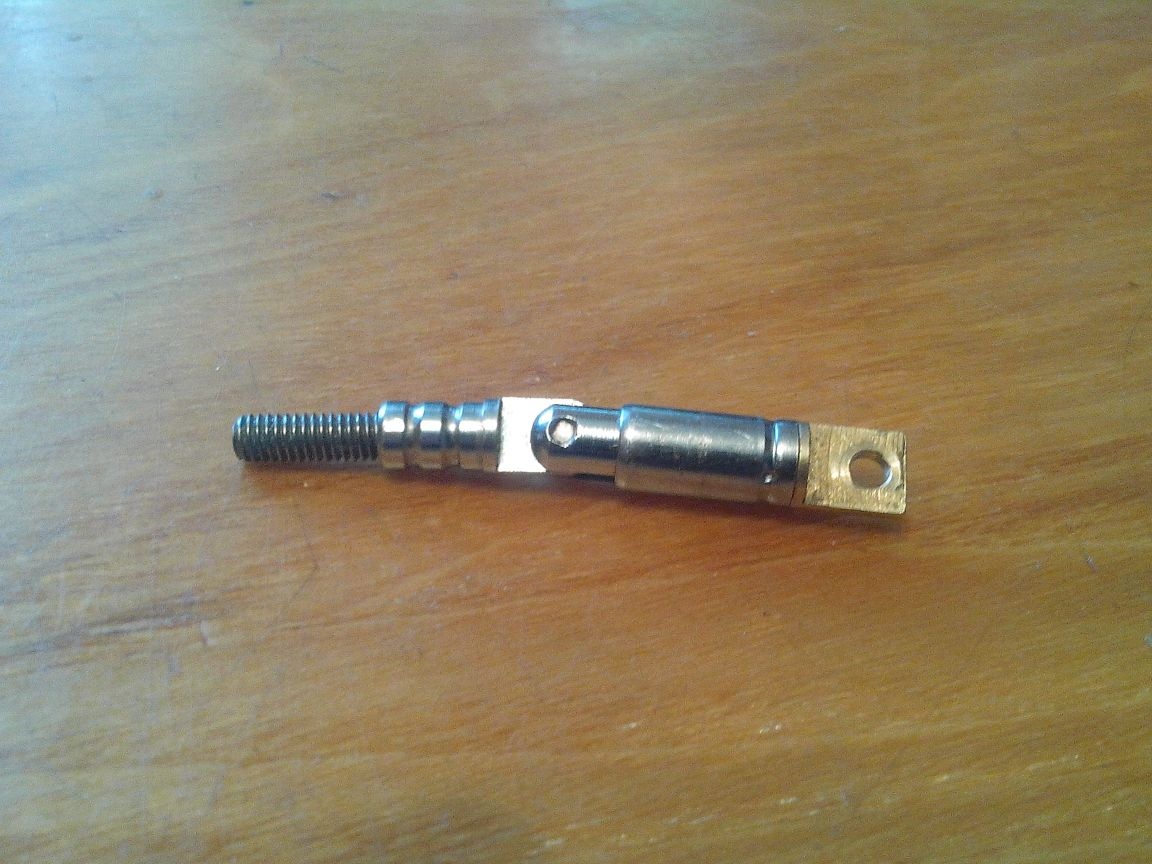
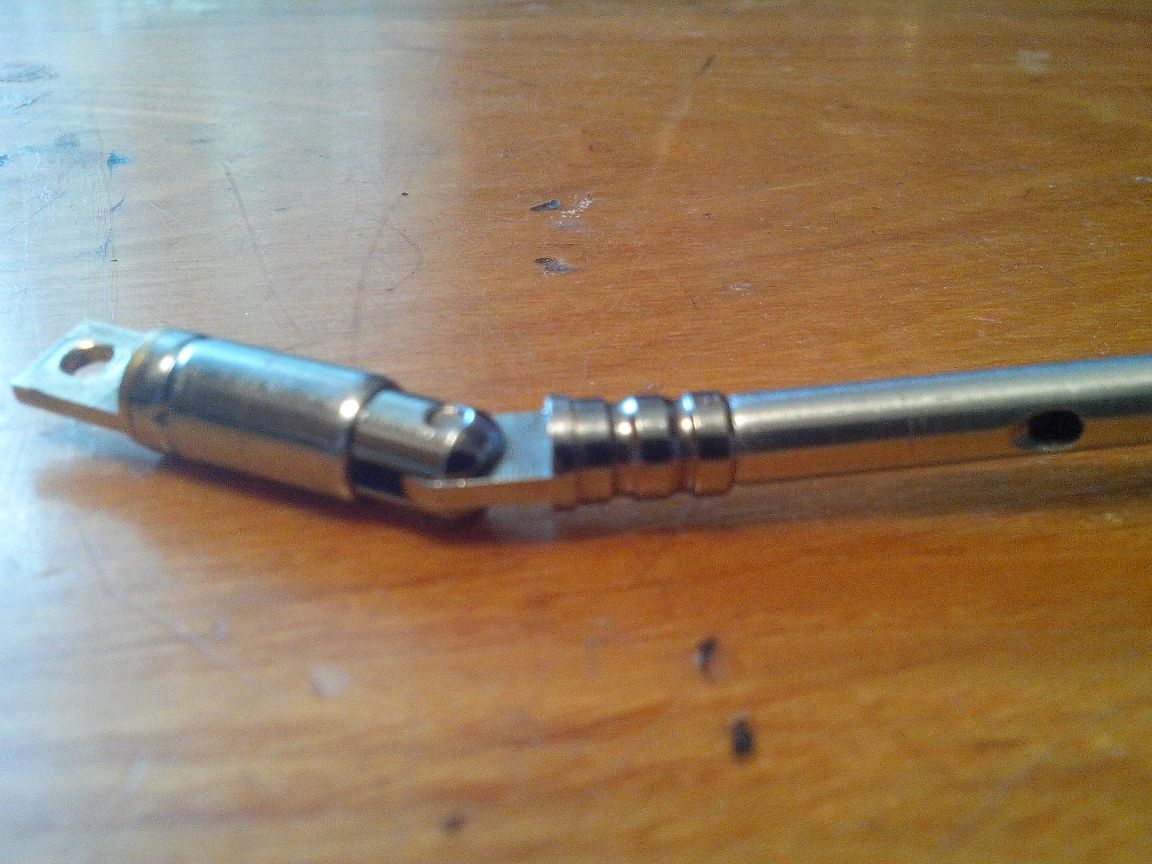
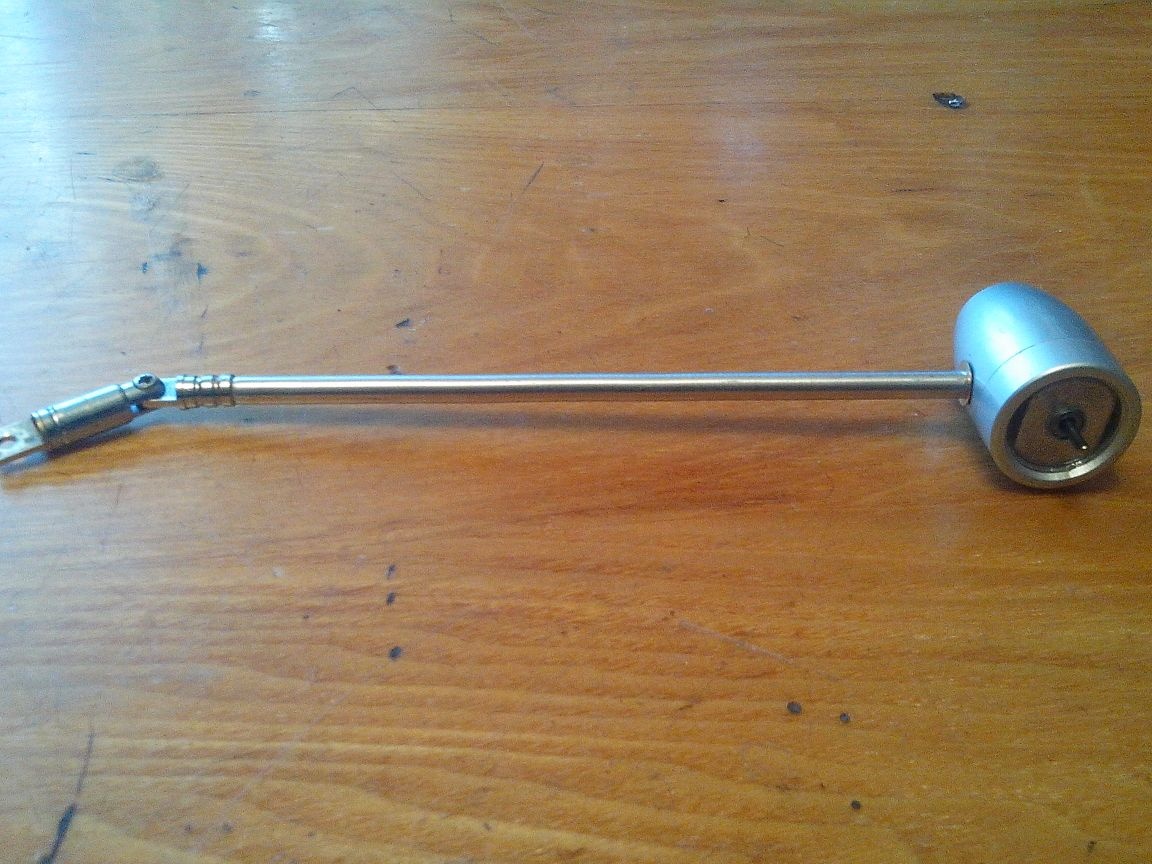
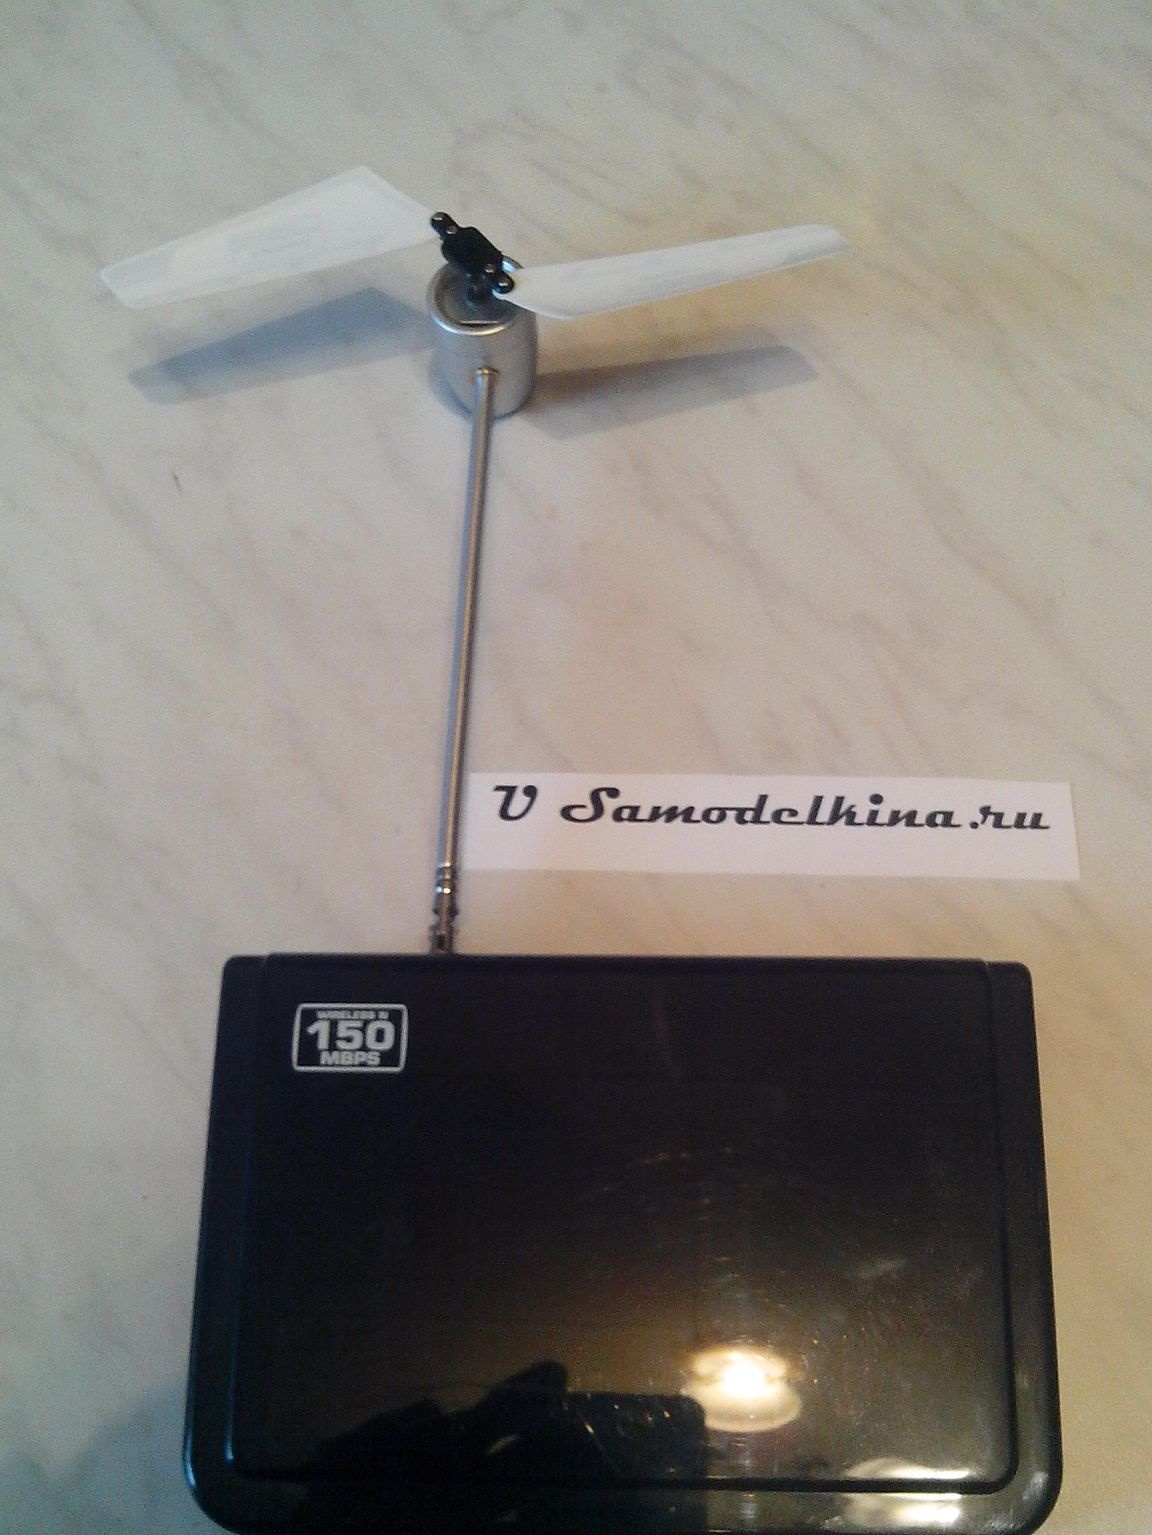
and connected the hinge to the propeller bar. To create a pleasant appearance, I polished the bar with a fine sandpaper and polished the GOI paste. Do not scold me for this - I just love it when a homemade product looks beautiful.
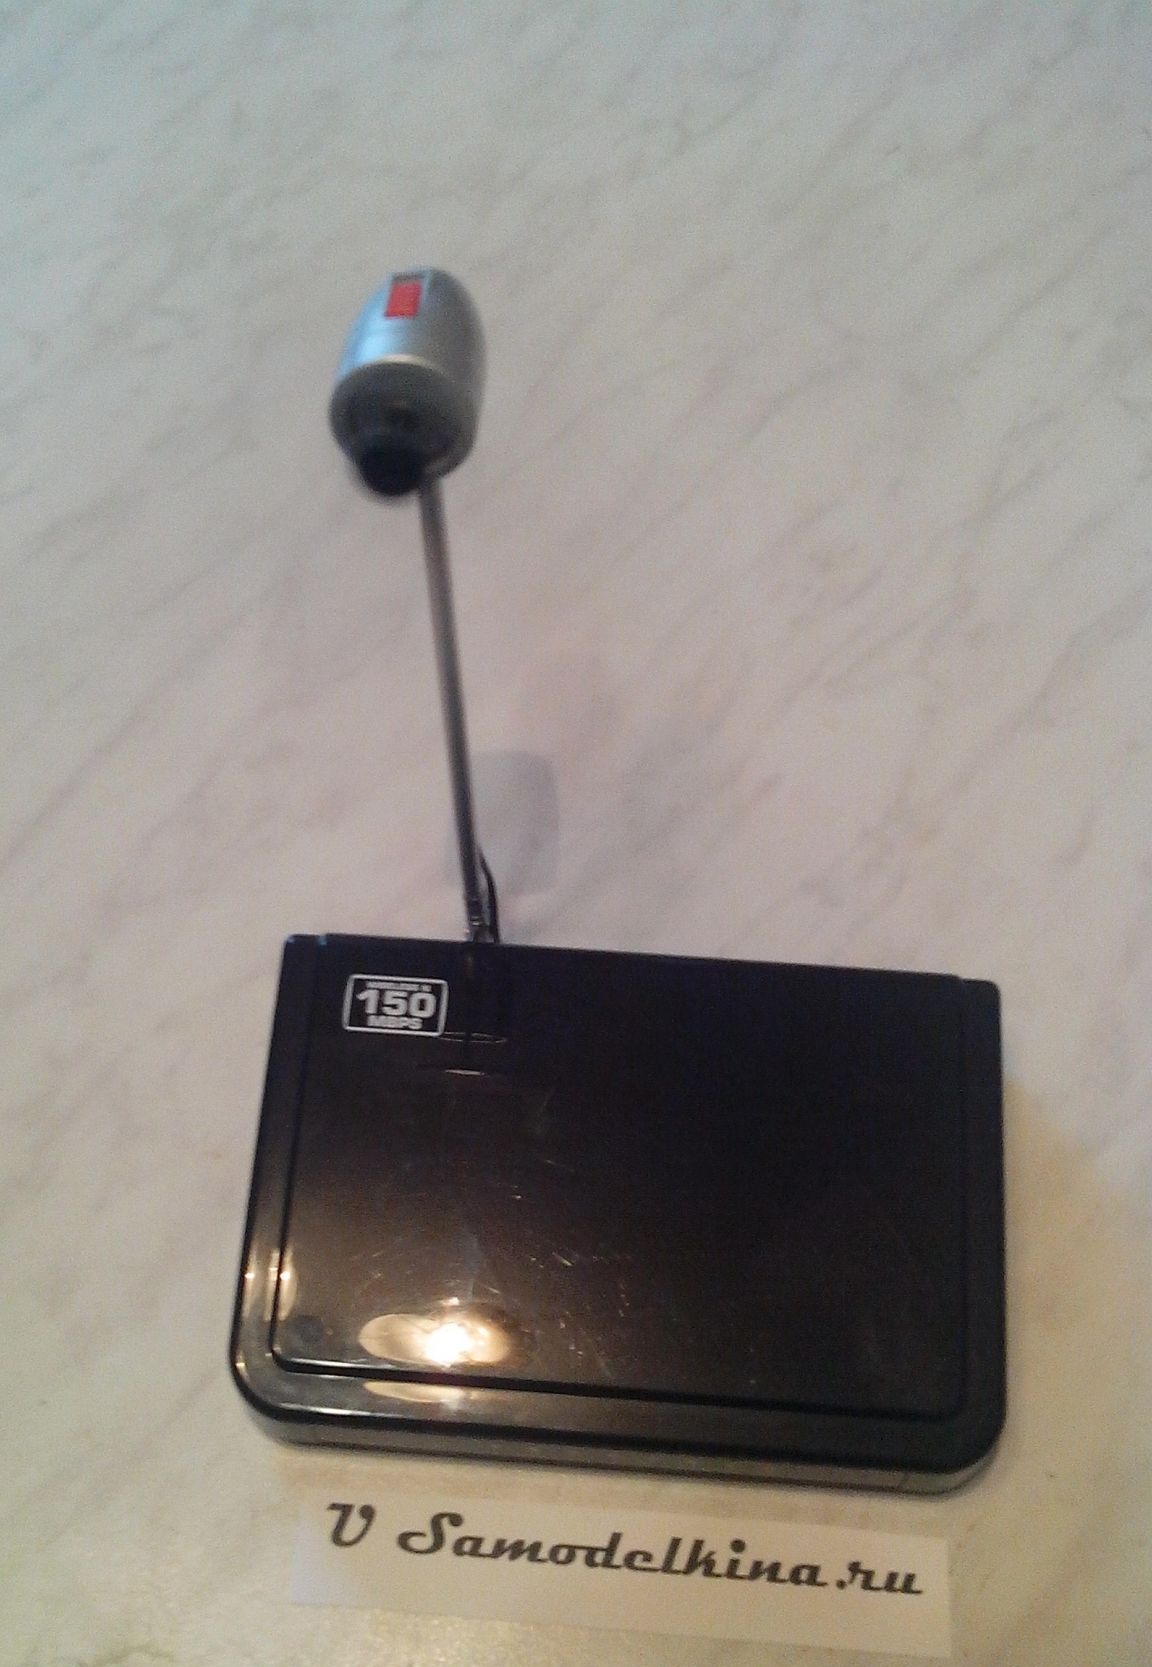
So, the bulk of our mini fan is ready.
Now we need to solve several issues on fixing our homemade products to the base.
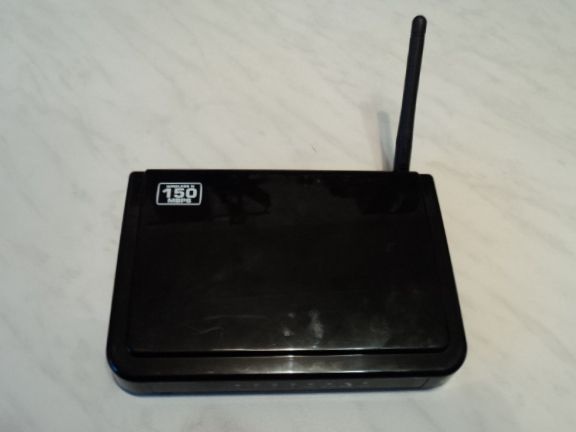
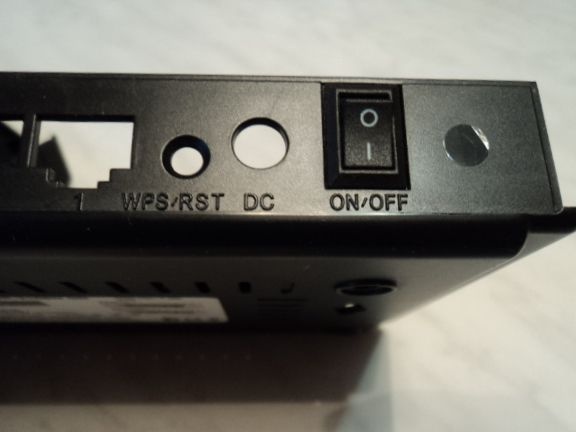
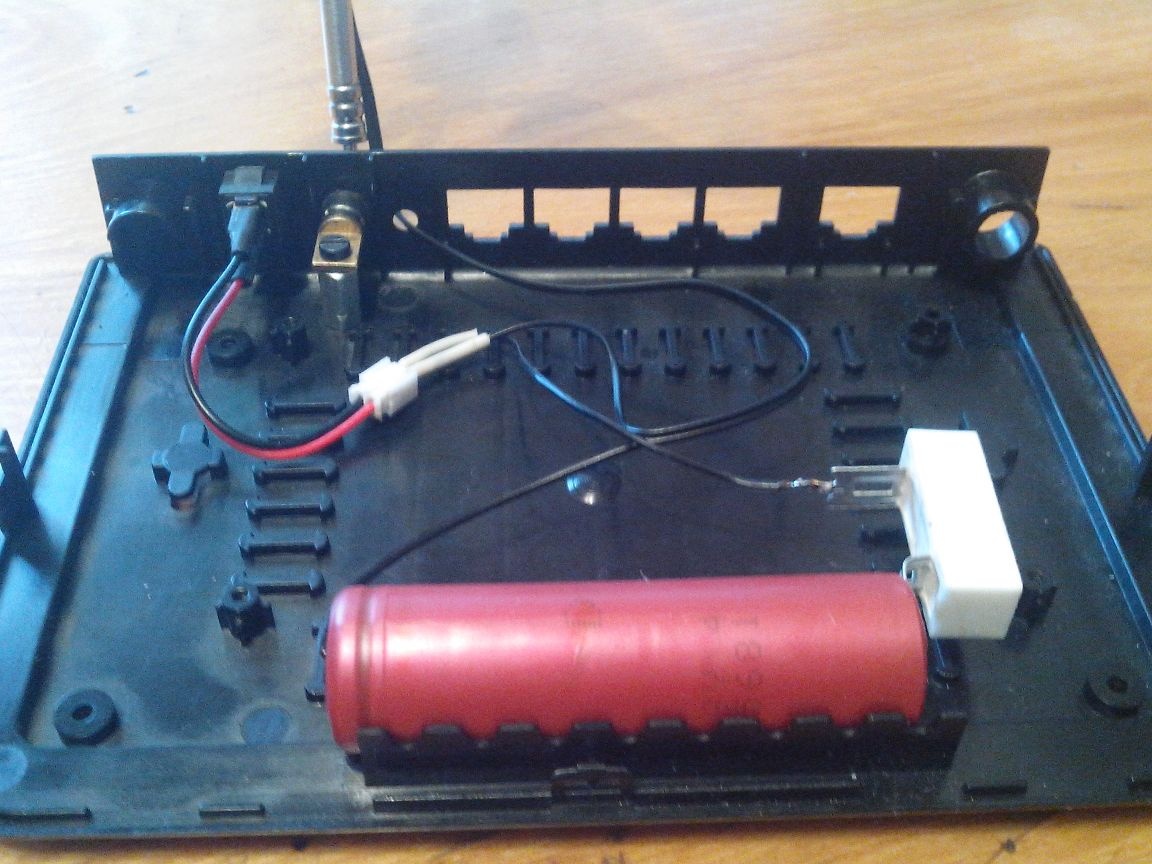
In the aforementioned article “Micro-fan from a helicopter toy”, I wrote that I got a broken wi-fi router, which was given to me for spare parts. In that homemade product I used an antenna from it, and in this we will use the case for the base of our mini-fan.
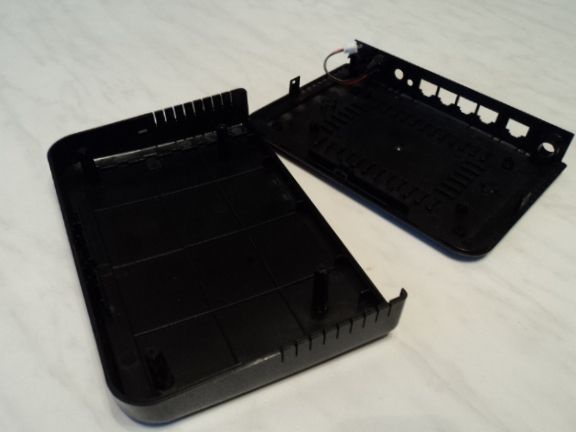
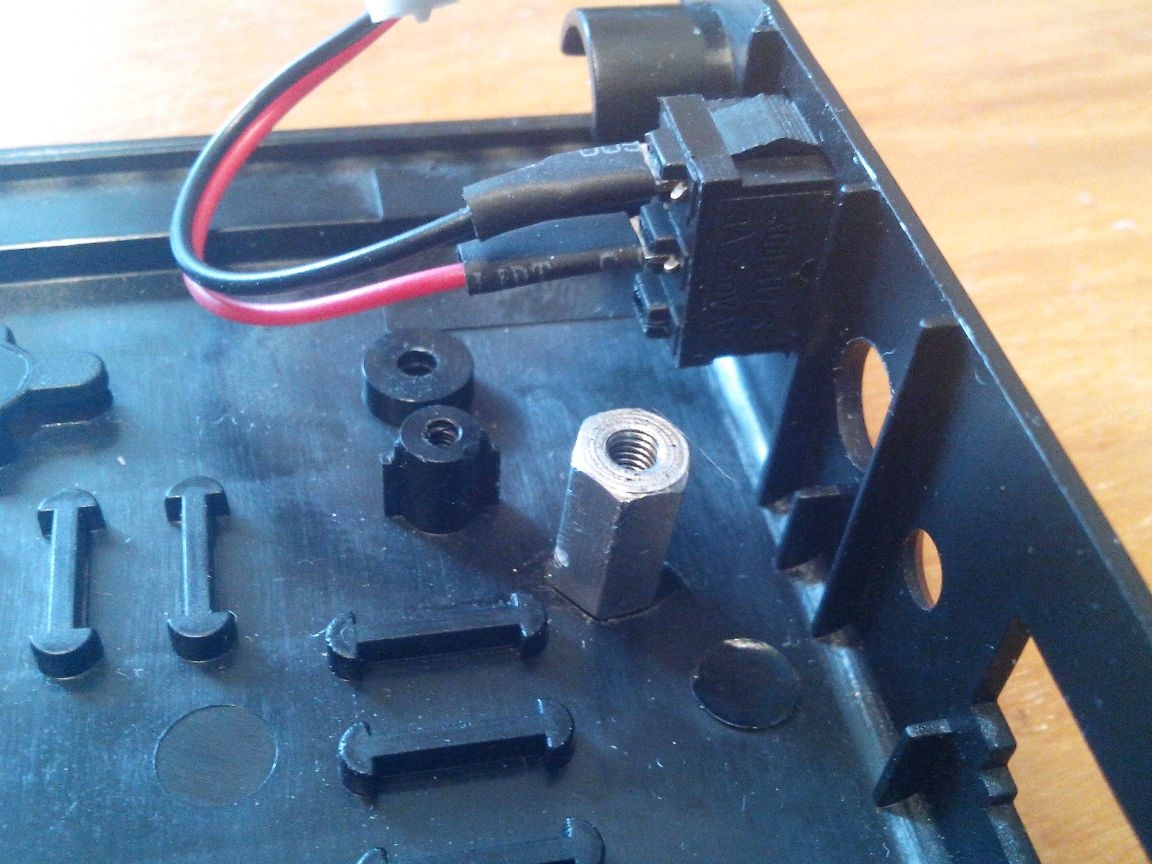
After I took out everything that was not useful to us, he began to look like this:
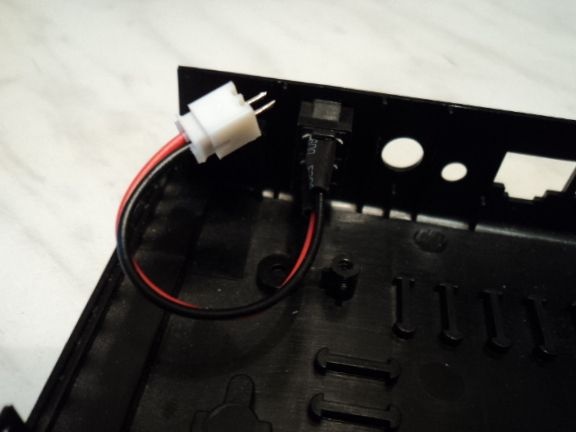
After going through several options for attaching the propeller rod hinge, I decided to use the hole in the back of the wi-fi router, which was used to connect the power (in the photo there is a hole under which DC is written). By a strange combination of circumstances, it ideally coincided in diameter with the diameter of the hinge of the propeller rod.
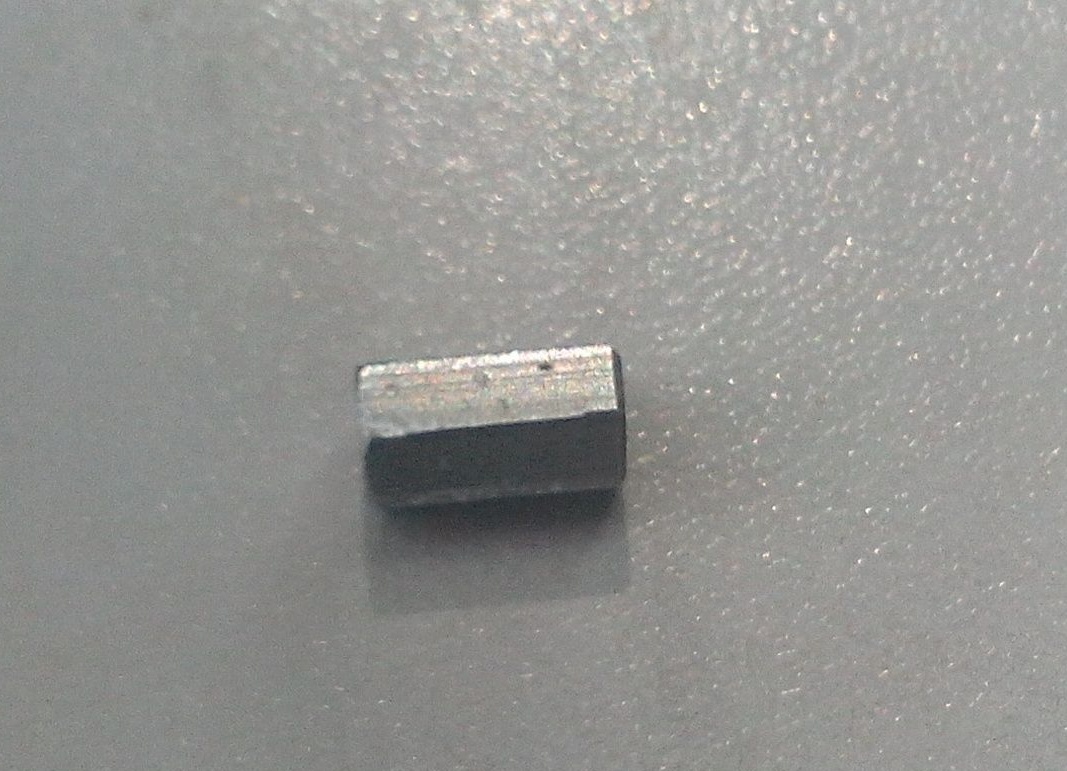
Having inserted the hinge into this hole, I, at the bottom of the base, drilled a ø3.0 mm hole and through the threaded bushing

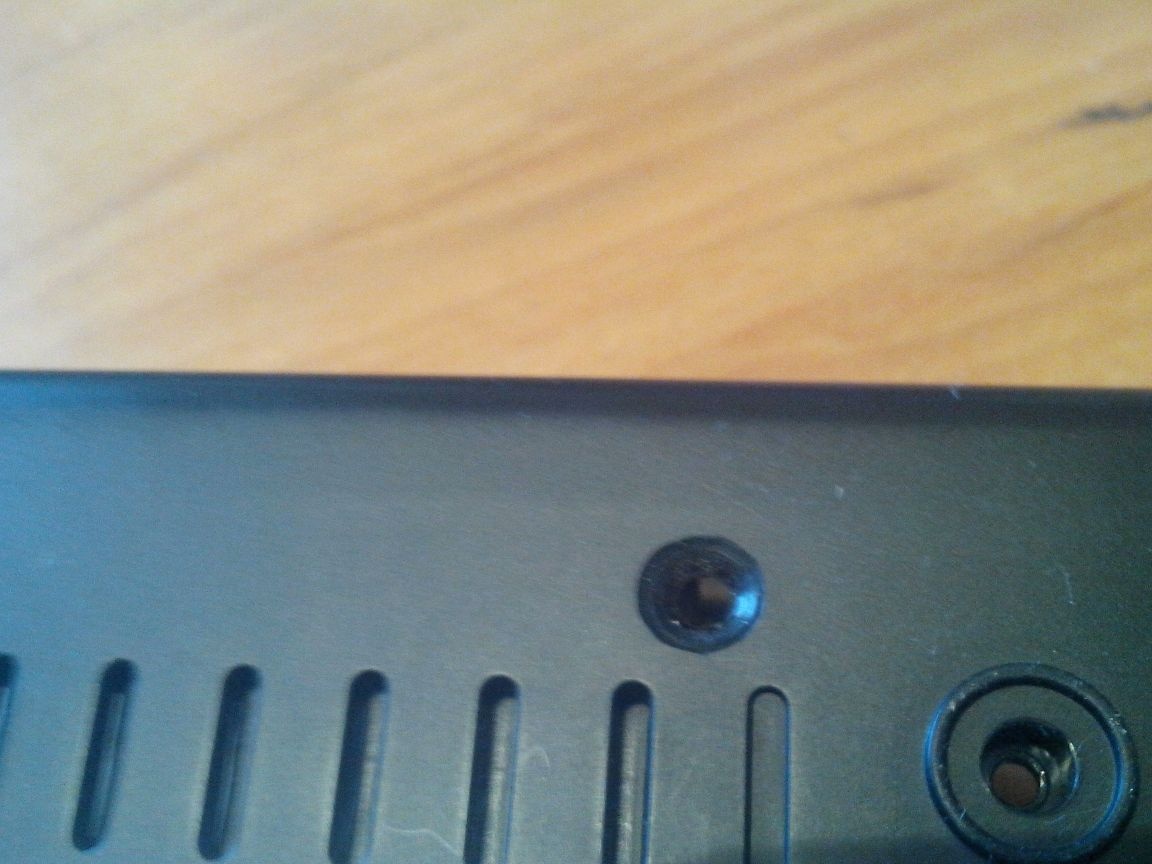
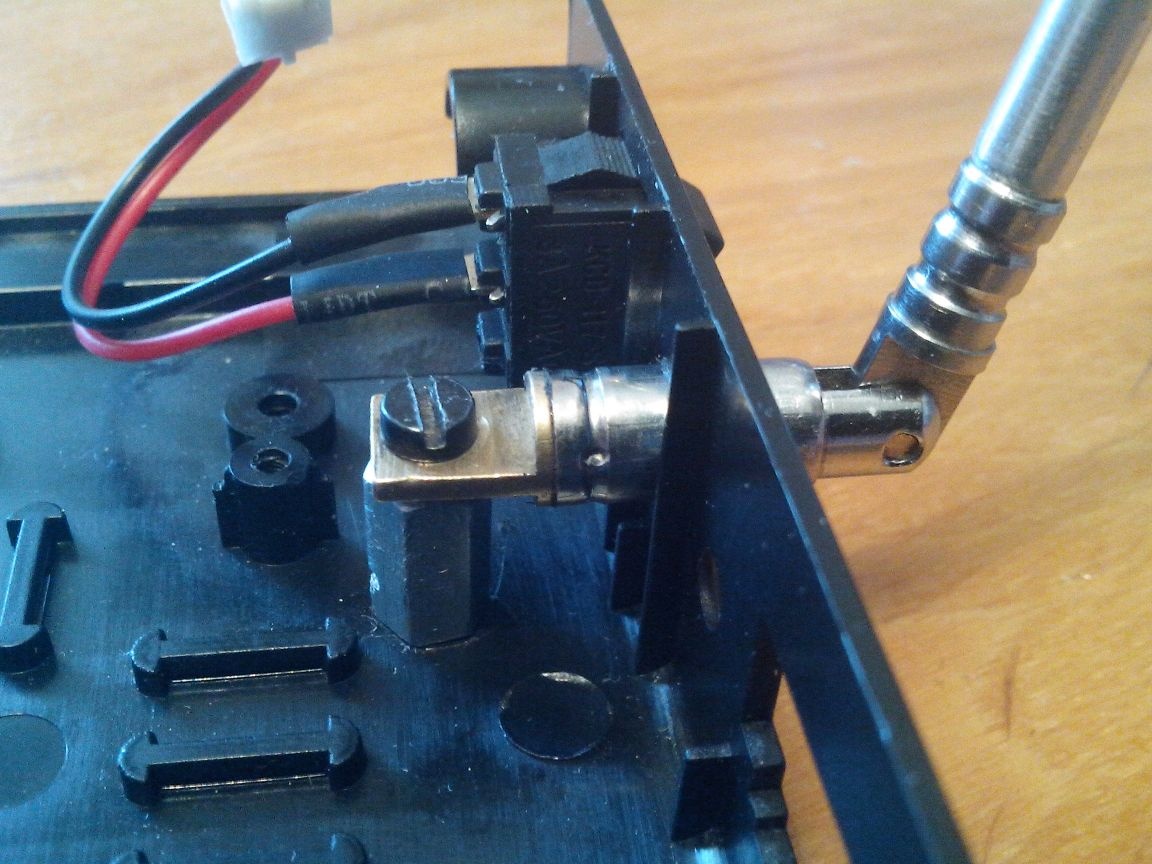
screwed it to the base with M3 bolts. It turned out very reliable, as I wanted.
So, almost the final, because the mechanical part is ready, it remains only to stretch the wiring inside the rod to solder them to the electric motor, and through the switch connect to the battery.
To do this, drill ø2.0 mm holes in the rod and thread a double wire through them.

We solder one end of the wire to the electric motor, and insert the other into the base.
We connect the wires inside the base into a circuit - one wiring to the contact of the switch, the other to the plus of the battery. A separate wiring connect the second contact of the switch with the minus of the battery through a resistance of 1.5 ohms with a power of 5 watts.

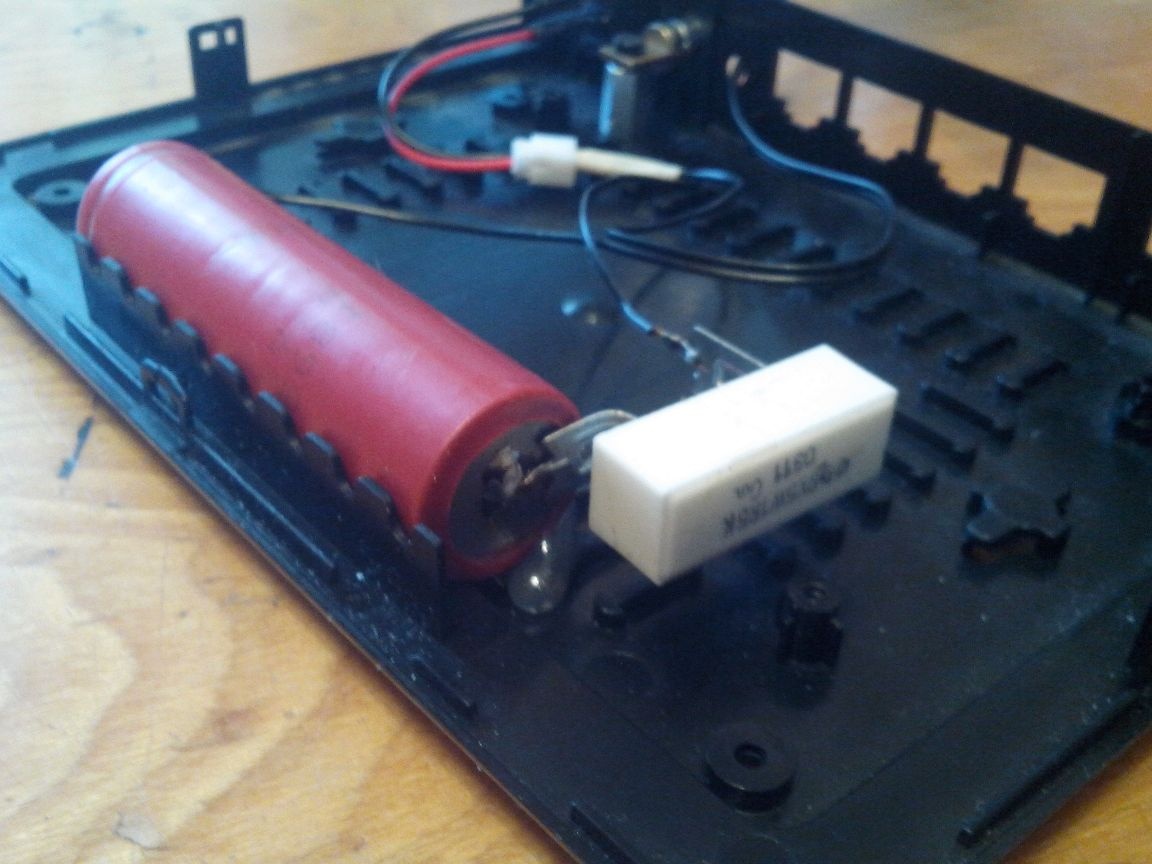
This resistance is necessary in order to cut off the current strength and thereby ensure the gentle operation of our electric motor. If you put a resistance of lower power, it will heat up very much and can melt our base.
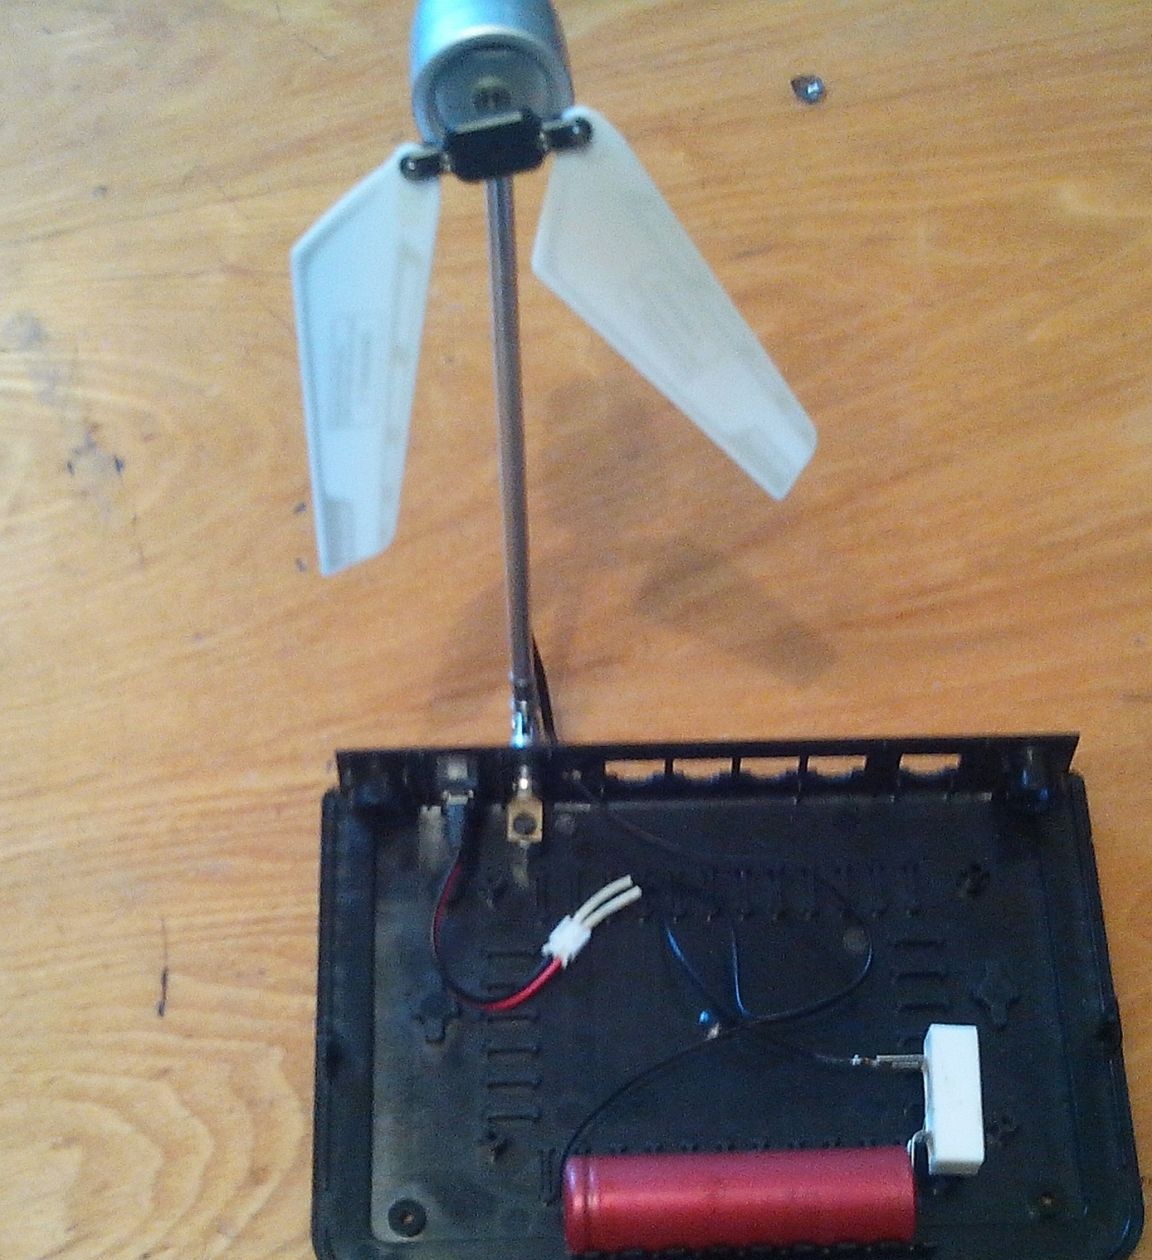
Well, everything is ready. Turn on the power button and ... "woo-a-la", as the French say.
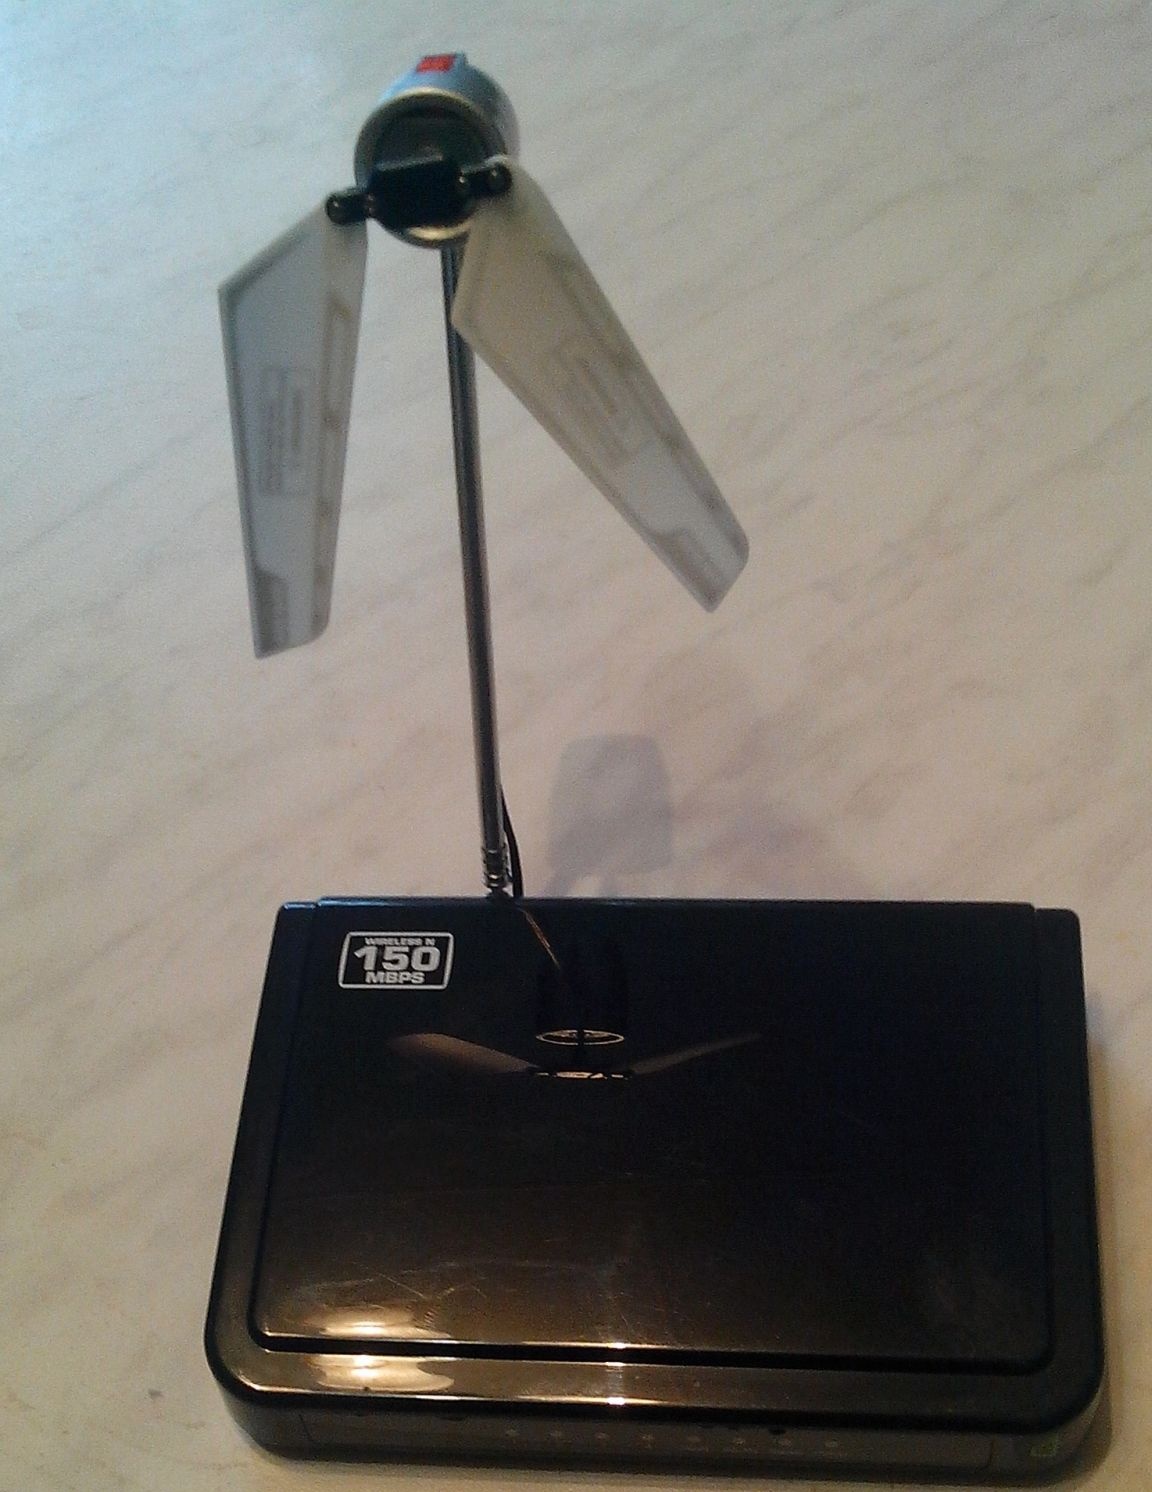
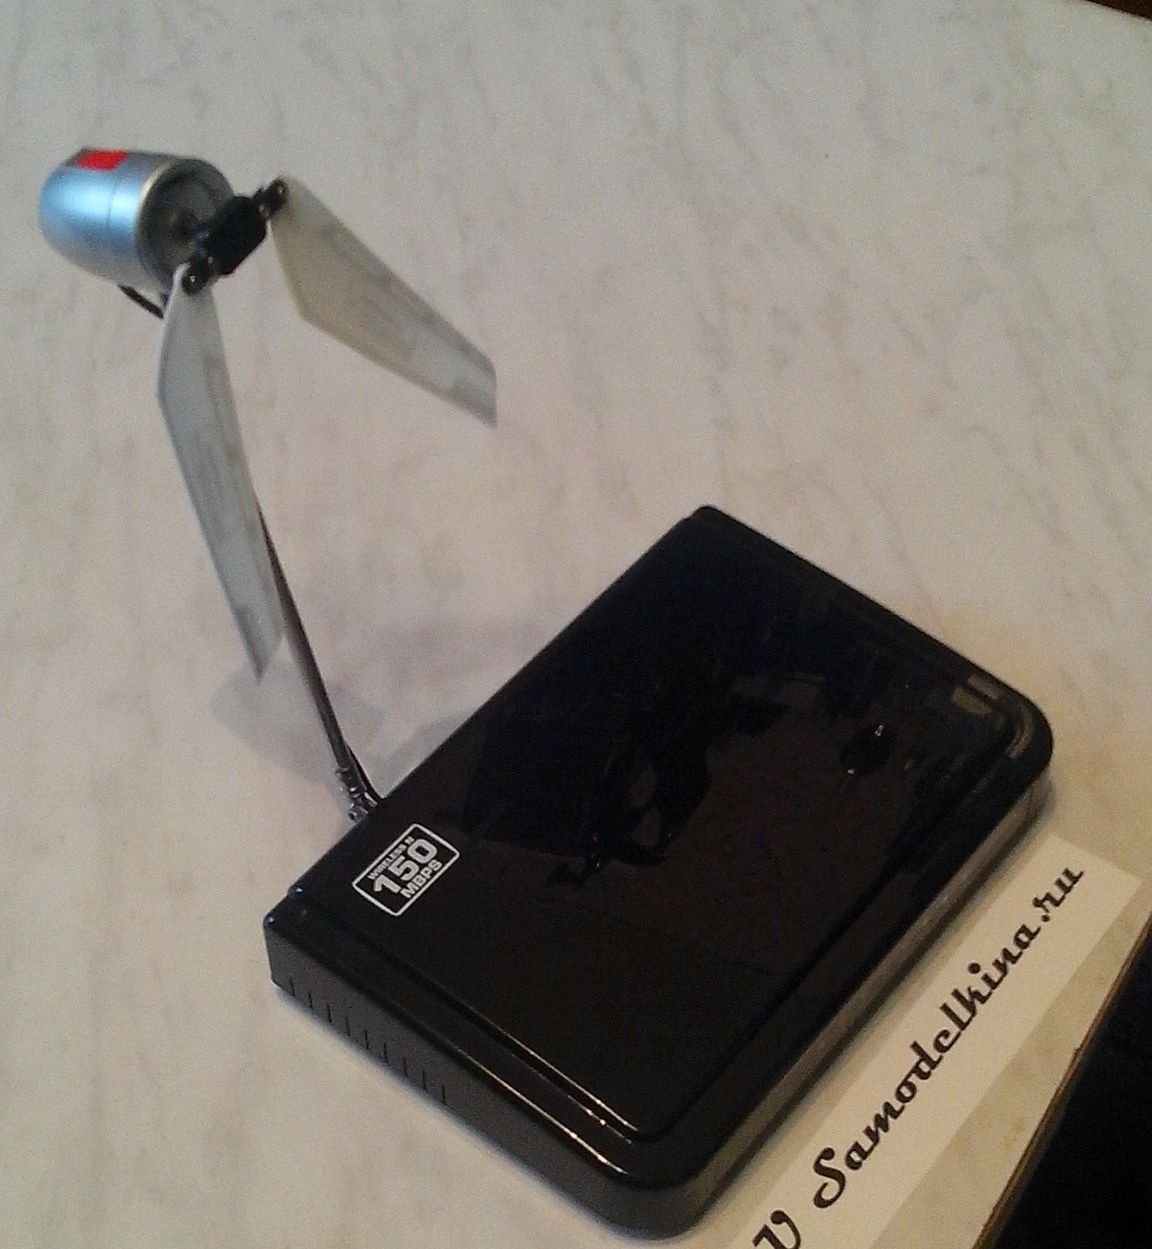

My mini-fan runs on autonomous power (a small battery) no worse than a household one that needs 220V power.
Now in hot weather, in the office, on a visit, even in nature, you can take it with you to feel comfortable.
I assure you, my mini-fan works very, very productively, honestly, I did not expect ... but, most importantly, I was convinced that propellers with moving blades can be successfully used for household fans.
After all, for me, this homemade product began with the question: “Why not try?”
Thank you all, good luck, new questions and new ideas.
Regards, Your Mikhail is MNS1961.