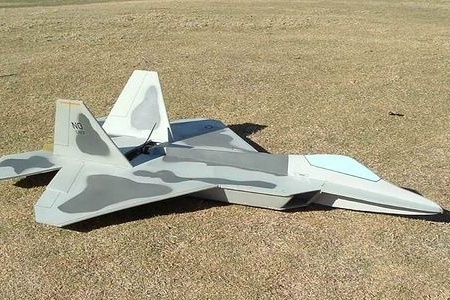
All of us in childhood dreamed of collecting flying model aircraft, and as for the model, which could be controlled by radio commands, it was generally the ultimate dream. Today is a real opportunity to achieve your dreams. Firstly, current batteries are no longer so heavy and large, and the engines have become much more powerful and lighter. And weight in this case is a key factor. As for devices for controlling radio commands, today there is also a huge mass of them, however, such a device can be assembled yourself, but you will need skills in terms of knowledge of electronics.
Assemble a RC airplane do it yourself not difficult, the main thing is to be patient and attentive. This article will consider an example of creating a flying model of the F-22 fighter. As the basis here, “Penoplex” is used, 30 mm thick, it is strong enough and lightweight for such homemade. Traction creates a powerful electric motor, while the take-off force is at least 0.9 kg minus the weight of the device.
The aircraft has a length of 1050 mm, a wingspan of 740 mm, and a take-off weight of 0.75 kg. As for the screw, APC SF 9x4.7 is installed here.
Materials and tools for homemade:
- construction foam plastic 30 mm thick of the Penopleks brand (the body is created from it);
- Serpyanka (this is a special tape, its author uses to strengthen the structure);
- a ruler of wood;
- engines (it can be an engine of the TR 28-26 16A 1900Kv model and an 8x4 screw, it creates a thrust of 900 grams. Or a TowerPro Brushless Outrunner engine, with the same screw it creates a thrust of more than 1 kg);
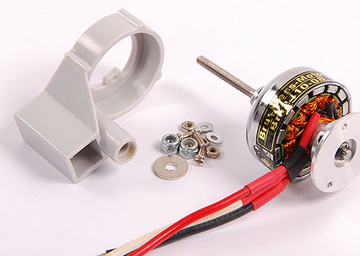
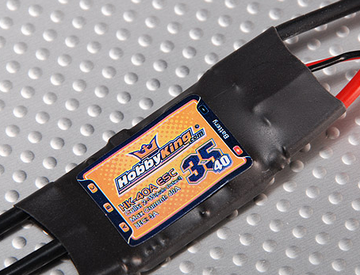
- a regulator for the engine at no less than 30A (such as Hobbyking SS Series 35-40A ESC, Mystery 30A BEC or Tunigy AE-30A Brushless ESC are suitable);
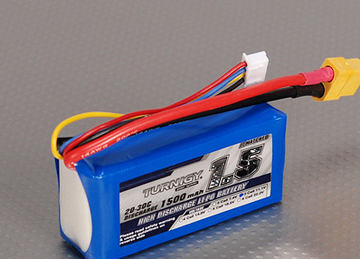
- a battery capable of delivering up to 30A (you can use Turnigy 1500 mAh 3S 20C Lipo Pack or Polyquest 1200 mAh 3 S 30C - 50C);
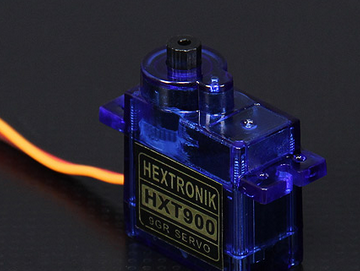
- Servos HXT900 9g / 1.6 kg / 12 sek Mikro Servo;
- hot glue, scissors, stationery knife, soldering iron, wires, printer for printing drawings $
- Well electronics to control radio commands.
Homemade manufacturing process:
Step one. We print the drawing
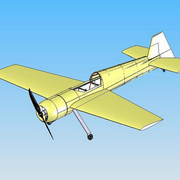
First you need to print a drawing on the printer. Next, a sheet of paper with a drawing is glued to the building foam, or you can transfer it in other ways. Further, all elements of the aircraft are cut out of the foam.
Step Two Aircraft bonding
After all the necessary elements are cut out, they need to be glued together with hot glue.When the glue dries, the aircraft body must be carefully treated with sandpaper to remove all irregularities. Otherwise, the aircraft will be poorly controlled, and it will require more energy to fly. At the final stage, the structure is glued with a serpentine. It will strengthen the structure, including the wingspan above and below.
Step Three Final build phase
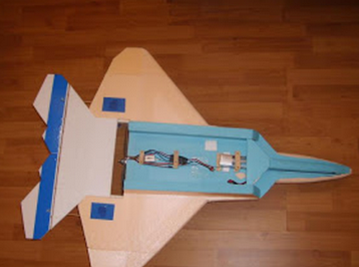
At the final stage of assembly, an engine with a screw, a battery, and also an electronic part are installed. The frame for the engine is made of a wooden ruler. As you can see, the engine is installed almost in the center of the aircraft, it is offset closer to the tail. You can fasten the engine with hot glue or make a special bracket for it. To rotate the screw, a special slot is provided in the aircraft body.
To make the steering wheels, you can use two layers of ceiling foam. Subsequently, the plane is painted so that it can be better seen during flight.
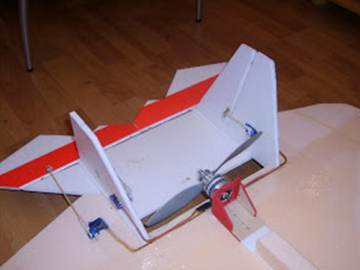
According to the author, the servos can not be put on the steering wheels, since this does not particularly affect the flight of the model. You can also take for homemade thinner foam, for example, 25 mm thick. In this case, the model will become easier and more maneuverable.
