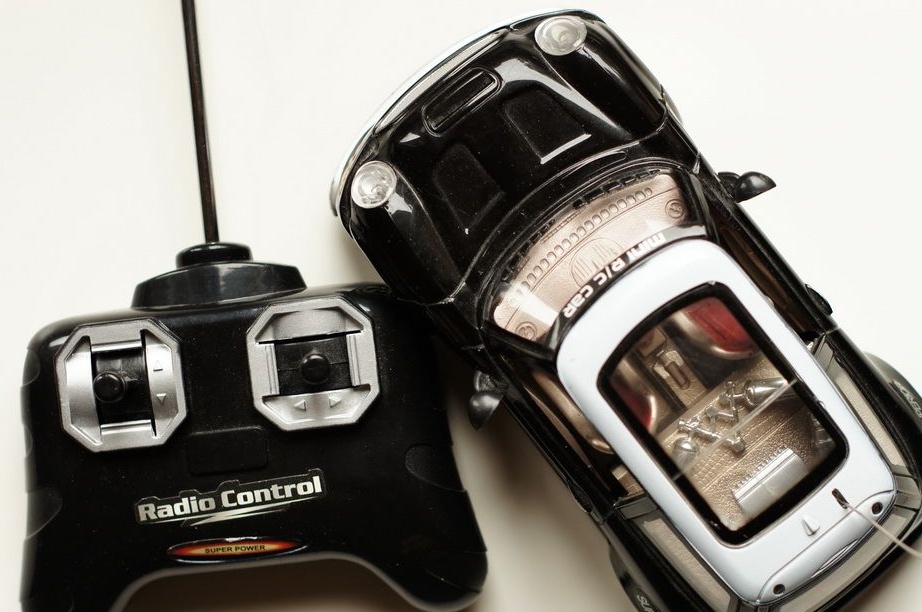
The article will consider an example of creating a simple boat with radio control. The broken Mini Cooper was used as the basis for its creation. The main task homemade - simplicity and cheapness, since the author already had all the necessary elements. Finishing is already taking place individually for the personal taste of the master.
The peculiarity of this homemade product is that model as close as possible to a real ship, that is, proportions are observed. In total, the assembly process consists of several stages, this is the preparation of the necessary parts, the creation of a body, as well as the assembly and testing of homemade products.
Materials and tools for homemade:
- a machine with radio control Mini Cooper or similar (broken or unnecessary);
- screwdriver;
- a piece of tin (suitable from a tin can);
- scissors;
- expanded polystyrene 60 mm thick;
- paper to create a pattern;
- adhesive tape;
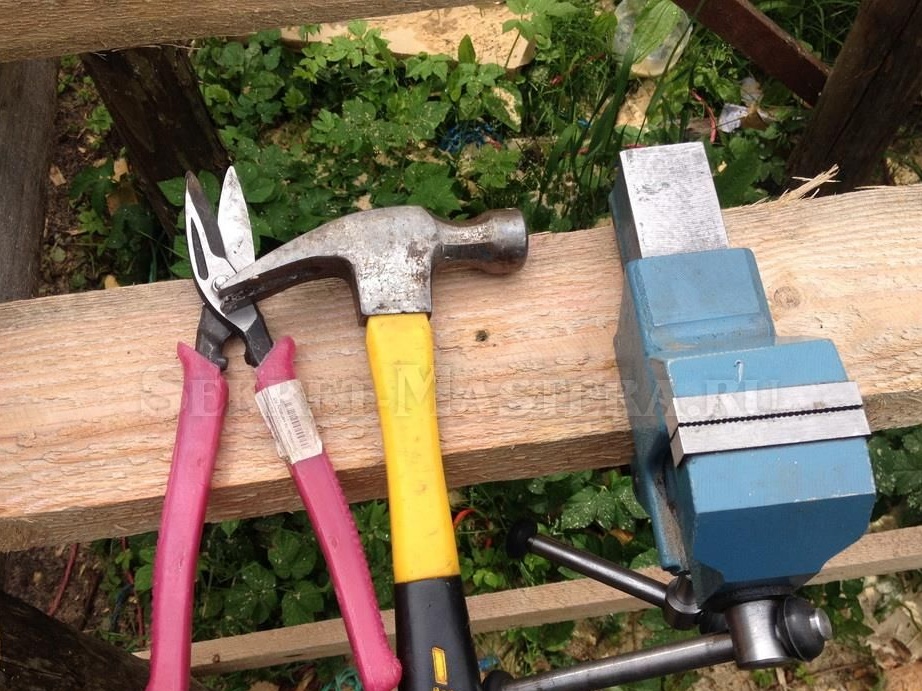
- pliers;
- vise;
- scissors for metal;
- soldering iron;
- hot glue;
- a piece of plastic tube, a copper wire and a spoke to create a shaft.
Ship manufacturing process:
Step one. We get the necessary elements
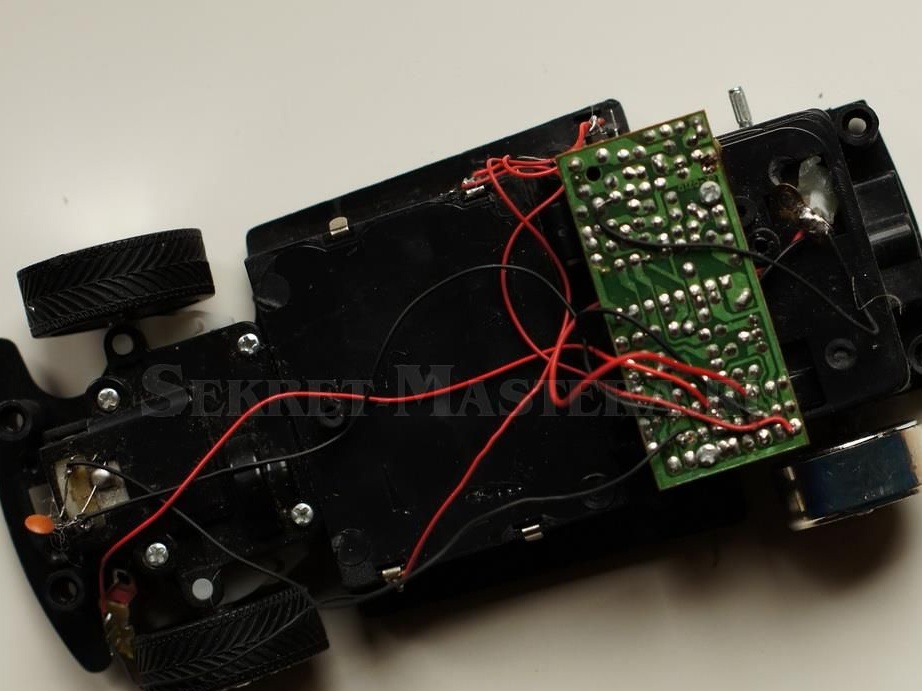
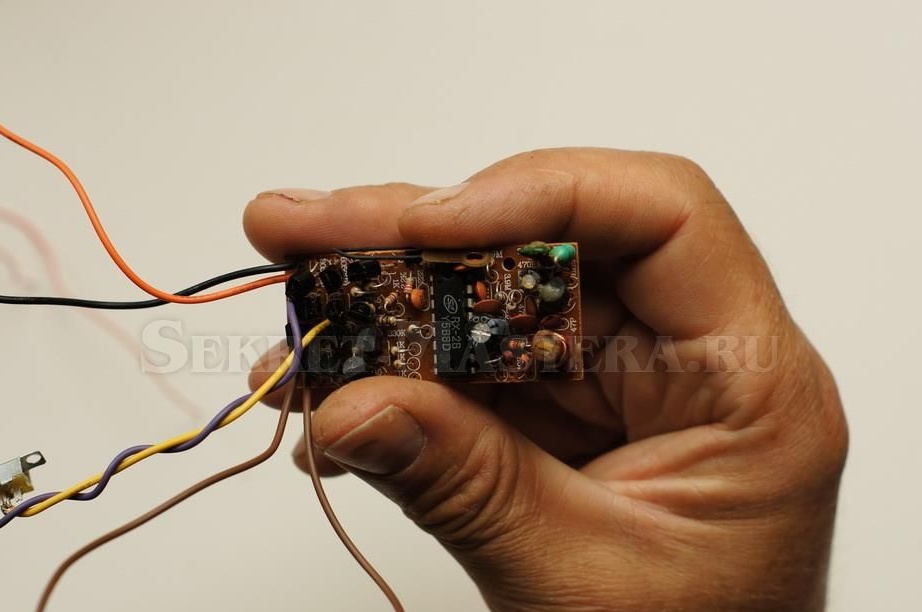
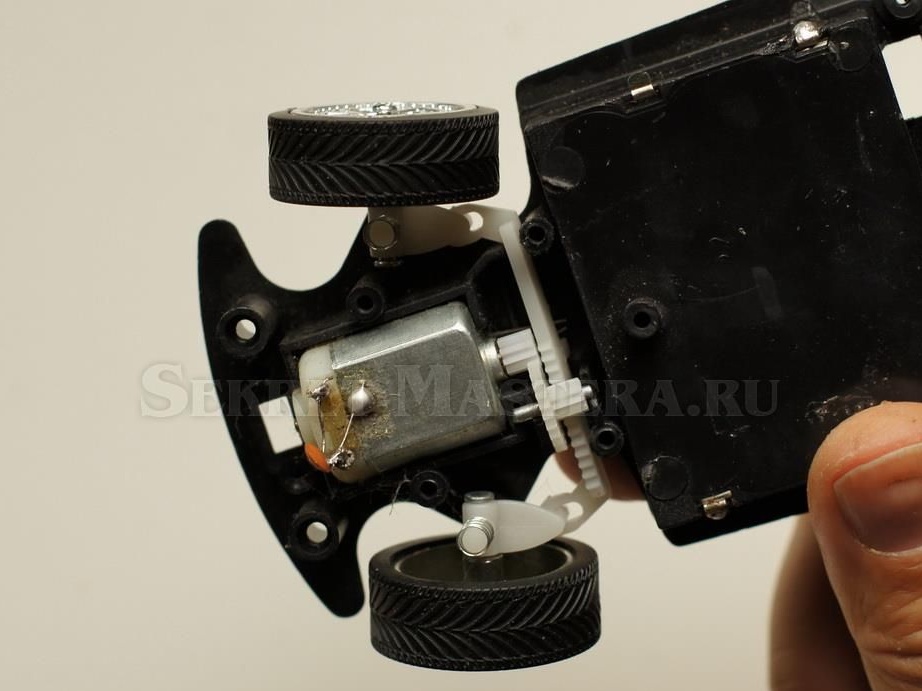
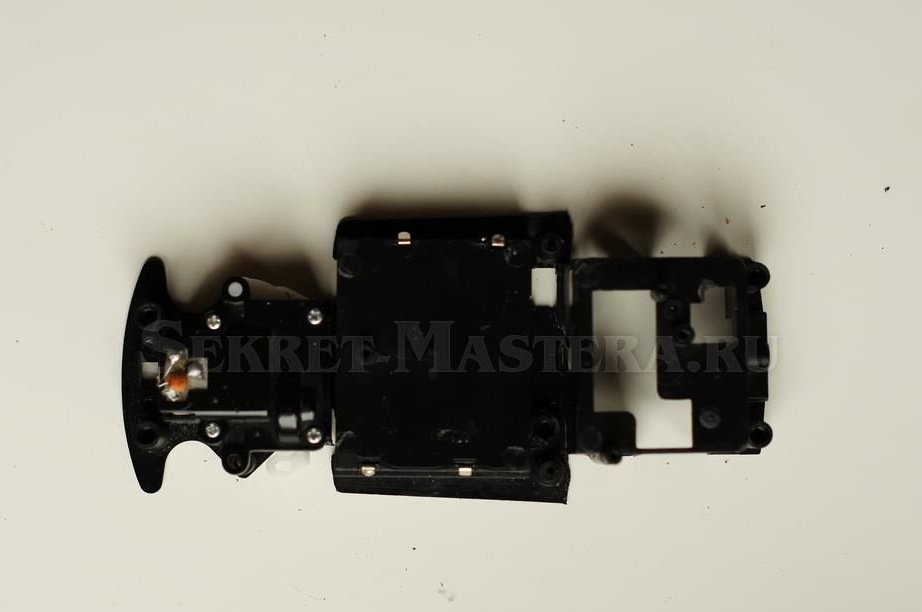
First you need to disassemble the machine and get all the necessary elements. The ship will need a rear wheel drive, electronic part (radio control), steering machine, as well as the compartment in which the batteries are installed. The machine is disassembled with a screwdriver, first the case is removed, and then the radio module and other elements are unscrewed. When disassembling, you need to use the camera or mark wires. Otherwise, there may be difficulties. You need to remember how the wires coming from the board to the engine, power supply, and antenna are connected. Often very thin wires are used in toys. It is advisable to remove them and solder with a larger cross section.
As for the rotary machine, the hub for turning one wheel was removed here, that is, only one remains. The steering machine needs to be separated with the help of nippers, as a result, we get a separate unit.All unnecessary must also be removed.
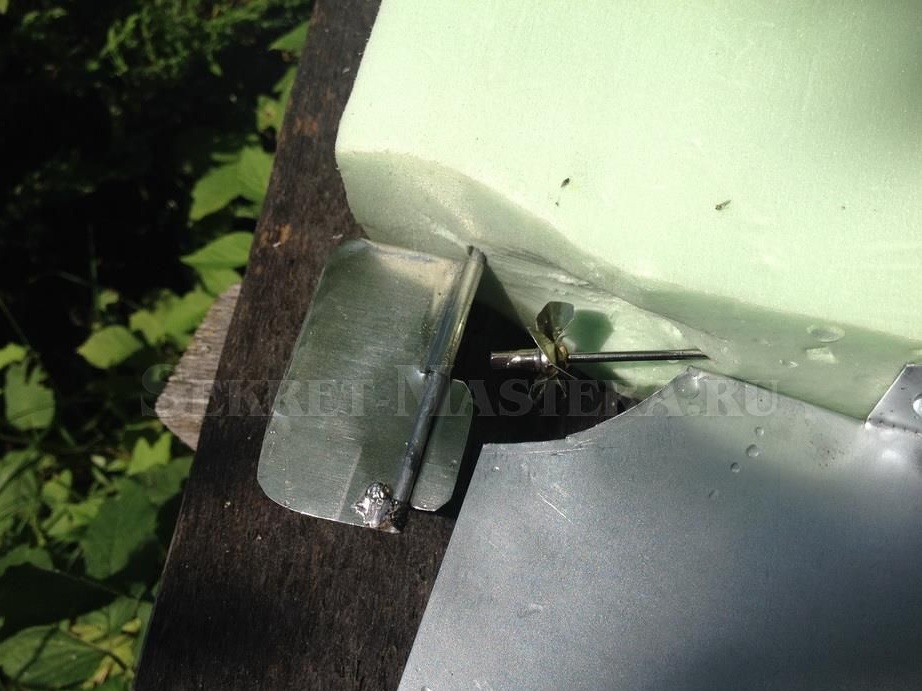
As for the propeller shaft and screw, they are assembled independently. The screw is made from a piece of tin, which can be obtained from a tin can. The shaft is made of bicycle needles of the required length.
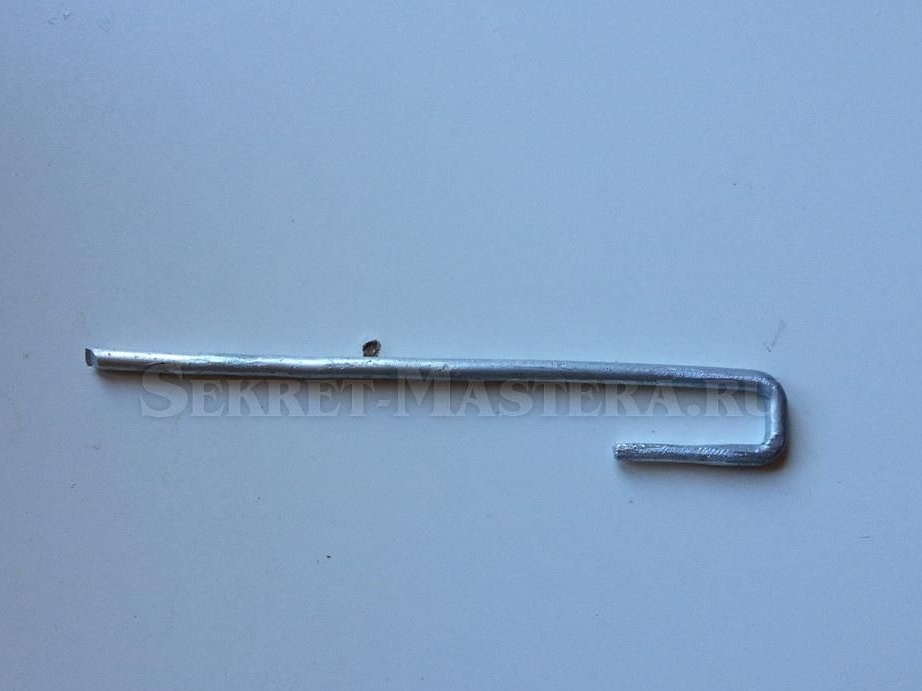
As for the steering, the movement is transmitted to the steering wheel with the help of a “P” -shaped bracket. The steering wheel itself is also made of a piece of tin; it is installed after the model is assembled.
The engine compartment also needs to be cut from the bottom, the author used a hacksaw blade for these purposes. When all the elements have been removed, it is advisable to check for operability.
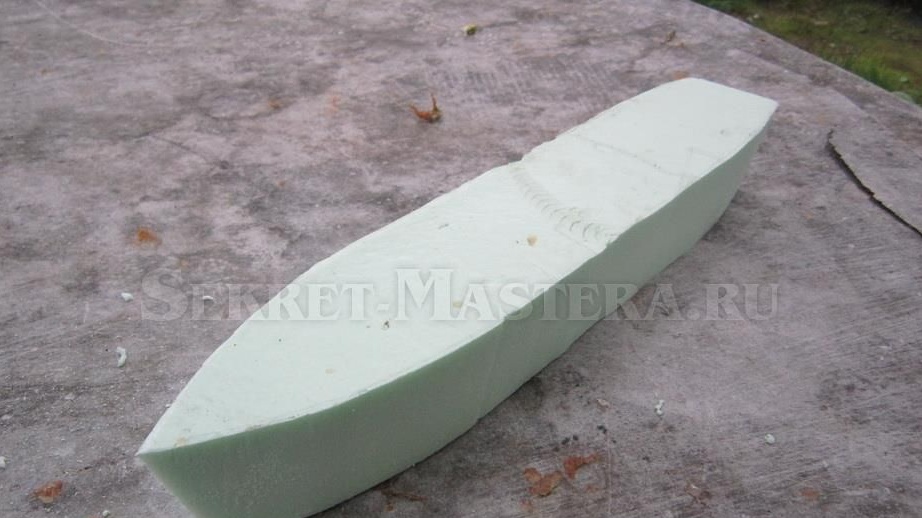
Step Two Ship hull
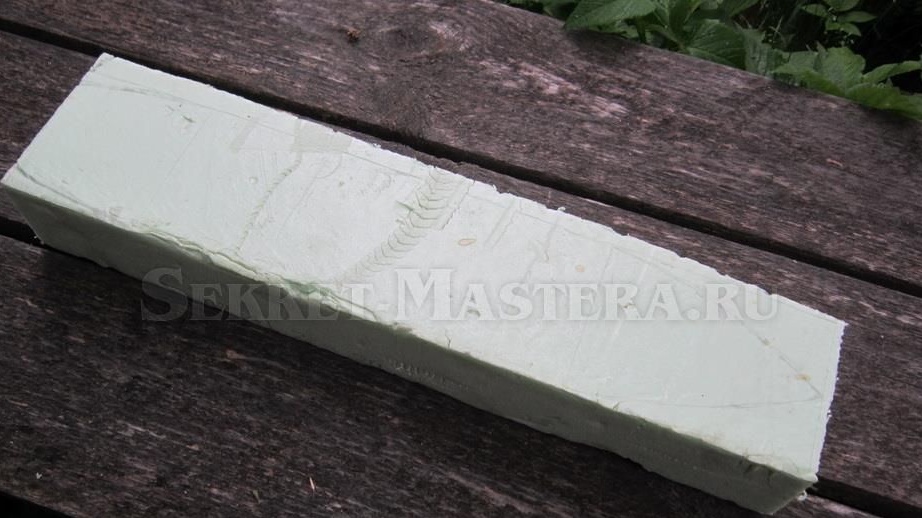
The body is cut out whole, for this a piece of polystyrene foam 60 mm thick is used. First you need to make a paper pattern with the contours of the deck of the boat. The size of the pattern is 400 × 80 mm. Next, the contours are transferred to polystyrene foam and cut with a jigsaw at an angle or directly. Aft cut needs to be done for the diameter of the screw.
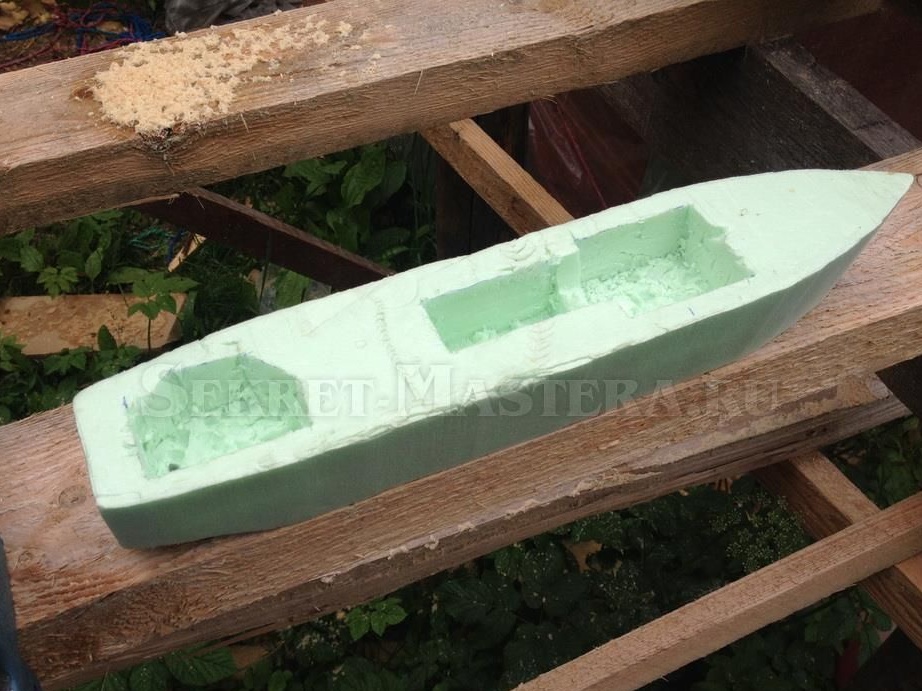
To install the main engine, steering gear and battery compartment in the housing, you need to make recesses, you can use a sharp knife as a tool. The depth of the compartments should not be more than 25 mm, it will be above the waterline.
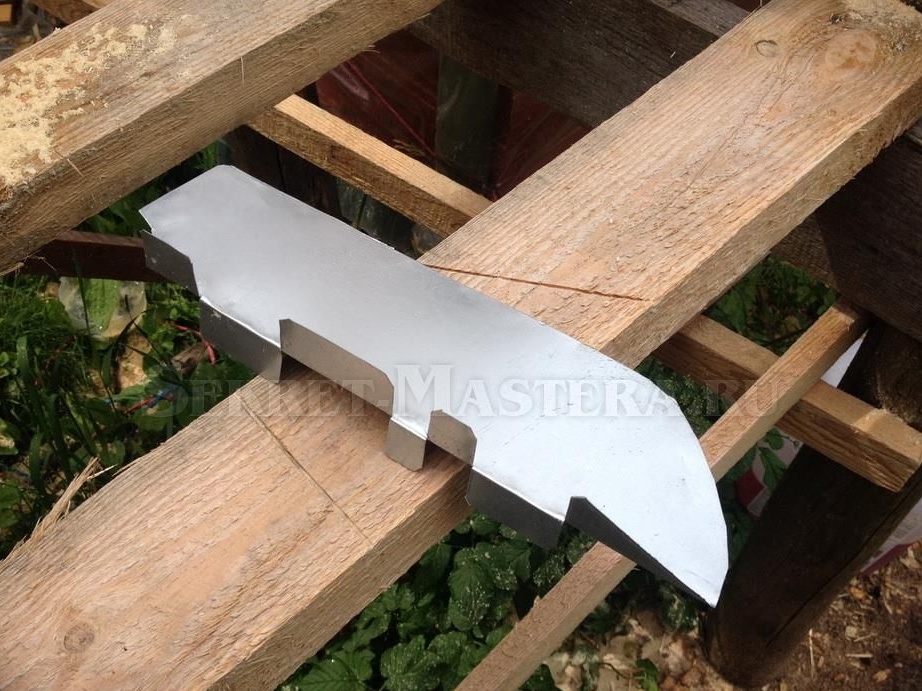

In connection with this design, the ship will not be stable and must be equipped with a keel. To make a keel, you need a piece of roofing sheet with a width of 125 mm and a length of 300 mm. The keel must be cut with scissors for metal and then bent in a vice. Fasten the keel to the body with self-tapping screws with wide caps.
Step Three Installation of the necessary elements in the housing
To install the shaft, they need to carefully push the hole to the motor. The shaft is attached to the gearbox axis using a piece of plastic tubing of suitable diameter. It can be glued or pulled off with a copper wire. After that, the motor must be started, if it works without effort, then you can install a screw on the shaft.
The engine, as well as the steering machine, sit on hot glue.
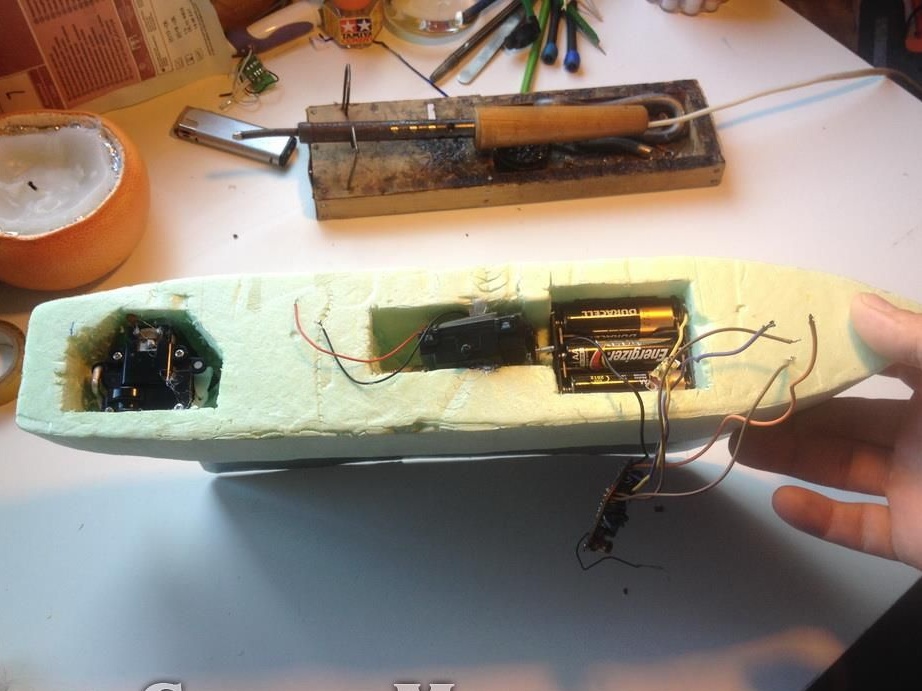
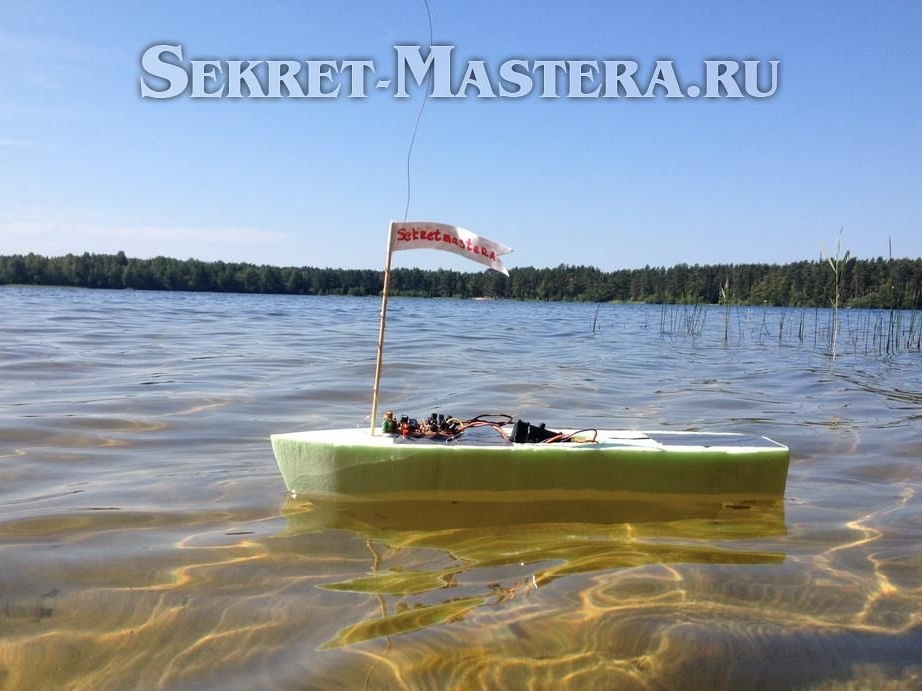
The radio control board is located on the top of the deck, then you will need to solder the power, engine and control wires. After the electrical circuit is assembled, you need to install batteries in the ship and check the system for operability.
The power and steering box must be sealed with tape.

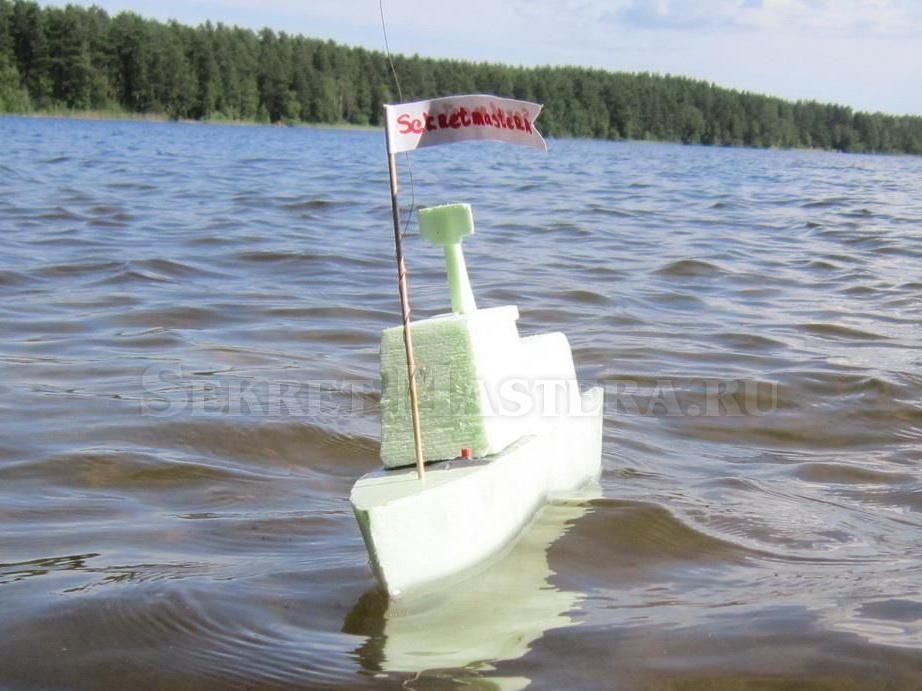
As for the ship’s superstructure, it is made of polystyrene cut into thin pieces. Sheets are interconnected using hot melt adhesive. Inside the add-on there is a radio control board. As for the antenna, it is made of a piece of enameled copper wire, which is mounted on a mast made of skewers for skewers.
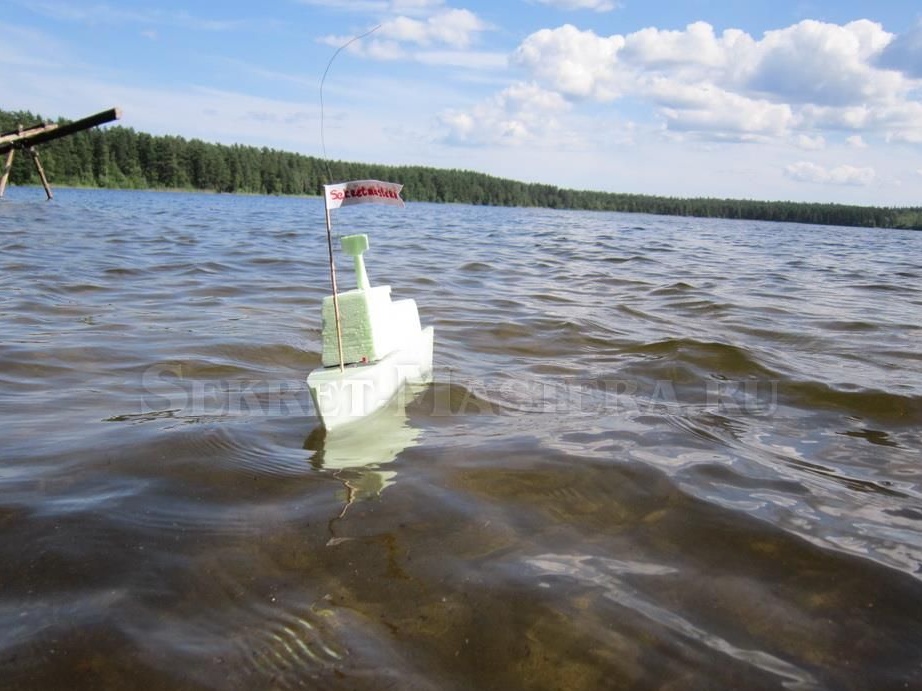
Step Four Ship tests
now you can start the test. It is possible the boat will sail crookedly, it can be easily centered with the help of a keel. As for the control range, it is as much as 100 meters, which is more than enough for such a model. The boat can be modified by changing the size and pitch of the propeller.