
Water for bees is an integral element during the entire active season. This is especially true in the spring season, when the uterus sows, and the bees grow brood. In this regard, any idle beekeeper must take care to provide his apiary with a source of fresh water. For these purposes, you will need to build special drinking bowls for bees.
It is very important that the water in the drinker is warm enough, otherwise, if the bee drinks cold water, it can freeze and not fall into its hive. In this regard, many beekeepers practice heated drinking bowls. But instead, you can use small drinkers so that the water has time to warm up under the spring sun.
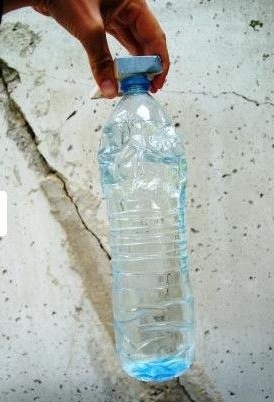
The article will consider an example of creating a drinking bowl from an ordinary plastic bottle. They are quite effective, and also require a minimum of materials and effort for manufacturing.
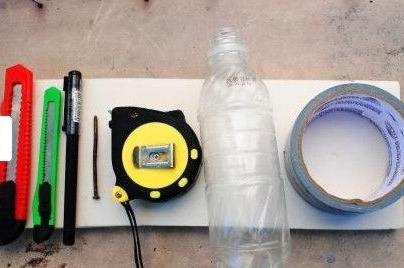
Materials and tools for manufacturing:
- a piece of expanded polystyrene 20 mm thick;
- clerical knife (best two with blades of different lengths);
- one ballpoint pen;
- one small nail;
- ruler and tape measure;
- a small plastic bottle (volume 0.3-0.6 liters);
- scotch tape.
If you take larger bottles, the water will not have time to warm up in the sun, it will also lead to overflow, since the pressure of the water in a larger bottle will be higher. Scotch tape will need high-quality, for example, "Moment". It is usually made of brown color, it is more durable and better glued than ordinary clerical.
The process of making a drinking bowl for bees:
Step one. Making the basis of the drinker
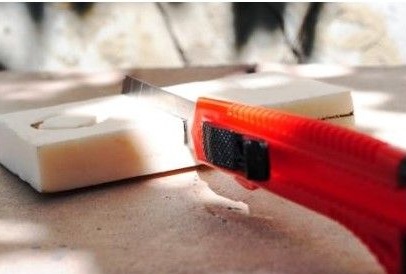
As a basis, the author used a piece of expanded polystyrene 20 mm thick. The piece should be about 6X12 cm in size. But here you already need to proceed from the dimensions of the arrivals, the height of the tray, as well as the design of the hive.
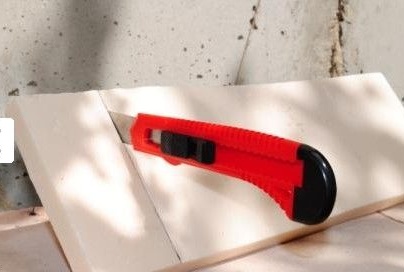
As a result, the resulting piece of the workpiece must be cut into two parts, for this, a line should be drawn along the width of the workpiece at a distance of 55-60 mm. Stepping back from the edge of 10 mm, you need to make a mark, here will be the neck of the bottle. If the neck diameter is not standard, then the mark will be in a different place, here you already need to try on.
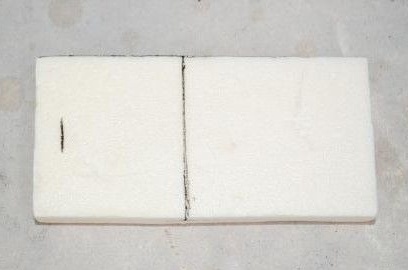
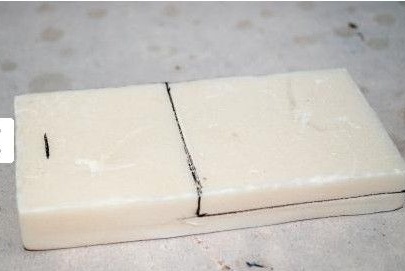
Then you need to divide the thickness of the material in two, as can be seen in the photo. That is, if the thickness of the polystyrene foam is 20 mm, then you need to draw a line at a distance of 10 mm, but you need to proceed from the thickness of the notch, the drinker should fit tightly into the notch.
Step Two Bottle installation
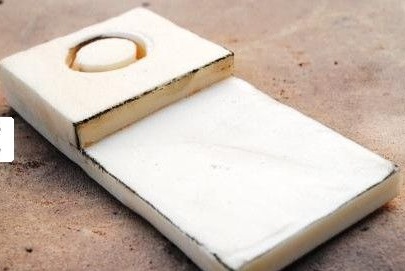
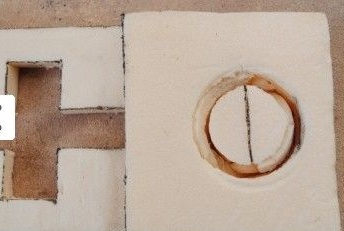
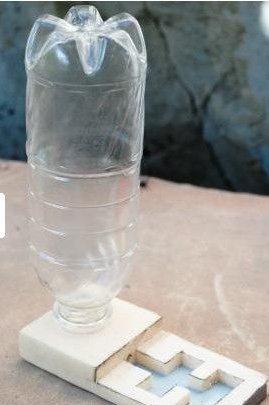
The bottle must be attached to the mark that was marked on the workpiece, and then pressed down. As a result, the material will remain an imprint in the form of a circle. If everything is correct, then now you need to screw the bottle with pressure into polystyrene foam, as a result, a thread is formed in it. Screw the bottle over the entire length of the thread. This connection is quite strong to withstand a weight of 1.5 kilograms.

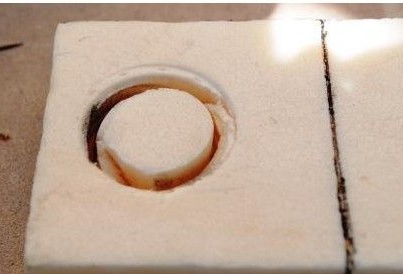
After the thread is cut, you can cut the piece that was previously marked on the workpiece. As for the cleanliness of the cut, it is not very important here, so you do not need to spend a lot of time on this. The result should be something similar to what is seen in the photo.
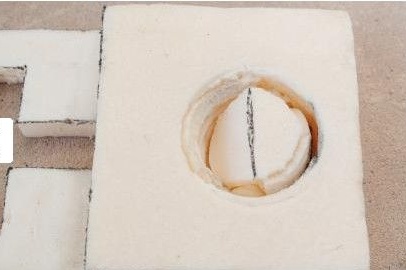
Step Three We make a chute for water supply
The gutter will be filled with water, from which the bees will drink. The shape of the gutter does not matter much, you can make it like the author or come up with a different structure. The dimensions of the gutter also do not matter much. Only the maximum, overall width of the gutter is important. The width of the gutter is calculated depending on the width of the adhesive tape, 10 mm must be left for it. For example, if the adhesive tape has a width of 60 mm, then the width of the channels should not exceed 50 mm.
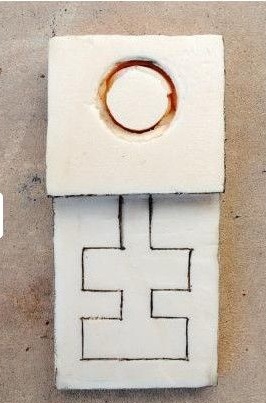
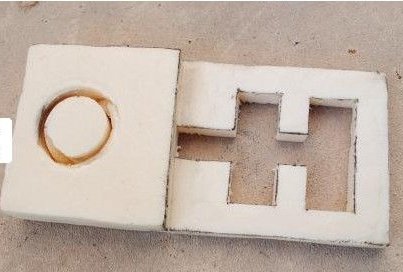
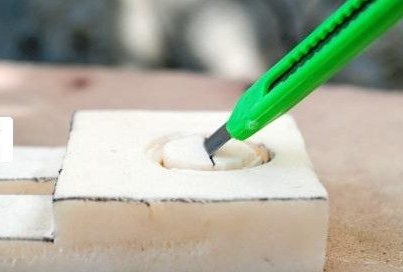
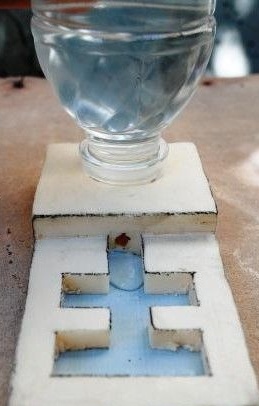
Then the channels need to be cut through. After that, you need to take a pencil and divide the circle that remains after installing the bottle in two. Subsequently, one piece must be cut off. How exactly to do this can be seen in the photo.
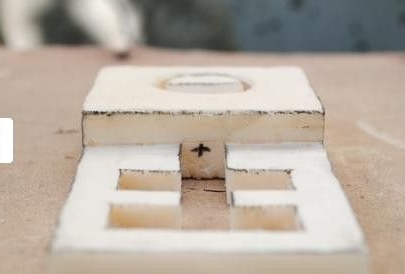
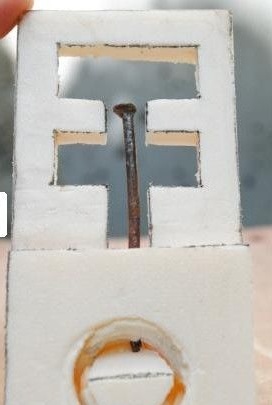
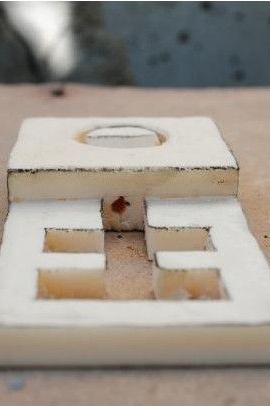
At the same stage, you need to make a hole through which water will enter the channels. First you need to determine a place for him and make a mark. The hole needs to be pressed with a nail, you can still heat it and burn the hole. If the hole turns out to be too small and the water will pass poorly, it’s not scary, you can always increase it.
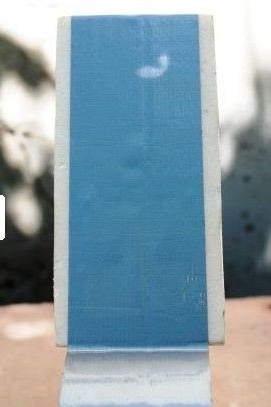
Step Four Final build phase
Now the most crucial moment is ahead, you need to take the tape and carefully glue them the back of the drinker. Scotch tape will perform the function of the bottom. If it so happened that the adhesive tape does not stick well, it can be greased with glue or sealant, such a design will never disappear. That is why it is recommended to use high-quality adhesive tape, which is well glued to polystyrene foam. That's all, actually, you can screw the bottle and set the drinker.
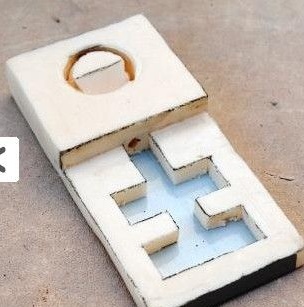
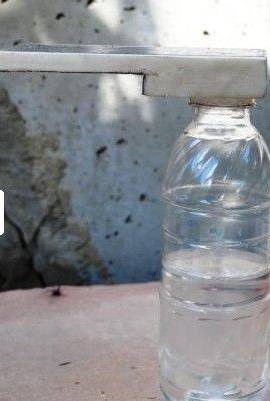
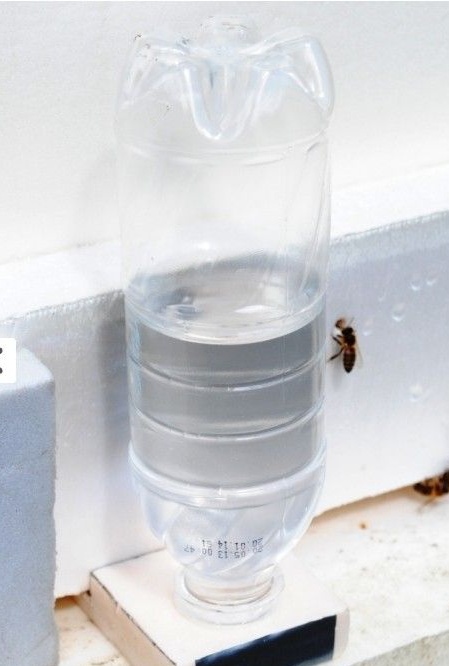
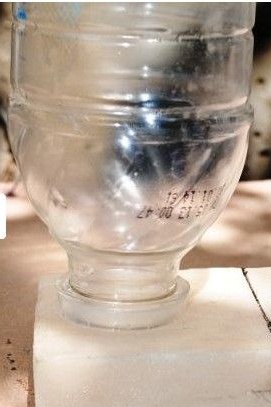
Before installing in a bottle, you need to collect water. Then the made drinker is screwed onto the bottle. After that, the bottle is carefully turned over; as a result, you can see how water begins to flow into the channels from the hole. When the grooves are completely filled with water, it will cease to flow. When the bees drink water, the water level will drop, and air will begin to flow through the neck of the bottle, and as a result a new portion of water will enter the drinker. For the first time, the skit will be sticky enough, but over time it will pass, you do not need to put the drinker in the hive on the same day, you need to wait a day or two until the glue on the adhesive tape dries, since the bees can stick to it.
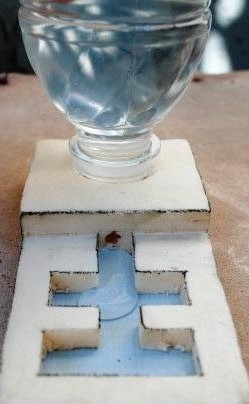
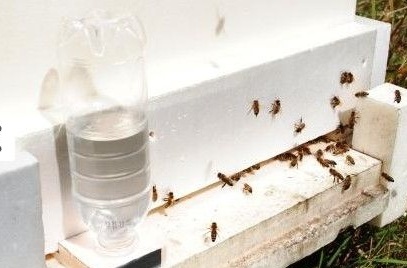
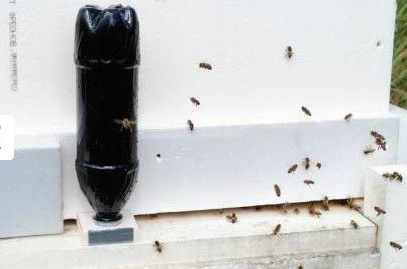
The drinker fits tightly into the tray; as a result, it does not attract ants, wasps, and other insects from the outside. So that the water heats up faster in the spring sun, the bottle can be painted black or you can take a dark bottle instead of a transparent bottle.
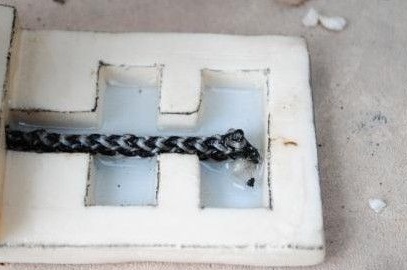
Also, some use a wick to supply water to the channels. With this method, water is slowly fed into the gutter.