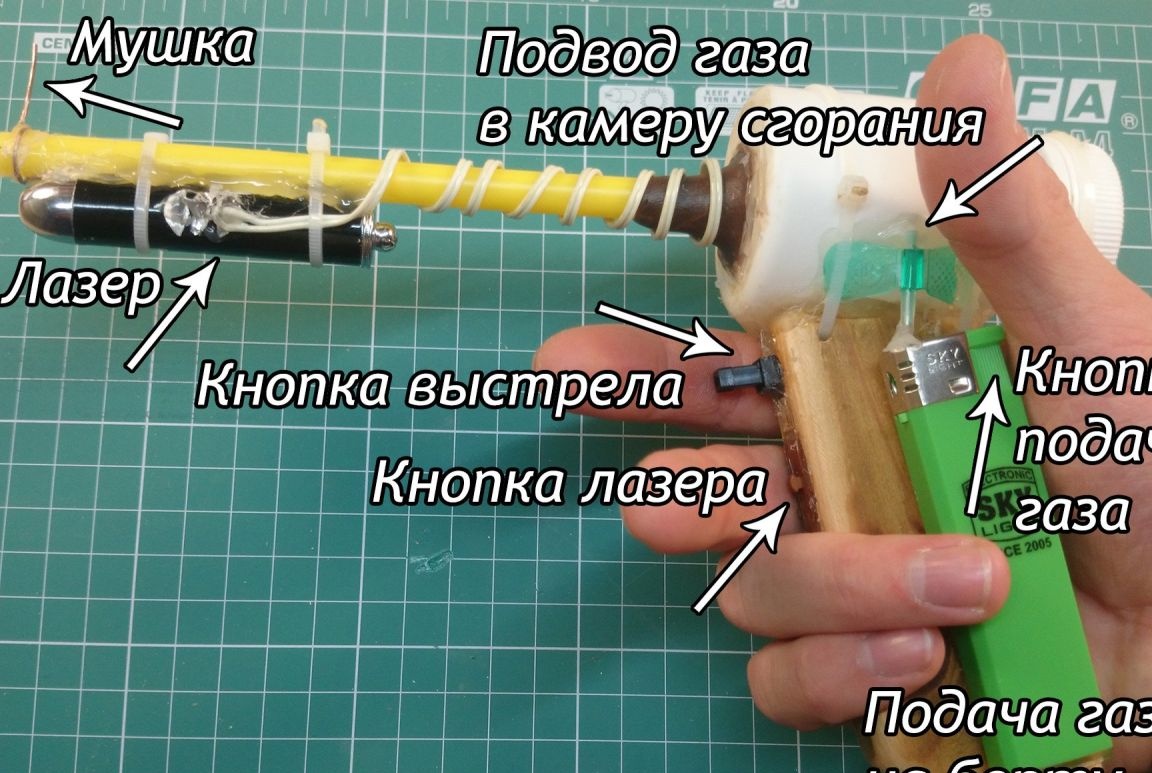
This homemade is a small copy of a cannon that shoots potatoes. That is, gas is used as energy for the shot, in this case gas from a lighter. A variety of shells can shoot such a device, it can be darts, clay, paper balls and even metal or lead bullets from air guns. The initial velocity of the projectile is 60 m / s, this allows you to punch a metal can from the drink. Muzzle energy when used as bullets for bullets is within 0.6 J. Per minute, such a gun can make 6-7 shots, it reloads quite quickly and simply.
The gun fires quite loudly, according to the author, it is capable of breaking through 12 notebook sheets. For such homemade work, you can build a small shooting gallery at home. The device is assembled quite quickly and requires a minimum amount of materials.
Materials and tools for assembly:
- a tube for the manufacture of the barrel (the author has an inner diameter of 6 mm);
- Bank from ascorbic;
- lighter with piezo arson;
- board.
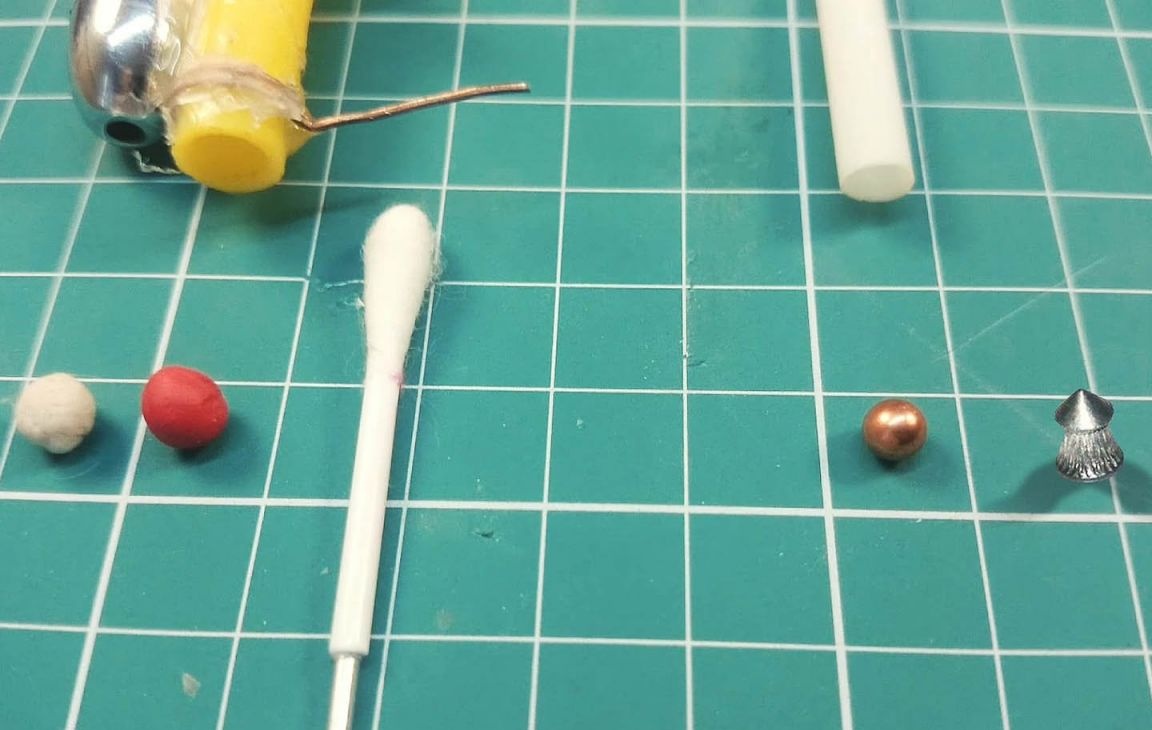
For an improved version of homemade work, you will need a button with wires, a laser pointer, a magnet, and a butterfly type catheter.
Of the tools you will need: a drill, a hacksaw, pliers, a soldering iron, a glue gun, a knife, sandpaper, clamps and cold welding.
The process of making a mini-gun (the easiest):
Step one. Barrel making
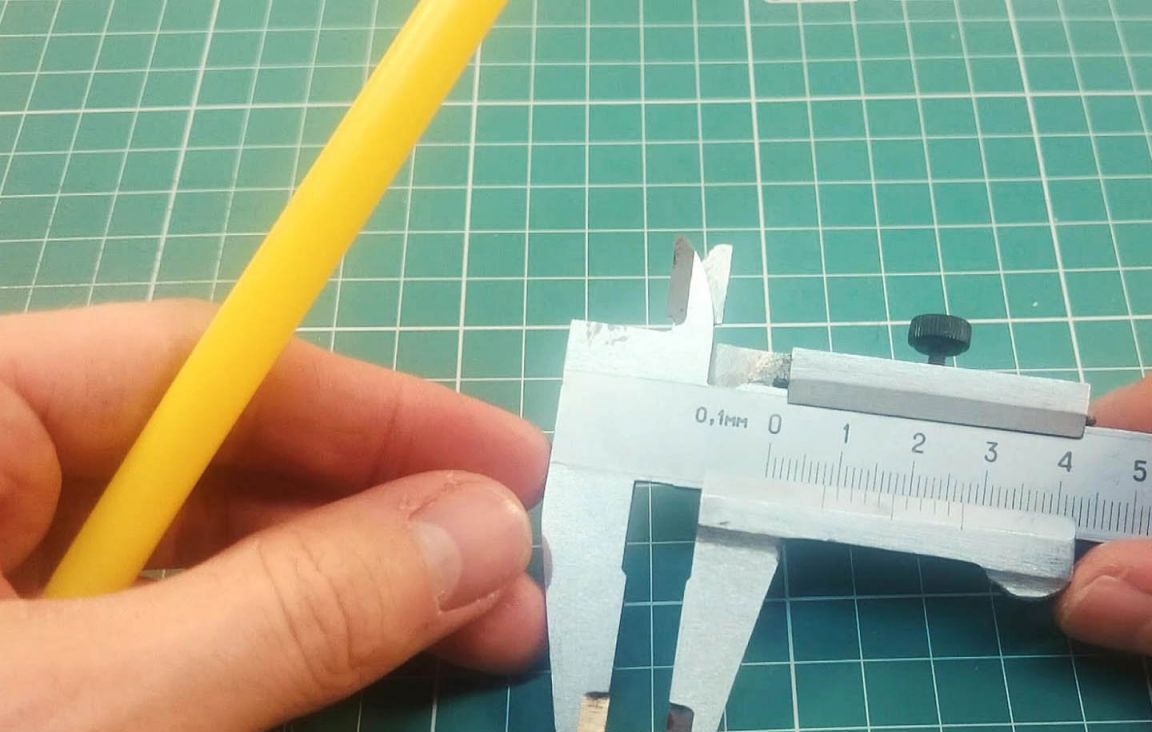
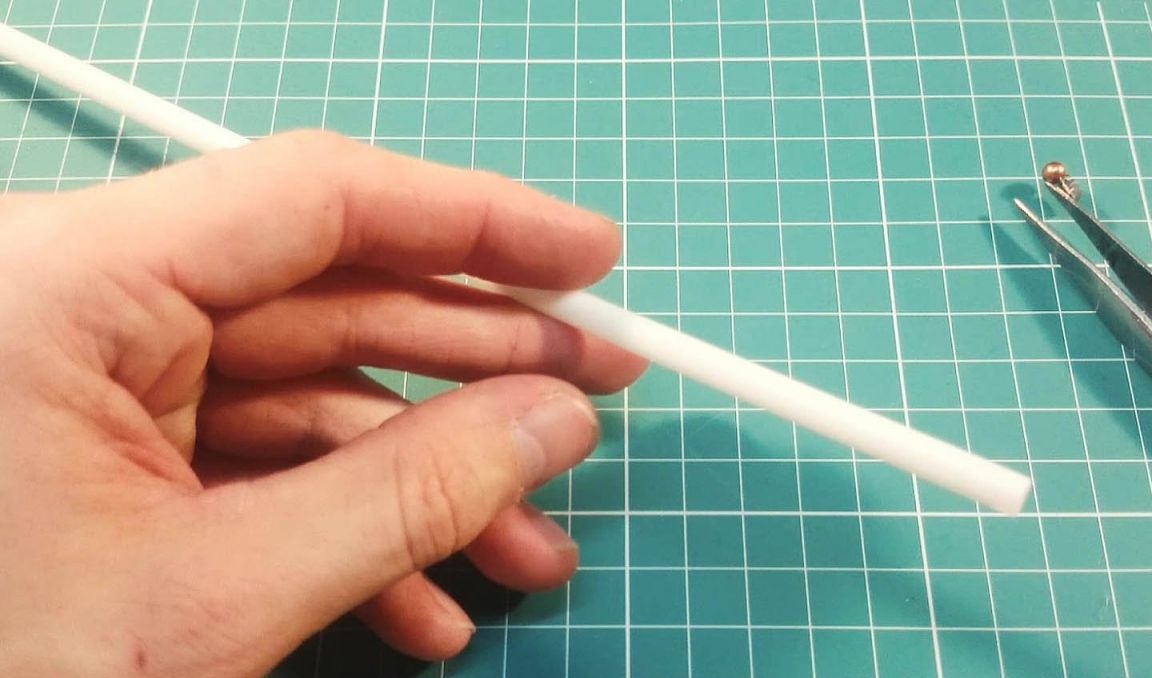
For the manufacture of the barrel you will need a piece of tube 20 cm long, or even more. Length matters here. But since the gun is made in the form of a gun, then 20 cm will be just a great long barrel. The diameter of the tube is 8.5 mm.
Step Two Installing the barrel in the camera
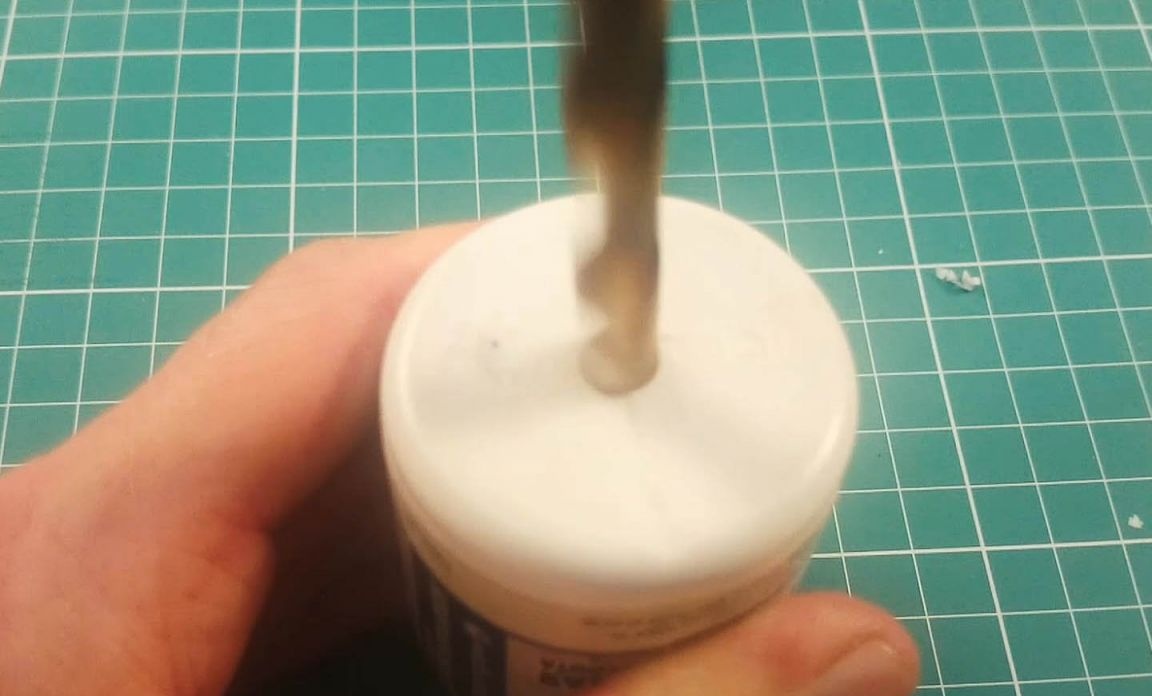
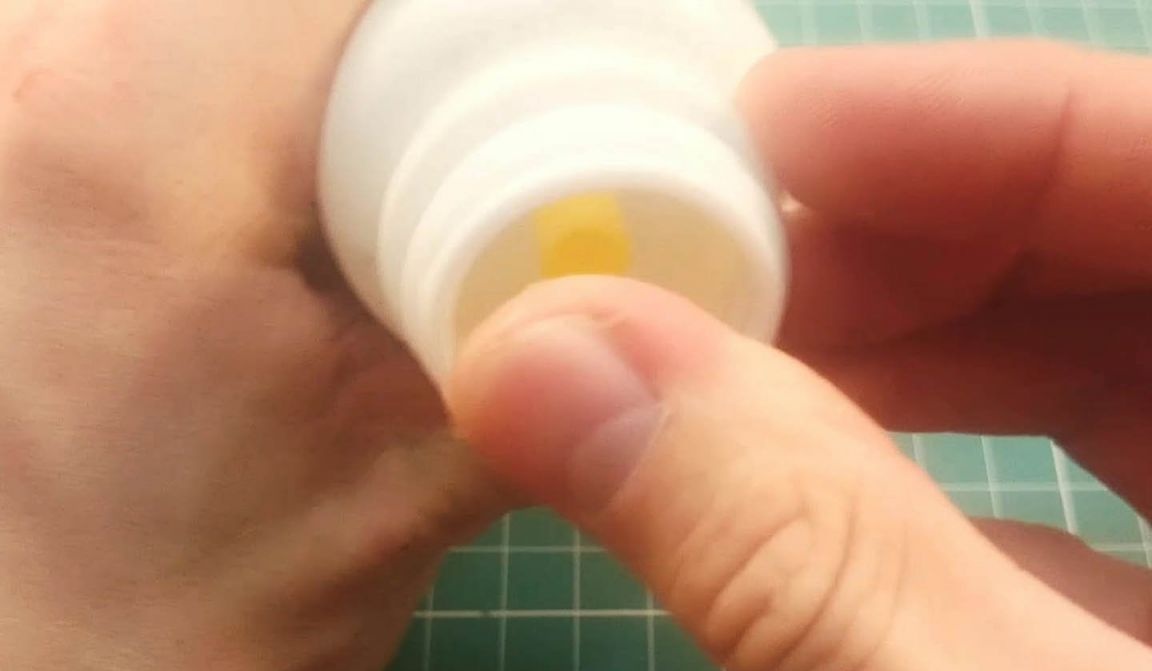
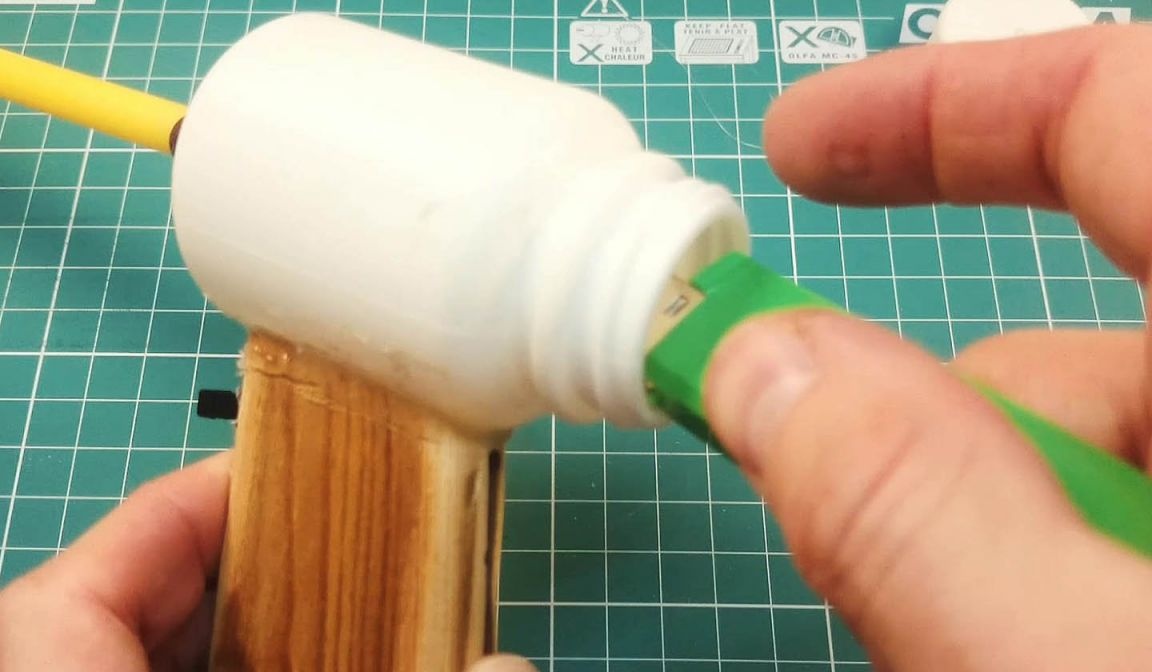
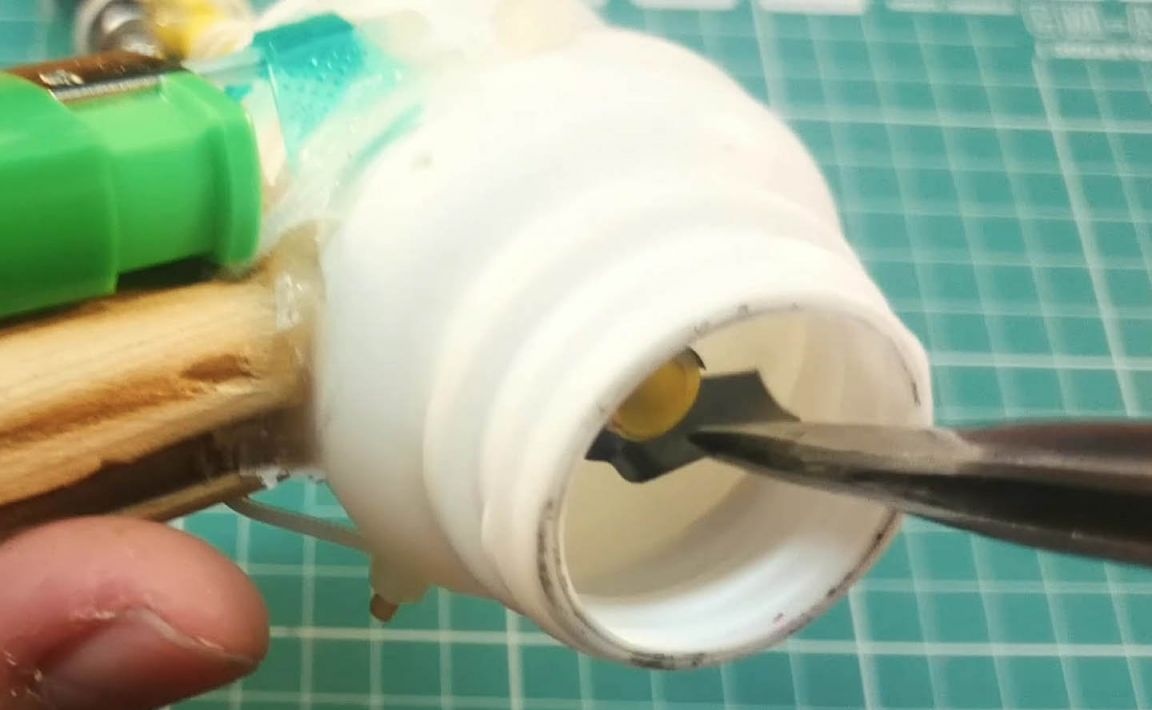
The camera is made of an empty jar, in which there were ascorbic acid. In the bottom you need to drill a hole with a diameter of 8 mm, as a result, the tube will go in with force, which will ensure tightness. Now the barrel is inserted into the hole, its breech should be located inside the jar at a small distance from the lid.
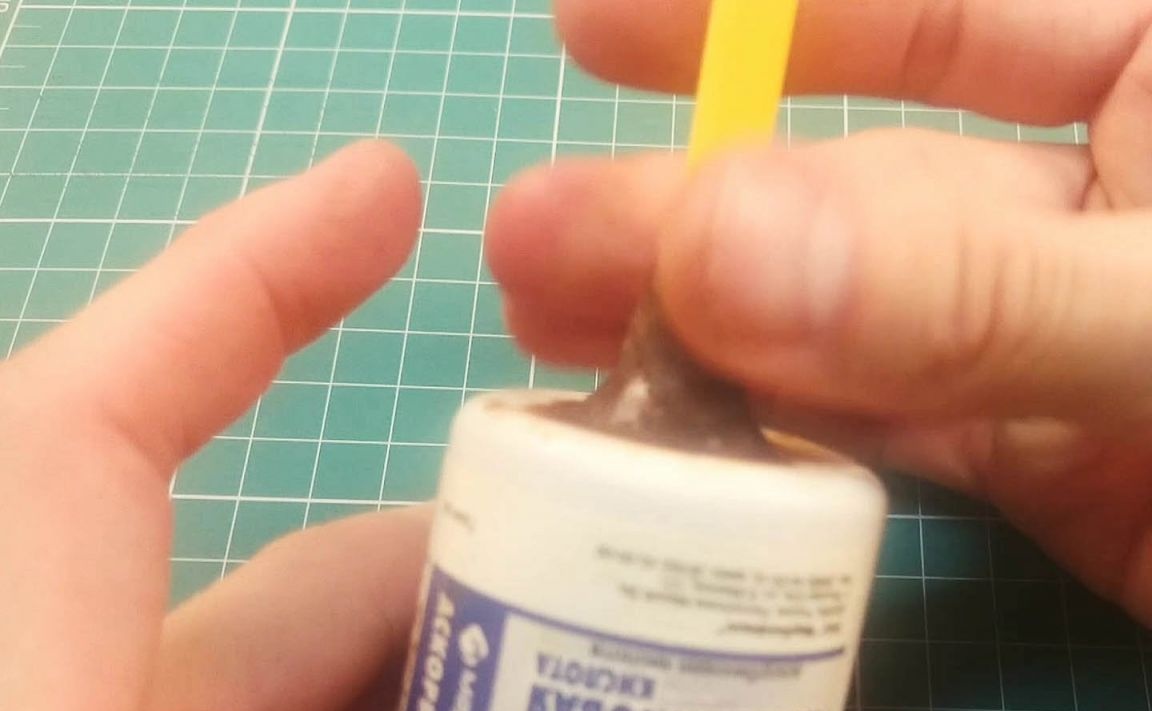
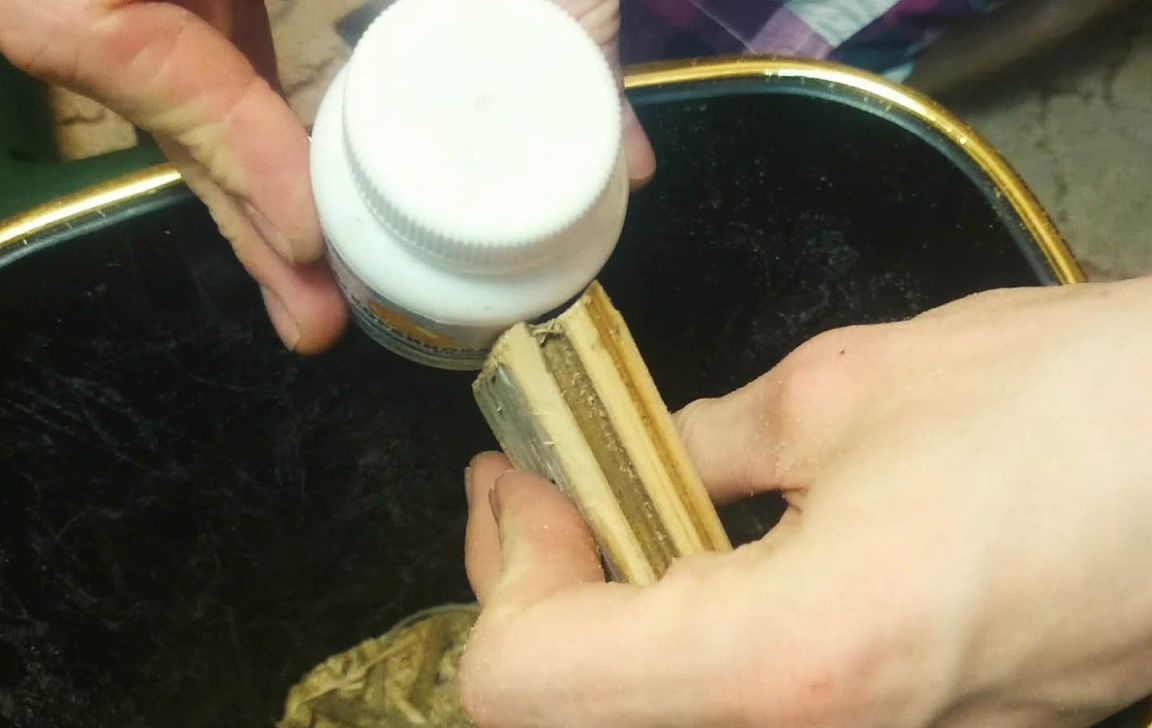
The barrel is attached by cold welding.The easiest way to smear it with wet fingers, then it does not stick. Before work, it is recommended to process both surfaces with a sandpaper, this will provide a more reliable contact of cold welding.
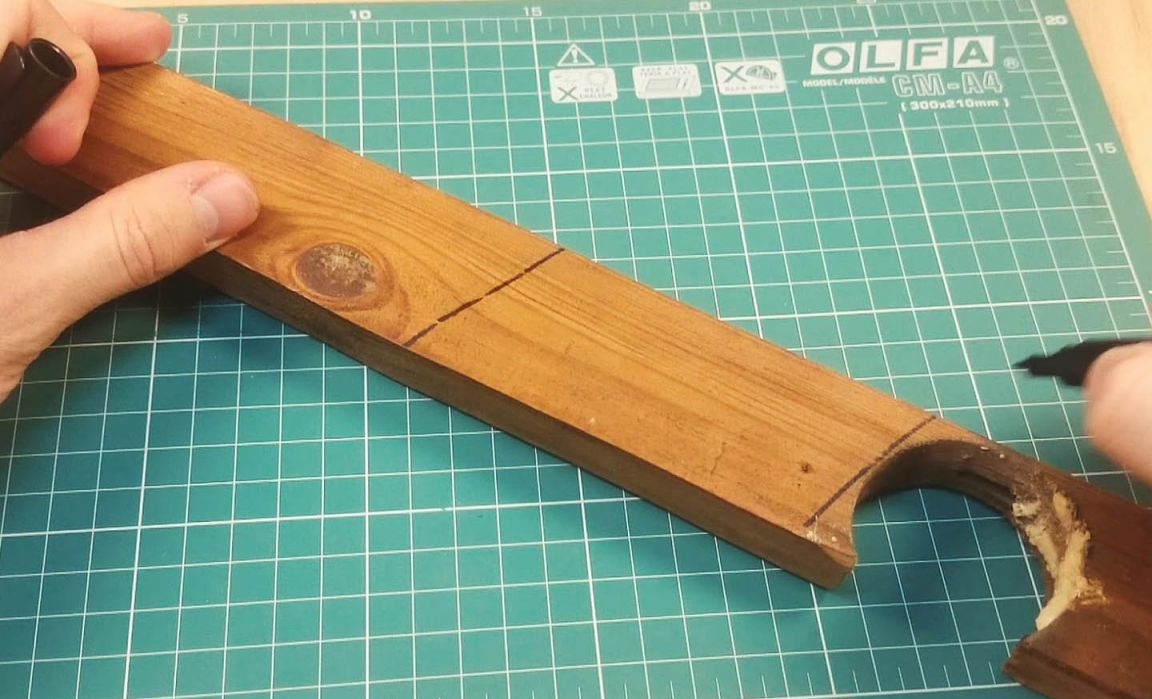
Step Three Handle manufacturing
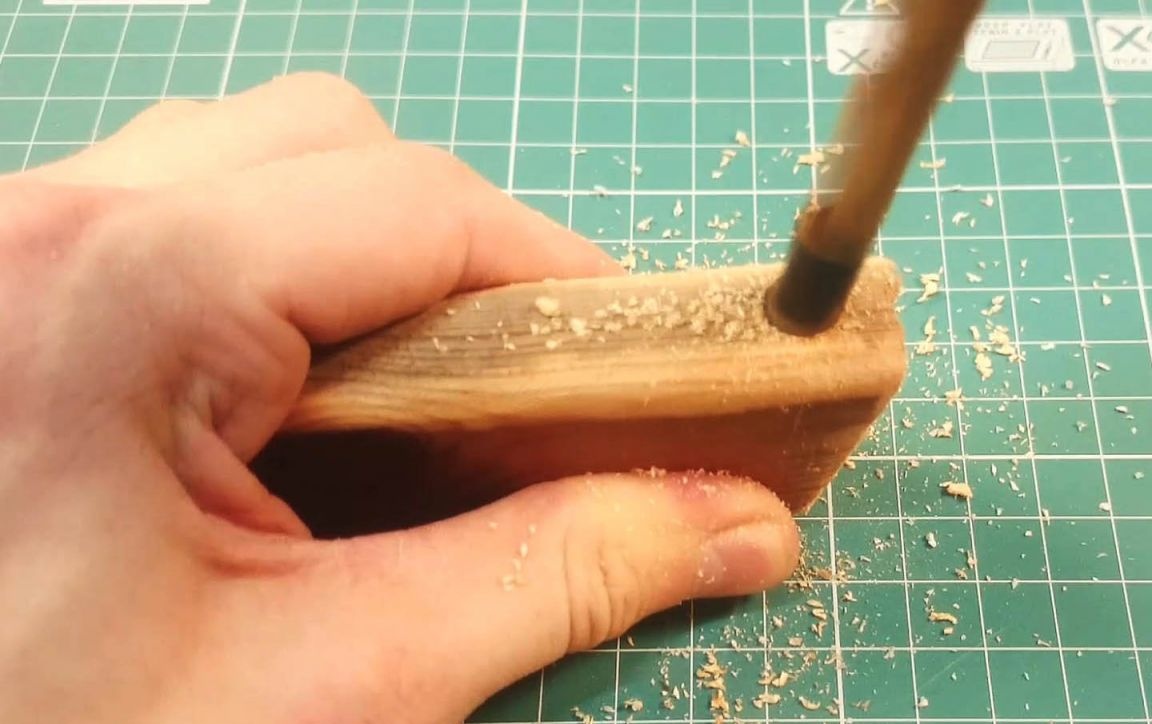
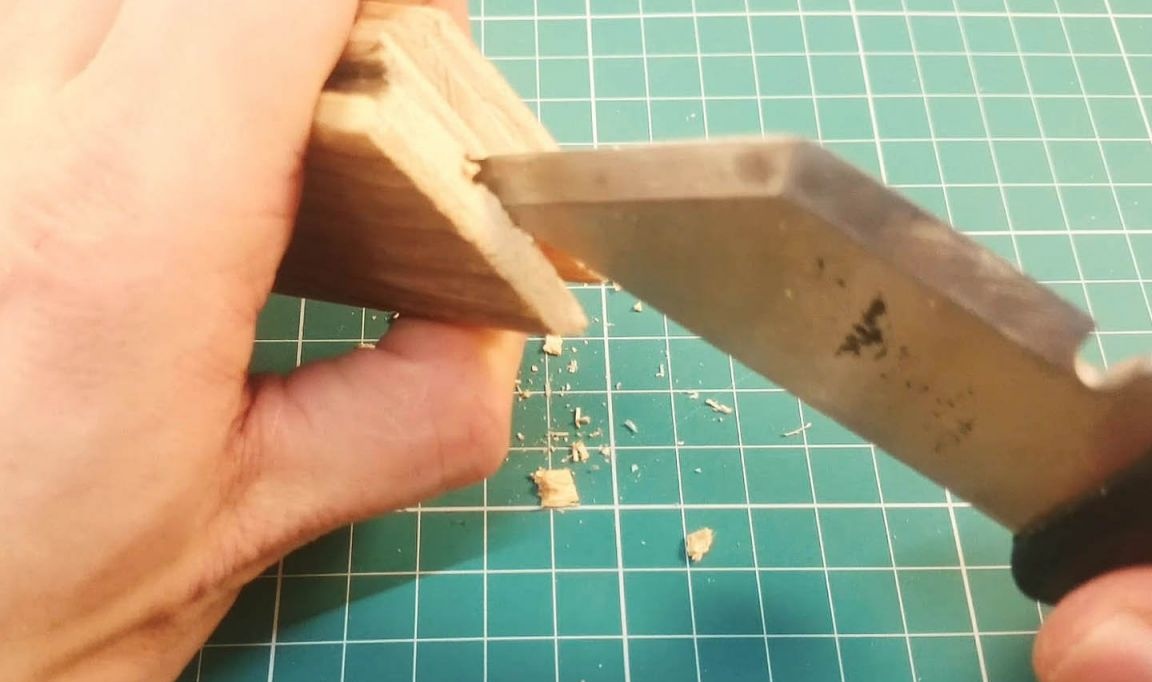
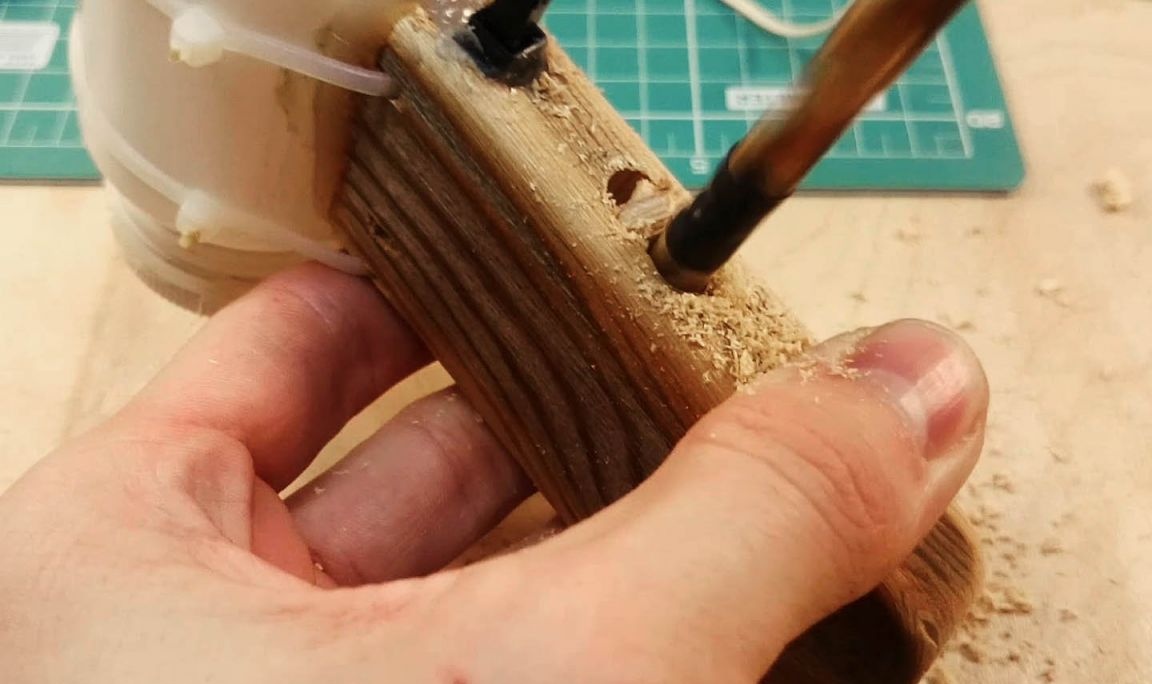
The handle is made of a board, its shape and dimensions are selected individually, there are no rigid frames. The handle must be cut and then groove in it for the combustion chamber.
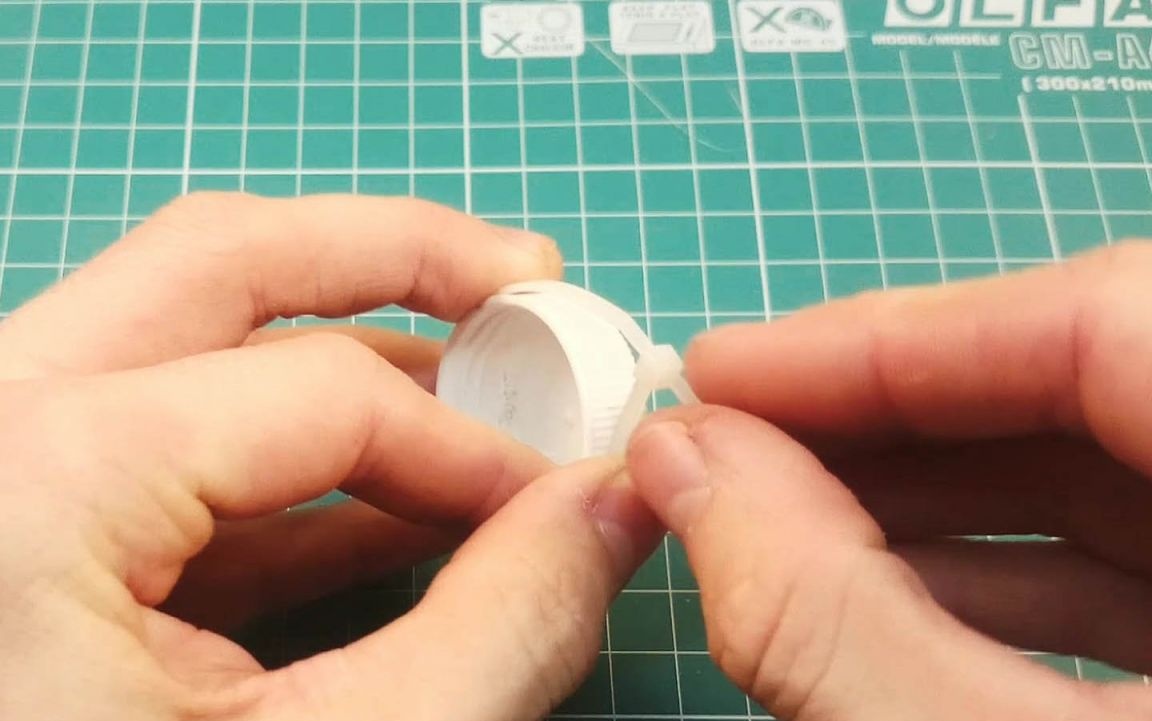
The piezoelectric element will be installed in the hole, as a result, only its button should stick out. To do this, you need a drill.
The upper wall is gently broken with a knife.
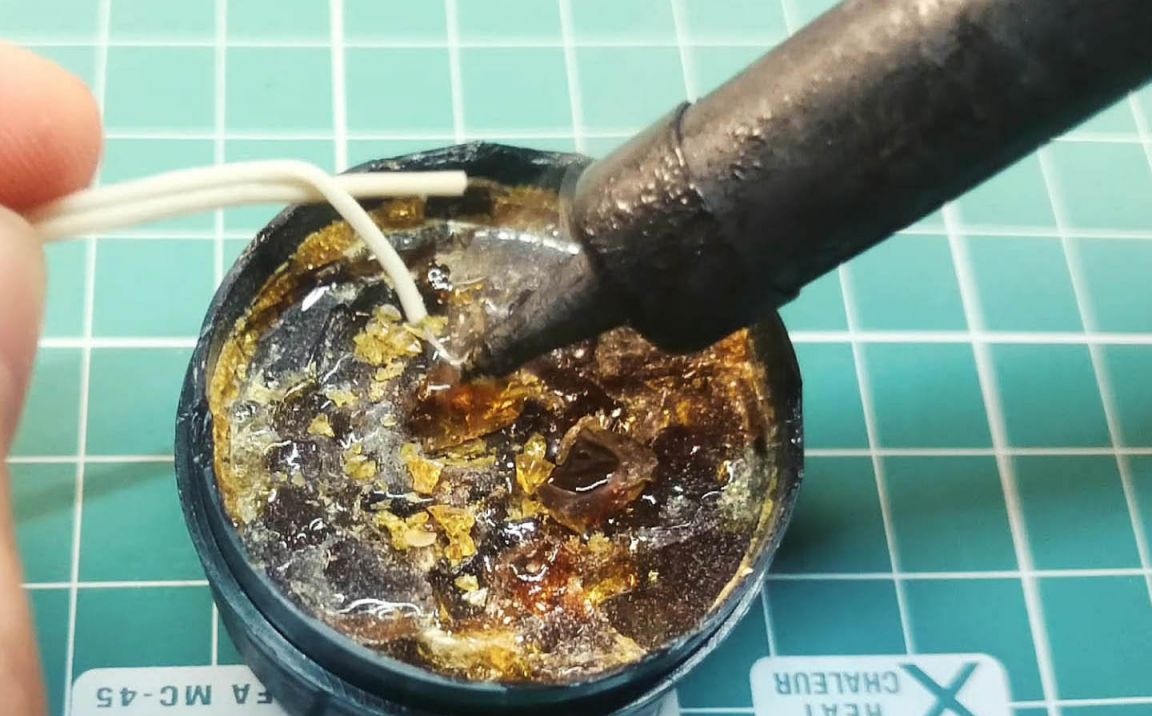
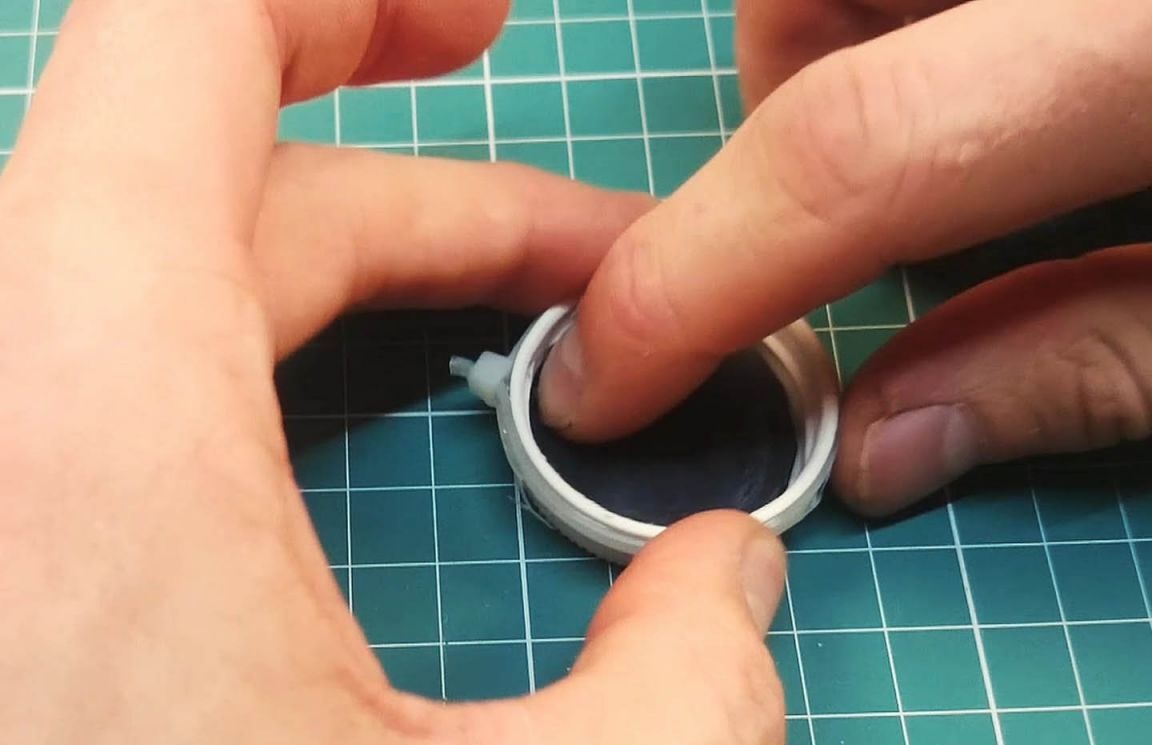
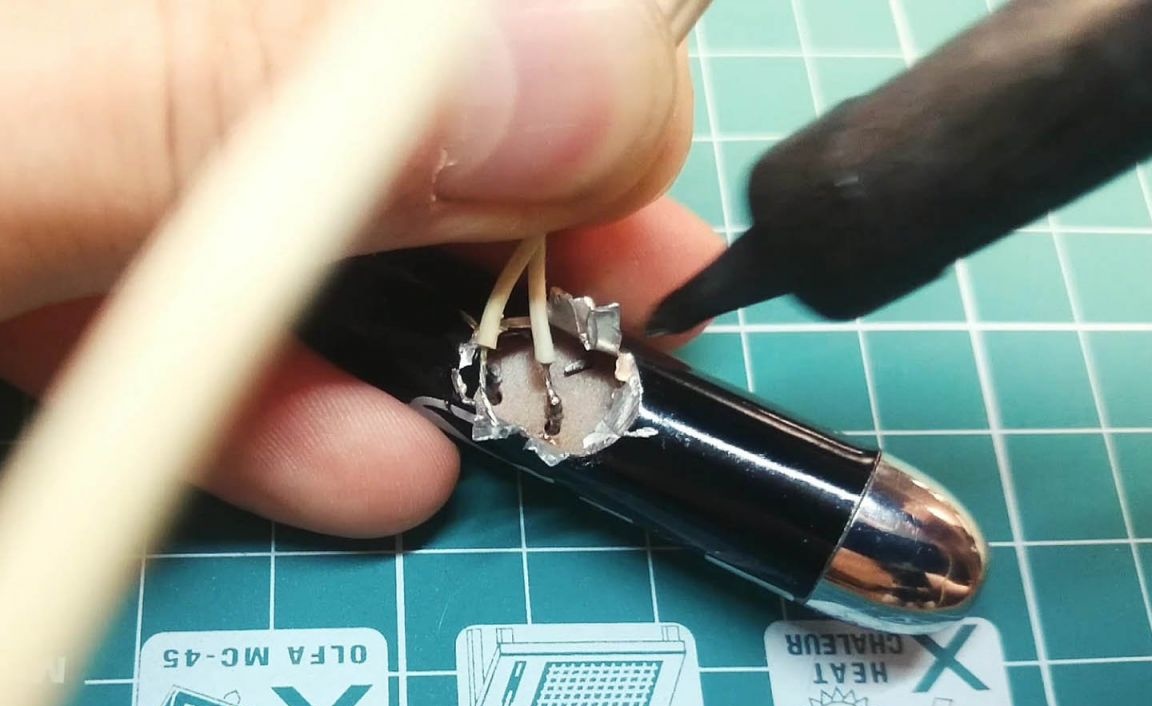
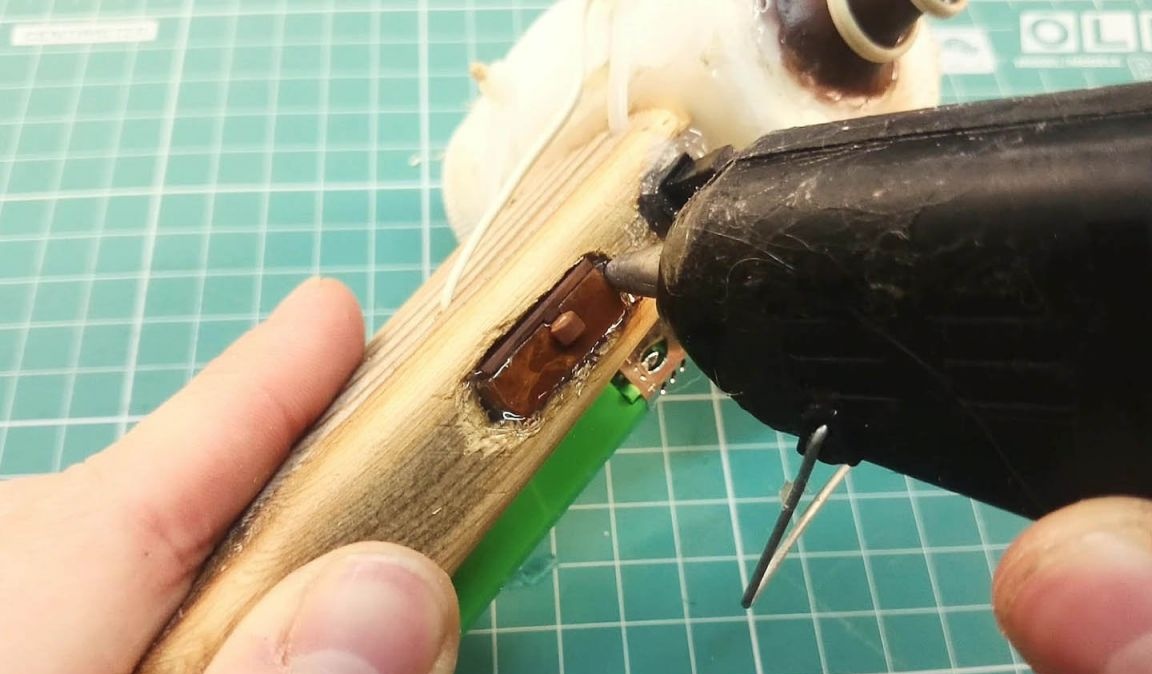
Step Four Electrode installation
An unfastened paper clip will be used as an electrode; it needs to be inserted into the back of the trough hole. After that, you can insert the piece. It is best to place a piece of foil between the contacts, this will create a more reliable contact.

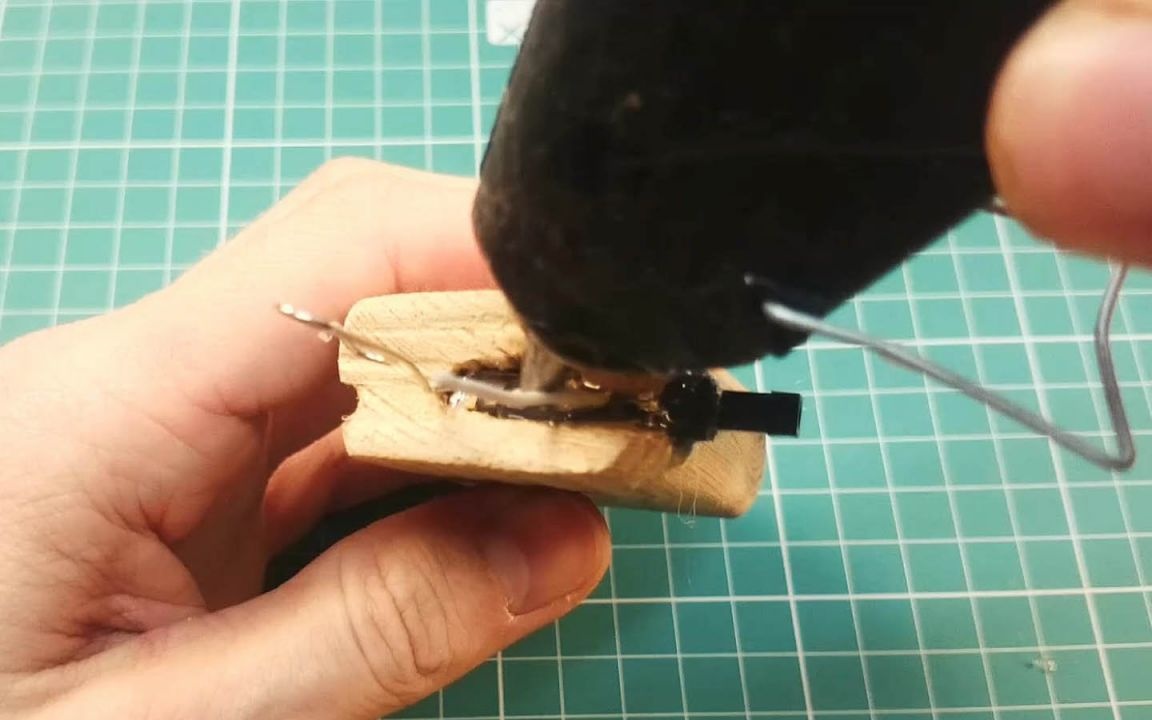
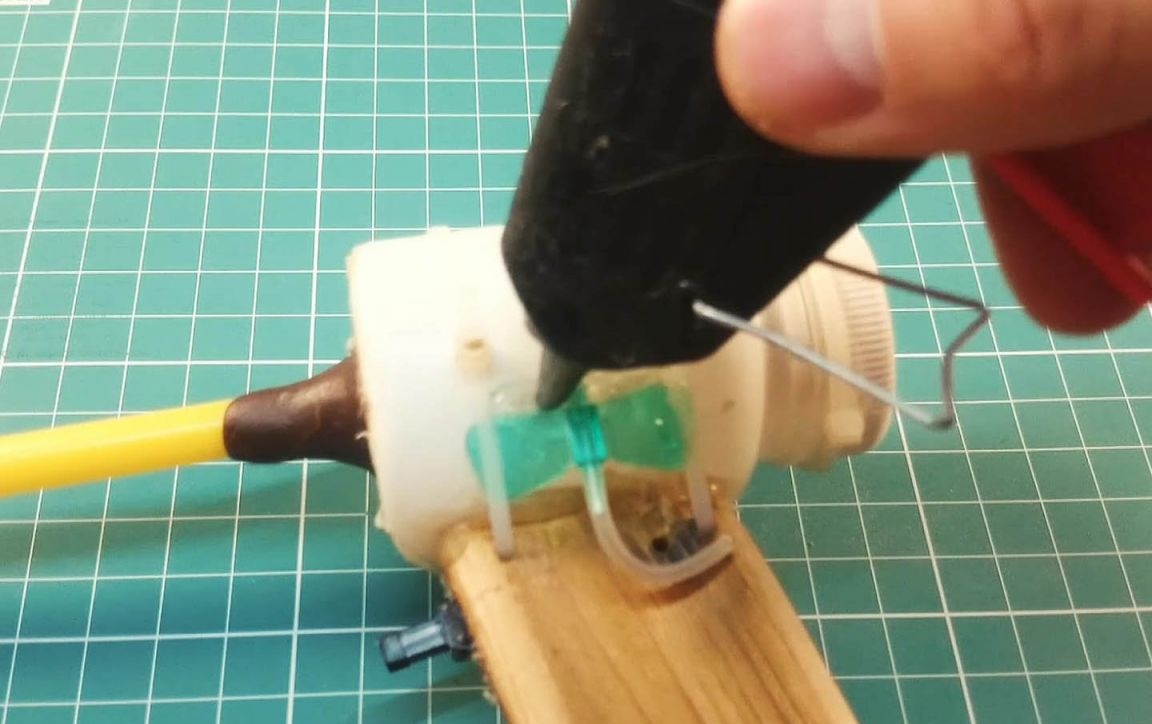
Well, now everything can be filled with hot glue. It is important not to fill the holes in the pie, otherwise it will stop working. To do this, it is preferable to glue them with tape.
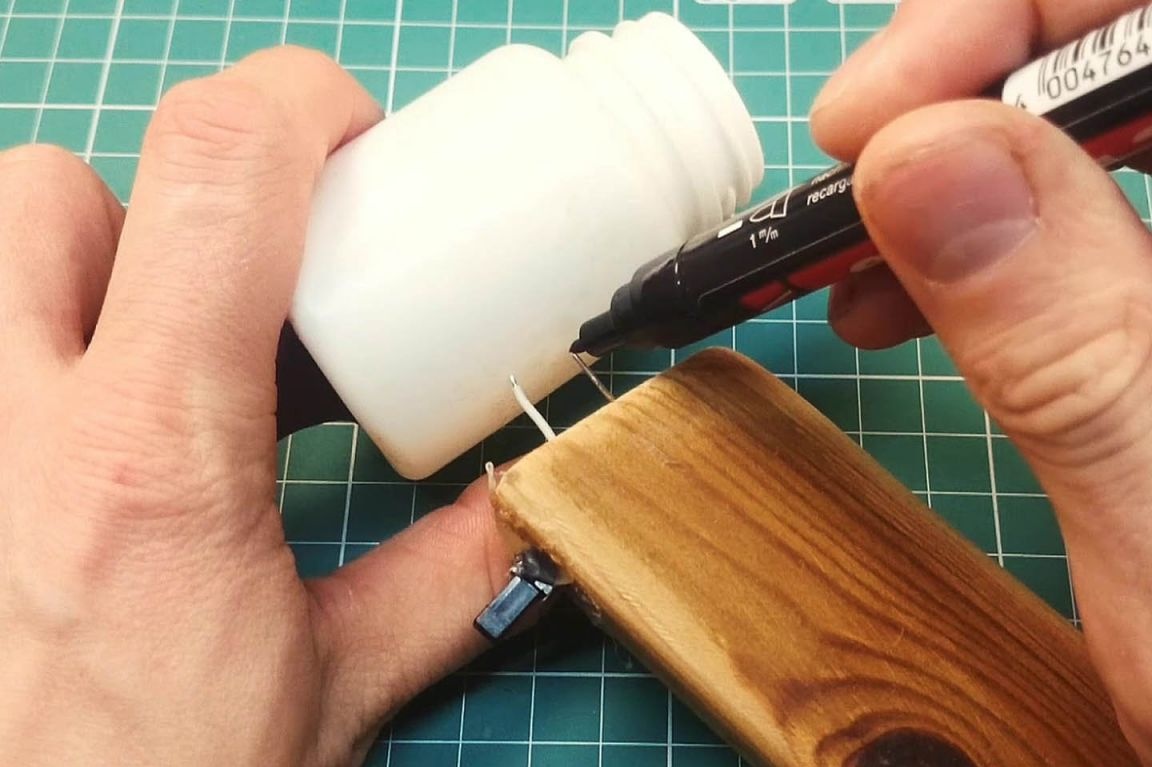
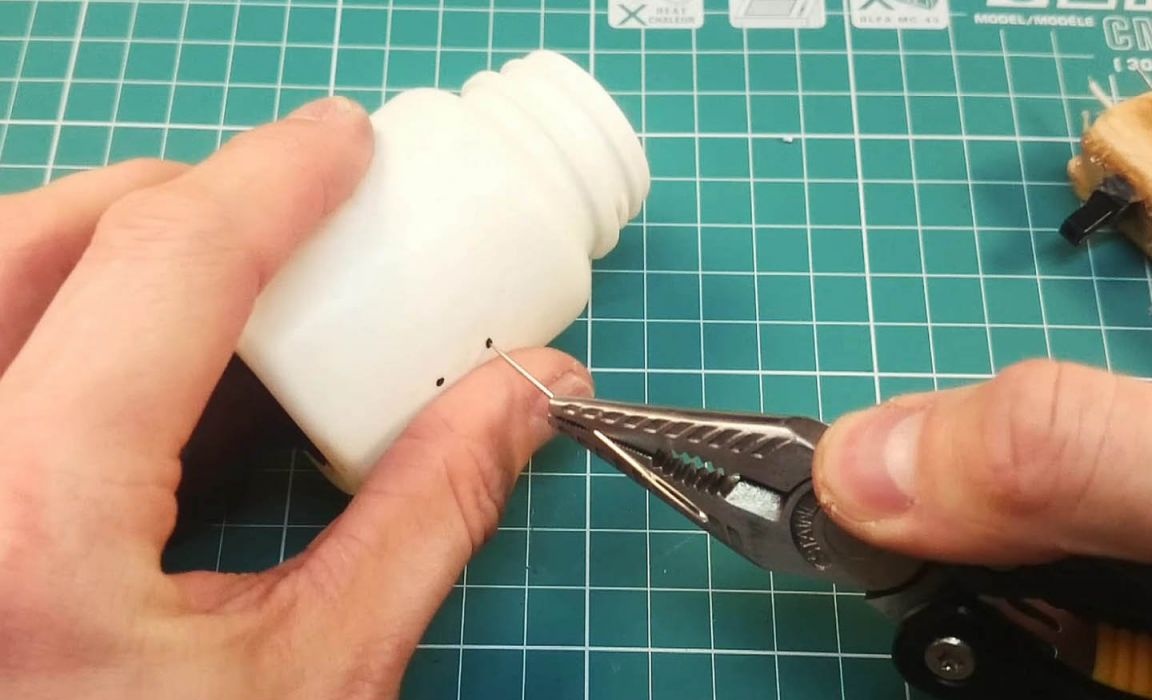
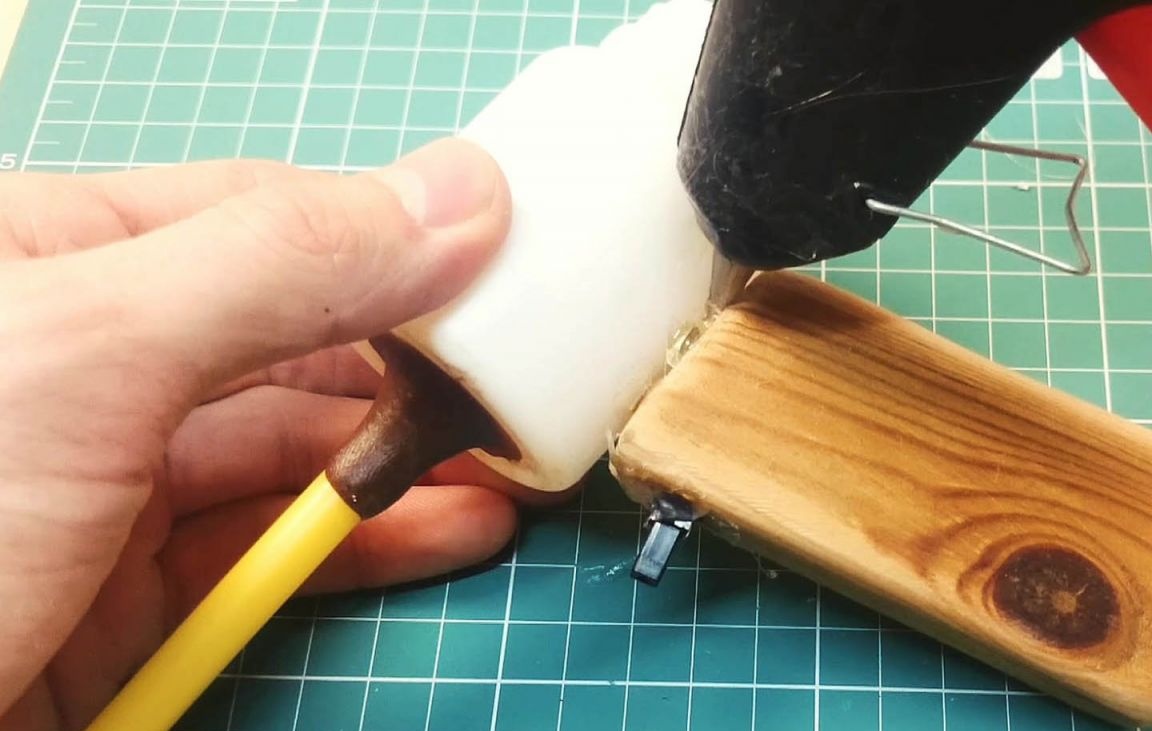
Step Five We connect the combustion chamber to the handle
First of all, it is necessary to make notes on the combustion chamber where the electrodes will be installed. The holes can be pierced with a needle, and it is best to use a nail, since in the first case the holes will be too small and it will be difficult to stick the electrodes. In conclusion, the combustion chamber is glued using hot glue, the bonding points must first be treated with sandpaper.
That's all, the simplest version of the gun is ready. Now you need to let gas from the lighter into the chamber, insert a charge into the barrel, close the lid and you can make the first shot.

Gun revision
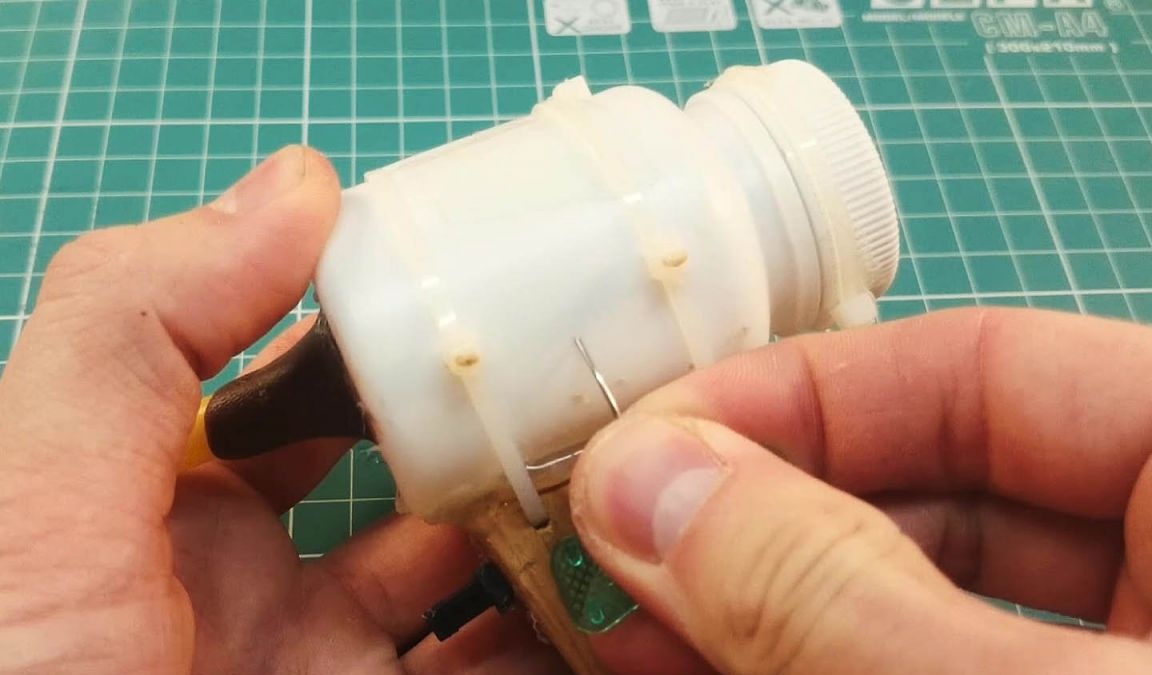
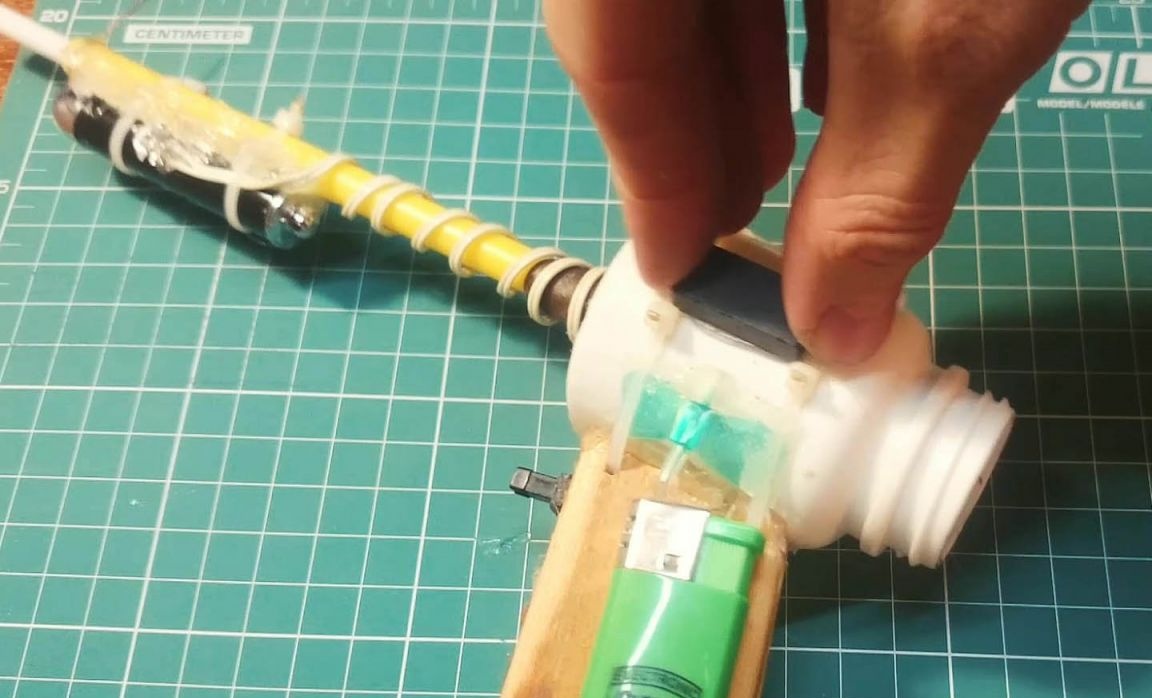
The gun can still be modified, for example, you can strengthen the lid, for this it is pulled together with a clamp, which is desirable to put on glue.
In order to increase the efficiency, an elastic band must be glued inside the lid, after which the lid will fit tightly to the bank.
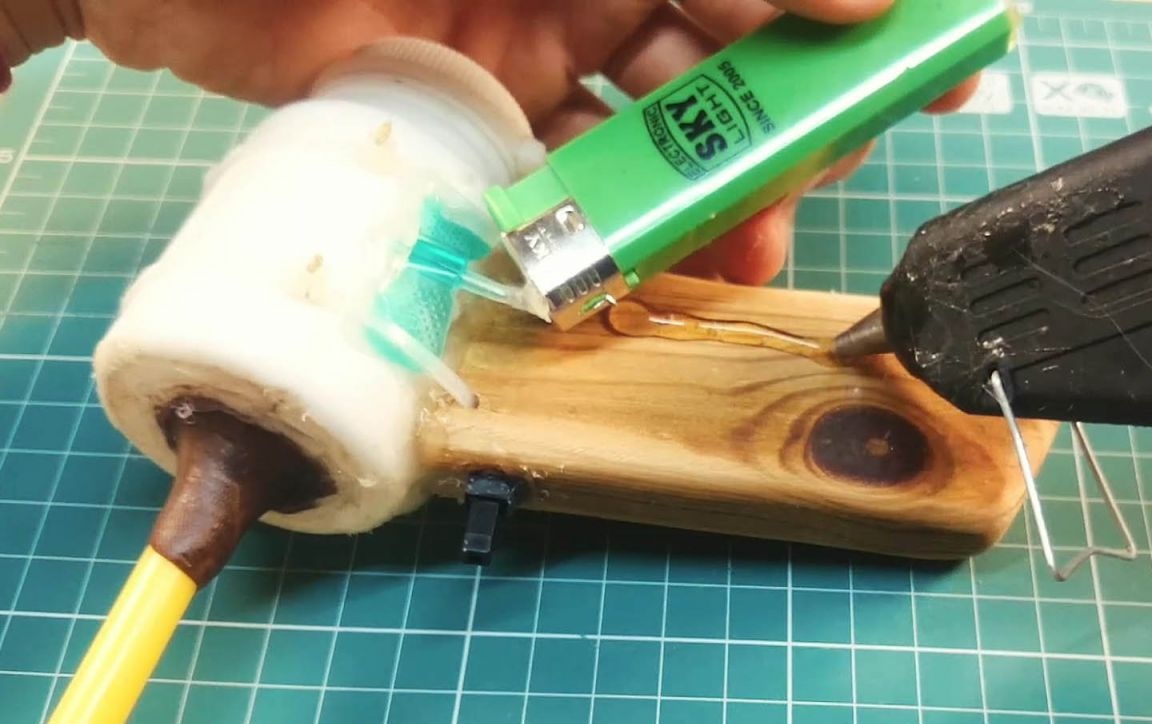
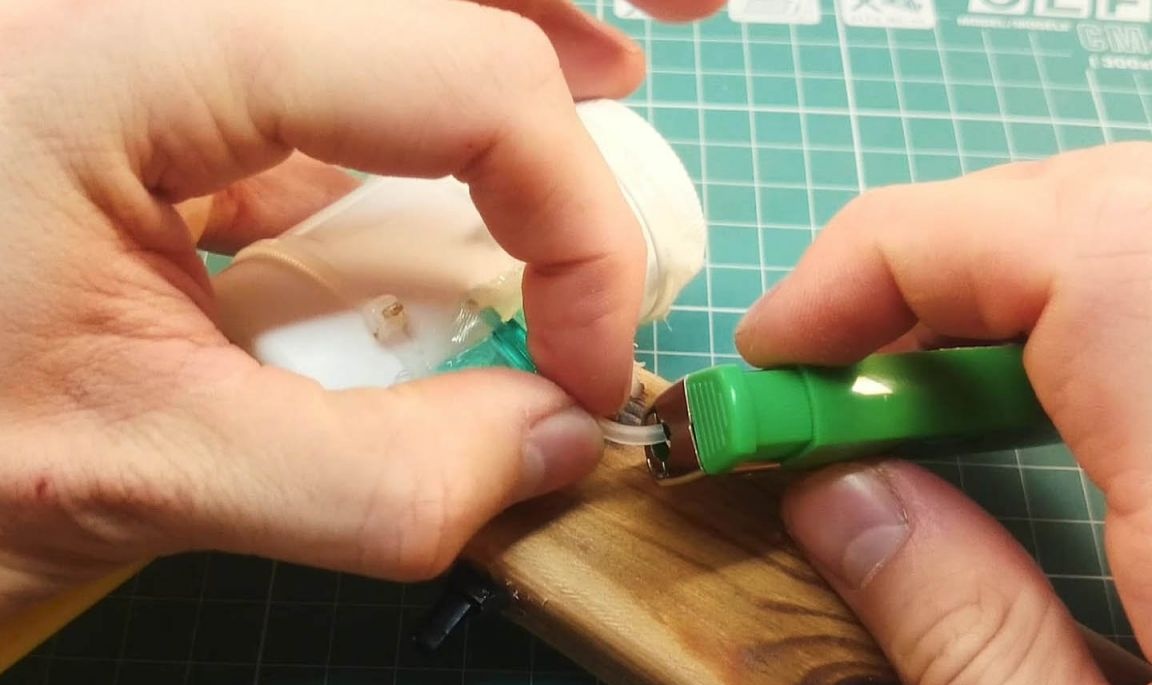
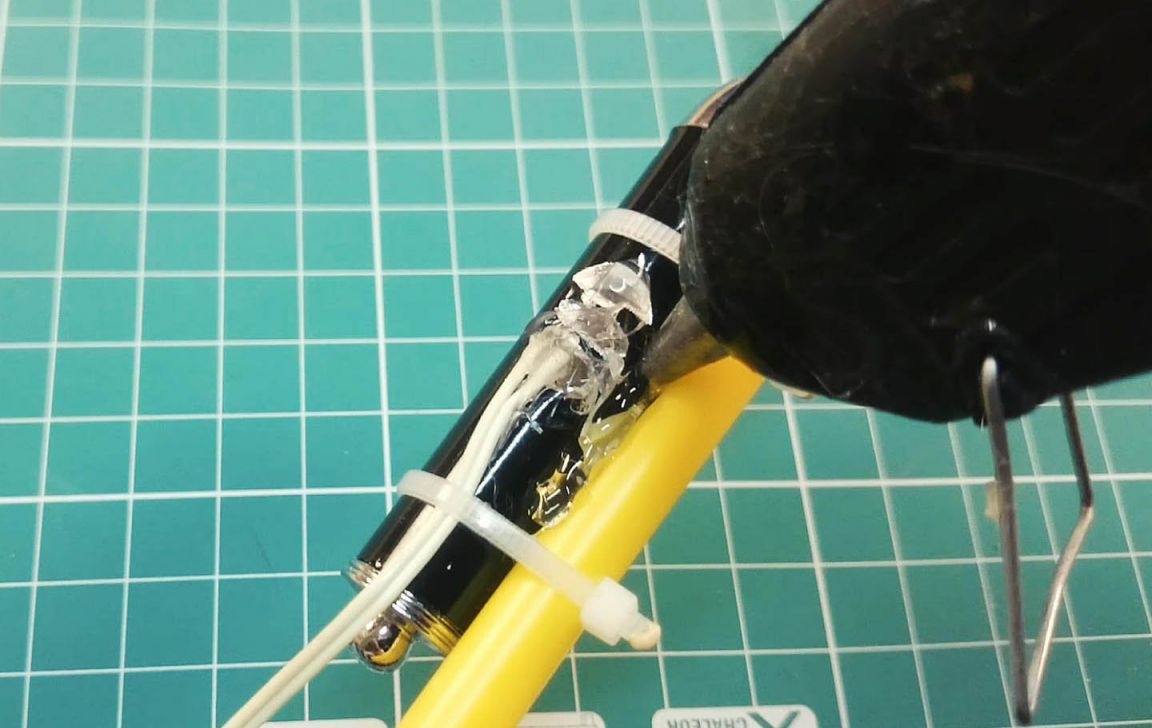
You can still modify the injection system. For example, you can take a “Butterfly” type catheter and use it to organize the supply of fuel directly to the combustion chamber. The needle is inserted into the chamber, and the tube is put on the lighter nozzle. The lighter itself sticks to the handle. Now you just need to press the lighter pedal to let gas into the combustion chamber.

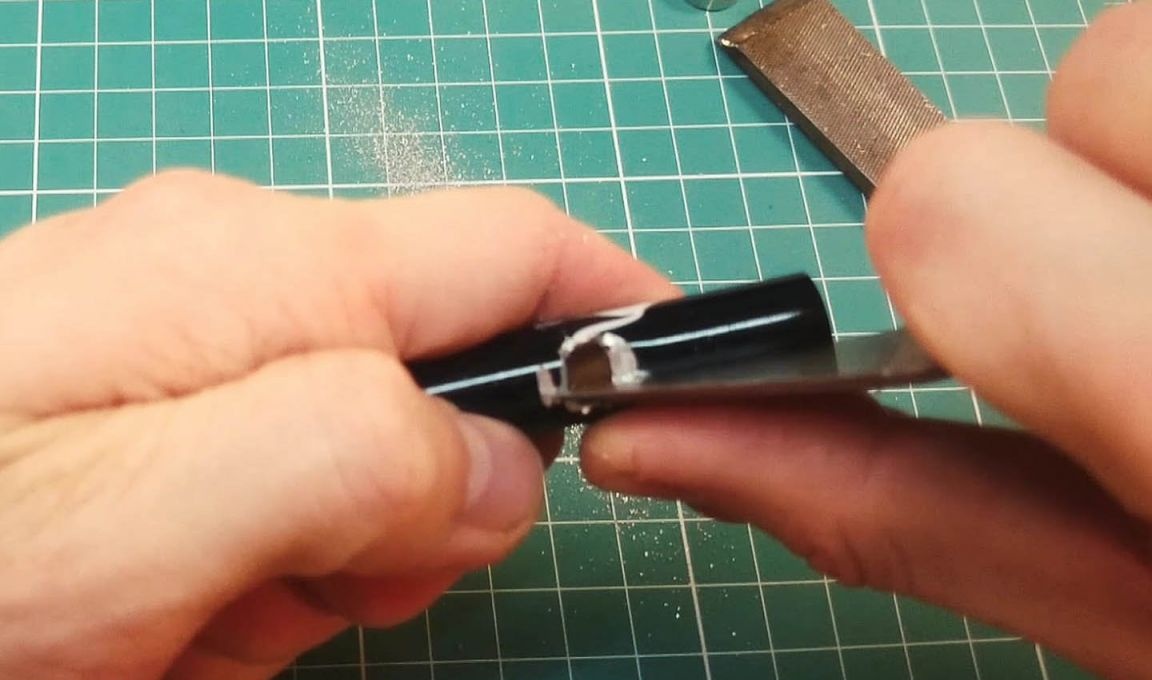
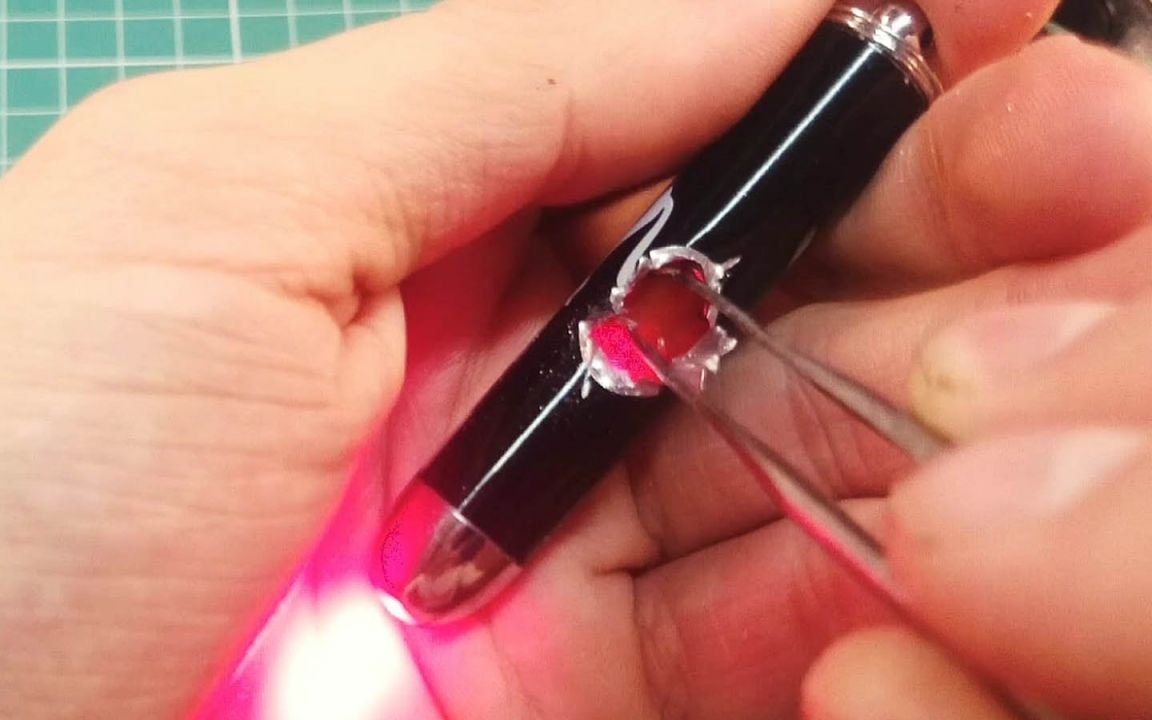
As for the laser pointer, then for convenience it is necessary to make an additional button for it. This button is mounted on the handle. The pointer itself is first attached with a plastic clamp, and after calibration it is fixed tightly with hot glue.

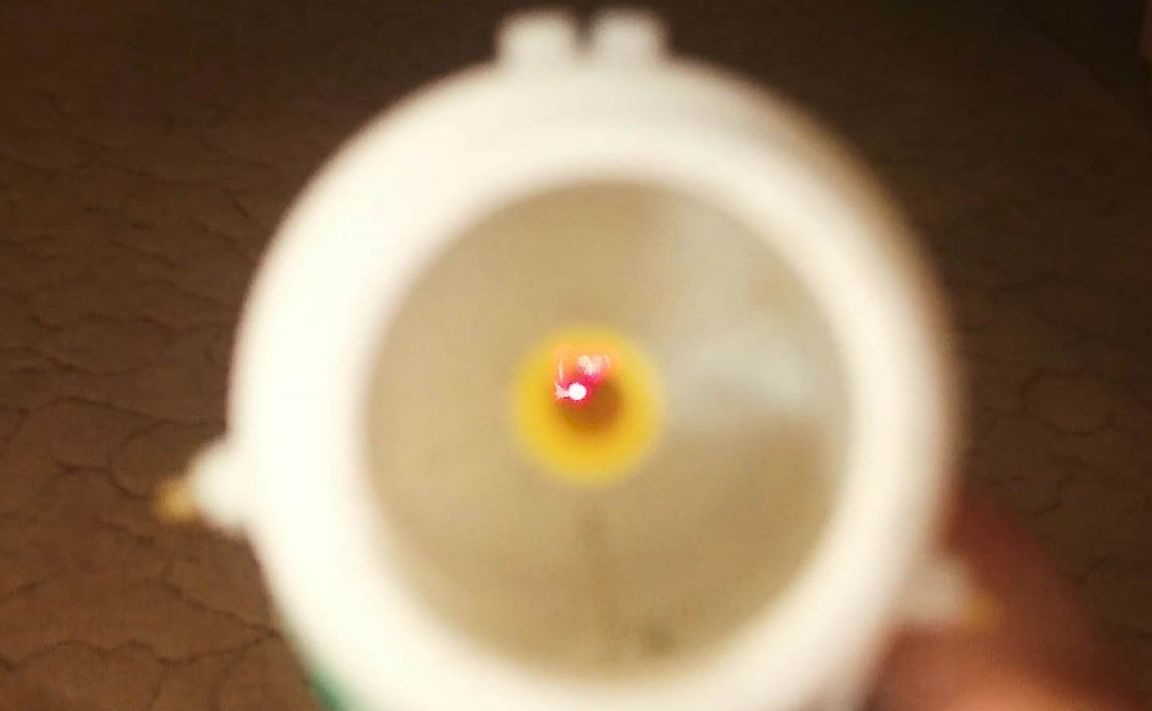
You can still equip the gun with an internal barrel, for this you will need a tube with a diameter of 4.5 mm. One end of the duct, which will be located inside, needs to be expanded. So that the metal balls are inside the tube and do not fall out, several small magnets must be glued to it. As a clip, you can use a small magnet from of furniture, it must be glued directly to the combustion chamber.
That's all, the gun is ready, you can start the tests.