
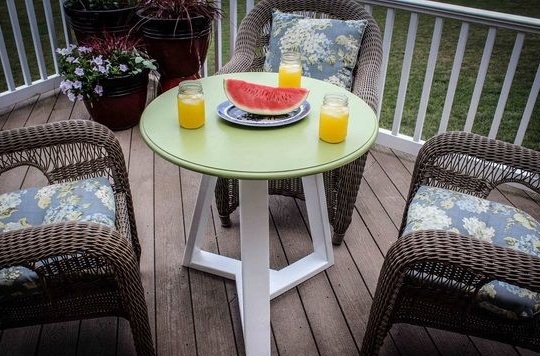
The most necessary furniture in the house is a table. Since whatever you do, this piece of furniture will always be needed. Whether you eat, or just sit and read. Therefore, today I want to show you a master class on making a small table with a round tabletop and an interesting structure of legs that can be used as a coffee table, or put it on a hot day in the summer kitchen or just outside, in the shade, to enjoy a cup coffee or tea.
For the manufacture of such a table does not need a lot of material.
Tools that will be needed in the process:
Electric jigsaw, screwdriver or drill, grinder or emery cloth, miter box, corner, tape measure, simple pencil and any paint that you want to paint your product on.
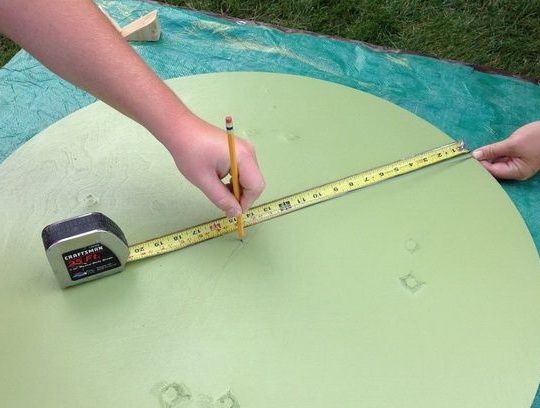
The first step is to make a countertop. If you already have it ready from some old table, then just sand it and grind it. If not, then draw a circle of the diameter you need and cut it out with a jigsaw. The author has a finished countertop. It is cleared of an old paint and varnish covering and polished.

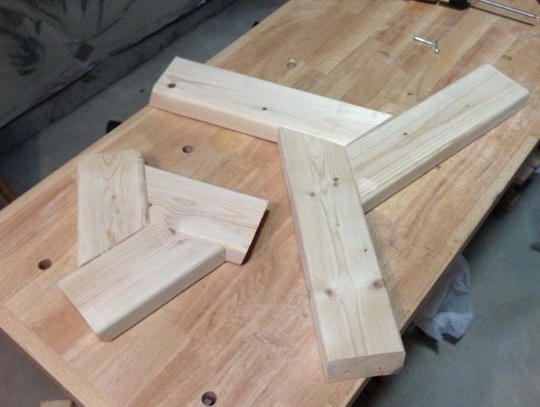
In the second step, the bases for the tabletop and the support for the entire table are made. This will require a total of six parts of two kinds. 3 pieces each. They are made from boards according to such drawings.
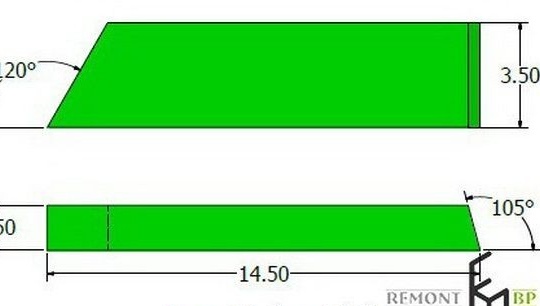
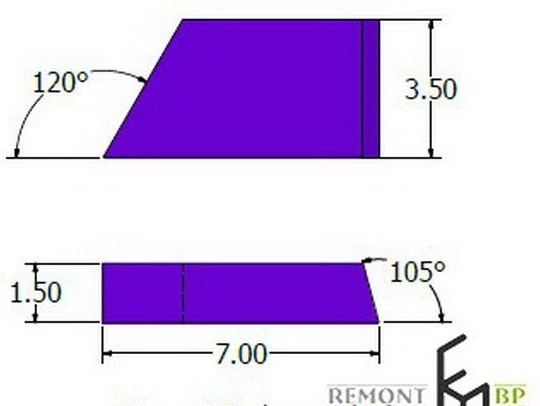
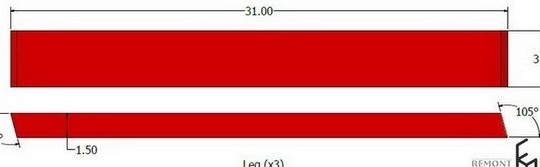
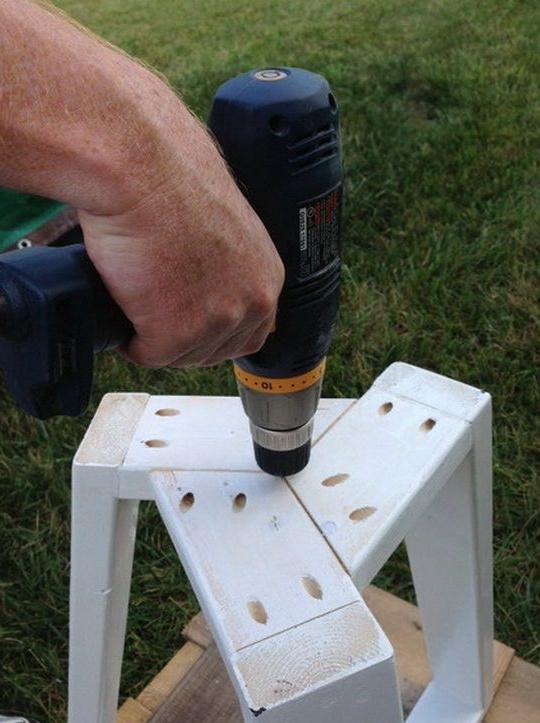
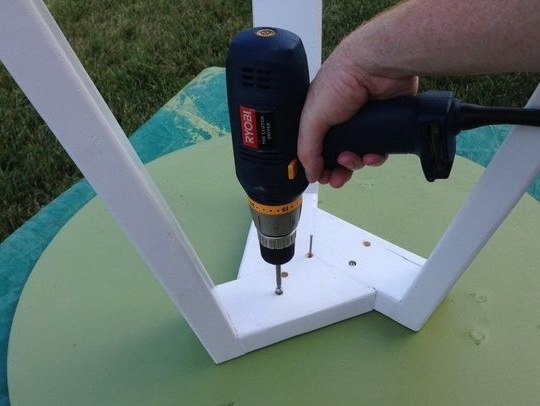
All dimensions in these drawings are in inches. 1 inch is 2.54 cm. Therefore, each value must be multiplied by this figure. Boards are cut off at an angle. Connect the parts using self-tapping screws. Drill holes in the parts for ease of screwing in at a slight angle and to prevent splitting of the parts under the influence of the wedge method when a self-tapping screw enters the parts. This is how all connections of the base parts should be made.
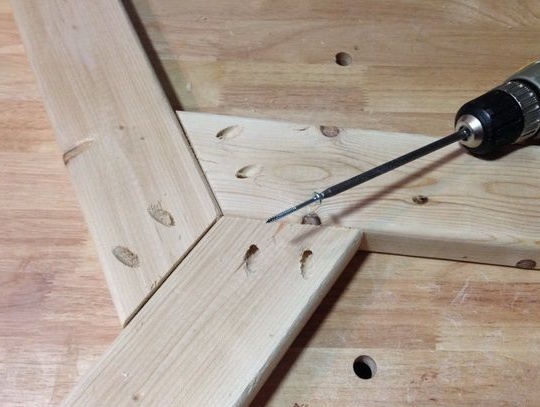
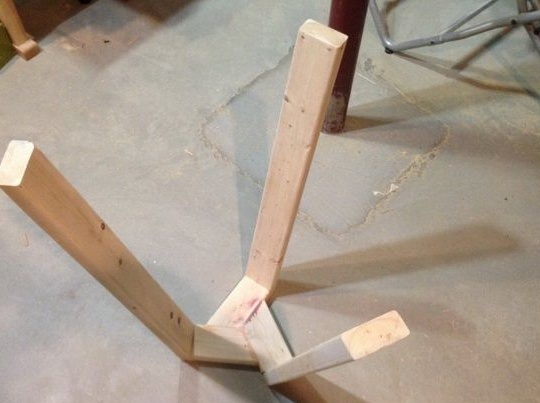
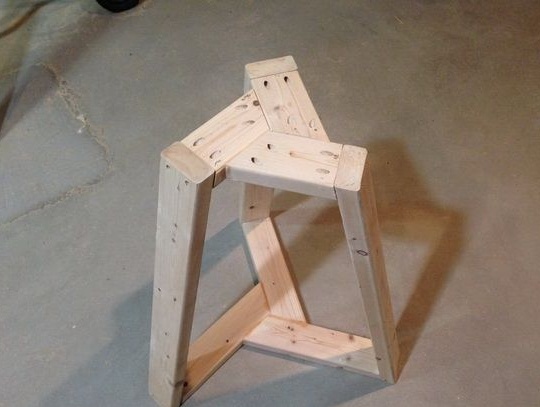
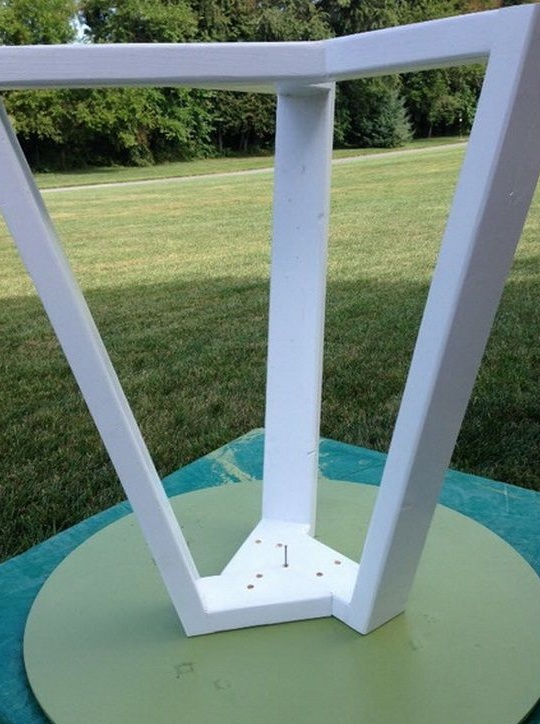
Next, table legs are made. The photo on the drawing shows the dimensions. It is also multiplied by 2.54. For convenience, they are first attached to a smaller base with self-tapping screws. Then to the big one. This is what should result in the end.

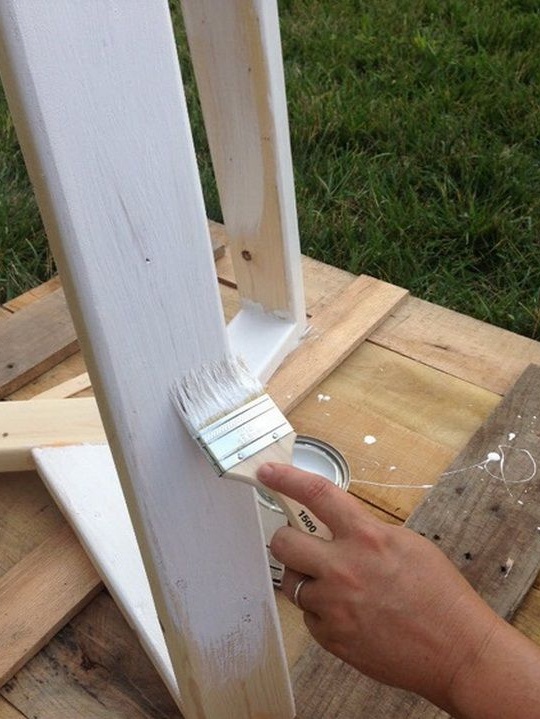
Now you need to paint parts of the product. Choose any you like and start painting the countertop and the base itself.

After the parts of the table have dried, we proceed to their final fixing among themselves. To do this, drill a hole in the upper base of the bottom of the table. Then find and mark the center on the countertop. Drill a hole in it.
We turn the tabletop and the base and with the help of screws we fasten the parts in the center into the holes that you made. To make the countertop more securely fastened, screw a few more screws in different places on the upper base.
And in the end, after all the work you have done, we get just such a table.
