
Sometimes you want to watch a movie, football match or other television show on the big screen. It makes no sense to buy such a colossus a couple of times a year. Better projection screen. But you can not buy it, but make do it yourself, as the author of this topic, which is much more interesting and cheaper.
For work you will need:
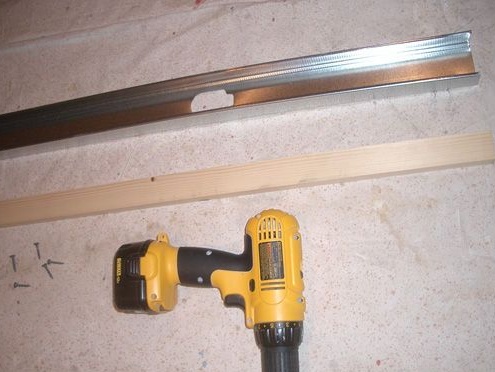
wooden block 2500x40x15 - 4 pcs., white sheet, furniture stapler, scissors, BEHR 770E-2 Paint 1 can, self-tapping screws, screwdriver, chipboard sheet 2500 × 1500mm - 1 pcs., lining for the sheet, decorative borders 4 pcs., metal boxes 4 pcs.
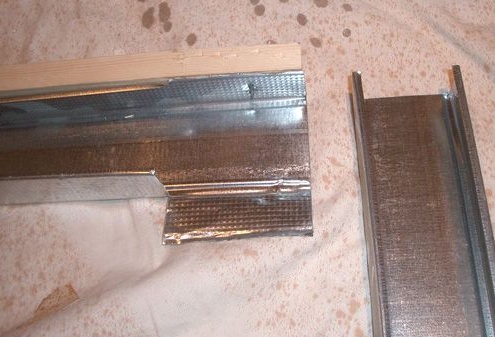
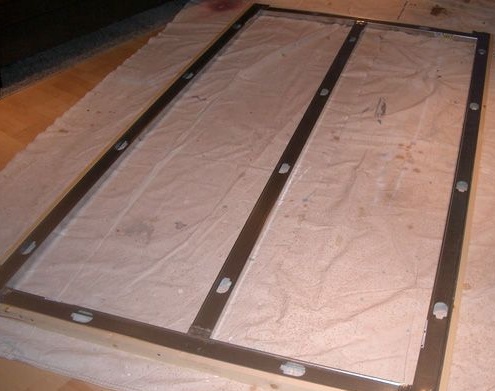
The first step will need metal boxes, of which will be the basis of the projection screen. Cut the size you want, the way you want your screen to be. Further, all boxes are sheathed with a wooden block as shown in the lower figure.
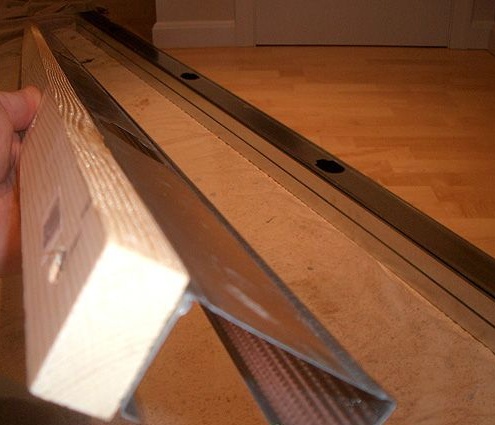
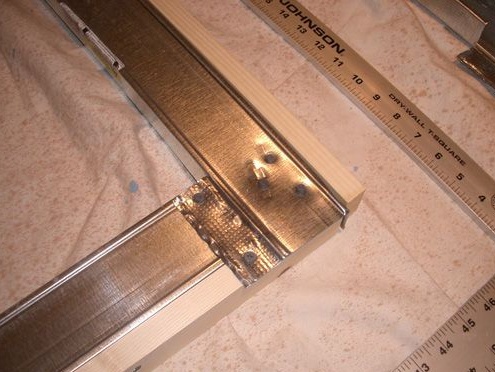
Now you need to assemble all the details in a single design. To do this, we retreat from the edges of the box to the width of the box itself and in one of the sides we make an incision or a cut. We bend and align part of the box. For a smoother surface, you can level this part with a mallet, gently tapping it. Details are connected by self-tapping screws. On the reverse side, too, everything is held together. As a result, you should get this frame of the future screen.
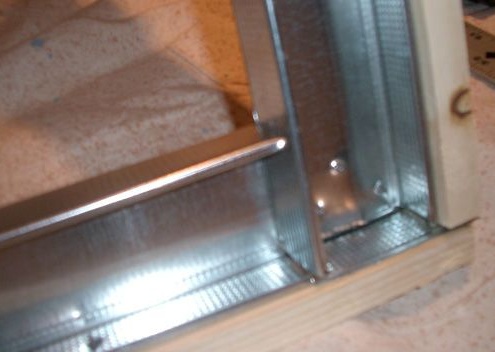
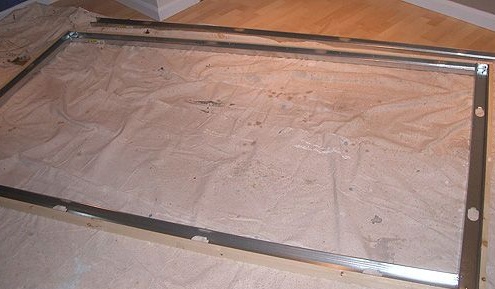
For greater rigidity, a longitudinal box is installed. All cuts and fastenings are made in the same way as described above.
Next, measure the size of the frame around the perimeter and cut a piece of chipboard along it, which is attached to the frame using self-tapping screws or a stapler.
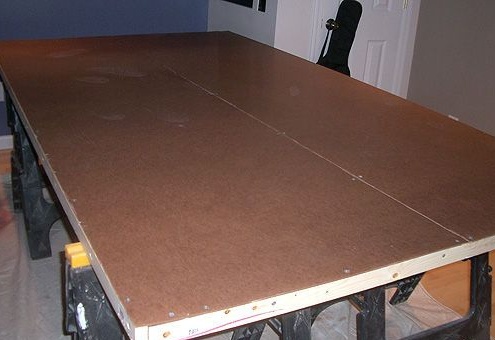
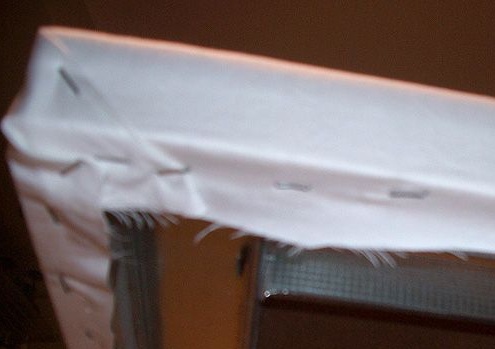
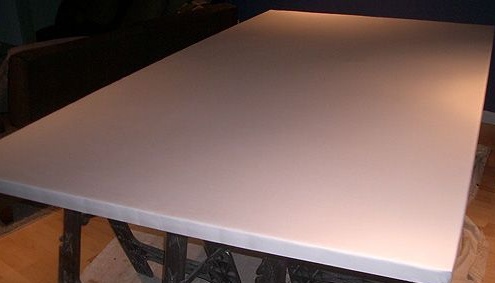
After the chipboard is placed on the frame, the substrate is laid on it. The author made it from felt fabric. It is needed in order to hide all the bumps, seams and caps of the screws. There should be no bumps on the screen. Now pull the sheet and fix it on the screen. All unnecessary surplus is cut off.

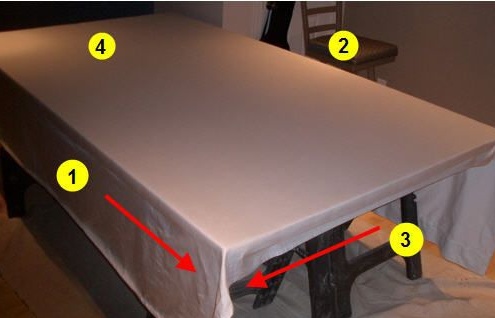
Now for better color reproduction of the displayed image, you need to cover the entire surface with paint. To find out which of the colors is more suitable for these purposes, the author divided the screen into three parts and painted each part in its own color. Rather, one part remains unchanged, one part is painted in gray, and the other is also gray, but darker, with Behr 770E-2 paint or its equivalent.
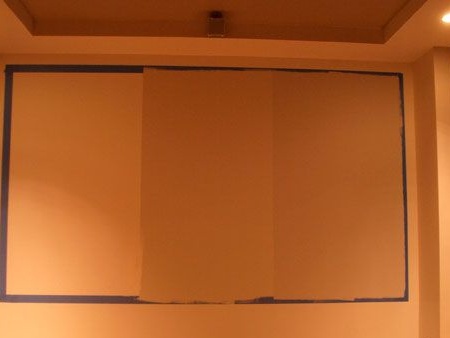

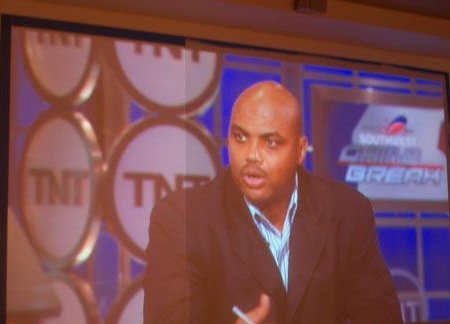
The picture on the right side is brighter. It was painted with Behr 770E-2. Here it covers the entire screen. To do this, you need a roller, but not with felt or non-fur coating, and in two layers we cover the entire screen. After drying with a fine-grained emery cloth, all irregularities and fibers on the screen surface are removed.
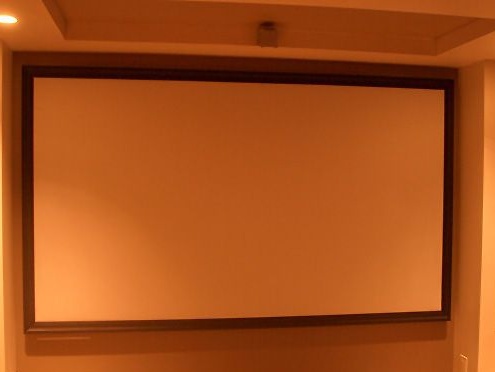
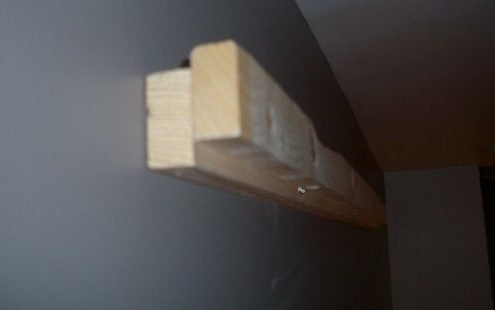
The next step is to determine the place where he will hang and make a hanger for him.Since the product inside is hollow and light enough, it will be enough to fasten the two bars together, backing off a little across the entire width of the bar as shown in the picture.
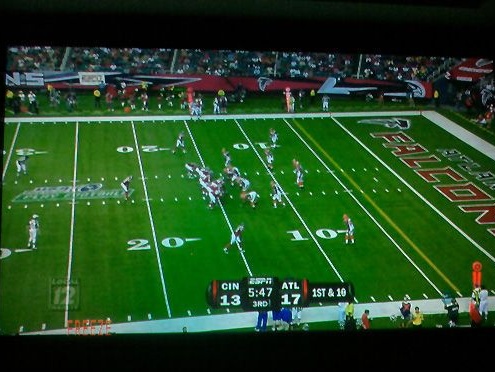
We hang up the screen and enjoy the picture on a huge display! For greater beauty, you can hang the screen in a frame of decorative panels.