The history of the tandoor is lost in the depths of time. Food was prepared in it in the distant past, homes were heated with its help, and much more. As they say, in the tandoor you can cook forty dishes. Due to its shape, all the heat is evenly distributed throughout the interior, which contributes to the rapid cooking of food. Nowadays, more and more people buy portable tandoor. But some do do it yourself in the yards and stationary.
They assure that the food prepared in this oven is much tastier and more aromatic than the same dish, but made in the usual way on a gas or electric oven. I want to show you how to make a tandoor on your own, step by step, with your own hands, in which you can easily cook aromatic pilaf and juicy kebab.
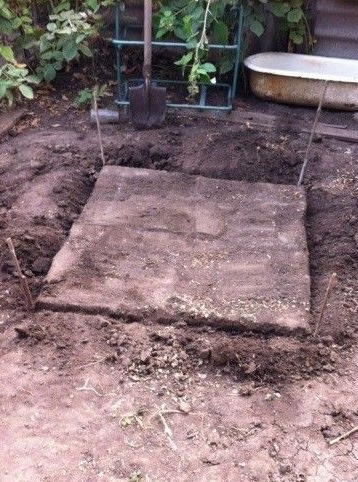
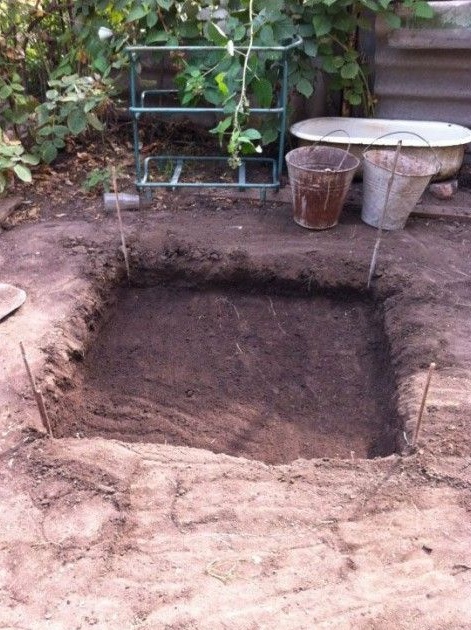
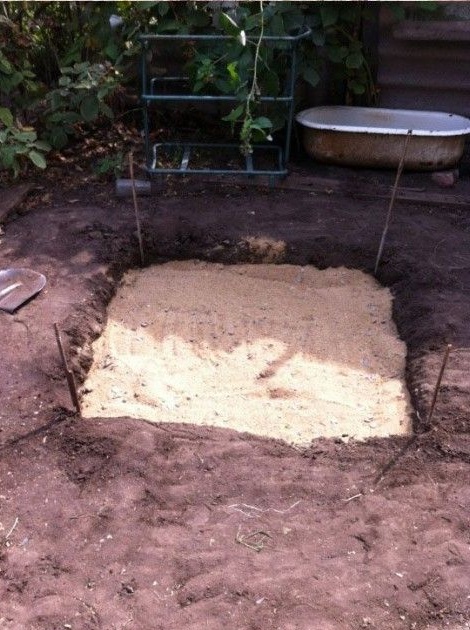
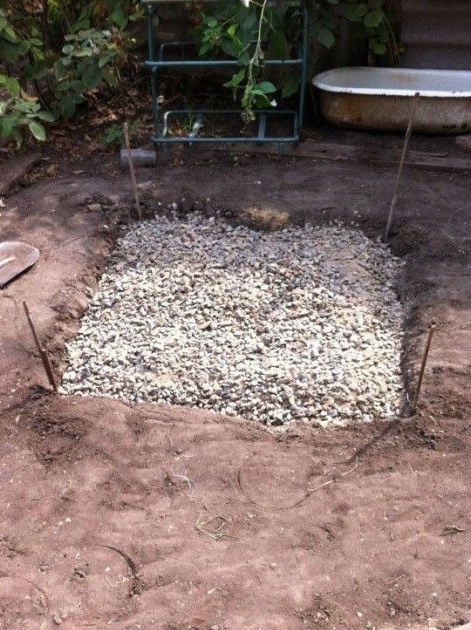
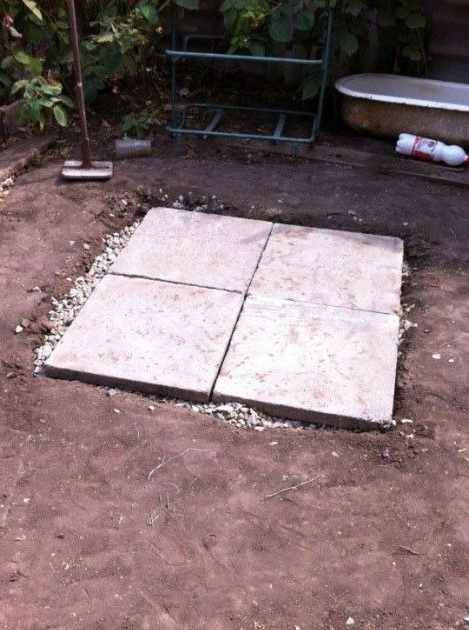
So, let's begin. The first step is preparing the foundation. Digging a small depression in the ground. A pillow is poured from sand and small gravel. Thoroughly compacted, in order to avoid subsidence under the already erected structure. It is advisable to leave for a couple of days so that the pillow "settled". After that, a foundation is laid on it, on which the whole structure will be built. For her, the author used ordinary paving slabs.
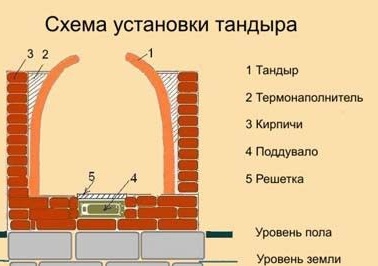
The entire structure will be built according to this drawing.
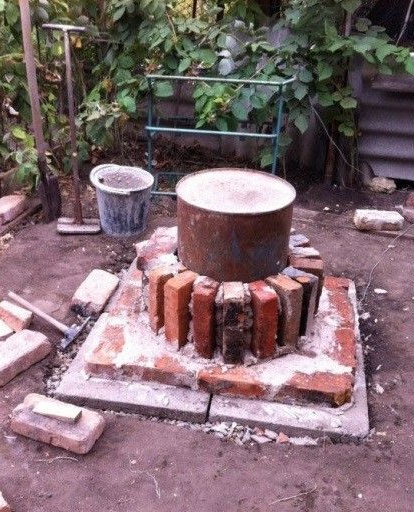
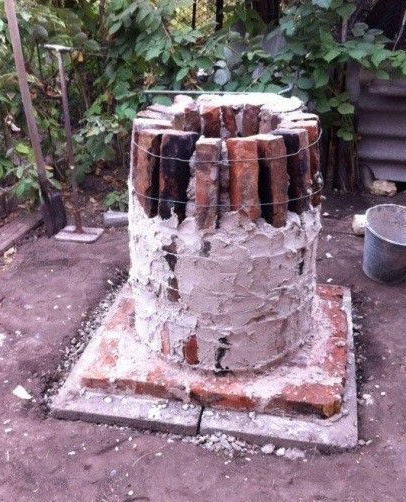
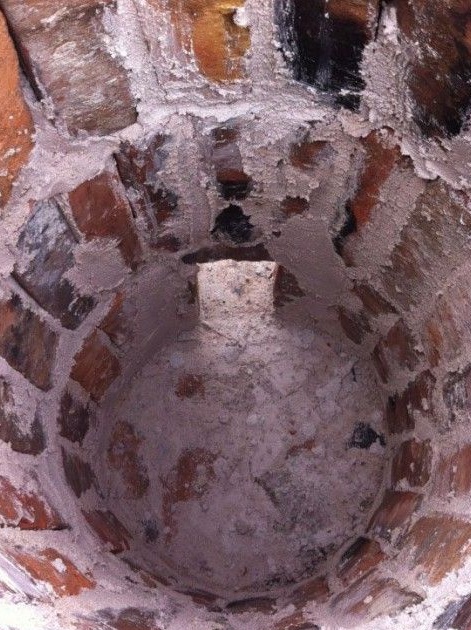
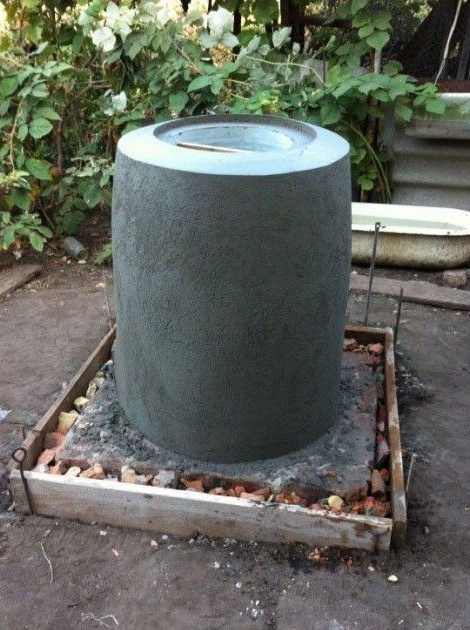
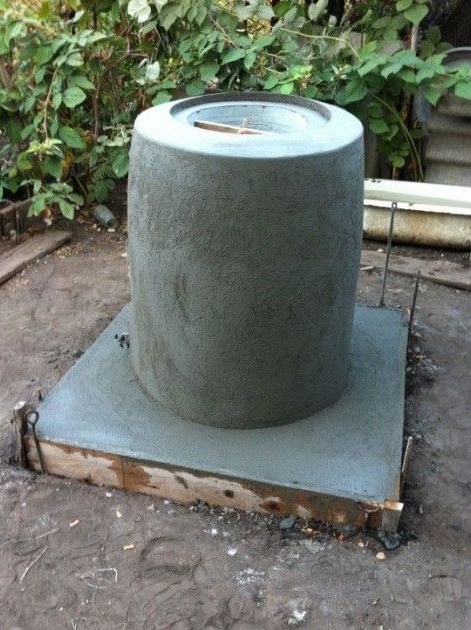
Further, some round shape is taken and set on the foundation. With it, it will be convenient for you to lay out bricks around. The brick must be refractory. We leave room for the door to kindle the fire and lay out. Bricks are coated with mortar. This is a mixture of chamotte clay + chamotte sand.
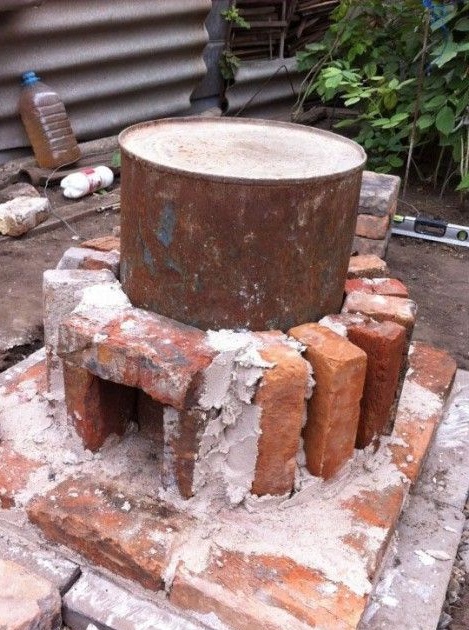
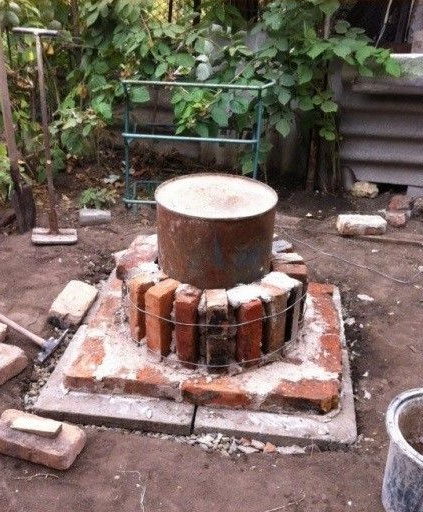
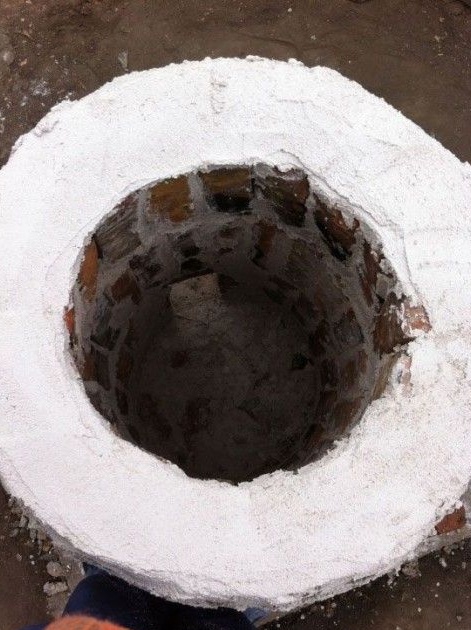
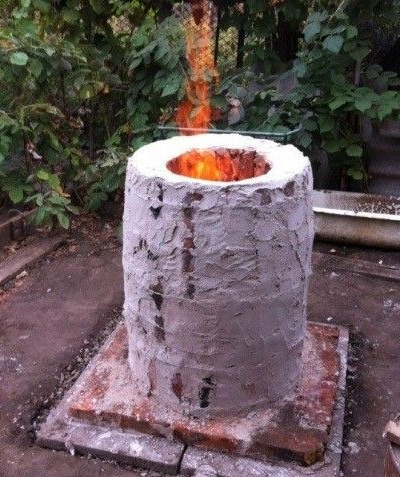
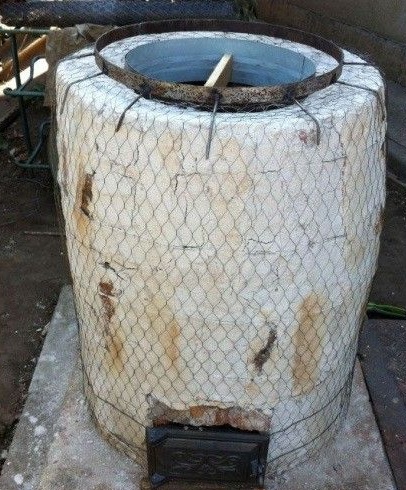
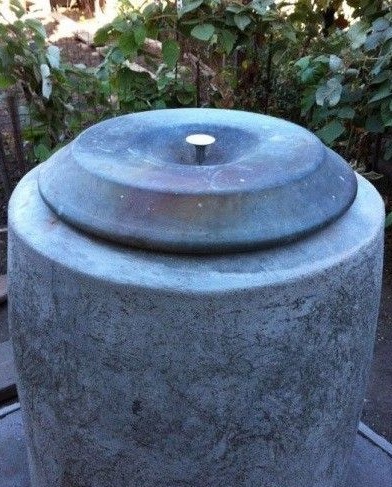
When laying bricks, each row is wrapped with wire, so that the mortar clings harder and the bricks do not disperse. The solution is still crude. Since the tandoor must have a certain design, i.e. its upper part should be narrowed, then you also narrow the last tier, make a slight slope to the center of the structure. Outside is smeared with the same solution.

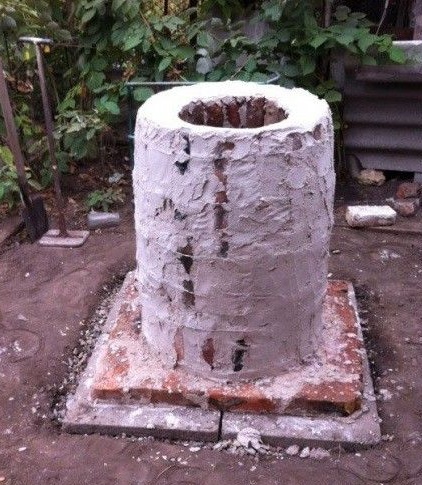
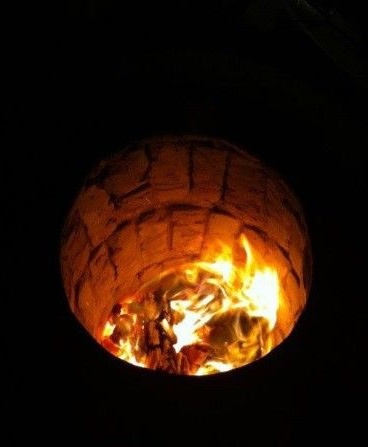
Next, light a fire inside to burn clay. After that, leave to dry further.
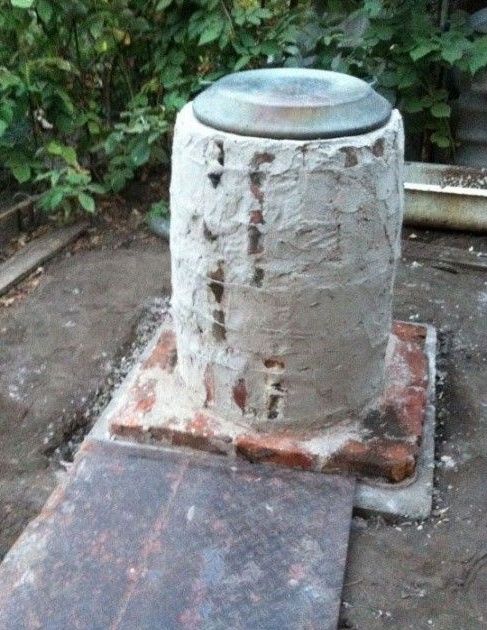
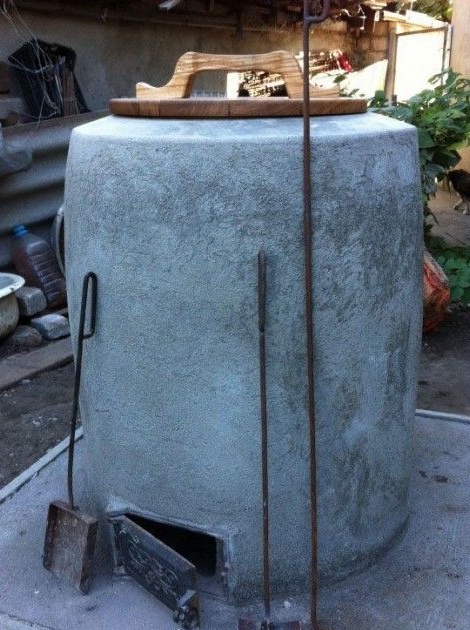
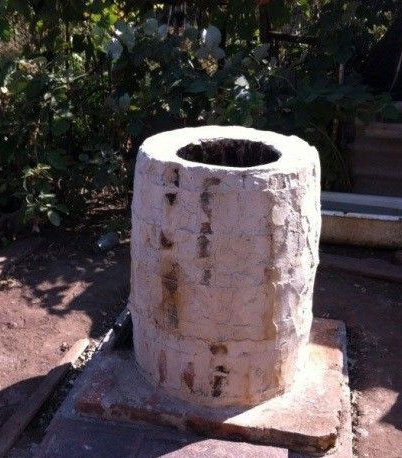
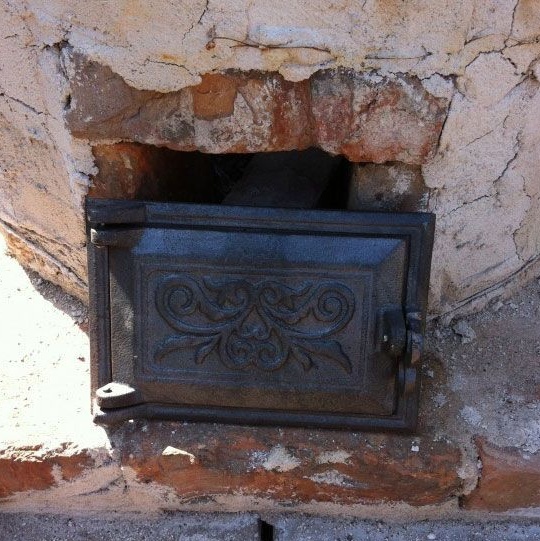
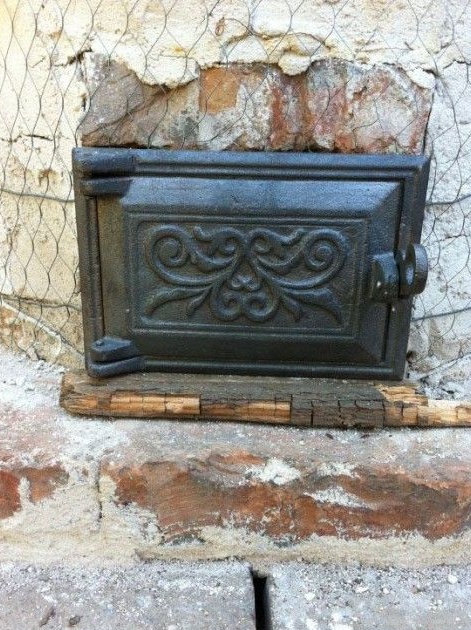
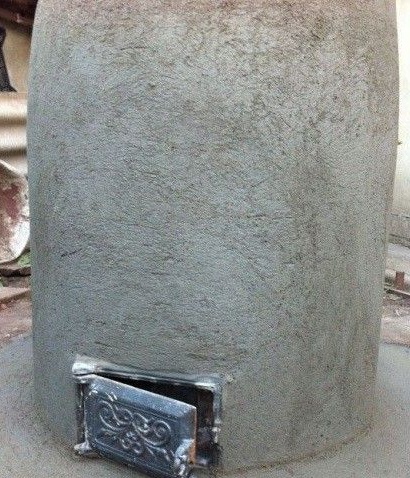
The next stage is the installation of the door in the lower part of the tandoor and its lining.A plaster mesh is put on the tandoor, chamotte clay is added to the solution for greater viscosity, and the whole structure is coated with the resulting solution. Leave to dry.
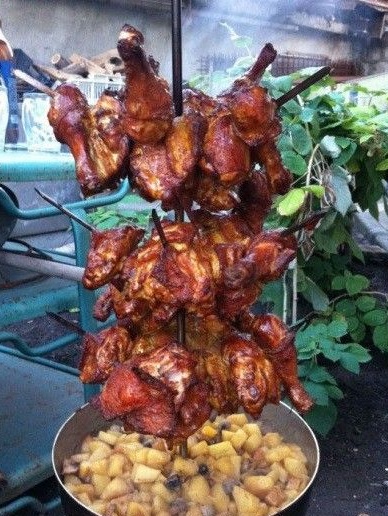
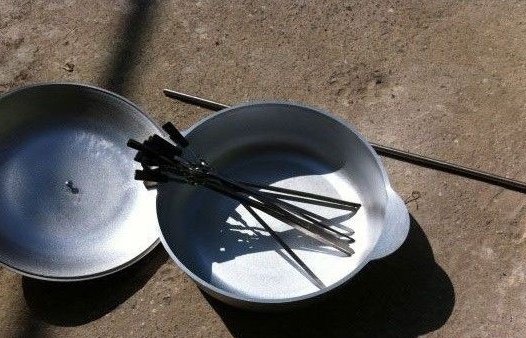
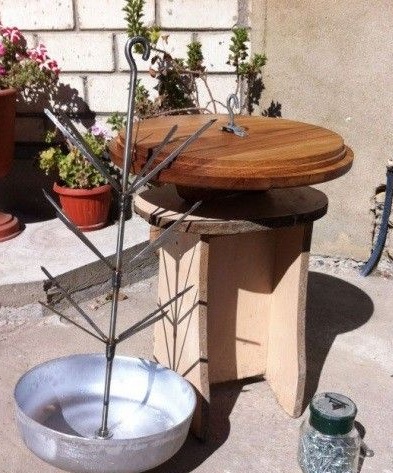
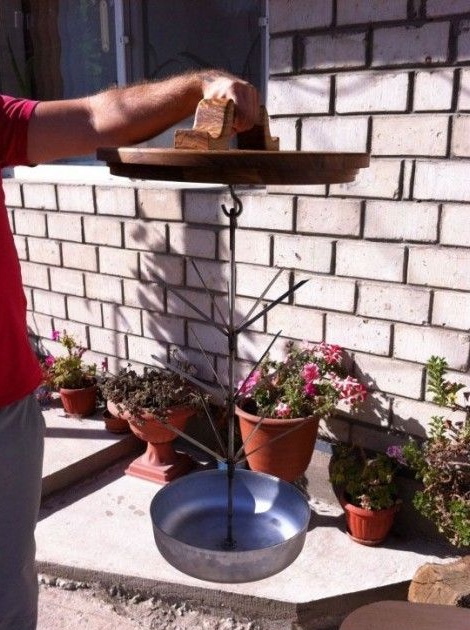
While the drying process is in progress, the author decided to make some "details" for his creation. Skewers are bought and a Christmas tree is cooked from them to cook kebab. The main rod is screwed to the satinik. It will serve to collect the dripping fat from the kebab. The cover is made. You can also install on top and the grid to put a pot or cauldron on it.
Next, firewood is laid in the tandoor, we wait when they burn out and lower our barbecue in the vent. We enjoy the result in the form of a finished product and the food received in it!