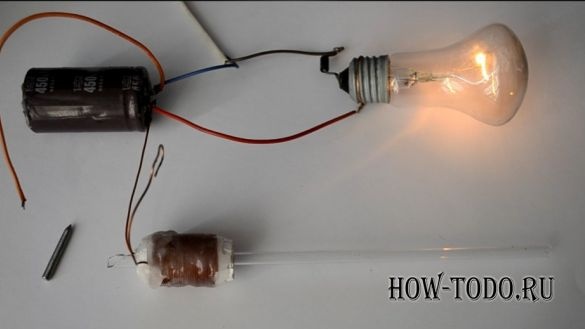
The article will consider an example of creating the simplest Gauss gun. The essence of the device is that it works on an electromagnetic field, that is, the charge is launched into flight using electricity. Such a gun is assembled very simply, in the presence of all the necessary materials, the assembly takes about an hour. Of course, the power of the gun is not large, since its efficiency is only 1%, but this is enough to break through cardboard or a beer can. Easily accessible capacitors are used to accumulate the charge, and the voltage source is a conventional outlet, that is, 220V AC. The cannon can be fired with steel balls or darts, which can be made from nails.
Materials and tools for assembly:
- bulb (220V, 60 watts) with a cartridge;
- wires;
- capacitors (can be obtained from a computer power supply);
- diodes;
- metal and plastic tubes;
- copper lacquered wire;
- glue (suitable Titan);
- soldering iron with solder;
- electrical tape.
The manufacturing process of the Gauss gun:
Step one. How is the gun
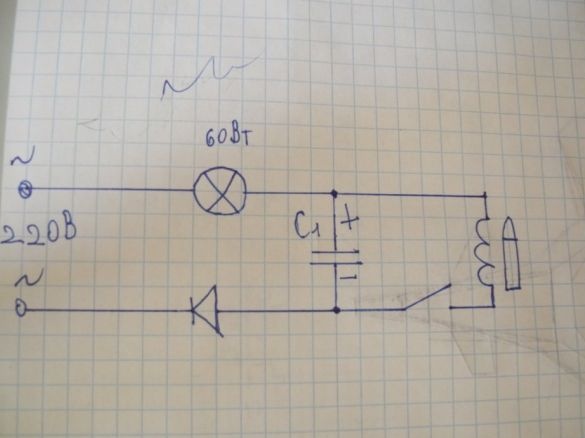
To understand how the gun works, it is proposed to study the scheme. It is very simple, there are no converters, everything works from a 220V network. The circuit consists of capacitors that accumulate charge, a diode (necessary to equalize the alternating current), a coil (the electromagnet itself), and a light bulb that will limit the charging current of the capacitors.
Step Two We make a coil
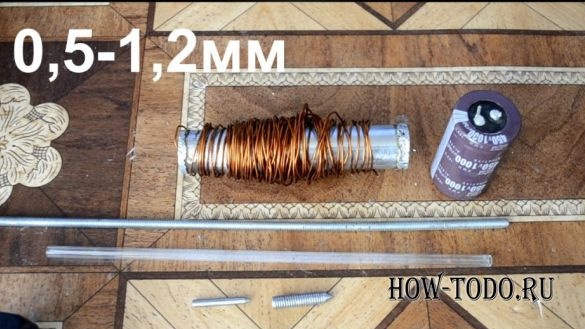
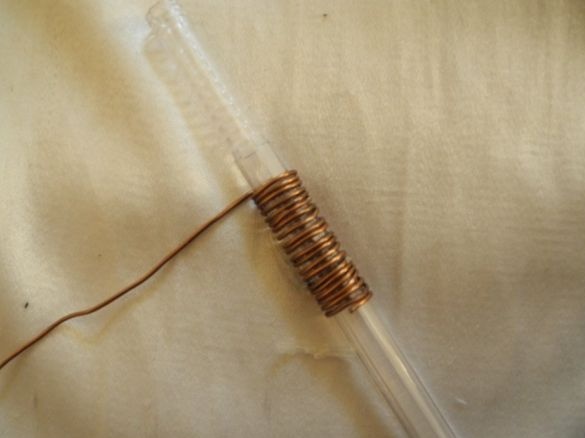
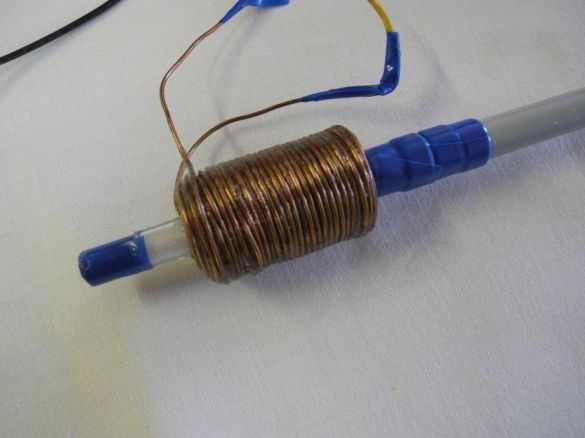
The coil will work like an electromagnet when voltage from capacitors comes to it. For the manufacture of the coil, a varnished wire will be required, the thickness of which is at least 0.7 mm. The wire is wound on a plastic or metal tube, it will also act as a trunk. The wire must be wound carefully, evenly, coil by coil. When the first layer is wound, it must be fixed with glue. Then a new layer is wound on top. To align the turns, you can use wooden objects or bamboos.As a result, the coil should take the form as can be seen in the photo.
Step Three Making a capacitor bank
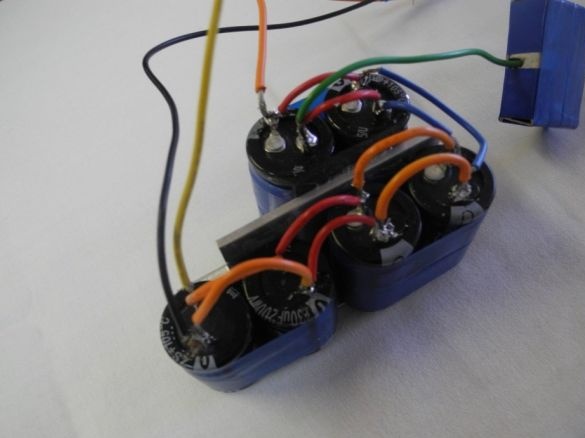
A capacitor bank is the gun’s power source. The more capacitors there are, the more charge they can accumulate, which means that the more powerful the gun will shoot. For these purposes, capacitors from a computer power supply are excellent, their rated voltage is 200V. As for capacitance, it can be 470 microfarads or 560 microfarads. In total, the author uses six capacitors, they are connected using a soldering iron and wires in parallel.
Step Four The final stage of assembly
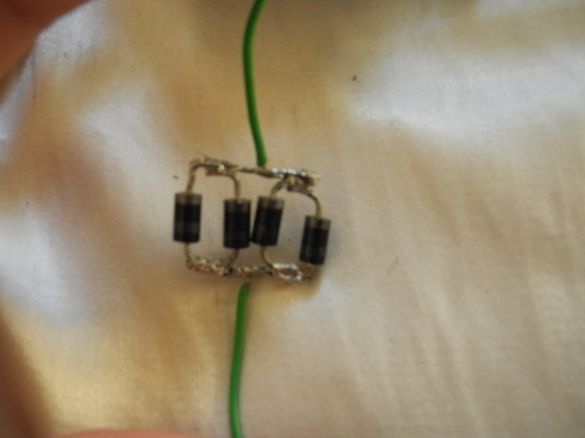
To charge such capacitors, you need a constant current, to get it, you need diodes. Such diodes can be found again in the computer power supply. In order for the system to be reliable, 4 or more diodes can be installed in parallel. The minus of the diode should be connected to the plus of the capacitor, or vice versa.
Among other things, a bulb is turned on in the circuit, it performs the task of a resistor and does not allow capacitors to recharge to a breakdown state. Also, the bulb will fulfill the role of a charging indicator; it can be used to determine when the capacitors are charged and a shot can be fired.
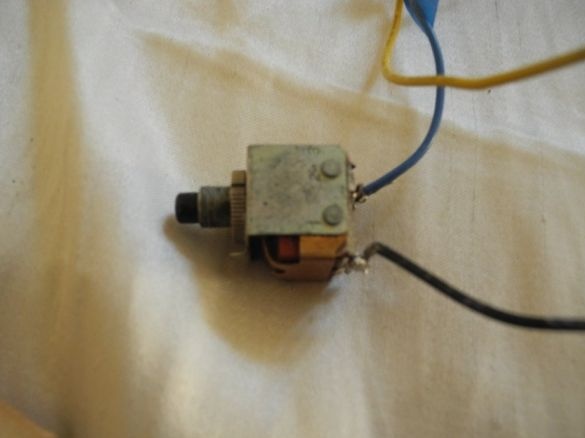
As for the trigger, for the shots you will need a switch, and best of all, a toggle switch. It is important that the switch or toggle switch can withstand high loads.
That's all, homemade can be considered complete. Now for the barrel you need to make a simple handle so that the gun can be held, as well as safely and conveniently position the light bulb, toggle switch and battery with capacitors.
To shoot, you need to wait until the capacitors are charged, while the bulb will glow more dimly than at the initial stage of charging. As shells, metal balls or darts are suitable. Here it will already be necessary to select the optimal distance from the coil to the projectile experimentally. The most important thing is to observe safety precautions, since the cannon is tested at high voltage.

