
The burner discussed below can be used with success in the workshop, with it it is convenient to heat a nail or knife when working with plastic, to heat a water bath, or maybe even boil water for tea. In addition, you can take such a burner with you on a hike; you can easily fry fried eggs on it.
Good homemade that it is very cheap and practical, and it’s going to be quite simple. Everything works very simply, when arsonous alcohol vapors create pressure in the tank, while the fuel exits independently through the nozzle and burns. That is, everything works approximately the same as in a blowtorch, only easier, since you do not need to pre-pump air.
Materials and tools for assembling the burner:
- a copper tube with a diameter of 8-10 mm;
- a small spray can or another cylinder with a diameter of 30-40 mm;
- a small glass jar with a metal lid (should be tightly closed);
- a bundle of thread or cotton fabric;
- alcohol;
- sand.
Of the tools you will need: a drill, a hacksaw, an awl, a hammer, a soldering iron or a torch, solder, a vise is not superfluous.
How to assemble an alcohol burner:
Step one. Making a burner base
The element in the form of a spiral, which is made of a copper tube, acts as the basis for the burner. The long tube should be slightly less than 40 cm, and its diameter should be 8-10 mm. The sharp edges of the tube must be carefully filed.
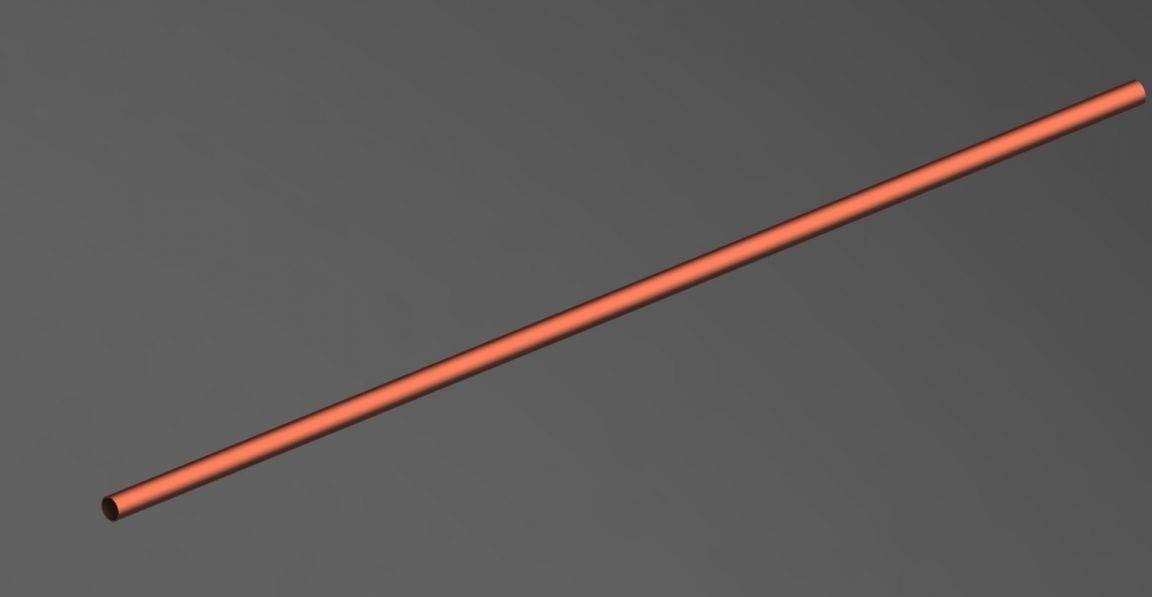
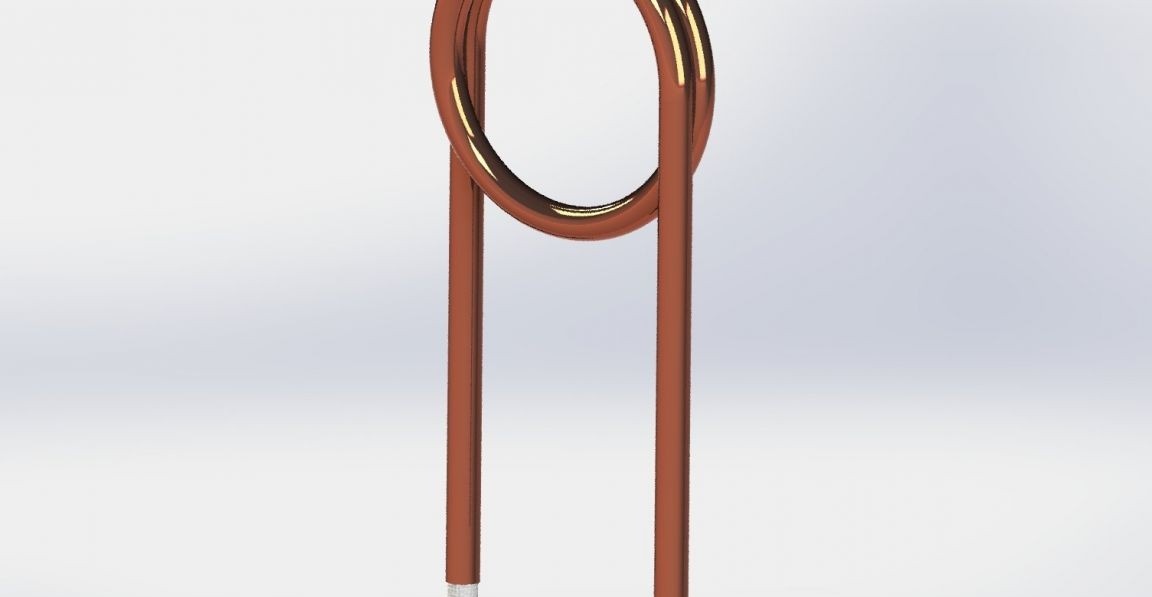
From the tube you need to make a spiral yourself. To prevent the tube from bending at the same time, it must be filled with sand. To do this, plug one end with a stick, pour sand into the tube, and then plug the other end in the same way. To make a spiral, you need a cylinder with a diameter of 30-40 mm. For these purposes, an aerosol can is perfect, almost everyone can find such at home. The copper tube must be circled around the cylinder by one and a half turns. In this case, you should not rush.
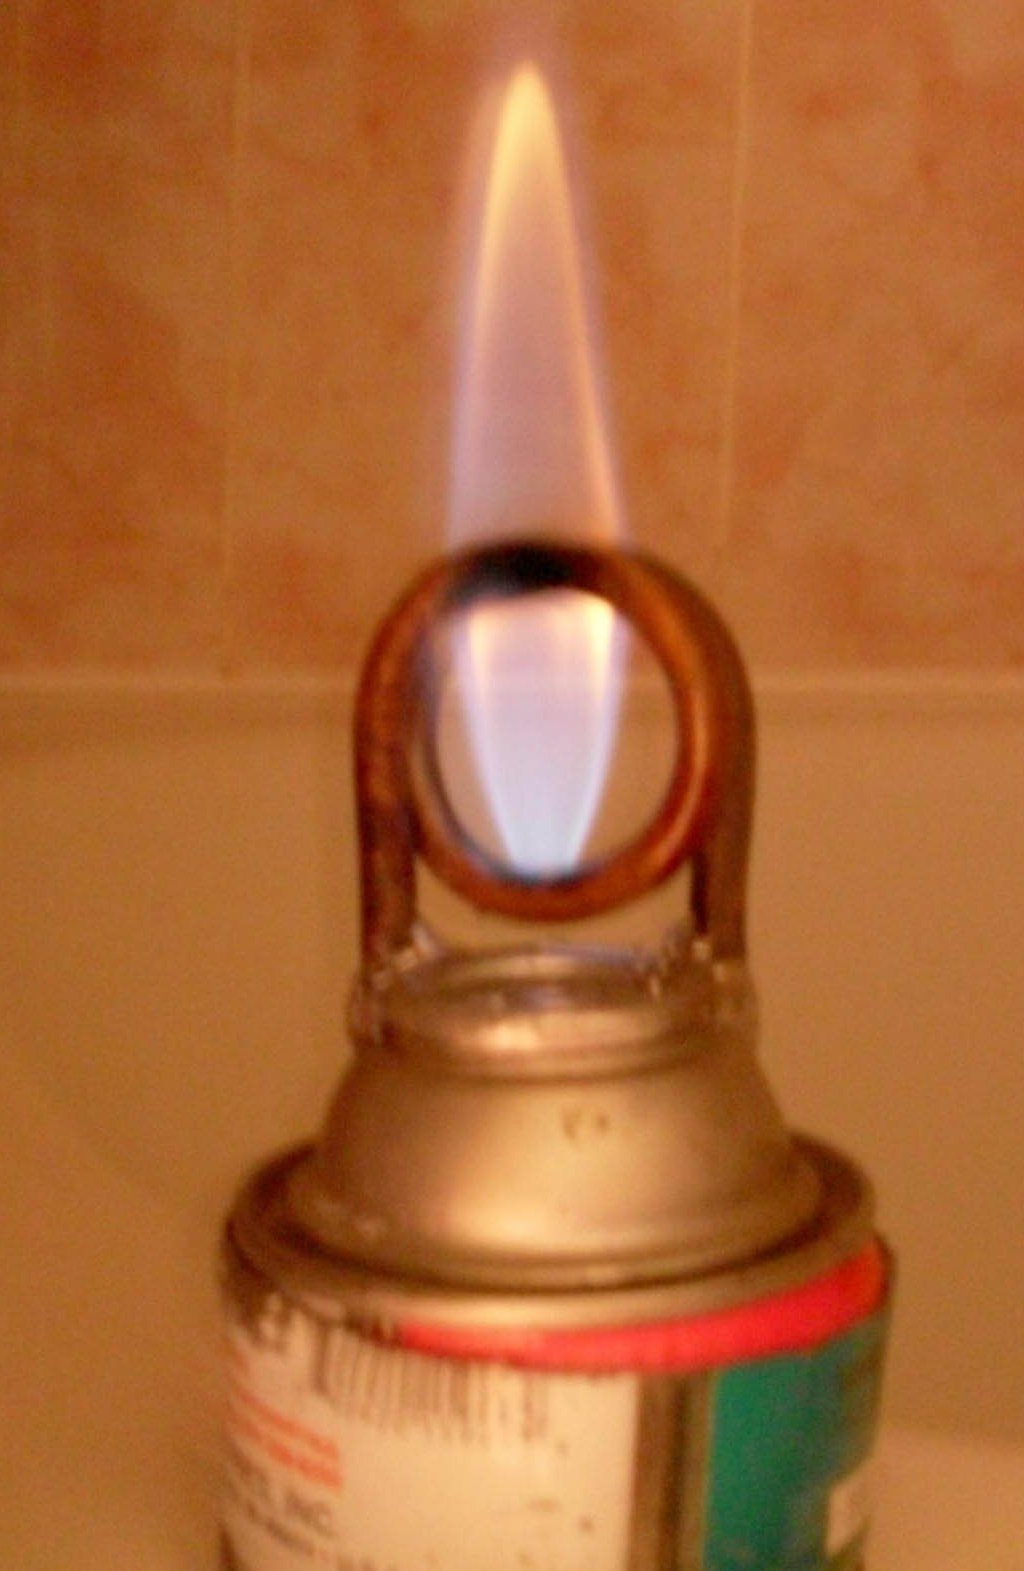
Between the turns of the tube there should be a distance of a couple of millimeters.The size of the flame during operation of the burner directly depends on this. Ideally, the flame should pass through the gap between the two tubes and at the same time touch them.

Step Two Wick for burner
For the burner to work, a wick is needed, it is done very simply, any cotton fabric is needed for this, threads for knitting are also suitable. The length of the wick should be such that it touches the beginning of the bend of the tube. On the other hand, the wick should stick out for a couple of centimeters. As for the thickness of the wick, it is selected experimentally.
If the burner spits fire at start-up, the wick needs to be made smaller, or the nozzle size should be increased.
Step Three Burner nozzle
The diameter of the nozzle is selected experimentally. It’s best to start with a diameter of less than one millimeter. Then, as needed, it can be increased. The nozzle can be drilled, or punched with an awl with a hammer, as copper is a fairly soft metal.

Step Four The fuel tank device. Spiral installation
A fuel tank is necessary in order to pour fuel into the burner, as well as create pressure for its operation. As a fuel tank, any container with a sealed cap is suitable. It is best if it is a glass jar with an iron lid.
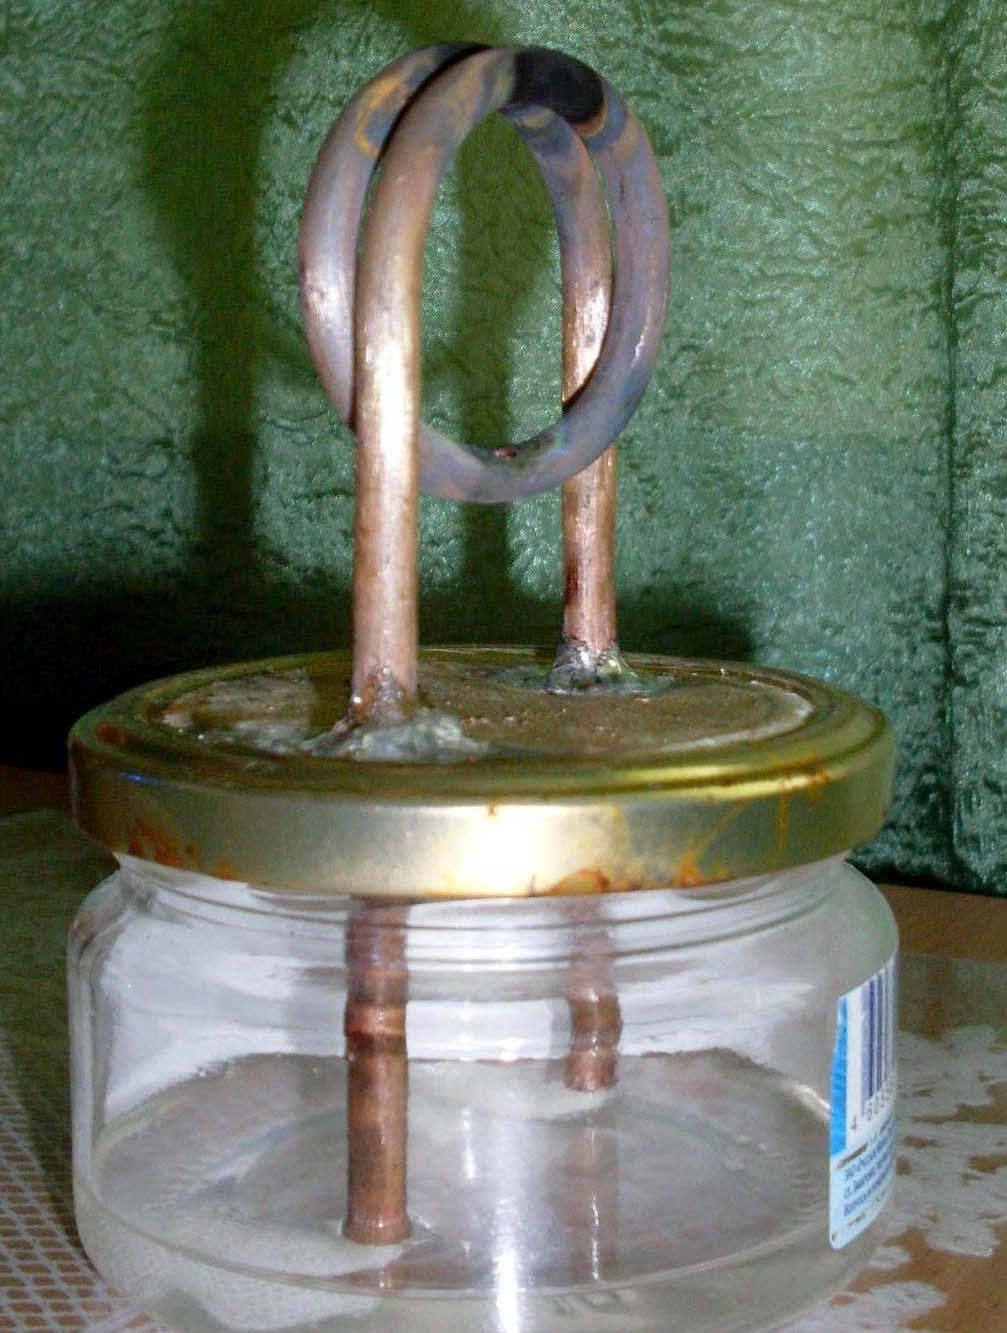
To install the spiral, in the lid you need to drill two holes along the diameter of the tube. It should fit into the cover with minimal clearance. Then you can start soldering. First, the lid must be cleaned of paint, otherwise the solder will not stick. Solder can be bottom and top, to ensure maximum tightness and strength.
Step Five Burner test
To test the burner, you need to pour alcohol into it, gasoline is also suitable, you need to experiment with other types of fuel. Next, you need to tighten the lid carefully so that fuel vapors do not come out of the can, otherwise the device will not work.
Starting the burner is very simple, you just need to use a match or a lighter to heat the pipe in the area of the hole. Heat will begin to spread through the tube, while the fuel on the wick will evaporate and generate pressure, which in turn will displace the fuel from the can to the nozzle. As a result, a closed cycle is formed, the burner will burn until there is fuel in the bank.
If you want to collect something much more powerful, then the video below shows a flamethrower, which can also be assembled do it yourself. Happy viewing.
[media = https: //youtu.be/JDXJ1gr8qkM]